
 Today, the second student who designed a gem using Sketchup was able to print his gem our our Makerbot replicator. In case you missed the 1st print, you can read about Grant’s history-making print here.
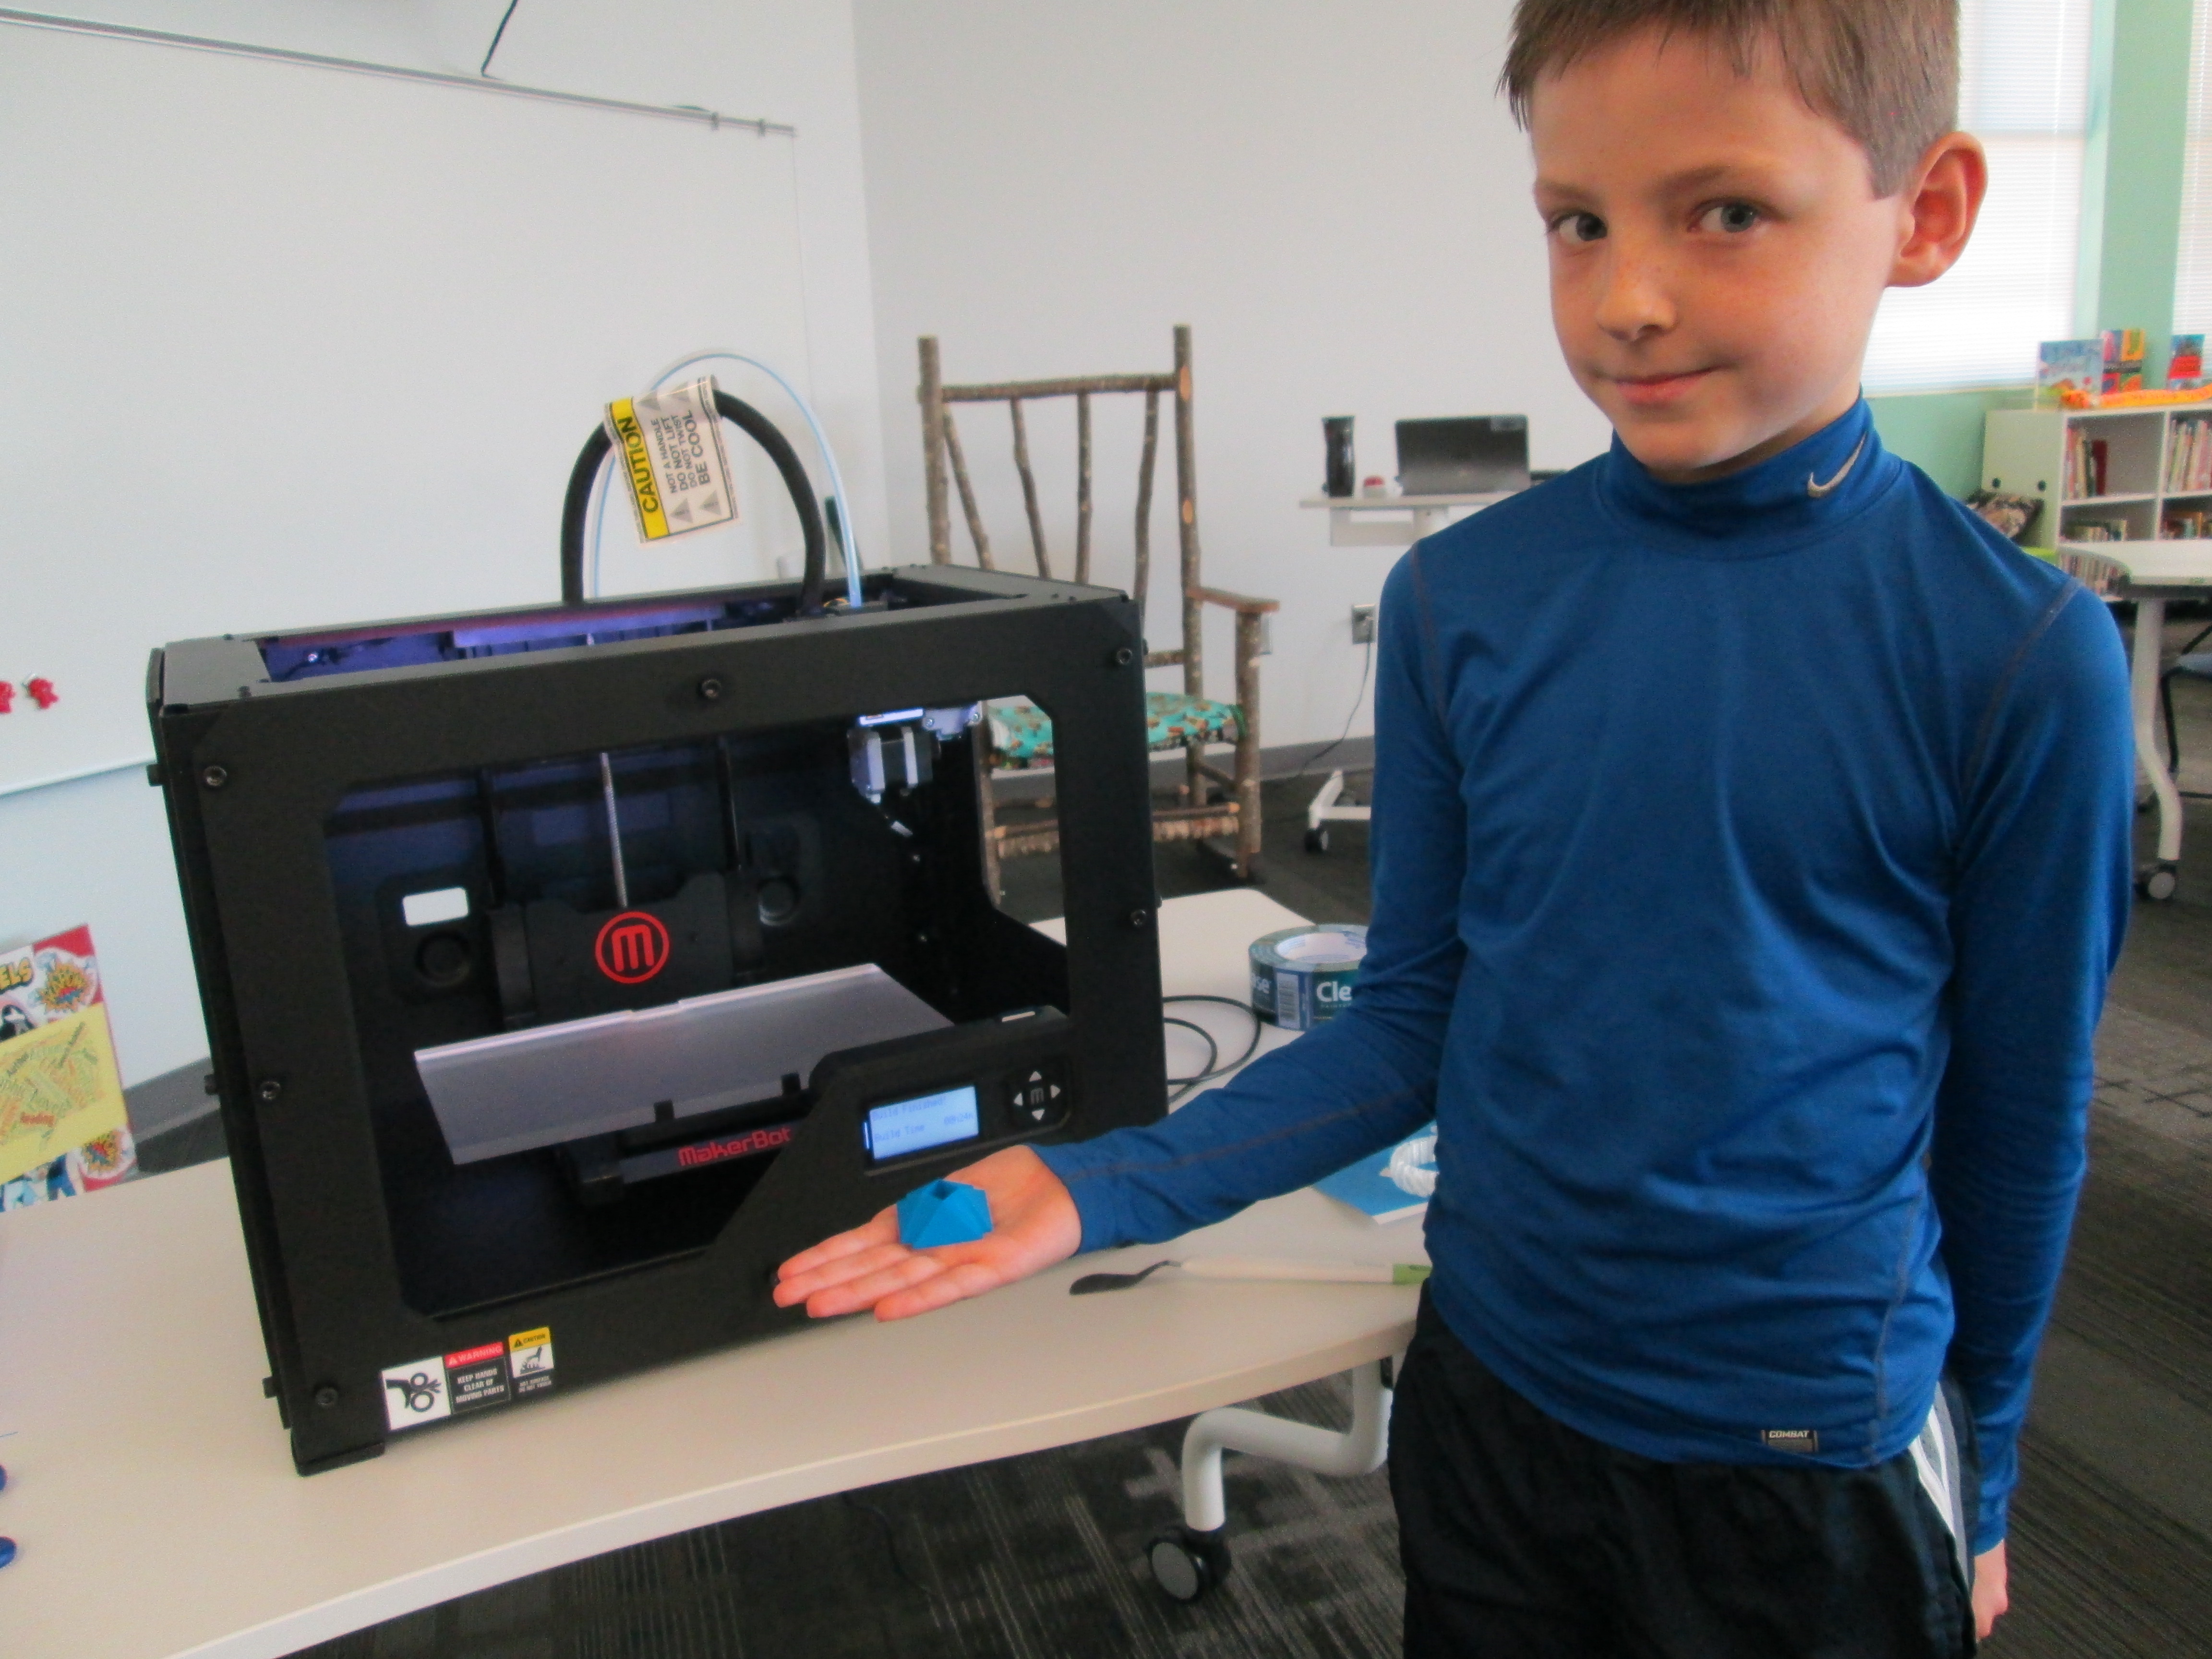
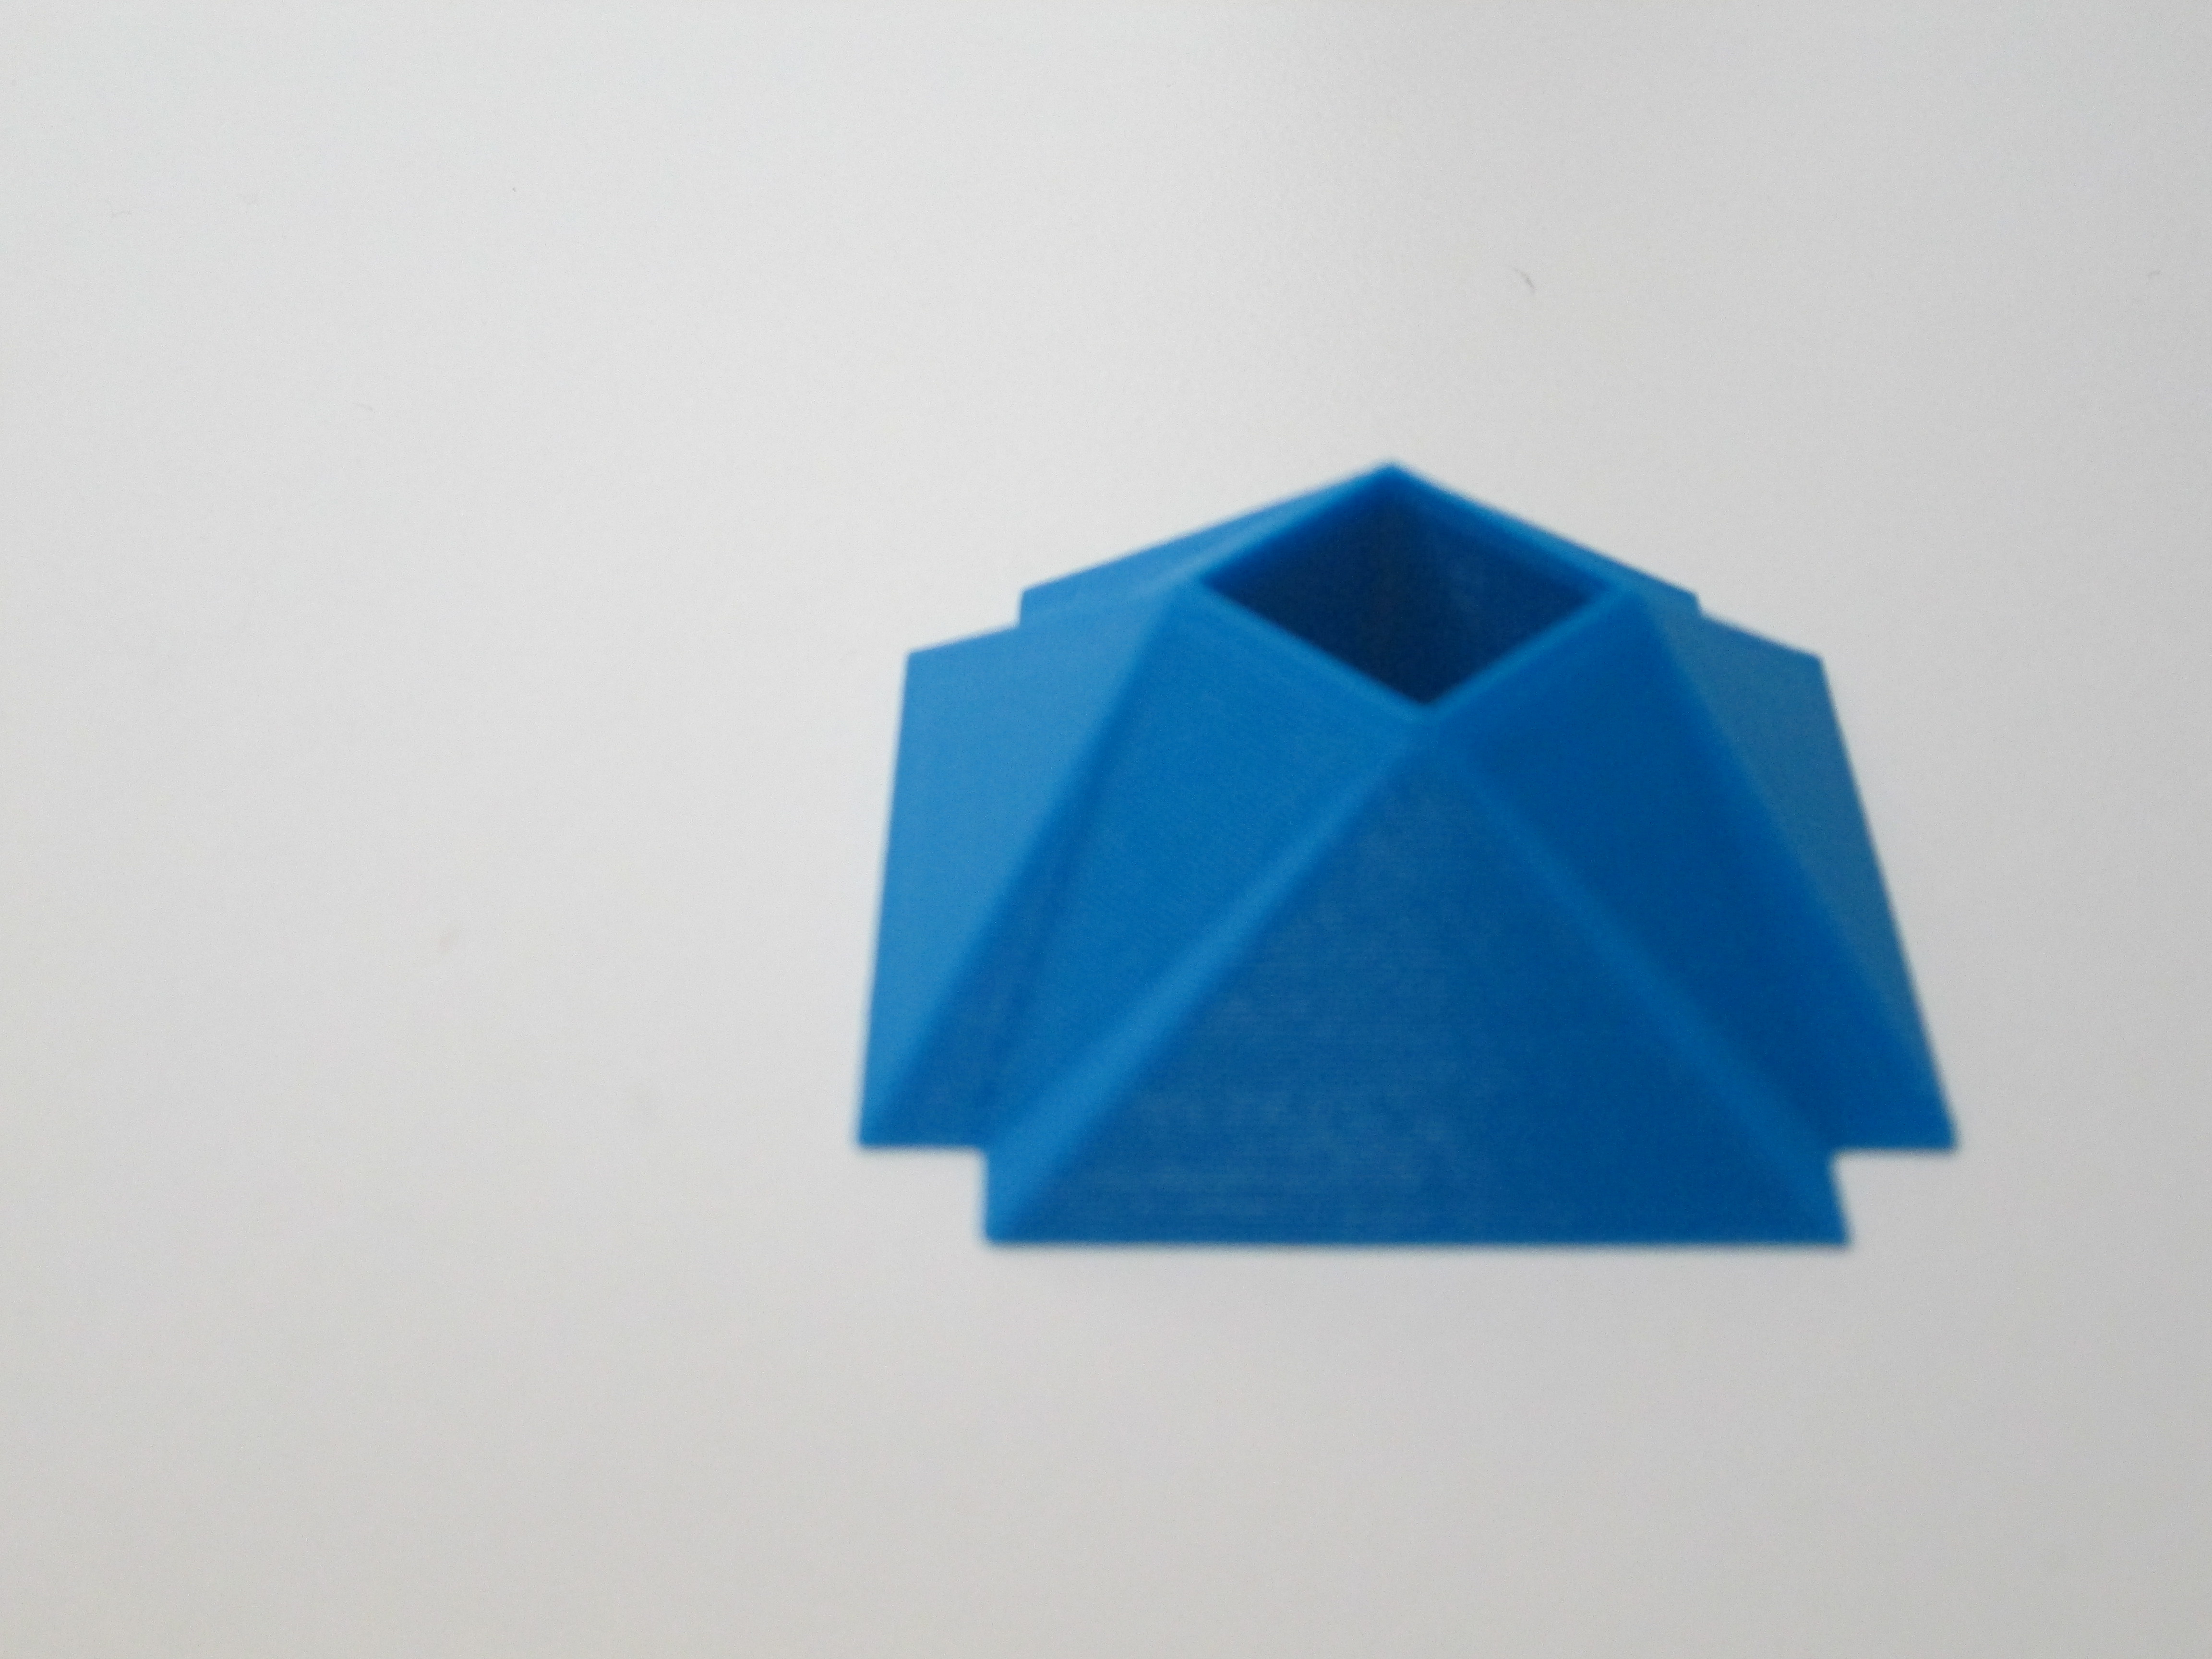
Danny’s gem was quite different from Grant’s. Danny figured out how to make a square hole right through the middle of his gem. It was something we had wondered how to do, and he figured it out. This again brings to my mind the importance of letting go of the feeling of being an expert in everything before we allow our students to explore. Because Danny was given the freedom to explore Sketchup, he figured out how to do so much more than his teacher and I could have ever figured out on our own. Now his expertise can support others who want to try a similar design.
 Before Danny pressed the bright red M to start the print, we made sure he got to choose the filament color that he wanted. We now have a selection of filament to choose from: blue, red, white, clear, black, yellow, orange, green, purple, and black. Danny’s gem took about 24 minutes to print. Now that we have an approximate time frame for printing these gems, we are going to try to get 2 printed during each class period over the next few days. Once again, students flocked around the printer and begged for their gem to be next.
You can watch is gem print process here:
")
")
")
")
")
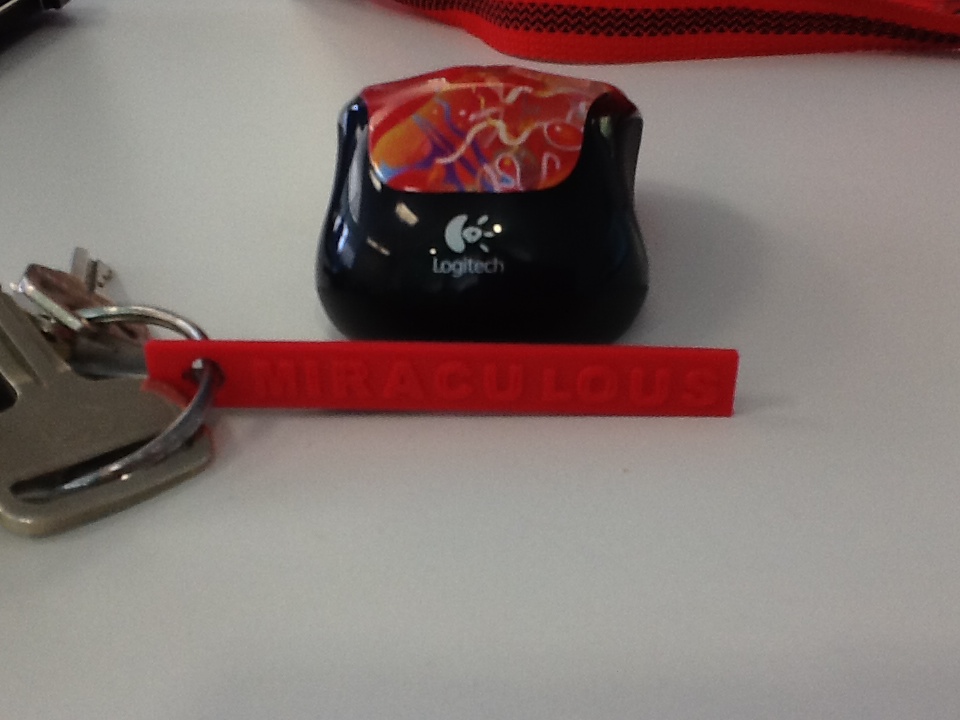 I’ve also been experimenting with a couple of tools that will hopefully inspire some new projects with several classrooms. One tool is Tinkercad. I recently used Tinkercad to make a words with wings keychain. In her new book, Words with Wings, Nikki Grimes has some incredible poems that detail how a single word can help us take flight through its meaning in our lives. I hope that I can share this poetry with students, have them select their own “words with wings”, and create backpack pulls using Tinkercad.
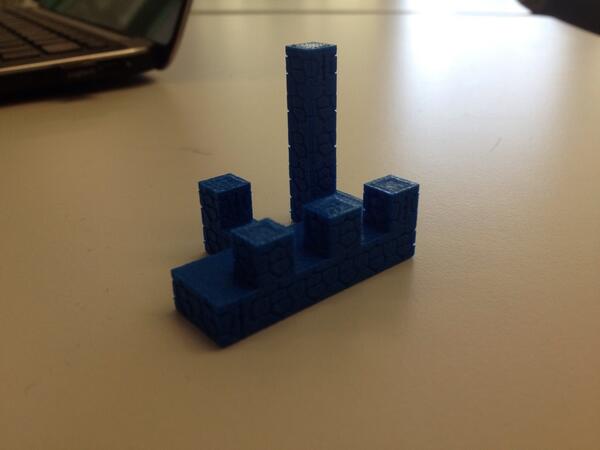 Another new tool is Blokify. With this easy-to-use iPad app, students use a series of blocks to make pretty much anything they want. While the blocks are designed to look like a castle, space ship, or pirate ship, they can really be stacked into anything in a Minecraft-like style. The files can be emailed from the iPad to be imported into Makerware. I hope to do storytelling projects with teachers around student-designed settings and/or characters. With the blocks all being the same size, there is also great potential to use this for perimeter and area in math.
I love how ideas keep naturally surfacing within our standards and explorations. It’s not about what we can 3D print. It’s about what we are learning about, what we want to create, and how 3D printing might support that.

Reblogged this on High on Science & Tech – H.O.S.T.