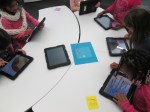
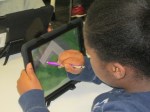
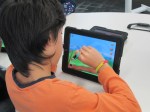
A few weeks ago, Em Smith Headley, 1st grade teacher, asked if I could help with their math standards using the iPads. They have been working on using a variety of strategies to solve basic addition and subtraction problems.
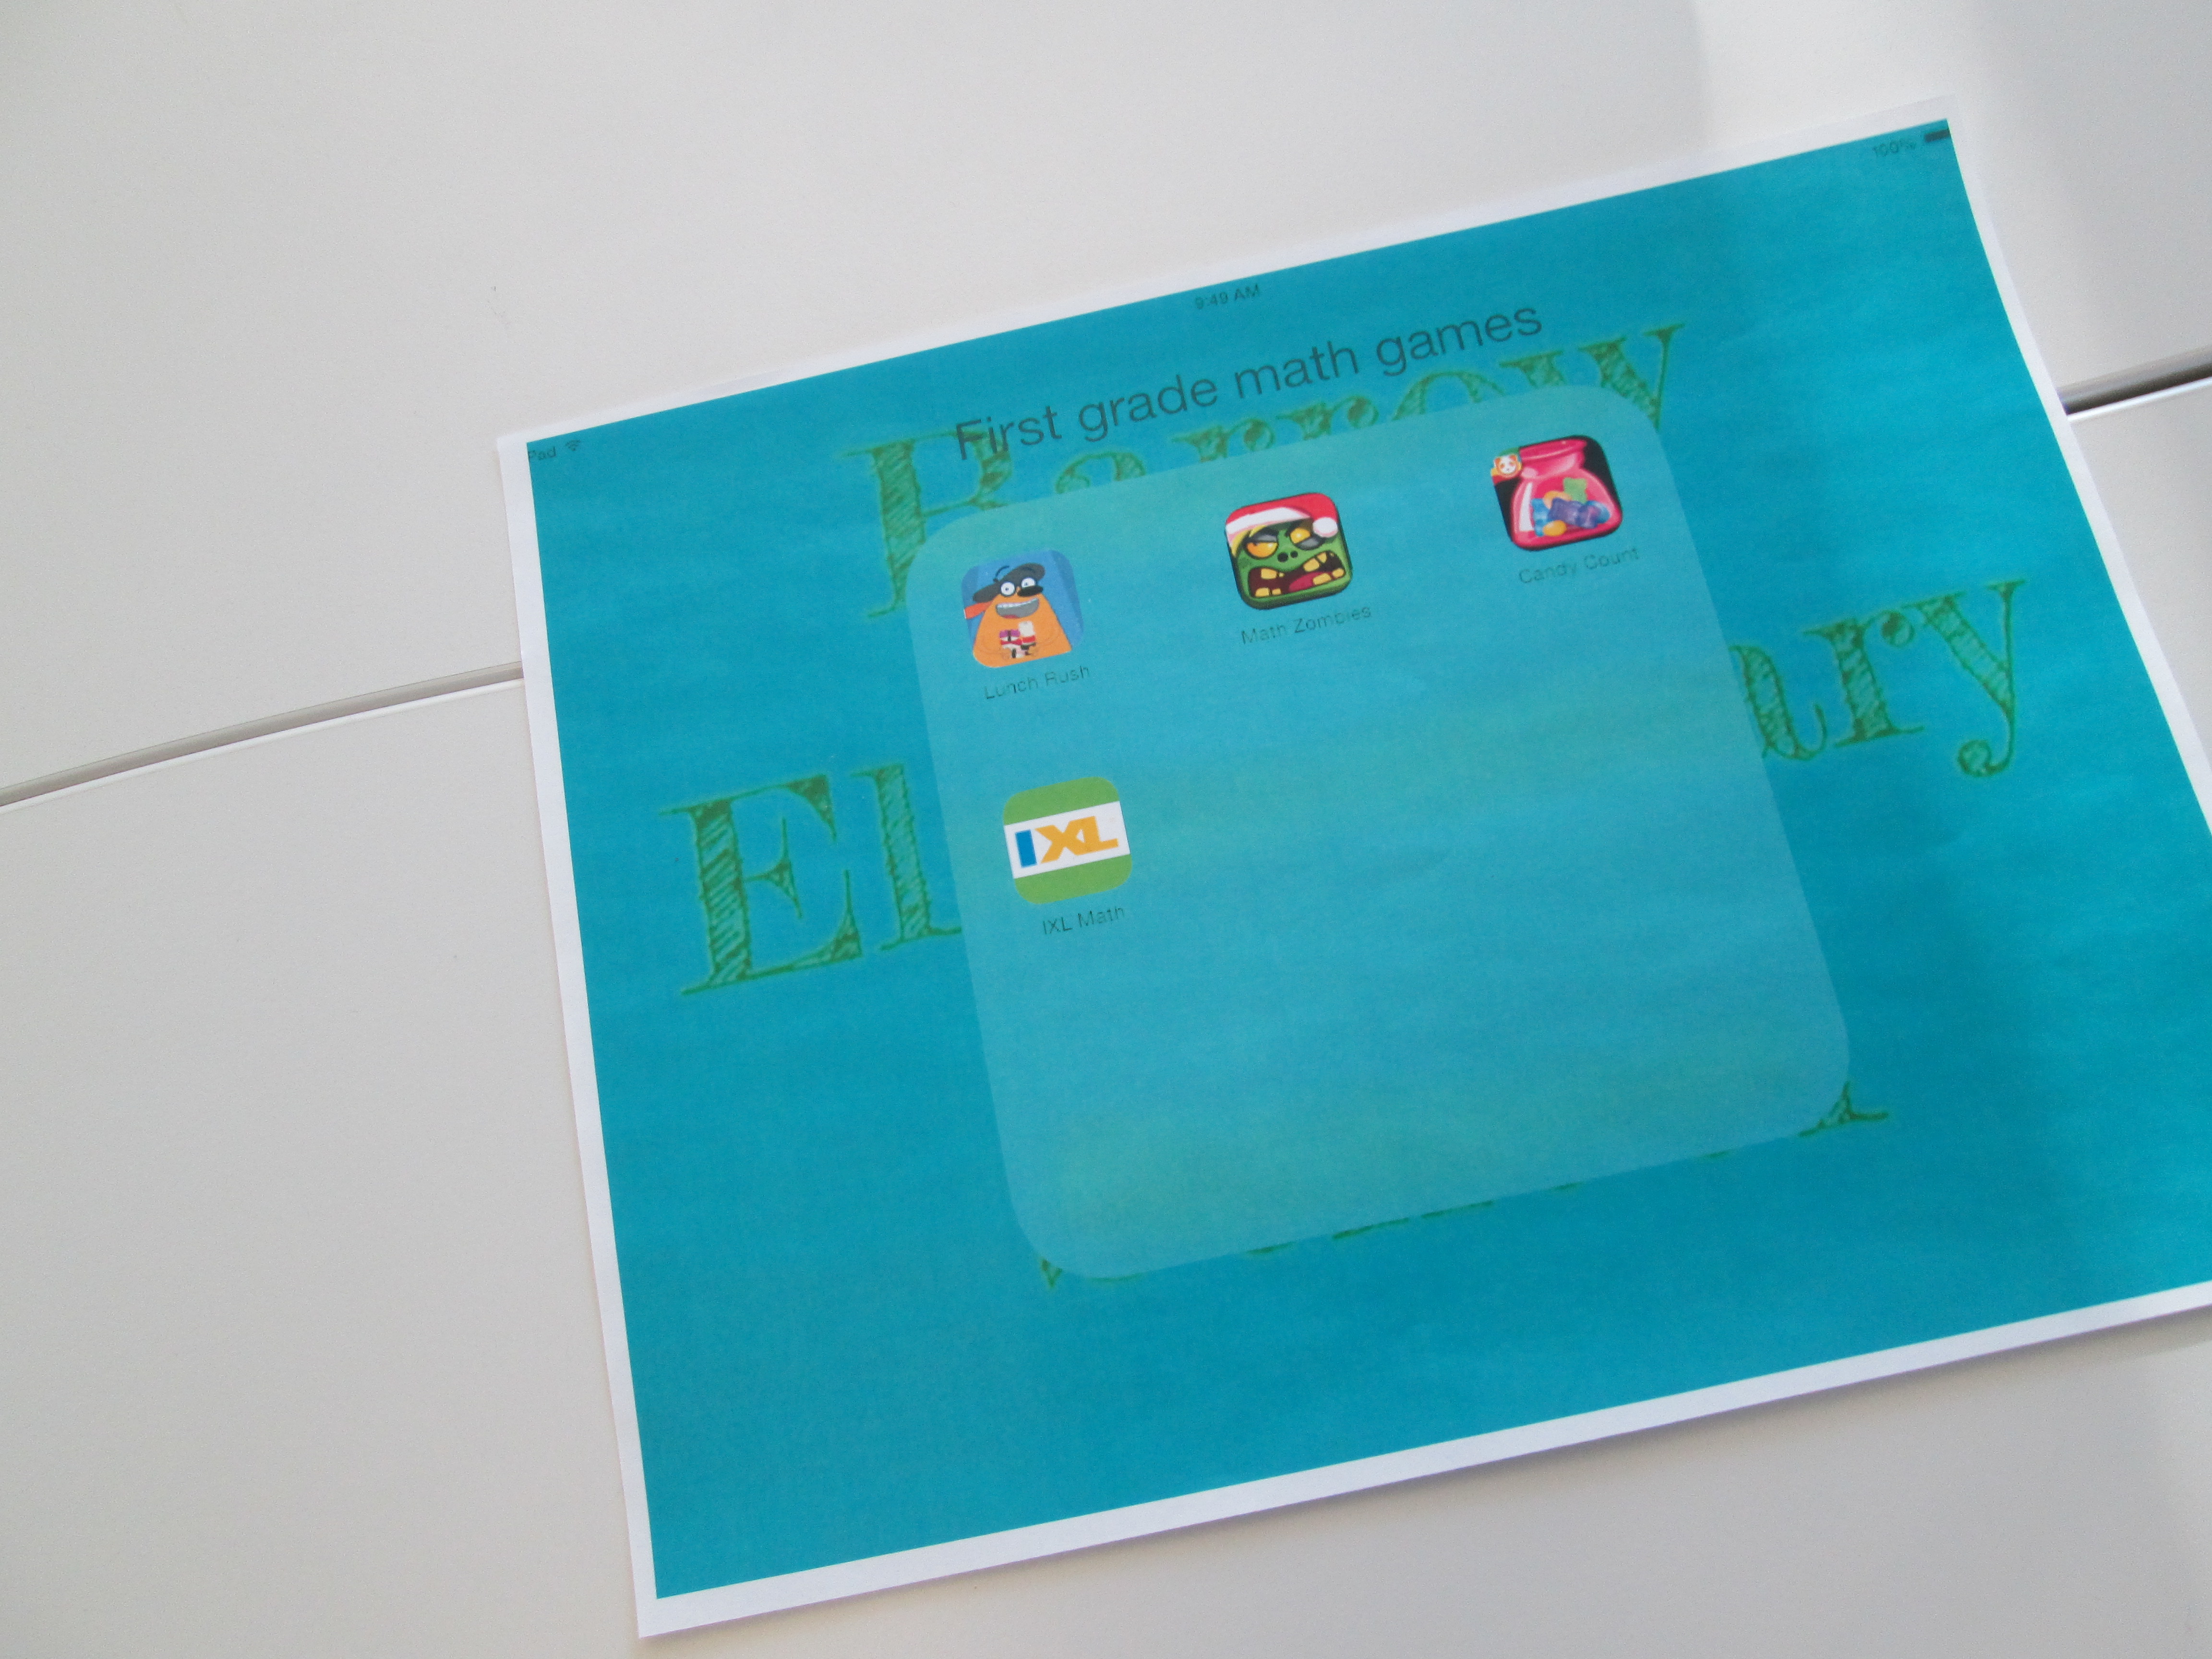
I pulled together just a few iPad apps for our time together that addressed basic addition and subtraction facts. I decided to use:
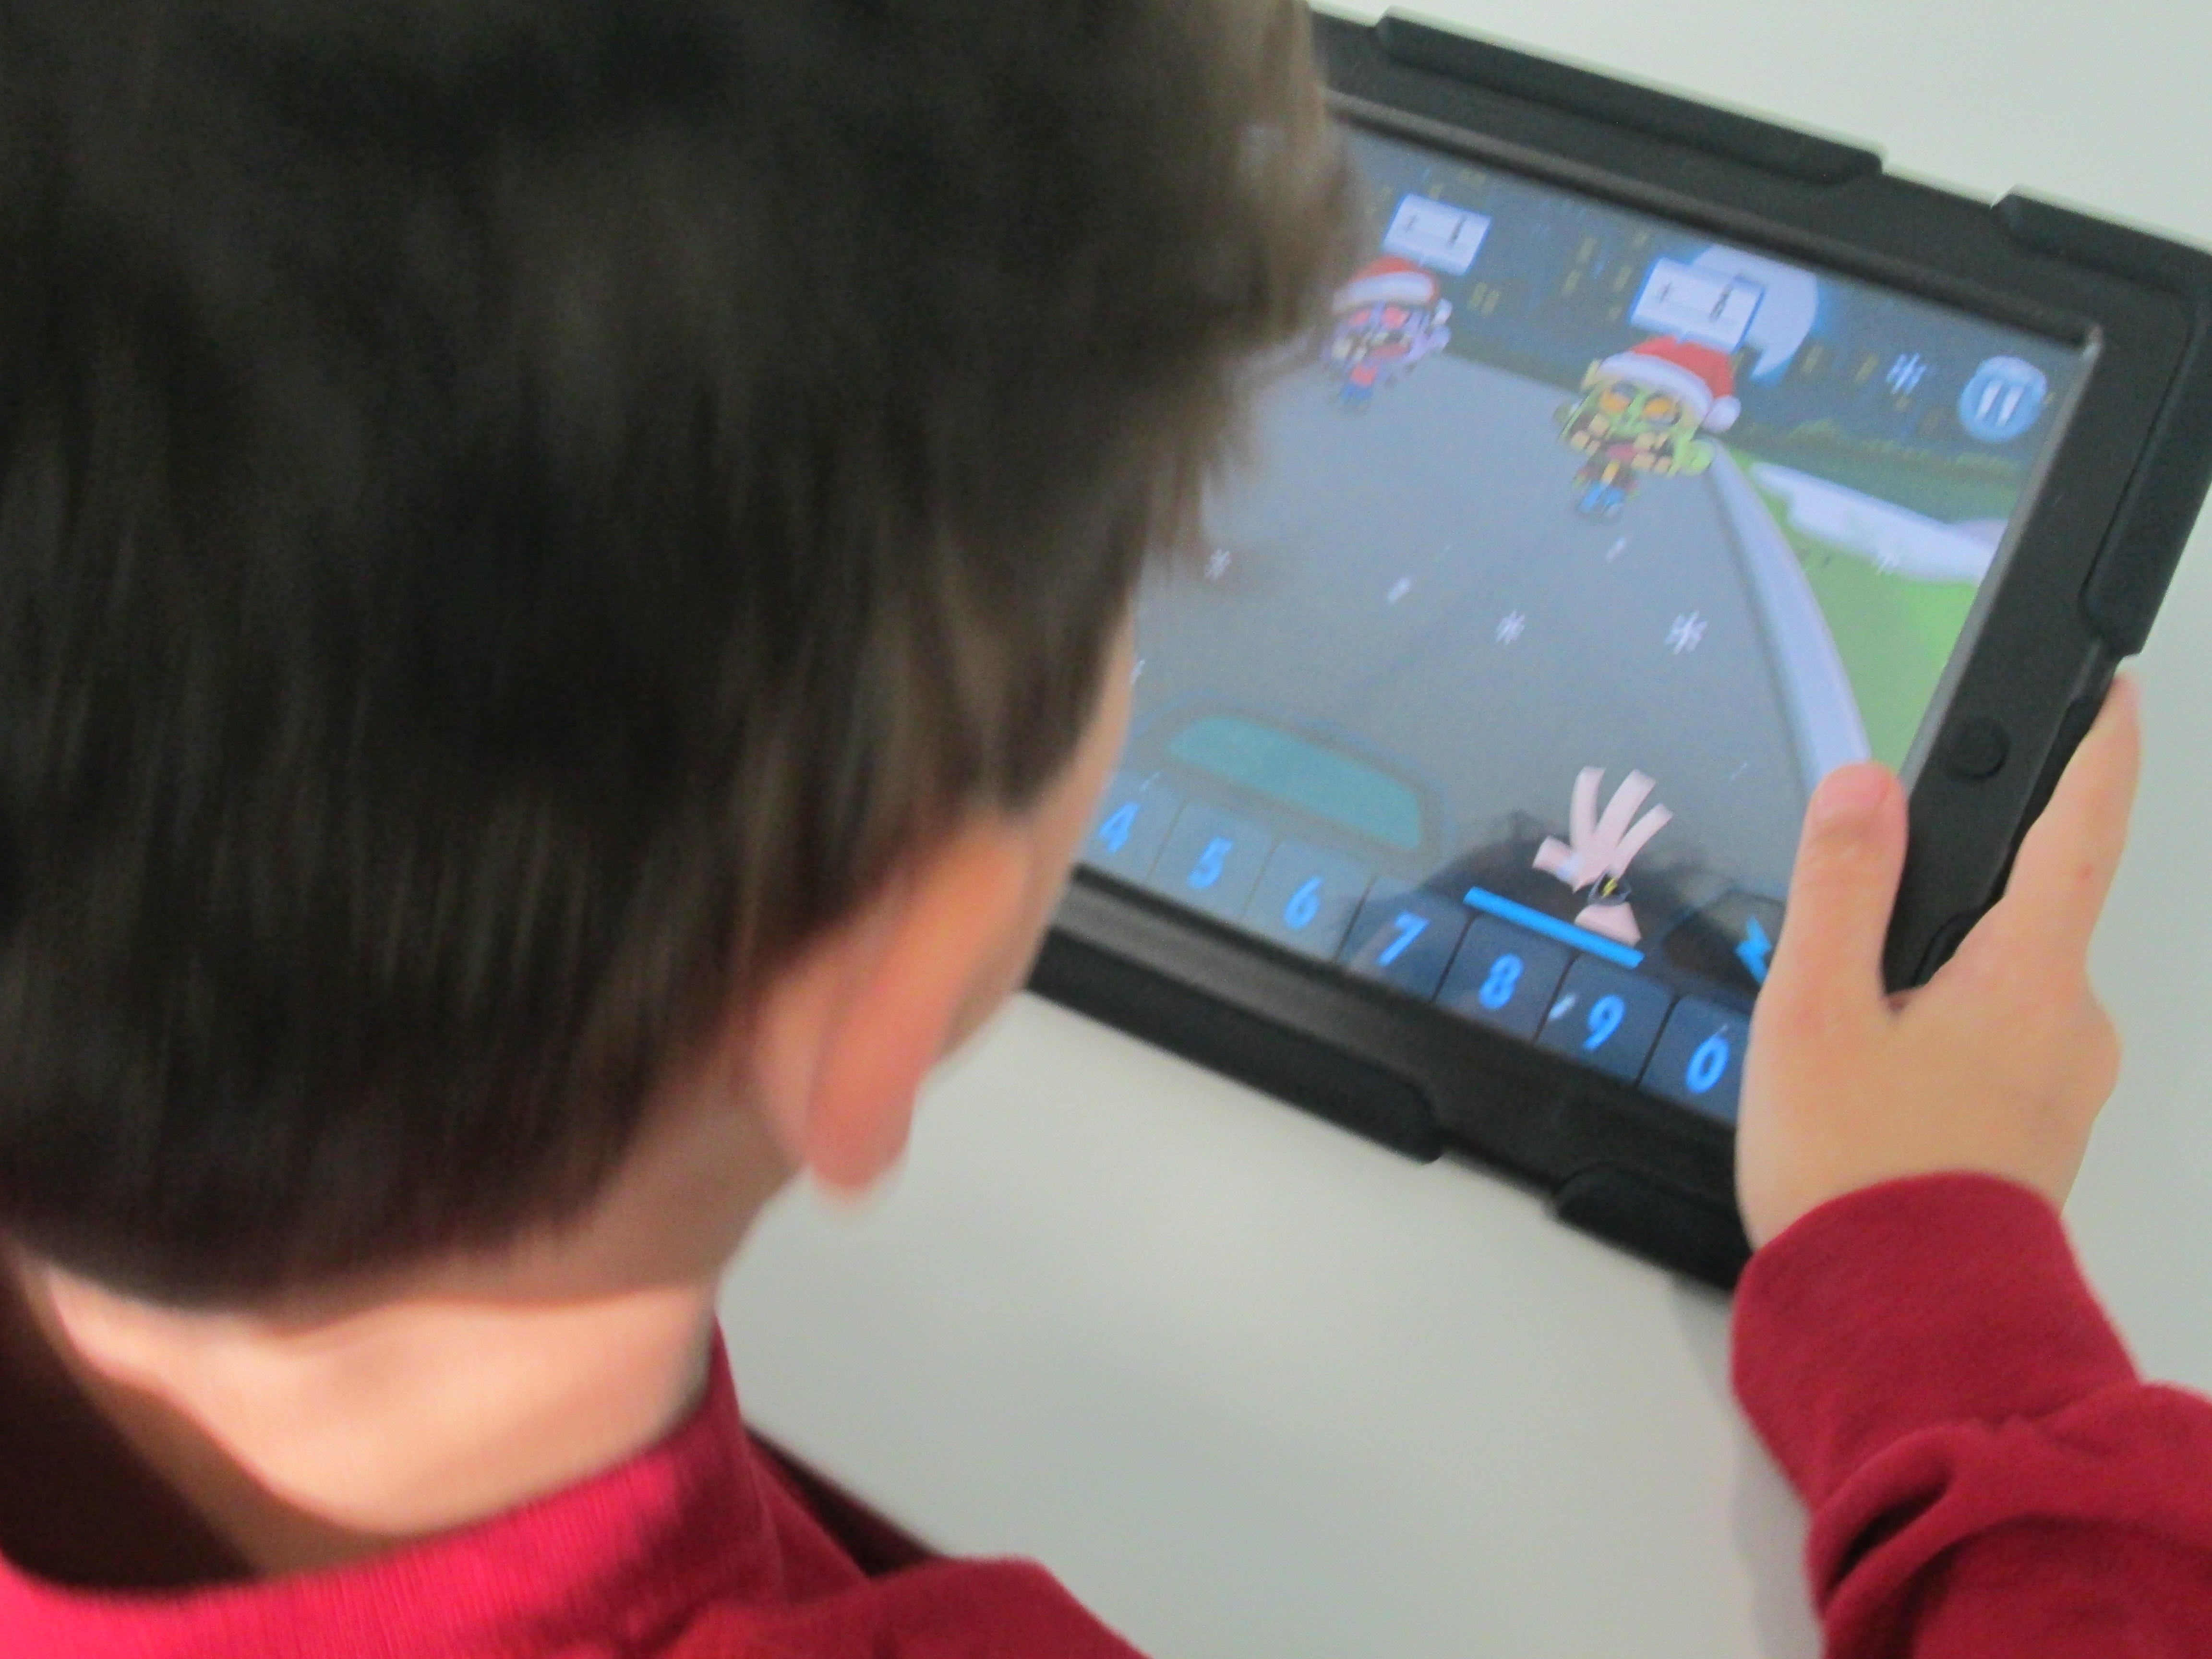
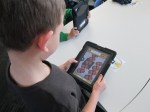
Fetch Lunch Rush: an augmented reality app that combines basic addition/subtraction, missing addends, racing, and augmented reality!
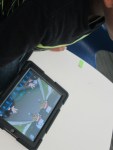
Math Zombies: a racing app that gives basic addition/subtraction problems along with double digit math to race against the ever-approaching zombies. Correct answers knock them out of the way.
Candy Count: a sorting app that allows kids to sort candy by color and then asks several math questions about the candy in each bag.
iXL: an app with multiple grade levels which gives standard problems and allows kids to type an answer.
I had student helpers make a 1st grade math folder on the iPads so that students could easily get to the apps. We looked at the standard and students brainstormed several strategies that they currently use for solving math problems. Things such as:
number lines
draw a picture
count up or count back
manipulatives
etc.
I reminded them that these same strategies come into play when we do math digitally and sometimes the app even provides some strategies for you with hints. I did not tell students how to play every app because they were perfectly capable of figuring that out on their own. I spent my time helping students think about strategy and encouraging students to help one another figure out the technical details of how the games worked. Of course, I helped students who had technical questions, too, but that wasn’t my main focus as the teacher.
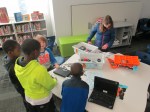
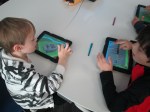
Students were bursting with energy during this. Whether we worked for 25 minutes or 40 minutes, they were extremely focused. They were free to move in and out of the apps as needed. We were also able to differentiate for students who needed problems that were more challenging or problems with more basic features.
At the close, students gave some feedback on what they liked about each app. Math Zombies and Fetch Lunch Rush was by far the favorite, and they begged to get to do this again in their classroom or the library.
“Kids are genius. They don’t perceive limits or boundaries in the ways that hinder most adults. Their solutions to life’s problems can seem convoluted, indirect, and unnecessary, but often the ideas of kids can be the most profound.”
#Geniuscon gives kids the freedom to explore one question: If you could change one thing about your school, what would you do?
Mrs. Ramseyer’s 2nd grade classroom has teamed up with me in the library to explore this question. Mrs. Ramseyer and I sat down and mapped out some times, topics, and standards on the media center calendar. We wanted time for: brainstorming, question development, research, product development, and sharing. Our timeline spans from now until May. We devoted most of our time to research and product development.
I also met with Gretchen Thomas, who teaches at the University of Georgia. She has several of her students who are interested in partnering with us throughout this project. Their main role will be to facilitate students during the research process to help them think of all of the possibilities of where to find the answers to their burning questions. They aren’t there to give answers but rather to build bridges over barriers that students might face.
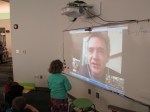
Today was our official kickoff. To start, we watched this video:
The kids immediately began yelling “Why don’t you just walk up the stairs?” It was hilarious. The whole point of watching the video was to bring up the idea that we often hold the solutions to our problems if we take the time to look inside ourselves rather than immediately yelling for help. We spent some time talking about the word “genius” and how we all have genius ideas within us.
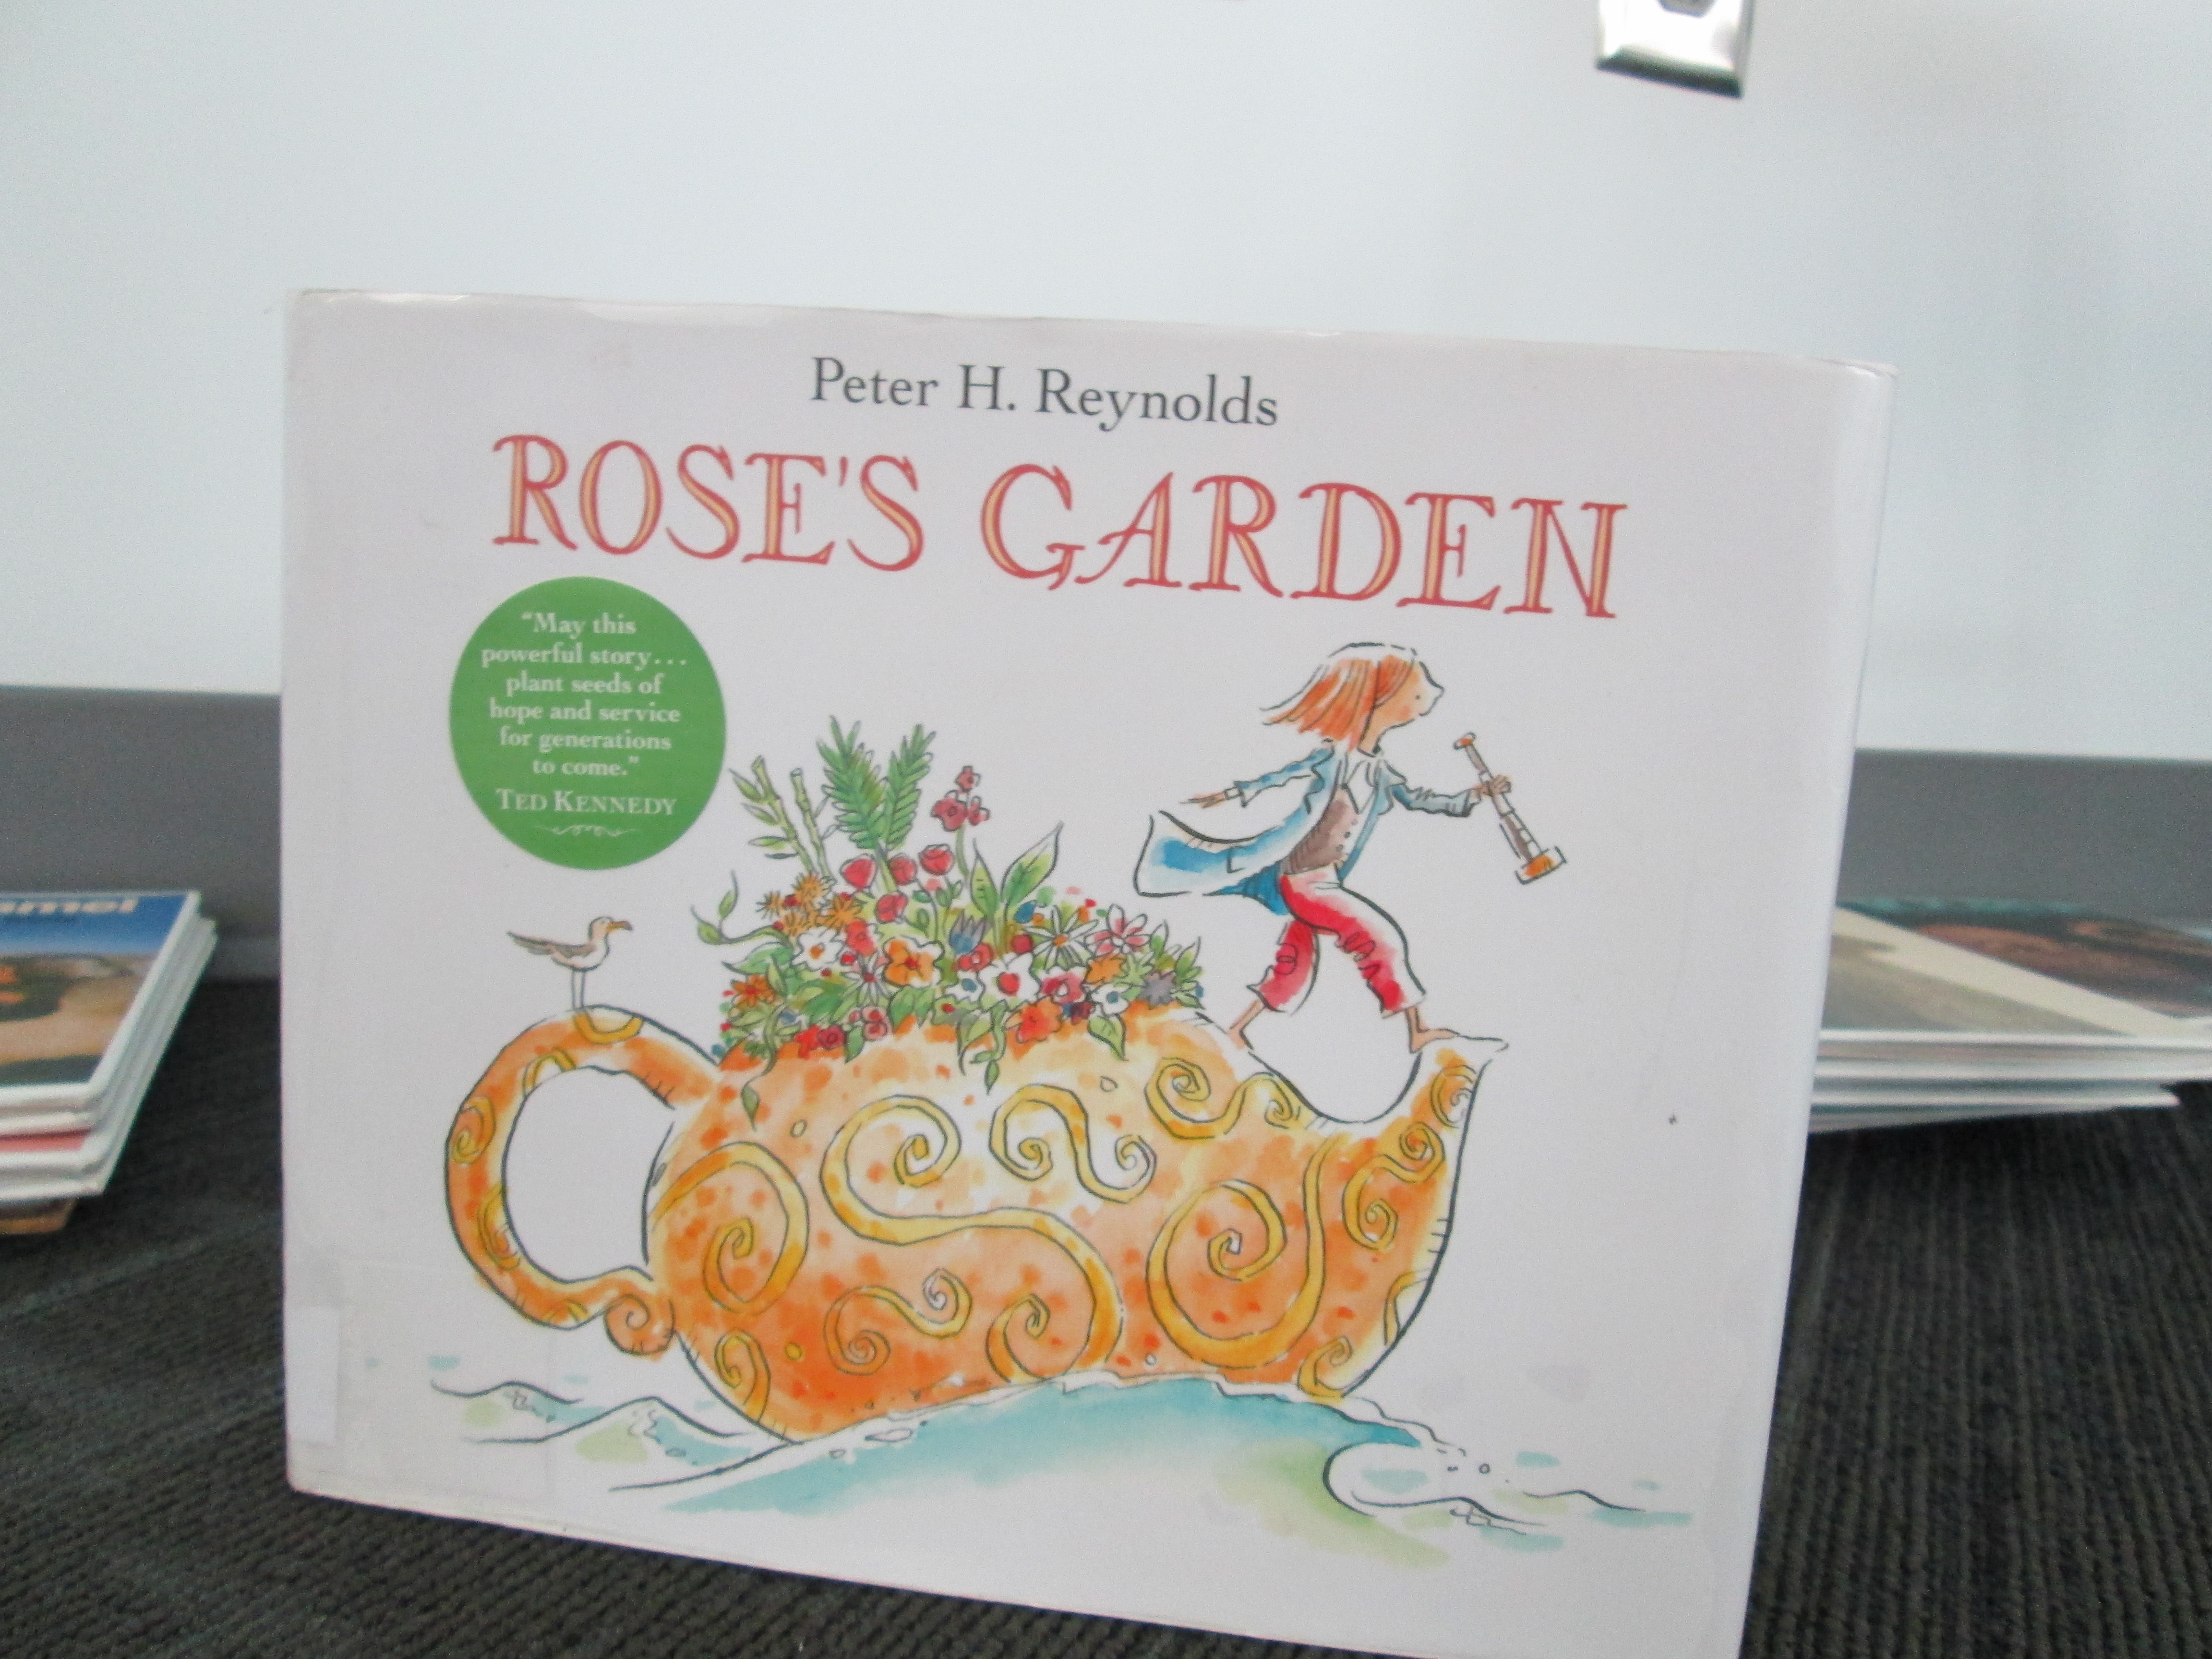
Next, we read Rose’s Garden by Peter H. Reynolds. In this story, Rose travels the world collecting seeds. She finally decides to stop and explore a city where she discovers a patch of land in need of color. This is where she decides to start making her mark on the world by planting her seeds. Without giving too much away, her efforts inspire a community with her genius idea.
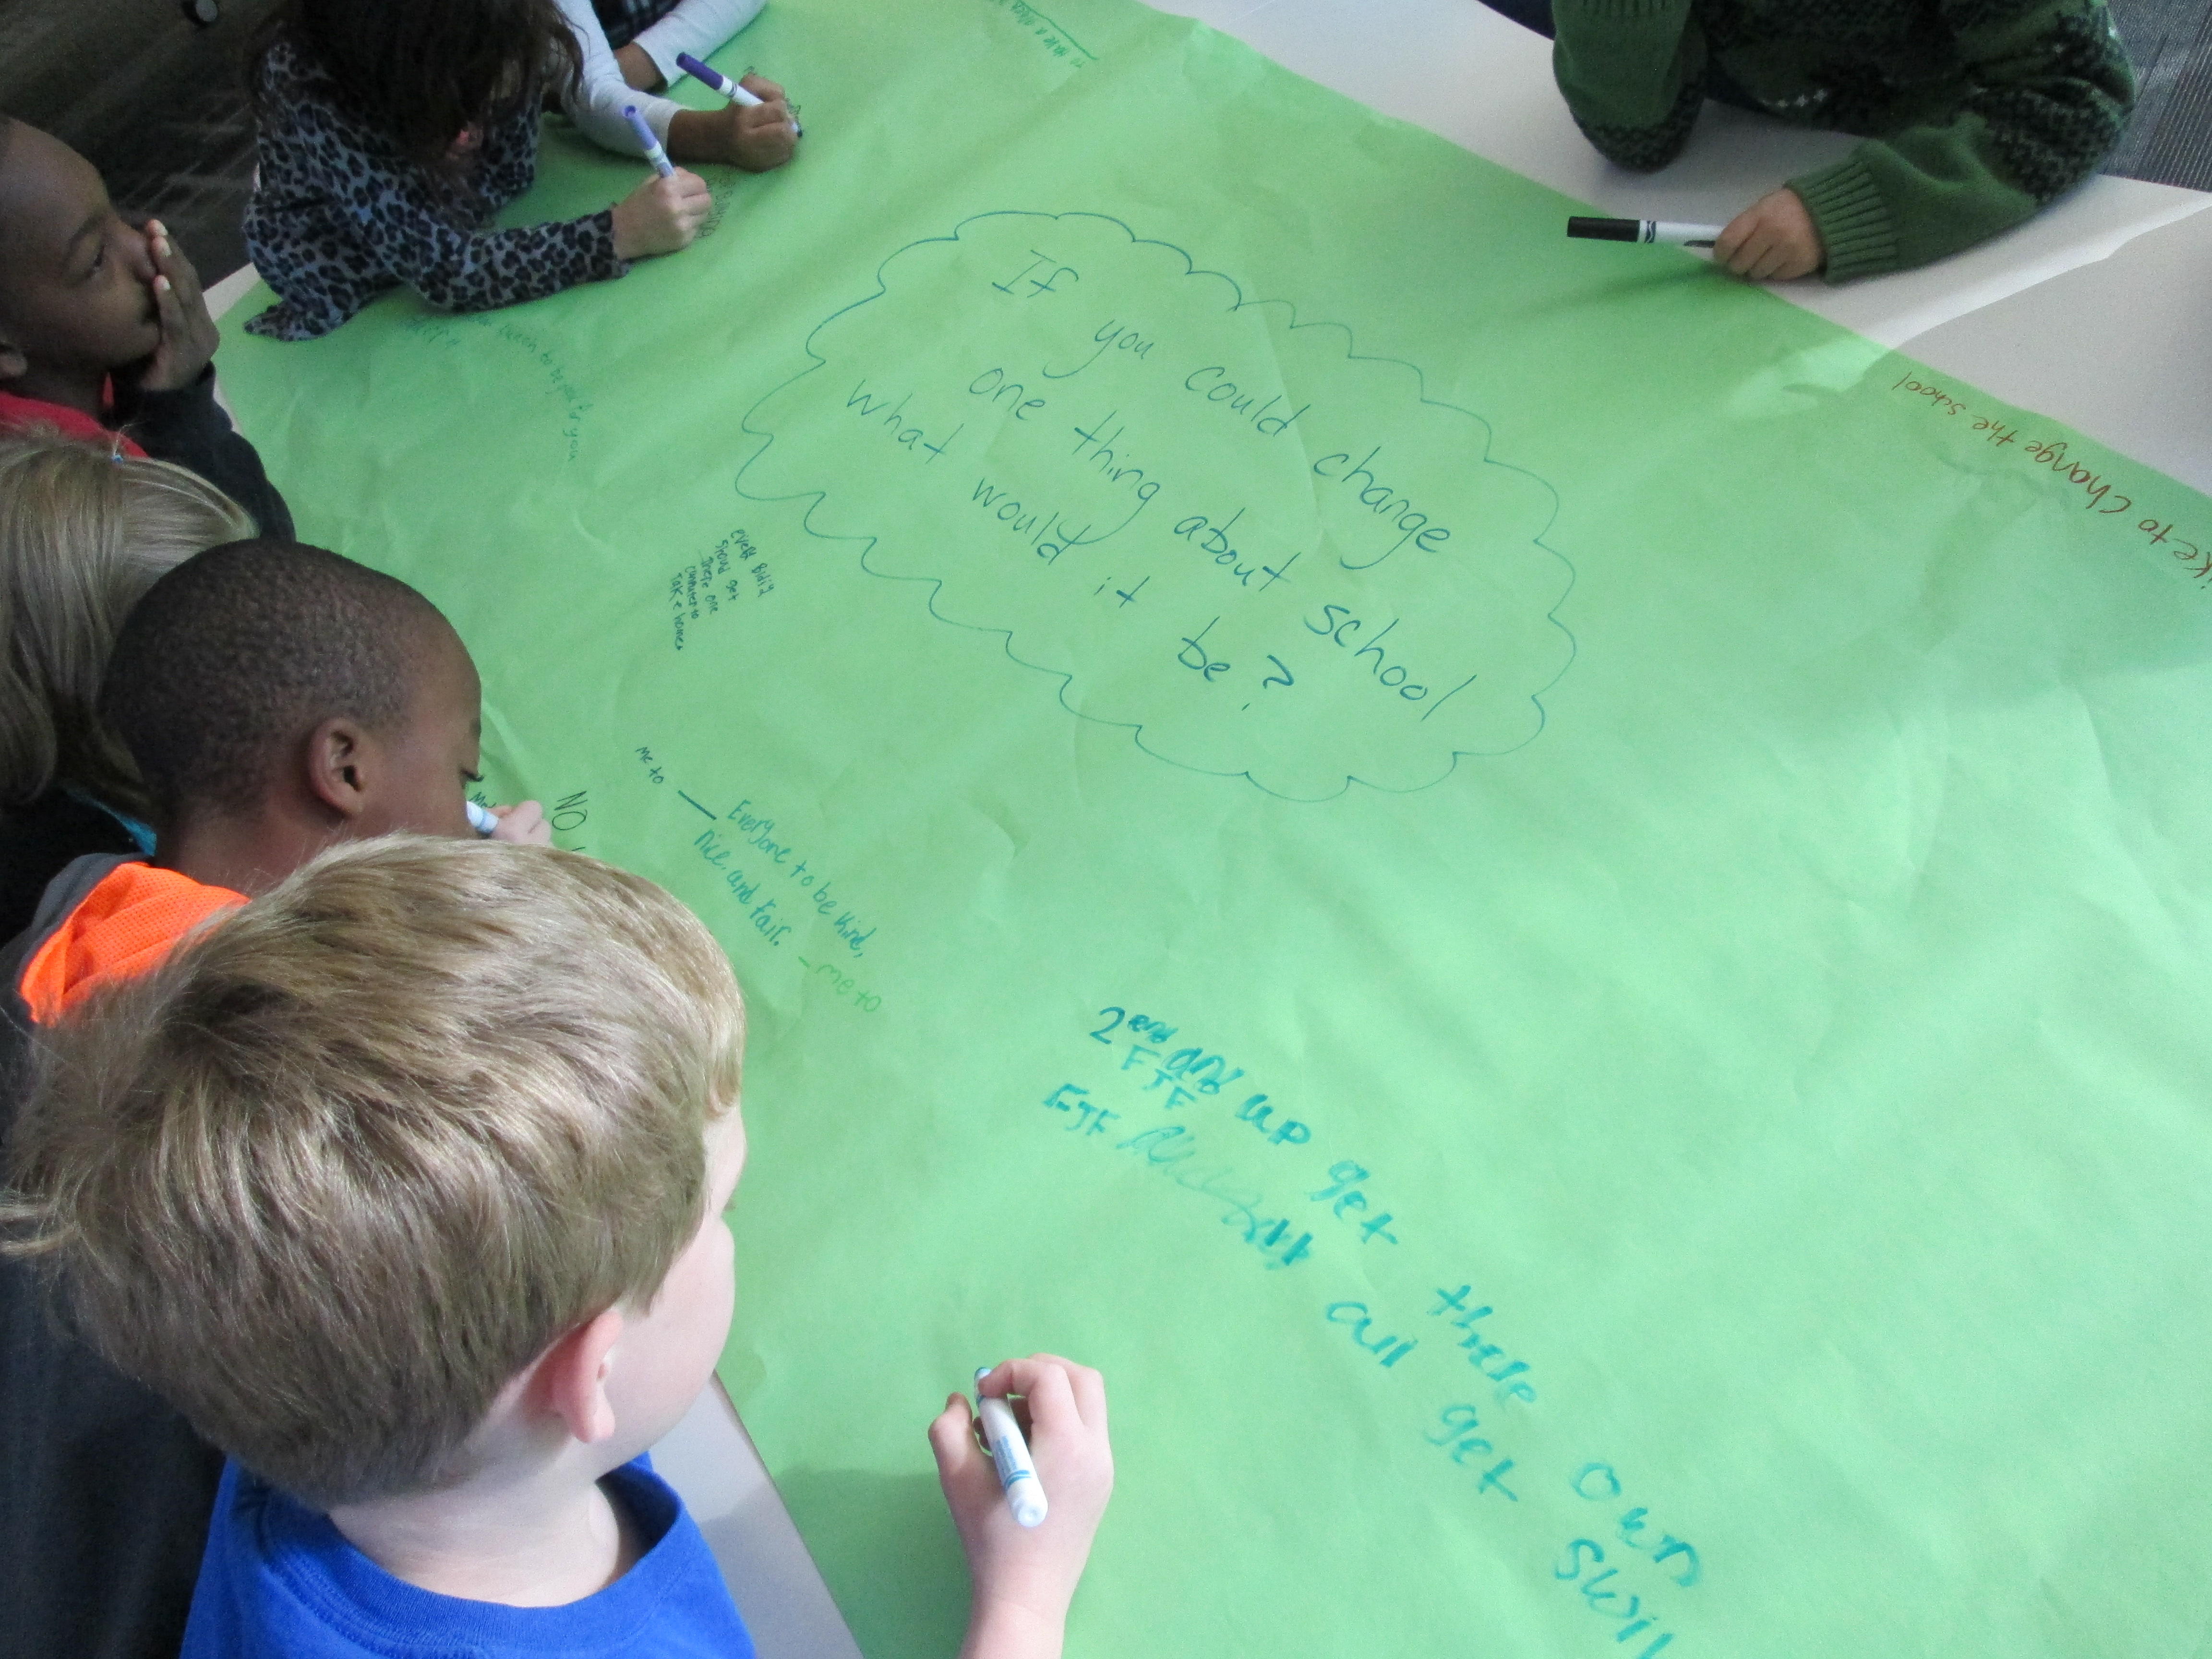
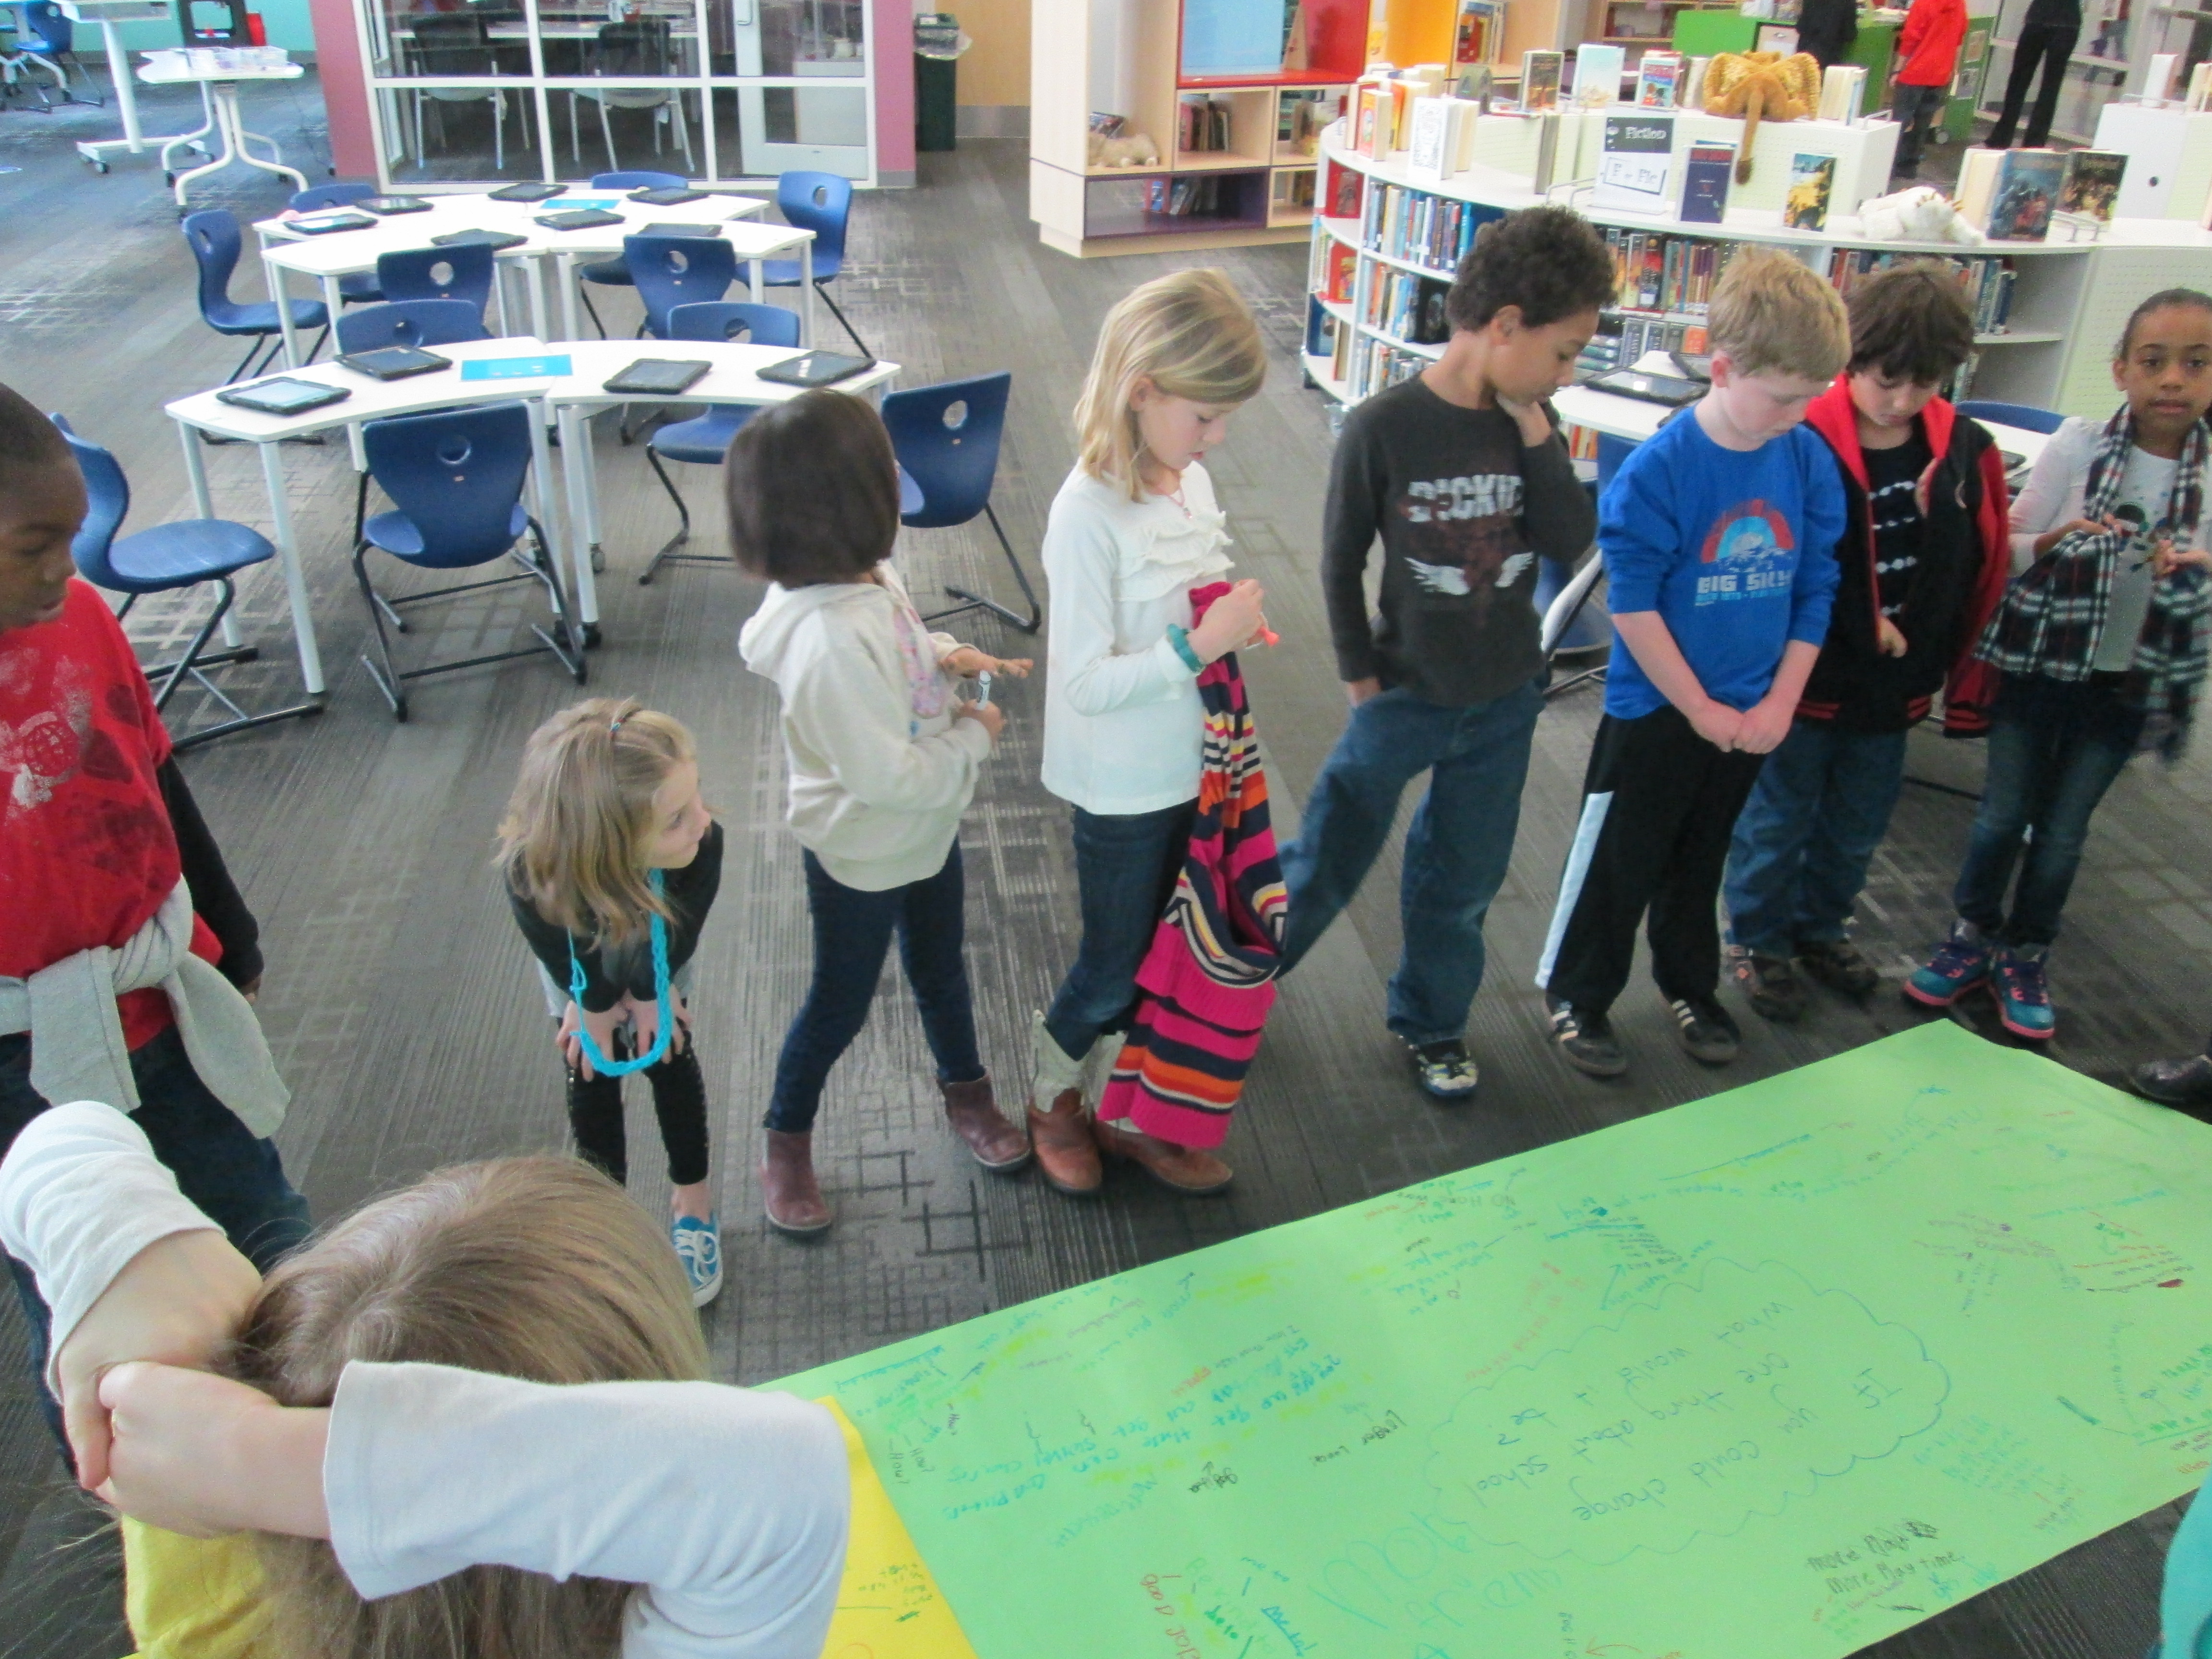
I loved how this book fit into our discussion of what it means to be genius. It moved us straight into our #Geniuscon question. Mrs. Ramseyer and I had already talked about how we didn’t want to influence how the kids answered the question, but we did want to give them an opportunity to brainstorm before they chose their focus topic. We put the question on 2 big pieces of paper and split the class in half. Each student had a marker to participate in a Chalk Talk, a silent conversation. All students began writing their responses to the questions as well as asked one another questions about their ideas. All of this was done in writing. Mrs. Ramseyer, Mrs. Vaughn (EIP teacher), and I all added to the conversation too.
After about 10 minutes, students mingled between the two chalk talks to cross pollinate their ideas.
We moved our 2 chalk talks to the floor and all stood around them. As we looked at or responses, I asked students to look for ideas that stood out to them or topics that seemed to be coming up. We identified ideas such as:
Additions to our school: adding more playground equipment, building a garden, expanding our school
Changes to rules: additional books on the max checkout in the library, additional “be’s” to our 5 be’s,
Technology: taking home iPads and netbooks, being able to bring technology from home, using our 3D printer
Behavior: addressing the bullying in our school, being kind
And more!
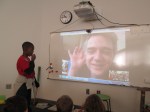
The pages were so filled with ideas that we couldn’t really talk about them all. After this discussion, we sat down for a big surprise: a Skype with Peter H. Reynolds! Peter was in Florida doing some work, and he took time out of his busy day to join us. After saying a quick hello, students took turns stepping up to the webcam and saying what they wanted to change about our school. Peter validated each student’s idea and even expanded upon the idea with his own thoughts. He encouraged students to think about how they could illustrate each of their ideas and turn it into a book, which the students are very interested in doing now. We will probably make this an additional piece to our project: possibly even an extension into the art room!
We closed out our time with Peter Reynolds with a friendly goodbye and the encouraging words of “connecting the dots” and “making our mark on the world”. We can’t think him enough for taking time to visit with us. He is such an advocate for allowing students to show off their genius and let their creative energy flow.
In class, students will begin to finalize their topics and next week they will return to the library to develop questions to prompt their research. What an exciting start!
Back in October, our 3rd graders spent time studying the illustrations of Jerry Pinkney. They paid close attention to how Pinkney told the story through his illustrations in preparation for a field trip to the High Museum of Art in Atlanta to see the exhibit Witness: The Art of Jerry Pinkney. You can read more about that here and here.
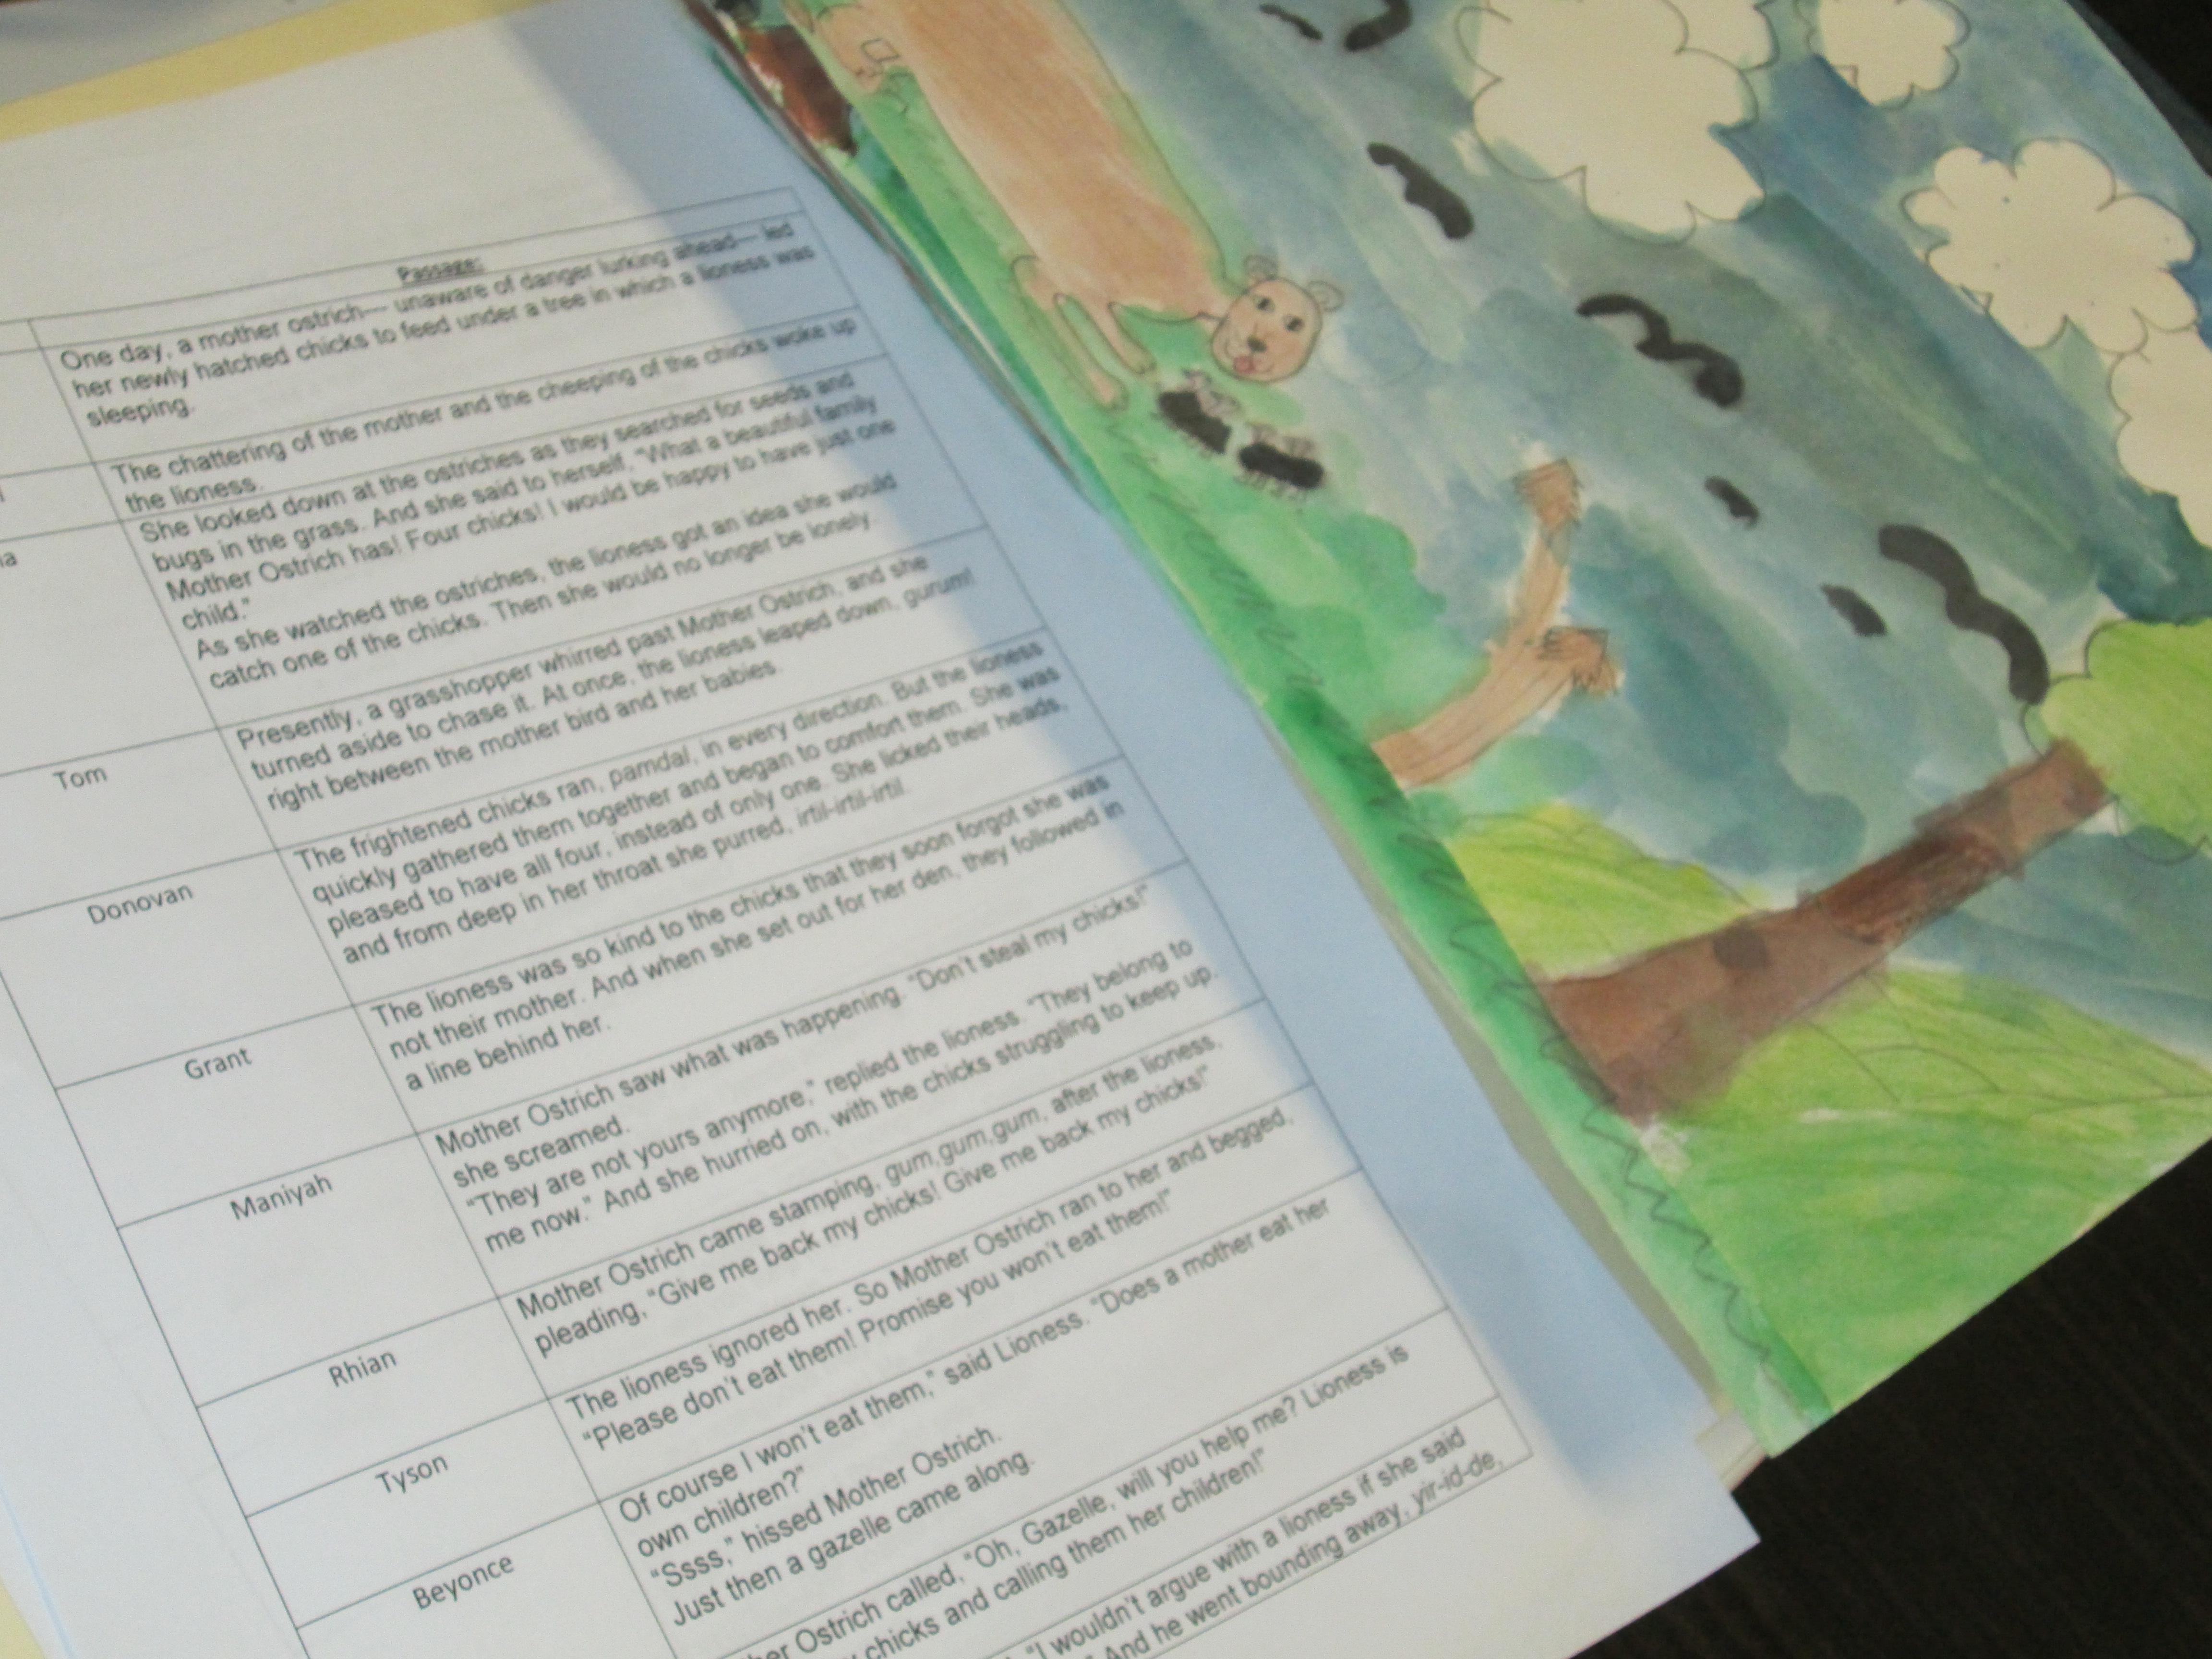
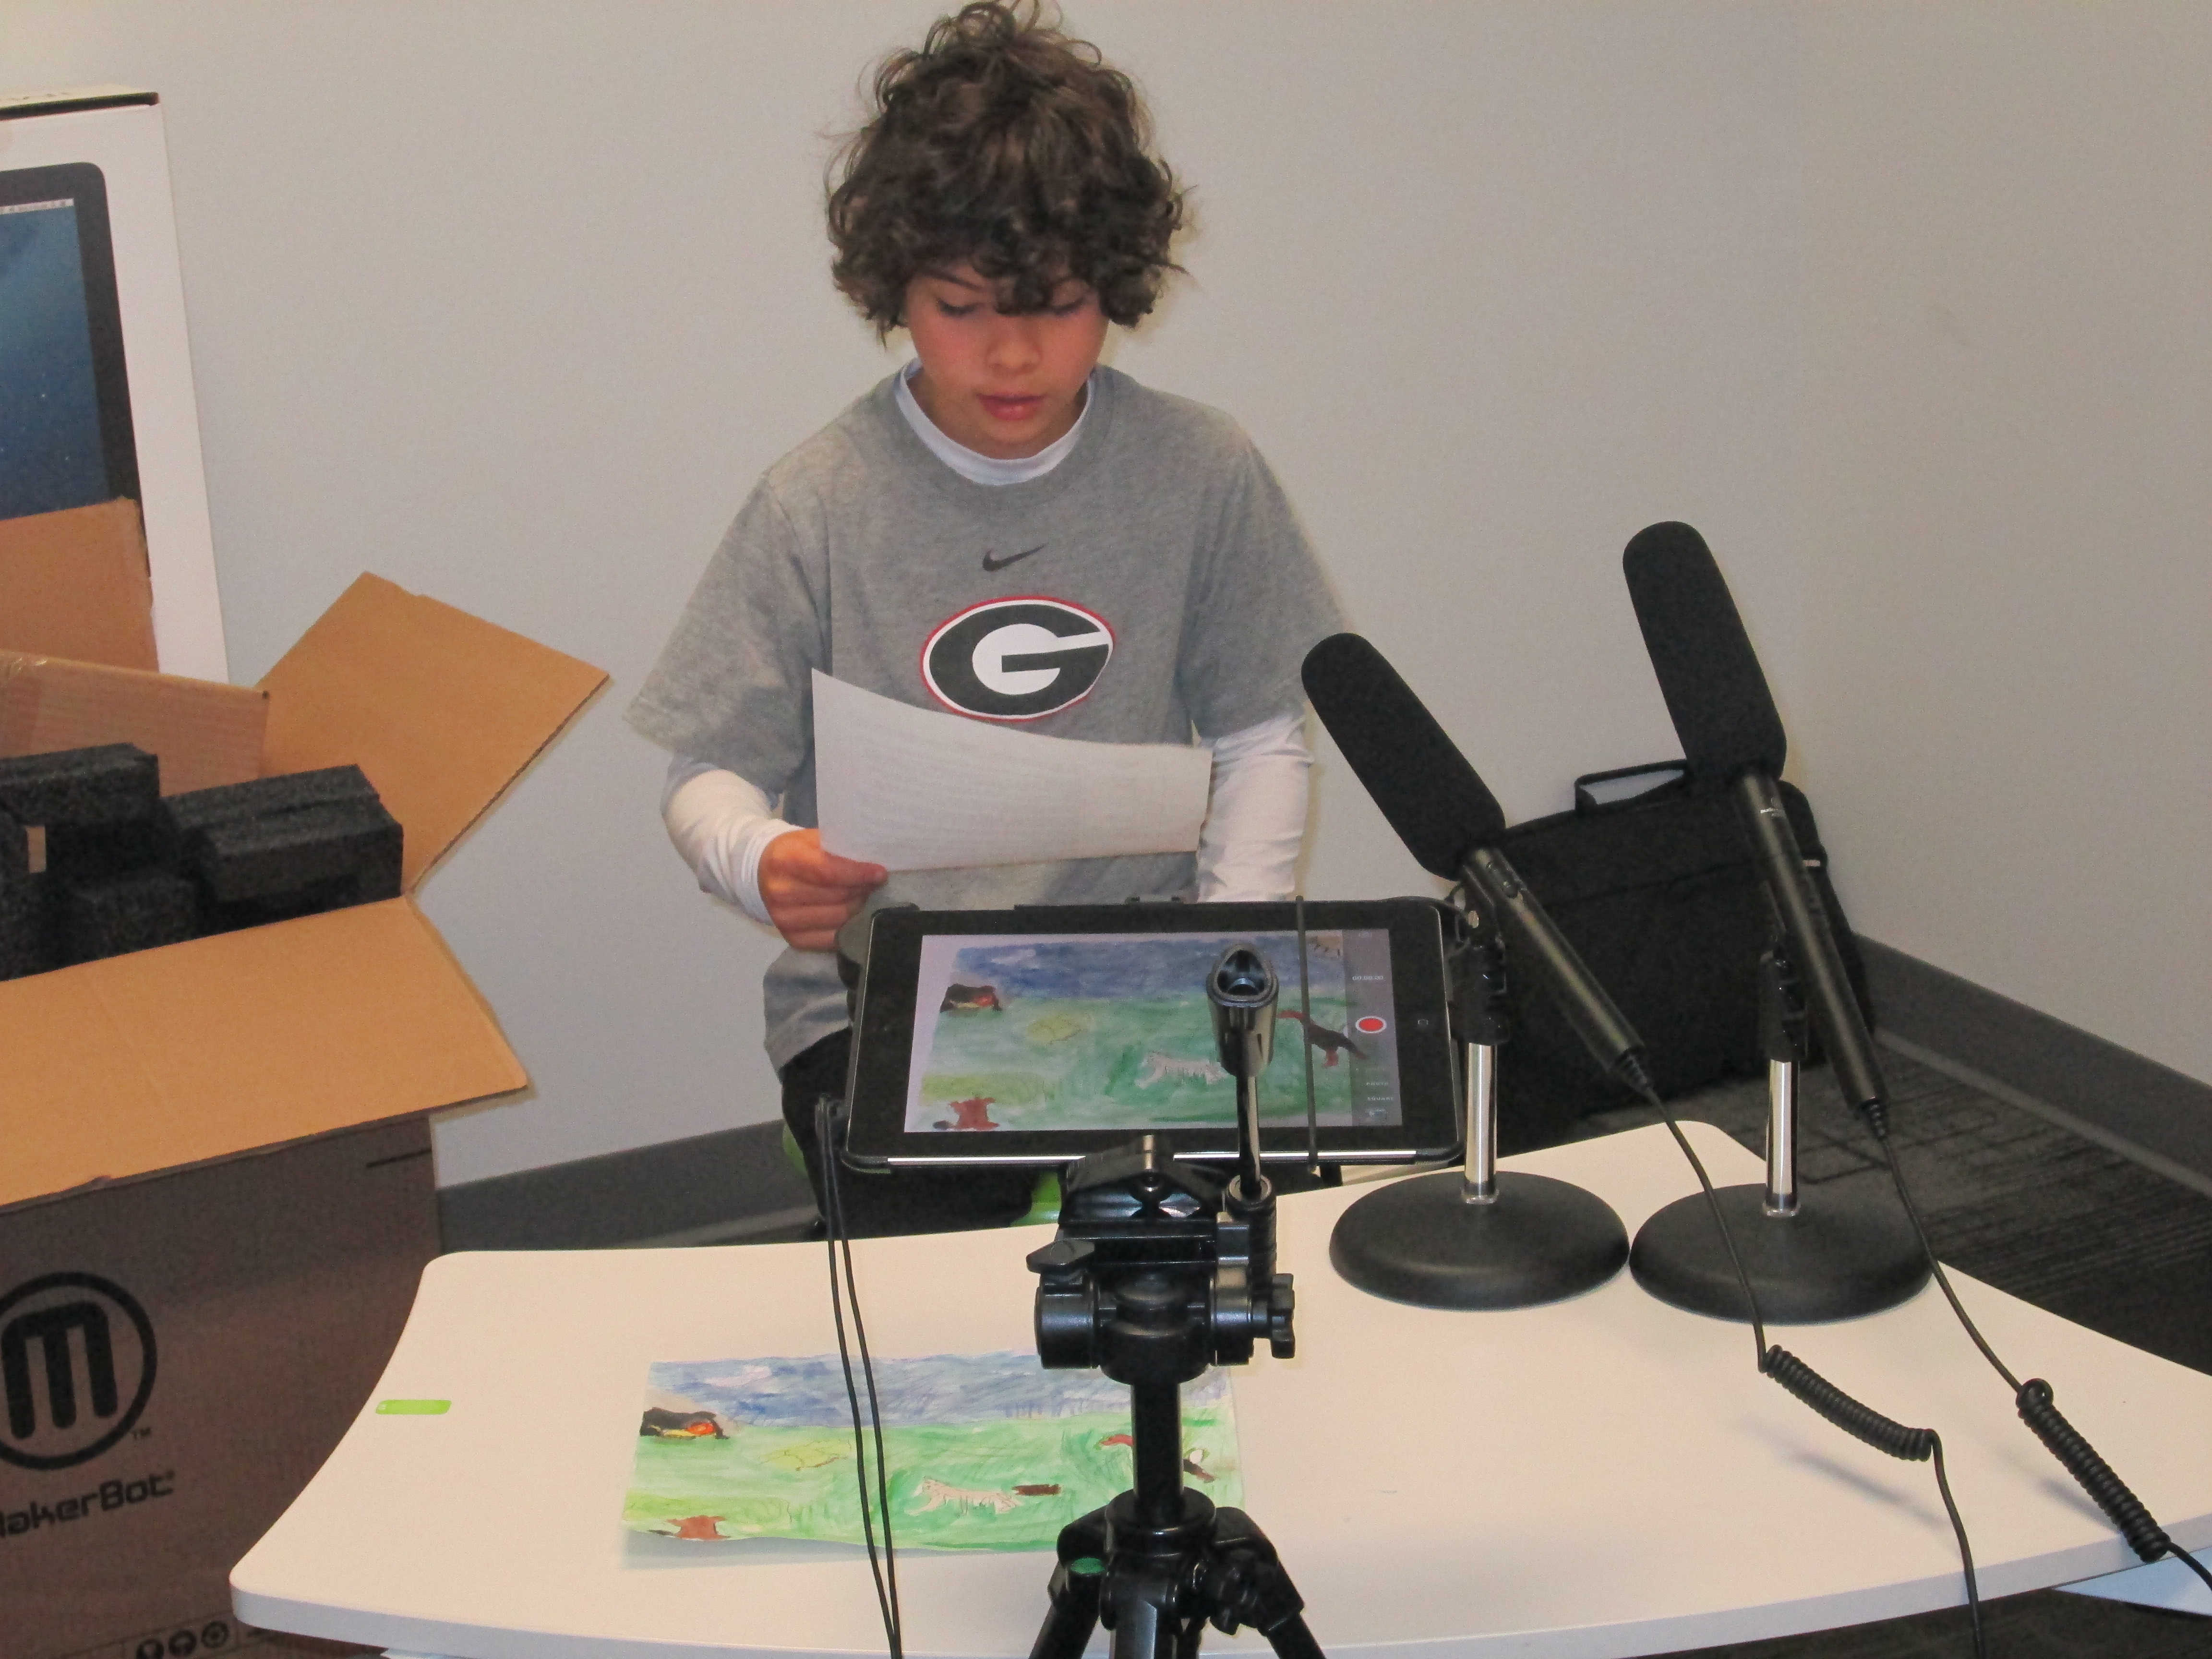
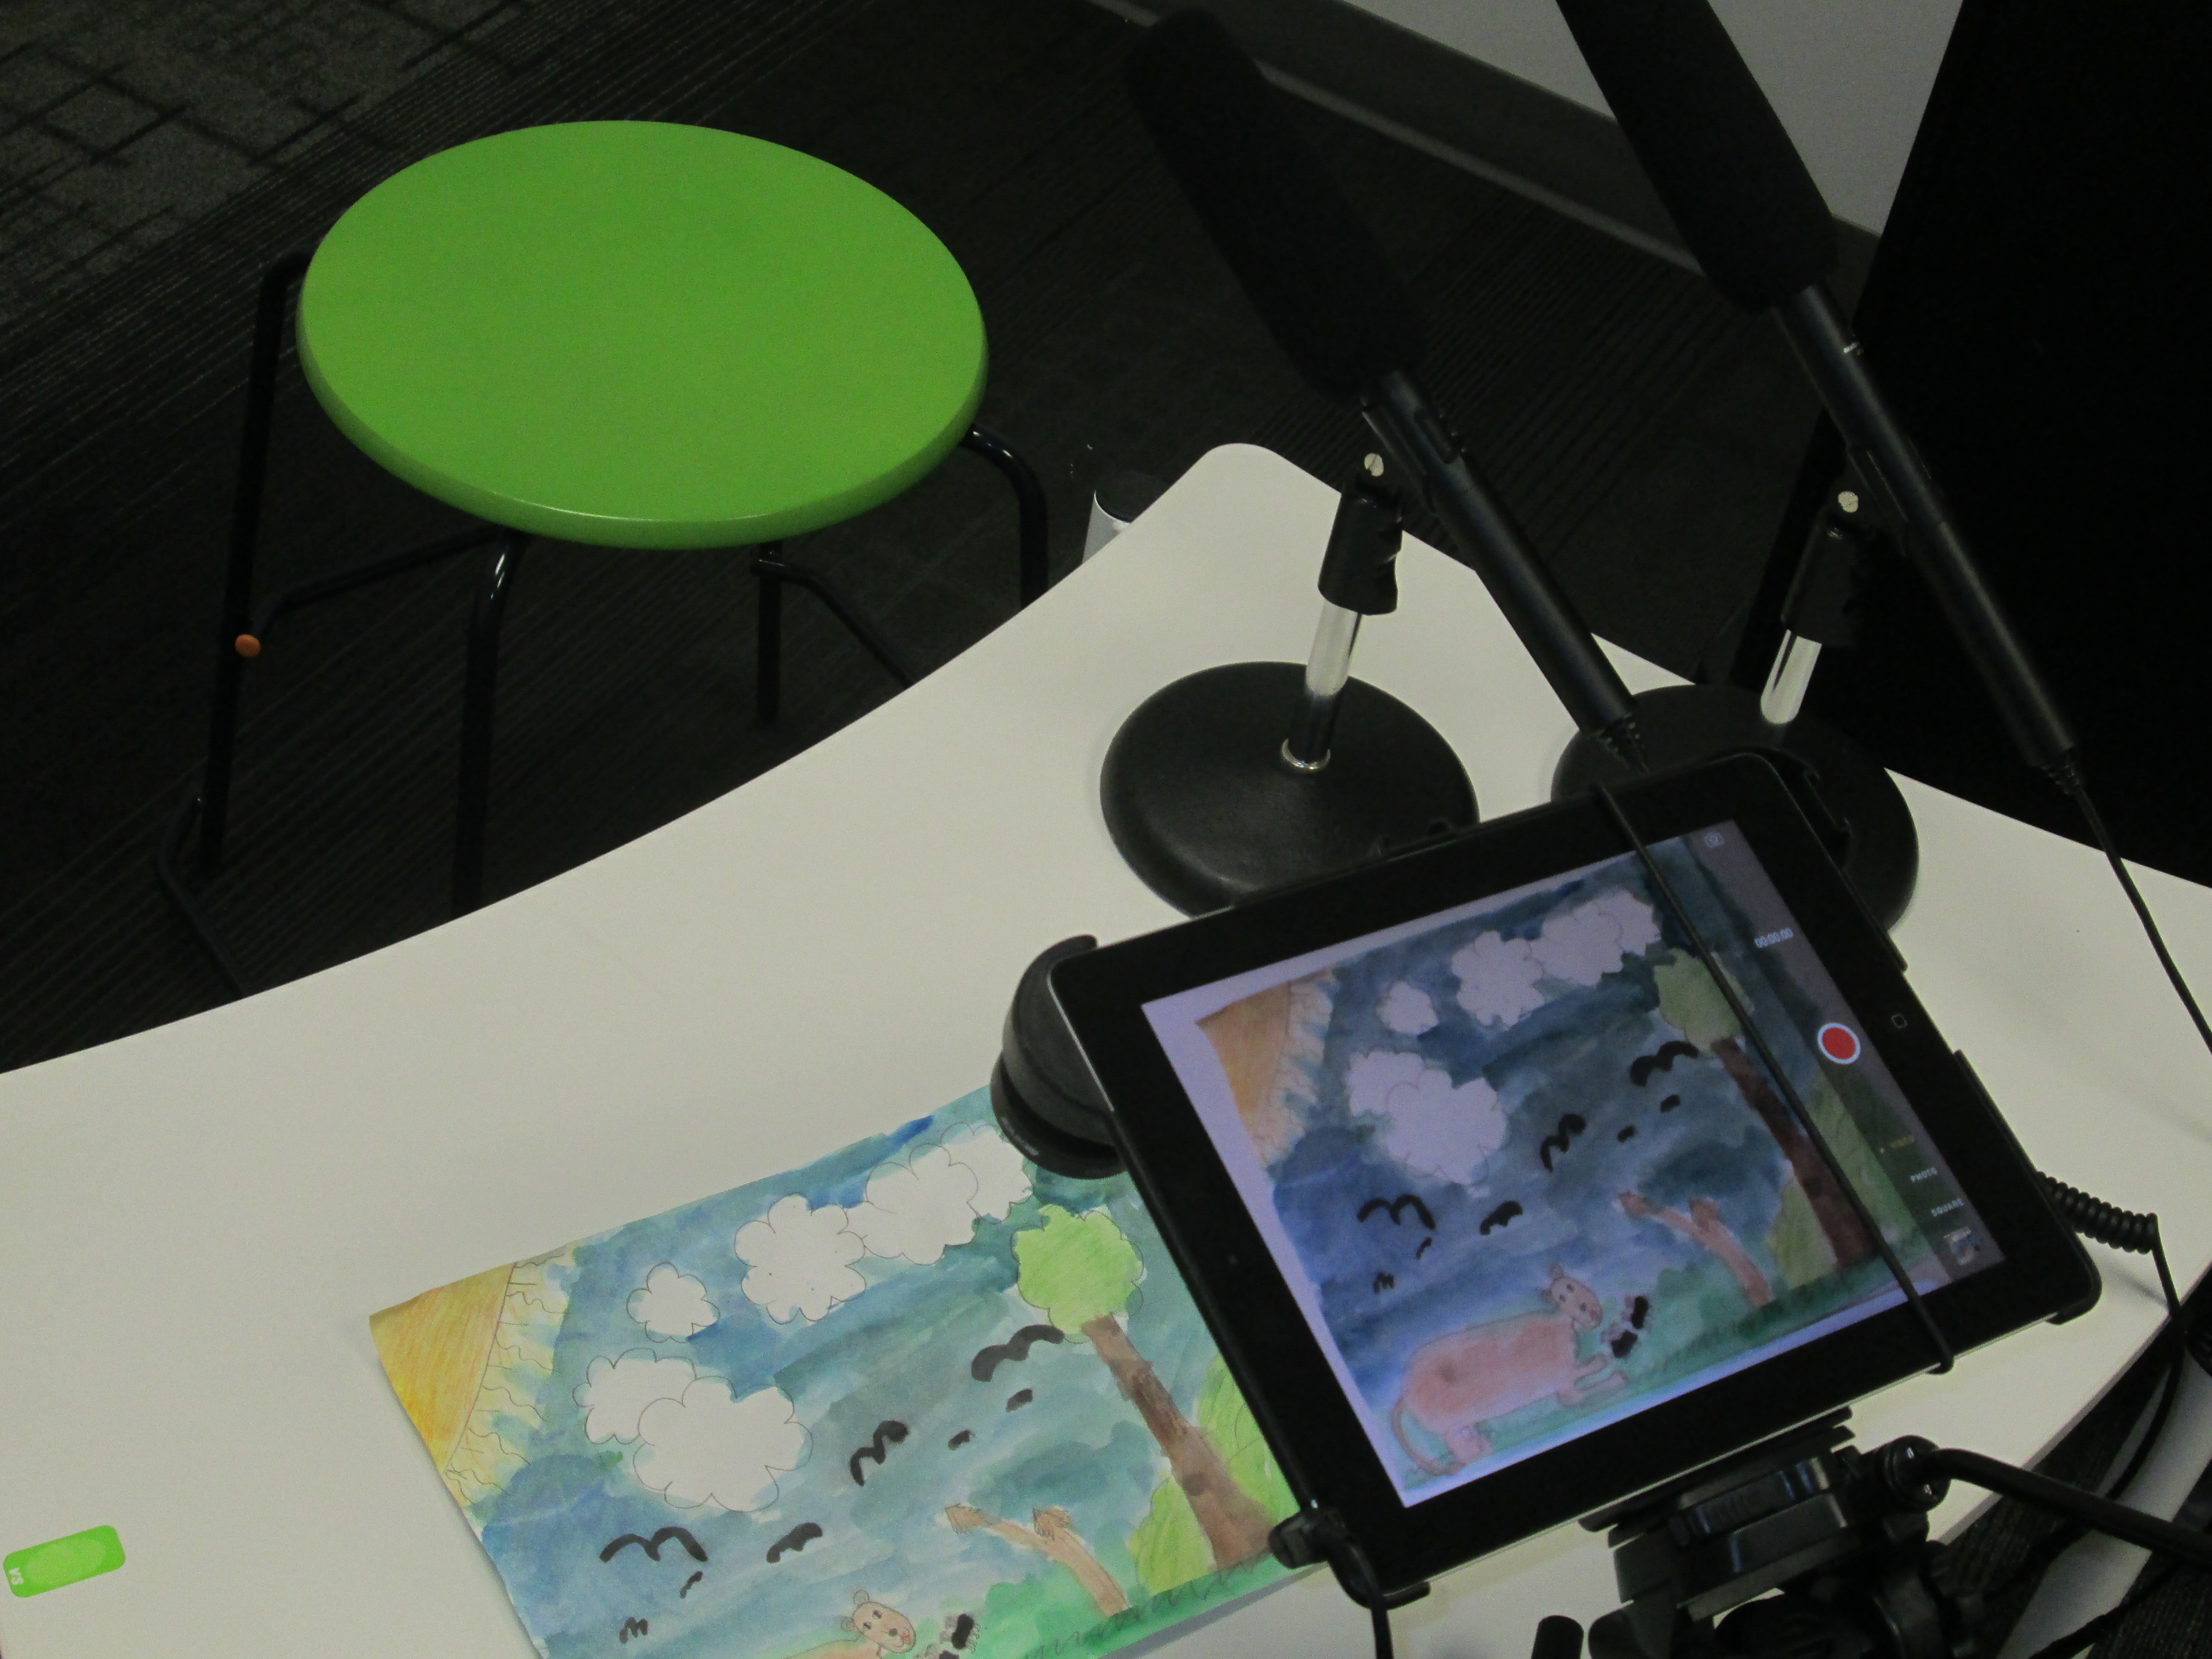
Over the past few weeks in art, students have been working with the text of a folktale to create their own visual interpretations of the text. Mrs. Foretich, the art teacher, spent a lot of time exploring and researching the vocabulary within the stories with the students so that they would be able to paint an accurate interpretation. Each class chose and different folktale and each student in the class was assigned a piece of text from the story.
Once the paintings were ready, Mrs. Foretich organized them in the order of the story and gave them to me. Students came in small groups to record the text for each illustration on the iPad. We used iMovie to put all of the clips together.
This past week, third grade held a parent breakfast where families were able to come to a viewing of the final products. They were also uploaded to Youtube for families who were unable to attend.
You can enjoy their visual interpretations below. It was fun to watch the students take on an artists eye and think like a published illustrator thinks. Often, illustrators receive the text to a story with no other feedback. It is up to them to take these words and translate them into illustration. This project gave students a better understanding of the fun and the challenges of this process.
As soon as we received our new Makerbot Replicator, Rita Foretich, our art teacher, began brainstorming ideas with me about how this tool could support the standards that she teaches our students in art. Rita is a great collaborator. She weaves in standards from students’ classroom curriculum into her art standards. Often, these projects involve the media center as well.
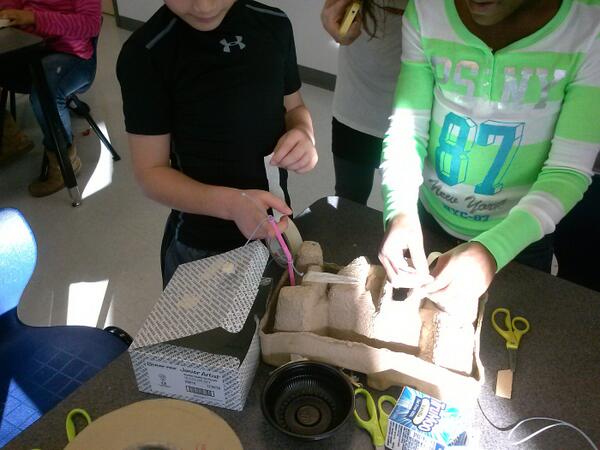
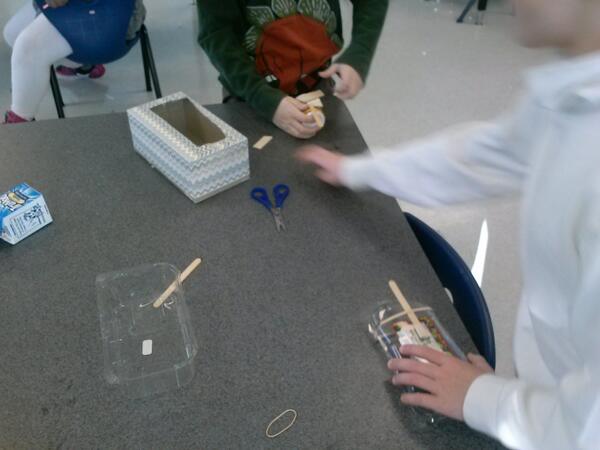
Currently, Rita and her student teacher are exploring kinetic sculptures with students. In art, they have spent time tinkering with a variety of materials that they might use to make a larger, movable sculpture.
Tinkering in art
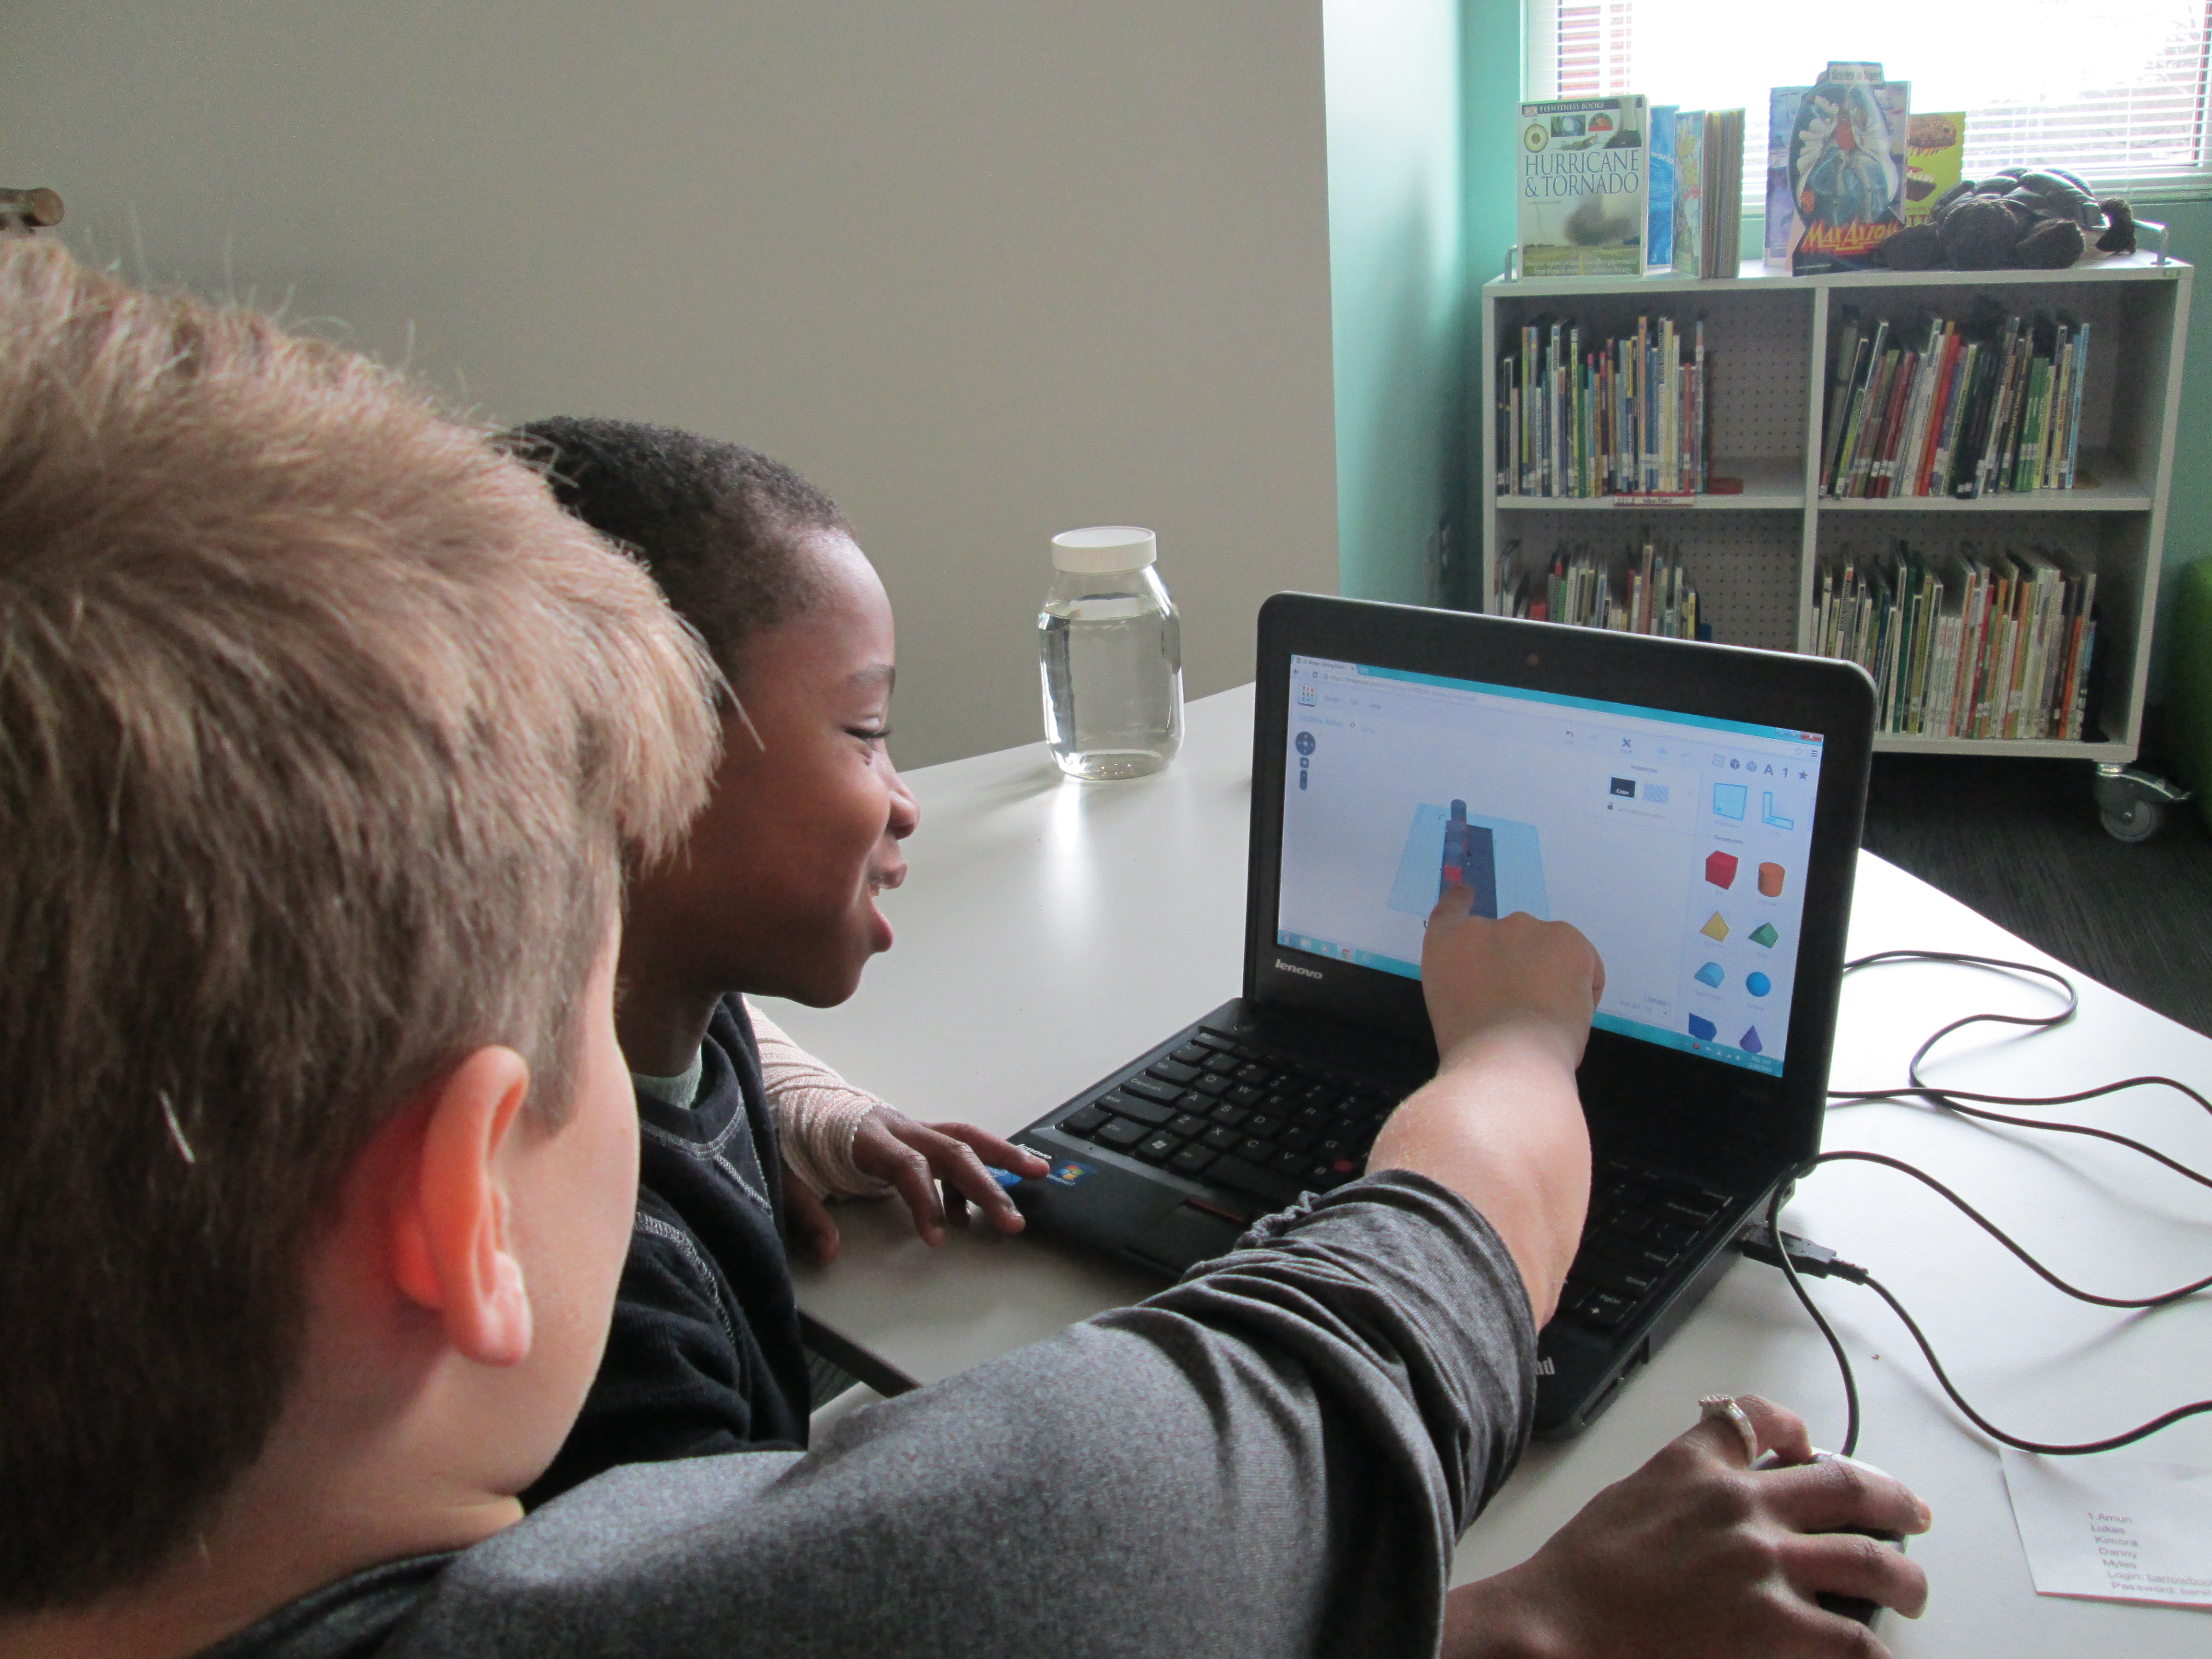
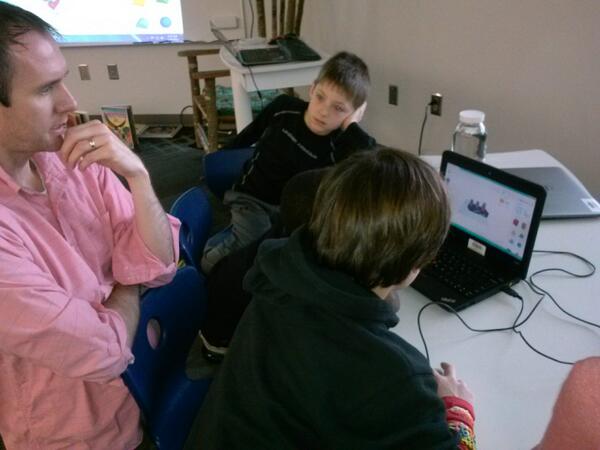
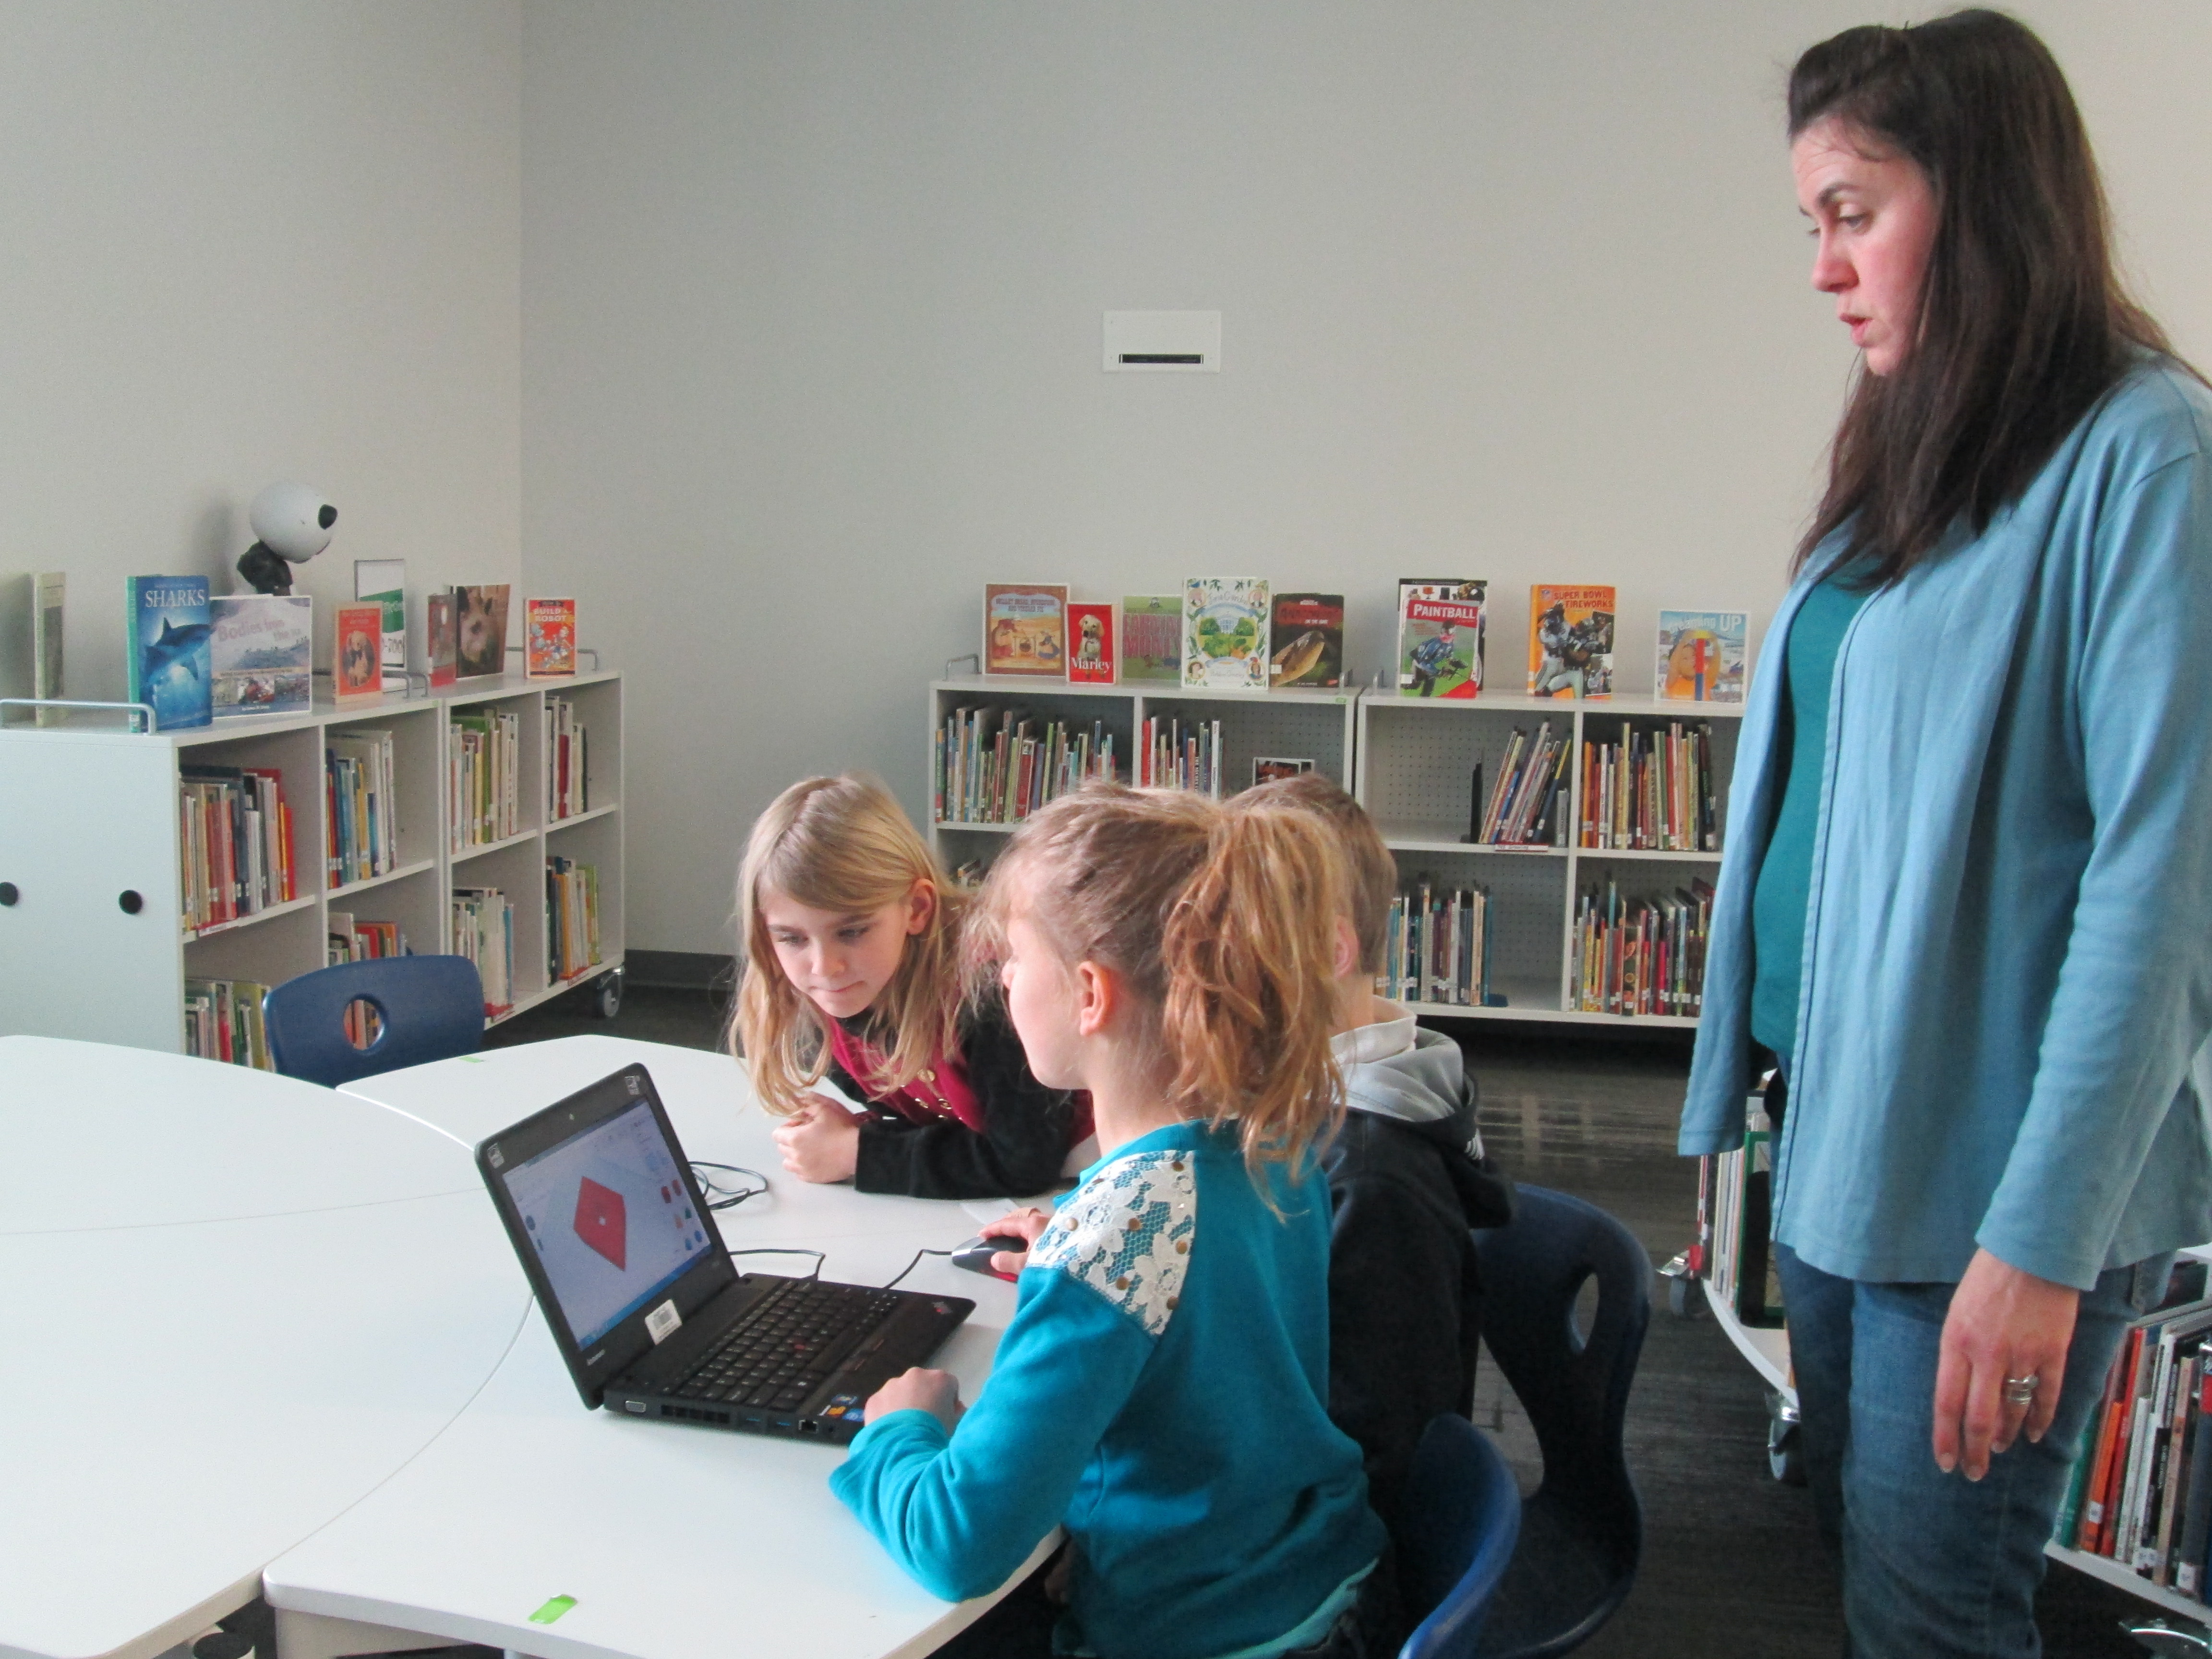
A piece of these sculptures that students will create will be designed using Tinkercad and printed on our Makerbot Replicator 3D printer. We scheduled a session in the library to work on the Tinkercad design. Working in the media center allowed us to have plenty of room to spread out as well as maximize adult support. During each lesson, there were 3-4 adults (media specialist, art teacher, student teacher, and tech integration) to support students as they had questions. Of course, we encourage students to support one another, but it is nice to have adults supporting students as well with problem solving and collaborating. Also, to maximize our time in the media center, students did some flipped learning by watching this Tinkercad tutorial in advance at the closing of their last time in art.
Here’s what our time in the media center looked like:
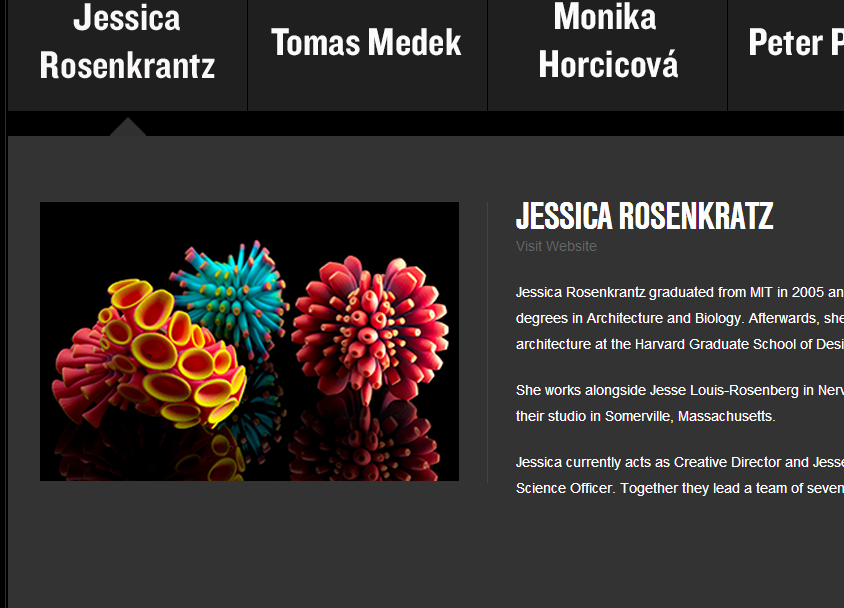
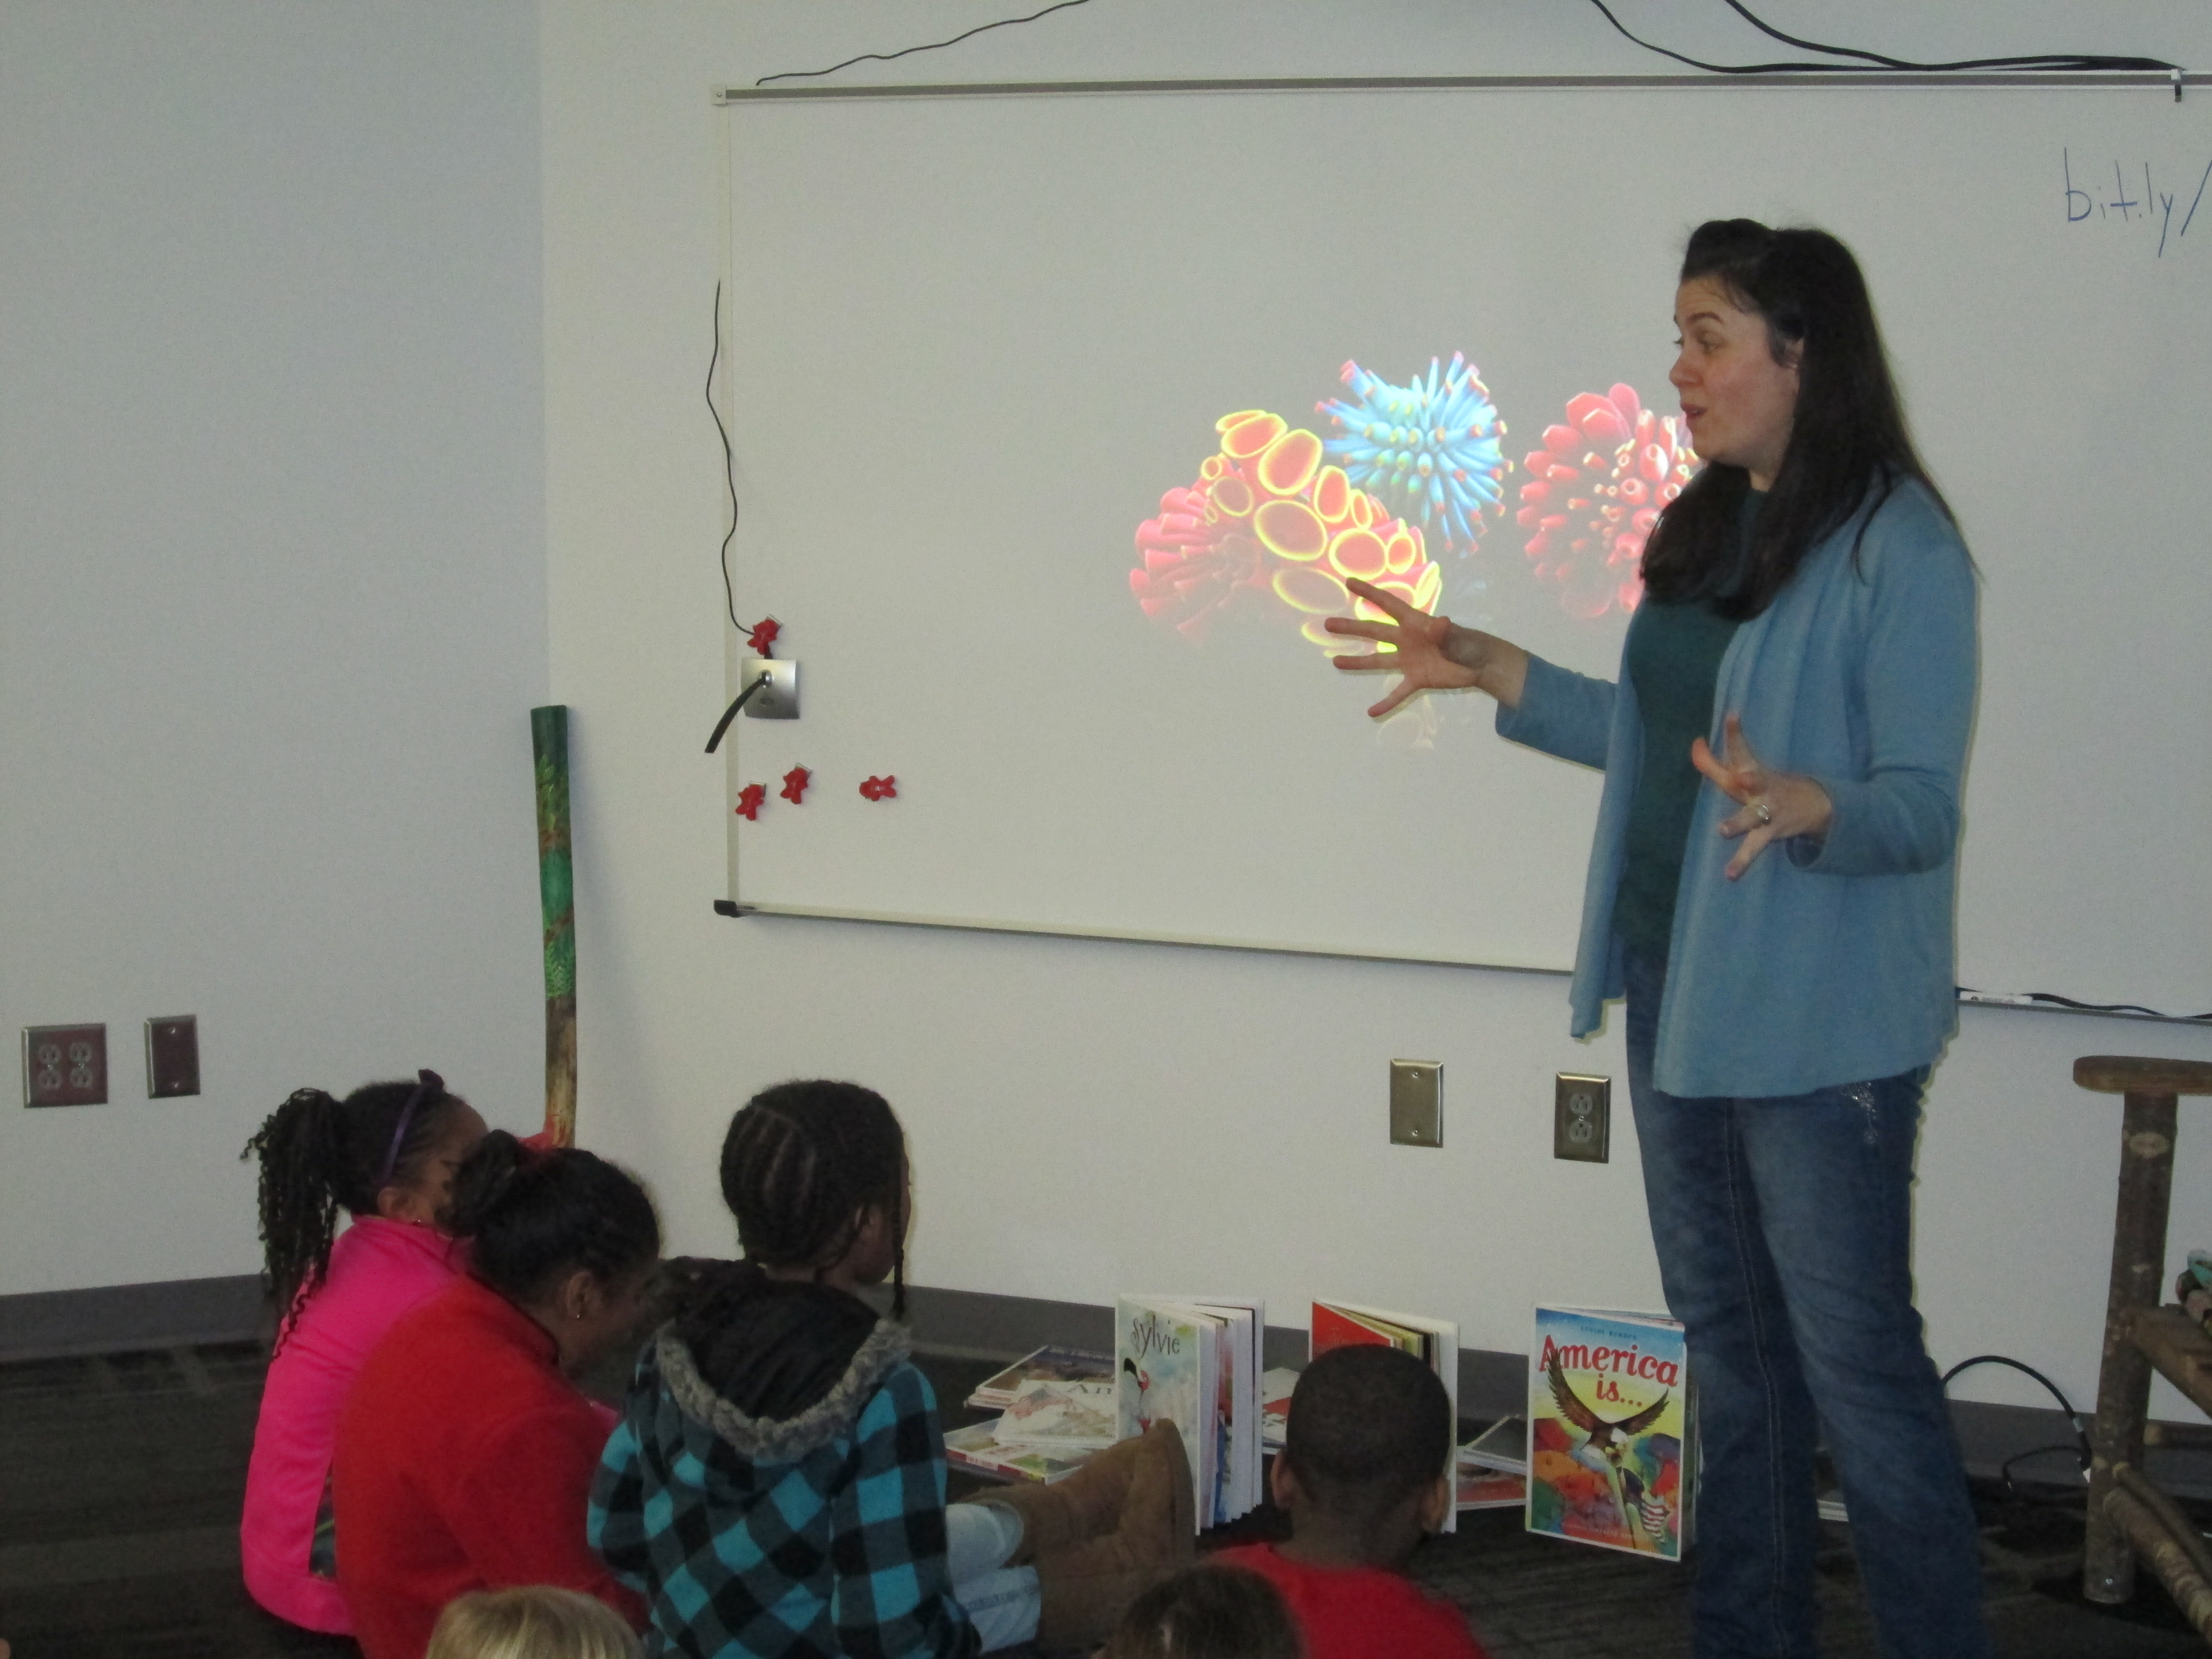
1. Students met on the carpet for a quick reminder of our plan for the day. Mrs. Foretich gave them the standards we would work on: Creating sculpture using a variety of forms and working in teams. She also showed them how artists use technology to create their art as well as some images from the 3Dprintshow site.
A quick intro to how artists use technology to create
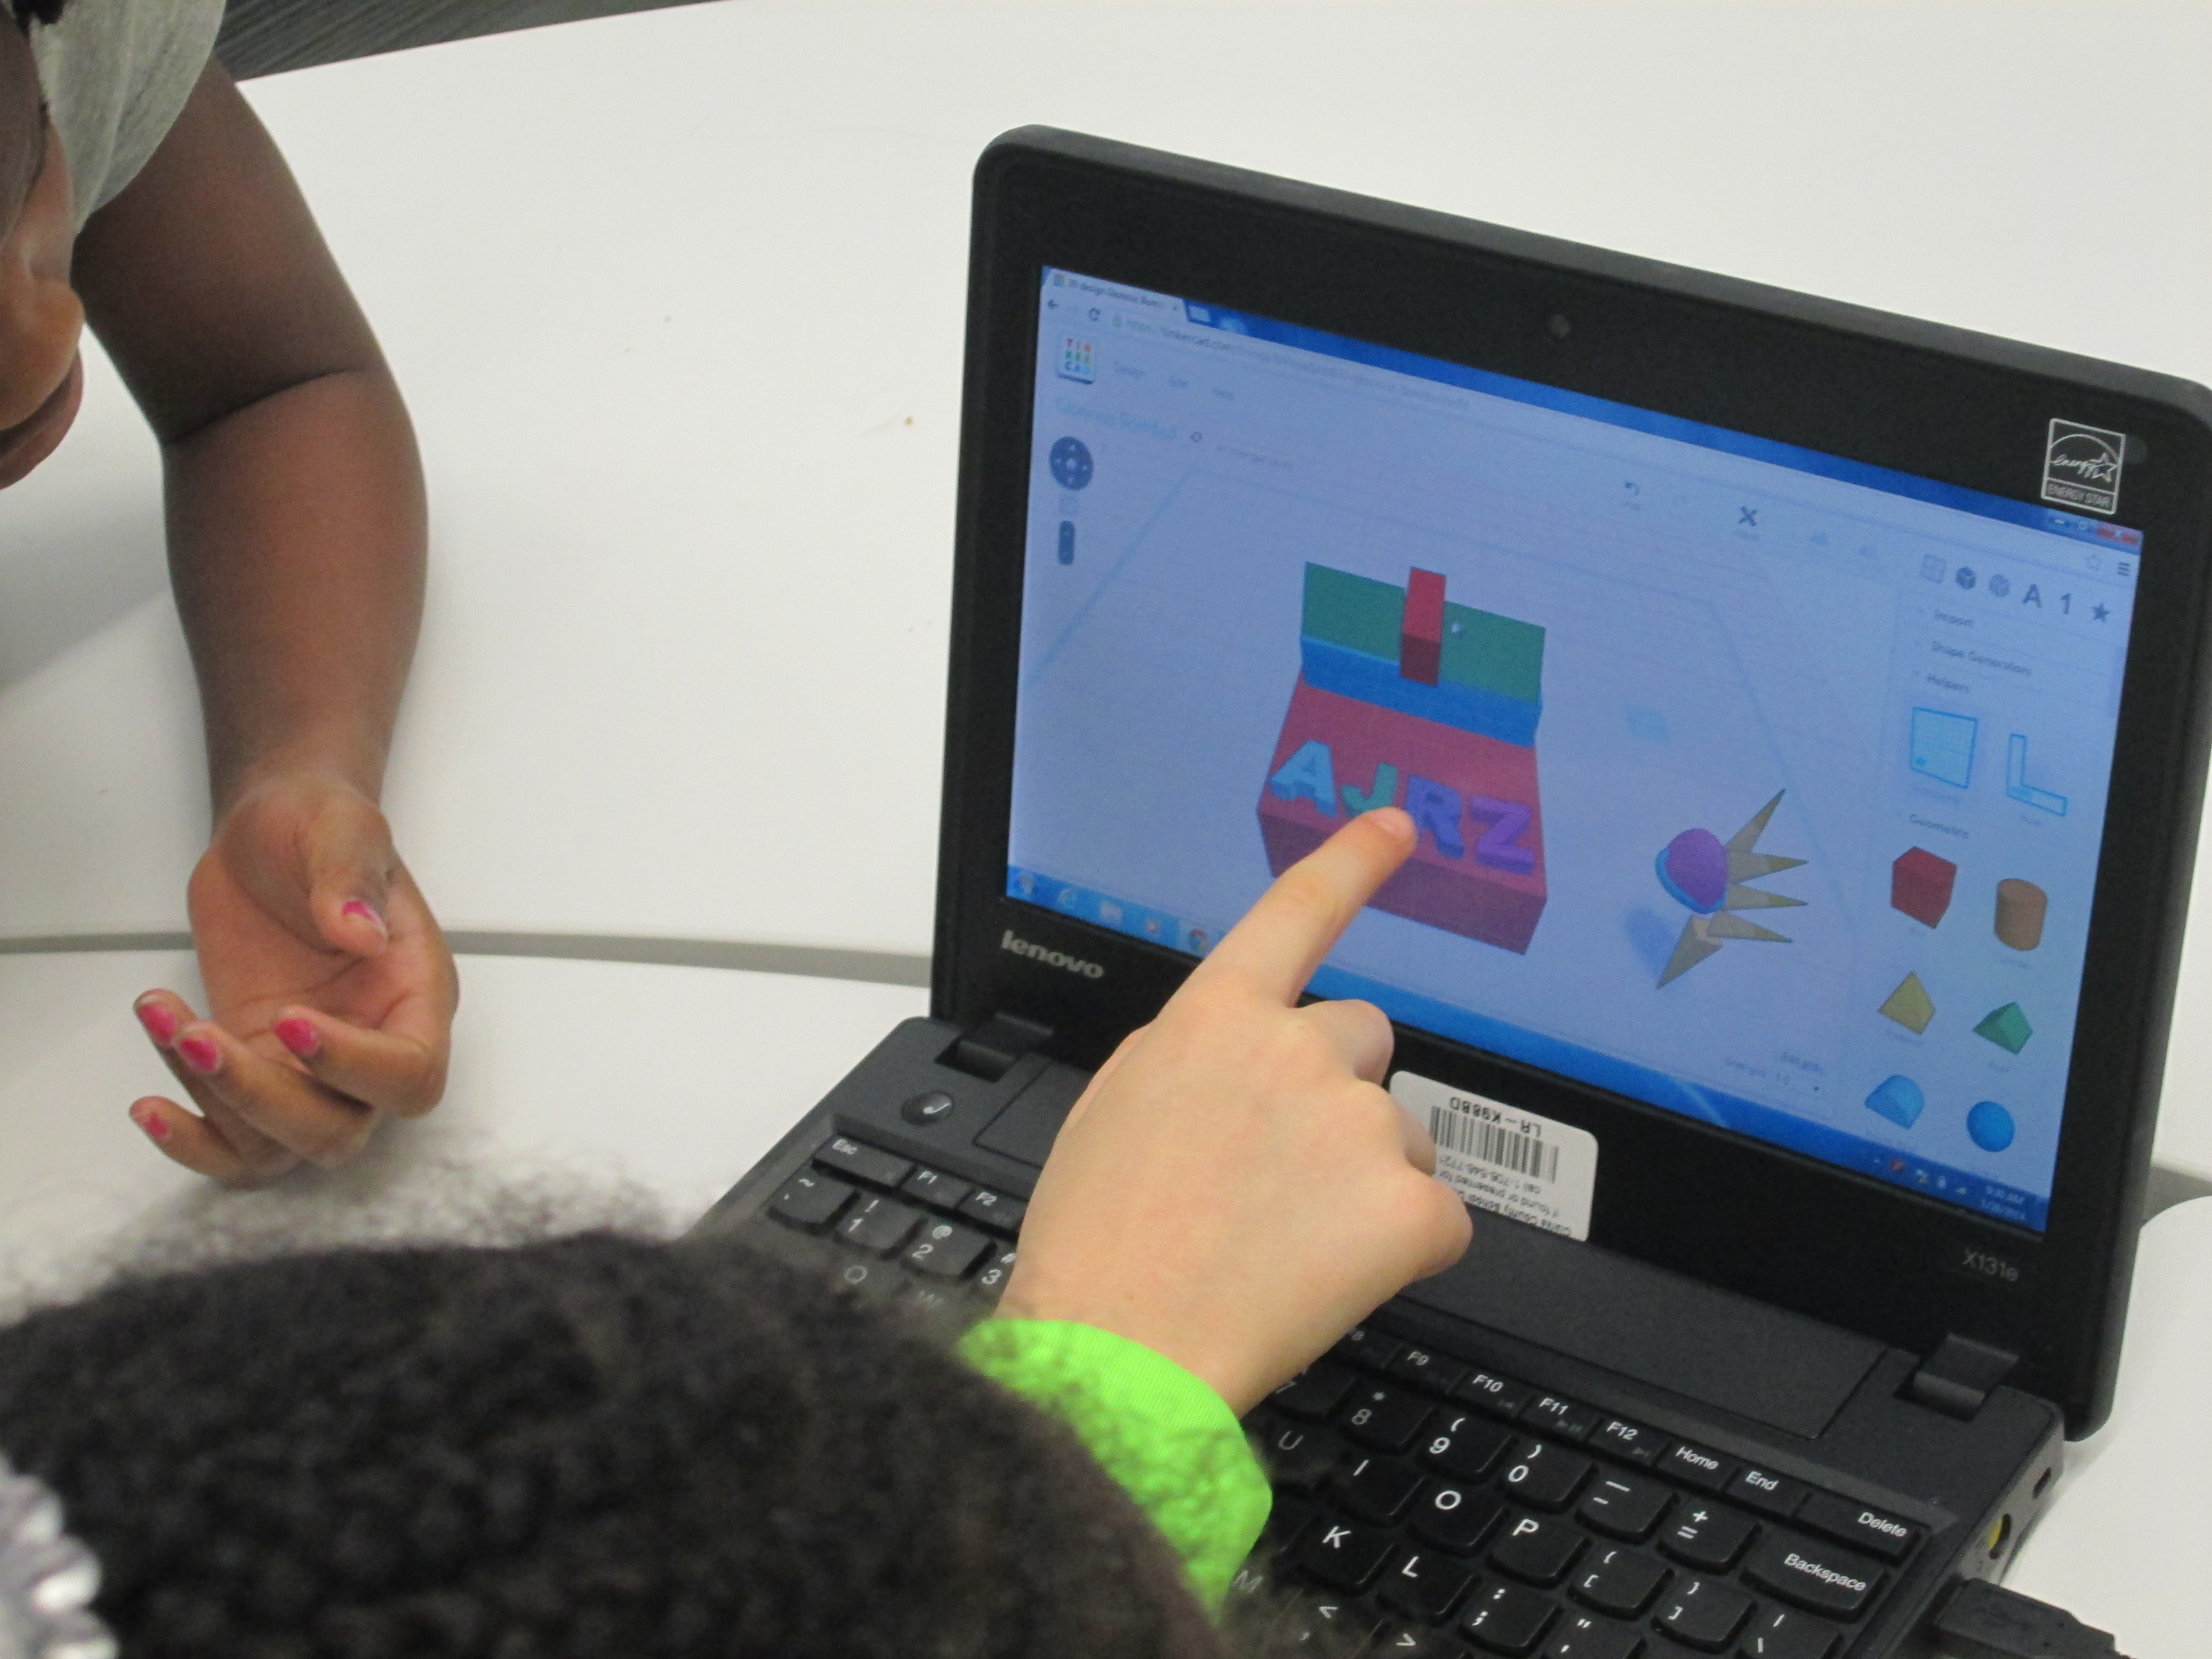
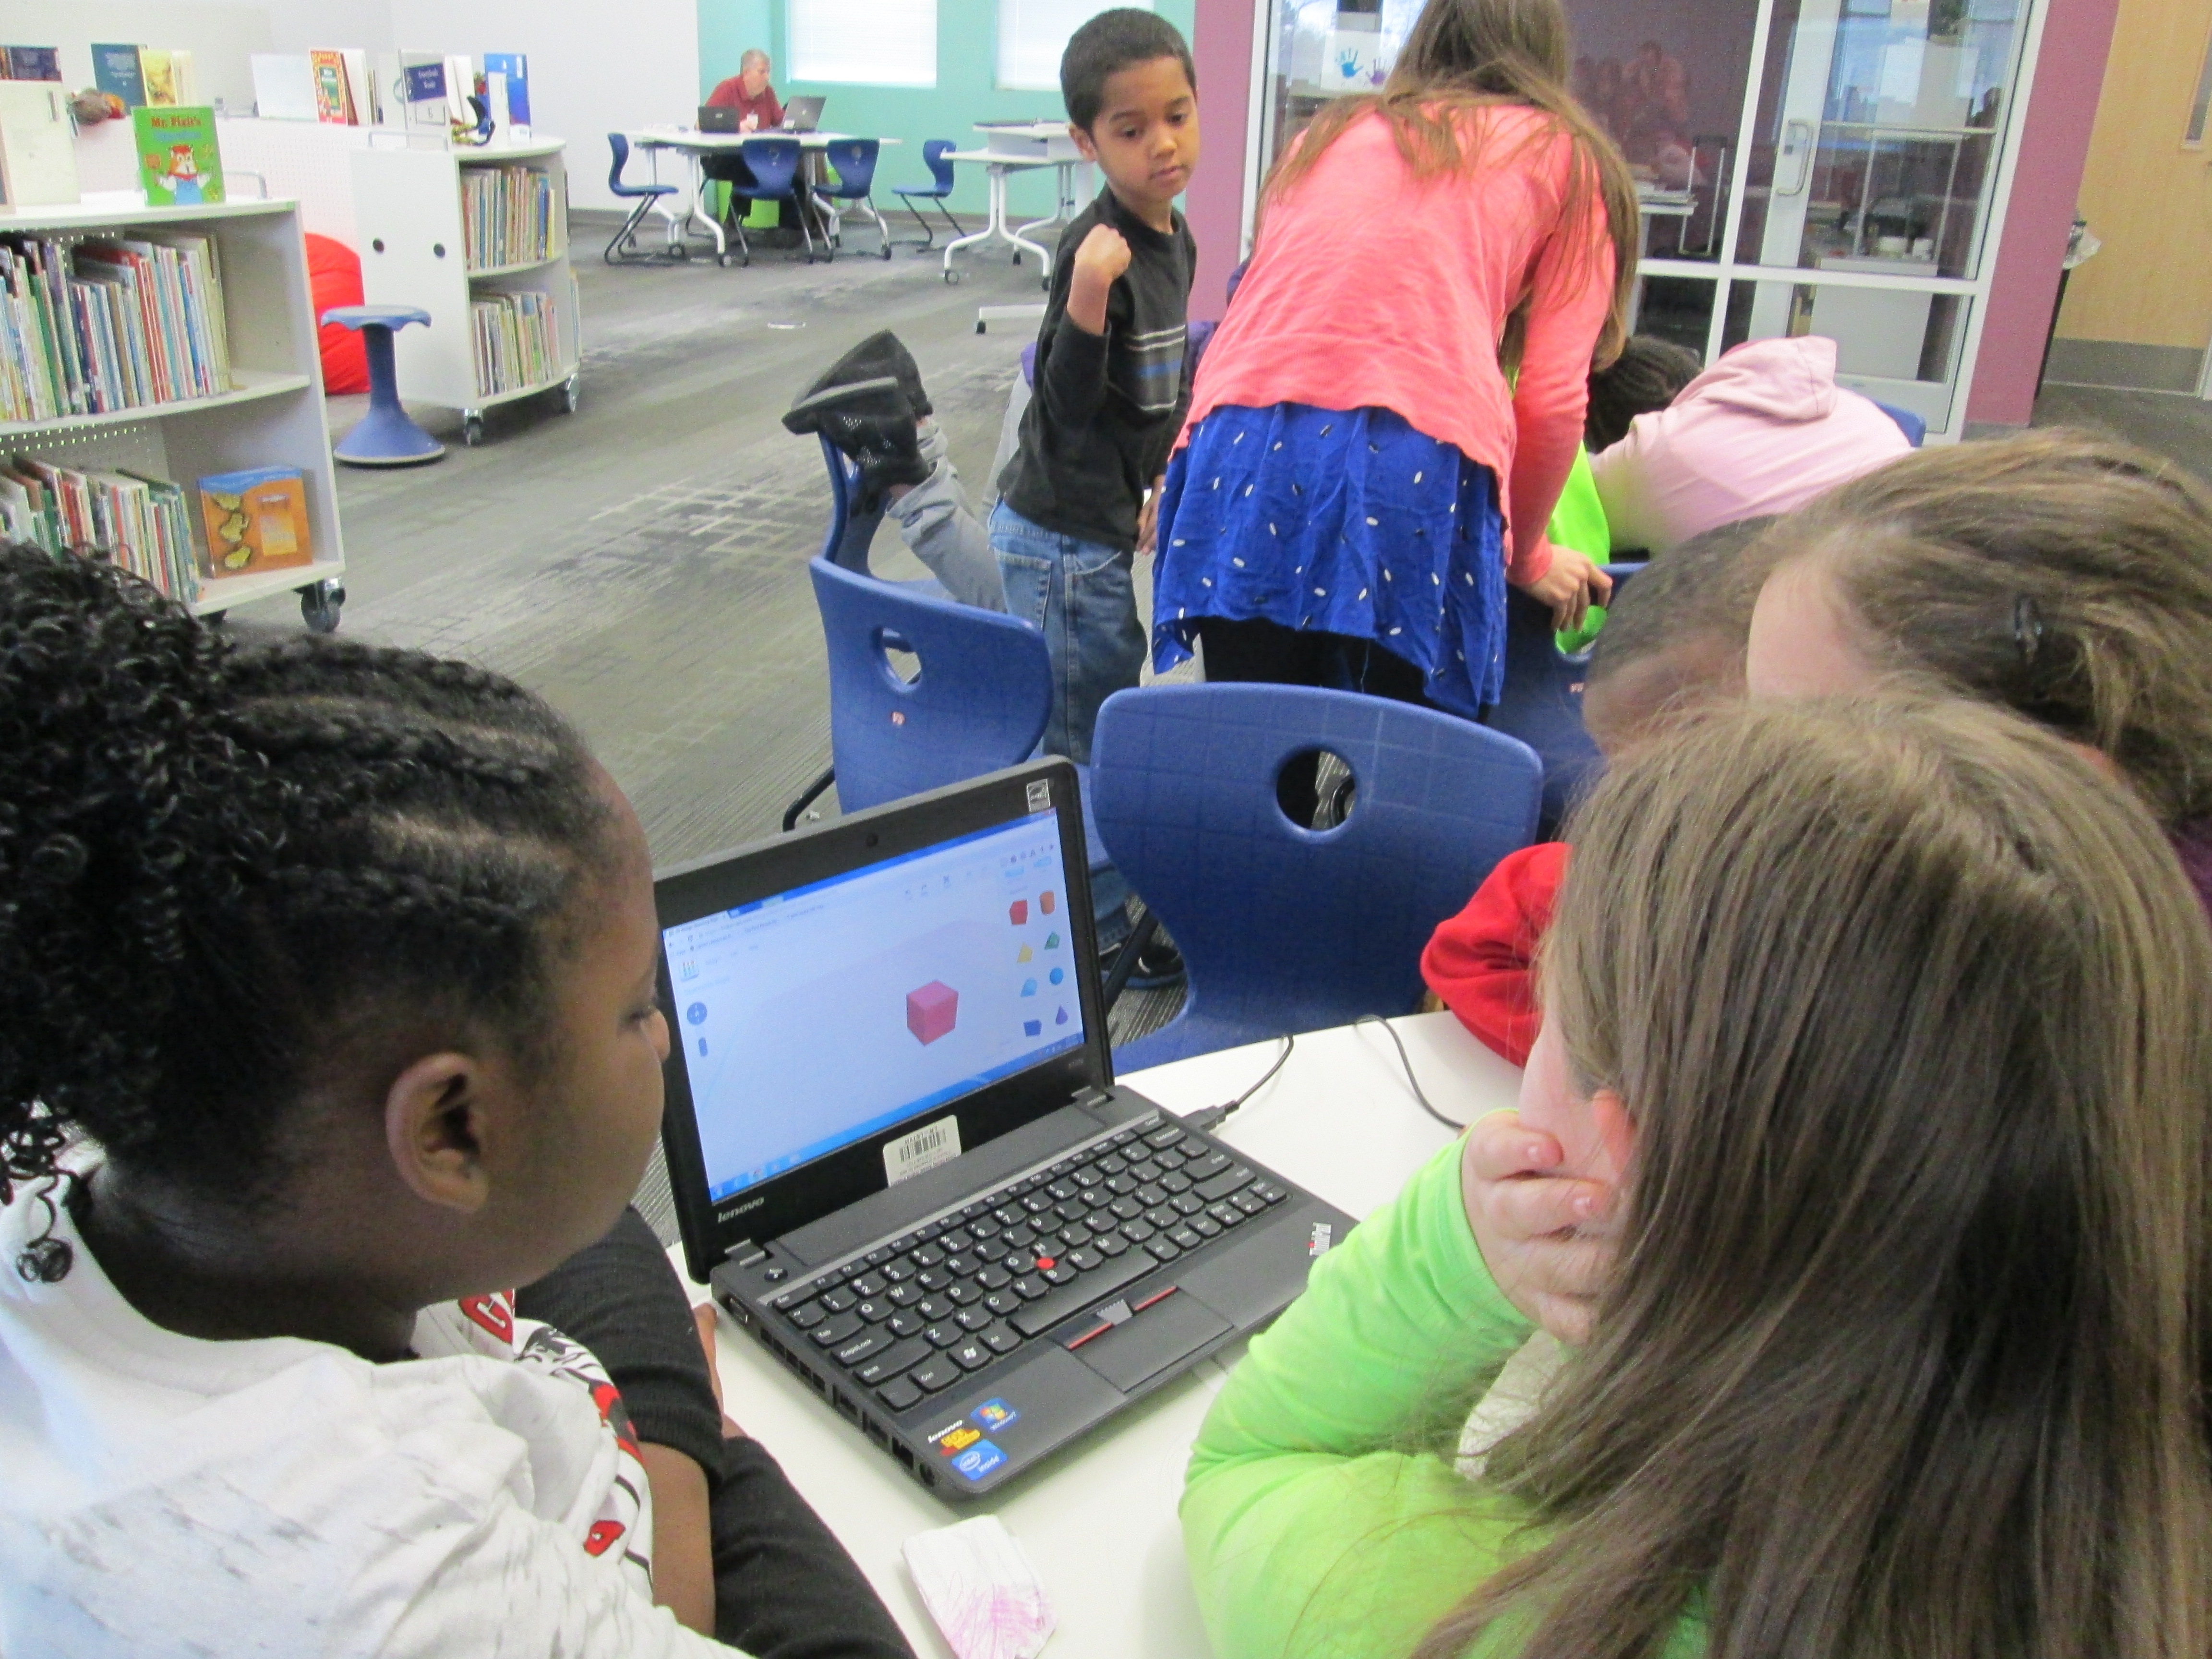
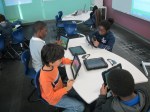
2. Students were organized into 5 collaborative groups. Each group had a Lenovo Thinkpad computer with a mouse. Tinkercad was already pulled up on the computer and each group had a username and password to use.
3. Students brainstormed their concept for a piece to add to their kinetic sculpture and took turns controlling the mouse. Adults guided students through problem solving and working together. As students had ideas for their designs, adults helped them think through their ideas and take risks to try to get their idea onto the drawing board.
Students quickly learned how to work together to problem solve
4. Students named their file before leaving.
5. I took student files and saved them as an STL file, imported those files into Makerware, and saved the file for 3D printing on the Makerbot.
We will repeat this process with all three 3rd grade classes. Students will continue to work on the rest of their kinetic sculptures in art. Mrs. Fortetich will create a schedule with me in the media center for students to come and 3D print their designs. We want each student to have the experience of pressing the red M on the 3D printer and watching their design magically appear on the build platform. Although all students probably won’t be able to stay from start to finish during the printing process, they will at least activate the print and see the beginnings.
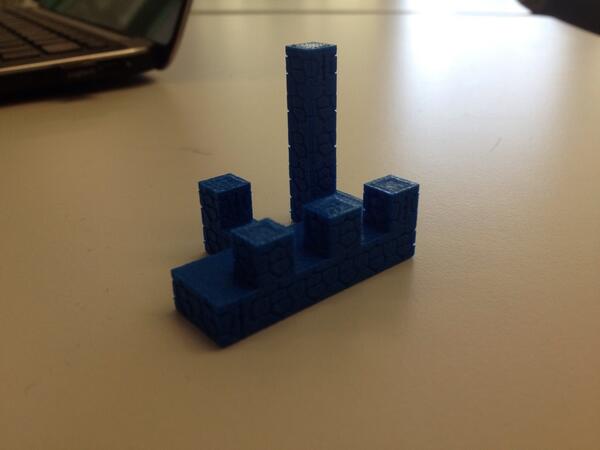
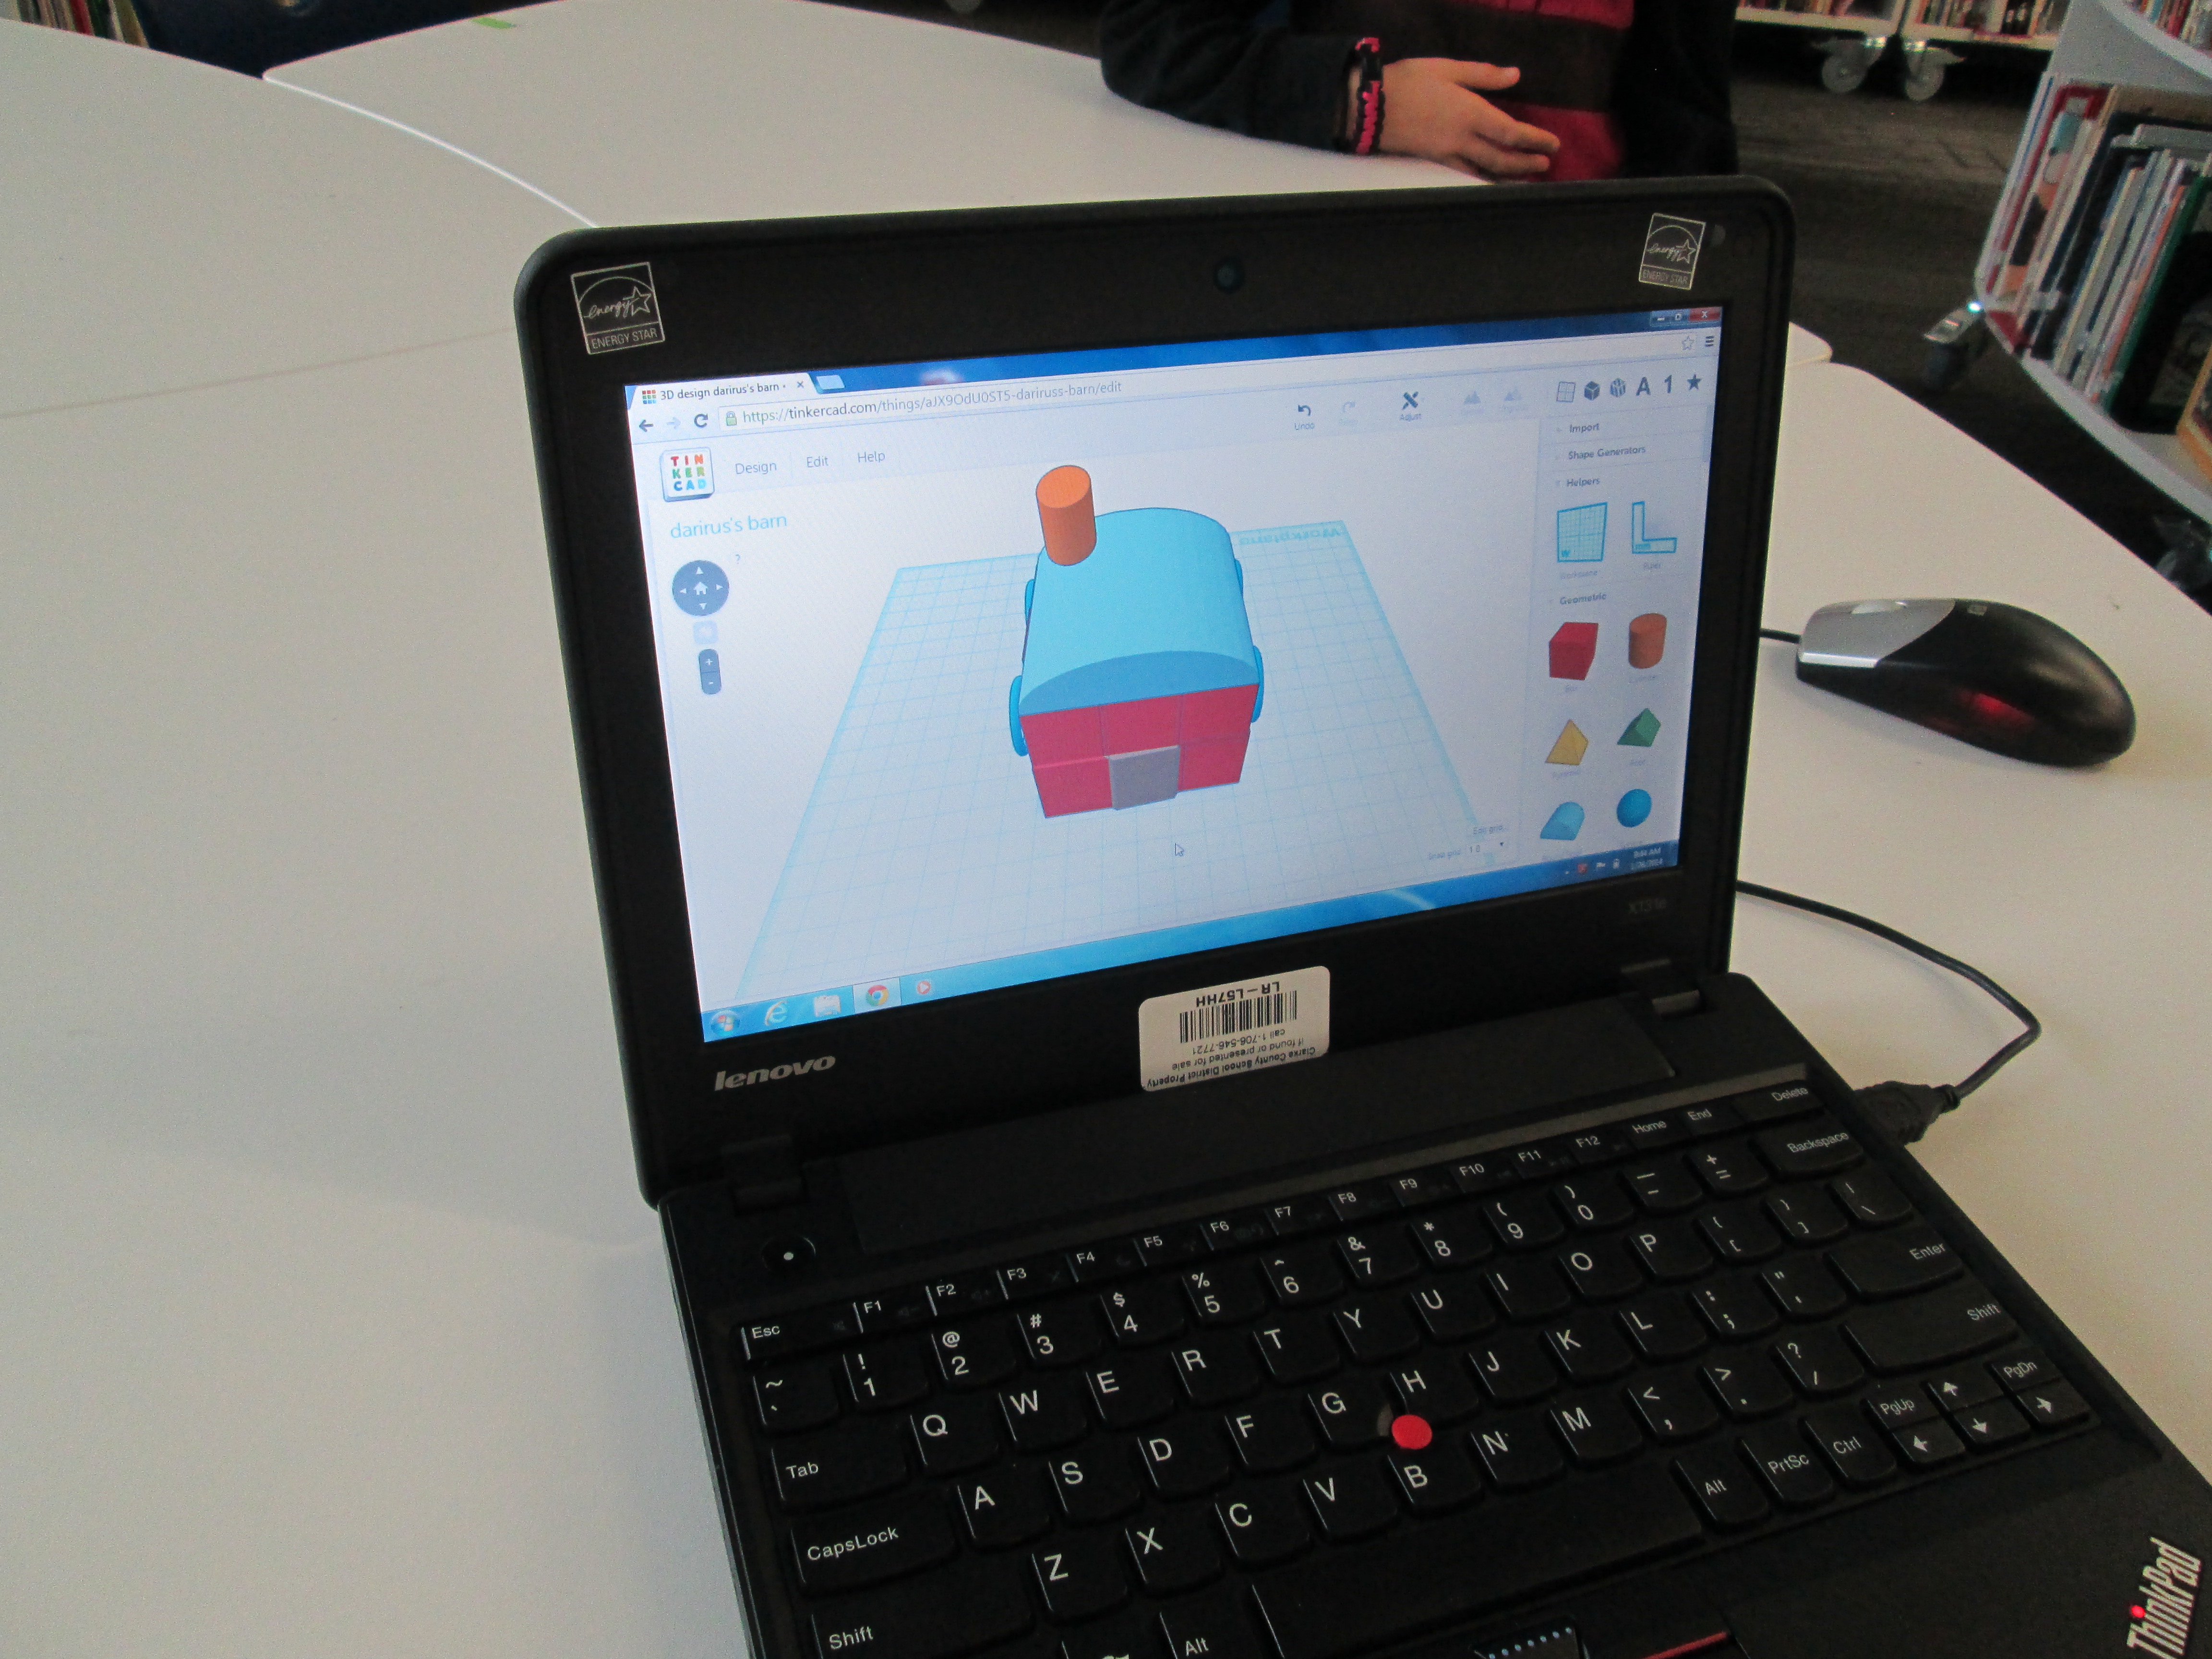
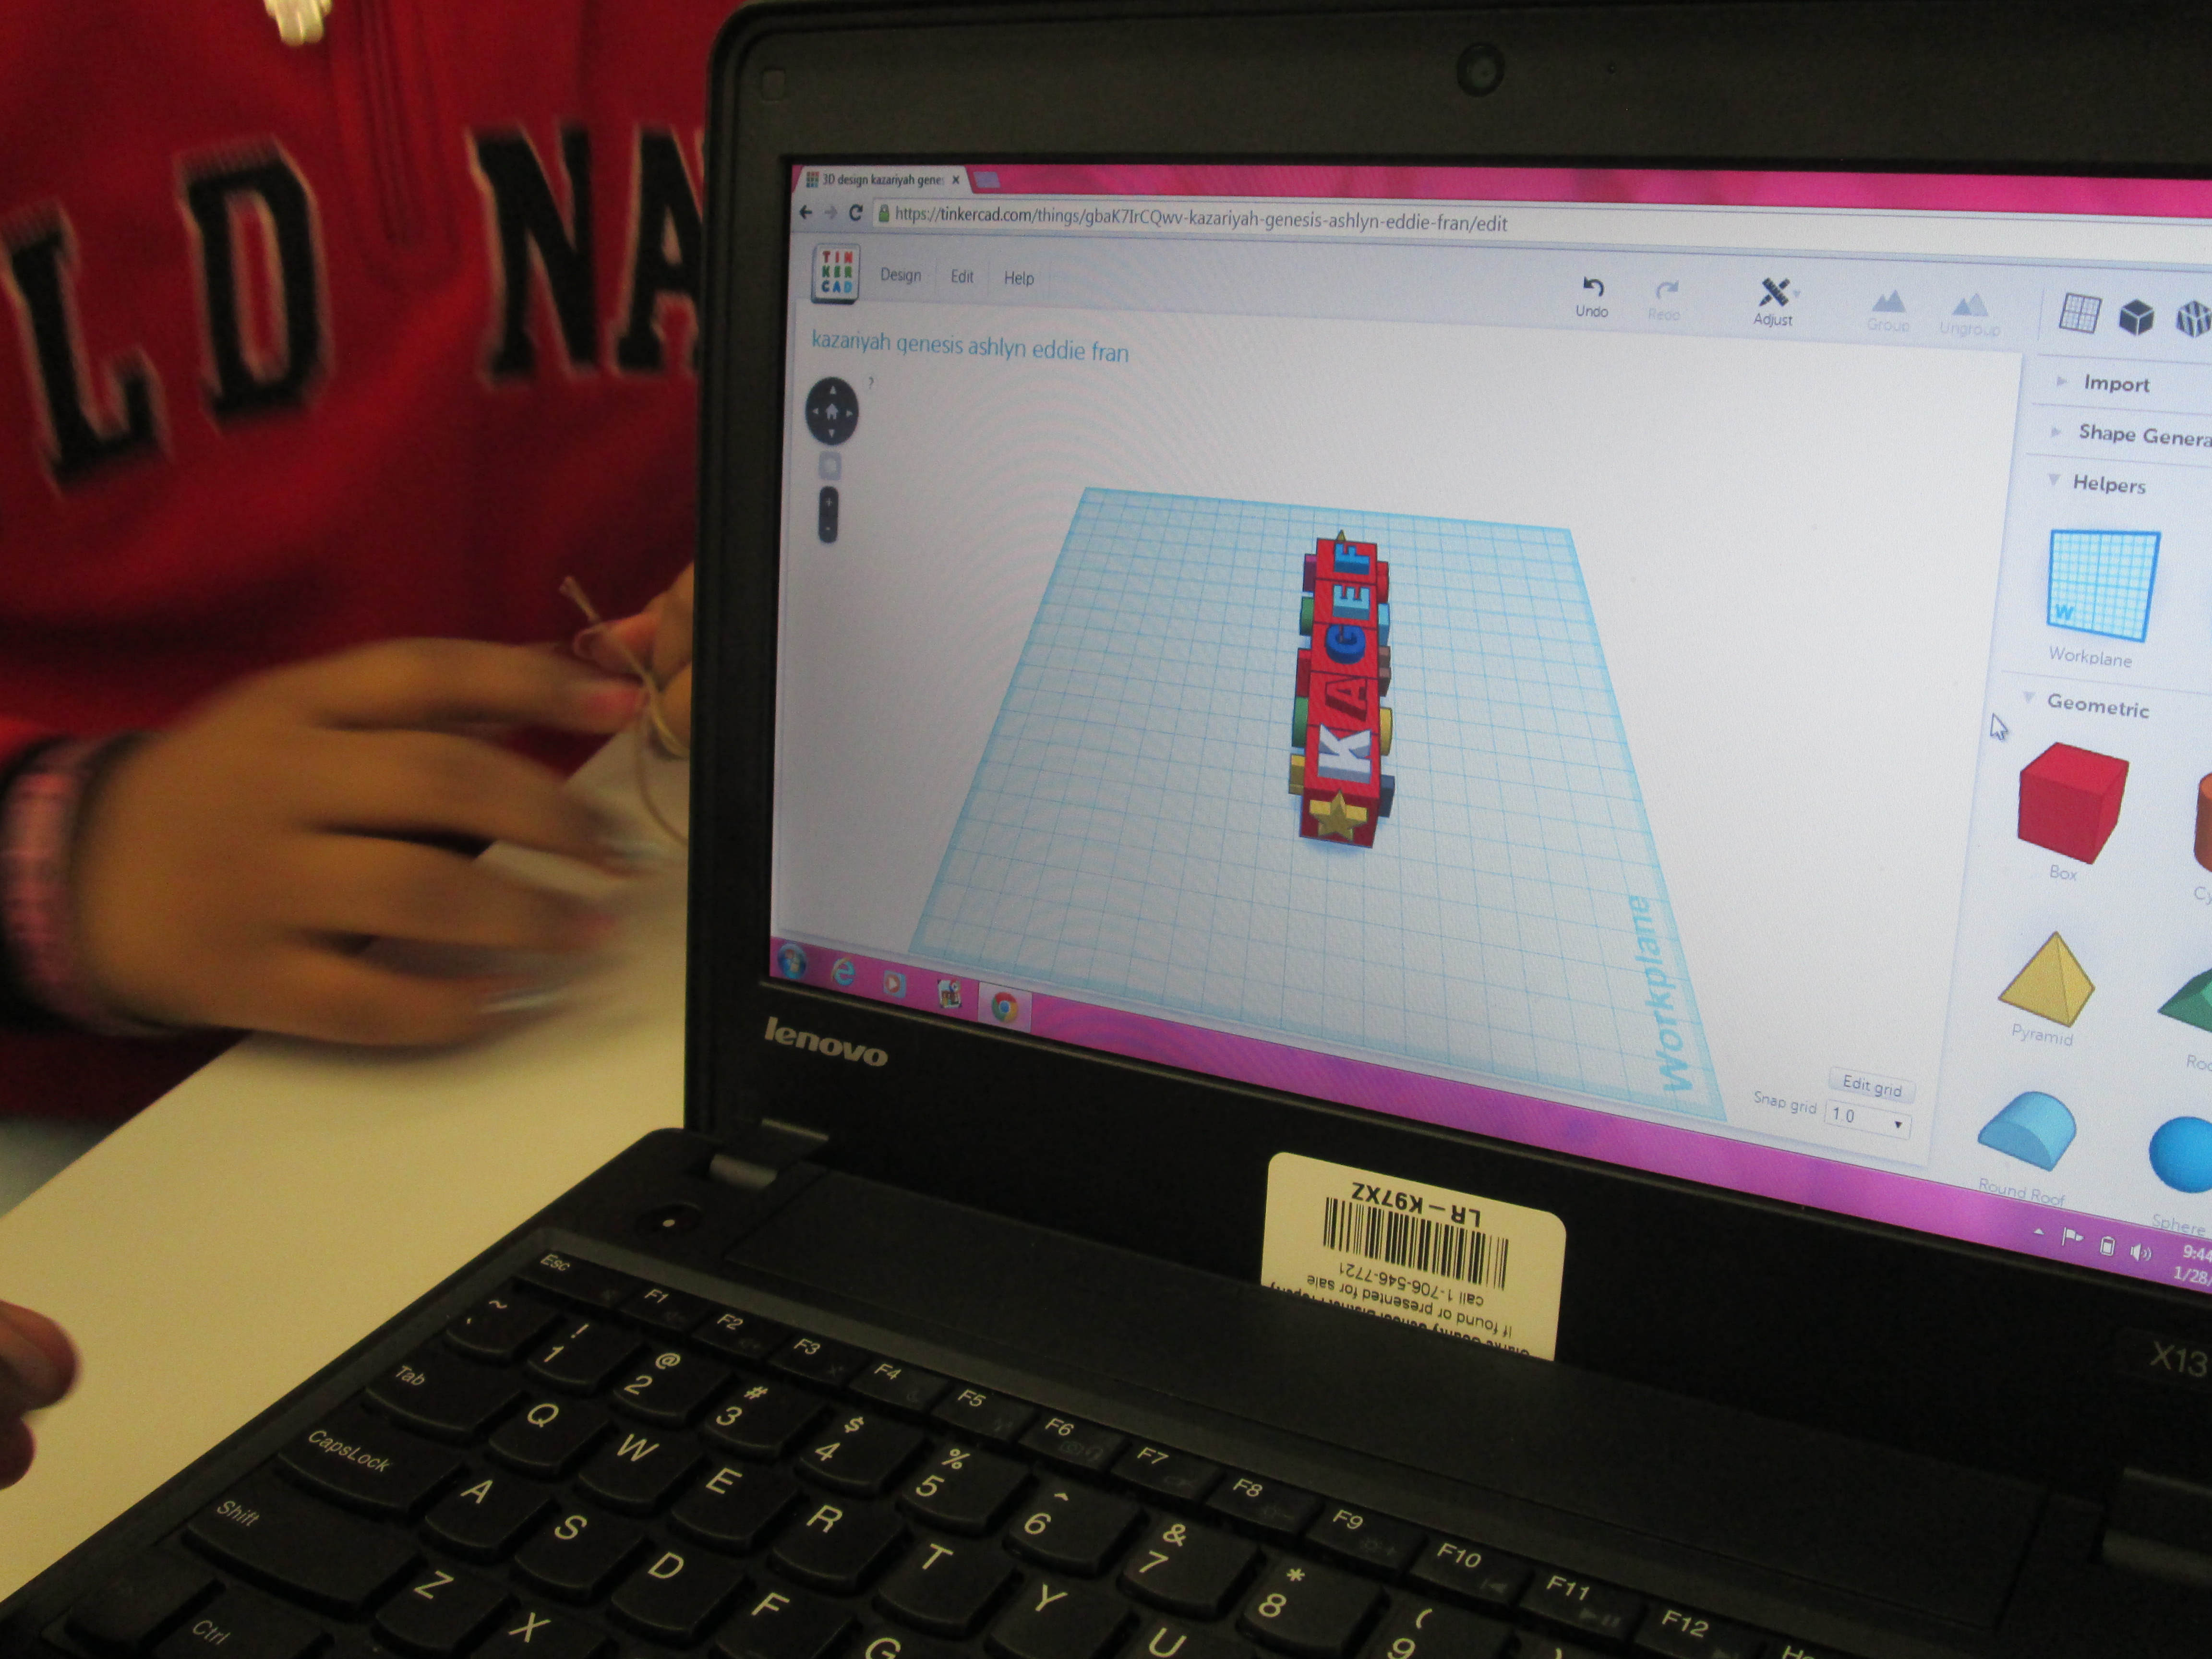
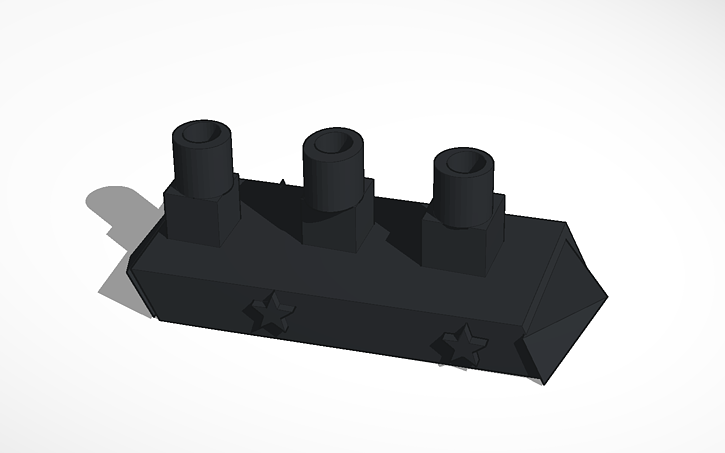
As always, I was amazed by what students figured out in such a short time. One group really wanted to put holes in the top of the smoke stacks on a boat they were making. They tried several different things and never once got frustrated. I was fortunate enough to be with them at that moment of exploration and encouraged them to keep trying. After several attempts, they figured out how to put one cylinder inside another and make the inside cylinder a hole. It looks great in Tinkercad, so we’ll see how it translates to 3D printing. These same types of conversations were happening in every group.
Deep in thought
Ship with holes in the smoke stack
I also loved that we did not tell students what they had to create. The only guideline was that students work together to create something for their larger kinetic sculpture. Every group created something totally different from a block filled with words to a barn to a ship.
As usual, we are always crunched for time in school. This was a great first pass at using Tinkercad with an entire grade level. I’m hopeful that in the future we will figure out ways to increase the amount of time that students get to spend on their designs.
Mrs. Li’s Kindergarten class has been exploring the Chinese New Year with me in the library. During our exploration, we’ve tried out several resources for information. First, we used Capstone’s PebbleGo database to do some pre-reading for background information. We did this with little discussion about the holiday, but instead just focused on listening to the information to build some shared knowledge.
Next, we thought of questions that we had about the Chinese New Year that were possibly not answered by PebbleGo. We asked things like:
When is Chinese New Year this year?
When is the lantern festival?
Where is it celebrated?
How is it celebrated?
Before students came, I installed the Google Voice Hotword Search extension in Chrome. This allowed us to control a Google search with our voice. For Kindergarten students who aren’t fluent in typing, this lifted a big search barrier for them. We took our list of questions and took turns saying:
“OK Google”
When is the Chinese New Year?
Google searched and spoke to us telling us that this year Chinese New Year begins on January 31st. We continued this process to answer many of our questions.
Next, we used Grace Lin’s book Bringing in the New Year to continue our exploration. Many facts that we had already discovered were confirmed in the text, but the book allowed us to learn some of the family structure in China and what different family member roles are. Mrs. Li was able to help us with this part of the lesson. Since I wasn’t sure how to pronounce some of the words, she pronounced them for us and also explained the meaning of each family member’s name. We certainly could have used Google for this, but we had a conversation about choosing resources to answer our questions. Since Mrs. Li was with us in the room and is an expert in Chinese culture, she was a faster option for us than taking the time to go to Google. It’s never too early to begin surfacing the thinking process that we go through as learners when we are trying to find the answers to our questions.
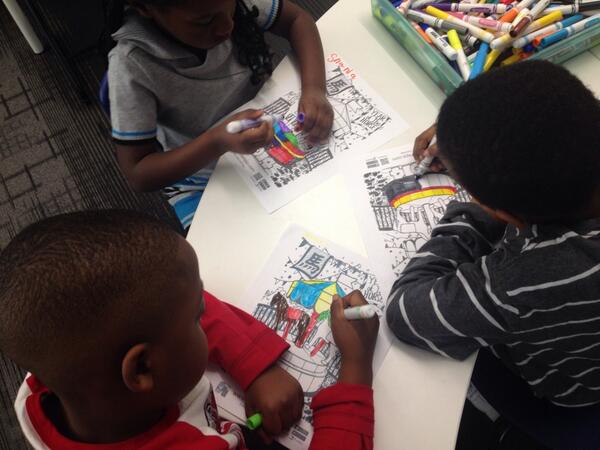
During the 2nd lesson, we once again used the Google Voice Hotword Search to explore the Chinese Zodiac. We learned that 2014 is the “Year of the Horse”. Students were curious about their own birth years, so we used Google to look for the signs for each of their years too. From here, we spent some time coloring a colAR mix coloring page for Chinese New Year. Students used the iPad app to view their carousel creations. The app uses augmented reality to bring coloring pages to life. The carousel pops off the page and rotates to music with they year 2014 in front of the carousel. Students were mesmerized by their coloring page brought to life.
We explored so many skills and tools in just 2 lessons. I want to continue this transliterate thinking of how our students can experience content across multiple platforms. In these 2 lessons, we examined print, databases, websites, search engines, crayons/markers/paper, and augmented reality. I’m curious to ask students later what they remember about Chinese New Year and see what stands out in their minds from these 2 days.
In the new year, I wrote a post about expecting the miraculous in 2014. I can honestly say that the expression “Expect the Miraculous” has taken on a life of its own in our school. Let me tell you how it happened.
To kickoff the second half of the year, we held a schoolwide assembly. The purpose of the assembly was to review goal setting, celebrate our unique talents, and to give ourselves permission to have dreams. It really was an amazing assembly. We had student performances, a teacher who played her violin, a youtube video from Kid President, and Martin Luther King Jr contest winners. The assembly was also a space for me to talk about expecting the miraculous. I read the excerpt from Flora & Ulysses: The Illuminated Adventures.
“All things are possible,” said Dr. Meescham. ”When I was a girl in Blundermeecen, the miraculous happened every day. Or every third day. Actually, sometimes it did not happen at all, even on the third day. But still, we expected it. You see what I’m saying? Even when it didn’t happen, we were expecting it. We knew the miraculous would come.” ~Kate DiCamillo
I also shared synonyms for the word “miraculous” such as “extraordinary”. Finally, I told my own story of expecting the miraculous. My story involved our new 3D printer. From the day I heard about 3D printers, I expected that one day our library would have one. I wasn’t sure how or when, but I felt in my heart that this incredible piece of technology was something our students should have access to in school. About a year ago, our district considered purchasing a 3D printer for our school. It was all the way down to the ordering process, but something happened over the summer and it didn’t get order. Still…..I expected the miraculous. I wrote grants and began advertising the idea of purchasing a 3D printer. I publicized that a portion of our book fair profits would go toward 3D printing. However, this was a slow process and I knew it would take time to raise almost $3000 for a printer and supplies. Still….I expected the miraculous. Then, in October, Makerbot announced their partnership with Donors Choose. I immediately submitted my project and hoped for the best knowing that much of the available funding would most likely go to Brooklyn schools. Still…I expected the miraculous. Miraculously, our printer was funded overnight!
This is the story that students heard. I followed this with an invitation for them all to “Expect the Miraculous” with me. To capture our goals, dreams, wishes, and expectations for 2014, I created a Flipgrid. I gave them a quick tutorial on how to record a video into the Flipgrid by walking them through screenshots of the process. Then, I setup a Flipgrid recording station in the library.
Over the past 2 weeks, students have written about their hopes and dreams in class and visited the library to record. It has been an amazing process to watch. Goals have ranged from reading goals to behavior goals and from school-related to extra curricular related. I encourage you to spend some time listening to their miraculous expectations and feel free to click the + and add your own. Students have enjoyed coming into the library and listening the the videos on our touchscreen computer at the front of the library. I can put the Flipgrid on slideshow and it flips through each video throughout the day.
I’ve heard so many kids, families, and teachers using the word “miraculous” in conversations. Some students have even recorded their videos at home with their family. Our school embraced the phrase so much that we even put it outside on our sign.
One more miraculous thing happened. Kate DiCamillo posted an opportunity on her facebook page to ask questions about her books. I asked, “What miraculous things have you expected that actually happened and what miraculous things are you still expecting?” Here’s her reply!
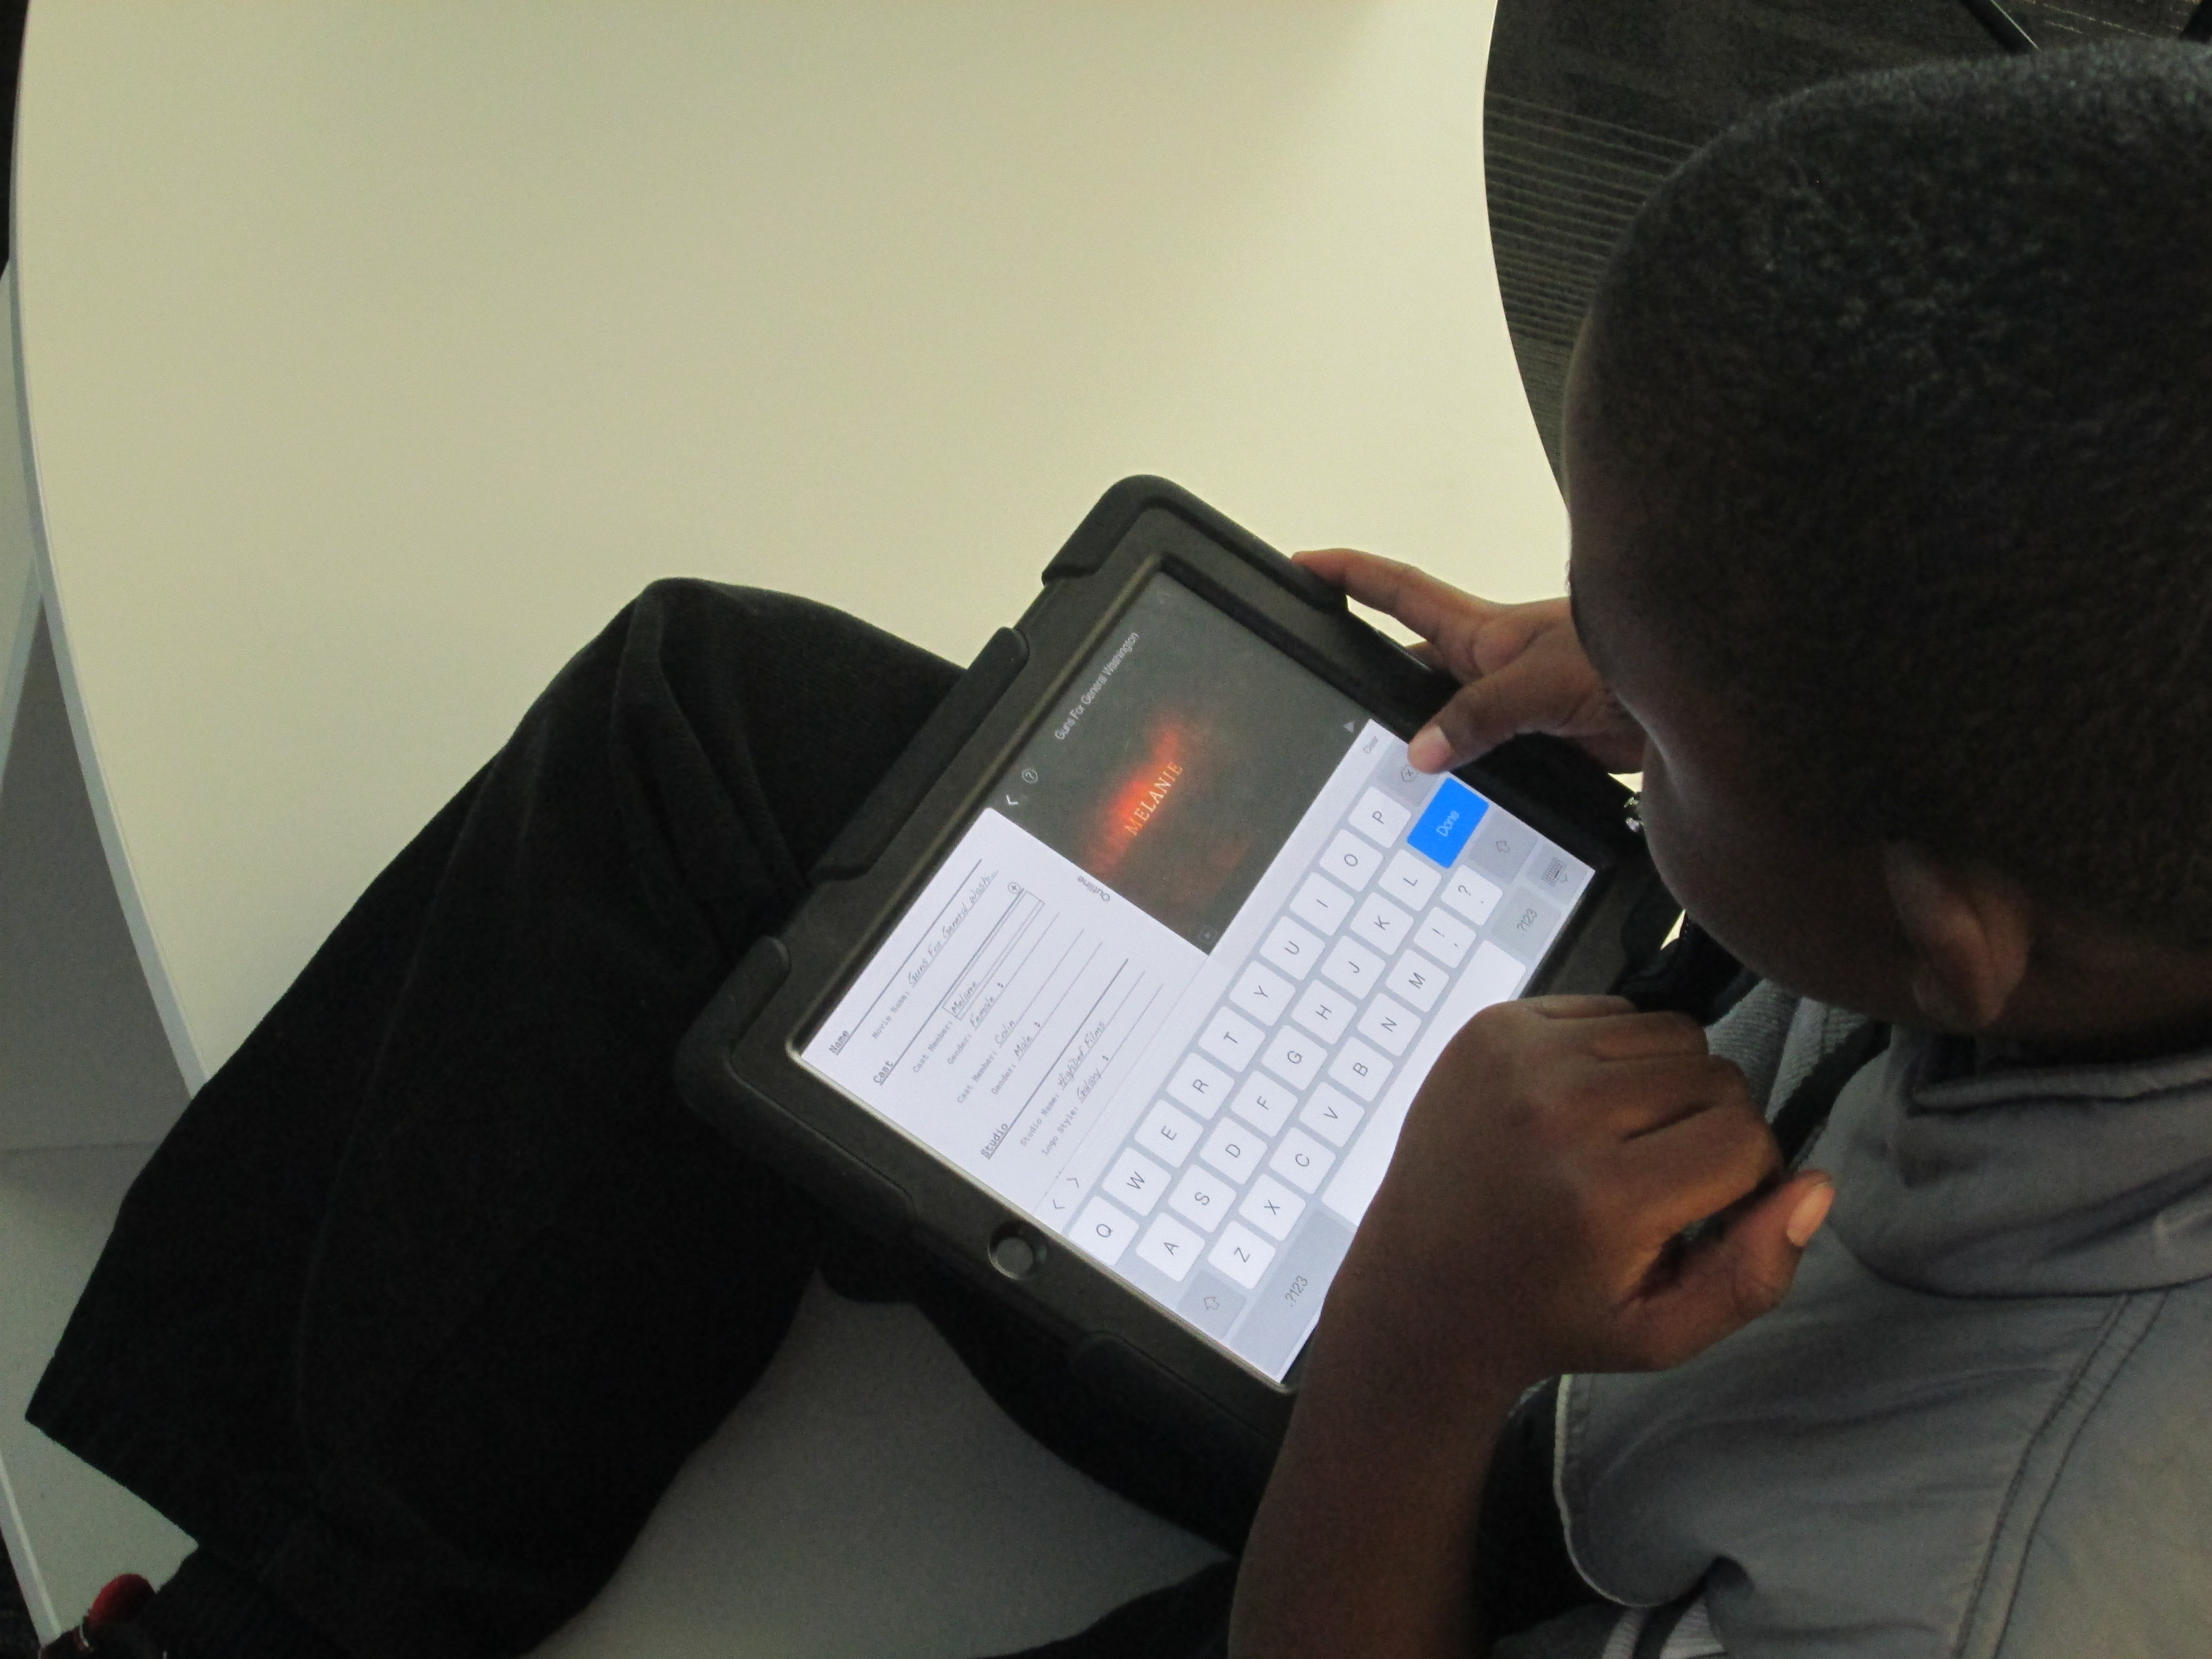
A few weeks ago, Okle Miller, a librarian near Tampa FL, shared a great iPad app with me that she had discovered on Richard Byrne’s site iPad Apps for School. Chatterpix allows you to take a photograph with your iPad, draw a mouth on that photo, and record up to 30 seconds of dialogue for the photo. The mouth moves in sync with your voice. This app could have many implications for short classroom projects from historical figures to summarizing strategies to book talks and more.
I recently sent out an email to teachers with some ideas for technology projects that we might do together. Each of the ideas was based in the subjects and standards that classrooms are working on with some suggestions of technology tools that might support those standards. Many of the classrooms are currently working on opinion writing about books along with persuasive techniques. I suggested Chatterpix as an option for students to quickly tell about a book, give an opinion, and try to persuade a reader in less that 30 seconds.
Second grade had already worked with me on writing book reviews for their blogs, so Caitlin Ramseyer, 2nd grade teacher, decided to incorporate Chatterpix into this mix. Her students each chose a book, read the book, and used an index card to write a script that they could finish reading in less than 30 seconds.
Today, they came to the library so that Caitlin and I could work with them on using the iPads. Students brought their index cards and books with them. First, we watched this video.
Then, we looked at my Chatterpix example.
Next, students dispersed throughout the library to use the iPads. Caitlin and I walked around and helped as needed, but the students were very capable of figuring things out and helping one another.
One student didn’t have her book, so she pulled up the book in Destiny on the computer and took a picture of the screen. Other students had very tiny people on their covers, so they put the iPad close to the cover in order to take a closeup picture of the character. There was a lot of problem solving going on as students tried to figure out how to create the best video. Many of them quickly figured out the different filters that they could use on their picture, but most chose not to explore the stickers (this time!).
Once they were finished, they saved the video to the camera roll on the iPad and brought it to me. At first, I was trying to login to each iPad and upload to Youtube, but it was taking too long. Instead, I plugged a cord into my laptop and imported the video straight into Youtube. Caitlin helped them make sure their video was exported to the camera roll and I uploaded to Youtube.
Finally, we gathered on the carpet to view our videos. During this time, we paused a lot and students gave tips for future use of Chatterpix. They suggested things like:
Since Chatterpix reverses words, try to take a picture of a character on the cover and avoid the text
Have your script written down
If you finish before 30 seconds, don’t forget to press stop
Rustling your paper makes the character’s mouth move, so be still
If you have trouble drawing the mouth with your finger, use a stylus
Hold the iPad in portrait view rather than landscape
We reminded them that they had developed some expertise with this app and that we might call on them sometime to help others. Even this list of tips is a way for them to pass on their expertise. Now that we worked out some logistics with how this type of lesson can flow, I think Chatterpix will be an app we will revisit many times.
We are a little over halfway done with our enrichment clusters this year. Every Friday, students across the school go to an interest-based cluster of their choosing for one hour. During this time, students explore a topic and develop products or services related to their topic. My cluster is called Makerspace Maniacs. So far this year, we have explored making with duct tape, building with cardboard, lego robotics, and 3D printing. After lots of explorations, students are making decisions about where they want to focus.
A small group of students is focused on lego robotics. Monica and Omarion are both committed to building a robot and programming it. They both have varying levels of expertise. Today, I asked another student, Ludwig, to come and work with them. Ludwig has a lot of experience with Lego Mindstorms. During clusters today, he worked with them to build a robot and program it. Although they didn’t get far with the programming, he was able to show the students some tips and tricks to get the robots to work the way they wanted to. I love using students as experts. They hold so much knowledge that we don’t even know about. Ludwig just happened to talk to me one day about Lego Mindstorms because he knew that I bought some. He used Lego WeDo and Lego Mindstorms in other settings and told me he was willing to help me any way he could with them. How exciting that a student offered his expertise without even being asked!
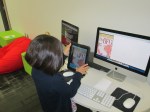
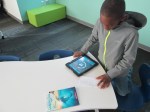
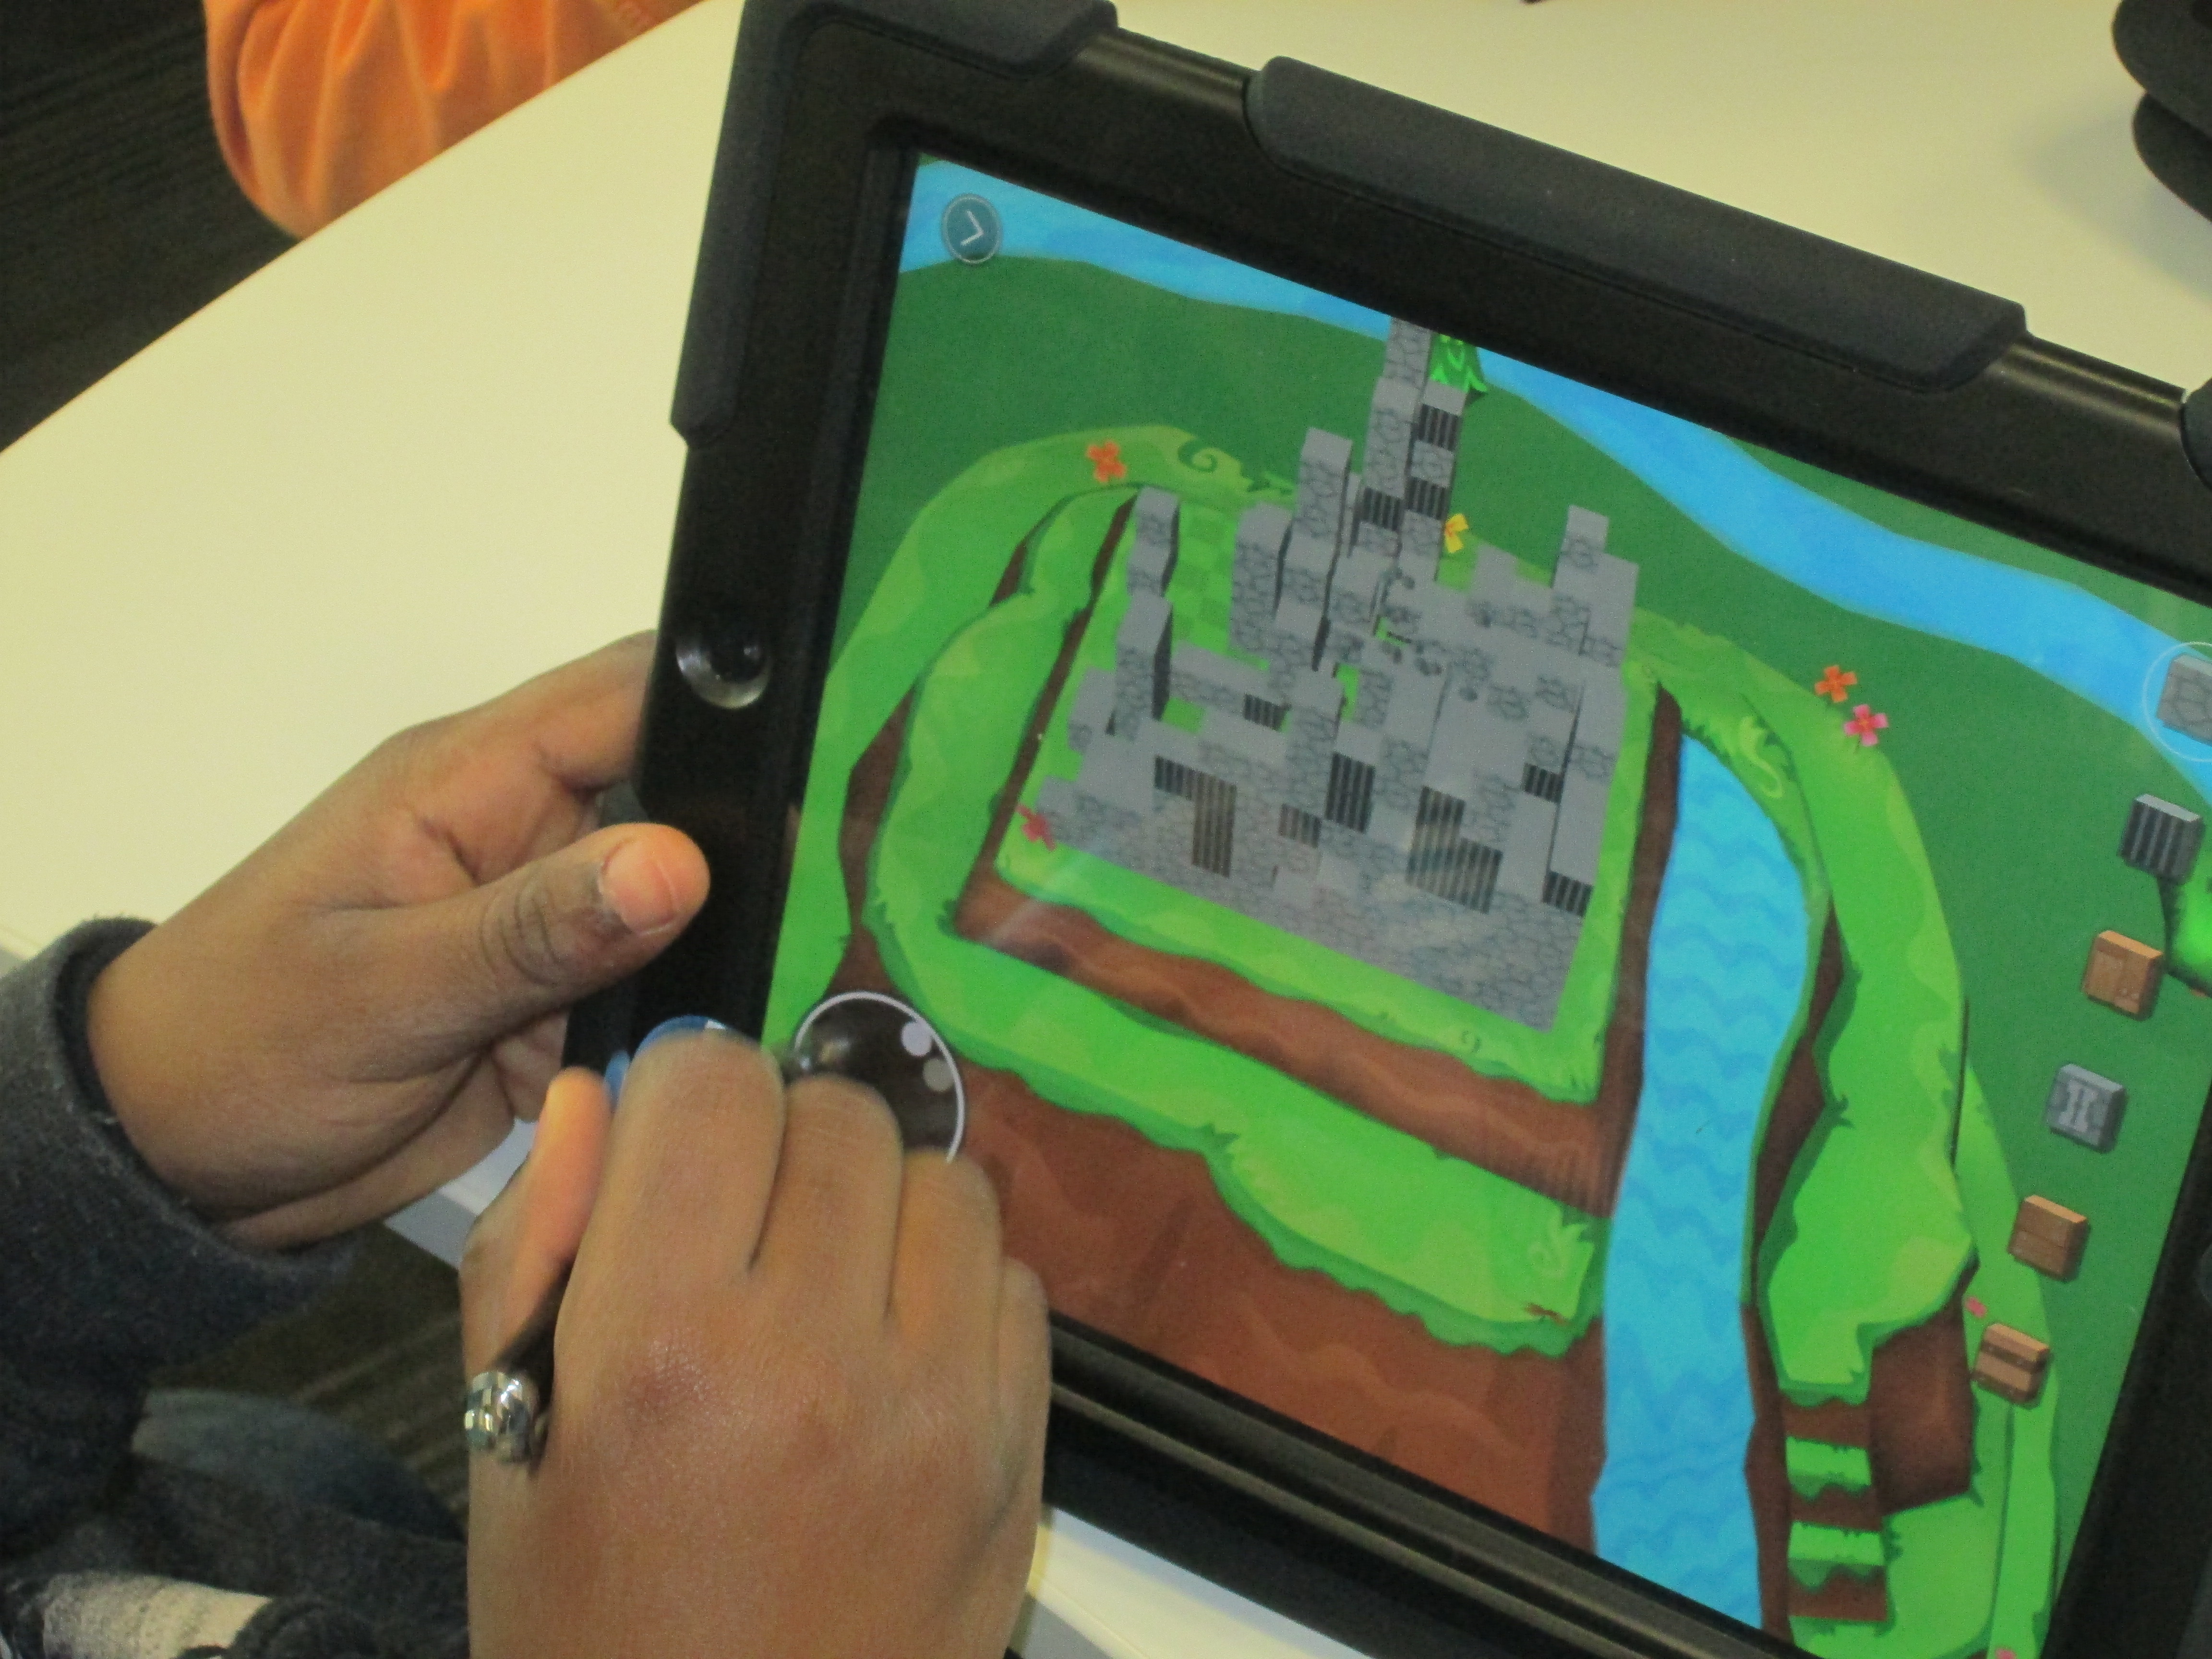
Other students in the cluster have decided to work on 3D printing. Over the past 2 weeks, they have used a new iPad app called Blokify. This app uses blocks to build a 3D object. It is very user-friendly to build a 3D object in very little time. Once built, the object can be ordered or emailed for 3D printing on your own device. Today, students really focused on coming up with an idea and using the blocks to build. While they were using the app, I started a Google Doc, which I will share with them, to collect what we love, wonder, and want to change about the app. One service they will offer as a part of the cluster is to share this info with Blokify.
Today, we were also tweeting with Blokify and students were able to respond to their tweets. Such fun!
Students prepared several files that they emailed to me. I have them ready to go for 3D printing next week. We’ll be printing a pirate ship, a Trojan pig, and a castle among other things. As we progress, these students will also think about how they see this app fitting into what they are already doing in class. We’ll come up with some lesson ideas for teachers to consider.
We only have a few weeks to go, but our speed is picking up and our focus is narrowed. I know incredible things are going to happen with these students.
Today Mrs. Rogers and her 4th grade ELT group came to the library to explore book trailers. They are currently reading a novel together and had the idea to create book trailers for each chapter of the book. I guess we should really call these chapter trailers. For our lesson, we looked at three trailers:
Our purpose in watching these three trailers was to think about how different each trailer could be. Students talked about what they noticed about each trailer after watching it.
For Carnivores, students noticed that:
1 actor was used 🙂
music was used throughout
text was used at the beginning to set the scene
there were lots of clips put together
the funny tone of the book came through in the trailer
the trailer didn’t give away all the details of the book
For Boy + Bot, students noticed that:
questions were posed for the reader to consider
images from the book were used in between the questions
music was used throughout
the trailer was very short
For Wonder, students noticed that:
there were multiple actors
there were multiple shots that needed a lot of direction
there was text, live action, and music
the character’s face was never shown
Students even spent time thinking about the difficulty level of these 3 trailers and what they were each willing to commit to for their own project. They also thought about why each type of trailer might have been picked for each book. We talked a lot about purpose.
After this great discussion, students spent time exploring iMovie on the iPads. This is the tool they will most likely use for their trailers. Most had no experience with iMovie, so I invited them to spend about 20-25 minutes messing around and figuring out some of the features. I encouraged them to share what they learned with each other, and it didn’t take long for collaboration to begin. As soon as students figured something out, they were eager to show and help others.
Ludwig, a 4th grader, really jumped into the trailer part of imovie. He began planning out a quick trailer and sprang into action filming it. He didn’t make it all the way through, but you can see what he figured out here:
Reid, another 4th grader, explored the movie part of iMovie. He put together a little idea and started filming clips to put a quick sequence together.
We closed our time together by showing these videos and setting the stage for students to begin planning their own trailers. Once again, I was amazed by what kids could figure out and share when given the space to explore. I reminded them to continue to share their expertise with one another as they progress through the project. They will continue work in their classroom, but I will also collaborate with them at various stages of the project.
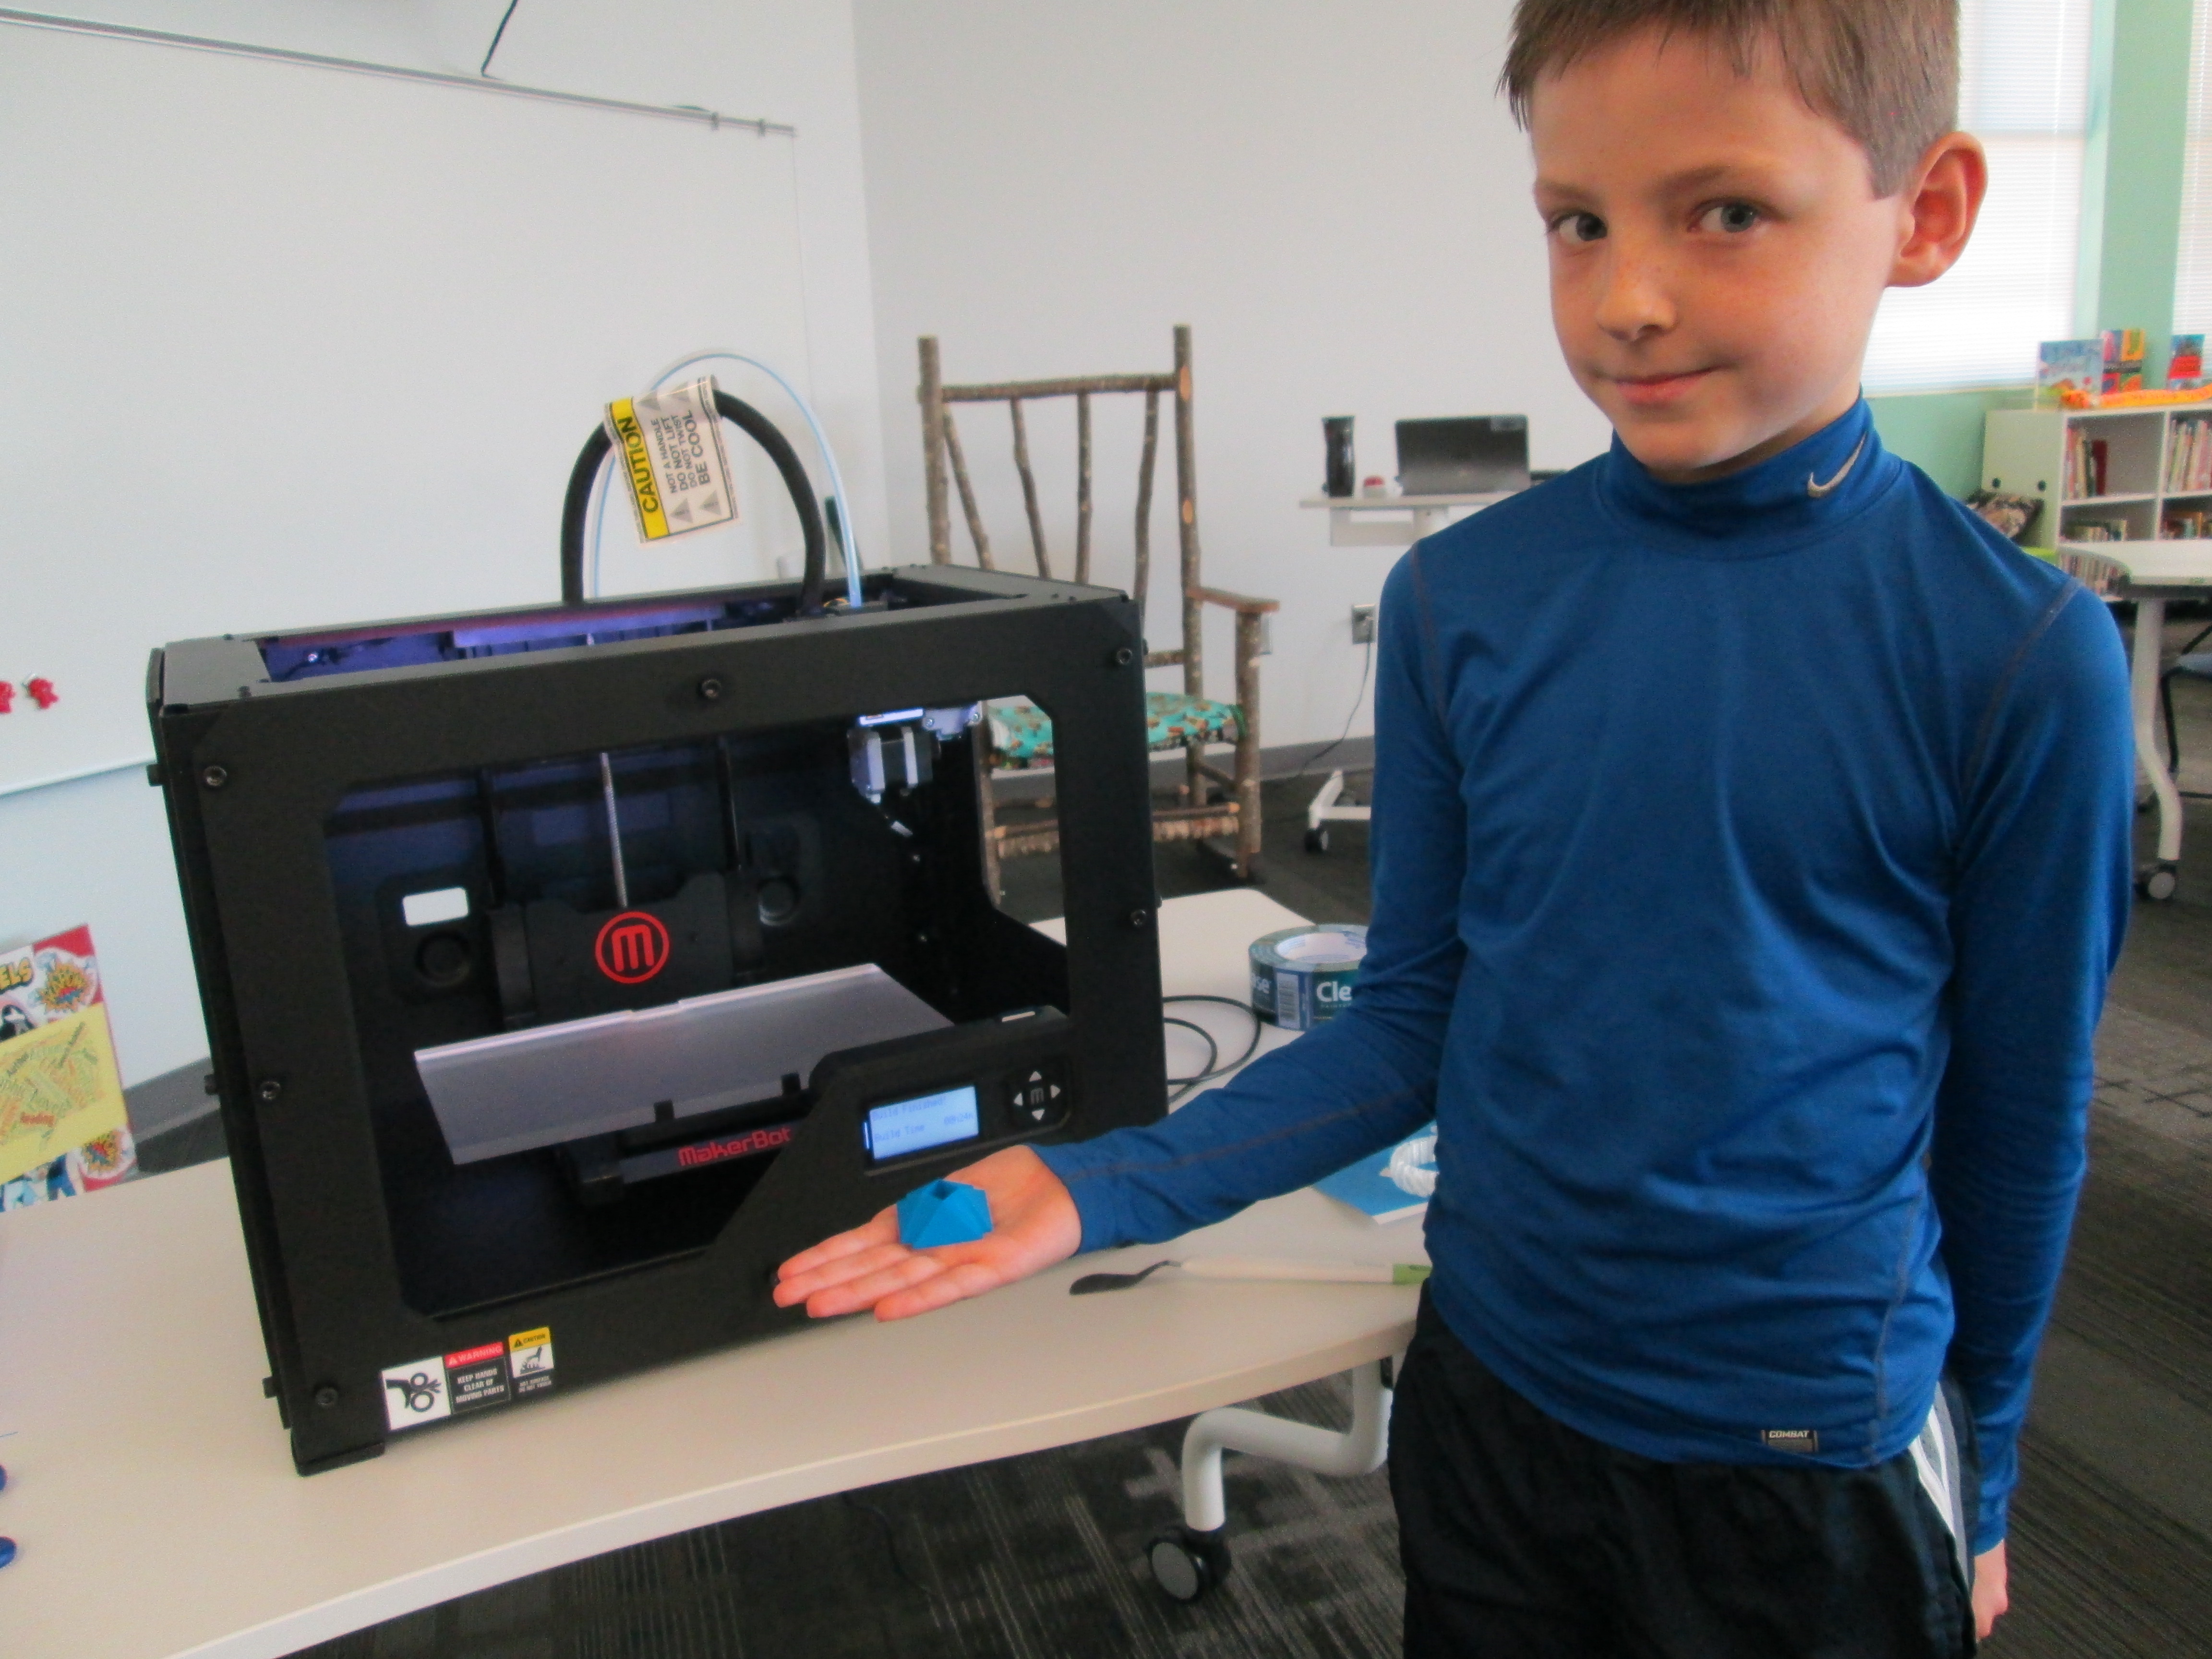
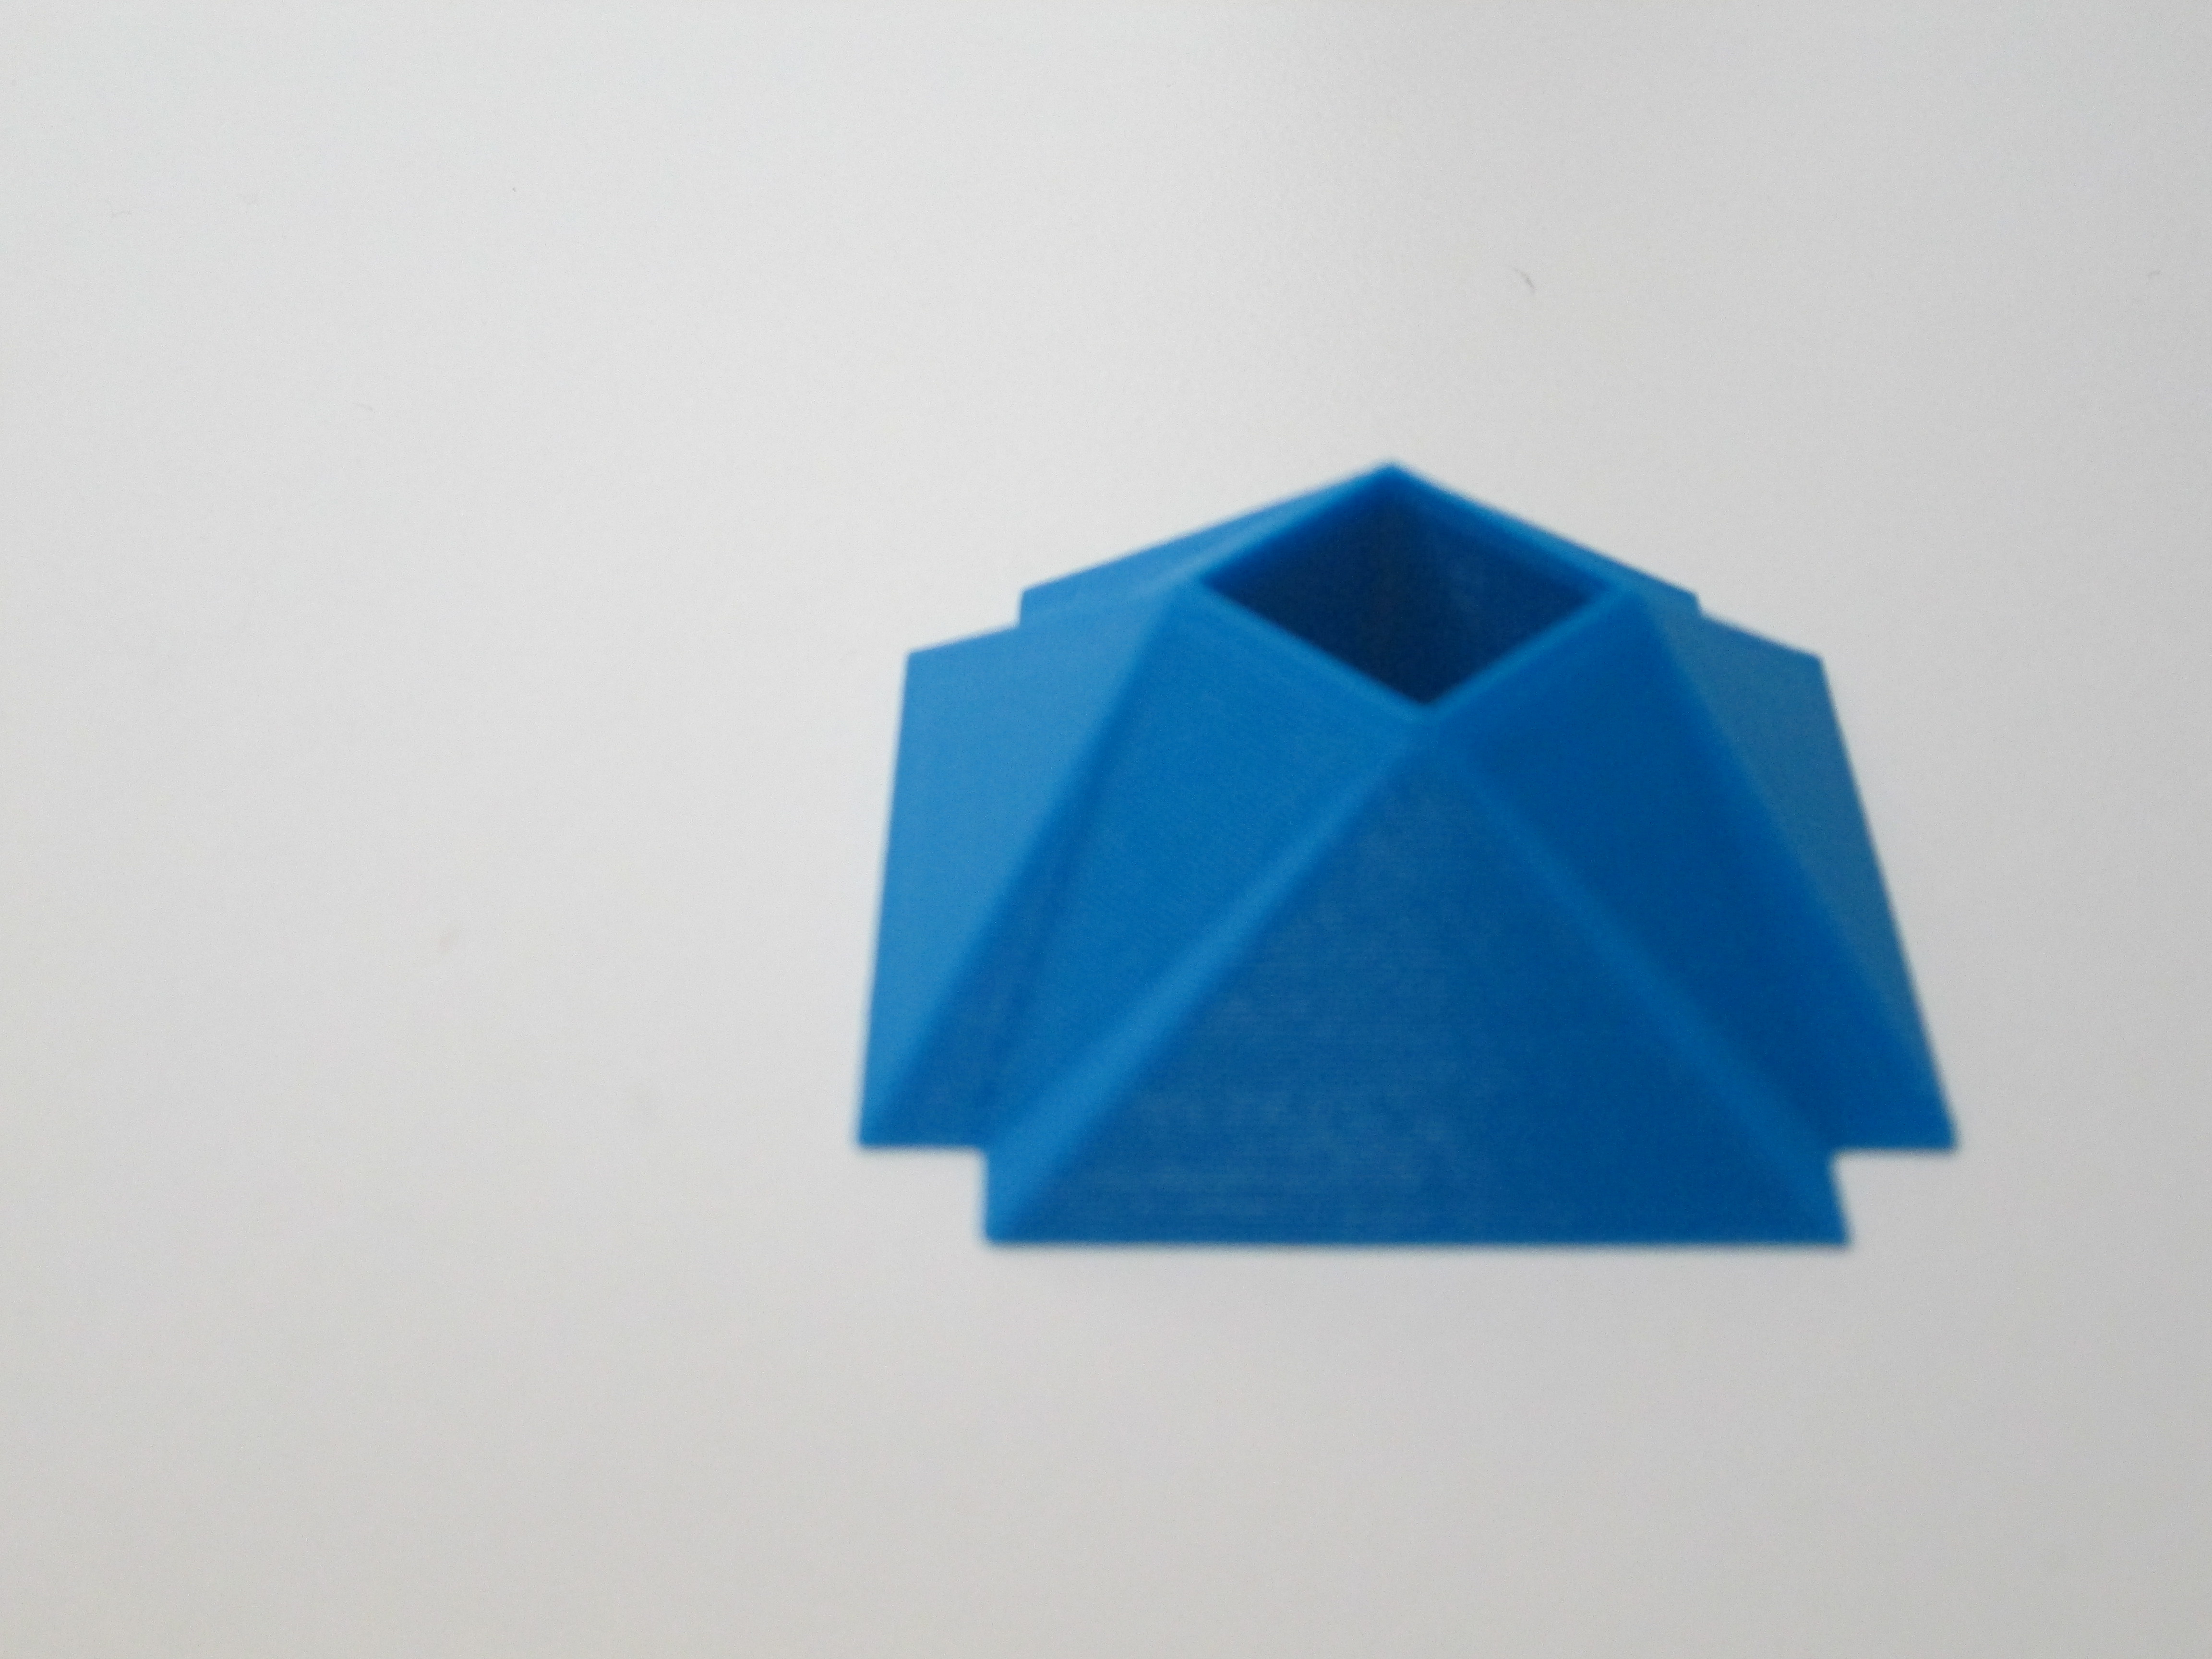
Today, the second student who designed a gem using Sketchup was able to print his gem our our Makerbot replicator. In case you missed the 1st print, you can read about Grant’s history-making print here.
Danny’s gem was quite different from Grant’s. Danny figured out how to make a square hole right through the middle of his gem. It was something we had wondered how to do, and he figured it out. This again brings to my mind the importance of letting go of the feeling of being an expert in everything before we allow our students to explore. Because Danny was given the freedom to explore Sketchup, he figured out how to do so much more than his teacher and I could have ever figured out on our own. Now his expertise can support others who want to try a similar design.
Before Danny pressed the bright red M to start the print, we made sure he got to choose the filament color that he wanted. We now have a selection of filament to choose from: blue, red, white, clear, black, yellow, orange, green, purple, and black. Danny’s gem took about 24 minutes to print. Now that we have an approximate time frame for printing these gems, we are going to try to get 2 printed during each class period over the next few days. Once again, students flocked around the printer and begged for their gem to be next.
You can watch is gem print process here:
I’ve also been experimenting with a couple of tools that will hopefully inspire some new projects with several classrooms. One tool is Tinkercad. I recently used Tinkercad to make a words with wings keychain. In her new book, Words with Wings, Nikki Grimes has some incredible poems that detail how a single word can help us take flight through its meaning in our lives. I hope that I can share this poetry with students, have them select their own “words with wings”, and create backpack pulls using Tinkercad.
Another new tool is Blokify. With this easy-to-use iPad app, students use a series of blocks to make pretty much anything they want. While the blocks are designed to look like a castle, space ship, or pirate ship, they can really be stacked into anything in a Minecraft-like style. The files can be emailed from the iPad to be imported into Makerware. I hope to do storytelling projects with teachers around student-designed settings and/or characters. With the blocks all being the same size, there is also great potential to use this for perimeter and area in math.
I love how ideas keep naturally surfacing within our standards and explorations. It’s not about what we can 3D print. It’s about what we are learning about, what we want to create, and how 3D printing might support that.

 A few weeks ago, Em Smith Headley, 1st grade teacher, asked if I could help with their math standards using the iPads. They have been working on using a variety of strategies to solve basic addition and subtraction problems.


![IMG_1806[1]](https://expectmiraculous.com/wp-content/uploads/2014/01/img_18061.jpg)


![IMG_1810[1]](https://expectmiraculous.com/wp-content/uploads/2014/01/img_18101.jpg)


")
")
")
")
")