Exploring Poetry: A Writer’s Workshop Support

Our 4th grade is currently reading poetry in their reading block and writing poetry during writer’s workshop. To support their work, they asked me to create a lesson to give their students an opportunity to read multiple kinds of poetry to inform their work back in class.

Planning

I love working on poetry with students and many times this doesn’t happen until April, so I was so glad to see poetry being studied earlier in the year too. To prepare for this lesson, I spent a lot of time in our poetry section of the library looking for a variety of poetry. I of course looked for forms of poetry but I also looked for groups of books that explored a certain theme or idea. As I found possibilities, I placed them in stacks for consideration as I narrowed down our final choices.

Next I wrote a short description of each stack of books so these could be printed and placed with each table.

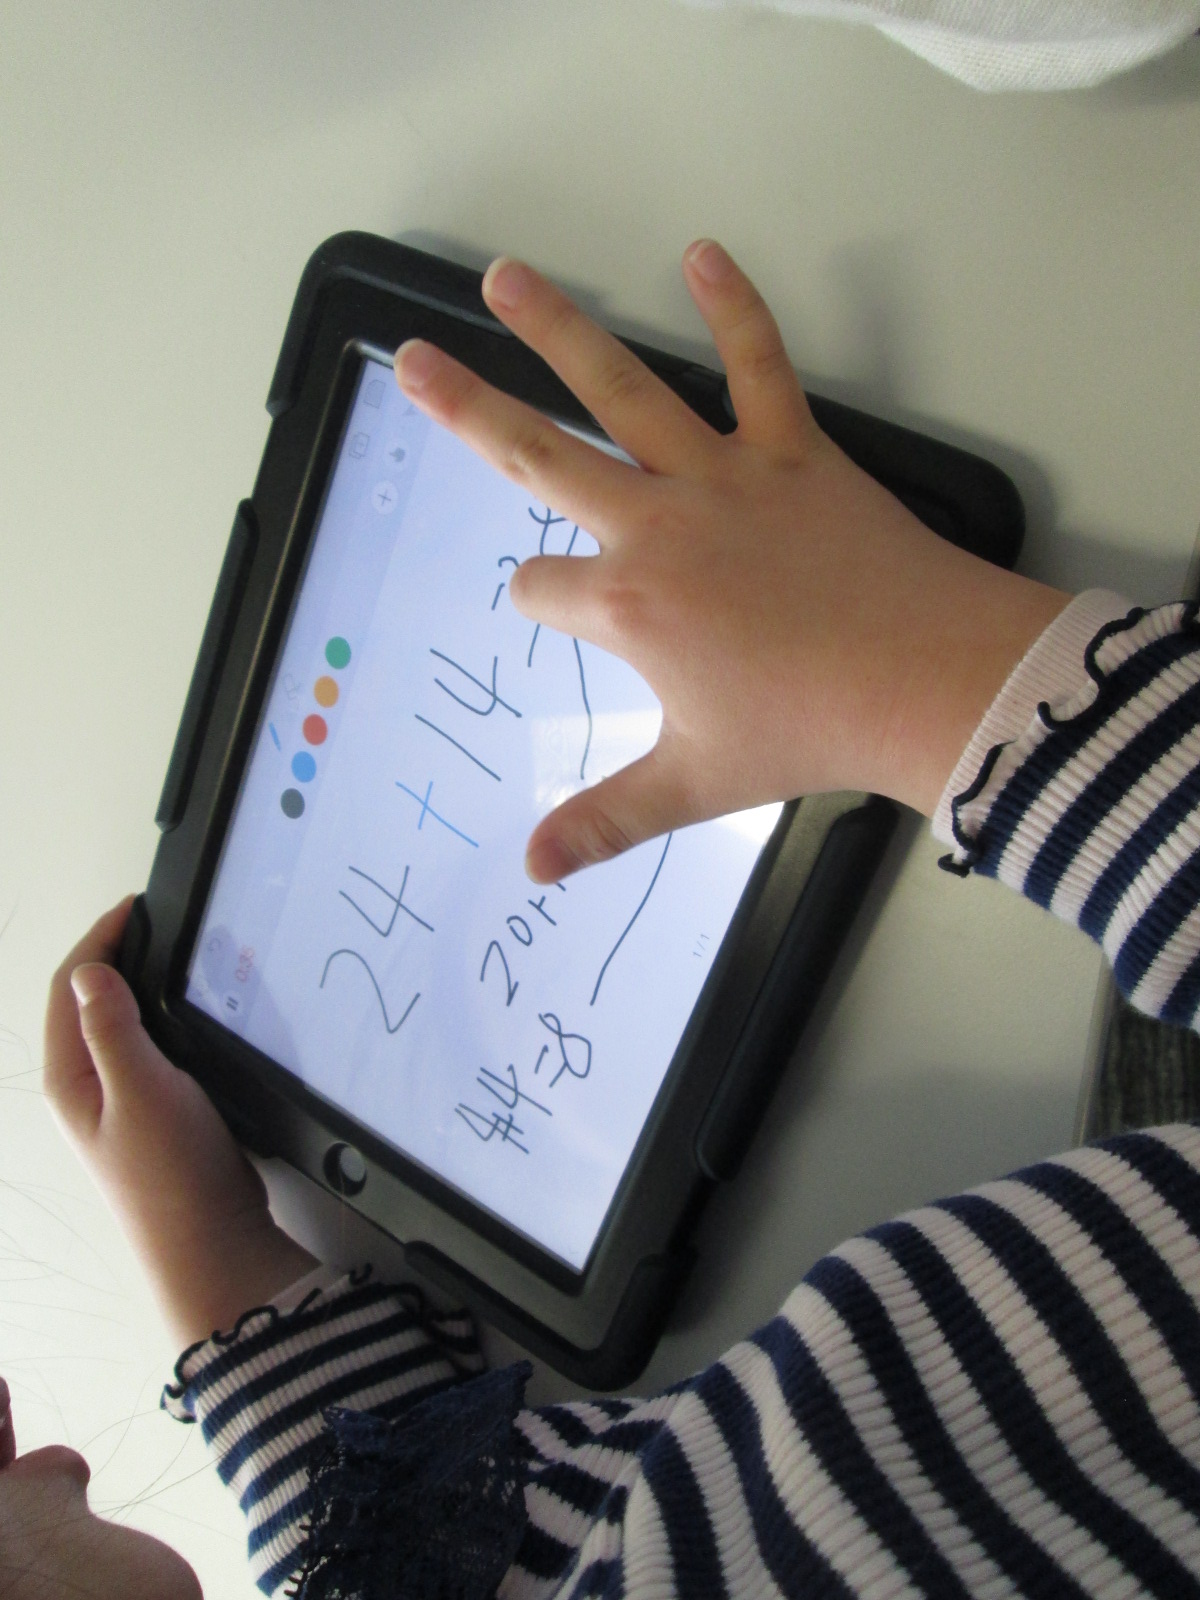
For students, I created a list of the types of poetry the would visit.  The list had an empty box by each type so students could check the kinds of poetry they liked.  There was also a line for them to write any notes or the titles of the books if they wanted to revisit them later.

Opening

To begin our time, I shared with students how I had a hard time coming up with a definition of poetry that I really liked. I asked them to think with me about how we might describe a poem.  Students shared amazing ideas:

  • a description of your thoughts
  • capturing an emotion on paper
  • rhymes
  • feelings in words
  • creativity

Each time a definition was offered we agreed with it but we always felt like it didn’t completely capture all the things a poem could be. I asked them to continue thinking about this as they explored the kinds of poetry around our library. I encouraged them to read their poetry aloud so they could hear the rhythm and sounds the poets included.
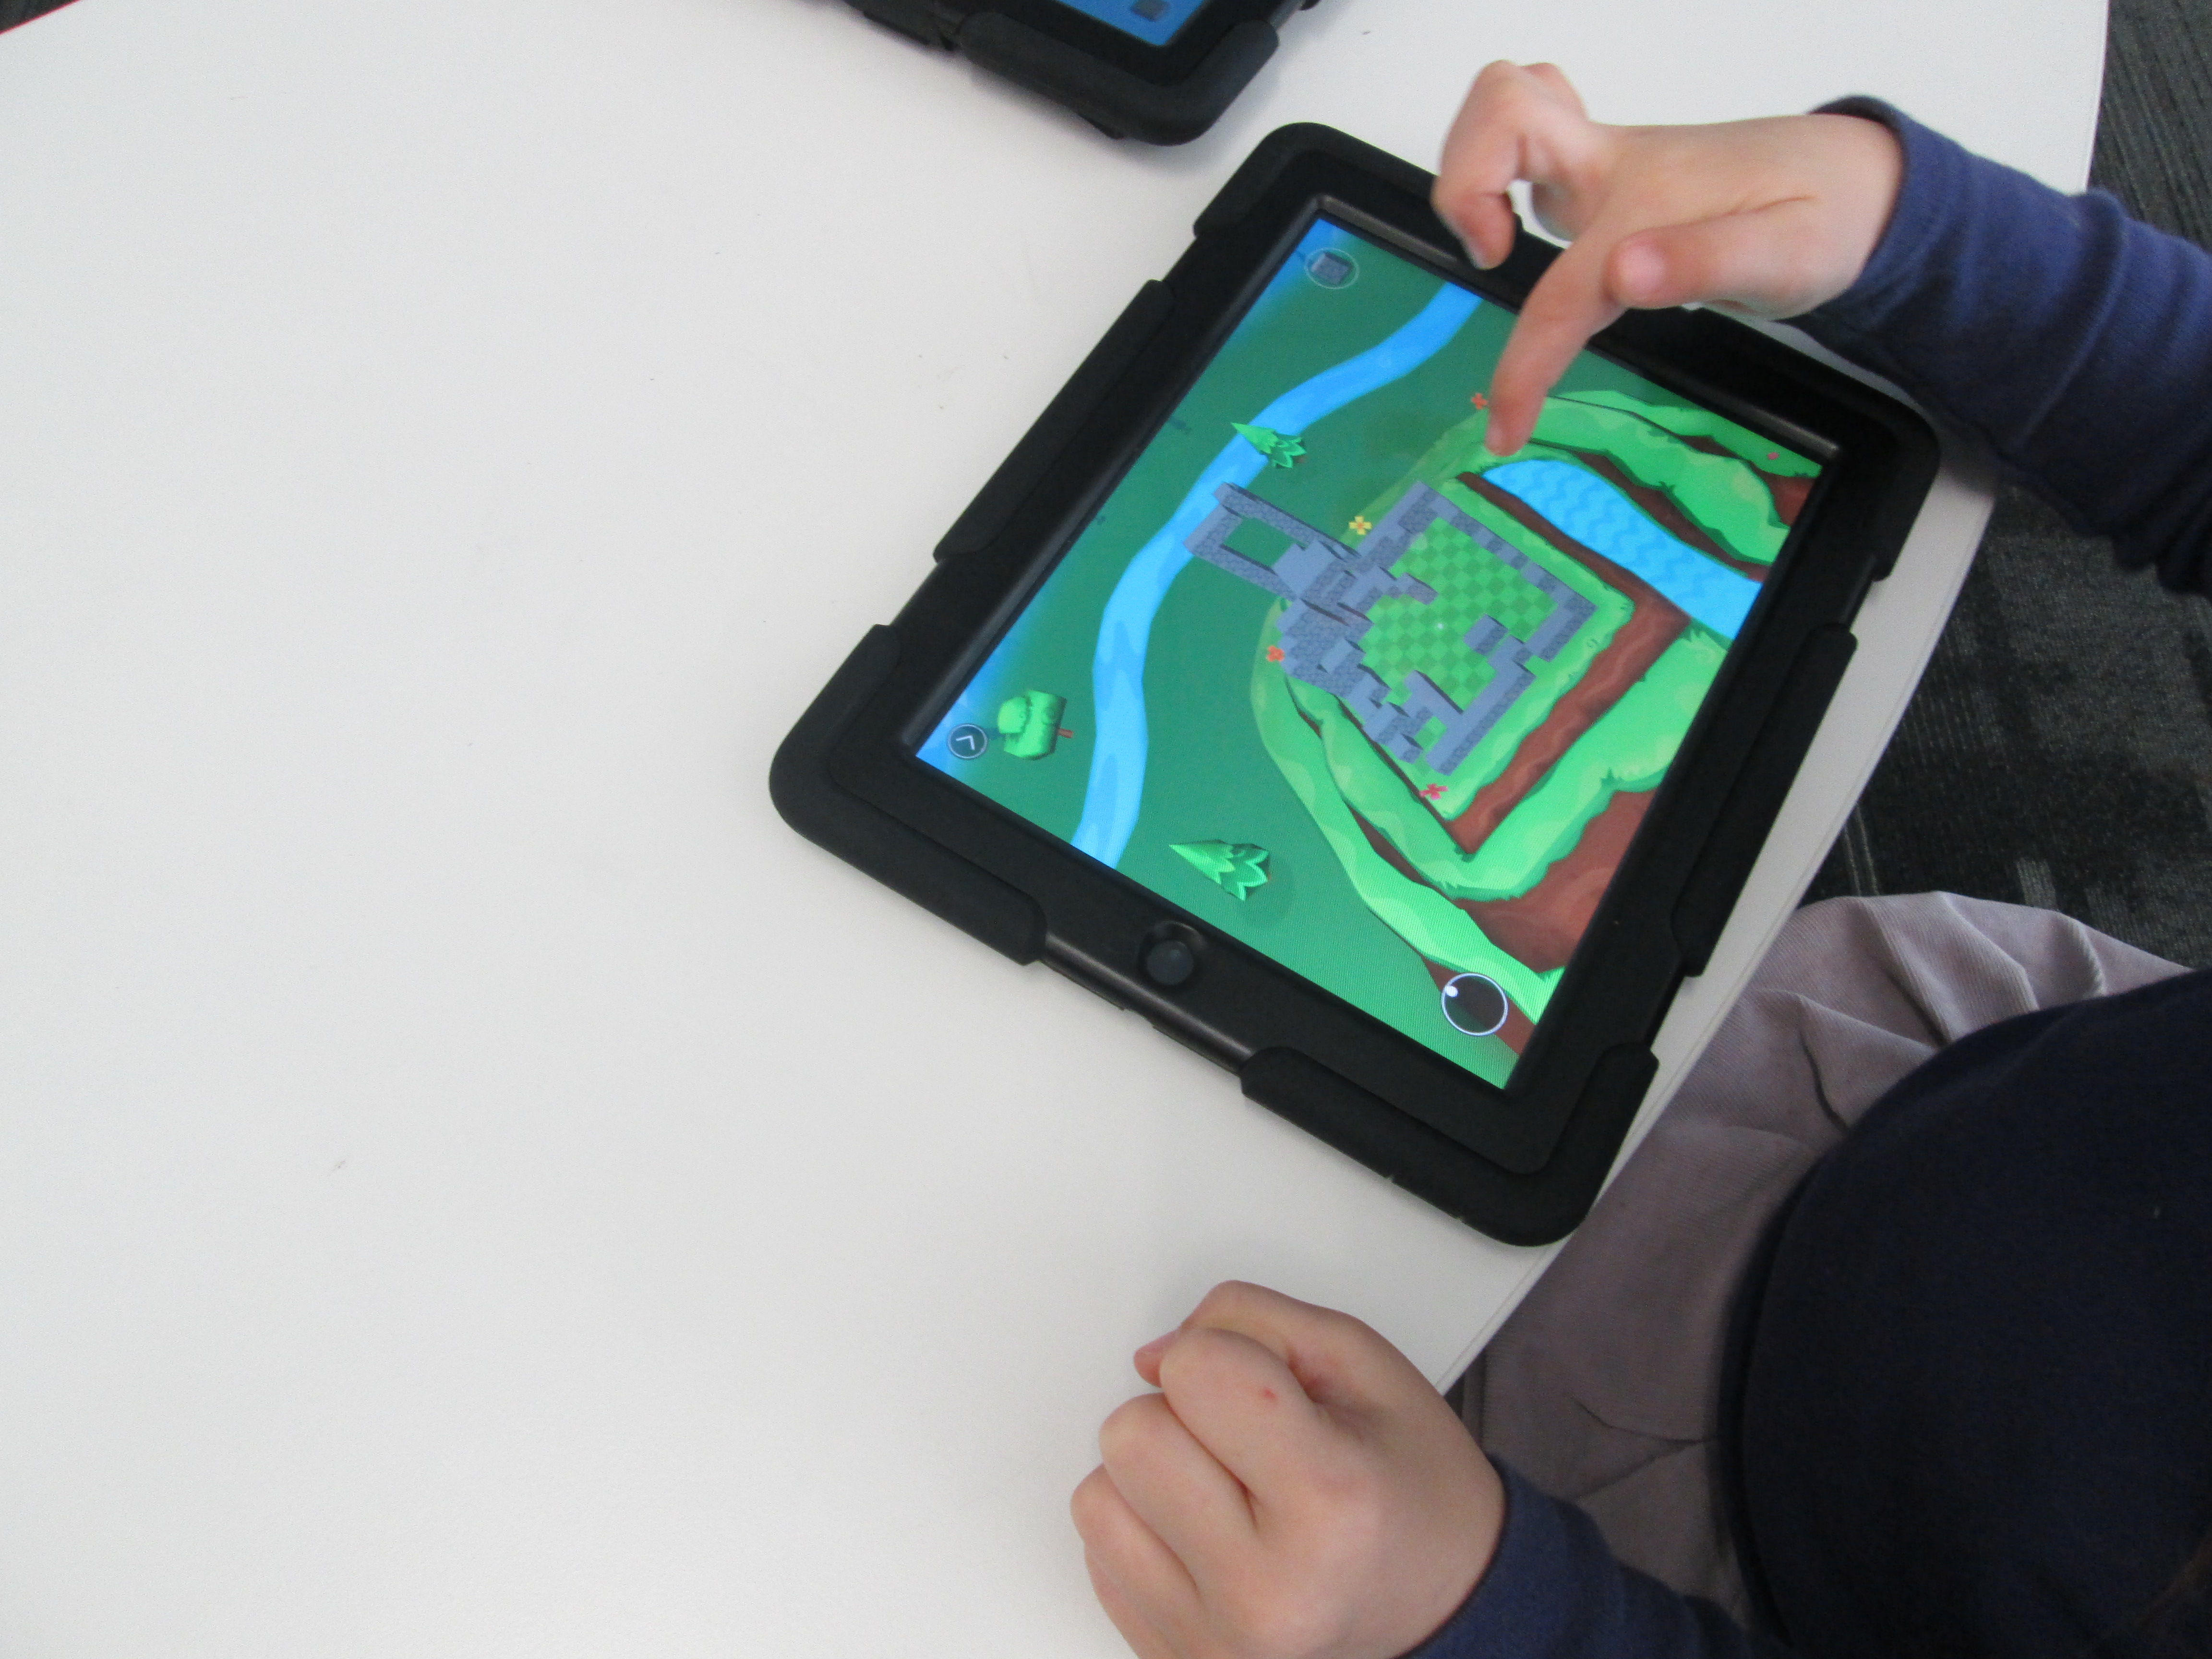
Exploration

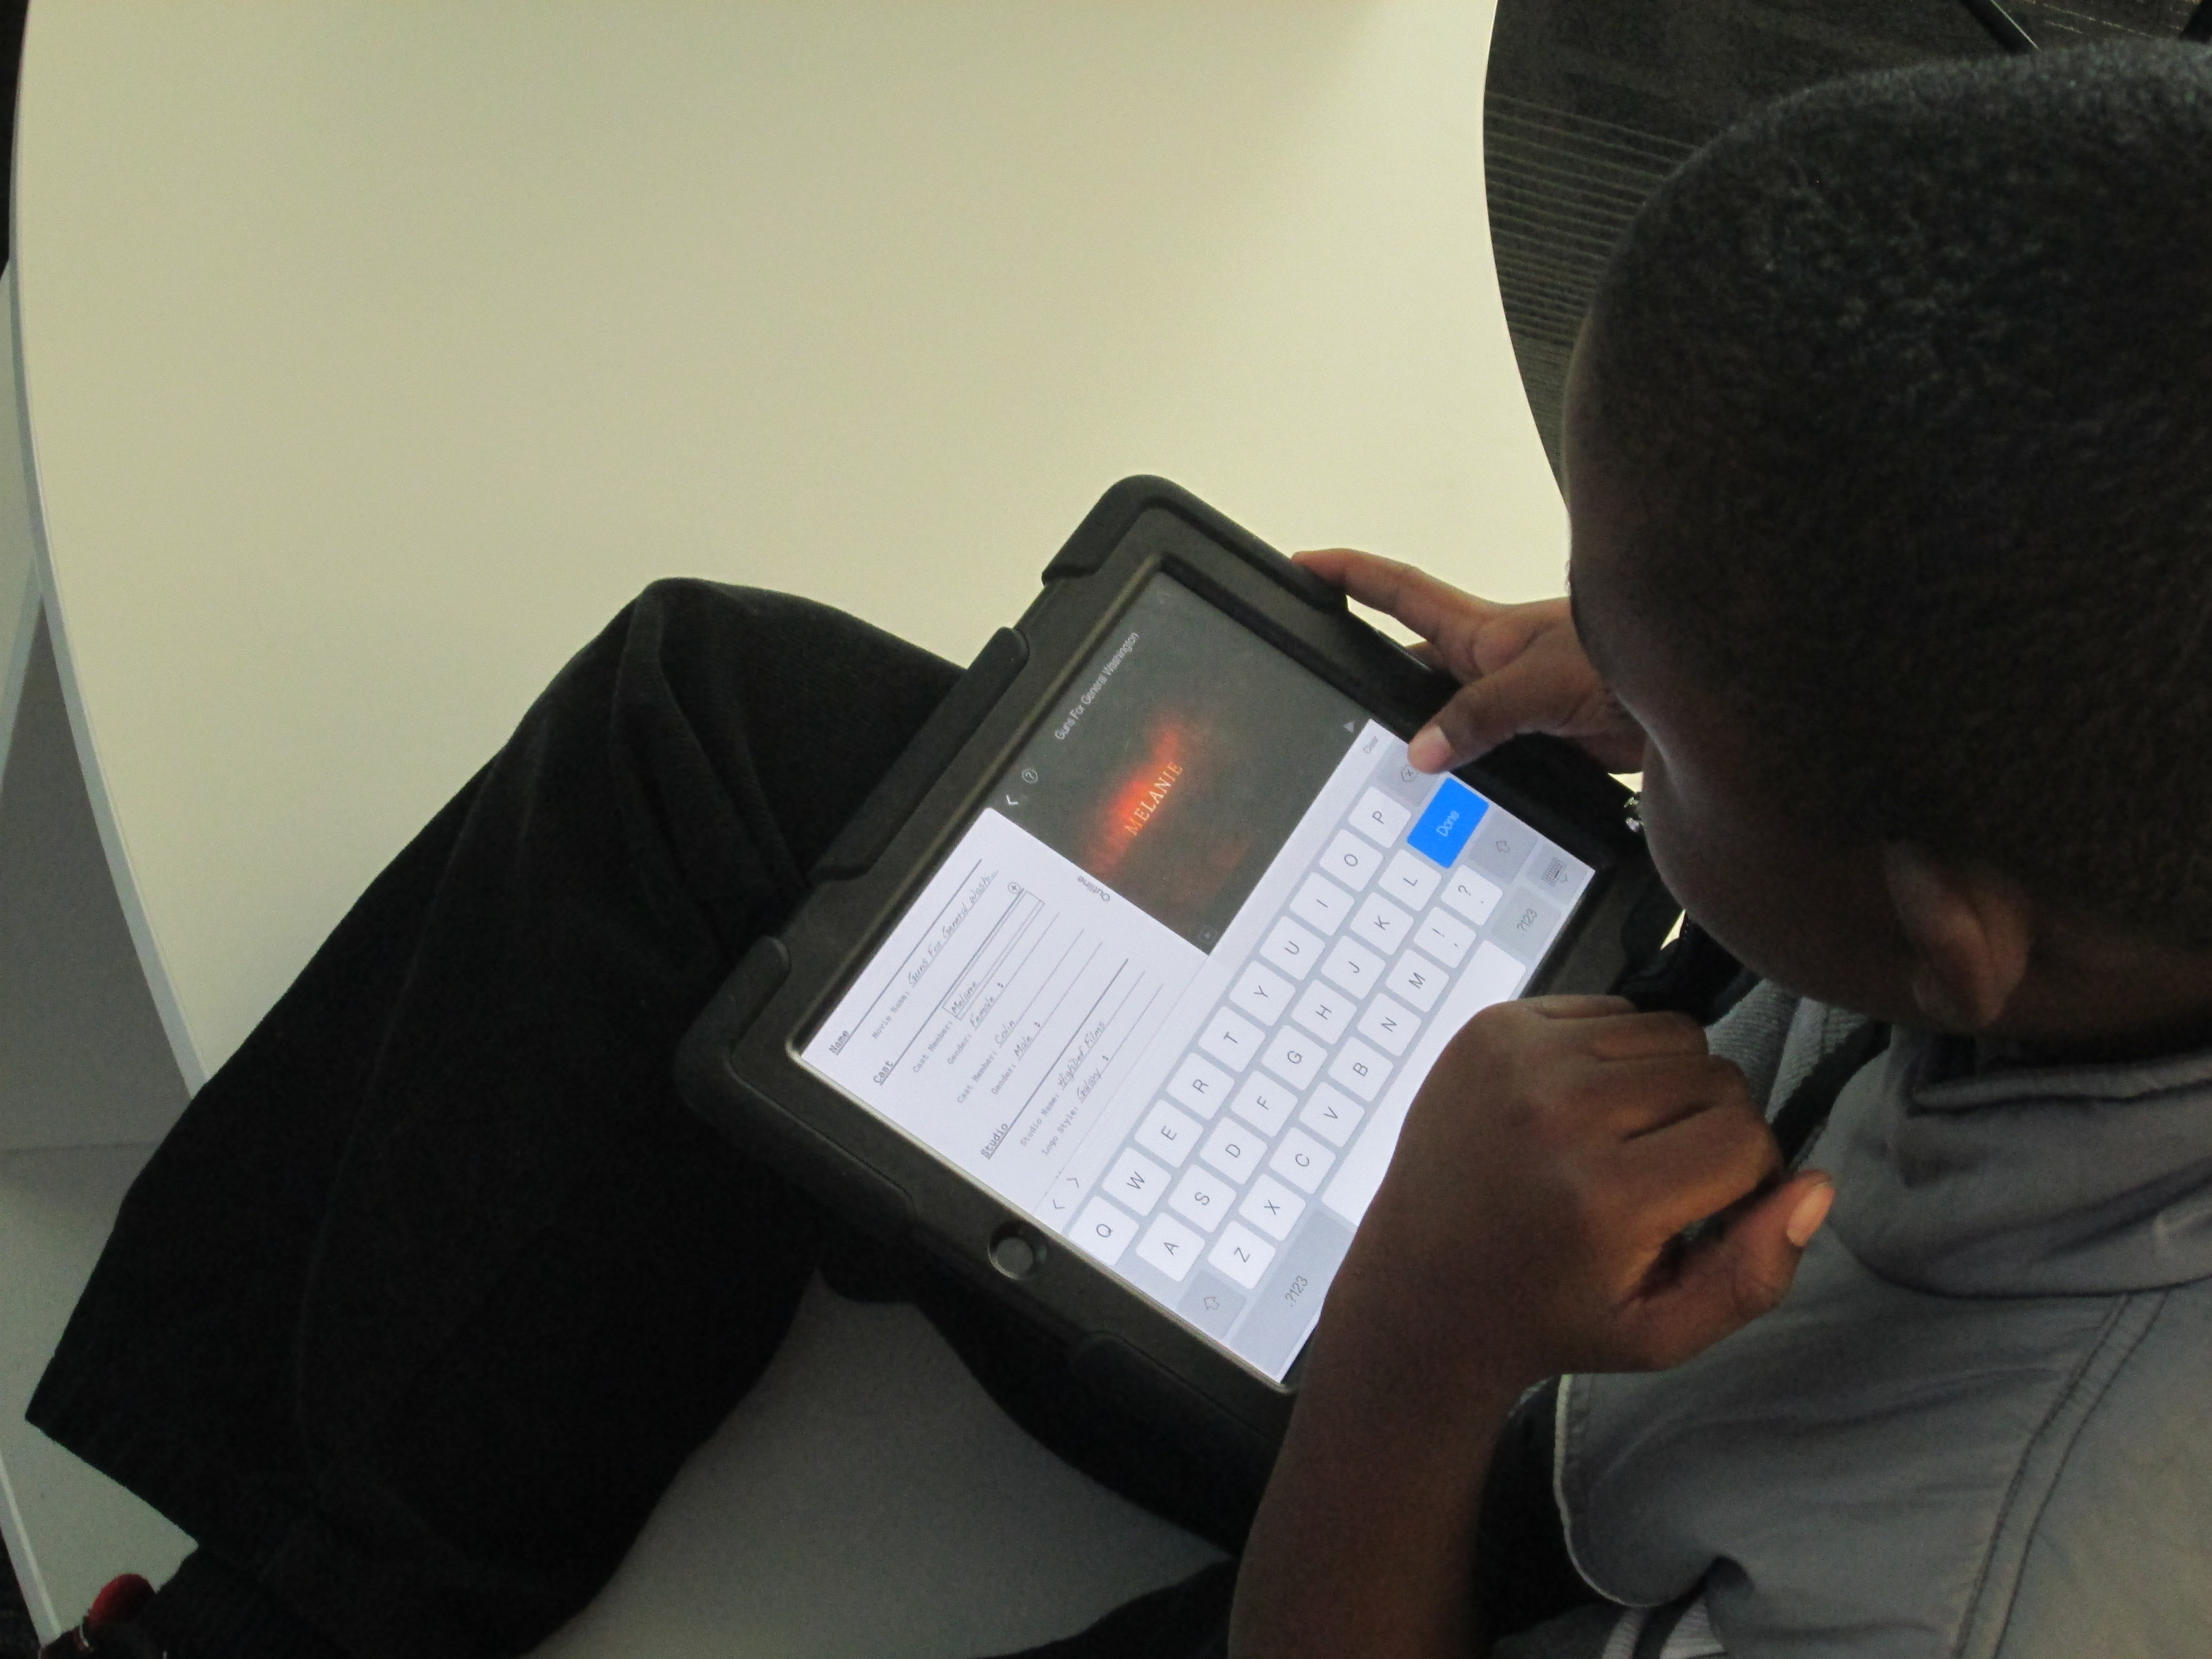
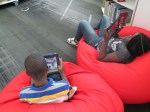
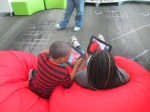
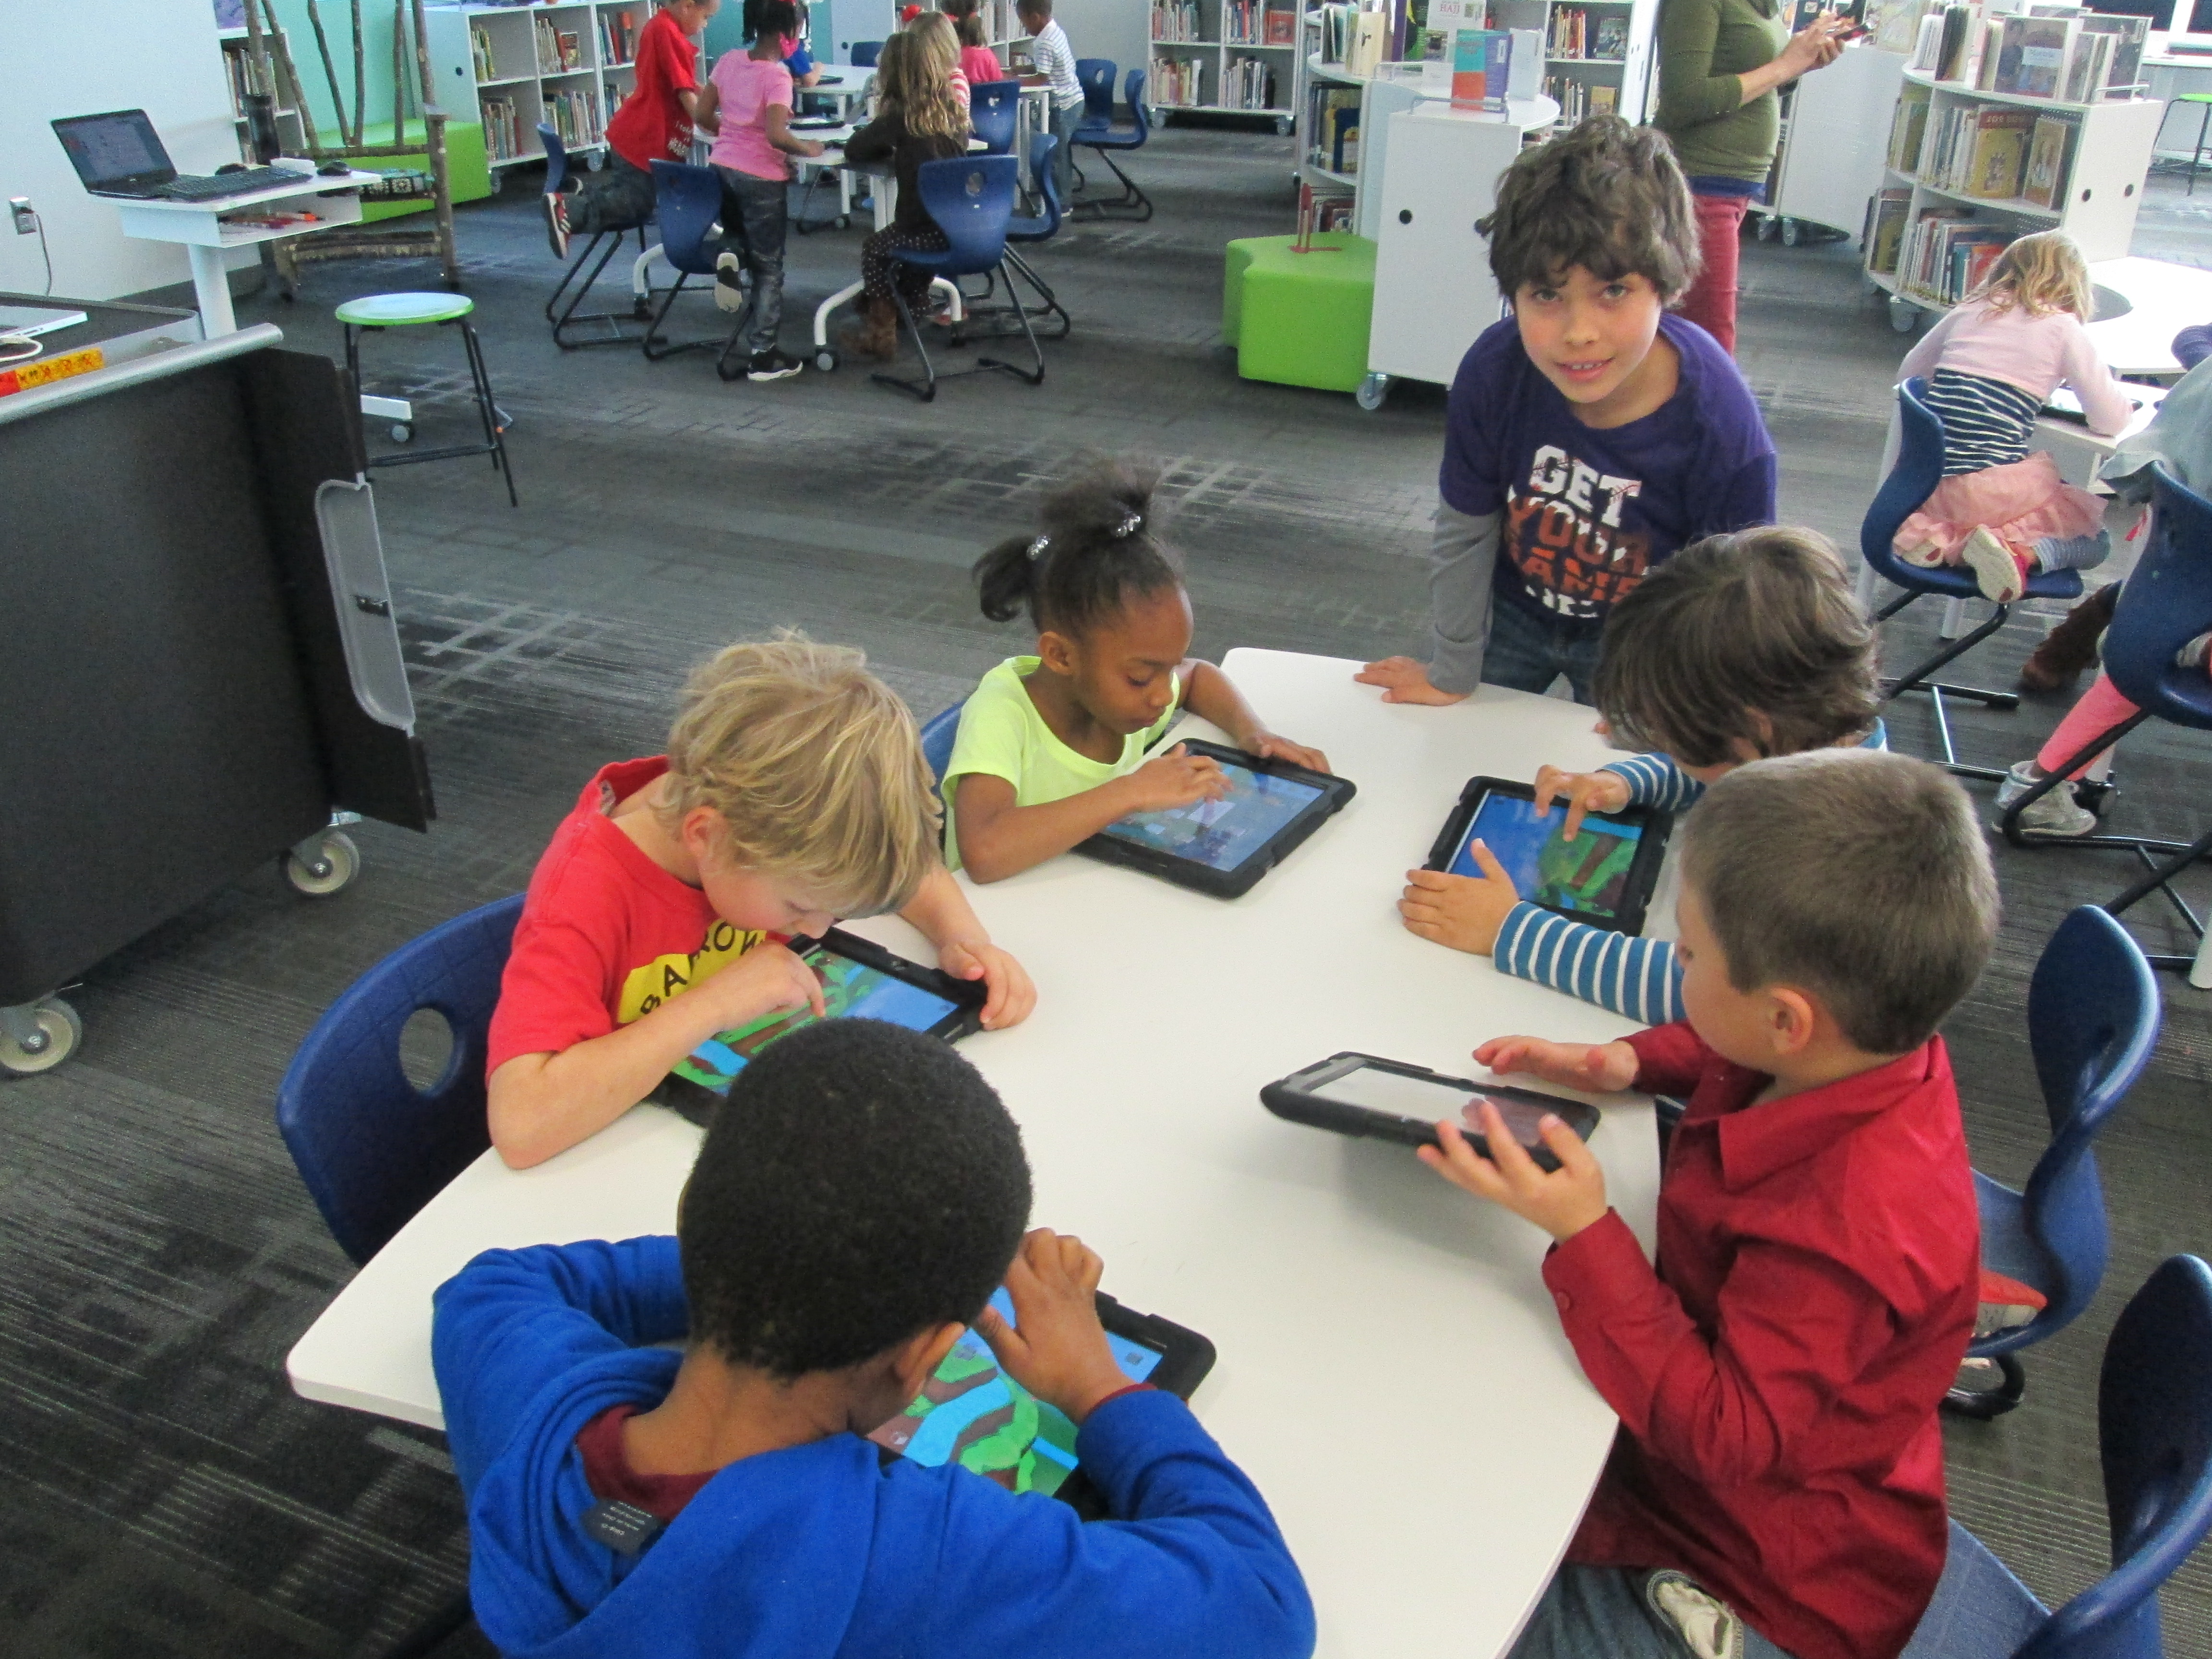
Students sat alone or in pairs at tables and began their exploration. They started by reading the short description of the type of poetry. Then, they read as many of the poems as they could. Since I wanted them to experience lots of poetry, I kept us moving every 3-4 minutes.

As students sat and read, the teacher and I walked around and chatted with students about the poetry. Sometimes this was an explanation of the kind of poetry they were looking at. Other times we were making observations about the poetry and sharing our own learning with the students. I saw the teachers do this multiple times.  They discovered poetry they had never heard of and shared their excitement with students as they learned something new.

Here’s a look at the tables students visited:

Multiple Voices

  • The Friendly Four by Eloise Greenfield
  • Joyful Noise by Paul Fleischman
  • Seeds, Bees, Butterflies, and More! By Carole Gerber
  • Messing Around on the Monkey Bars by Betsy Franco

These poems are meant to be read with a partner or group. Each person has a part they speak. Sometime you speak together and sometimes you speak alone.

Sijo & Haiku

  • Tap Dancing on the Roof by Linda Sue Park
  • Dogku by Andrew Clements
  • Guyku by Bob Raczka
  • Stone Bench in an Empty Park by Paul B. Janeczko
  • The Cuckoo’s Haiku by Michael J. Rosen
  • One Leaf Rides the Wind by Celeste Davidson Mannis

Sijo poems are Korean poems that have 3 lines with 14-16 syllables each. Or…they have 6 shorter lines. Haiku poems are Japanese poems that have 3 lines with 5 syllables, 7 syllables, and 5 syllables.

Experience Poems

  • Black Girl Magic by Mahogany L. Brown
  • Black Magic by Dinah Johnson
  • Thirteen Ways of Looking at a Black Boy by Tony Medina
  • The Blacker the Berry by Joyce Carol Thomas

Experience poems showcase a group of people, animals, or objects and what they experience in the world. This collection of books is a sample of African American experience.

Single Word & Golden Shovel Poetry

  • Lemonade and Other Poems Squeezed from a Single Word by Bob Raczka
  • One Last Word by Nikki Grimes

Single word poems use one word to create other words that form a meaningful poem. Golden Shovel poems take a line from another poem. The words are written down the right side of the page. A new poem is created with each line ending in one of these words.

Acrostic Poems

  • Silver Seeds by Paul Paolilli & Dan Brewer
  • Amazing Apples by Consie Powell
  • Animal Stackers by Jennifer Belle

An acrostic poem is a poem where certain letters in each line spell out a word or phrase.

Nature Poetry

  • Ubiquitous by Joyce Sidman
  • Dark Emperor and Other Poems of the Night by Joyce Sidman
  • Winter Bees and Other Poems of the Cold by Joyce Sidman
  • Swirl by Swirl Spirals in Nature by Joyce Sidman

Nature poems use facts and observations from nature to create poetry. The facts and observations are often included beside the poem or in the back of the book.

Concrete Poetry (Shape Poetry)

  • A Curious Collection of Cats by Betsy Franco
  • Flicker Flash by Joan Bransfield Graham
  • Ode to a Commode by Brian P. Cleary

A concrete poem is a poem that takes on the shape of whatever it is about.

List & Found Poetry

  • The Arrow Finds Its Mark by Georgia Heard
  • Falling Down the Page by Georgia Heard

List poetry takes an ordinary list of things and makes it extraordinary with a few descriptive words. Found poetry is words found in places that aren’t meant to be poems and then turning those words into a poem with very few changes.

Reverso Poetry

  • Mirror, Mirror by Marilyn Singer
  • Follow, Follow by Marilyn Singer

When you read a reverso poem down, it is one poem.  When you read it up, it is a different poem. However, the same words are used in both stanzas. The only changes are in punctuation and capitalization.

Perspective Poems

  • Dirty Laundry Pile by Paul B. Janeczko
  • If the Shoe Fits by Laura Whipple
  • Can I Touch Your Hair? By Irene Lathan & Charles Waters

Perspective poems invite you to think about the same topic from a different point of view. Sometimes they are written from the perspective of an object that you wouldn’t normally hear from like a shoe.

Pocket Poems

  • Pocket Poems by Bobbi Katz
  • Firefly July By Paul B. Janeczko

Pocket poems are short poems small enough to carry in your pocket.

Music

  • Hip Hop Speak to Children by Nikki Giovanni
  • Imagine by John Lennon
  • America the Beautiful Together We Stand by Katharine Lee Bates
  • Twinkle, Twinkle, Little Star by Jerry Pinkney
  • God Bless the Child by Billie Holiday
  • One Love by Bob Marley/Cedella Marley
  • Let It Shine by Ashley Bryan

Song lyrics are poetry.  They have a structure and a rhythm.

Closing

At the end of our exploration, students took time to think about what there favorite types of poems to read are. They also thought about one kind of poem they wanted to try to write back in writing workshop. Now that all classes have visited, the poetry books they explored are available to check out as mentor texts back in the classroom.  I look forward to seeing the types of poetry they create in the coming weeks.

Kindergarten Makerspace Exploration

lego

Every Tuesday and Thursday from 11-12:30, we have an open makerspace time for students to sign up to explore the world of making.  This time supports students from many of our grades, but it doesn’t support all students.  In addition to weaving makerspace into projects, I’ve been trying to host times for grades who can’t come at our normal makerspace hours to come and explore

Kindergarten is one of these grades. The Kindergarten teachers came to a maker professional learning session I did in the new year, and they really wanted to work out times for small groups of students to come to makerspace. We made a plan to have a couple of days each week where 3 students from each class came for a 30-minute maker time.  That equals 12 students.  For now, the students are different each time until we see the students who really get hooked into some of the maker tools. That means I have to offer the same experience multiple times so that all students get to try it.

The first day, we made kazoos out of rubber bands, popsicle sticks, and straws. This is an activity straight from Aaron & Colleen Graves’s Big Book of Makerspace Projects.  It honestly wasn’t the best experience for this age or maybe just this group.  The fine motor skills in the group had a hard time putting the pieces of the kazoo together, and tears flowed if the kazoos didn’t make a sound. Even with some growth mindset reminders and walking through how to back up and try again, there were still students who just gave up.  The students also needed a lot more assistance with this project than what I wanted for makerspace.  We still had fun and hosted a mini-parade around the library with kazoo.  We also had a great conversation about what we might try if we made our own adjustments to the kazoos.

I decided to abandon that project with the next group and try something new.

Next, we tried stop motion videos and Lego construction.  Magic started to happen with this experience.  We started by looking at a 4th grade stop motion project from last year and seeing what we noticed.

I have a box of Lego mini-figure pieces, so I pulled that out and asked students to construct one mini-figure and put it on a base plate.

In a matter of moments, they not only created the mini-figures, but they also started adding accessories that really started to create a story right before our eyes.

Next, I asked students to take their mini-figure and place it at an iPad I had setup at tables around the library.  Then they came back to me at the building table.  I demonstrated the Stop Motion Studio app on the iPad and used a mini-figure to show how to keep the iPad and base plate still while making small movements with the mini-figure.

Finally, students went to their tables and gave it a try.  It was magical to look around and see such engagement. Every student was focused. Every student was creating a story.  Every student was eager to keep going even when I said time was up.

Now I’ll be  honest that the quality of the stop motion created has a lot of room for improvement.  The fine motor skills still got in our way, but I’m really thinking about how I can help students keep their plates and iPads still while only moving their figures.  They really tried hard not to move things around, but they just couldn’t help it sometimes.

At the end, I asked them if they would continue working on this type of project and all students in 2 separate groups of 12 said yes.  We talked about how you would need more time and how you would create more elements of a narrative story.  The engagement was high, and it has my wheels turning about how this can be done with more students and how I can support the students in creating higher quality projects in the end.  There is great potential for storytelling projects in the future.  For a 30-minute session, it was a great start.

If you have stop motion tips for our earliest learners, please leave a comment.

Teachers in the Makerspace: An Exploration Experiment

teacher makerspace (2)

Each time I see students using our makerspace tools I see possibilities.  I see the problem solving that goes into each attempt and each failure.  I see the curiosity and energy that students bring with them.  I begin to make connections to the more structured curriculum that students use in their classrooms.  So far, I have been the main person to offer ideas to our teachers on how our makerspace supports the Common Core and the Georgia Performance Standards.  However, I don’t want to be the only one.  Since every lesson that happens in the library is a collaboration between me, the classroom teachers, and other support teachers, I want their wheels to be turning about our makerspace as well.

teacher makerspace (1)

The problem with this has been time.  Most teachers know we have a makerspace, but they haven’t actually had a moment where they could put their hands on the maker tools and experience tinkering and making for themselves.  I recently sent out a survey to see how many people would be interested in holding a teacher makerspace exploration

FireShot Capture - Staff Makerspace Exploration_ - https___docs.google.com_a_clarke.k12

I got an overwhelming response from our teachers that this is an area that they want to explore more.

FireShot Capture - Staff Makerspace Exploration - Google F_ - https___docs.google.com_a_clarke.k12

I met with my principal to talk about some possibilities for days to offer an exploration.  Luckily, we had a district professional learning day that offered some flexibility for school-based professional learning.  After all of us attended district meetings during the first half of the day, we returned to our schools for independent studies and choice offerings.  This was the perfect time for me to offer our first makerspace exploration because it gave us more time and it was on a day where teachers weren’t exhausted from teaching all day.  I offered an open makerspace on Feb 16th from 1:30-3:30PM.  Teachers from our school were encouraged to sign up and teachers from other schools were invited too.  We had 12 teachers from our school sign up, 1 teacher from JJ Harris, and a few drop-ins.

teacher makerspace (4)

I setup multiple areas of the library for exploration.  First, I pulled all of our maker books from the library and professional collection.

Then, I setup area with

  • 5 MaKey Makey kits connected to computers.  Playdoh was available
  • A box of duct tape and books on making from duct tape
  • Two spheros with ramps and iPads
  • Our workshop kit of littleBits
  • Our 3 Osmo kits
  • And our makerspace was open where our 3D printer is kept

I invited Kenneth Linsley from GYSTC to bring his squishy circuits, Spheros, and expertise.  I also invited Gretchen Thomas and her Maker Dawgs.  Two Maker Dawgs were able to come and spent much of their time at our Sphero and MaKey MaKey areas.

teacher makerspace (9)

We all started together at tables, but I wanted to keep my introduction extremely short.  I opened by thanking teachers for signing up to explore.  I invited them to give themselves permission to tinker, dream, create, fail, back up, and try again.  I also invited them to think about their curriculum as they tinkered.  I offered them a Padlet space to capture any brainstorming that they had during the session.

FireShot Capture - Makerspace Curriculum Ideas - http___padlet.com_plemmonsa_makerspace

I also showed them a Symbaloo with some instructional videos to refer to.  I know that some people prefer to look at how something works before they explore and some people prefer to just jump in.

FireShot Capture - Barrow Makerspace - Symbaloo - http___www.symbaloo.com_mix_barrowmakerspace

I finished by telling them to use this time to get their hands on as many things as possible and just give it a go.

teacher makerspace (5)

Teachers jumped right in.  I loved watching them make their first choices.  They really split themselves between every area and a few lingered at the tables to watch some videos.  I felt really good about the differentiation that was offered.

I walked around and offered a few tips when needed, but I was very careful not to take over or do the making for each teacher.  Ms. Olin and I had a great conversation about circuits in 5th grade and how littleBits and MaKey MaKey could be integrated into 5th grade science.  Ms. Hocking was busy brainstorming how the Sphero could be used in her math and writing time.  Ms. Stuckey was eager to get her 1st graders using the makerspace for their unit on inventors.  Brainstorming was definitely happening.

teacher makerspace (10)

This is exactly what I wanted to happen.  My hope was that as teachers used the tools, they would start to think about their students using them.  They would be less intimidated by the space and more open to trying the makerspace within their curriculum.  I don’t think a single person is opposed to using the makerspace.  It’s just hard to visualize how something fits into your curriculum if you’ve never used it yourself.

Our Padlet really wasn’t a success this time. There was just too much to explore to stop and write on a Padlet.  I don’t think it’s a bad idea, though, so I’m going to send the link back out and invite teachers to contribute to it now that they’ve had time to reflect.

teacher makerspace (6)

As we entered into the 2nd hour, Ms. Choate, a kindergarten teacher, walked up and said “I think I have something ready to 3D print”.  Sure enough, she had walked through a Tinkercad tutorial and figured out how to make a copy of the lesson file.  She was almost ready to print.  I worked with her to put her file into Makerware and onto the SD card for 3D printing.  We announced to the group that we were about to print and every person stopped to come and celebrate with Ms. Choate.

teacher makerspace (11)

I love watching people the first time they see something print.  It still amazes me to watch it, but when you see it for the first time, it’s just mind-blowing.  I answered lots of questions about how the printer works and showed some other tools that could be used for 3D design.  Ms. Choate stayed to watch her entire print, but in the meantime, she helped Ms. Li, another Kindergarten teacher, get her own file ready to print.  I loved seeing a teacher already passing on her maker expertise to another teacher.

teacher makerspace (13)

teacher makerspace (14)

There are several other teachers who showed interest in exploring the makerspace who were unable to come, so I want to replicate this experience again.  It would be wonderful to have some of these same teachers return too and build upon what they learned as well as pass on their expertise to new teachers.

teacher makerspace (7)

teacher makerspace (12)

This experience also makes me want to do this with our Barrow families too.  There’s a lot of potential, and once again, I’m just scratching the surface.  We have a lot of work to do in the coming years, and it’s going to be exciting.

teacher makerspace (3)

I’m also excited to share that a new school makerspace book is available.  It’s called Worlds of Making: Best Practices for Establishing a Makerspace for Your School.  It’s by Laura Fleming but has contributions by Shannon Miller, Diana Rendina,and me!

The Power of Tinkering Before Assigning a Project

Educreations Day 2 (2)One of my library goals this year is to give students, teachers, and families opportunities to dream, tinker, create, and share.  That has meant many things during the course of this year, but one of the things that so many of our teachers are embracing with me is intentionally planning time for students to tinker with a new tool before we ask them to create a project with it.

Educreations Day 2 (6)

During collaborative meetings and virtual planning with teachers, I often ask if we can build in time for students to explore a technology tool with no limits, rules, or assignments.  The only assignment is to push as many buttons as you can and see what you can figure out about that tool.  In addition, there is an expectation that students will pass on their expertise to others as they figure something out through tinkering.

Educreations Day 2 (5)

There have been several instances of this type of tinkering happening this year.  Ms. Hocking gave her Kindergarten students time to tinker with storykit.  All of third grade tinkered with Puppet Pals before a folktale project.

This week, first grade is also taking time to tinker with the Puppet Pals app as they prepare for an opinion writing assignment in English Language Arts.

IMG_4796

Finally, 2nd grade is about to start creating math screencast tutorials using the Educreations app for iPad.

As I’ve facilitated these tinkering sessions, I’ve started to adjust how the sessions run.  We start on the floor to talk about tinkering.  Students share some knowledge about what they already know about tinkering.  Some of the responses I’ve heard are:  a time to explore, a time to be busy, and figuring things out.  I follow this with my own understanding of tinkering.  I establish two big ground rules: 1. Push every button you see in an app and see what it does.  2. Share what you learn.

In most classes, I breeze through the app with very little explanation of what I’m doing just so that students get a quick preview of what they will be looking at and what they might end up with.  In Educreations, I wrote 2+2=____ and then drew out a picture of how I solved that math problem.  I didn’t talk about clicking on colors, the microphone, or really anything.  I just wanted them to get a quick view of the end result.

Then, students had a large chunk of time to explore on the iPads.  For 2nd grade, we did this in pairs, but some classes have been individuals.  My role was to walk around and observe.  A few students were tempted to ask me how to do something, but I responded with a “give it a try”.  Very rarely did I do something for a student.  The only time I intervened was when students needed help getting the app up and running or if the iPad had a technical problem.

As I observed, I would stop and ask students questions like “What did you figure out?” or “Why did you choose to do that in that way?” or “Now that you’ve seen how that works, would you do it a different way next time?”.  These were common questions that I used again and again and they certainly were not ones that I started with.  I was very tempted at first to just jump in and show students something, but I learned to step back and ask questions that allowed students to show what they know.

I saw students naturally leaning over and helping other students, but during my observations, I sometimes saw an opportunity for 2 students to partner and share their learning.  This was another role for me to serve as a connector between students.

The energy level was high, and there was some frustration.  However, I did not see any student give up, get completely off task, or leave without learning something about  how the app worked.

At the closing of each lesson, we gathered back on the floor.  I connected an iPad to the projector and had students come and demo their learning for the rest to see.  We tried to move as quickly as possible to share as many tips as we could.  A big observation for me during this time was how attentive students were.  I’ve never seen students watch a peer presenter with such focus.  Usually, they are having side conversations or tuning out to think about other things.  This time they were watching, listening, and giving connection signals if they had also figured out that part of the app.  If time allowed, I had students turn to one another on the carpet and share even more that they had discovered.  During the closing, I tried to connect what students had discovered with the actual project that we would be implementing next.  For example, a student did a demo of how you can erase while you are recording and I added that this might be a tool you would use while modeling subtraction in a video.

Now that this time of tinkering has happened, our next step is to do the work.  First grade will use Puppet Pals to create opinion puppet shows and 2nd grade will create math tutorials to share.  I’m eager to see how productive students are now that they have had time to get familiar with the app before a curriculum standard expectation was placed on them.  My want to continue to explore the power of tinkering and how it can support the work that we are trying to achieve with students.


Letting Kindergarten Imagination Soar with Blokify and Makerbot

blokify (4)Mrs. Kelly Hocking’s Kindergarten class just started a collaborative project with the art teacher and the media center.  Her class has been very inquisitive about structures and sculptures and what it’s like to be inside of those structures.  For example, they’ve looked closely at the Statue of Liberty and they are fascinated with the idea of going inside and looking out from the crown.  In art, Mrs. Foretich is introducing maquette sculpture which is a small scale model of a rough draft or unfinished work.  It allows them to test how different shapes are put together without making a full sculpture.

blokify (10)

These 2 ideas started coming together in a project.  Mrs. Hocking started exploring Minecraft at home and thinking about how worlds and structures were created in the virtual world.  Then she started wondering how this might flow into the discussions her class was already having about imagining and going inside of structures.  This is when we started talking about Blokify as a tool for putting together blocks to create a larger structure.

Mrs. Kelly, the art teacher, and I all met to brainstorm.  Students will eventually build a larger sculpture out of shapes in art.  Their art standard is:

GPS: Demonstrates that shapes can be put together to make new shapes or forms.

Their essential question is:

How do artists build Sculptures?

We decided that we would start our journey with Blokify.  Blokify is a free iPad app that allows students to put a variety of blocks together to build pretty much anything and then 3D print that shape.  The files can be emailed for download into your own software for 3D printing conversion.

We decided that Blokify would be the kickoff to this larger project.  In the library, Mrs. Foretich, our art teacher, showed students some examples of maquettes and talked about how artists might make a rough draft of a larger sculpture to test some things out before making a larger sculpture.  Then, we showed students some images from Blokify’s facebook page to give students the idea that you don’t just have to make a box in Blokify.

photo 1 photo 2 photo 3


After that, students went straight to iPads and jumped in.  We didn’t spend a lot of time “teaching” them how to use the app.  Instead, we let them explore.  We also didn’t tell them what to build because we wanted them to have permission to imagine and dream as they built.  Mrs. Foretch and I walked around to tables and showed students some tips as they worked.  For example, if you hold your finger on a block it will disappear.  If you pinch the screen, you can zoom in and out.

Two of my enrichment cluster students came to support students as they worked, too.  Monica, 5th grader, and Grant, 3rd grader, were naturals at nudging Kindergarten students along without doing the work for them.  We were almost able to have a helper at every table because of them.  I was so glad that their teachers allowed them to come and share their expertise with Kindergarten.

Some students started really being strategic about where their blocks went in their structures while others liked tapping all over the screen and seeing how it turned out.  We did question a bit if we didn’t give student enough guidance, but we ultimately decided that they really needed this time to explore.  If our prints don’t quite turn out like they hoped, then it will be a learning experience about how they might rethink their own approach to designing.

blokify (13)

As always, there were some wonderful moments that happened.  One moment was when  a student who we’ve all been trying to find the right learning method was thoroughly engaged.  He was so proud of the work he did, and he showed us a way to connect with him as a learner.  I  hope that this new discovery will lead to other projects and learning experiences for him in his classroom.

blokify (6)

After students left, I had a group of 5th grade helpers email me all of the files from the iPads.  I put each file into Makerware, resized it, and saved it onto an SD card for printing.  We will print our designs after spring break.

blokify (3)

Once designs are printed, Mrs. Hocking wants students to put their structures on a piece of paper and draw the rest of the setting around the structure.  From there, students will think about the inside of their structure as well as the surroundings and begin to tell a story about their creations.  We aren’t sure yet how that piece will be captured, but I’m excited about the possibility.

In art, Mrs. Foretich will continue to explore this standard by expanding what students are building.


Book Trailers with 4th Grade

book trailer 4th (2)Today Mrs. Rogers and her 4th grade ELT group came to the library to explore book trailers.  They are currently reading a novel together and had the idea to create book trailers for each chapter of the book.  I guess we should really call these chapter trailers.  For our lesson, we looked at three trailers:


Our purpose in watching these three trailers was to think about how different each trailer could be.   Students talked about what they noticed about each trailer after watching it.

For Carnivores, students noticed that:

  • 1 actor was used 🙂
  • music was used throughout
  • text was used at the beginning to set the scene
  • there were lots of clips put together
  • the funny tone of the book came through in the trailer
  • the trailer didn’t give away all the details of the book

For Boy + Bot, students noticed that:

  • questions were posed for the reader to consider
  • images from the book were used in between the questions
  • music was used throughout
  • the trailer was very short

For Wonder, students noticed that:

  • there were multiple actors
  • there were multiple shots that needed a lot of direction
  • there was text, live action, and music
  • the character’s face was never shown

Students even spent time thinking about the difficulty level of these 3 trailers and what they were each willing to commit to for their own project.  They also thought about why each type of trailer might have been picked for each book.  We talked a lot about purpose.

After this great discussion, students spent time exploring iMovie on the iPads.  This is the tool they will most likely use for their trailers.  Most had no experience with iMovie, so I invited them to spend about 20-25 minutes messing around and figuring out some of the features.  I encouraged them to share what they learned with each other, and it didn’t take long for collaboration to begin.  As soon as students figured something out, they were eager to show and help others.

Ludwig, a 4th grader,  really jumped into the trailer part of imovie.  He began planning out a quick trailer and sprang into action filming it.  He didn’t make it all the way through, but you can see what he figured out here:

Reid, another 4th grader, explored the movie part of iMovie.  He put together a little idea and started filming clips to put a quick sequence together.

We closed our time together by showing these videos and setting the stage for students to begin planning their own trailers. Once again, I was amazed  by what kids could figure out and share when given the space to explore.  I reminded them to continue to share their expertise with one another as they progress through the project.  They will continue work in their classroom, but I will also collaborate with them at various stages of the project.