In addition to having regular makerspace sessions every Tuesday and Thursday in the spring, students also have the opportunity to work on an individual project to showcase at our annual maker fest. To participate, students fill out a Google form sharing their possible project topics and whether they will complete the project at home or in our makerspace during school hours. They also have the option of working alone or having a UGA mentor to help them.

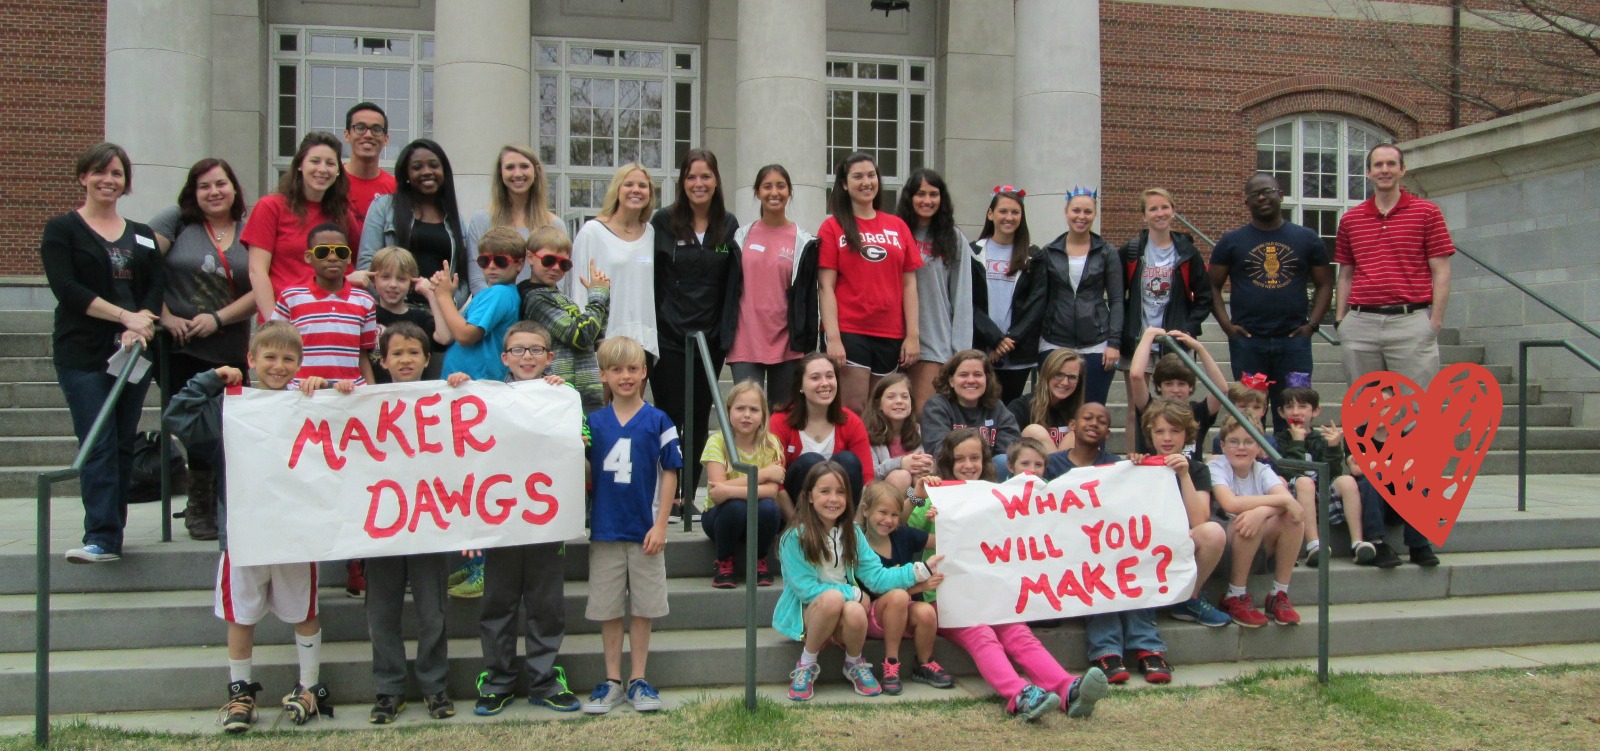
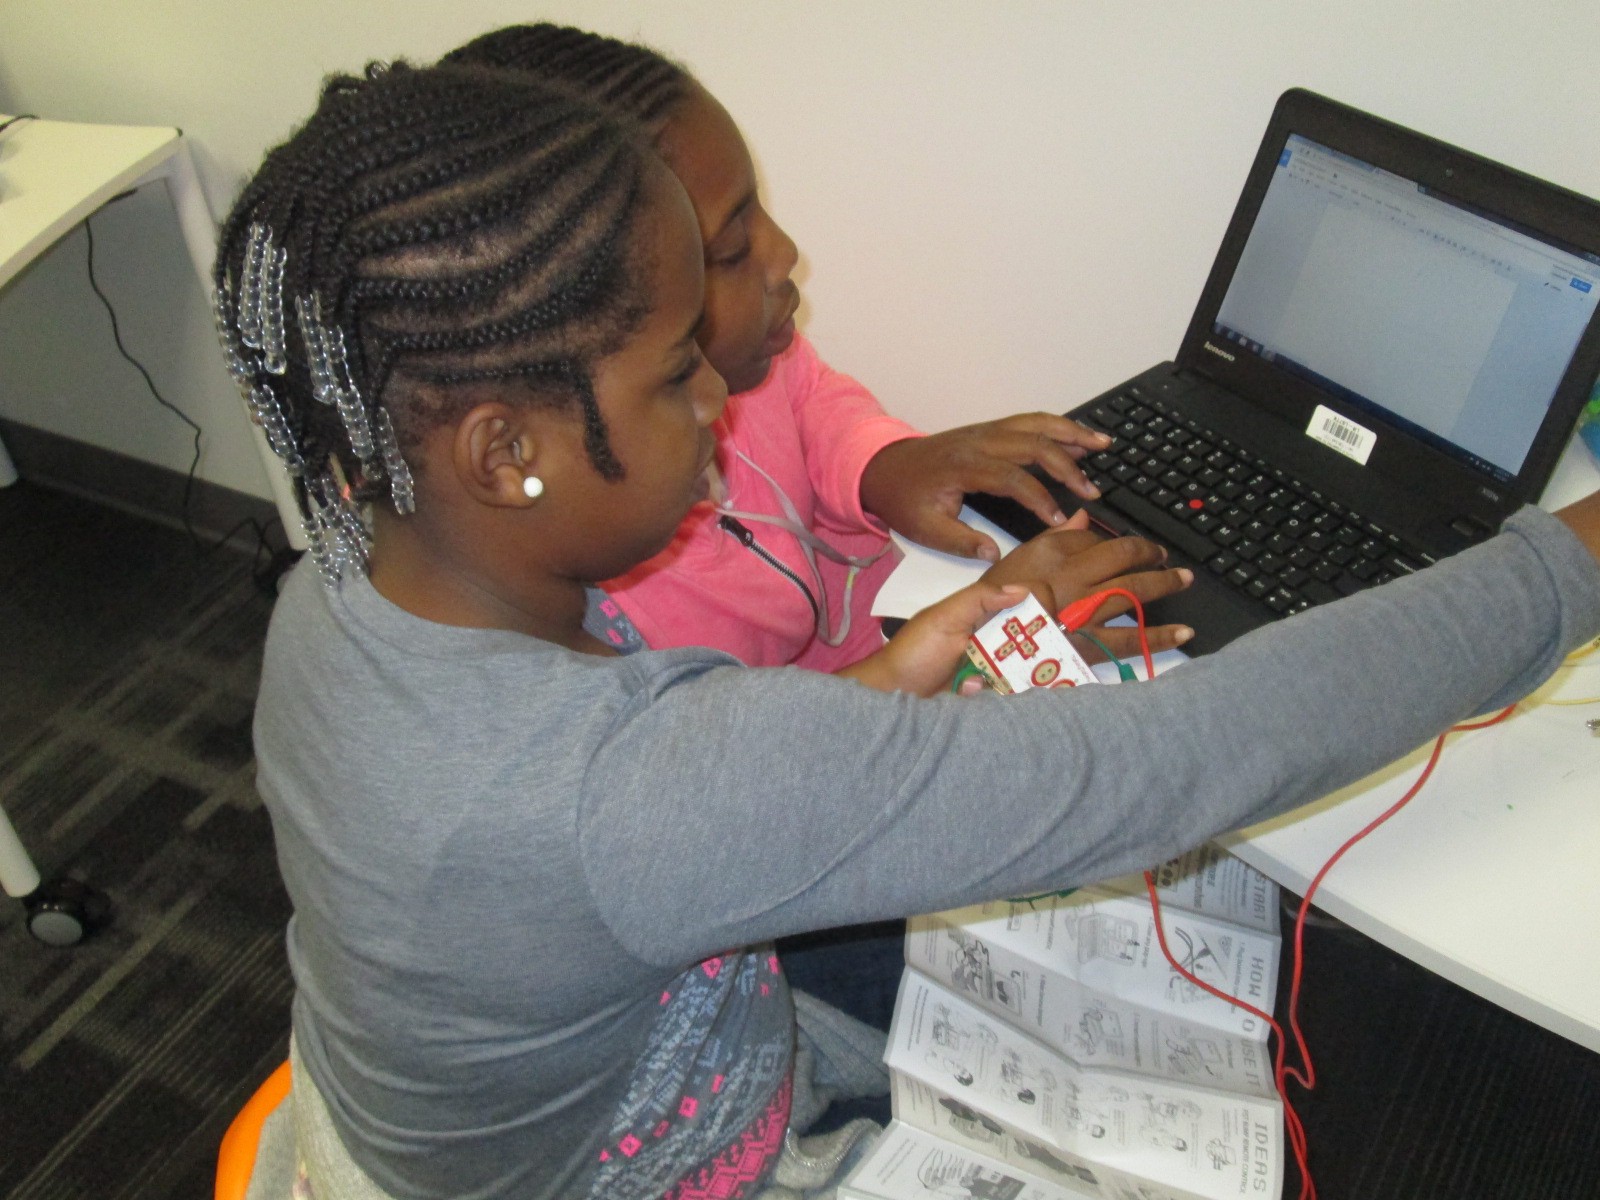
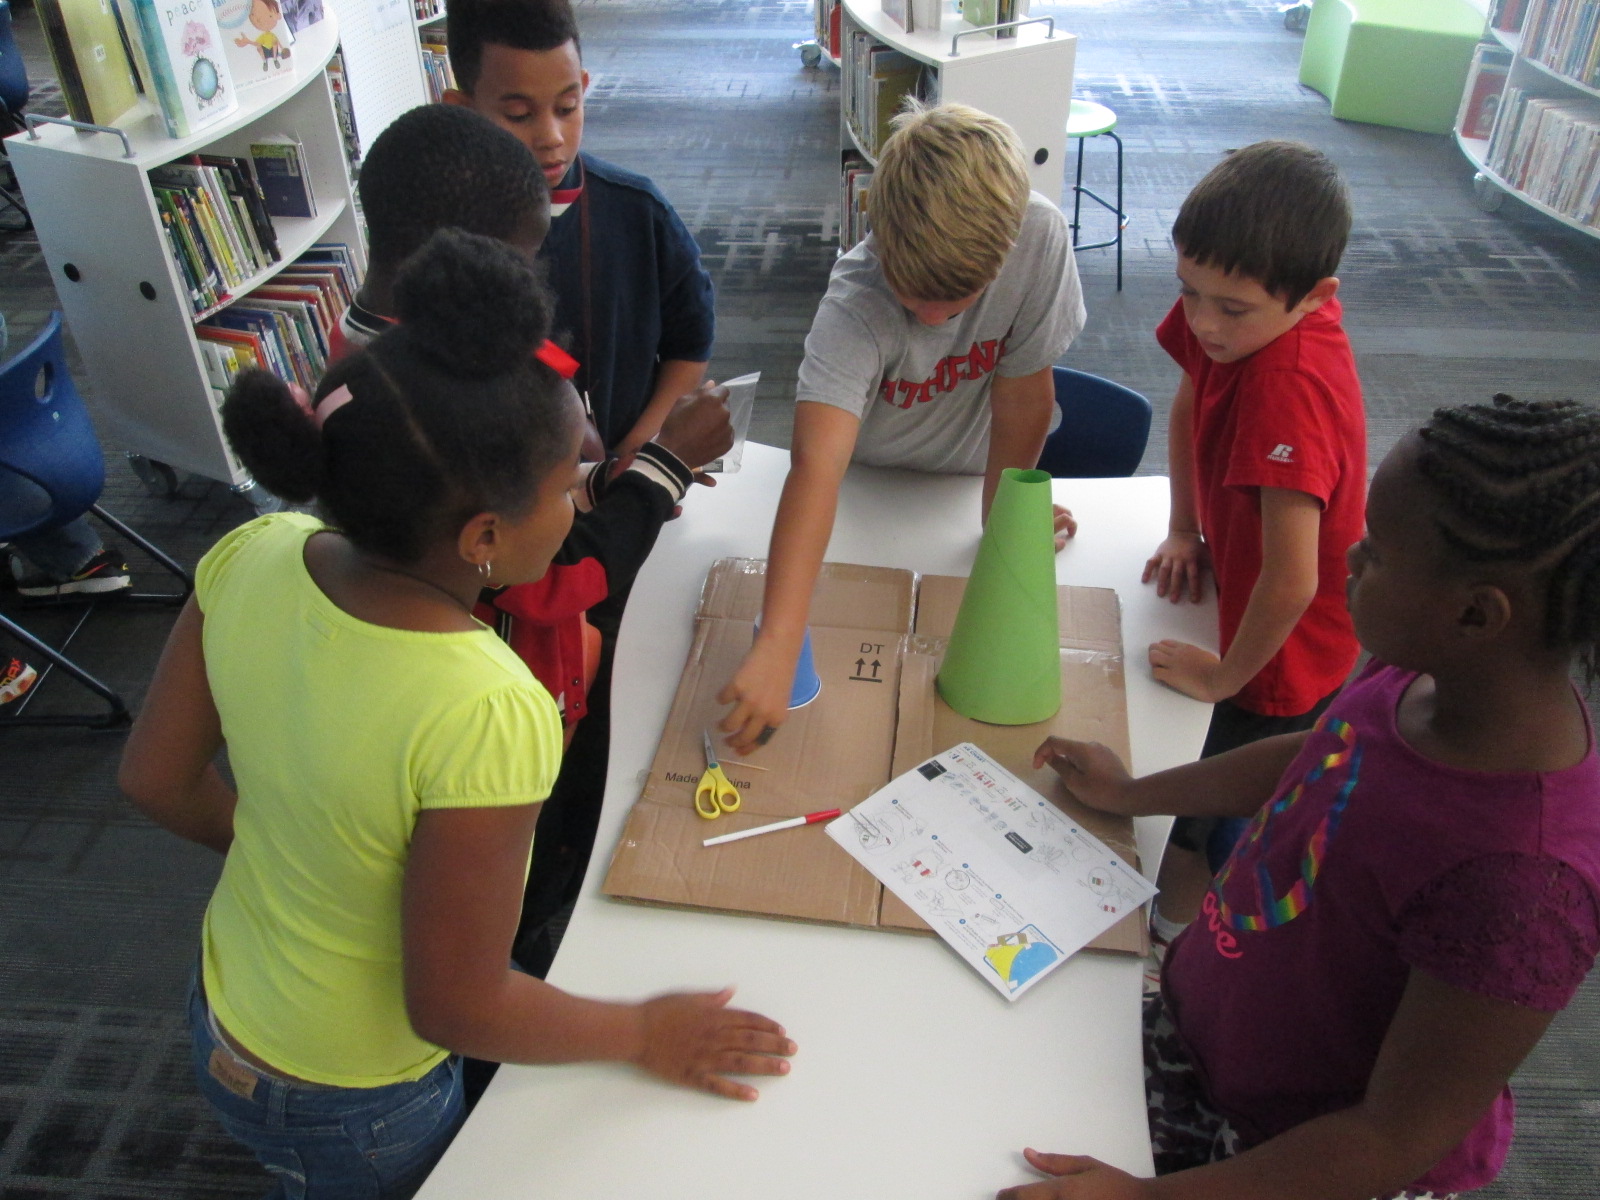
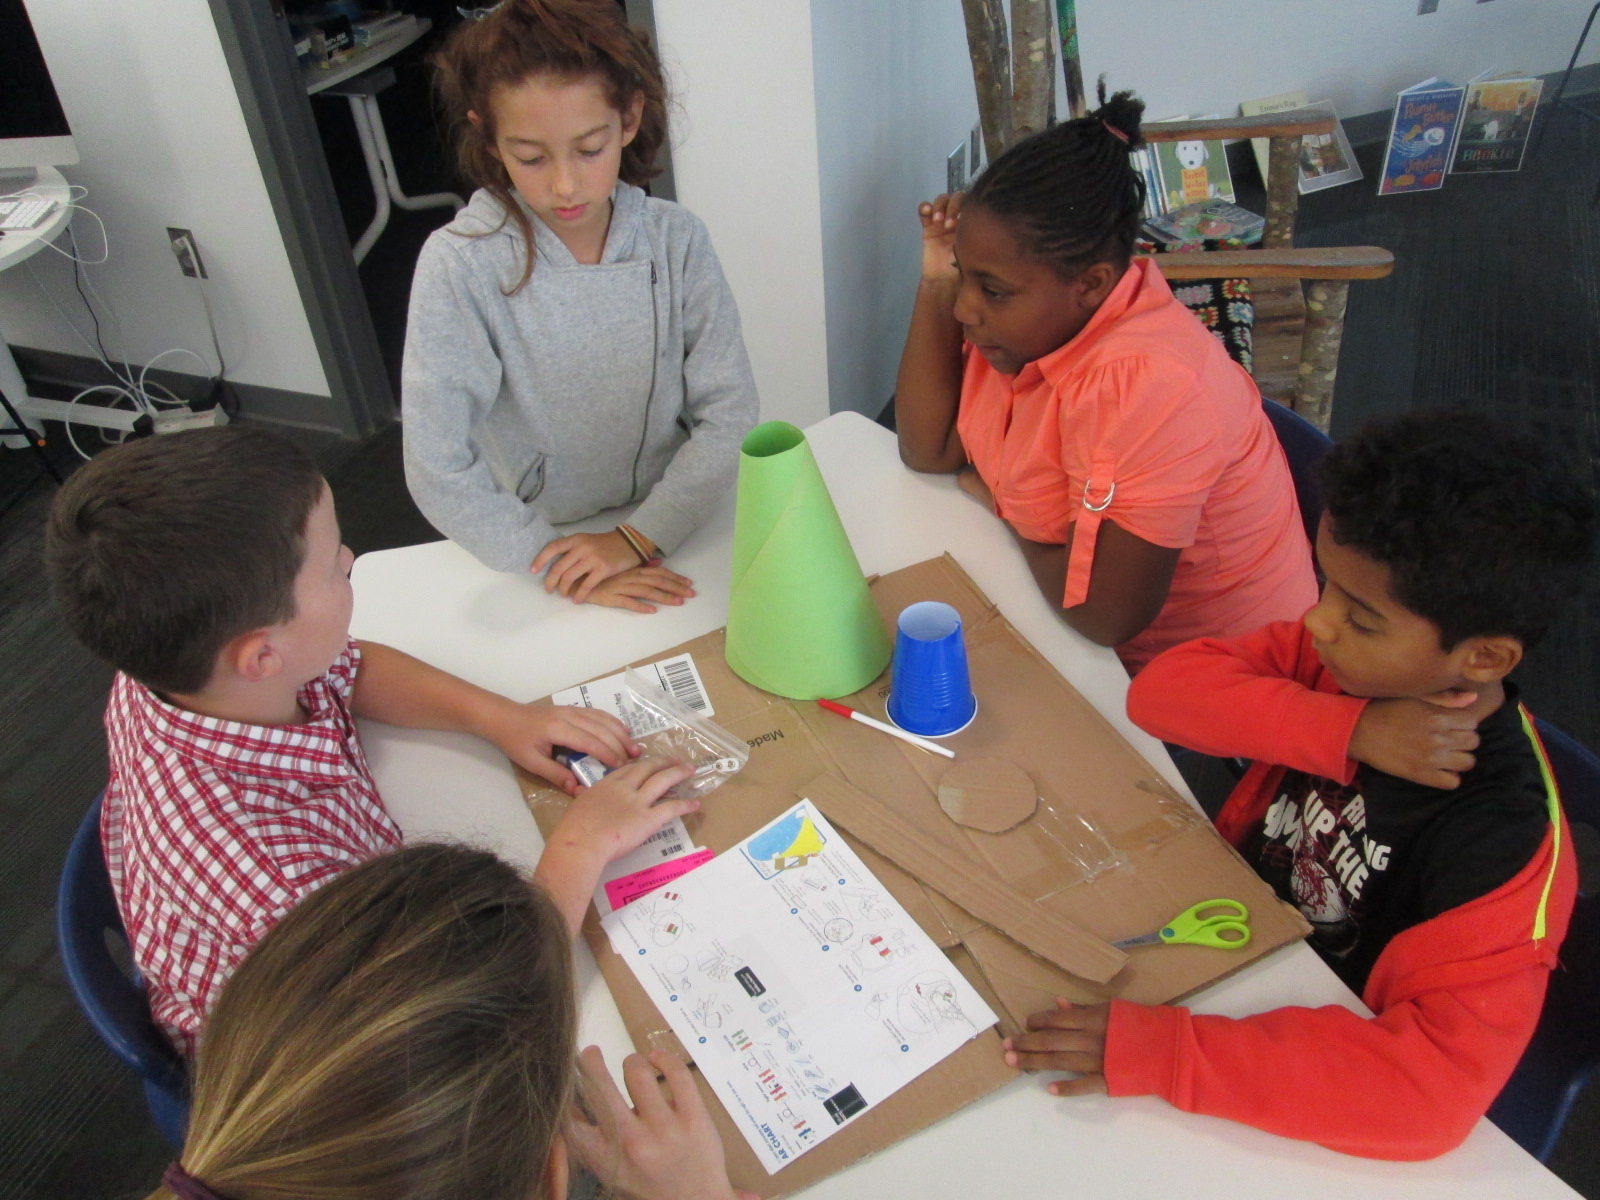
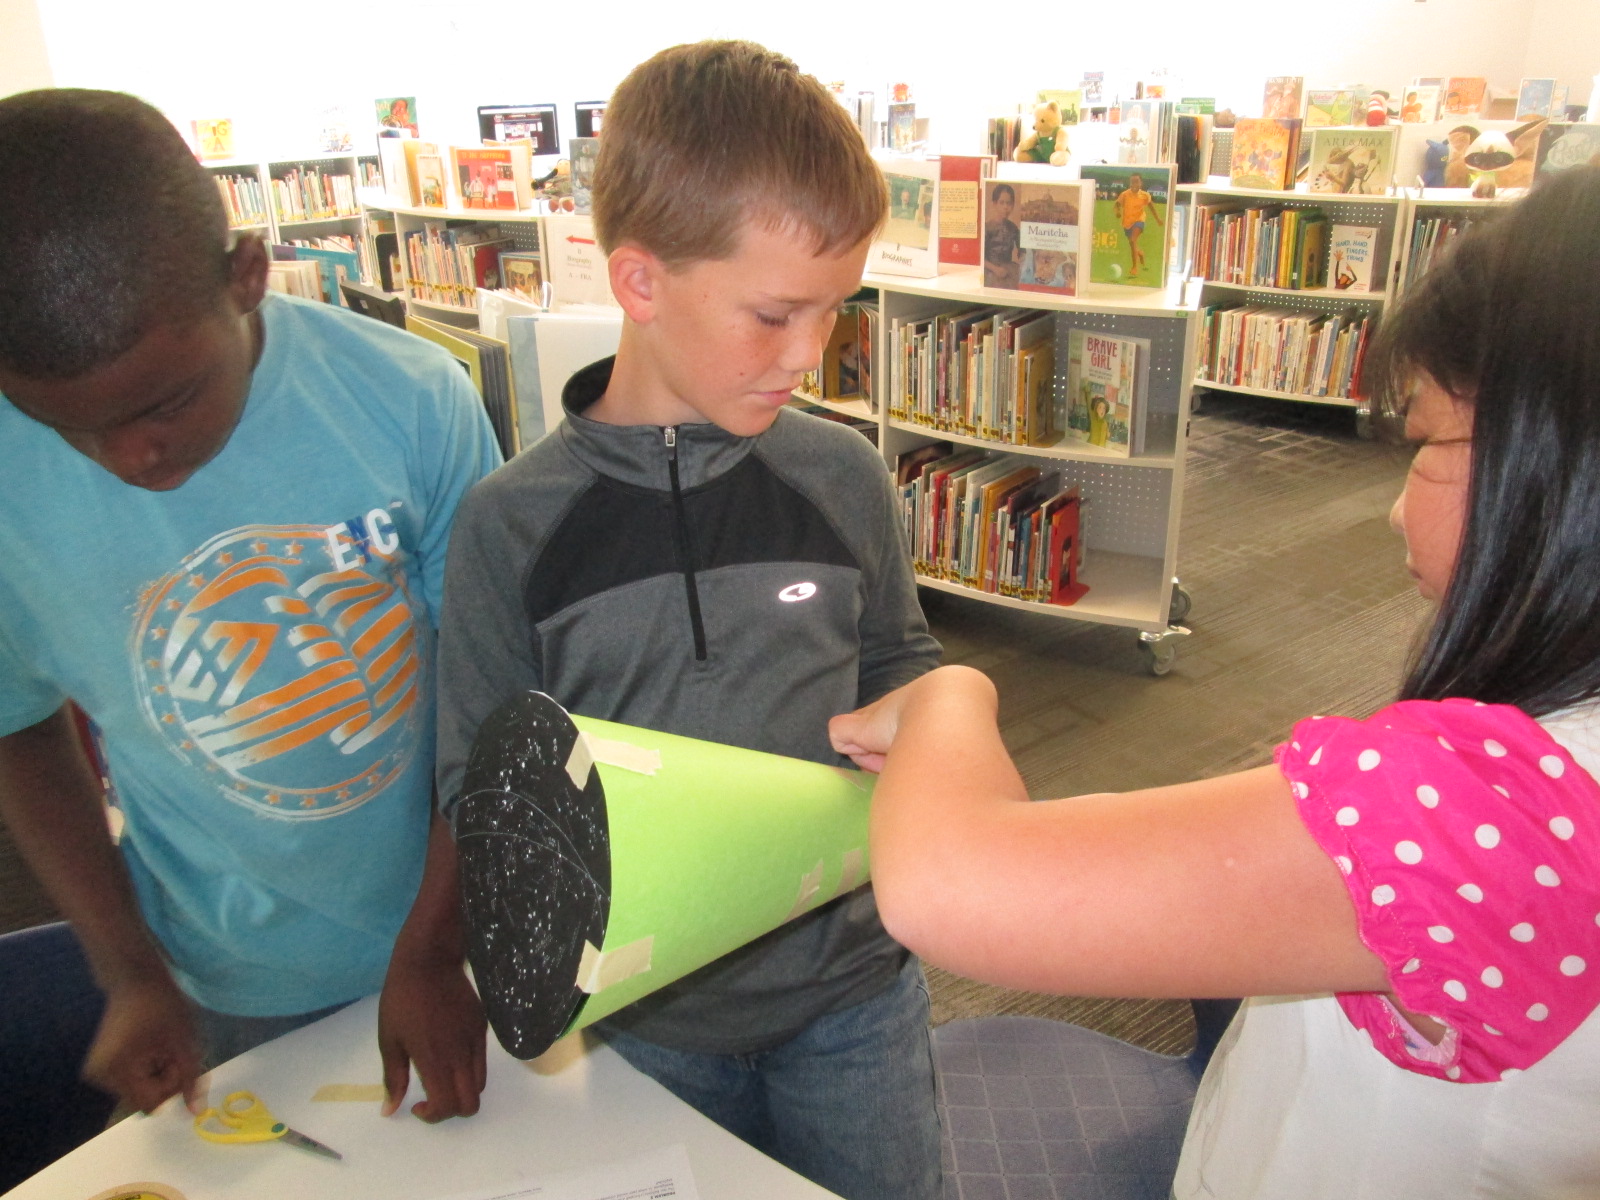
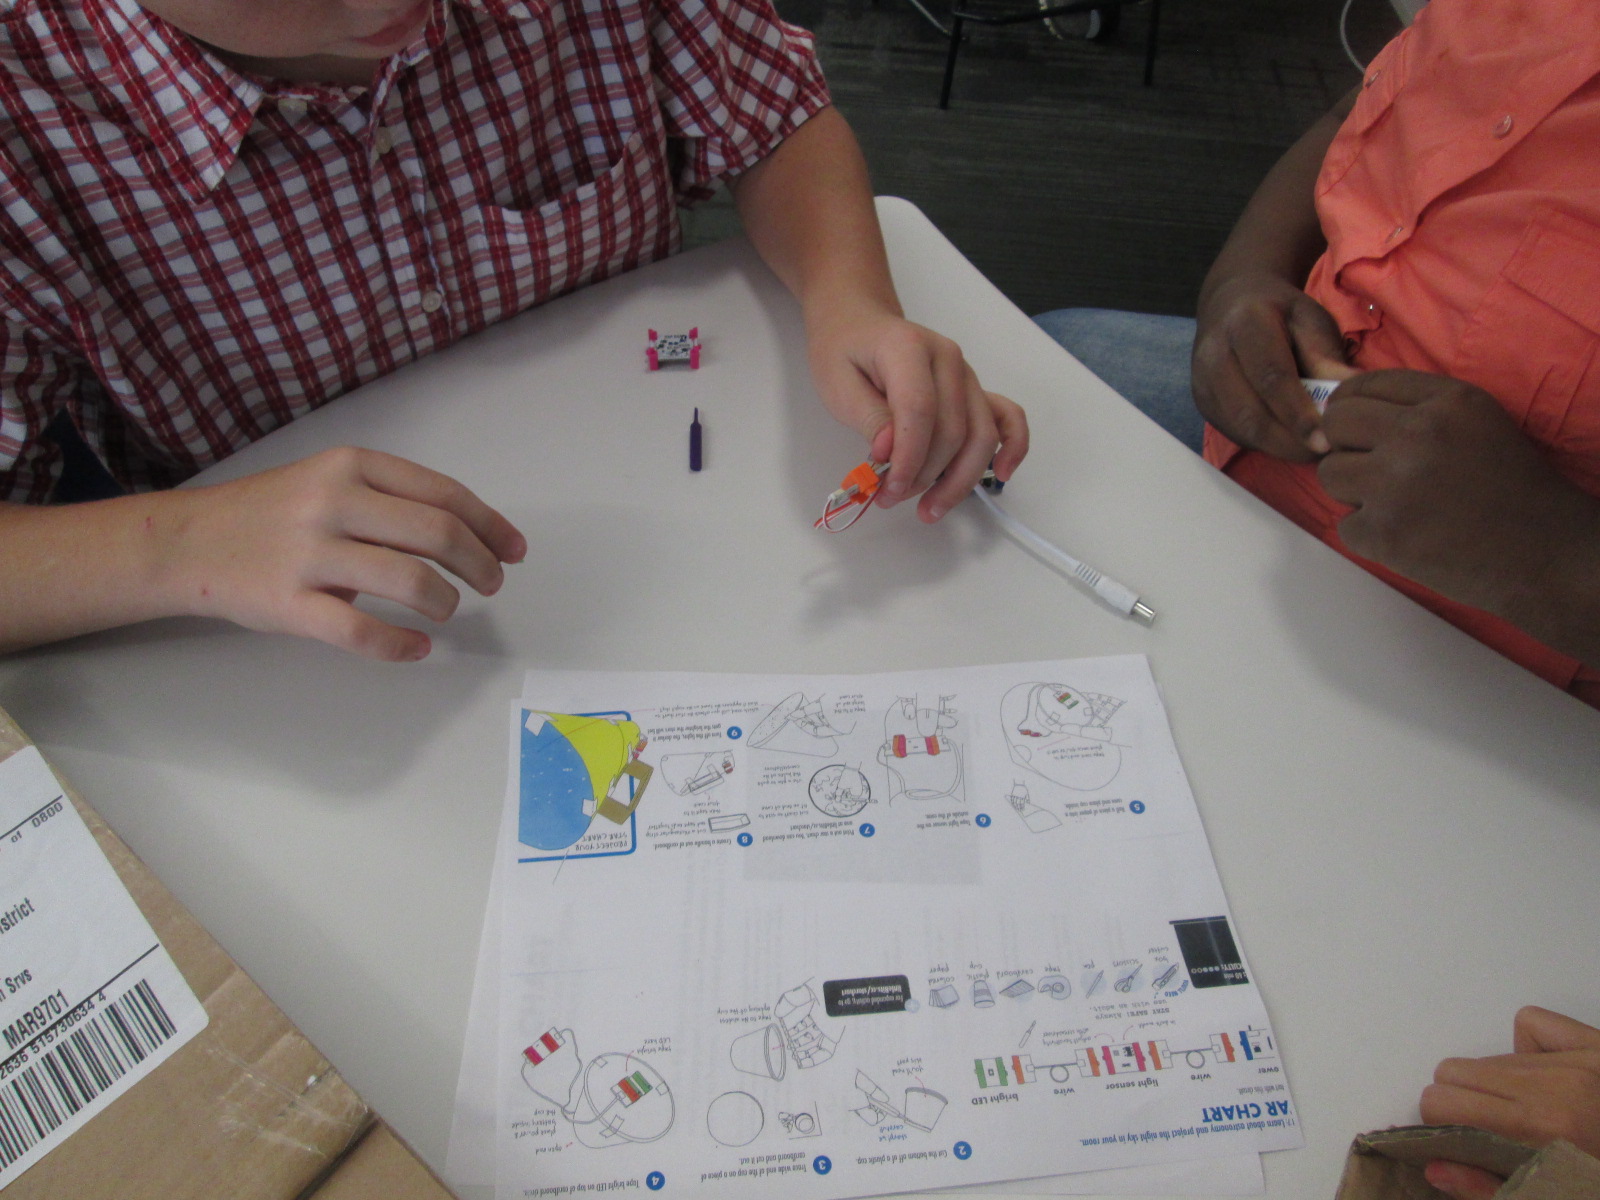
I collaborate with Gretchen Thomas at UGA College of Education. I love seeing the relationships that my students develop with the UGA students, and they thrive knowing that they have a mentor to visit with and work with while they make their creations. In the spring, she divides part of her UGA students to support our Tuesday/Thursday makerspace sessions while the other part supports students working on individual projects. My maker students don’t always meet with the same UGA student, but they have someone every Tuesday/Thursday who can support their work.

When students begin preparing for Maker Fest, we meet with them individually to see what type of project they are thinking about.

This year, I offered several categories for them to think about:
- robots
- cardboard
- makey makey
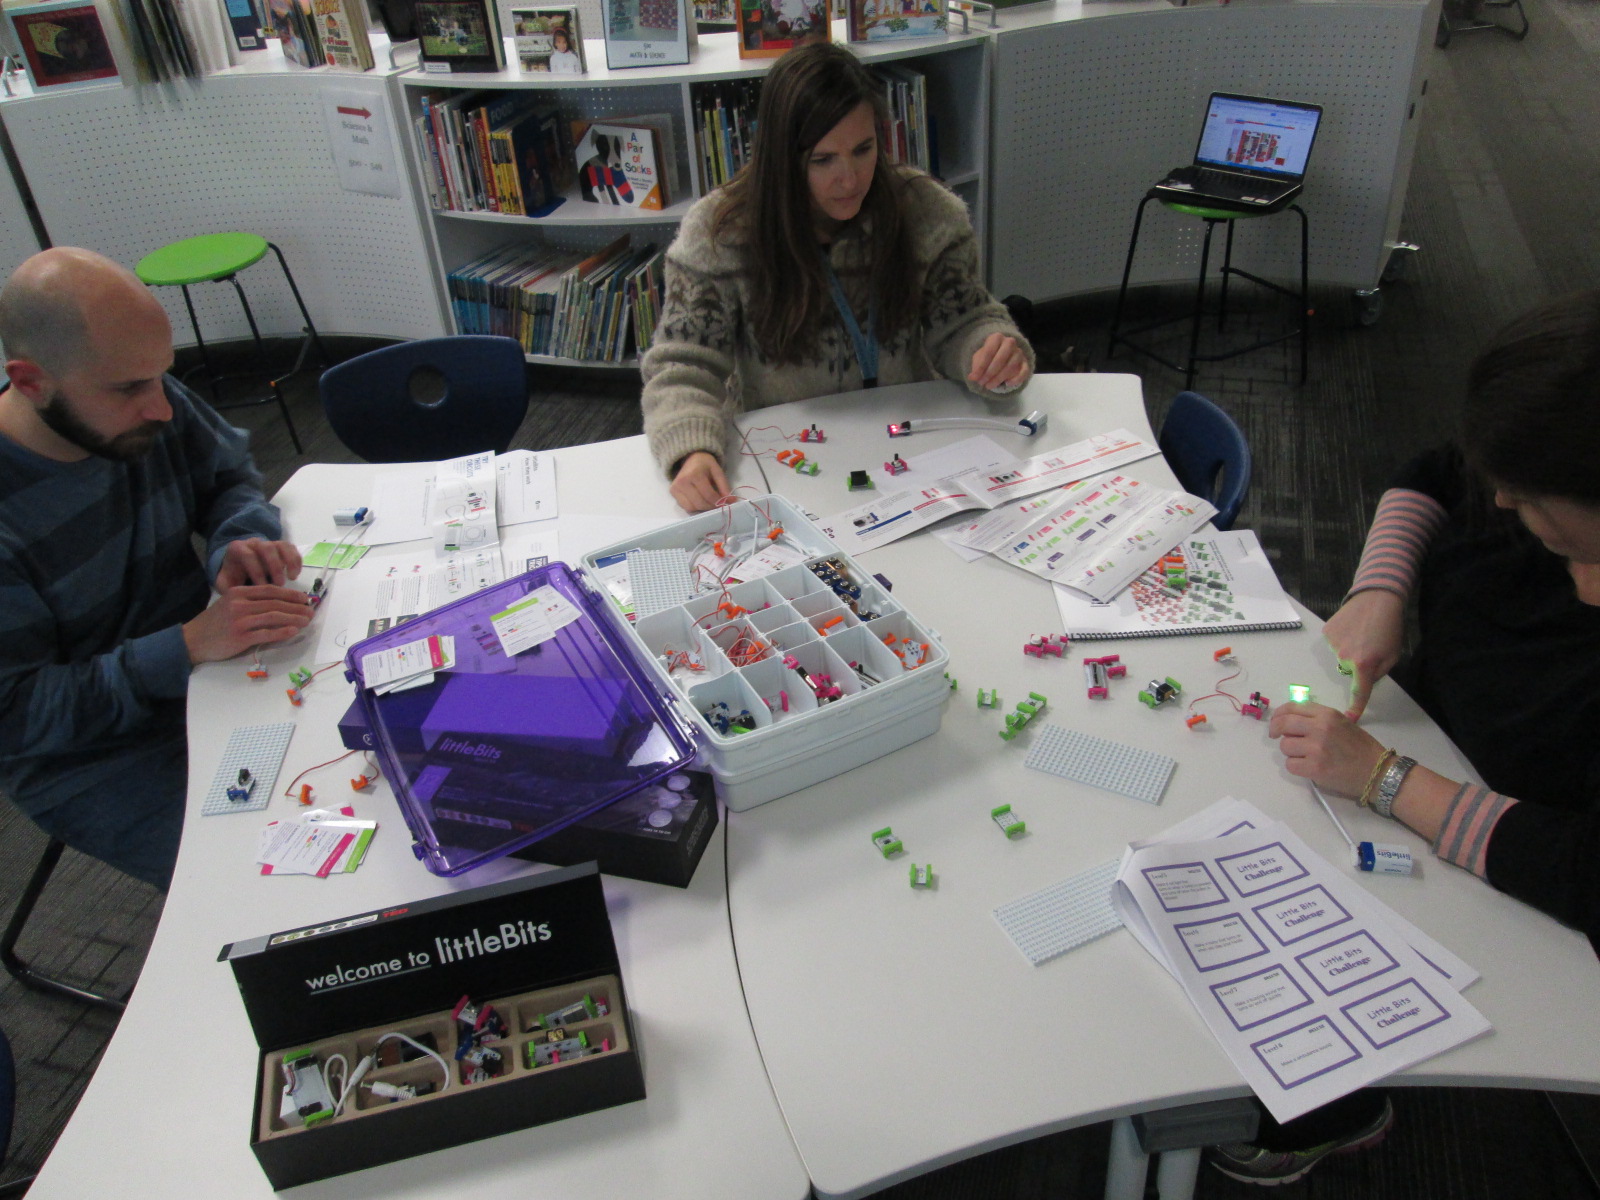
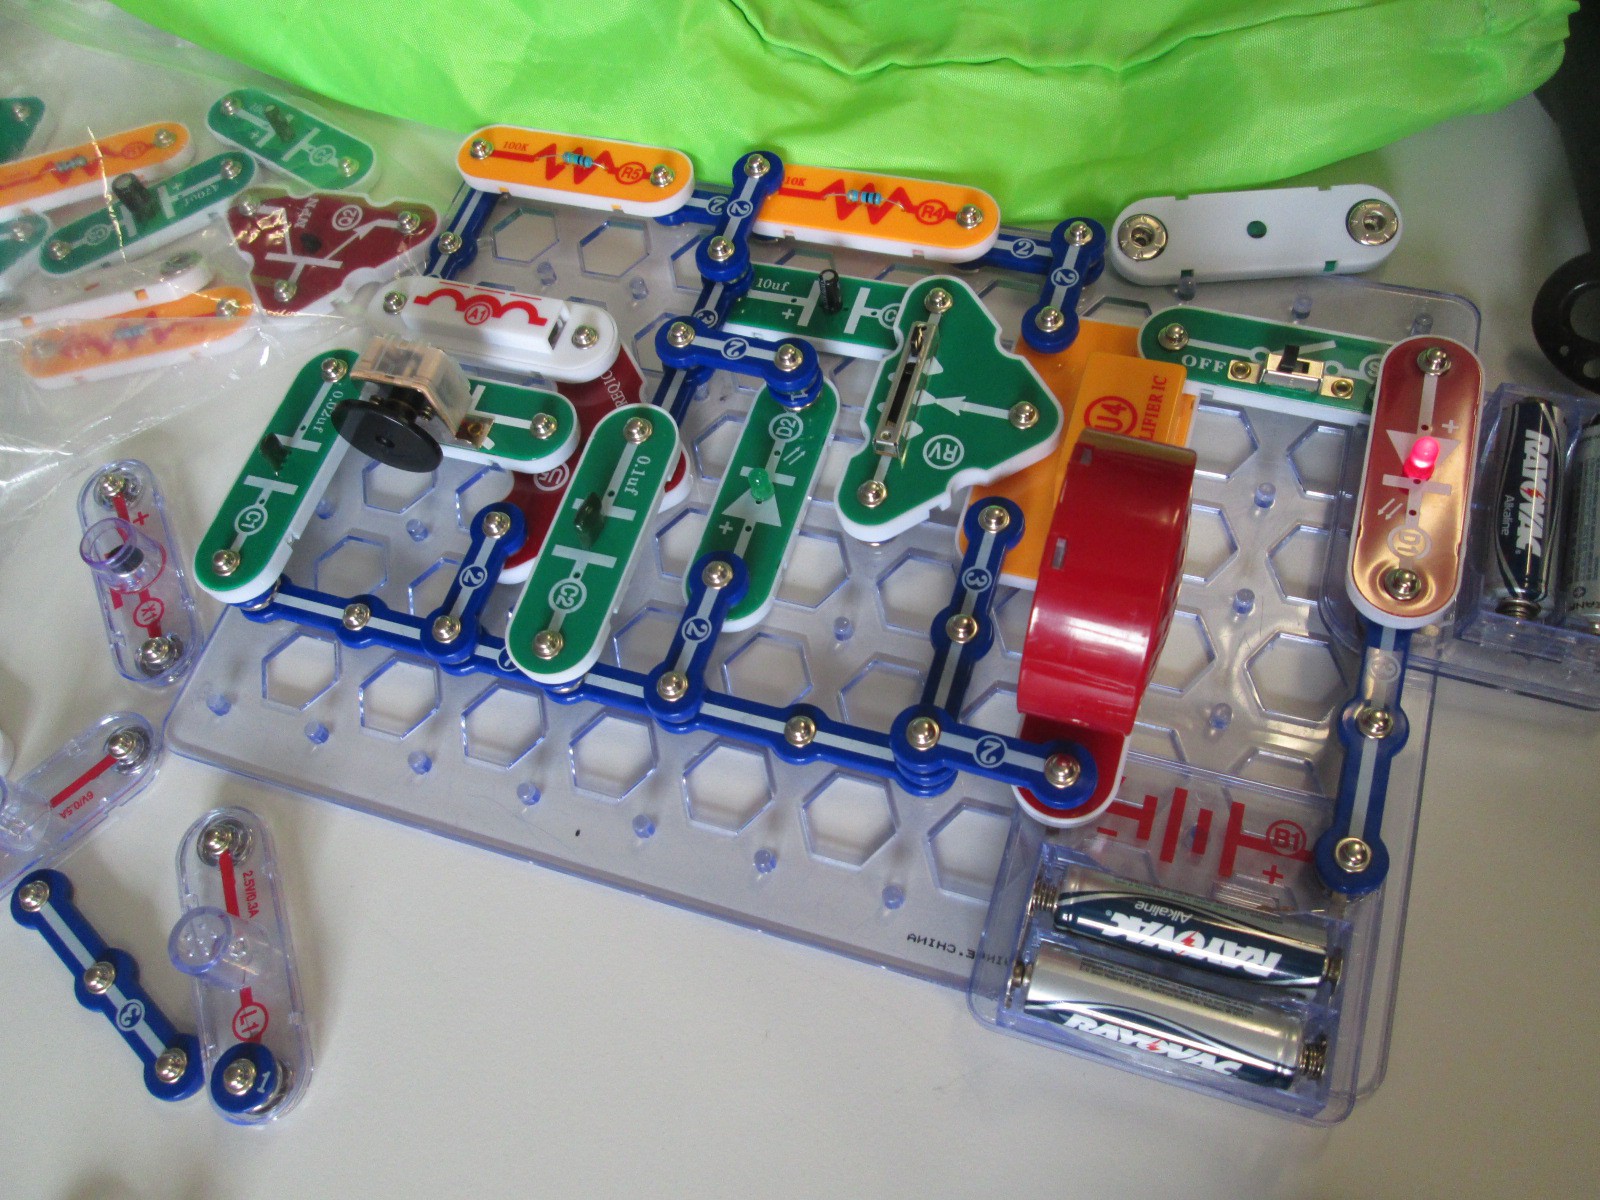
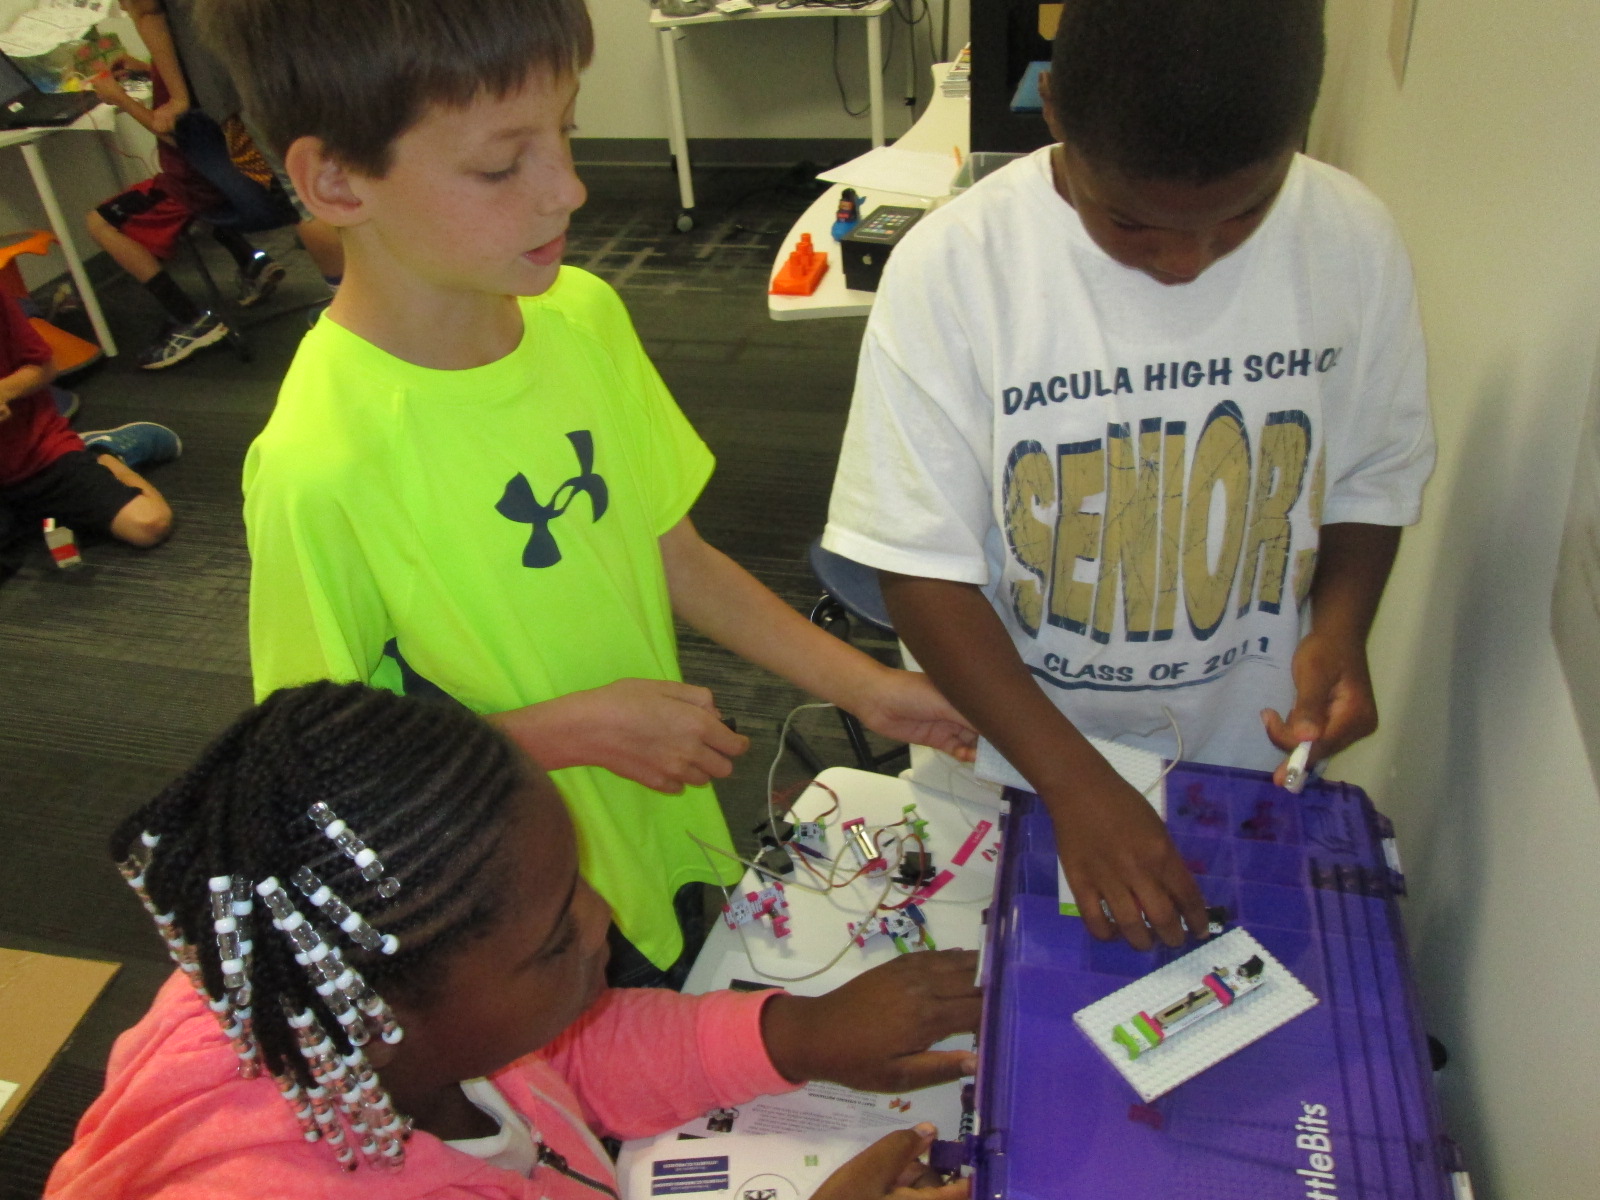
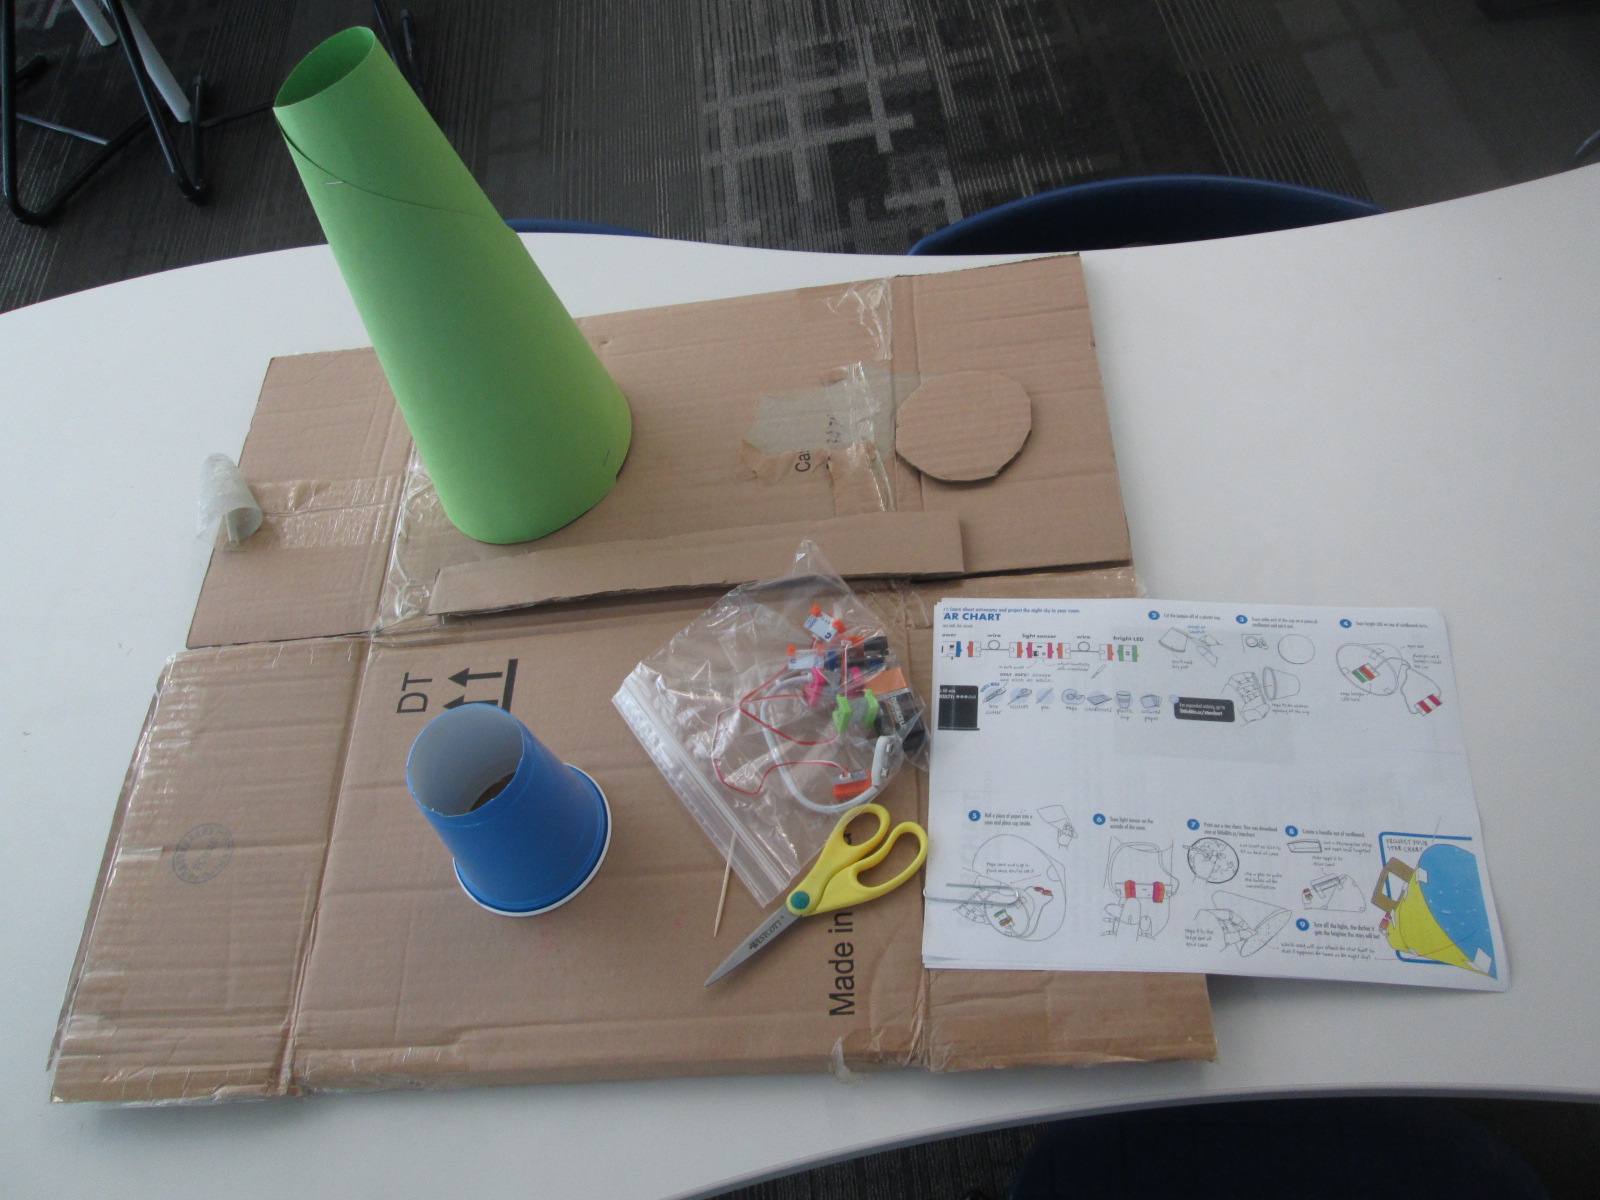
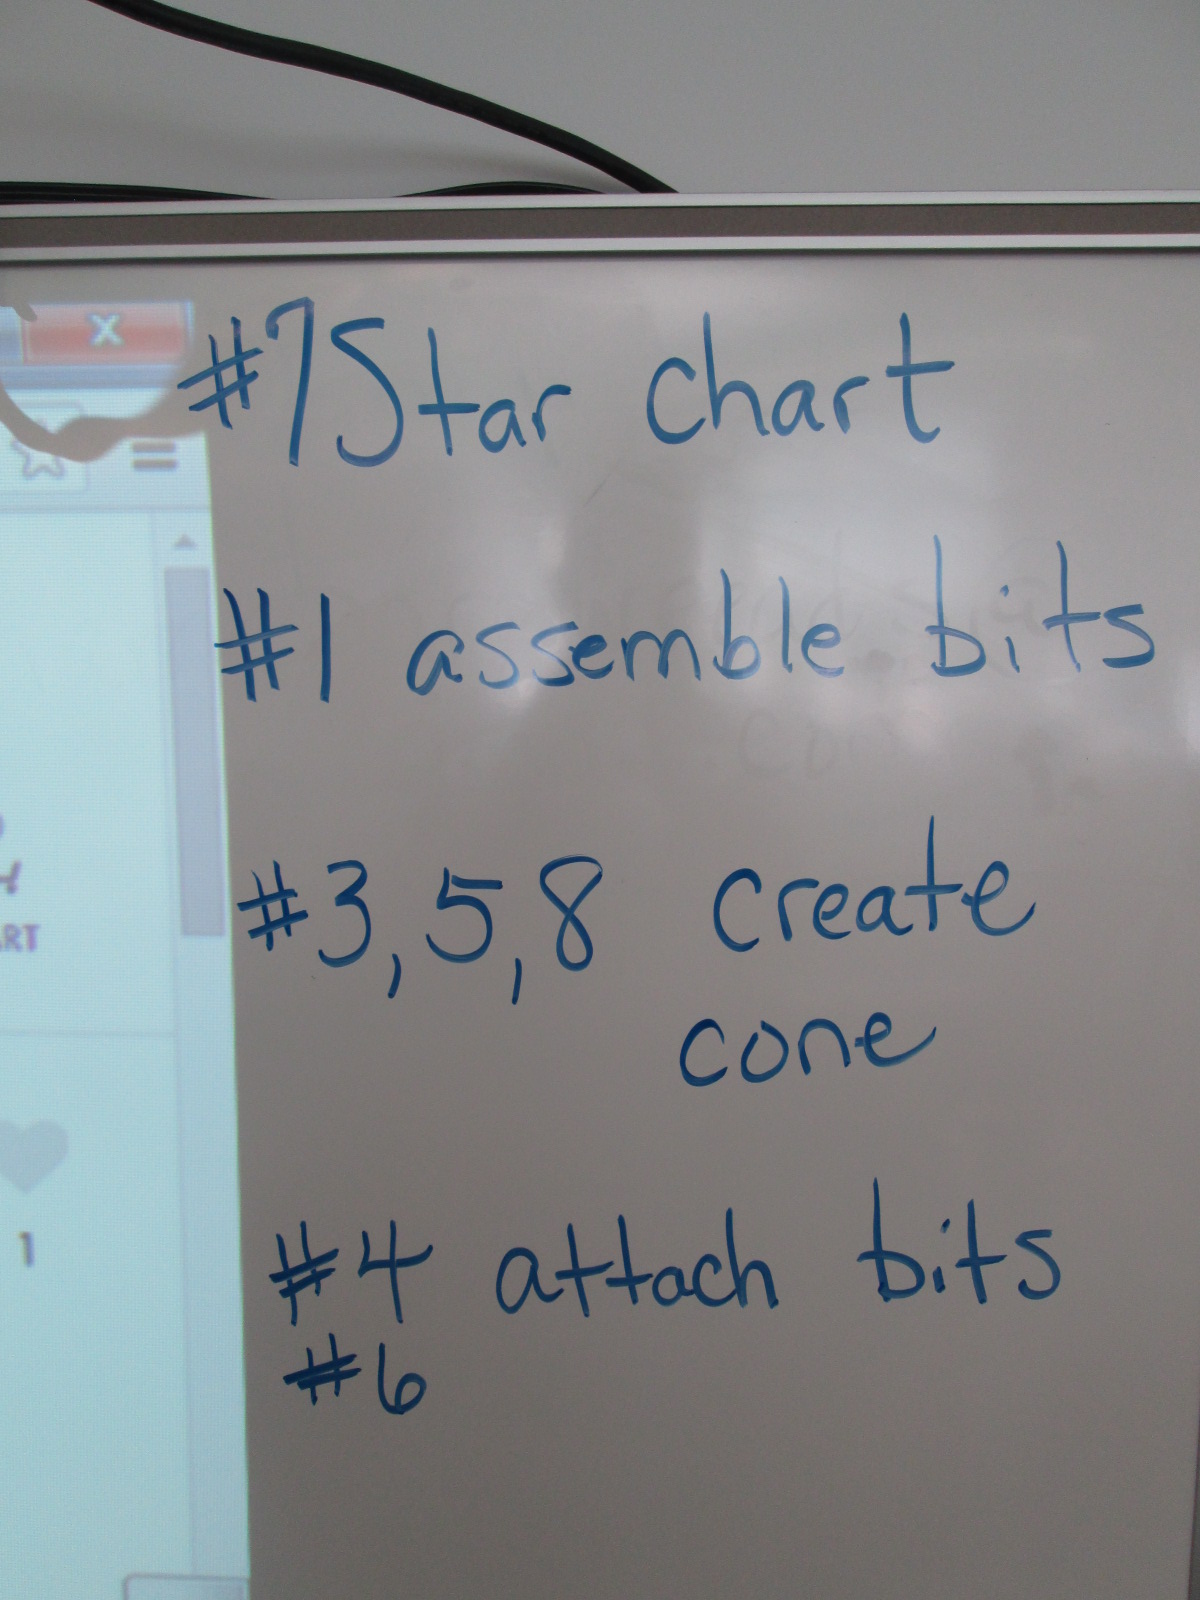
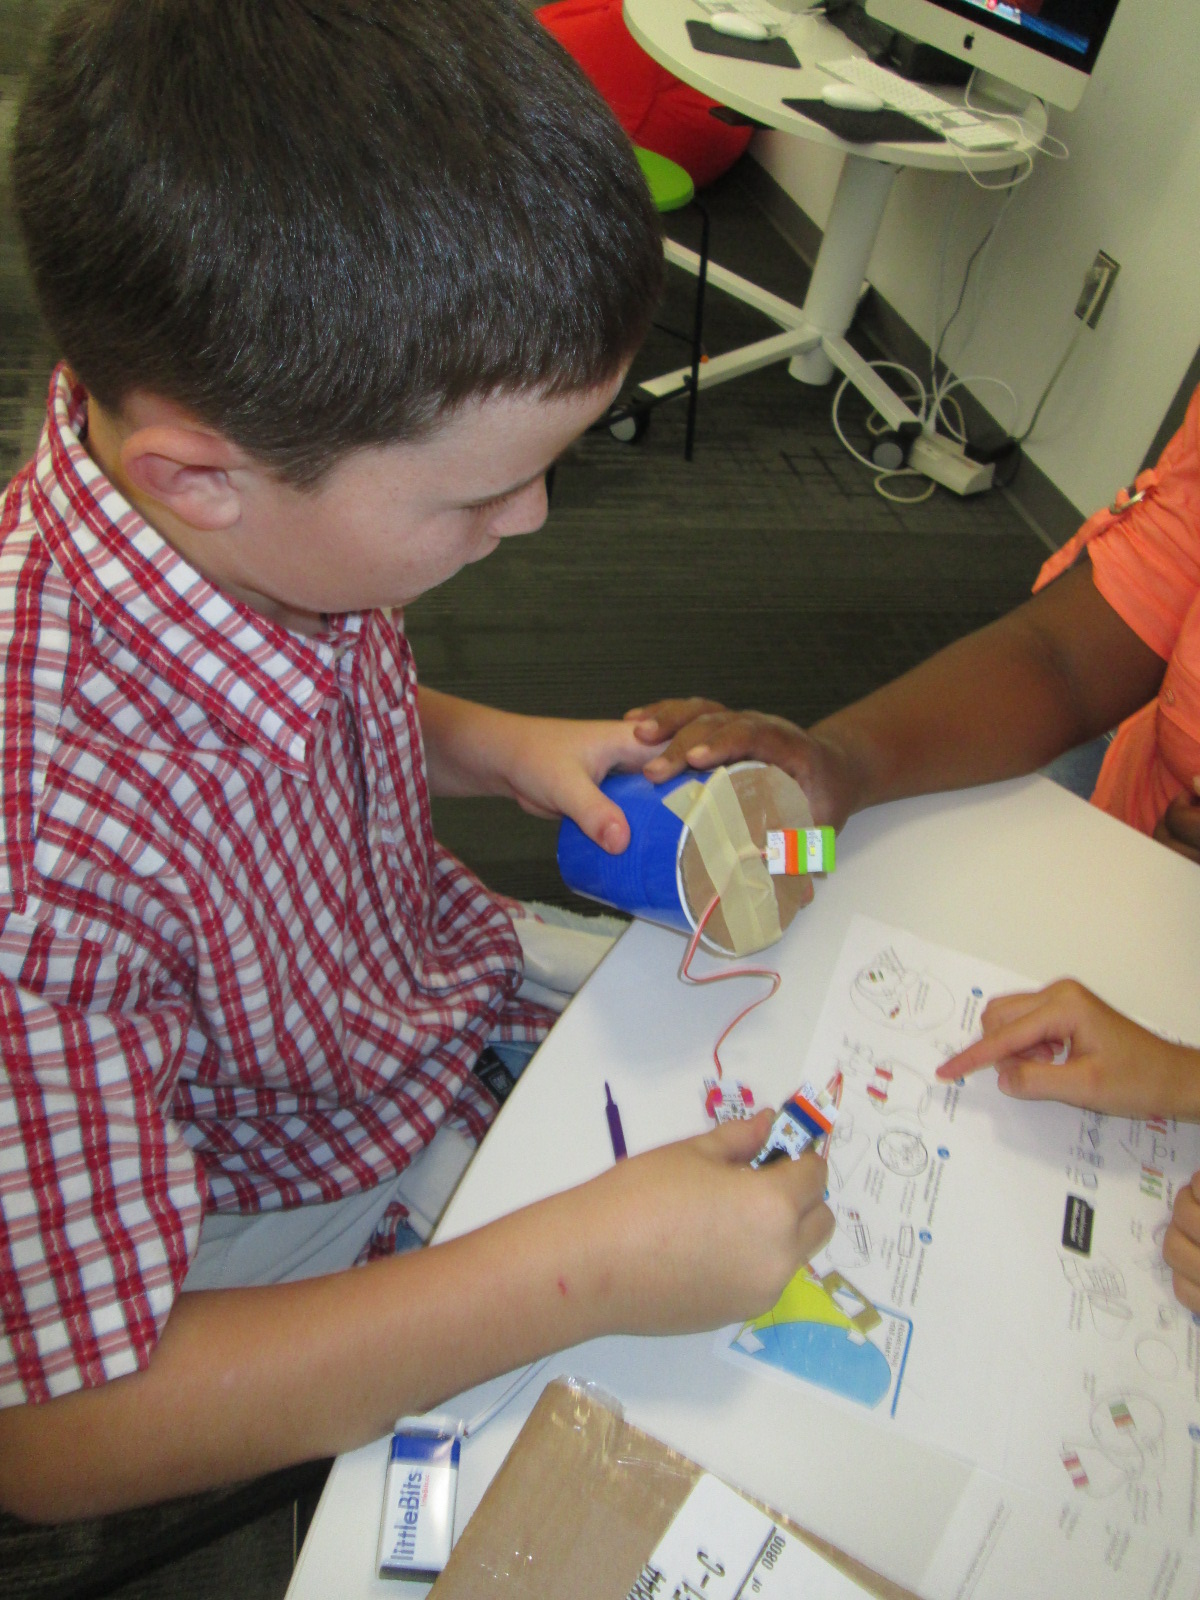
- littlebits invention
- duct tape creation
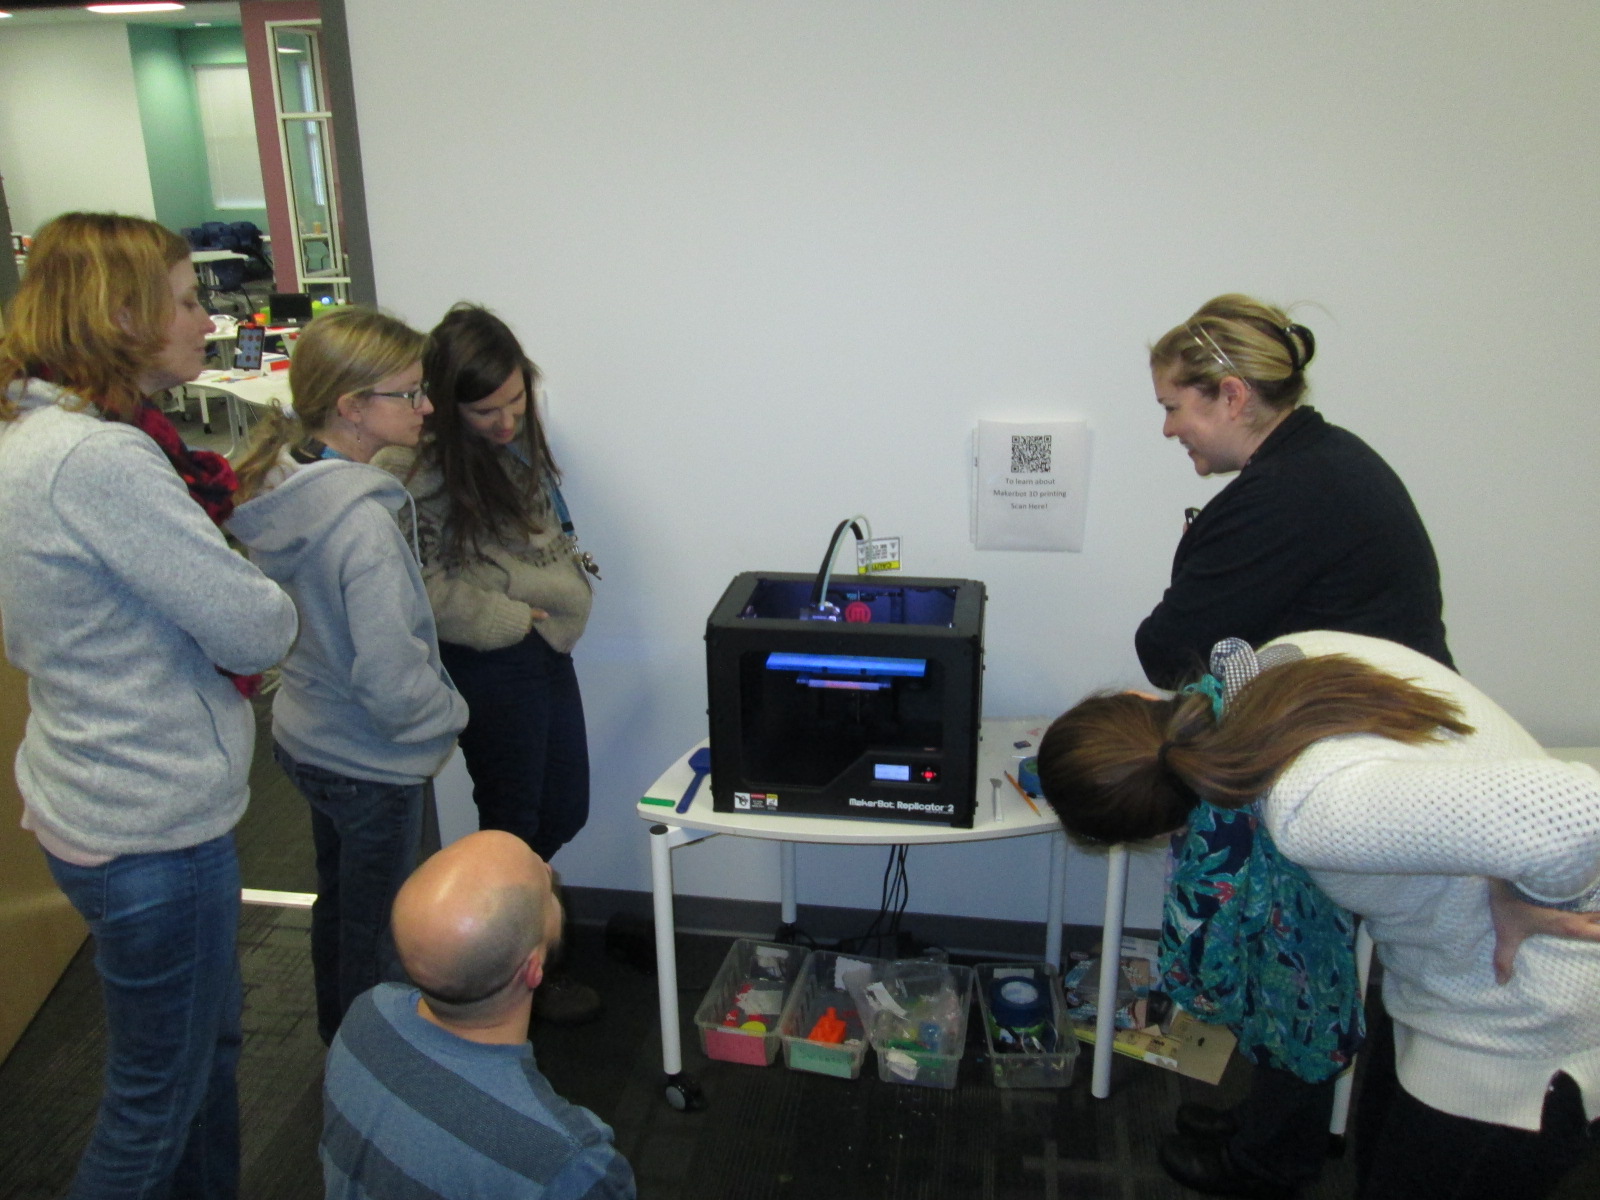
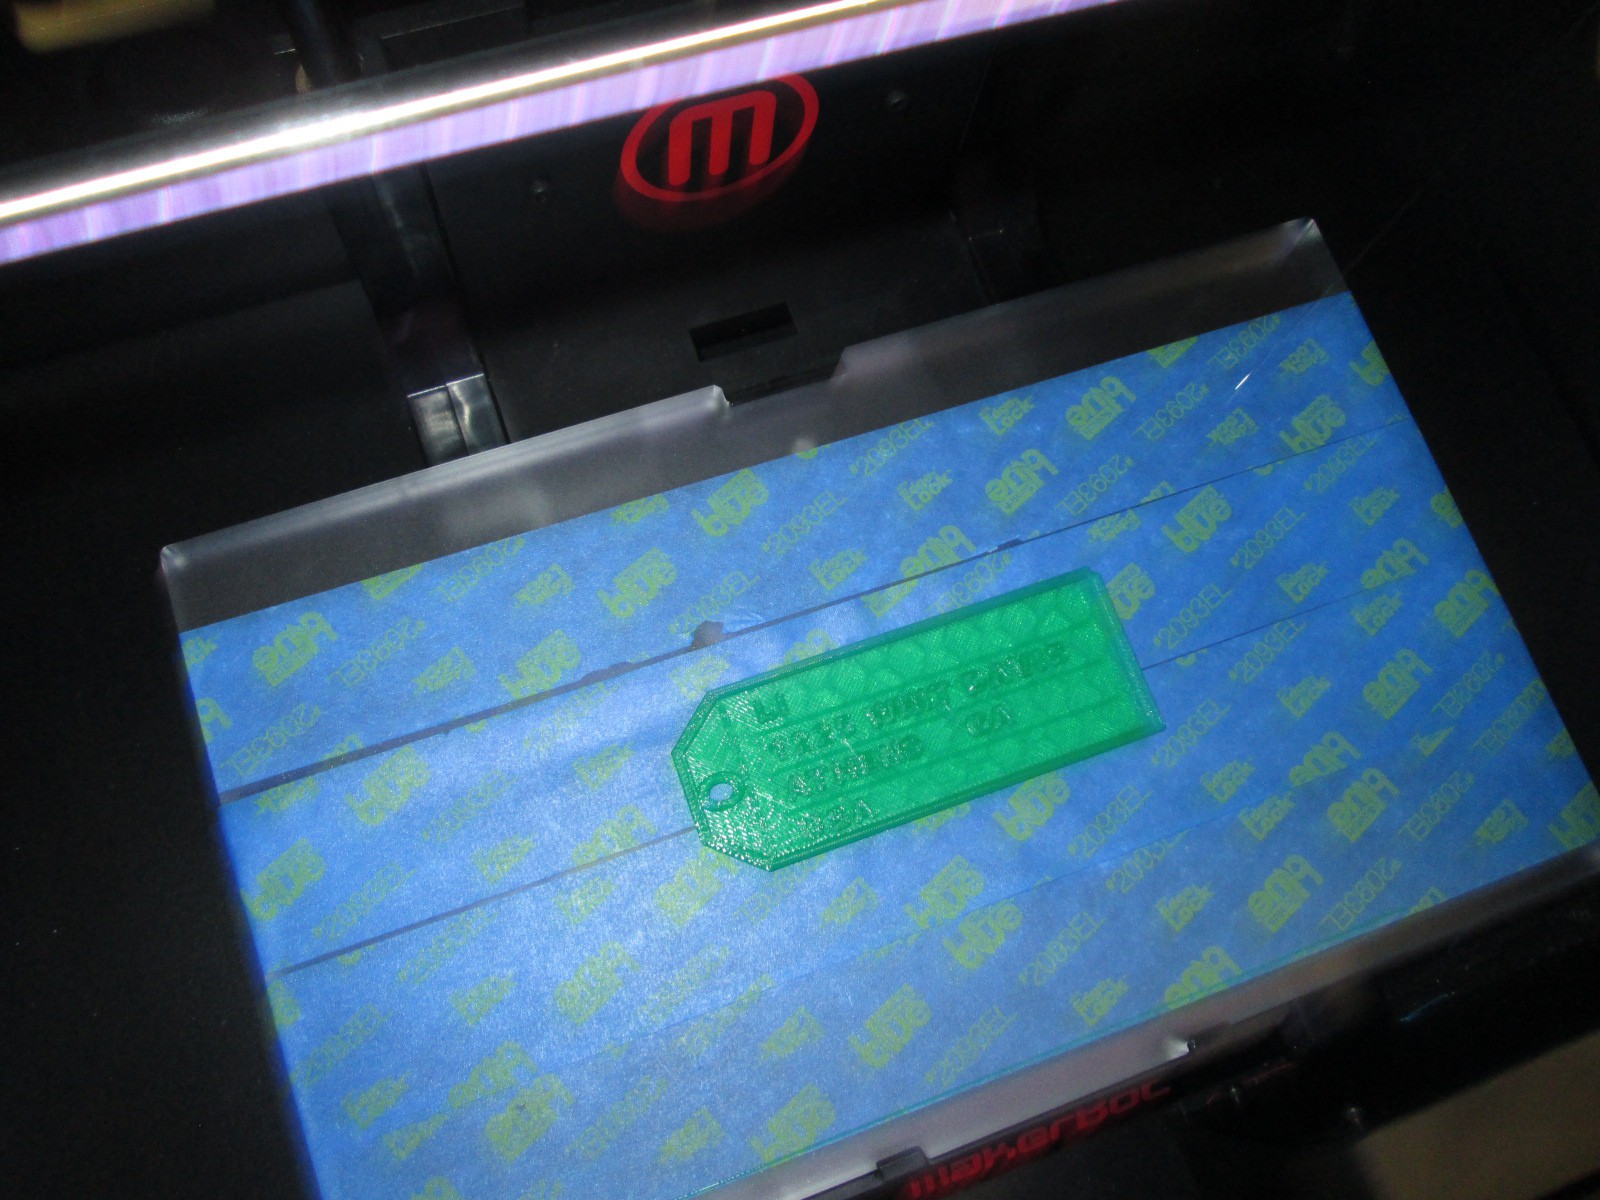
- 3d design
- Scratch program
- finger knitting
- origami
- strawbees structure
- stop motion video
- magic tricks
- puppet/puppet show
- magic tricks
- something else! (This category meant students might explore our many craft books for ideas on projects to create)

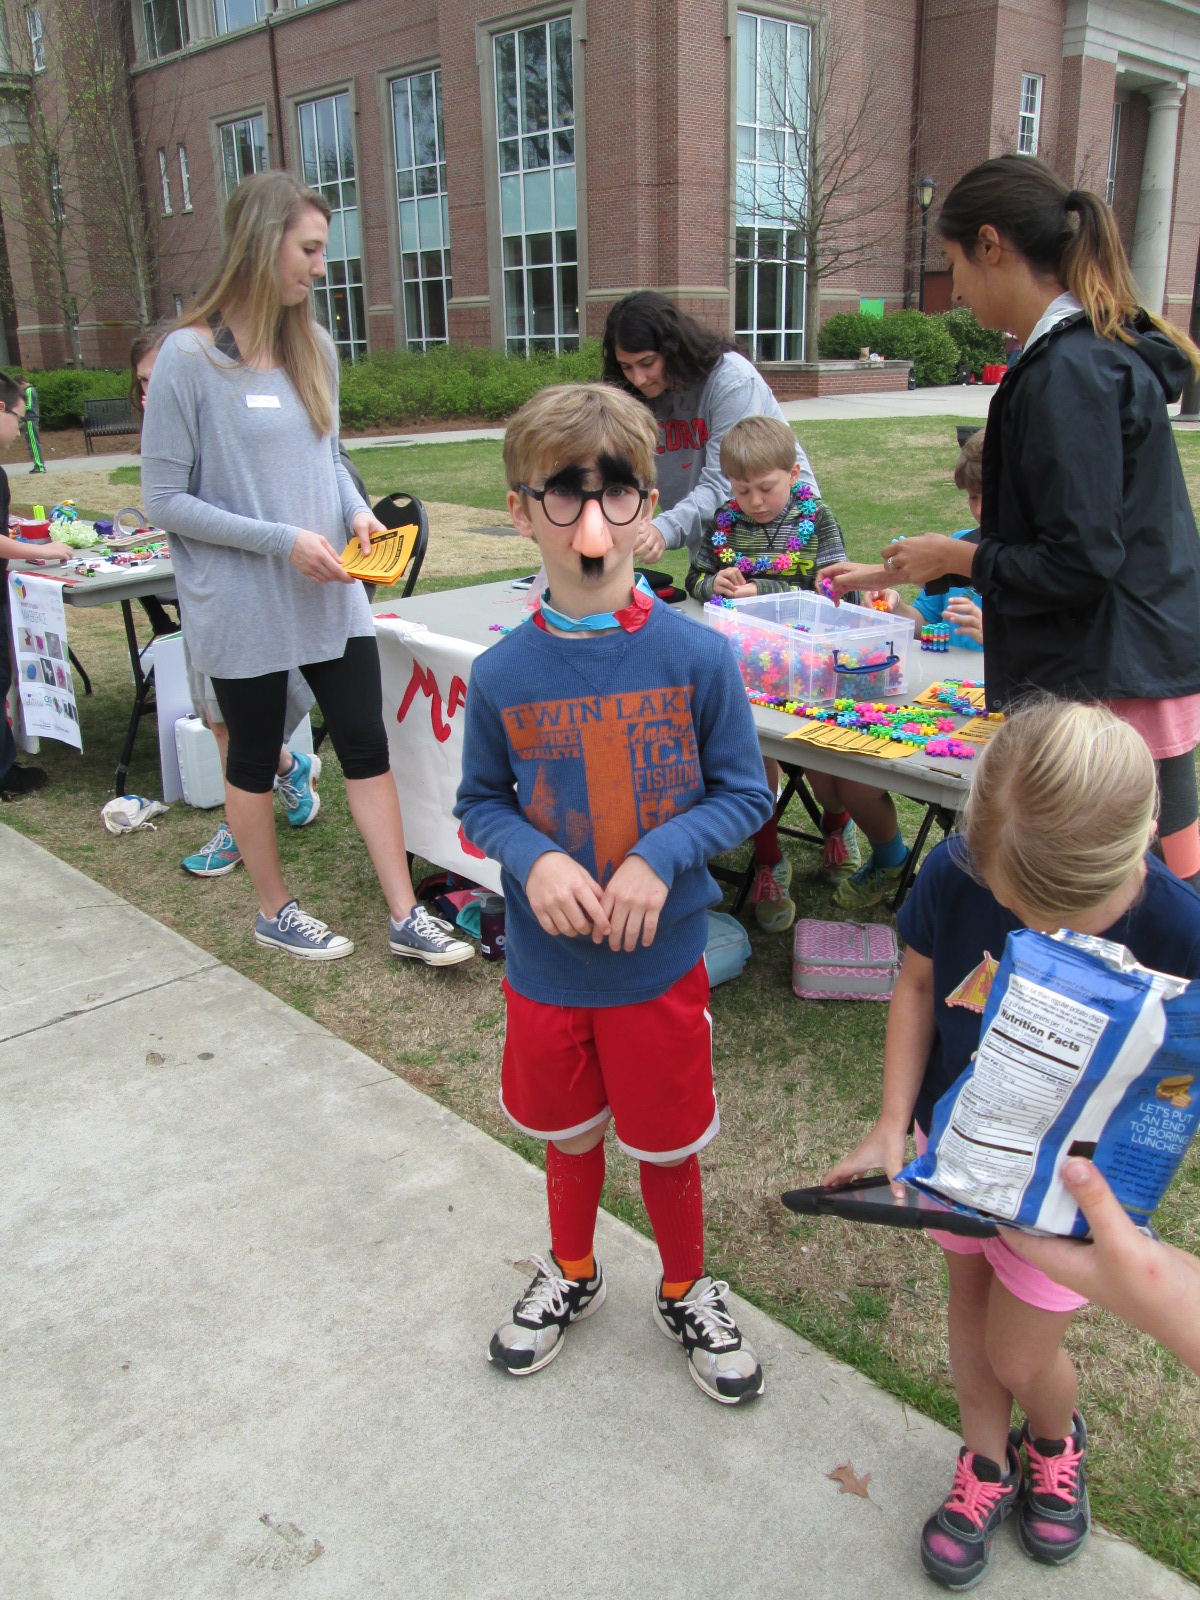
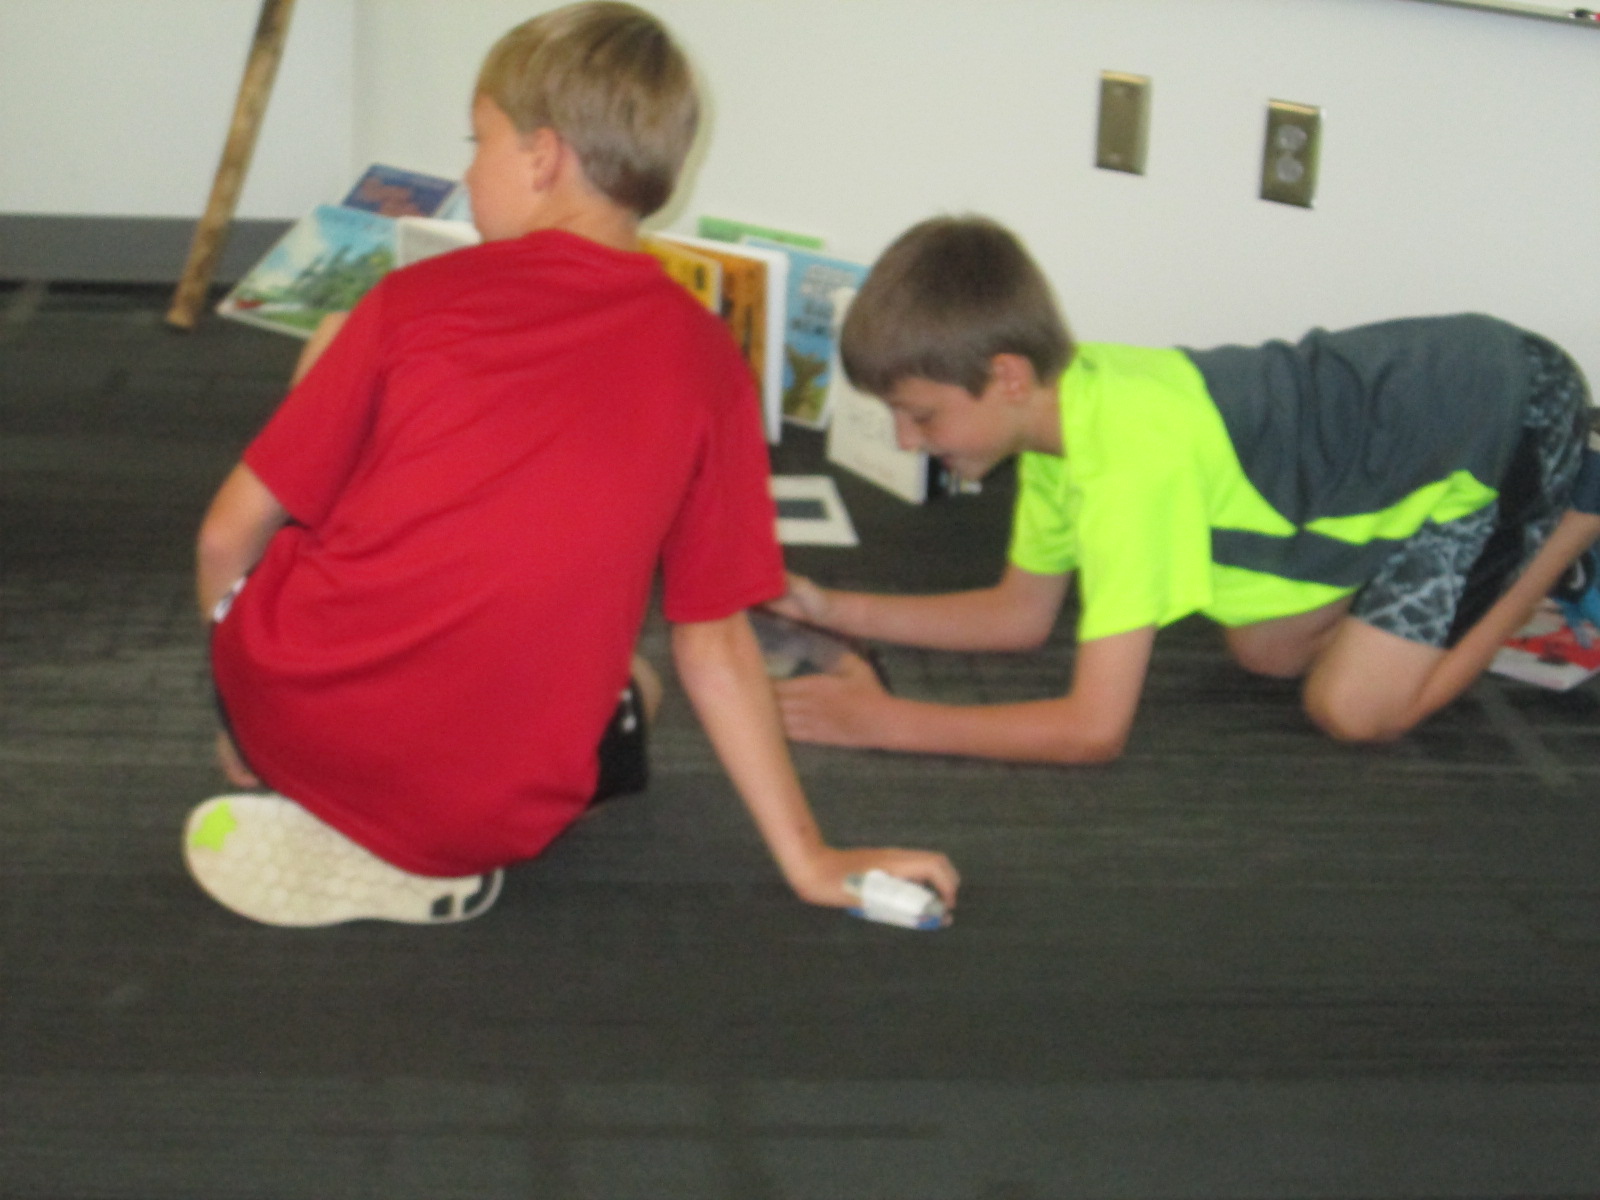
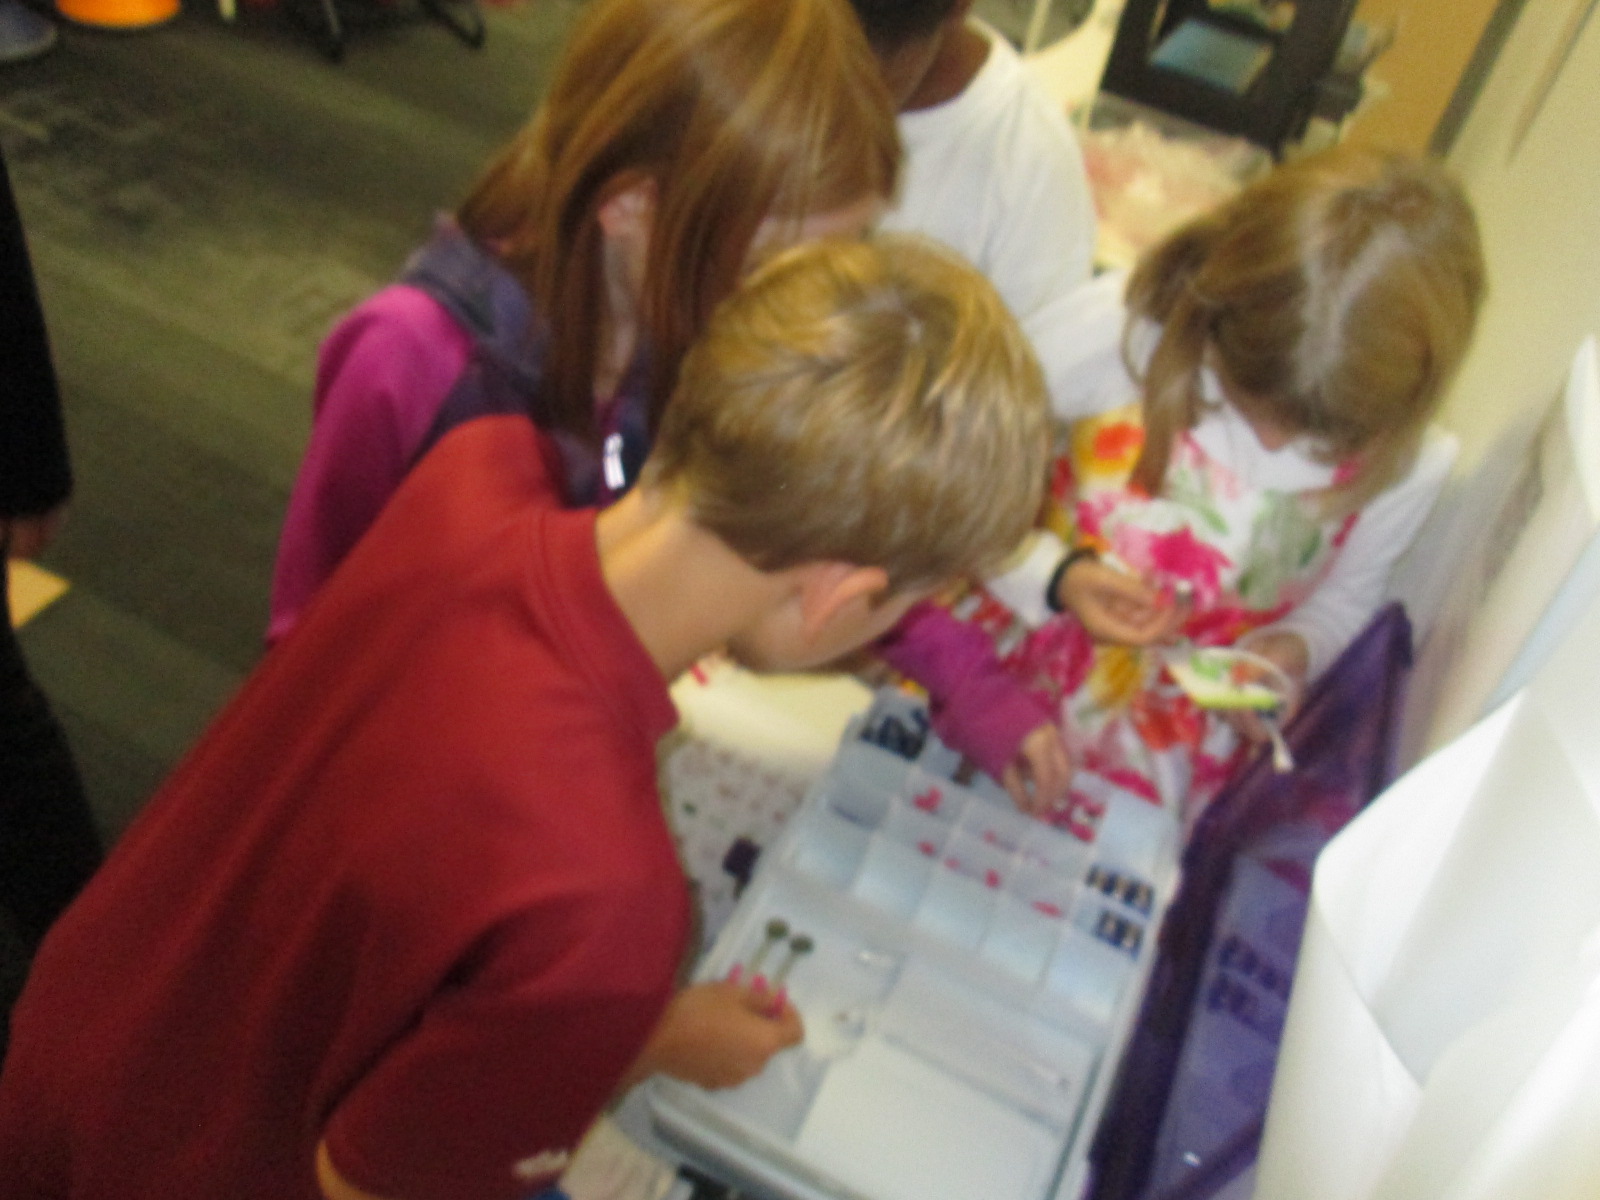
Once students decided, we gathered the materials they needed and stored each project on the shelves in our makerspace storage room. This part is hard to manage and it feels a bit chaotic until we have the materials that each student needs. Each Tuesday/Thursday they come for a 30-minute work session, gather their materials from the shelves, and work with me or a UGA student. Some students complete their projects at home.
 During the actual Barrow Maker Fest, we created a schedule so that every student who made something had two 30-minute windows to showcase their work. There was also a schedule for classes to sign up and come to view the projects. The entire UGA class came as well so that they could view the final projects as well as help students at tables.

In the end, 26 students showcased creations on a variety of topics which included:
- a cardboard Earth robot
- mason jar lights
- a robotic arm
- a cardboard pirate game with secret codes and a spyglass
- a Python computer program similar to Google Translate which translated English to Pig Latin
- a shadow puppet theater
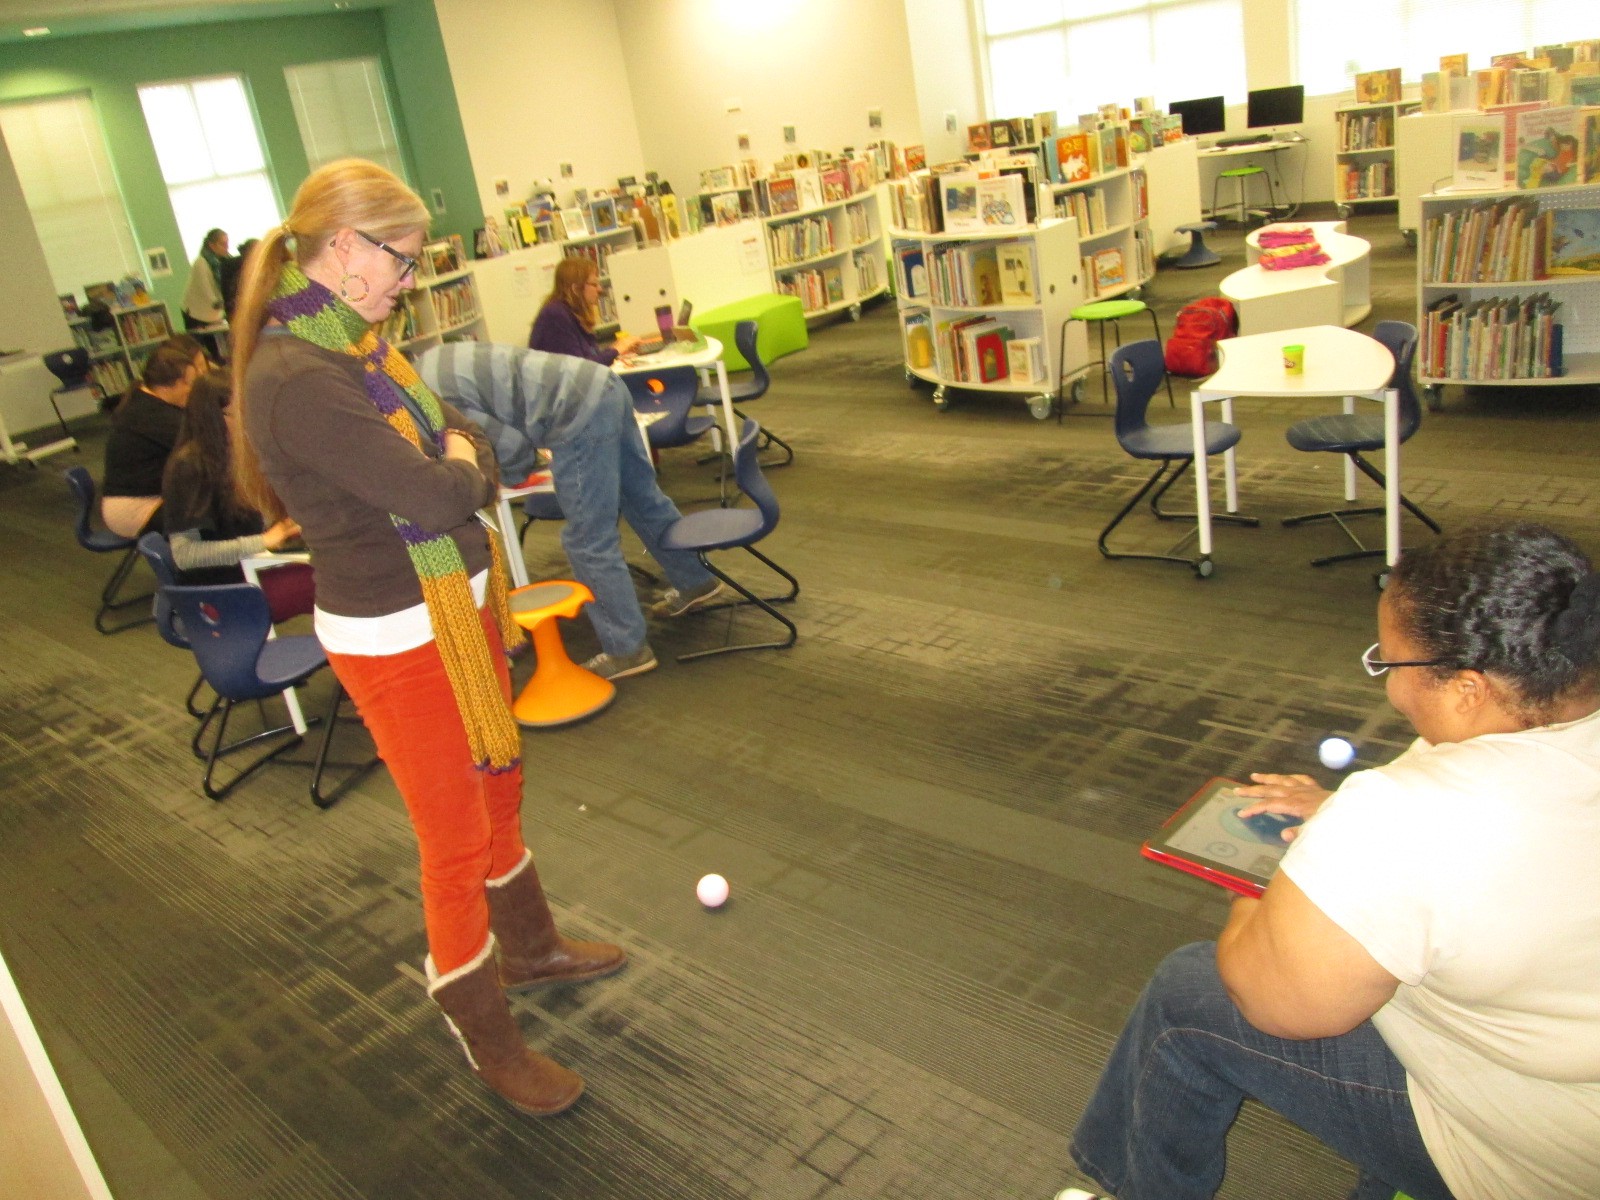
- a Littlebits throwing arm and car
- Lego scenes and building station
- 3D slinkies, Rubik’s cube, and Minecraft swords made with 3D pens
- 3D action figure designed in Tinkercad
- a cardboard robot suit
- a cardboard tower
- a car made from a mail tube
- a stackable jewelry holder
- magic tricks
- Merge cubes
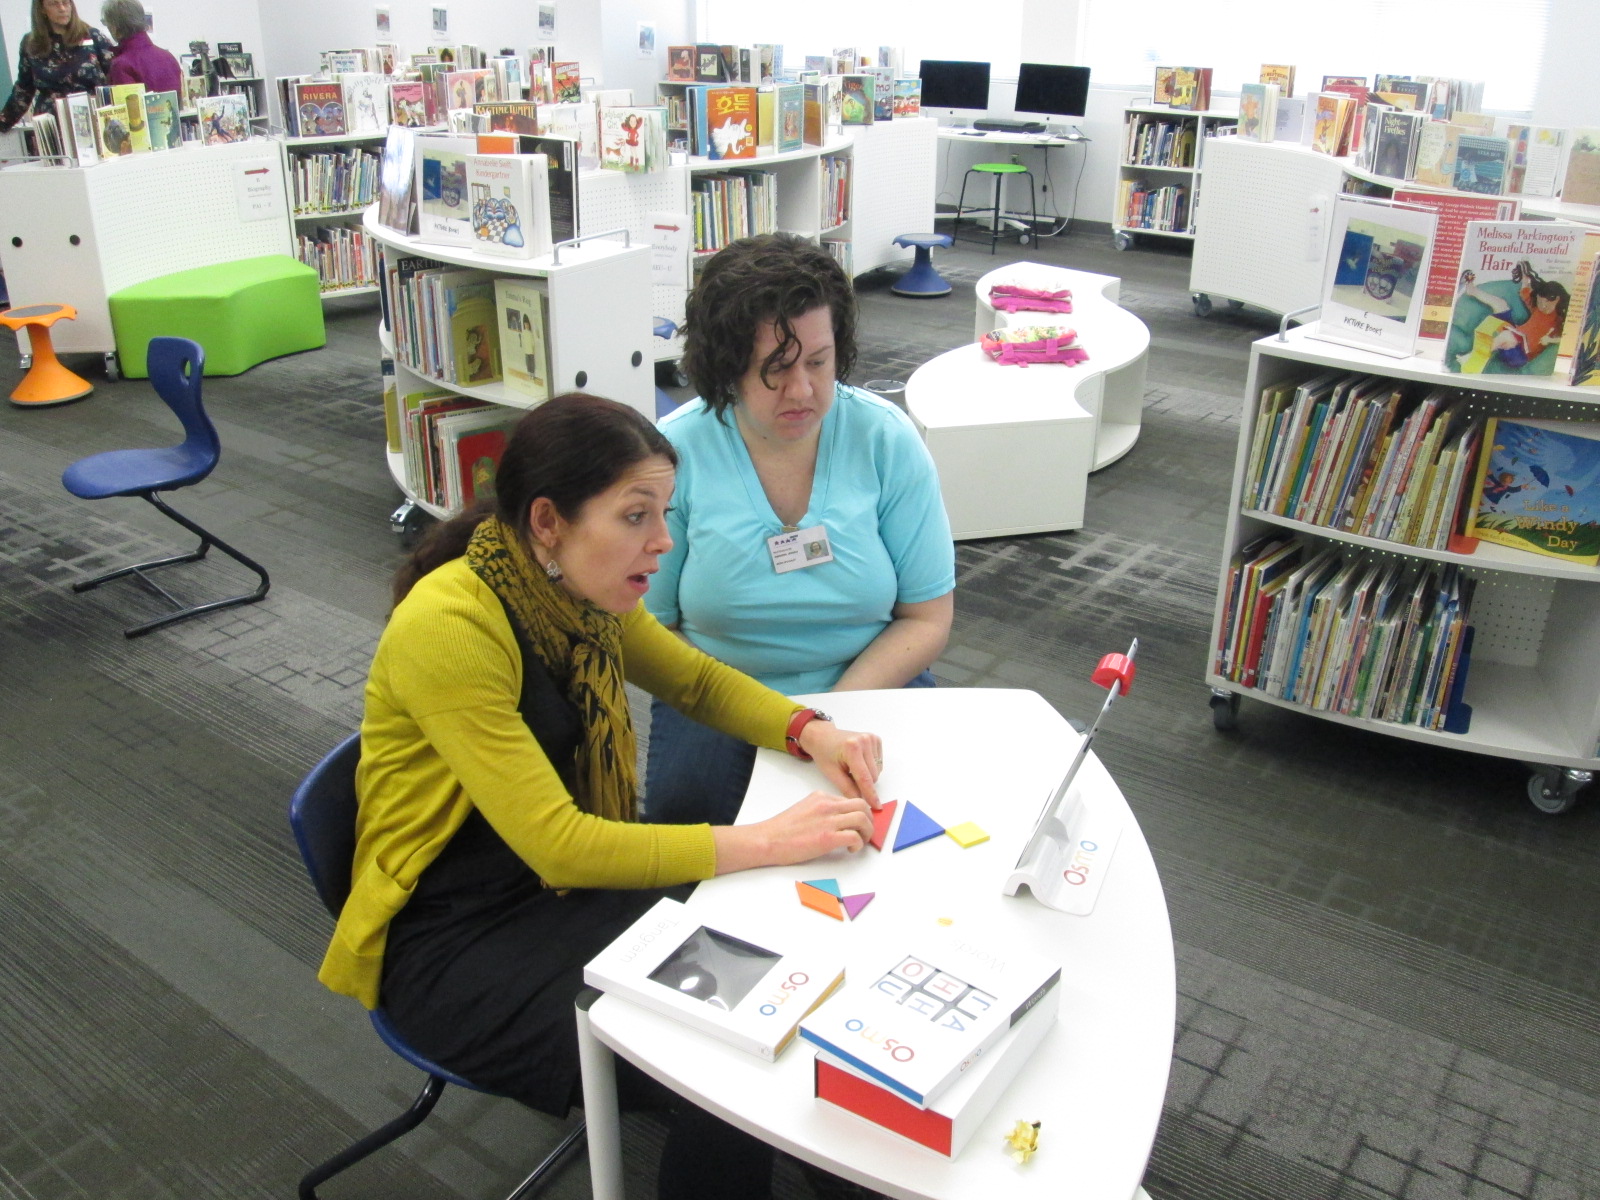
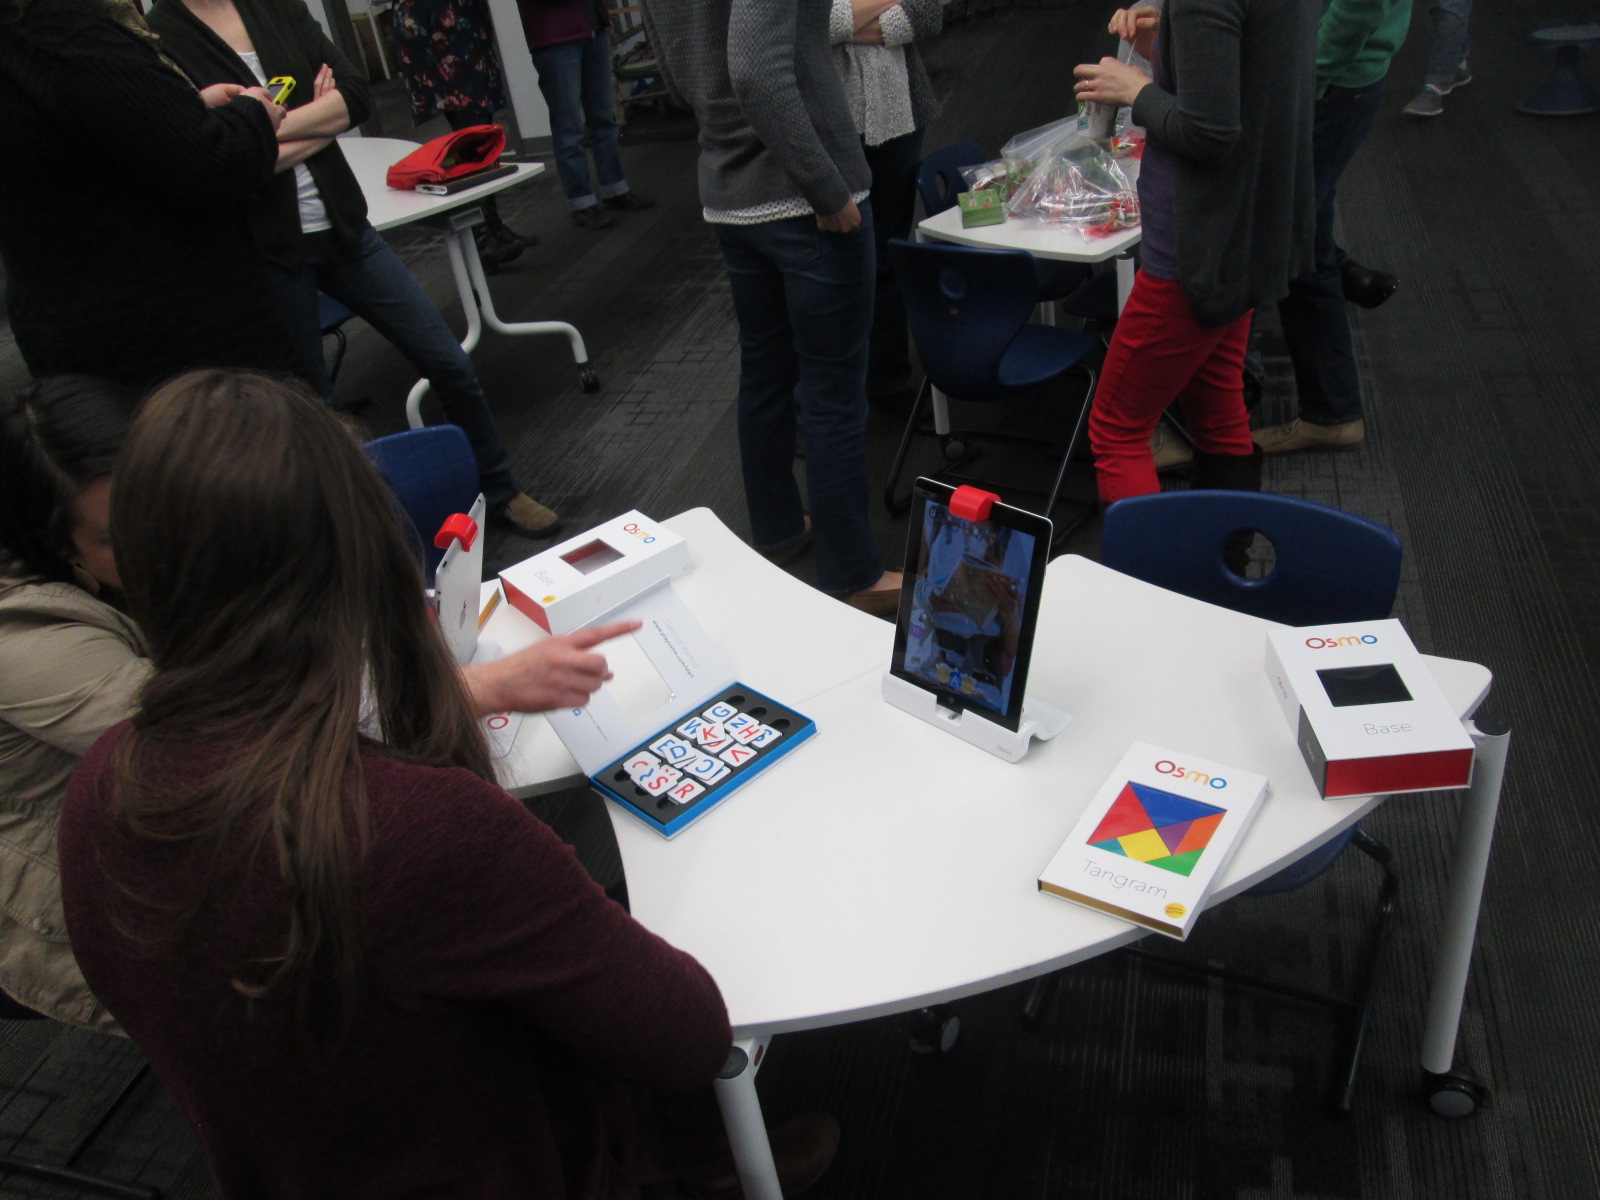
- Osmo


They were so excited to share their work, have an authentic audience to entertain and ask questions, and see that their work inspired other makers. Several students who came said they wanted to make something next year.
")
")
")
")
")
")
")
")
")
")
")
")
")
")
")
")
")
")
")
")
")
")
")
")
")
")
")
")
")
")
")
")
")
")
")
")
")
")
")
")
")
")
")
")
")
")
")
")
")
You can see many of these projects along with projects from other K-12 schools in the Clarke County School District at our CCSD Maker Fest. It will be Saturday April 14 2-4PM at Clarke Central High School. It is free and open to the public. We hope to see you there.


")
")
")
")
")
")
")
")
")
")
")
")
")
")
")
")
")
")
")
")
")
")
")
")
")
")
")
")
")
")
")

")
")
")
")
")
")
")
")
")
")
")
")
")


")


")
")

")
")


")
")
")
")
")
")
")
")
")
")