

Last week, Mr. Coleman, 4th grade teacher, asked me if I had any extension lessons to support 4th grade’s study of stars and constellations. Specifically, their standard is:
S4E1. Students will compare and contrast the physical attributes of stars, star patterns, and
planets.
I suddenly remembered that a part of he littleBits workshop kit that I purchased this summer was a free space module. As I flipped through the book, I saw that you could use littleBits to make a start chart. This was the perfect opportunity for students to explore littleBits in a standards-based lesson with enough structure to give them a goal but still have an opportunity to do a bit of tinkering.
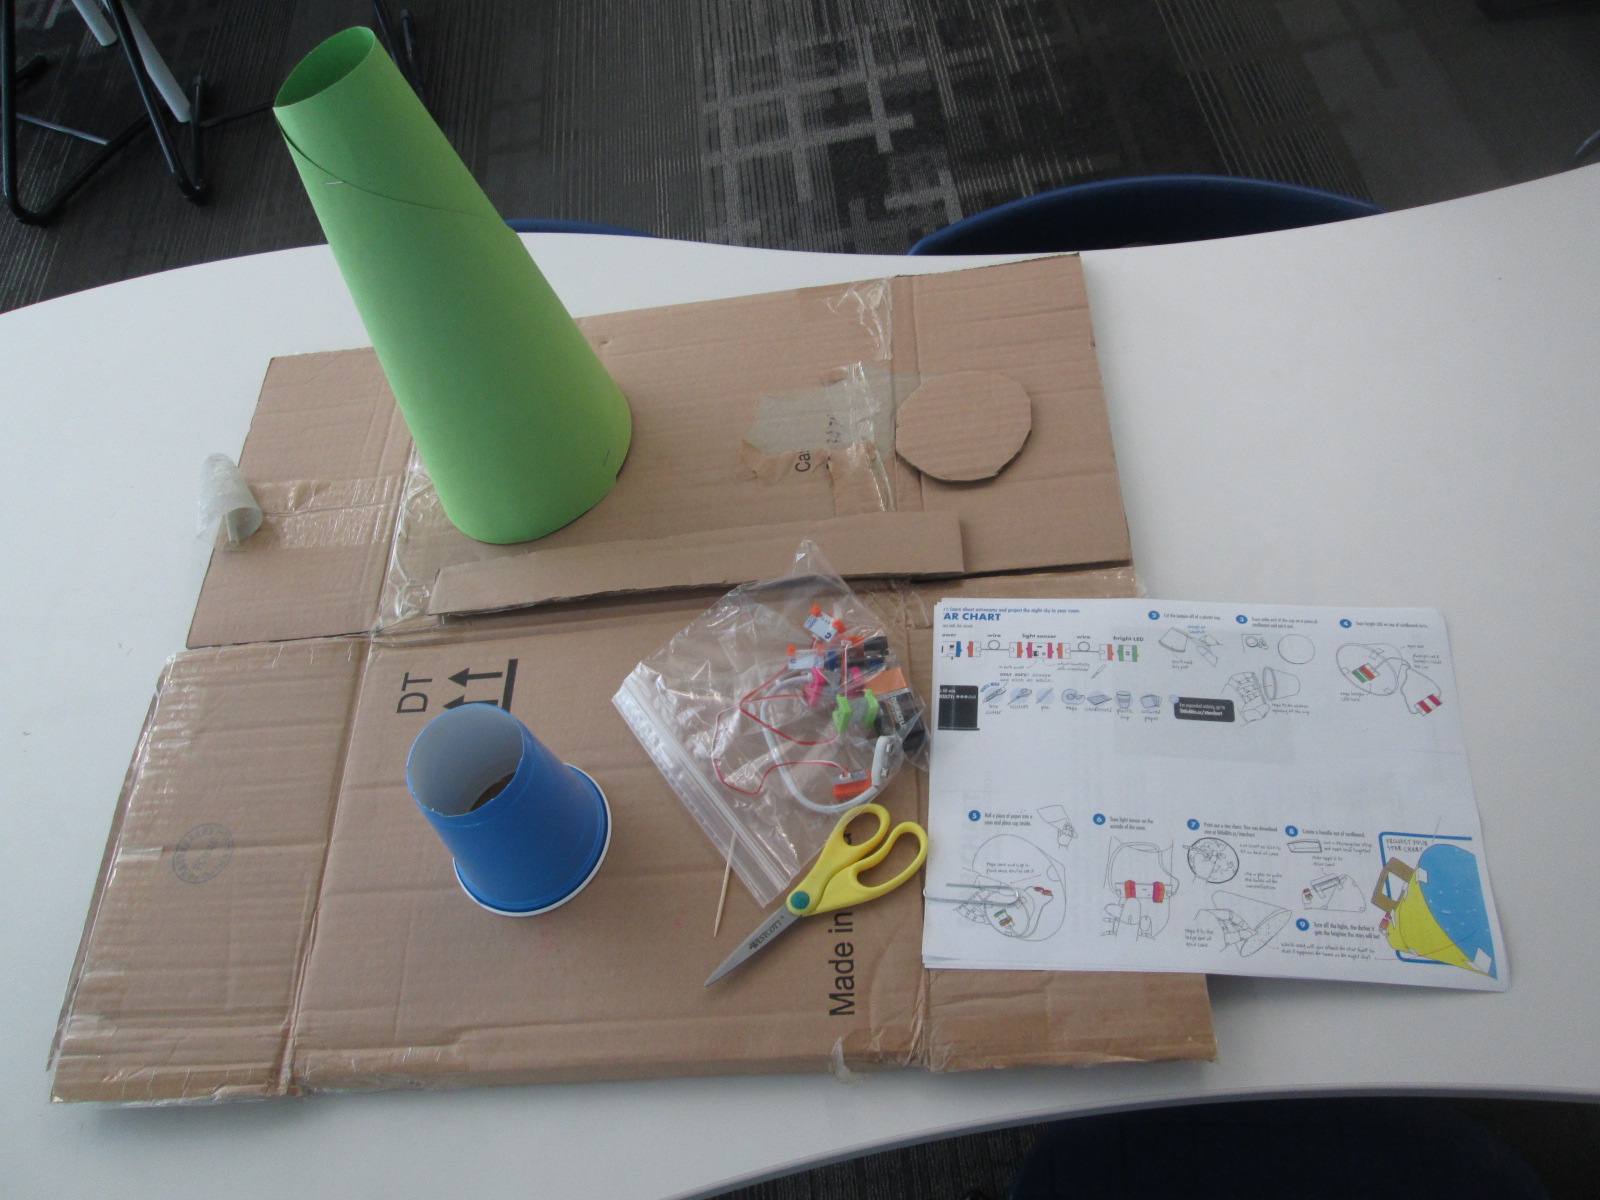
Because some of the steps involved using a box cutter to cut holes in a cup and a cardboard circle, I did a few steps ahead of time for them. On a large piece of cardboard, I gathered materials for each group:
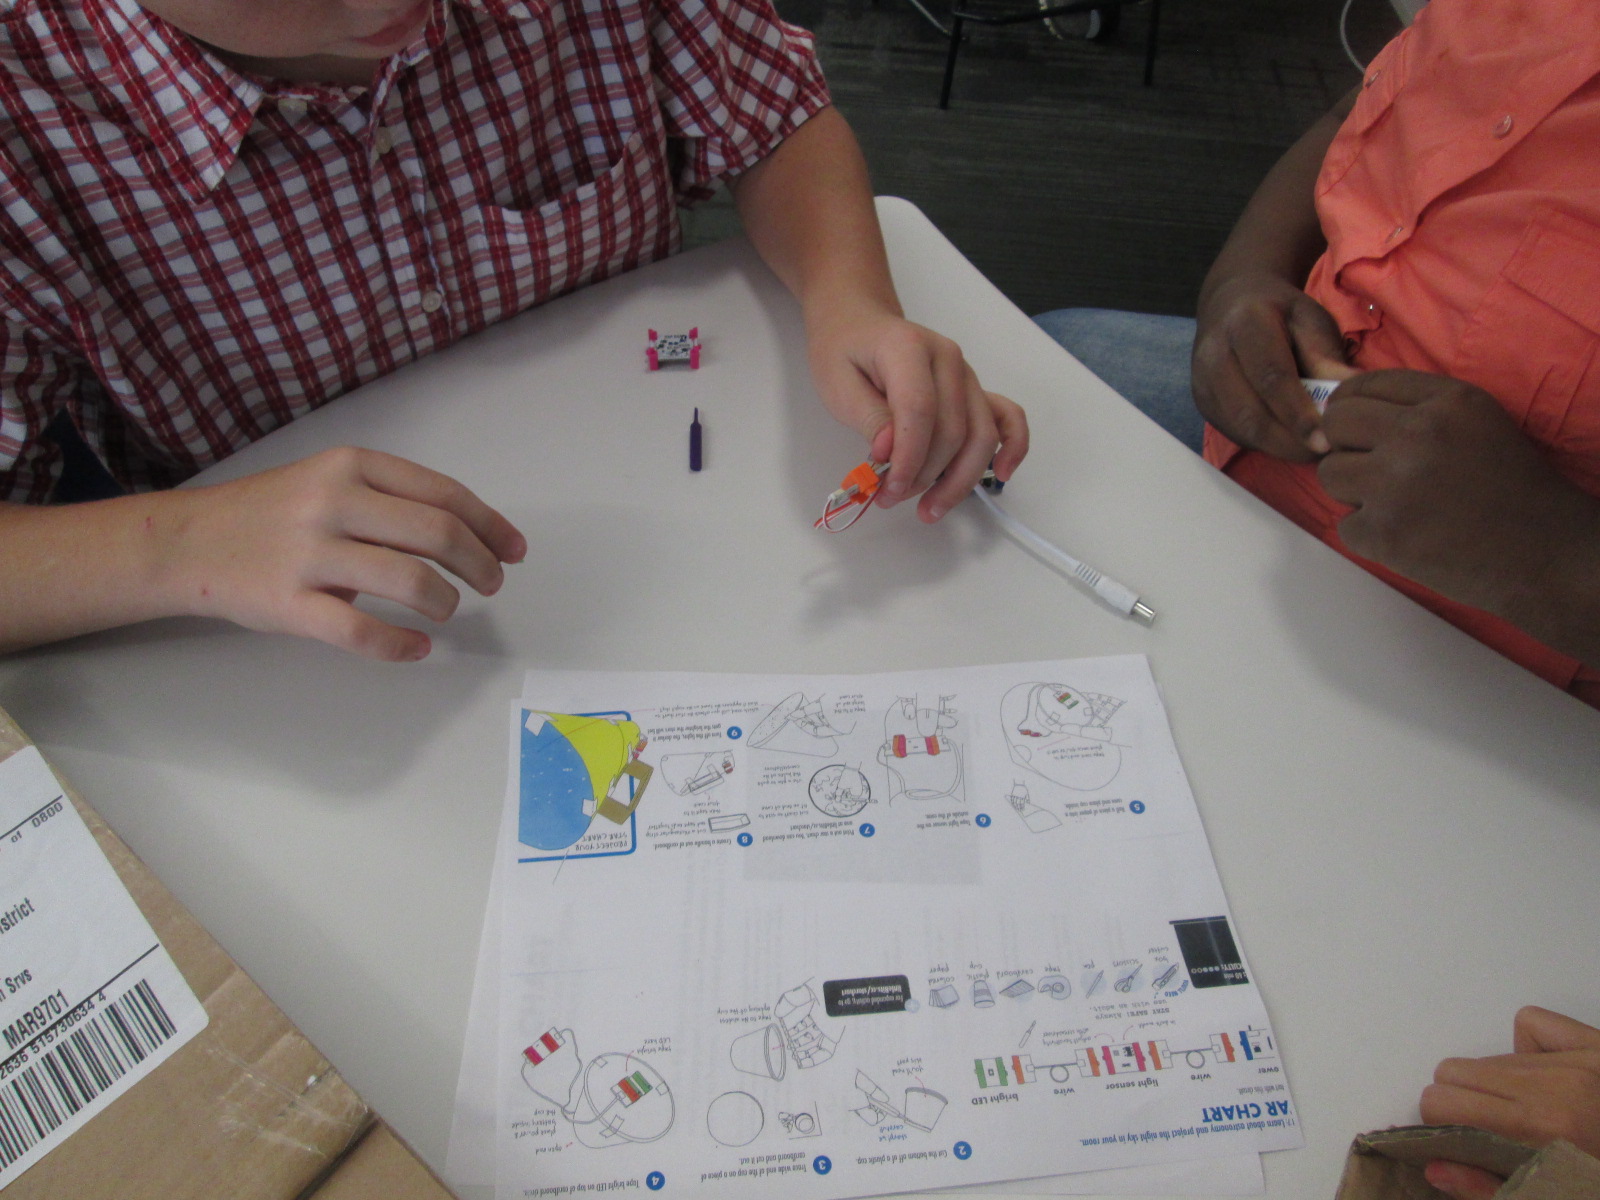
- a ziploc bag of the littleBits needed, including the battery
- a littleBits screwdriver
- scissors
- tape
- a toothpick
- a pen
- a cone made out of construction paper (many thanks to Gretchen Thomas for helping me figure out how to make a cone!)
- a plastic cup with the bottom cut out
- a cardboard circle the size of the mouth of the cup
- a strip of cardboard
- a set of instructions
- a copy of a star chart
We started the lesson together on the carpet. We watched a short intro video:
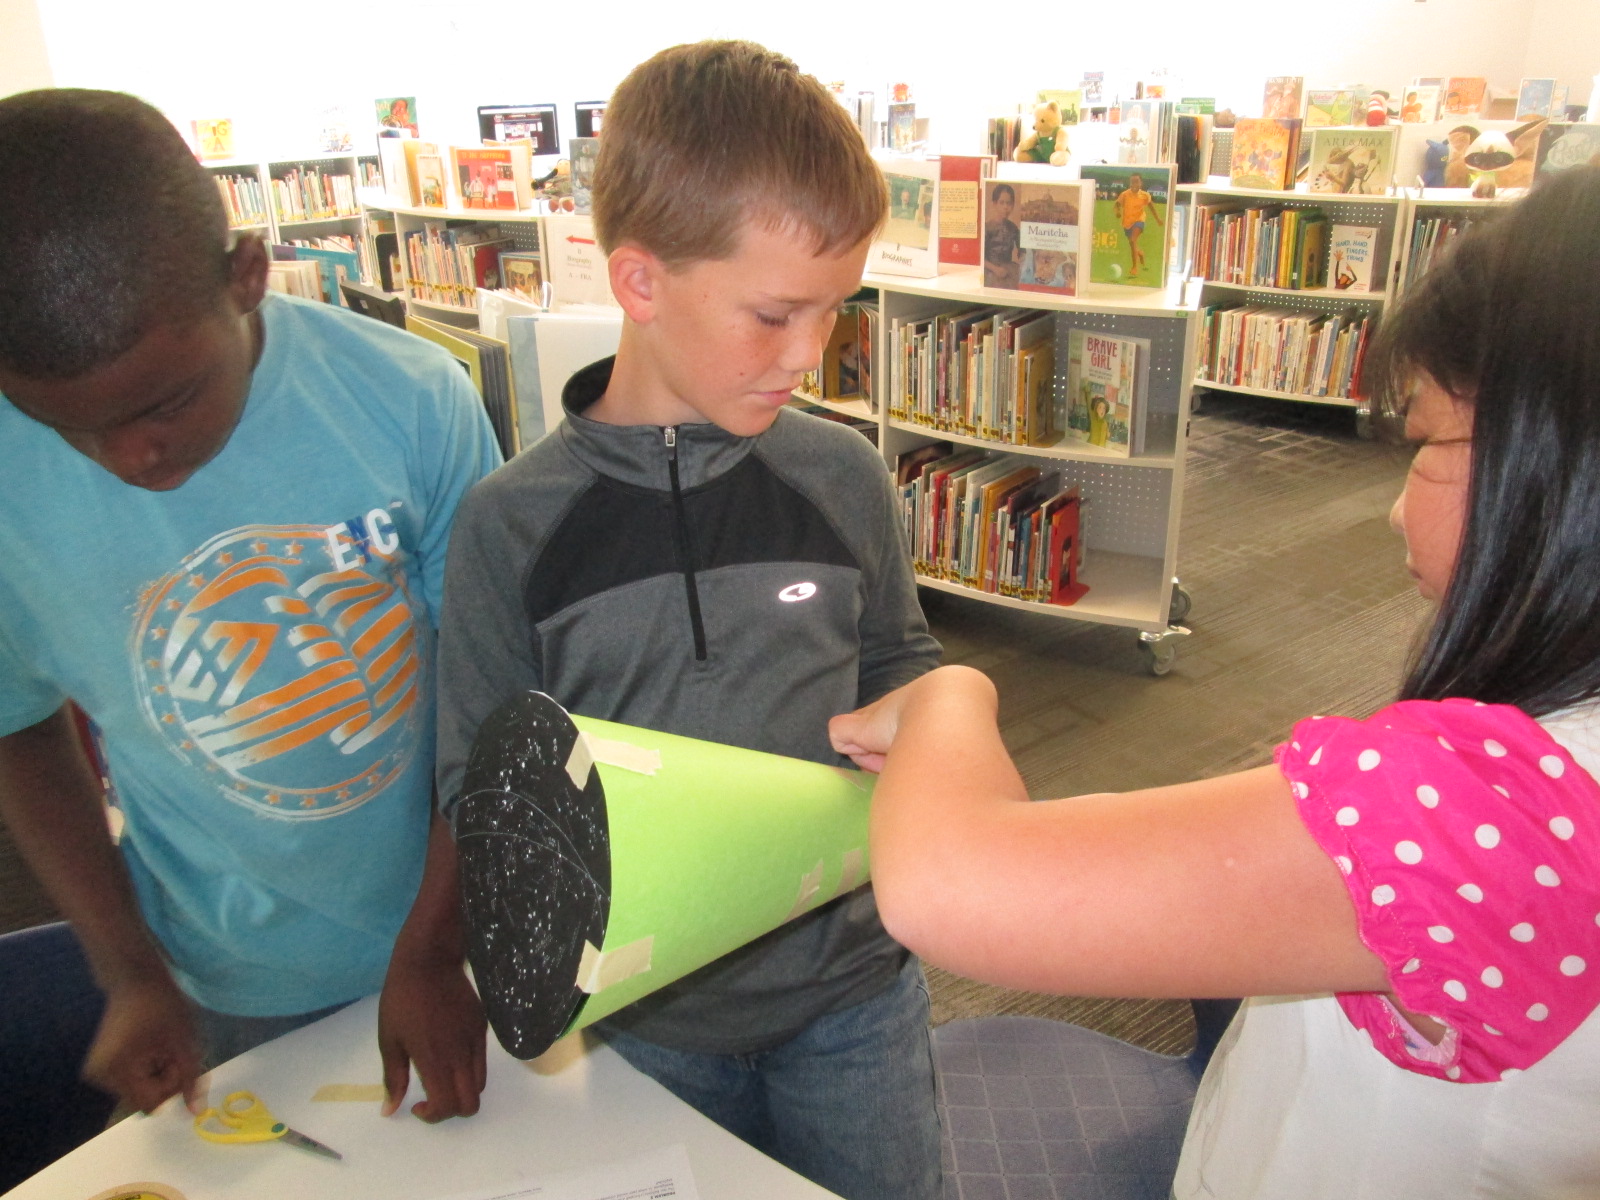
I told them that our goal was to make a device that lit up when it was in a dark room and projected stars onto the ceiling.
We talked about failure. I emphasized that this class was the first class in the school to use littleBits. We talked about failing, taking a deep breath, backing up, and trying again when something didn’t work. I also talked about teamwork and time management. This was to emphasize that the more they worked together and didn’t give up the more likely they were to be successful in making their chart.
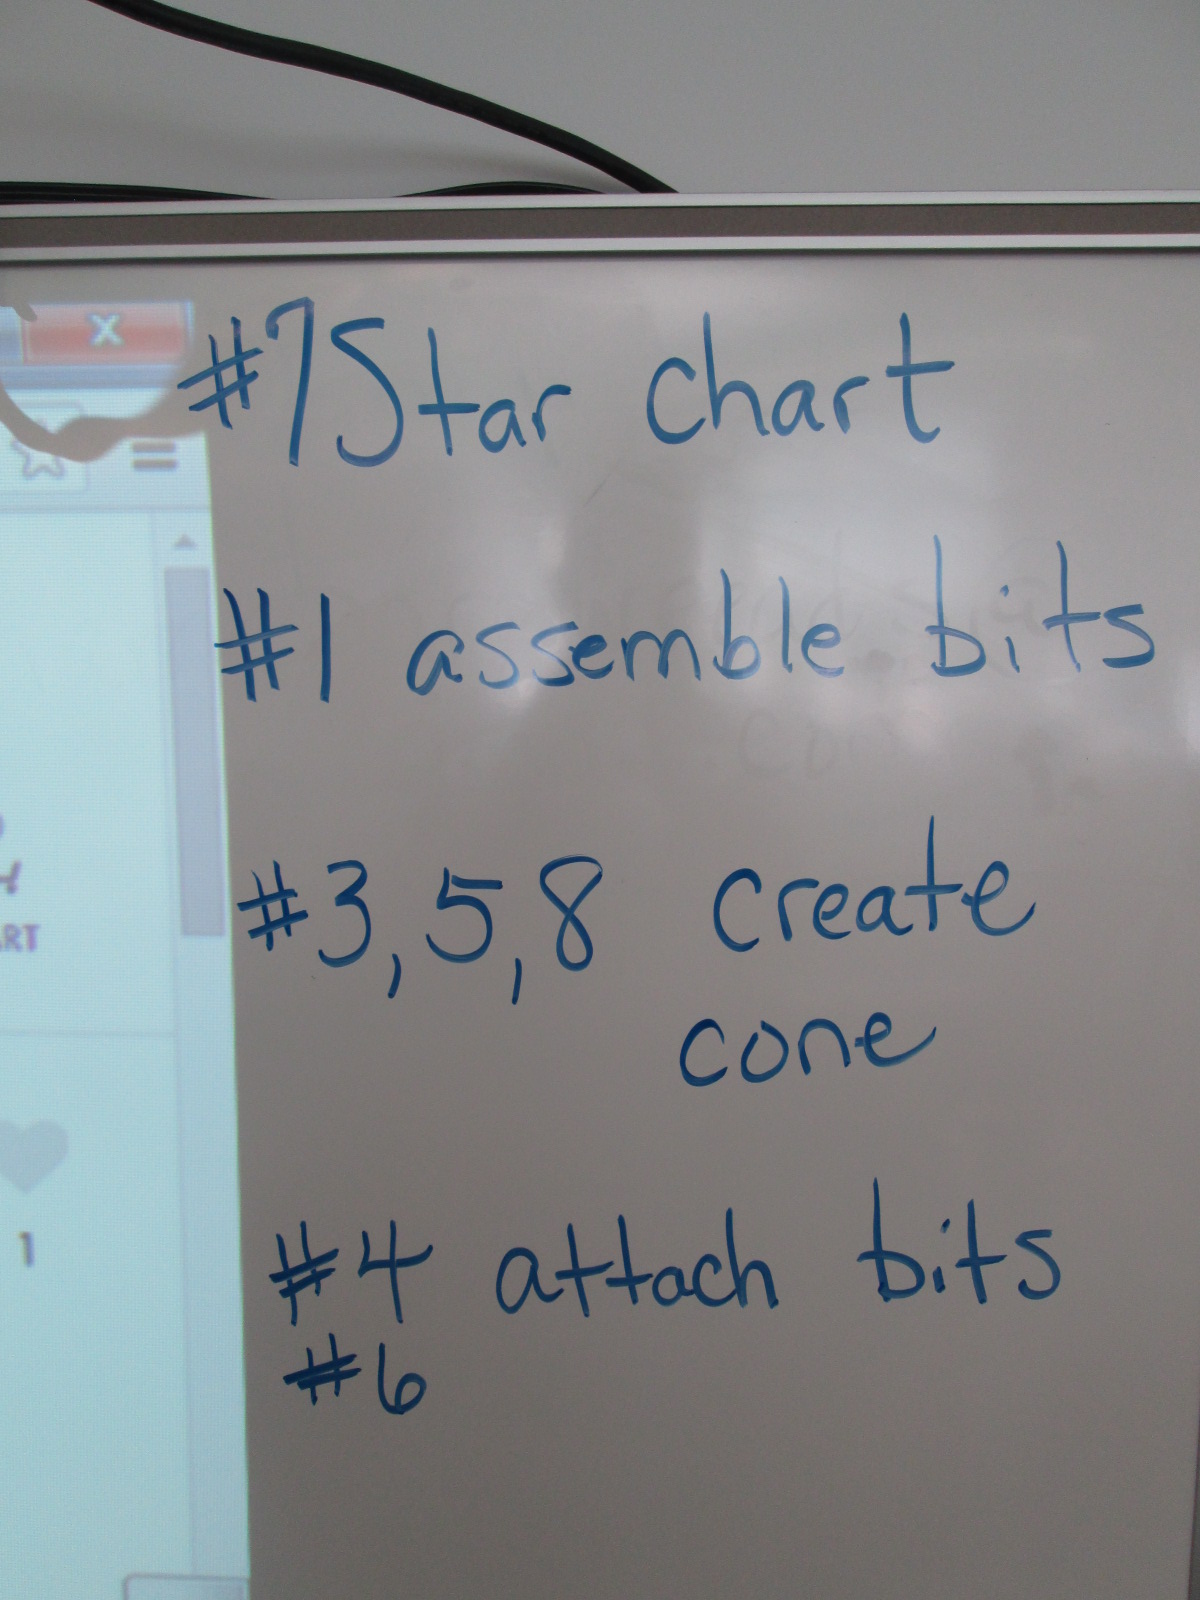
I also made suggestions about how teams might think about dividing up the work load. For example,
- 1 person might try step #7 and prepare the star chart
- 1 or 2 people might try step #1 to assemble the bits
- 1 or 2 people might try steps #3, 5, and 8 to create the cone
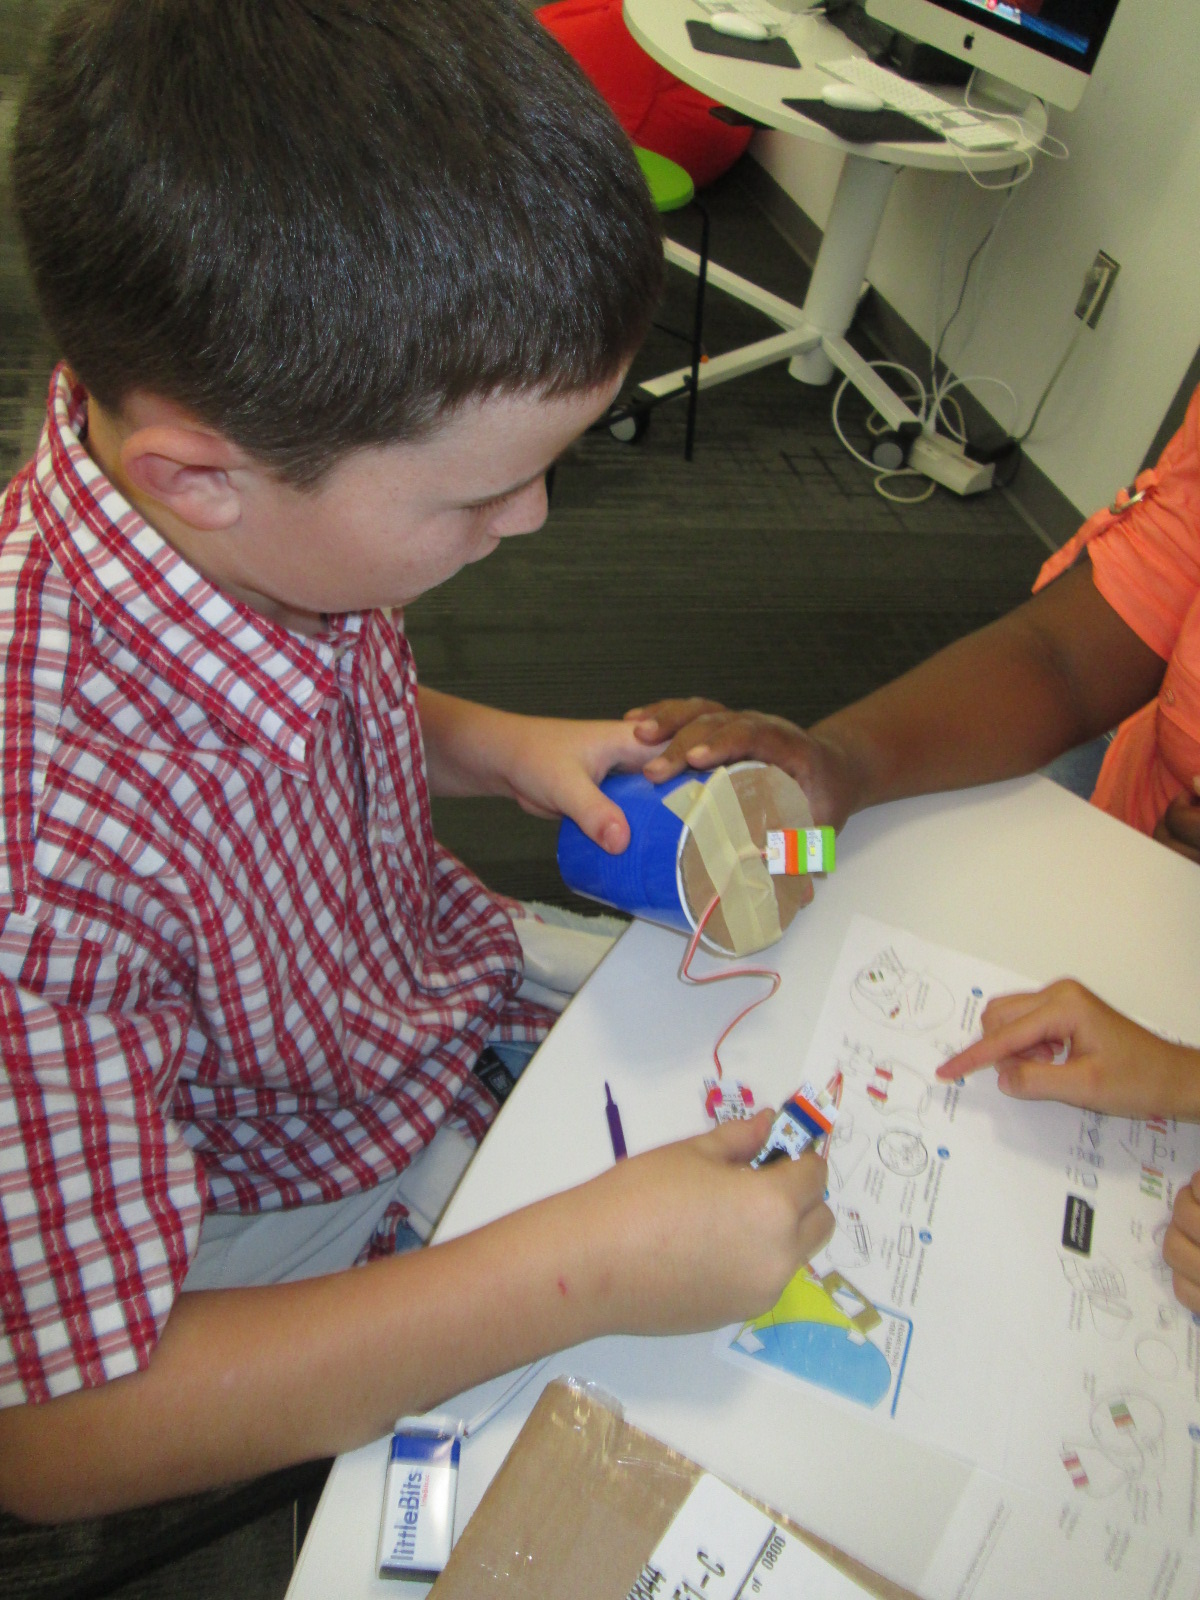
- 1 or 2 people might try step #4 & 6 to attach the bits and test the device
This was only a suggestions. Teams were welcome to do every step together or divide the work up in other ways.
Notice that I didn’t say anything about explaining littleBits, what each bit was called, what their function was, or how to put them together. I knew that the kids were perfectly capable of figuring this out on their own, and they proved me right.
Mr. Coleman helped divide the students into groups and they got right to work. I was amazed by how the groups took time in the beginning to assign roles before working. It was a rare moment to look at a table and not see someone working on some aspect of the star chart.
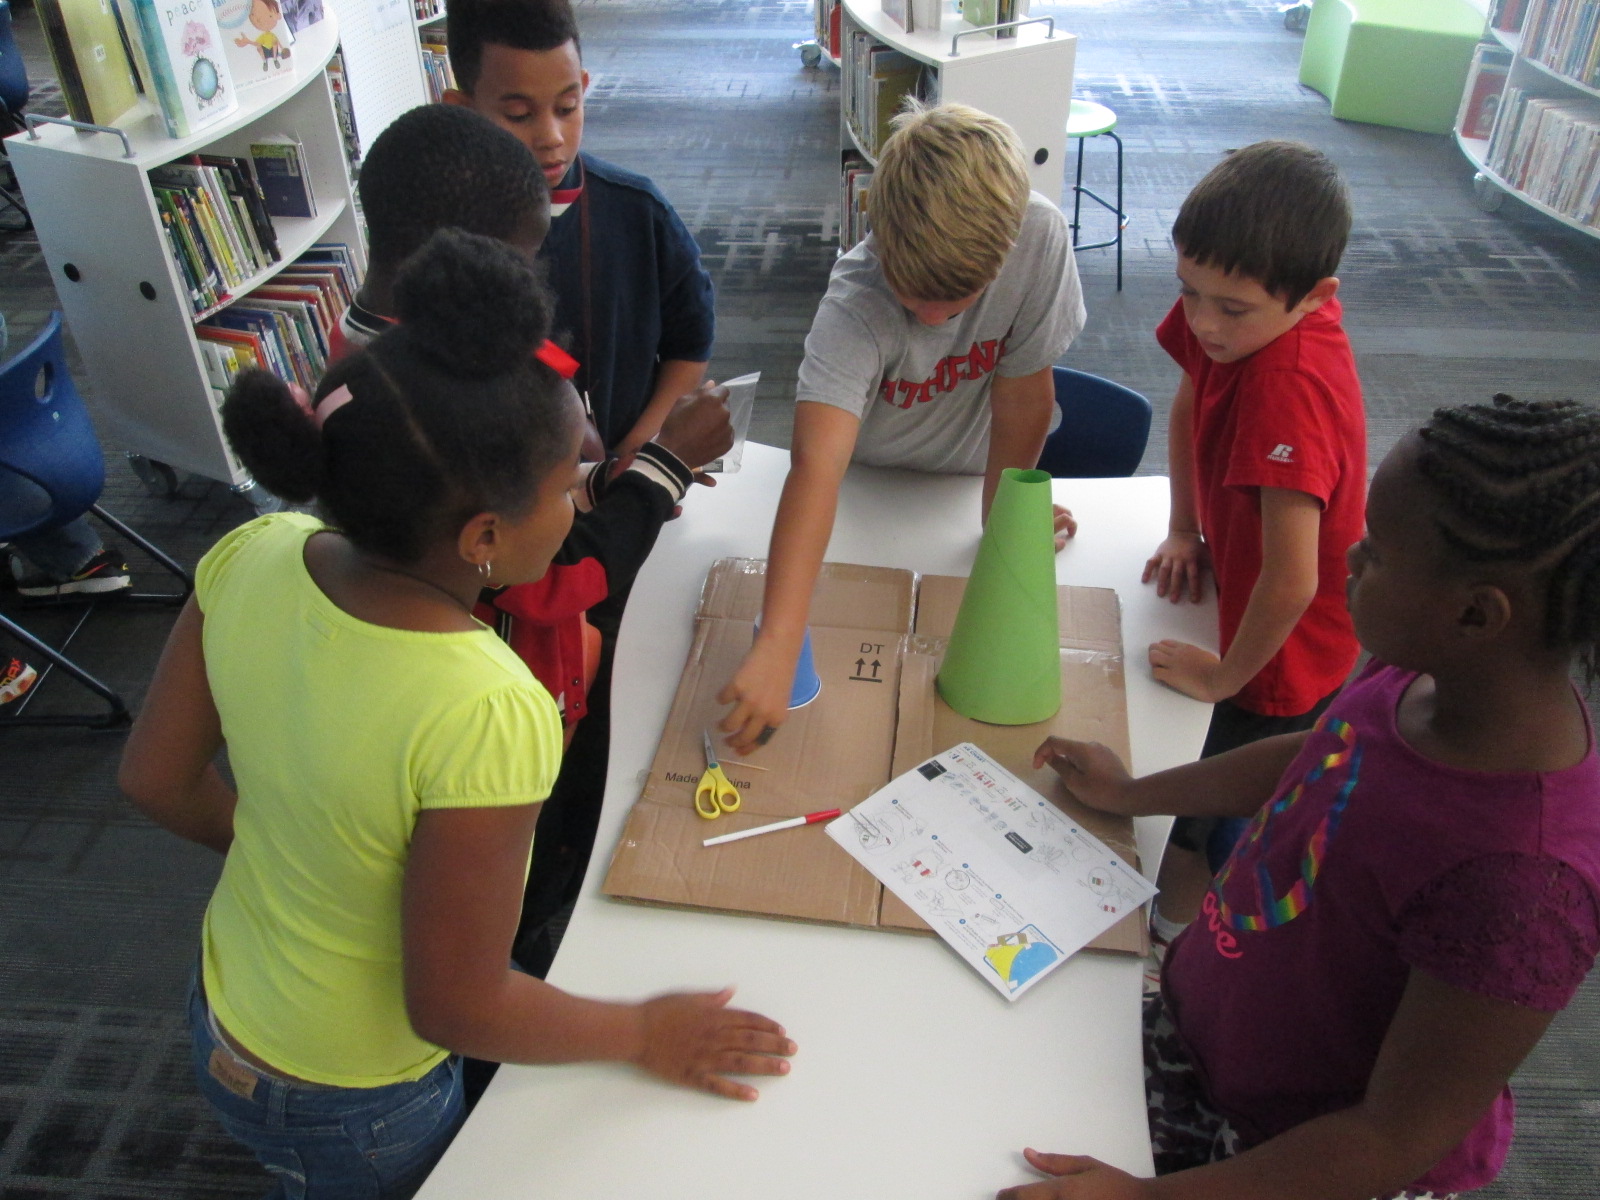
Mr. Coleman and I walked around and encouraged groups to read directions, try new things, work together, and gave a few helpful nudges as needed. However, we did not create the star charts for any group because we wanted students to experience tinkering, failure, and the power of reading and following directions.
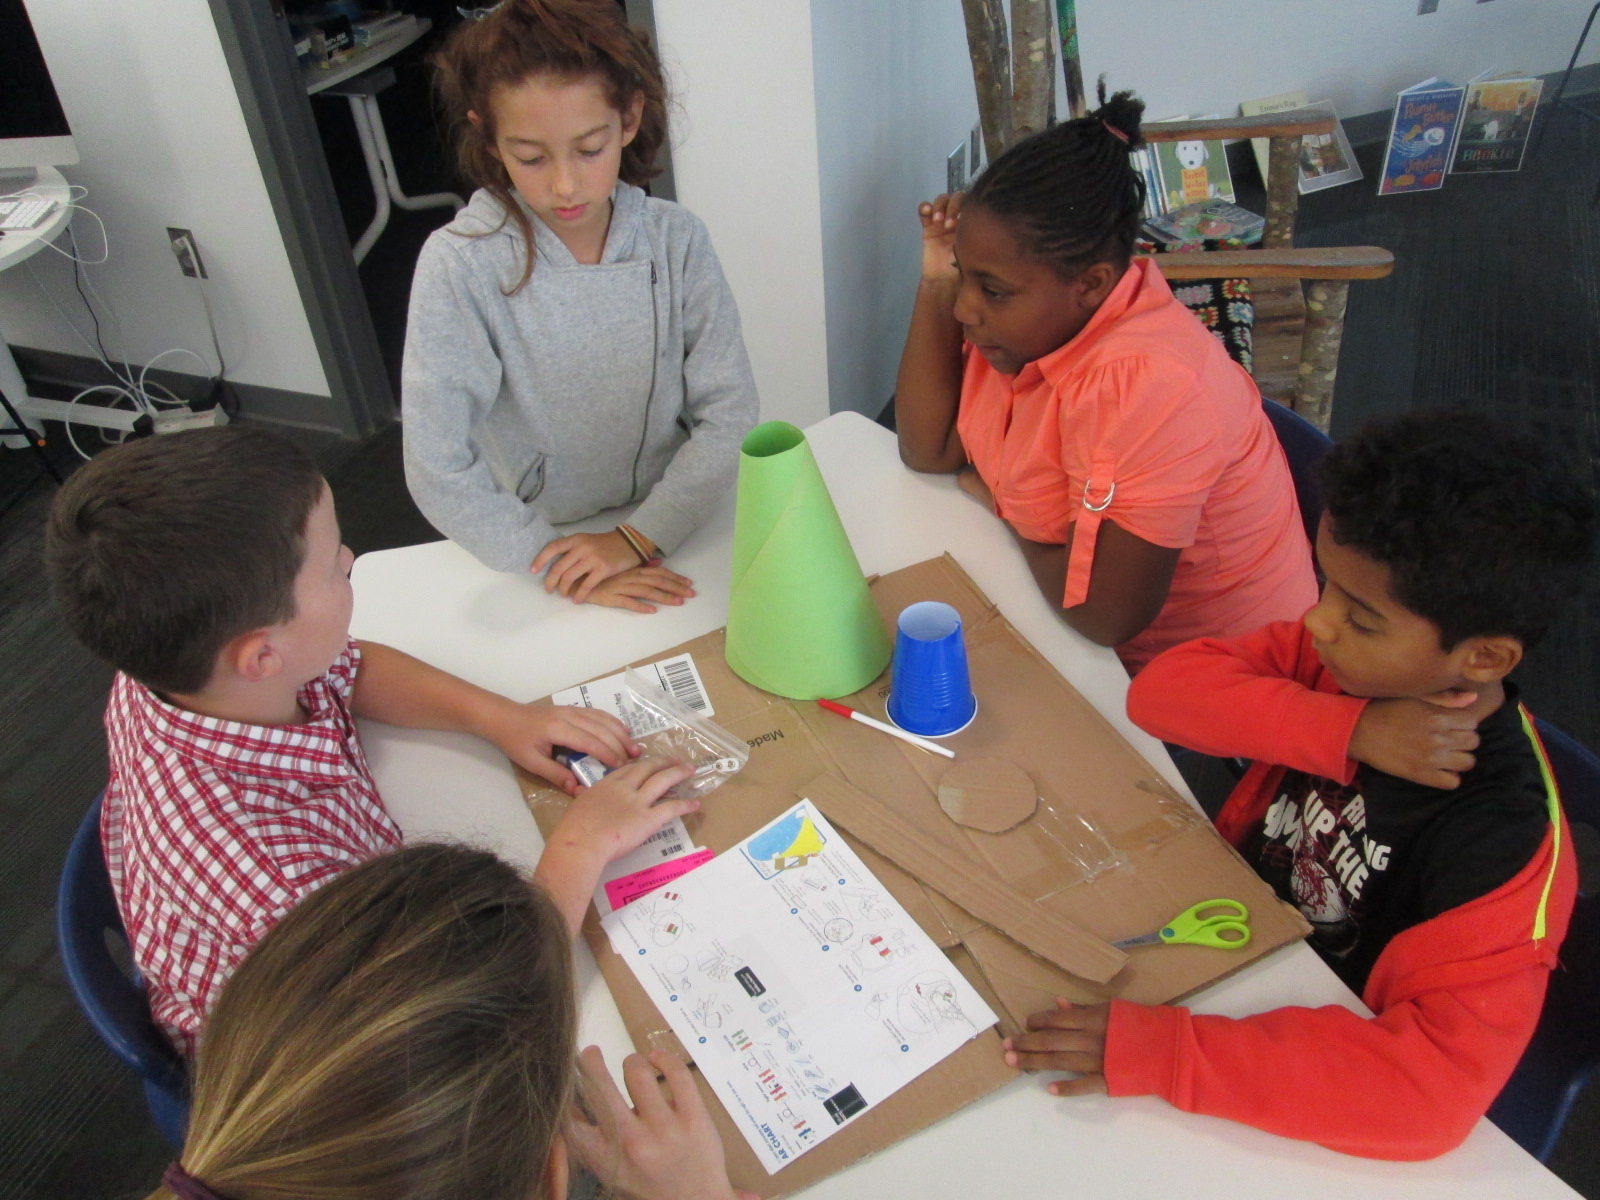
There was a definite energy in the room and it was by no means quiet. Each time something started working, the energy level increased. Groups started taking their devices into our makerspace and equipment room so that they could turn off the light and test their invention. As pieces worked, they screamed with excitement, but as they failed they hurried out, disassemble their work, and started over.
Once again, I was amazed by how no students stopped working and no students reached a point of frustration where they shut down.
We even had a group who were still working when we were debriefing the whole experience because they wanted to make their star chart work. They didn’t give up for a second.
When the charts worked, students spent a bit of time looking at their constellations on the wall and ceiling.
During our debrief, we talked about what we learned about littleBits as well as what next steps students might take to learn about constellations. I encouraged them to learn some of the stories of the constellations and to actually look for them in the night sky.
")
")
")
")
")
")
")
")
")
")
For the littleBits, students figured out that you could adjust the sensitivity of the light sensor to come on when it was light or dark. This was a point of failure for some groups. Others talked about reading the words on the bit including the power bit that says “on” or “off”. Missing that one simple word “on” could be the difference between failure and success, and many groups forgot to turn their power on before testing their device.
Before students left, I told them that this was only a small taste of what littleBits can do, and I encouraged them to think about other inventions they might create during the year and to come and explore the other bits and their possibilities.

This is so cool – I love how the littleBits project tied in perfectly with the curriculum!
[…] Creating Star Charts with LittleBits | Barrow Media Center: Students got to learn about stars and constellations by making their own star charts with littleBits. Amazing examples of tying making into the curriculum. tags:libraries tlchat linklove astronomy littlebits makered […]