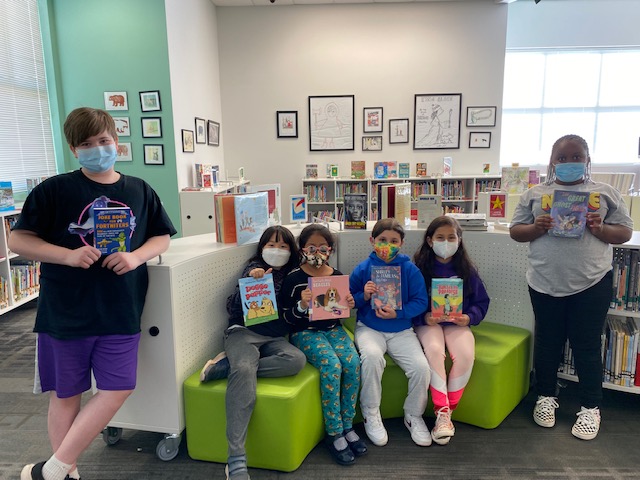
The 2021-22 student book budget team just completed their project for the year. Over 115 books were added to our library this year thanks to their work. We are so happy that this year’s books can be enjoyed for the second half of the school year. We are also happy that we were able to do this project in-person this year. We had to make a few changes such as not going on a field trip to Avid Bookshop and making sure students from the same class sat together.
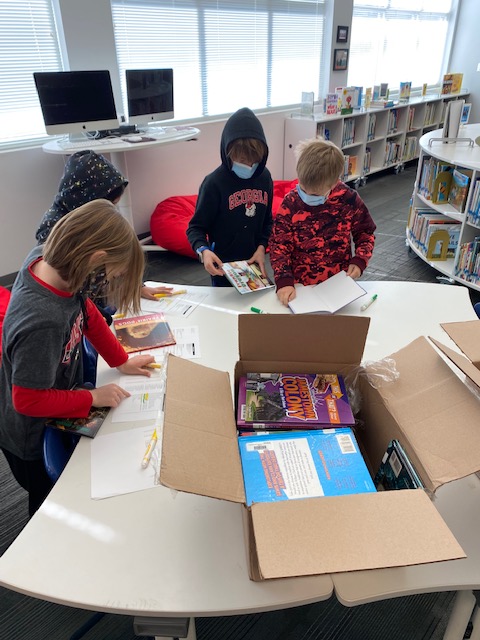
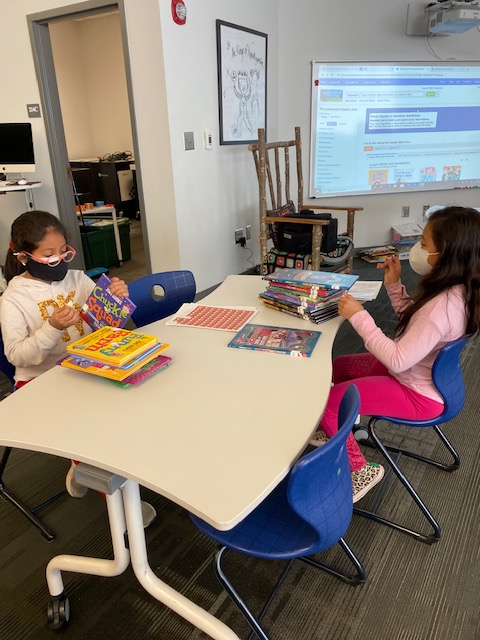
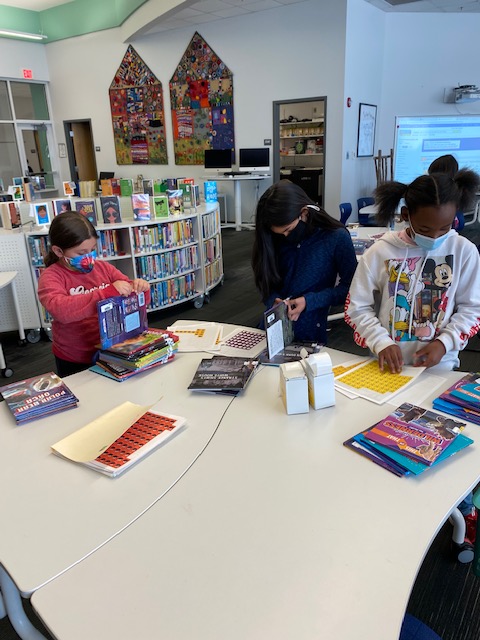
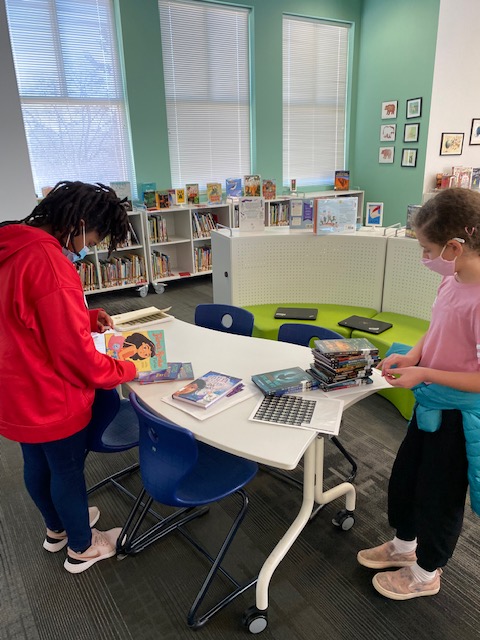
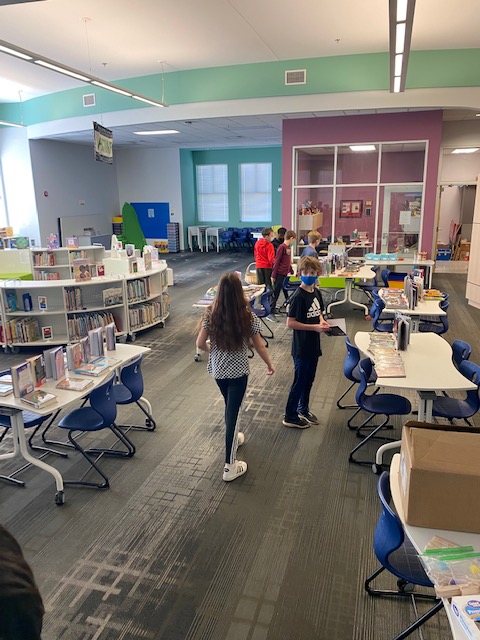
Prepping books for check out
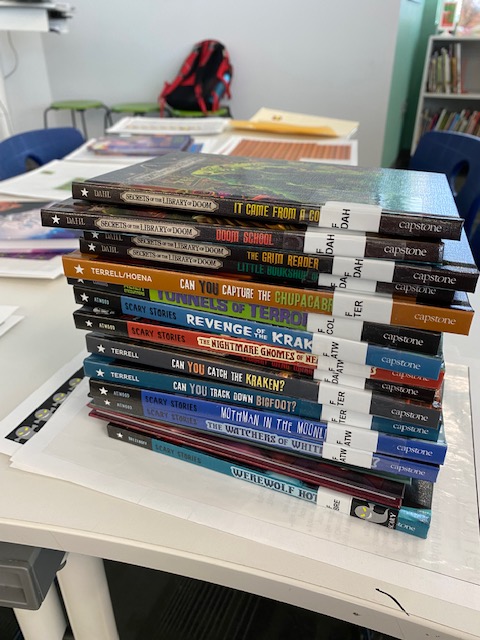
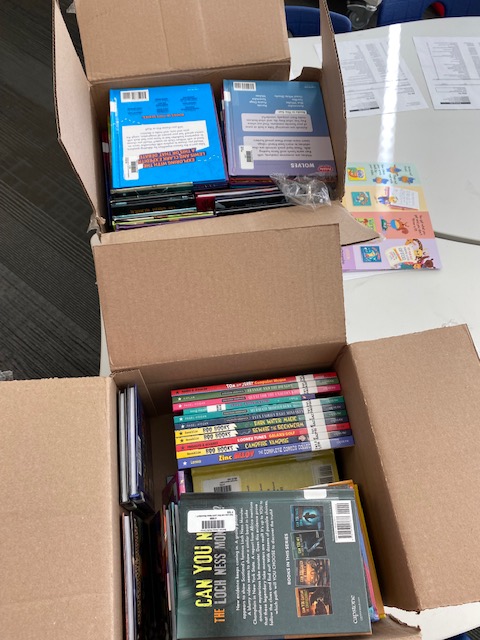
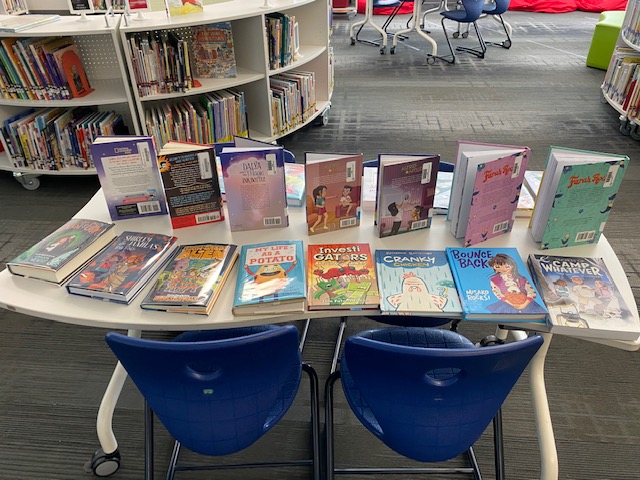
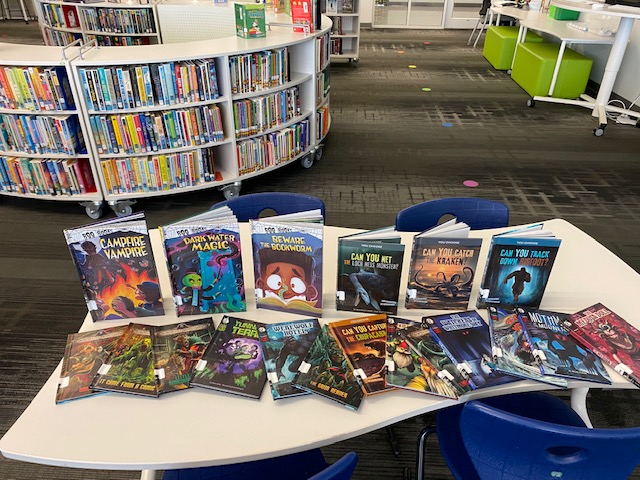
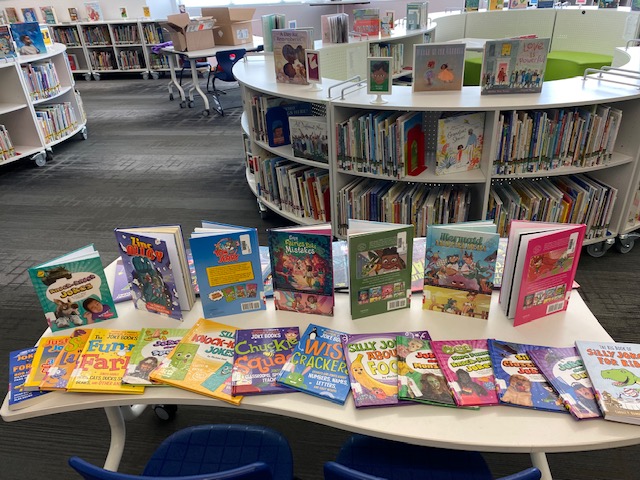
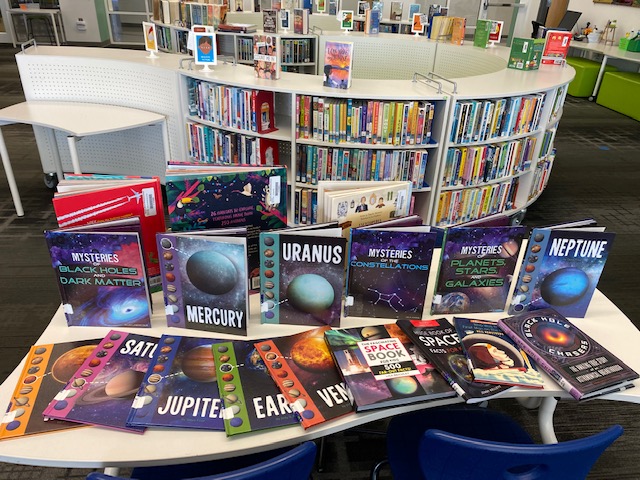
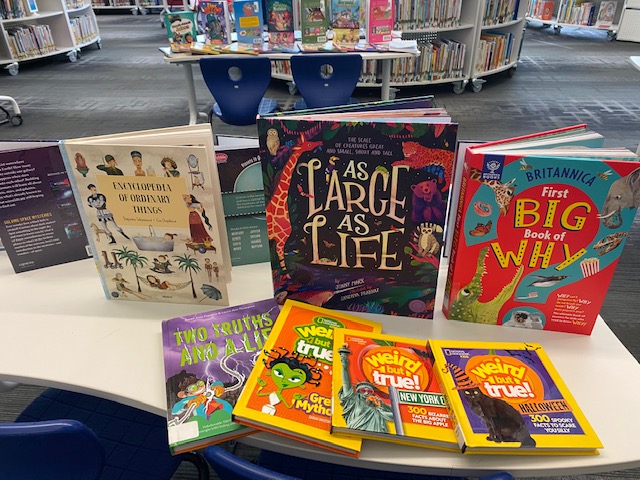
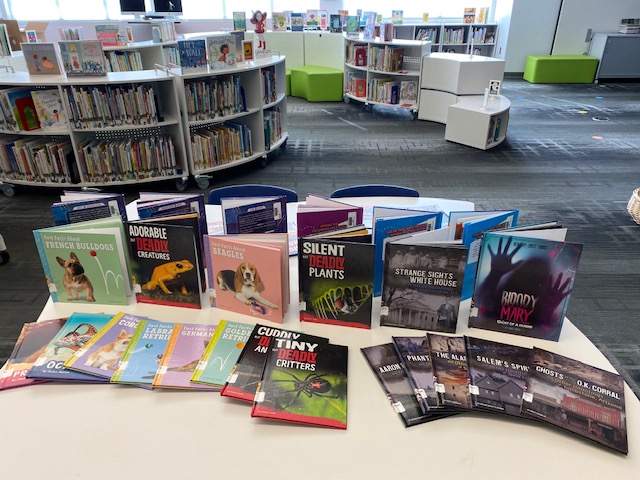
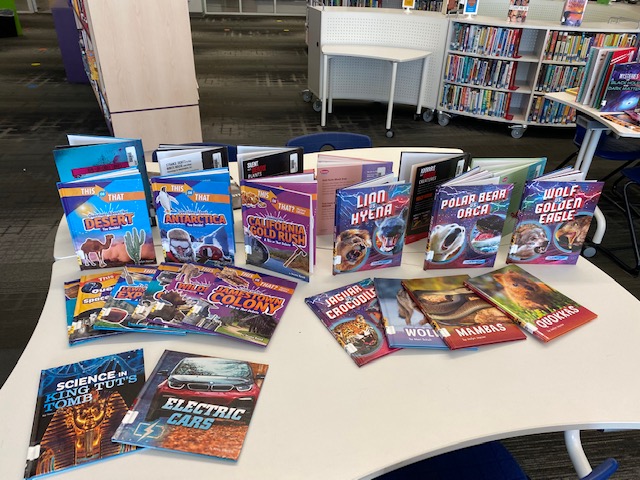
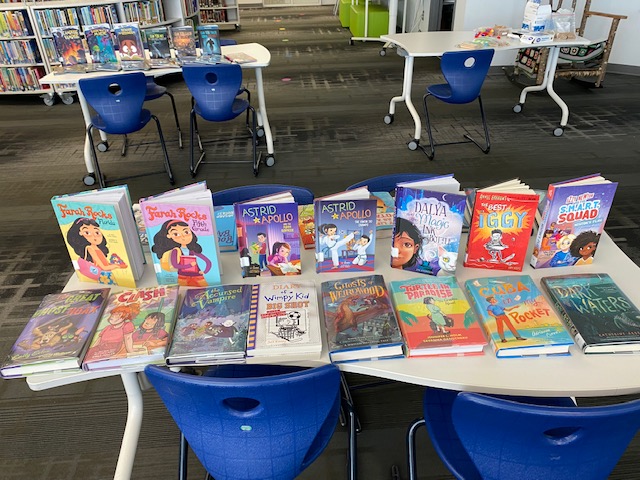
I ordered the student selections for this project back in November, so supply chain and the holidays delayed the book arrivals until the first couple of weeks of January. I picked up our books from Avid Bookshop and cataloged them for students. Our Capstone books shipped to our school and included processing labels already attached. Each grade level of students helped unpack books, cross check with the packing slip, inspect for damage, label with genre stickers, and scan books into their genre categories. Students also helped display the books on the tables in the library.
Each student on the book budget team got to select one book to check out before anyone else. The remaining books were quickly checked out by classes visiting the library. I’m sure they will continue to be enjoyed many times this year and beyond.
This year we had many students try out this project for the very first time. At our final meeting, I asked for some feedback to see what students enjoyed and encouraged our 3rd and 4th graders to join the project again next year. No one really had any thoughts for improvements for the project, but I asked them to think about it. As usual, getting to survey students throughout the school, meeting with Jim Boon from Capstone, and prepping the books for checkout were at the top of the list of favorite moments. Hopefully next year, we will be able to go on our field trip again because that is always a rewarding experience for students and a connection to our community.
For now, we’ll enjoy these new additions to our library and build up our funds from book fair for next year’s project.
I’ve been wanting to explore paper circuits for quite awhile, but I haven’ taken the plunge to do it. We got many supplies for paper circuitry through a Donors Choose project. We’ve tinkered with the LEDs, conductive tape, and coin cell batteries some in our makerspace, but a class has not used it for a project….until now.
\
4th grade is studying light as a part of their science standards, so the art teacher and I started talking together with the 4th grade team about a possible collaboration between all of us where students could create a piece of popup art and light it up using an LED. We jumped into the planning and the project without fully knowing how to make a paper circuit, but we had faith that we could figure it out together with our students.
We knew some basics. Students would design a piece of popup art and plan for one part of the popup to light up. This was enough for the art teacher to start working with students on their pieces in art class. There were some basic requirements from her such as the piece had to include movement and a 3D element. The content of the popup was completely student choice. Some chose animals such as sea turtles following the moon while others chose to create a popup basketball goal. Each popup brought out the unique interests of each student.
While this series of work sessions was going on in art, the art teacher and I met after school to do a bit of tinkering. I had already done just a bit of tinkering on my own before she arrived, so I was able to show her a few things I knew. For example, I knew the positive post of the LED had to connect to the positive side of the battery. This could be done by touching the battery directly or creating a circuit with conductive tape. The part we were uncertain about was how students would open and close their circuit so that the light didn’t stay on all the time. We wanted to have some possibilities for students but we also wanted them to create some ways to open and close the circuit. As we tinkered, she took pictures of our steps to incorporate into some slides to share with the students.
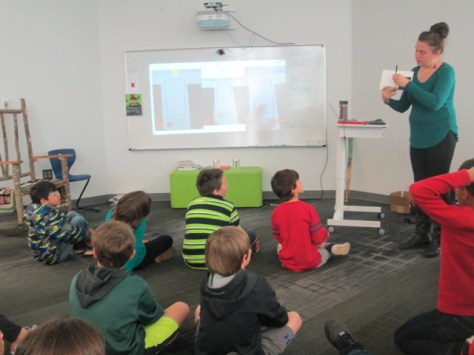
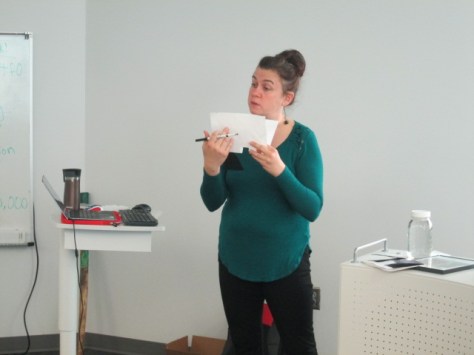
When students were ready for their LED component, the art classes were held in the library. We introduced the lesson with a series of slides to show the basic of an open and closed circuit. We also showed them some options for how to open and close the circuit.
Students moved to tables where they found their art folder, their popup art, an LED, a coin cell battery, and some masking tape waiting for them.
Before any students got conductive tape, we wanted them to plan out how their led and battery would connect. Students identified the positive and negative side of the battery and the LED and drew a path where the tape would eventually go. When they had a plan, students received conductive tape. They placed the tape along their path and tested to see if the LED lit up. Sometimes it did and sometimes it didn’t. Actually, more often it didn’t.
This was frustrating for many students, but we went back to our many conversations about failure and how you have to back up, take a look at what you’ve done, make a change, and try again. Some students discovered that there were parts of the positive or negative path touching one another. Some students realized they had labeled their paths incorrectly. Some students couldn’t figure out what was happening. All of that was ok, but what we saw in the end was that students were problem solving. They were trying something they had never done before, were having some success, and were sharing the process with others.
It was a crunched amount of time to get everyone finished, so the art teacher plans to continue the work back in her classroom by having students revisit their work and see what adjustments can be made. The biggest thing we saw was that many students had a circuit created, but they had no way to open or close it. I took several students back to the board to see the slides with options of how to fold the paper so that it opened or closed the circuit and then invited them to go back and see what they could figure out.
We had a lot of hands helping with this project. There was me, the art teacher, the art student teacher, and sometimes a resource teacher or even the classroom teacher. It was messy. We had paper all over the place by the time we were done, but there was a buzz of excitement and problem solving in the air.
Now that we have one shaky project under our belt, I hope we will take some additional risks with paper circuits and see where we can go next. I love seeing a teacher leap into a project with me without really knowing what’s really going to happen. We learn so much along the way as educators, but our students are also given an opportunity to trust themselves too.
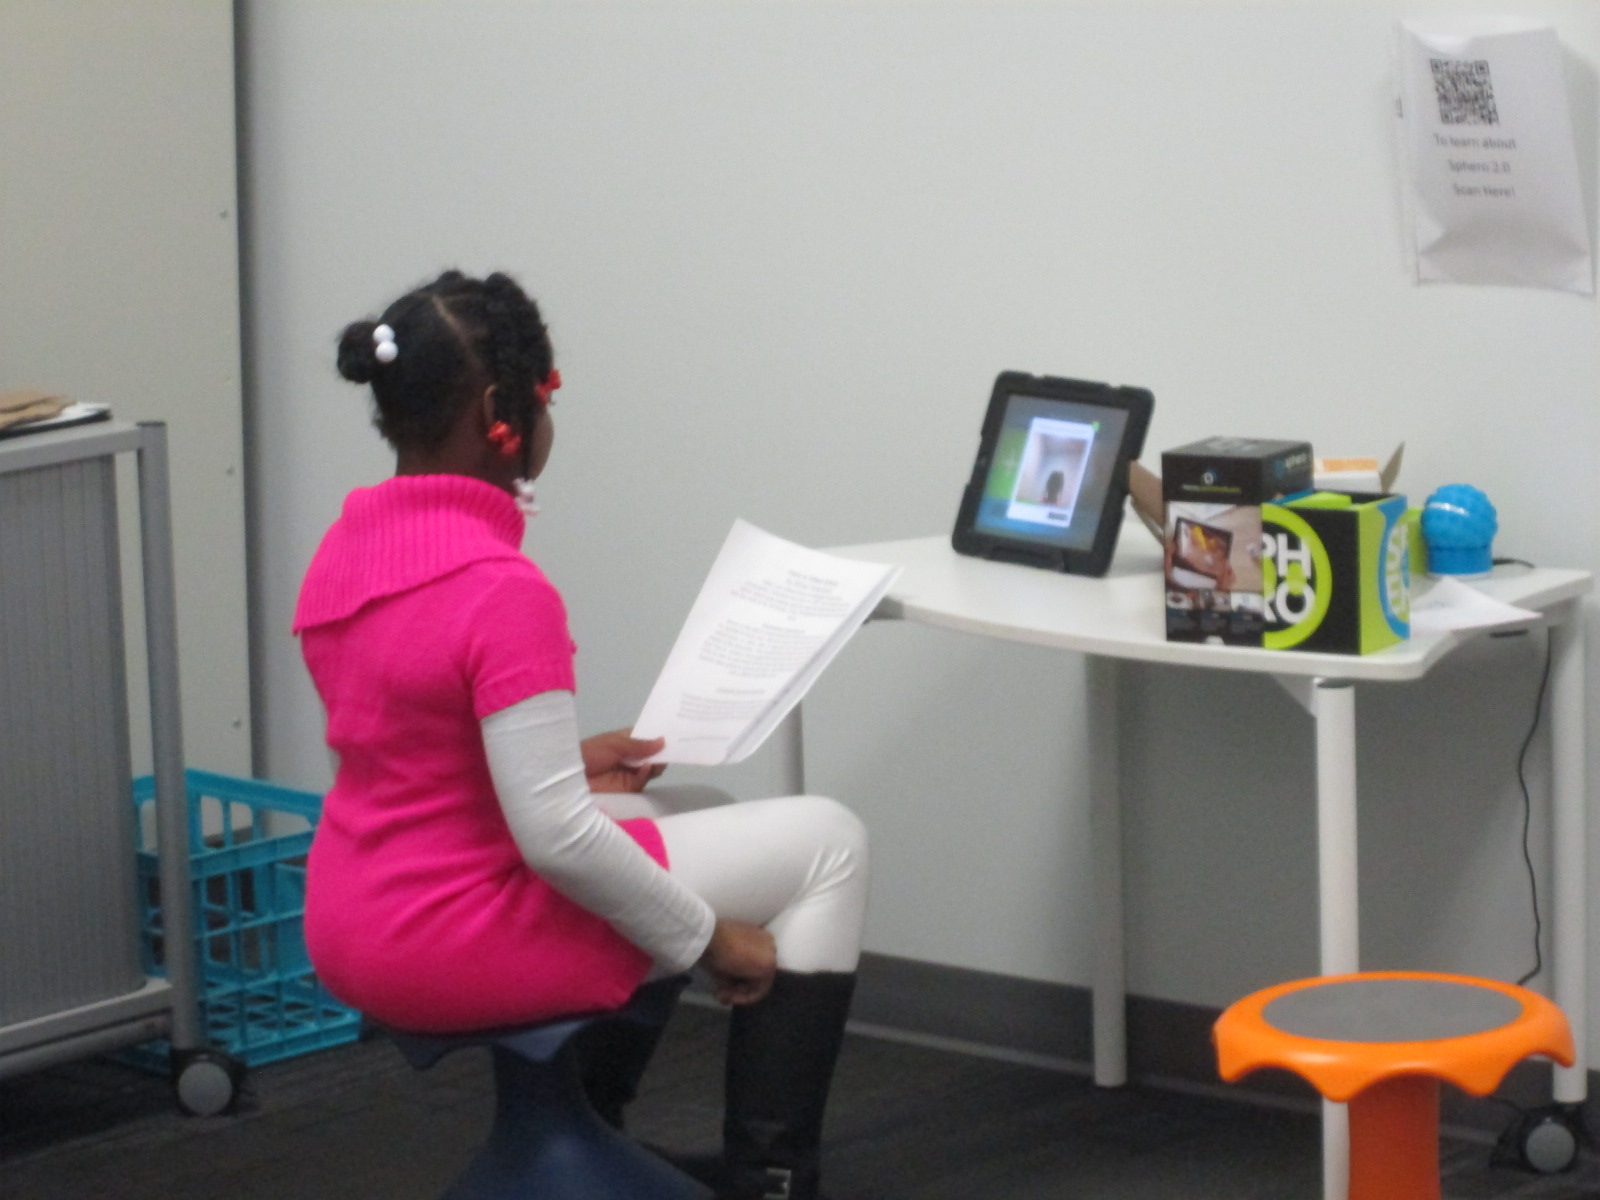
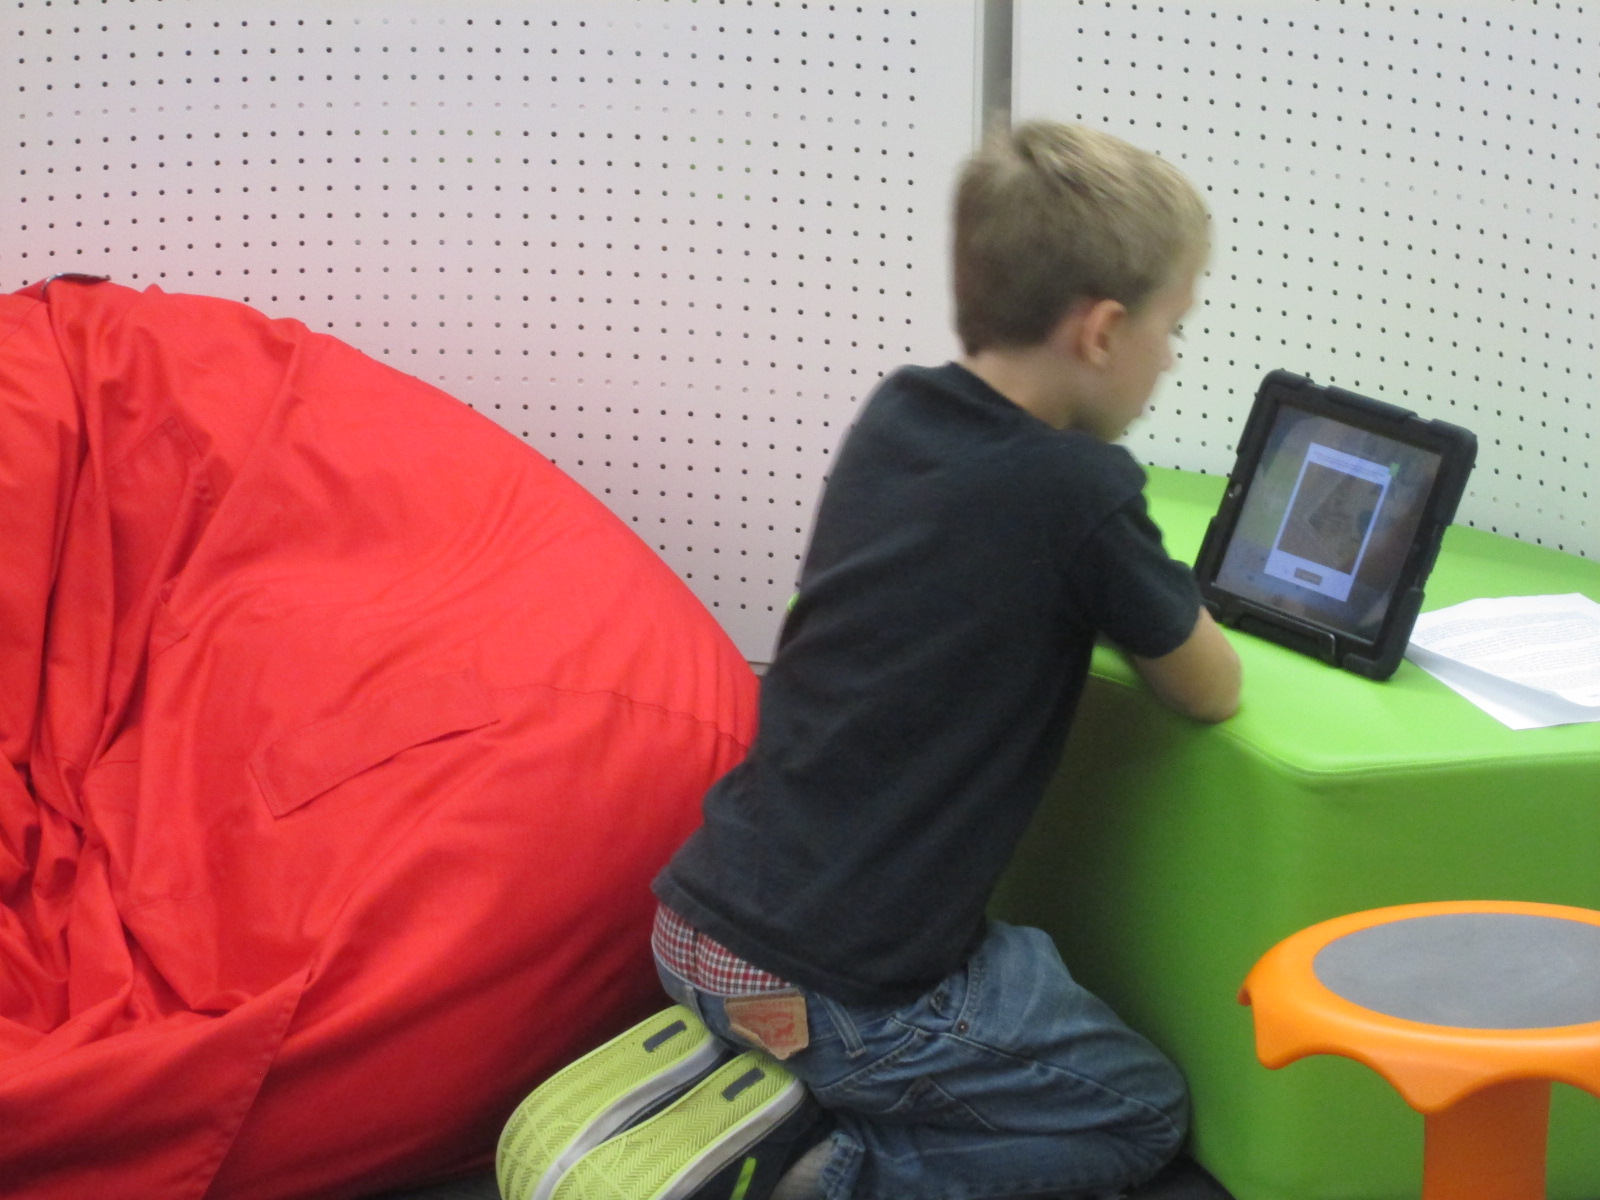
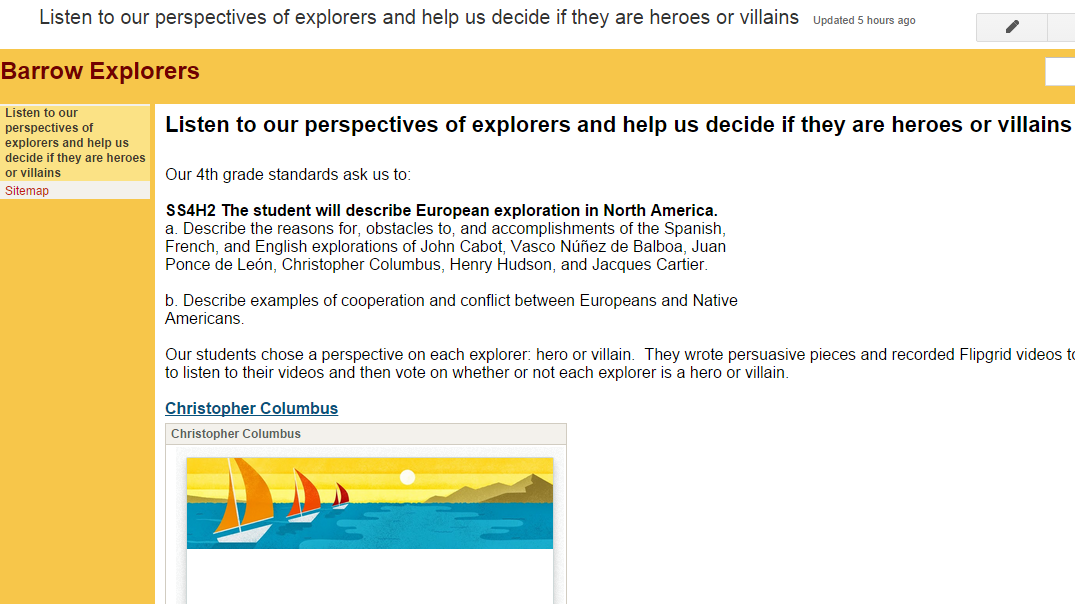
After that, students selected an explorer and began their research. They took their information and used that to write a persuasive piece convincing an audience that their explorer is a hero or villain. They used Flipgrid to record themselves reading their persuasive piece. All of the Flipgrid videos are housed on an Google Site for easy access and each explorer has a Google form voting tool to indicated whether that explorer is a hero or a villain.
Now, this is where you come in! We need you to watch our videos and vote on our heroes or villains. You can choose an explorer and spend some time on that one explorer or you can watch them all! You can share this project with other classrooms or educators and ask them to share.
If you choose to do this with a class, we would love to hear about it! You can tweet pictures or comments to @plemmonsa Most importantly we want you to vote and share.
Soon after our Thanksgiving break, we will take a look at the results and most likely connect with our friends at Flipgrid to talk about coding and our project’s reach.
We hope that our project makes you think about the many perspectives in our world’s history and that you enjoy hearing our voices.
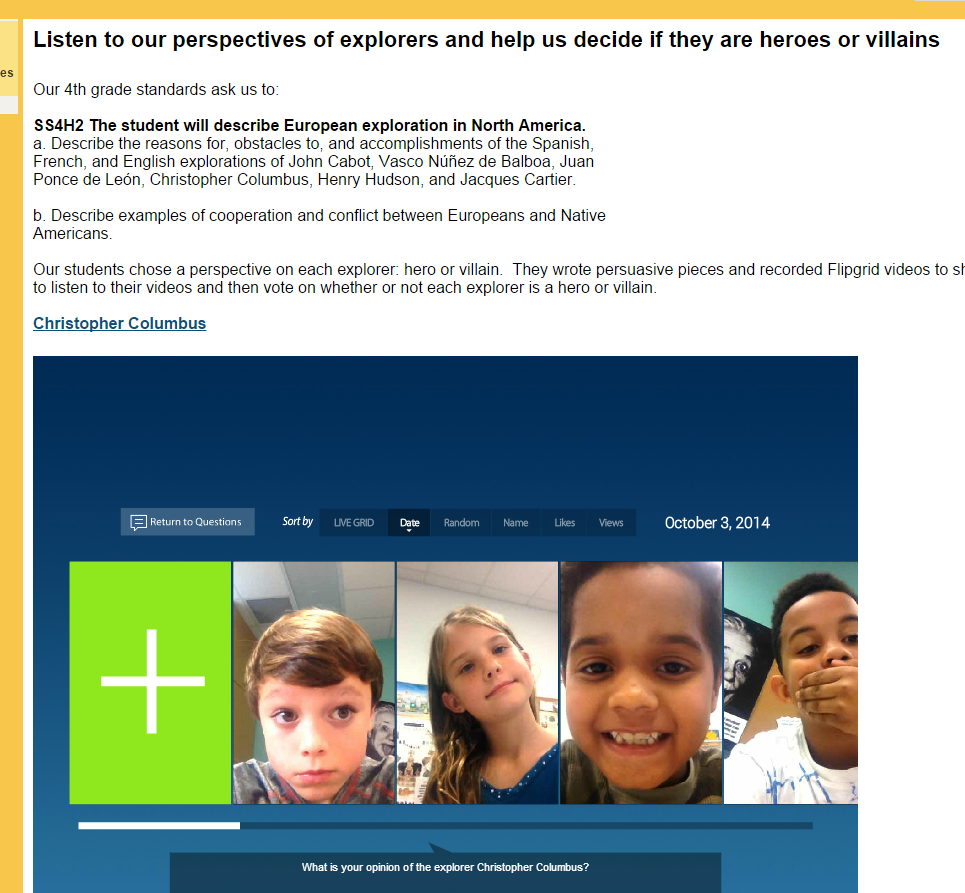
Click here to access our Explorer Google Site! Tip: If you are in Google Chrome, you will need to click on the shield in your address bar to load the “unsafe script”. This will show you the embedded grids. Otherwise, just click on the link on each explorer’s name to access the Flipgrid on a separate page. Feel free to “like” student videos by clicking the hearts, but don’t forget to vote on the Google forms on our site.
I’m very excited about a project with our 4th graders this month. This project is a spinoff of something we did last year with explorers and Native Americans. This year, we are just focusing on explorers.
To kickoff the lesson, we did a very similar kickoff to last year’s project. The entire fourth grade came, which was about 65 students. We used a video from Biography.com about Christopher Columbus. We only watched the first two minutes of the video.
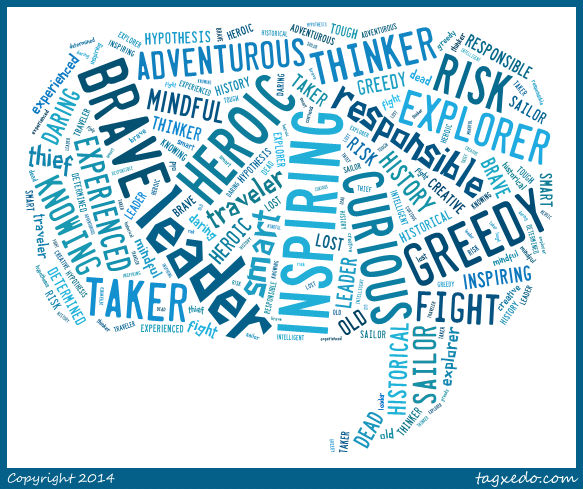
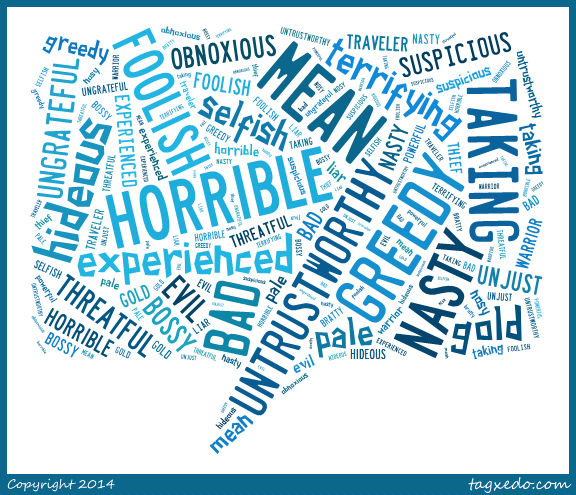
Following the video, I asked students to tell me what words they would use to describe Columbus. They turned and shared with a neighbor first and then I used Tagxedo to capture several of their words into an image.
Then, we read the book Encounter by Jane Yolen. I love pairing this book with what students are already thinking about Columbus because it typically flips their outlook on Columbus and explorers in general. I asked them the same question about Columbus, to describe him based on the book they just heard. Here’s how their words changed.
This lesson was meant to setup the whole research process that students will now embark on. They will each select one of the explorers from the 4th grade standards:
SS4H2 The student will describe European exploration in North America.
a. Describe the reasons for, obstacles to, and accomplishments of the Spanish,
French, and English explorations of John Cabot, Vasco Núñez de Balboa, Juan
Ponce de León, Christopher Columbus, Henry Hudson, and Jacques Cartier.
b. Describe examples of cooperation and conflict between Europeans and Native
Americans
They will ask themselves, “Is this explorer a hero or a villain?” Some teachers may even assign a perspective for students to take even if they disagree with that perspective. I told them to think back to Columbus. Even though many of us think he’s a villain after reading Encounter, we were still able to come up with all kinds of words to describe why he was a hero. Students will use a Sqworl pathfinder along with other databases and print books to research. They will write a short persuasive piece convincing an audience to believe that their chosen explorer is a hero or a villain.
We will use Flipgrid to create videos of all of these writing pieces. I made one grid for each explorer so that we hear both perspectives in one place. They will be stored on a Google site so that we can easily view all of the videos. I also made a Google form so that viewers can easily vote for whether they think each explorer is a hero or a villain.
Our plan is to share this with our entire school as well as share on social media and this blog when we have everything ready to go.
Be on the lookout for your opportunity to give the students feedback on their work and participate in this project.
Last week, Mr. Coleman, 4th grade teacher, asked me if I had any extension lessons to support 4th grade’s study of stars and constellations. Specifically, their standard is:
S4E1. Students will compare and contrast the physical attributes of stars, star patterns, and
planets.
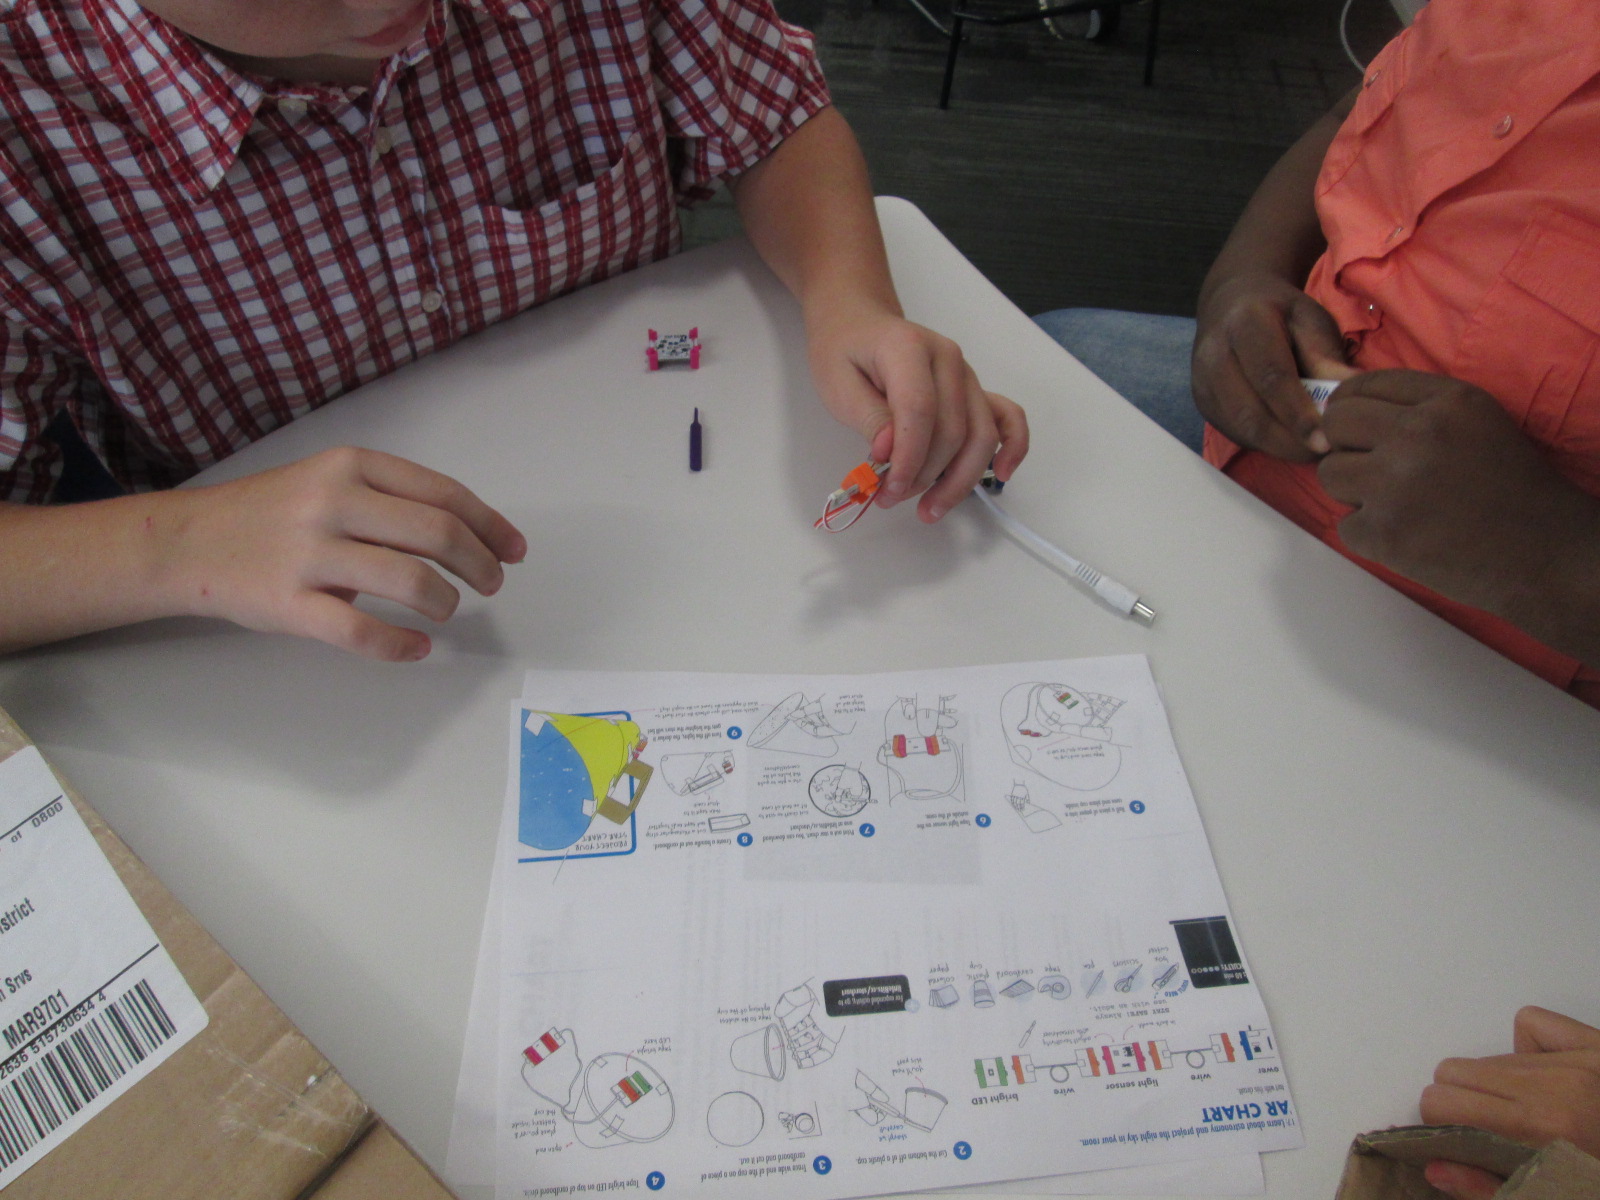
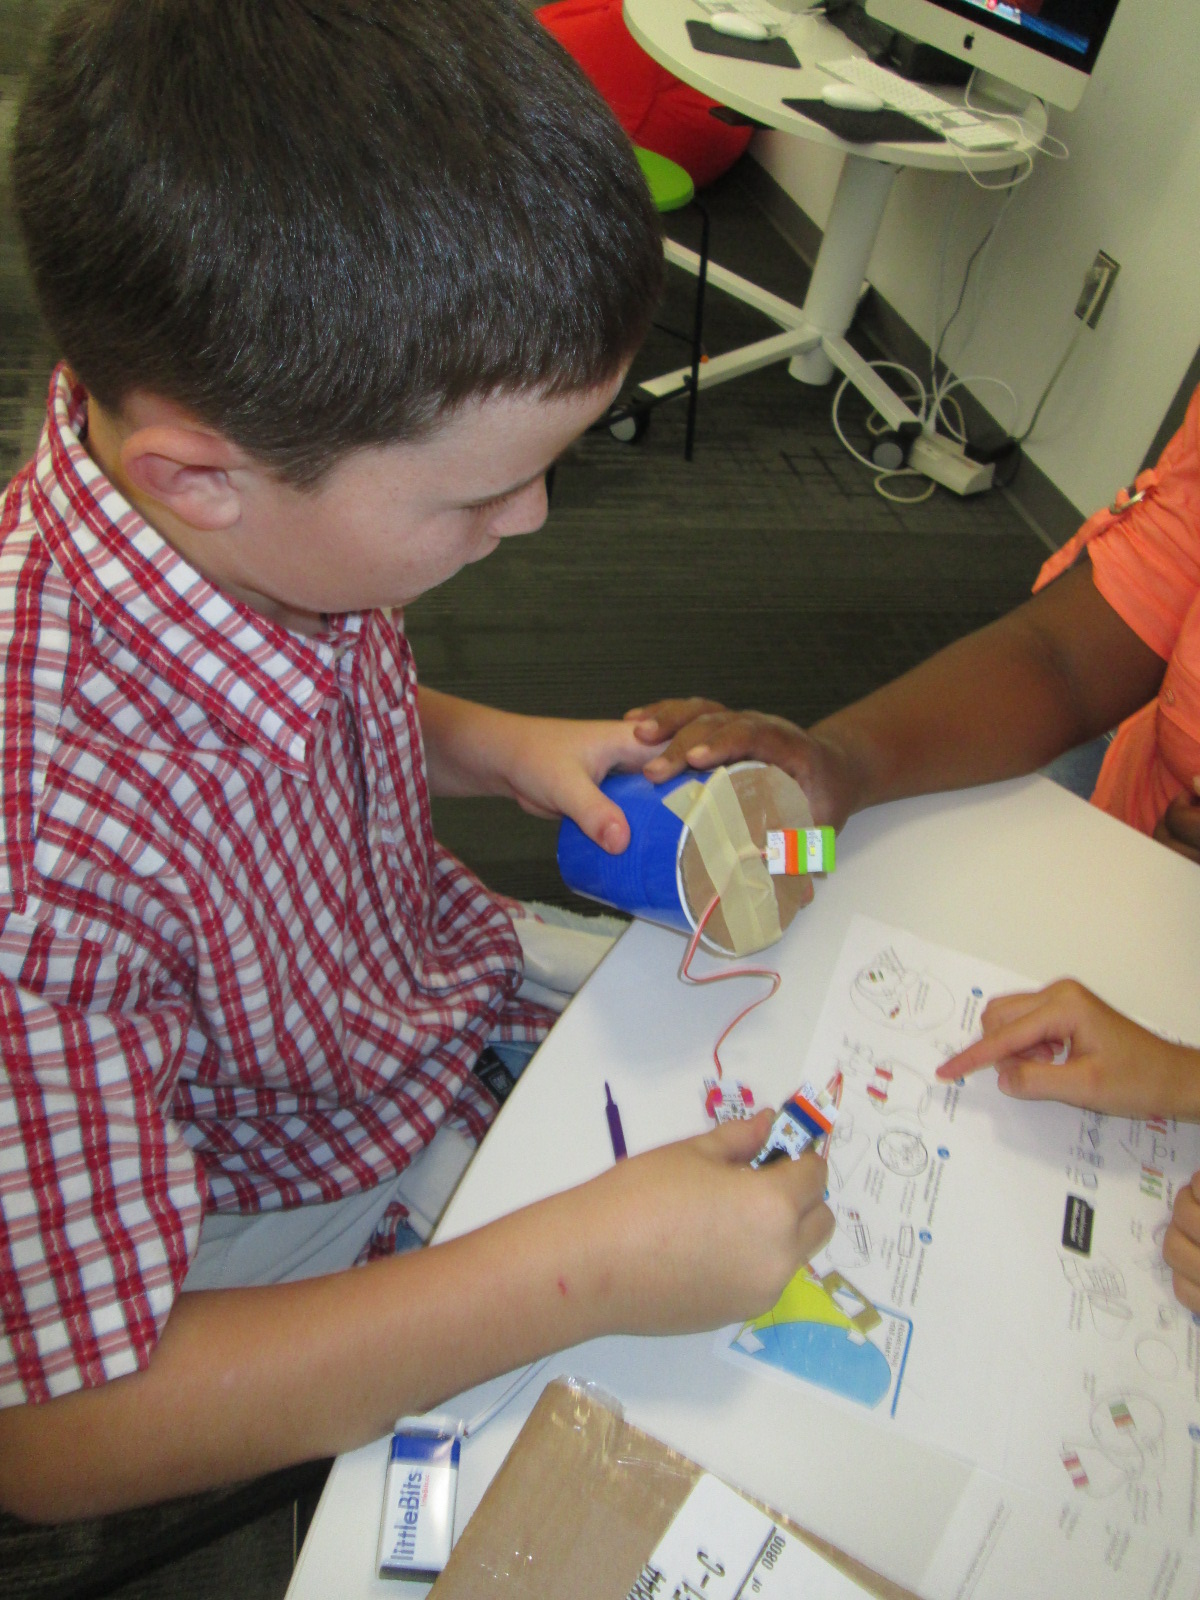
I suddenly remembered that a part of he littleBits workshop kit that I purchased this summer was a free space module. As I flipped through the book, I saw that you could use littleBits to make a start chart. This was the perfect opportunity for students to explore littleBits in a standards-based lesson with enough structure to give them a goal but still have an opportunity to do a bit of tinkering.
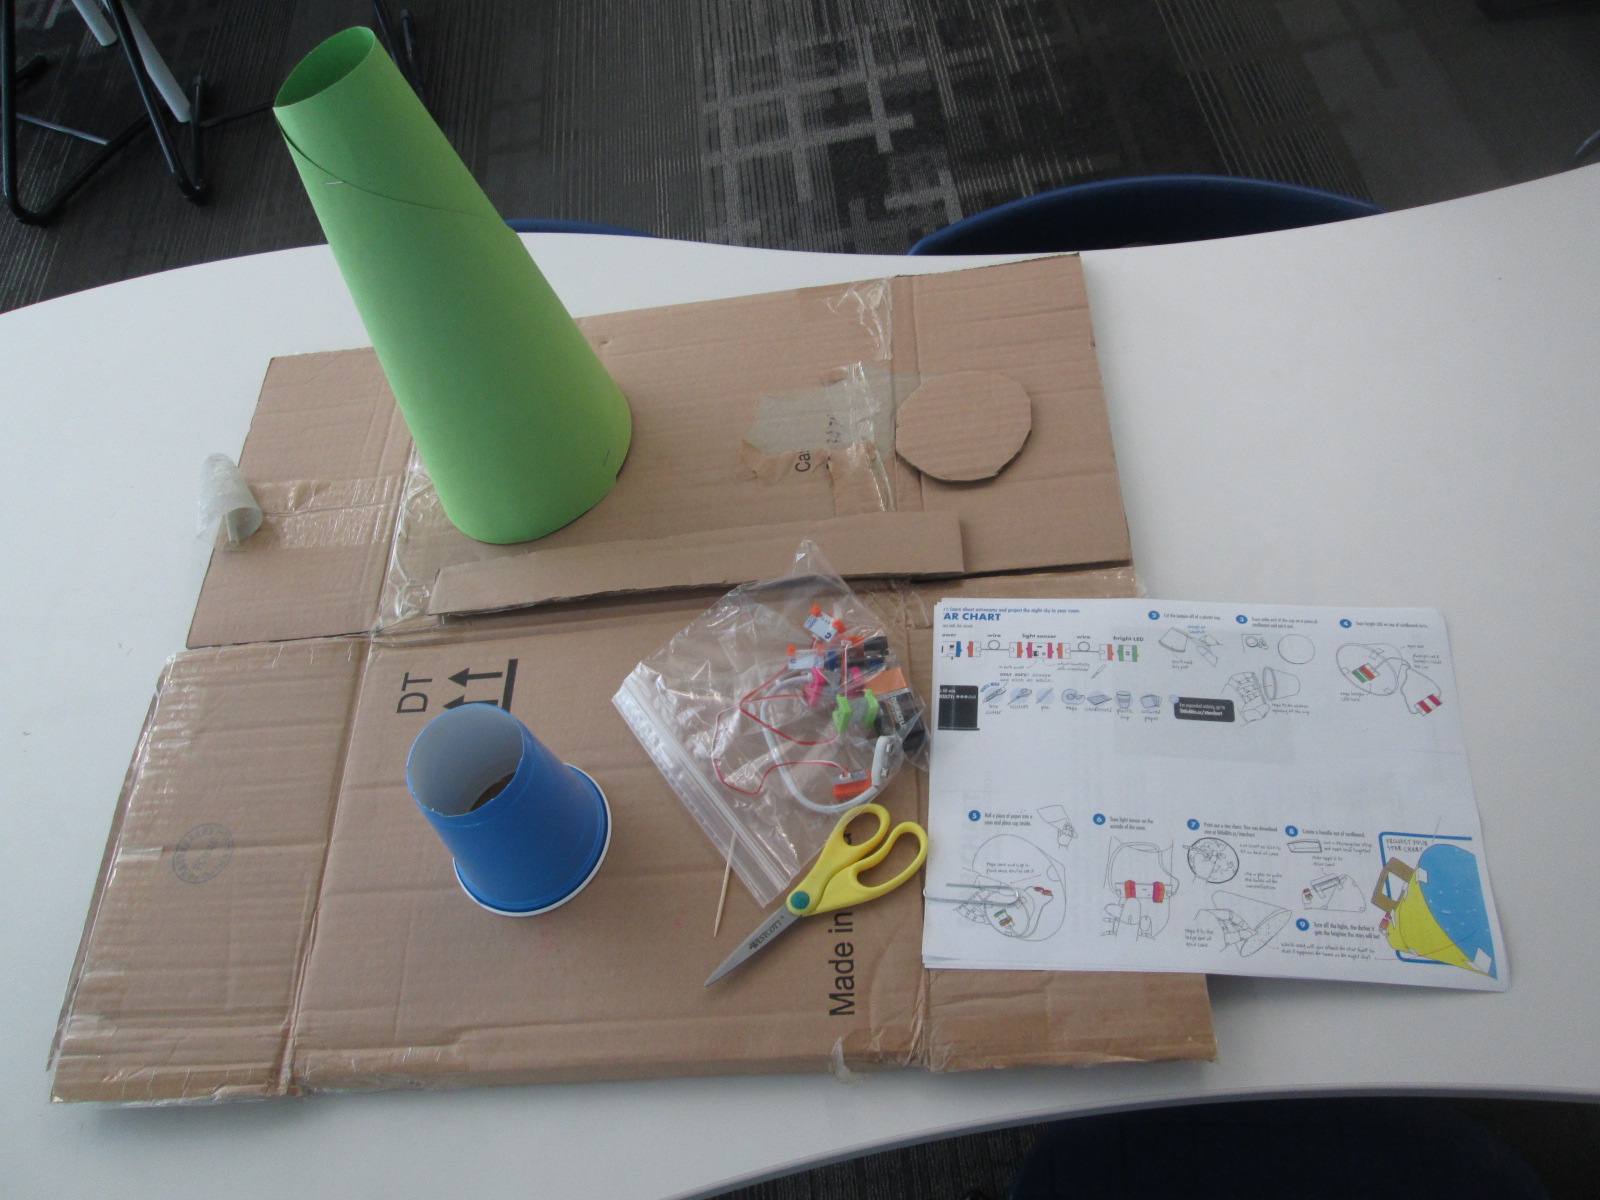
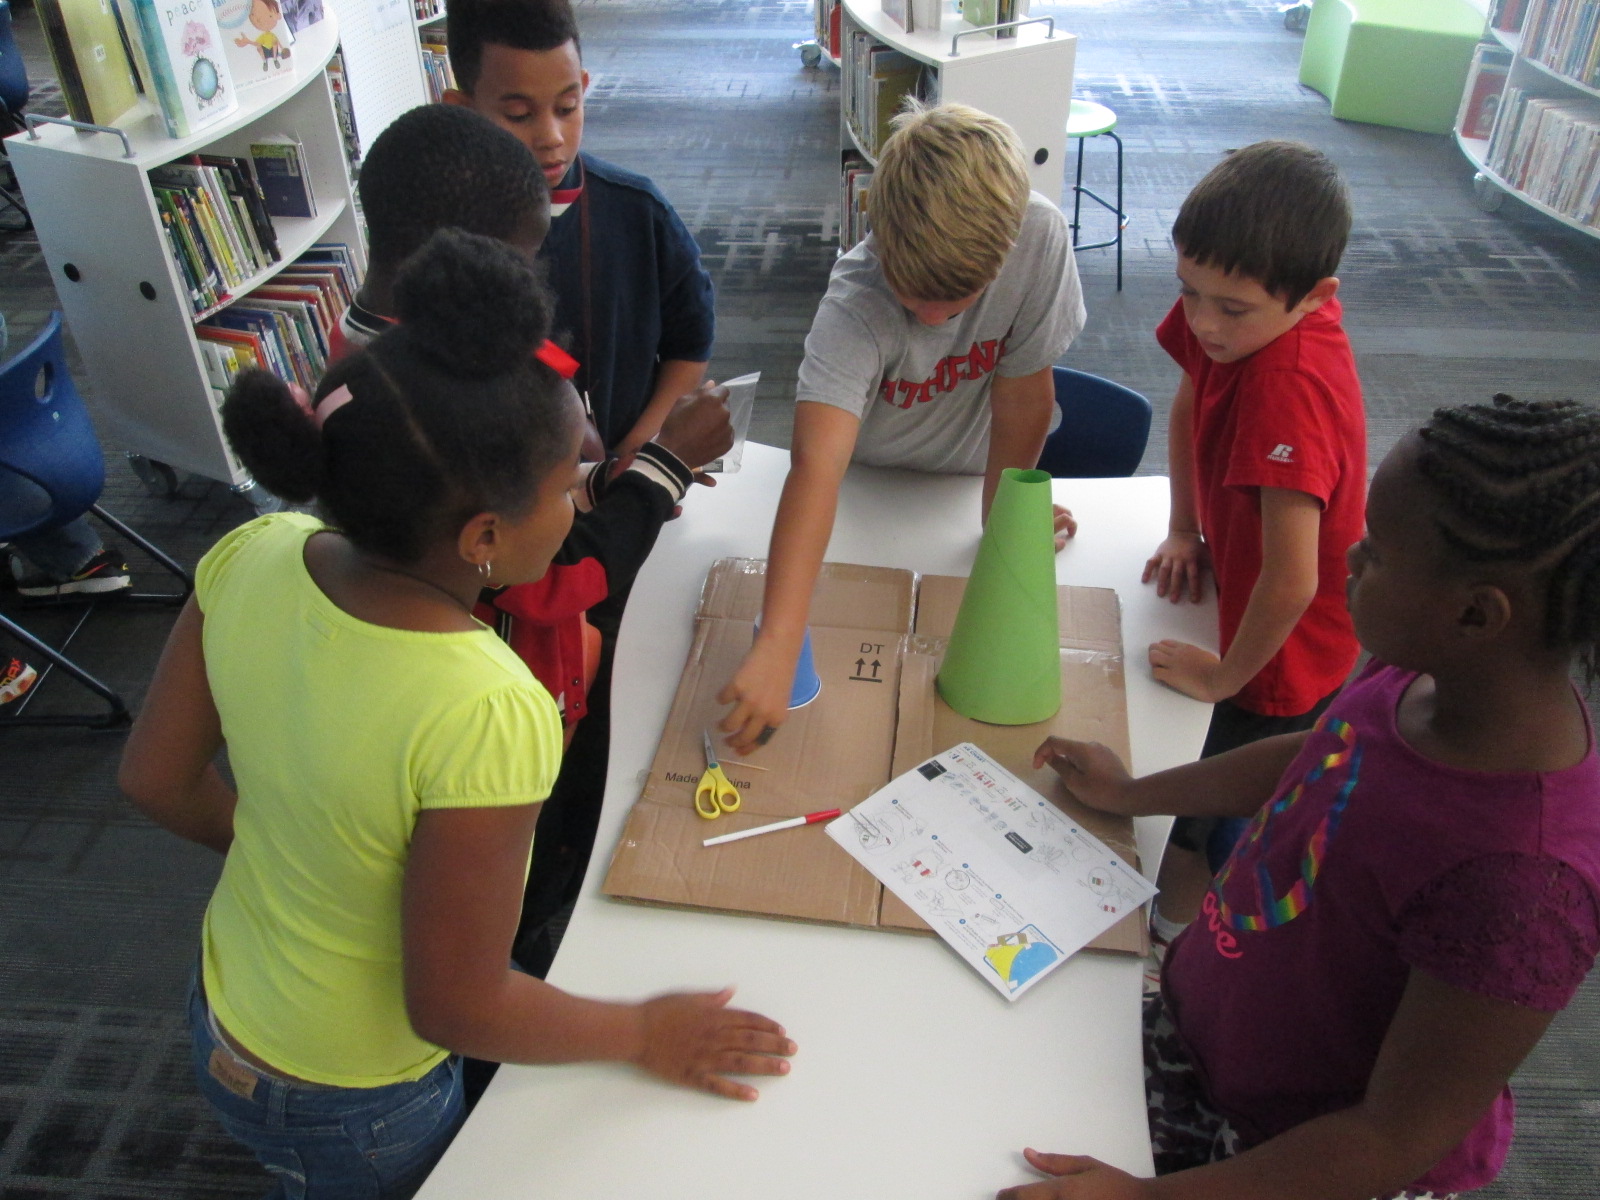
Because some of the steps involved using a box cutter to cut holes in a cup and a cardboard circle, I did a few steps ahead of time for them. On a large piece of cardboard, I gathered materials for each group:
a ziploc bag of the littleBits needed, including the battery
a littleBits screwdriver
scissors
tape
a toothpick
a pen
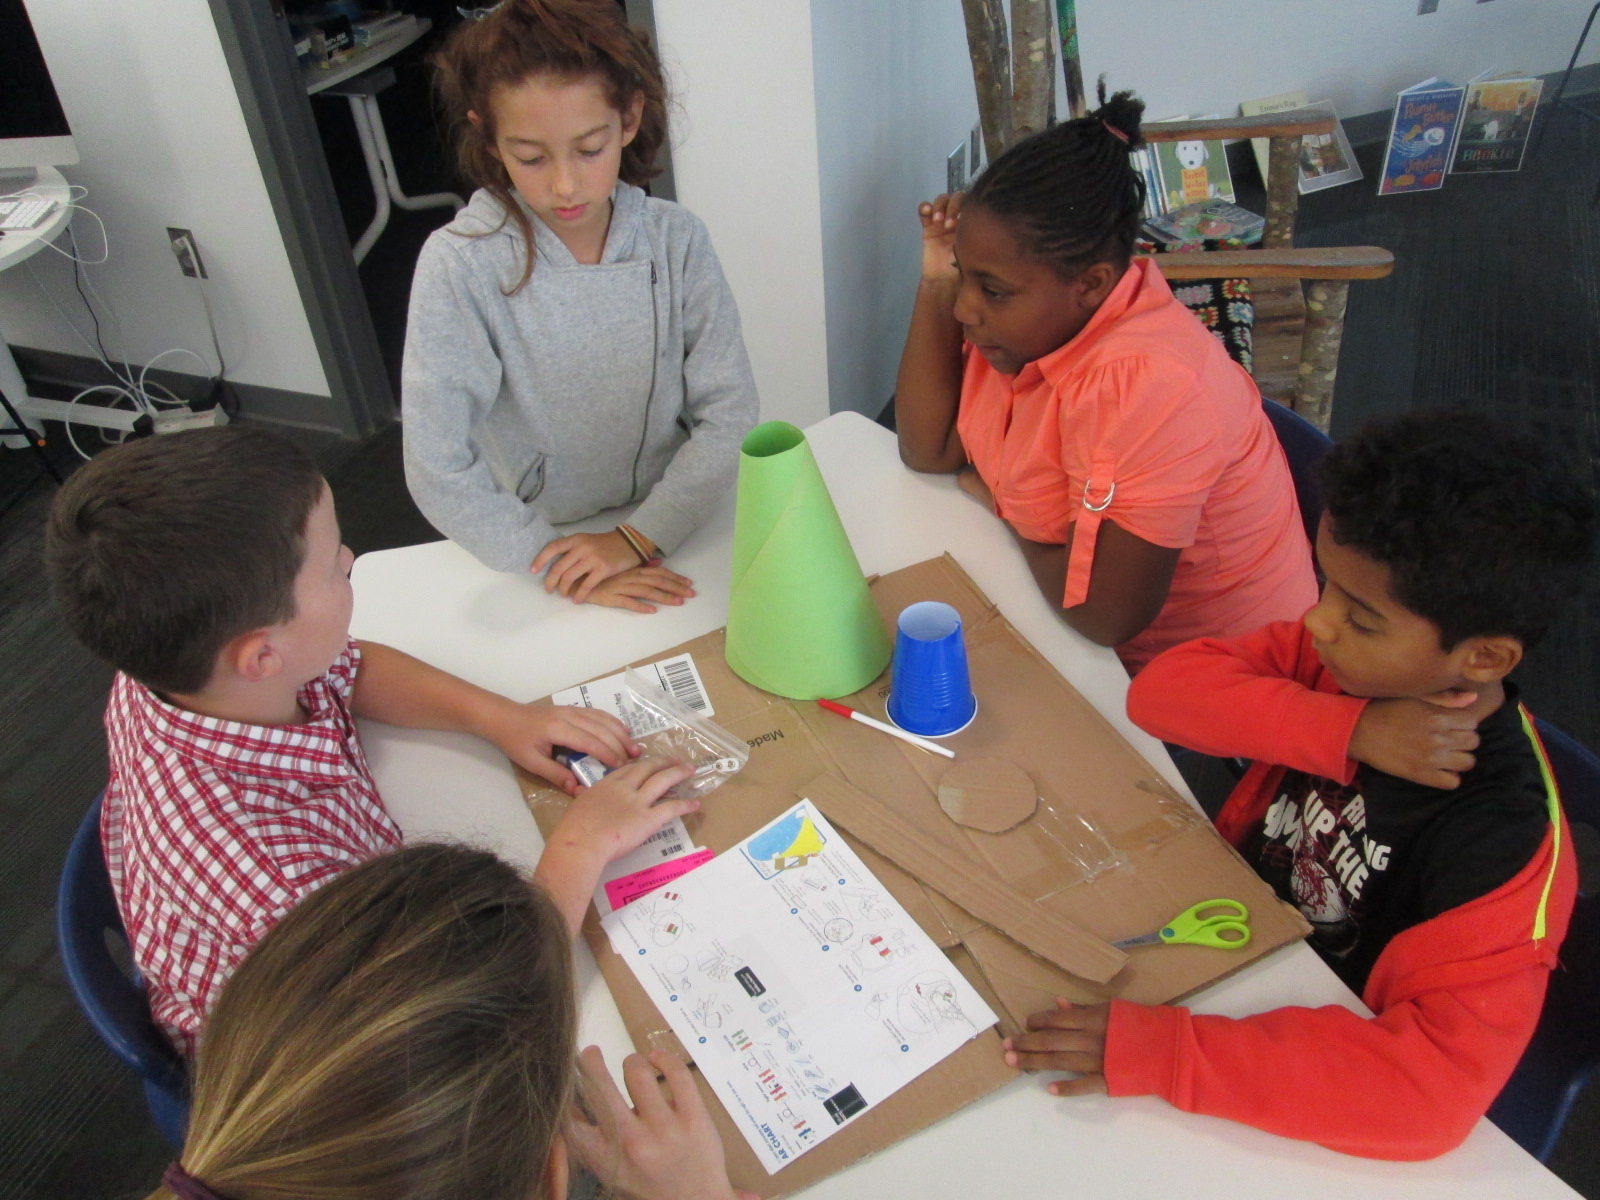
a cone made out of construction paper (many thanks to Gretchen Thomas for helping me figure out how to make a cone!)
a plastic cup with the bottom cut out
a cardboard circle the size of the mouth of the cup
a strip of cardboard
a set of instructions
a copy of a star chart
We started the lesson together on the carpet. We watched a short intro video:
I told them that our goal was to make a device that lit up when it was in a dark room and projected stars onto the ceiling.
We talked about failure. I emphasized that this class was the first class in the school to use littleBits. We talked about failing, taking a deep breath, backing up, and trying again when something didn’t work. I also talked about teamwork and time management. This was to emphasize that the more they worked together and didn’t give up the more likely they were to be successful in making their chart.
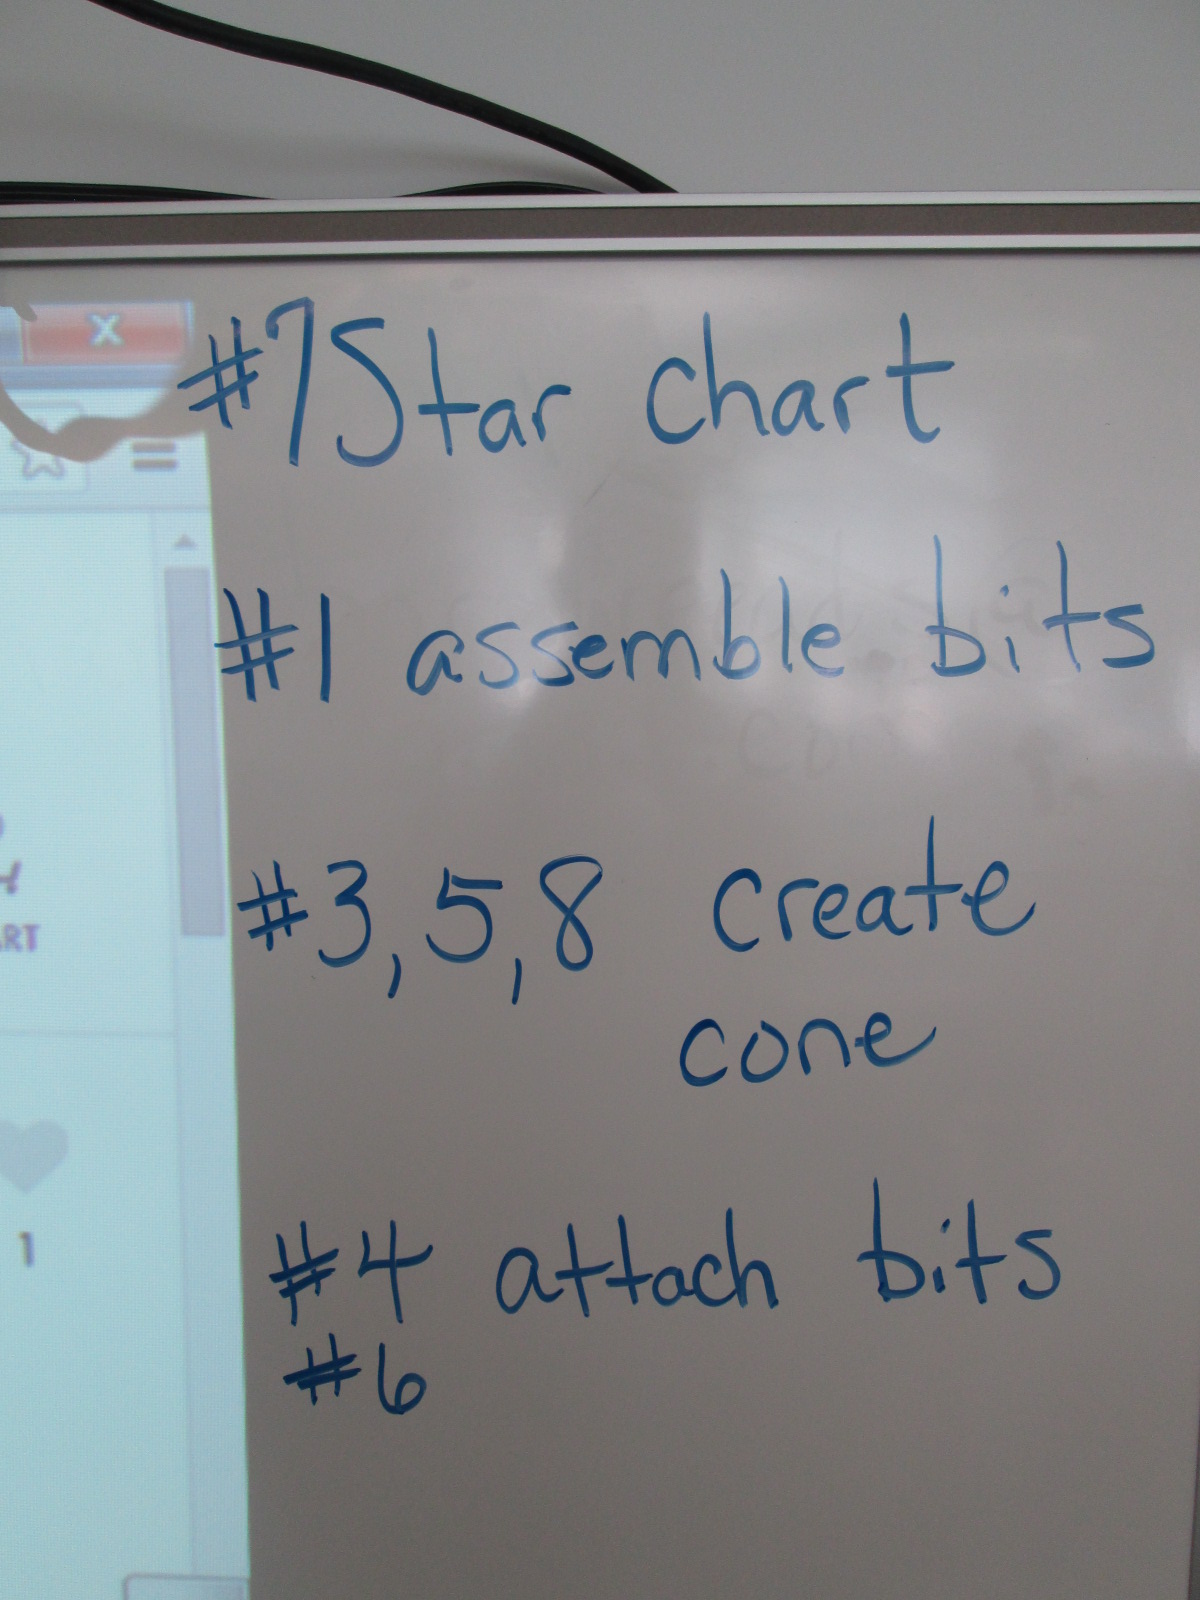
I also made suggestions about how teams might think about dividing up the work load. For example,
1 person might try step #7 and prepare the star chart
1 or 2 people might try step #1 to assemble the bits
1 or 2 people might try steps #3, 5, and 8 to create the cone
1 or 2 people might try step #4 & 6 to attach the bits and test the device
This was only a suggestions. Teams were welcome to do every step together or divide the work up in other ways.
Notice that I didn’t say anything about explaining littleBits, what each bit was called, what their function was, or how to put them together. I knew that the kids were perfectly capable of figuring this out on their own, and they proved me right.
Mr. Coleman helped divide the students into groups and they got right to work. I was amazed by how the groups took time in the beginning to assign roles before working. It was a rare moment to look at a table and not see someone working on some aspect of the star chart.
Mr. Coleman and I walked around and encouraged groups to read directions, try new things, work together, and gave a few helpful nudges as needed. However, we did not create the star charts for any group because we wanted students to experience tinkering, failure, and the power of reading and following directions.
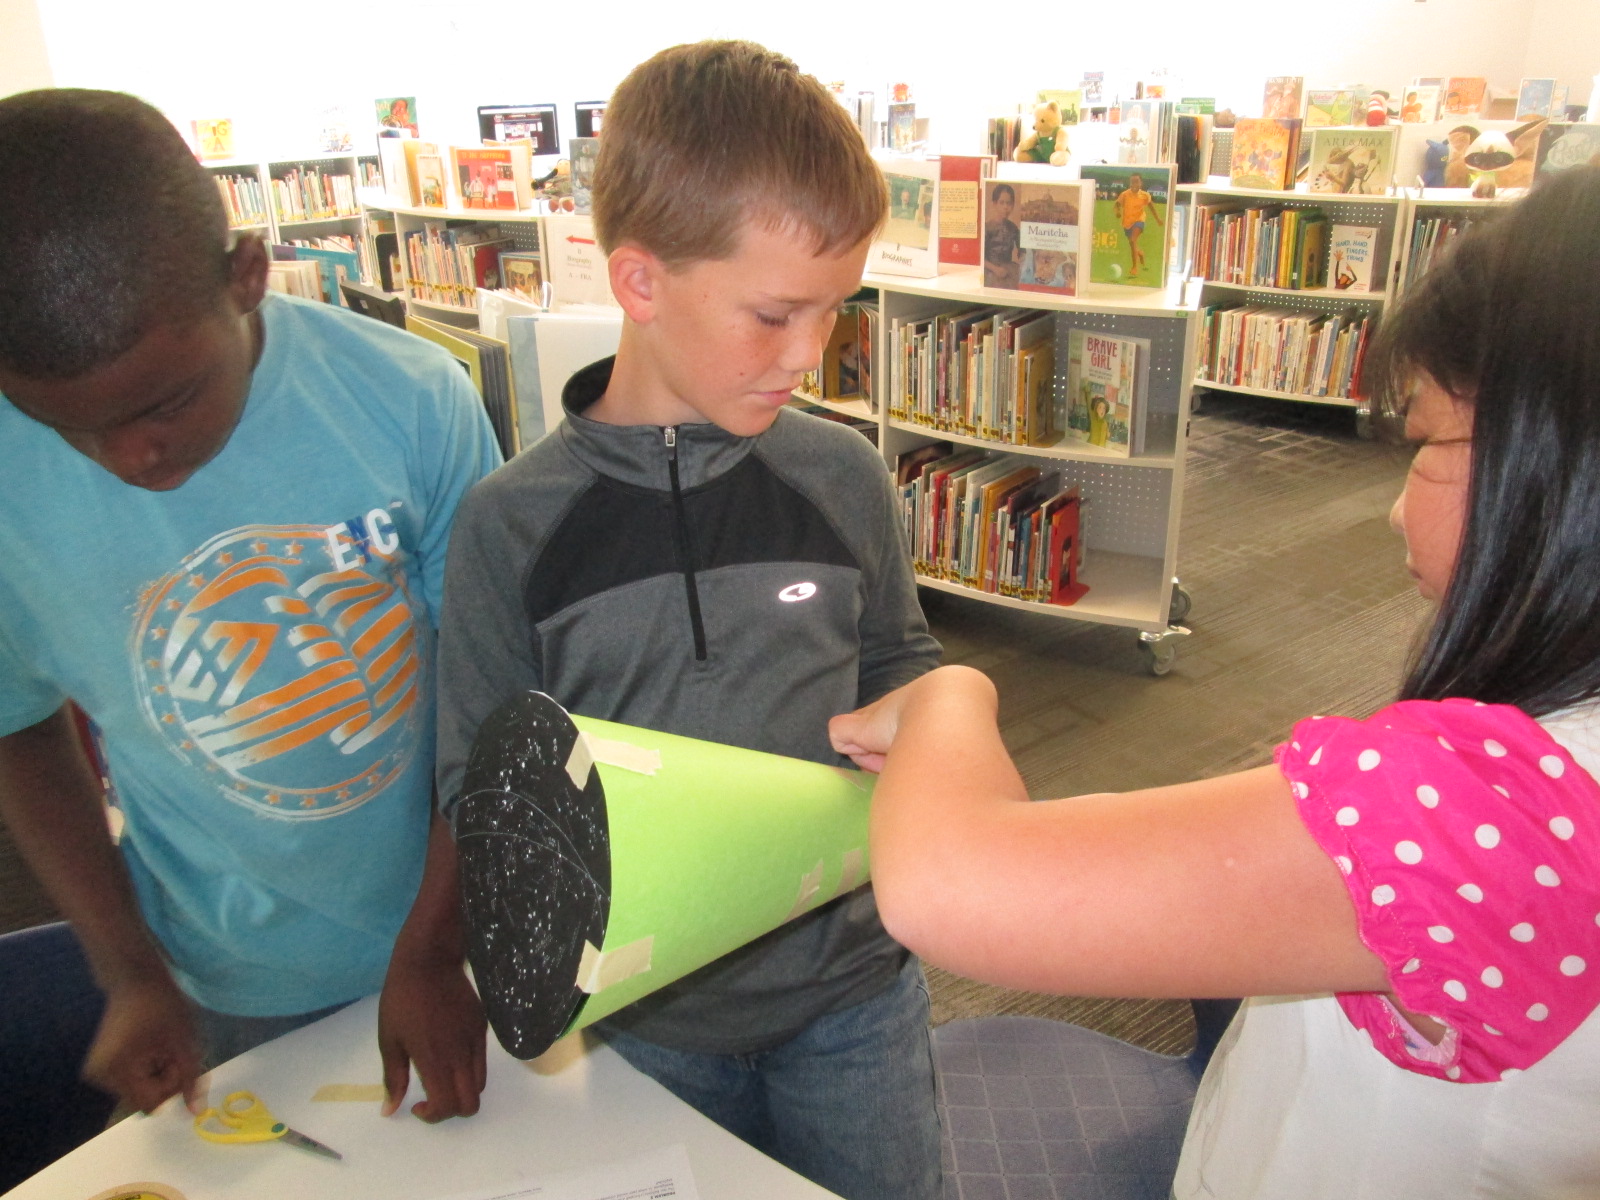
There was a definite energy in the room and it was by no means quiet. Each time something started working, the energy level increased. Groups started taking their devices into our makerspace and equipment room so that they could turn off the light and test their invention. As pieces worked, they screamed with excitement, but as they failed they hurried out, disassemble their work, and started over.
Once again, I was amazed by how no students stopped working and no students reached a point of frustration where they shut down.
We even had a group who were still working when we were debriefing the whole experience because they wanted to make their star chart work. They didn’t give up for a second.
When the charts worked, students spent a bit of time looking at their constellations on the wall and ceiling.
During our debrief, we talked about what we learned about littleBits as well as what next steps students might take to learn about constellations. I encouraged them to learn some of the stories of the constellations and to actually look for them in the night sky.
For the littleBits, students figured out that you could adjust the sensitivity of the light sensor to come on when it was light or dark. This was a point of failure for some groups. Others talked about reading the words on the bit including the power bit that says “on” or “off”. Missing that one simple word “on” could be the difference between failure and success, and many groups forgot to turn their power on before testing their device.
Before students left, I told them that this was only a small taste of what littleBits can do, and I encouraged them to think about other inventions they might create during the year and to come and explore the other bits and their possibilities.
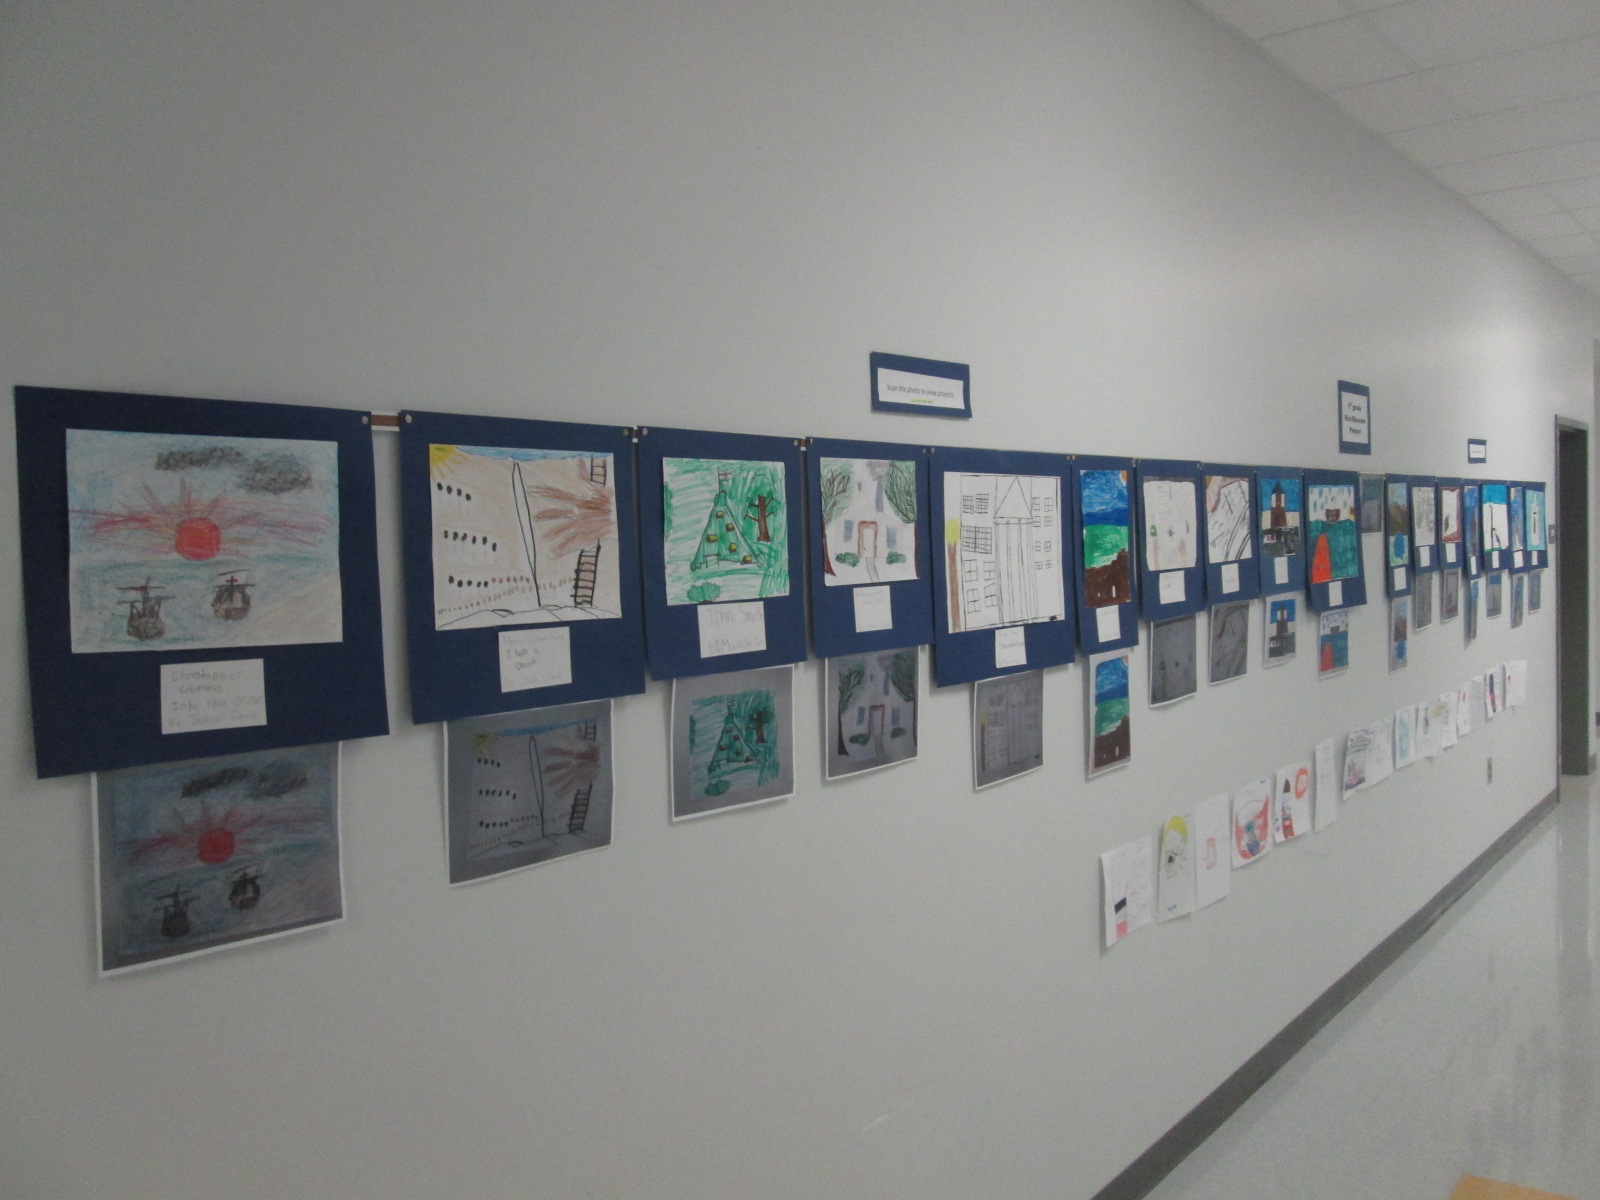
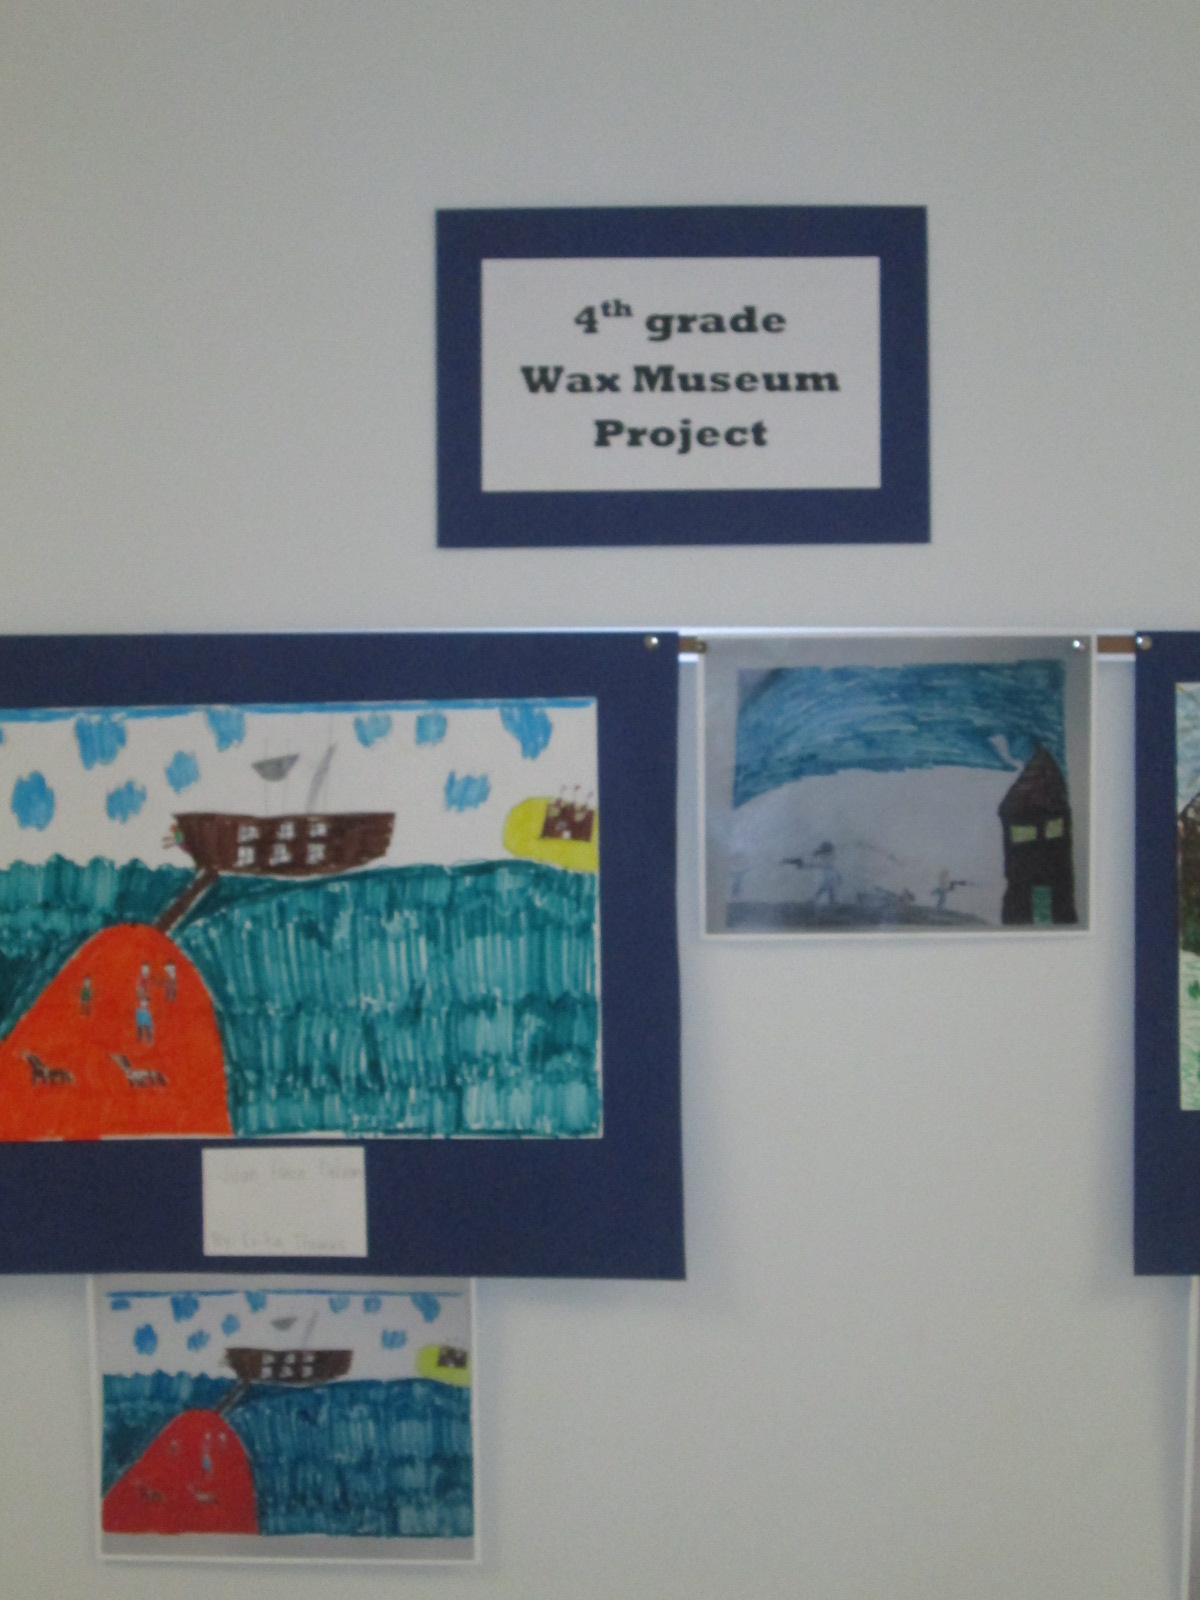
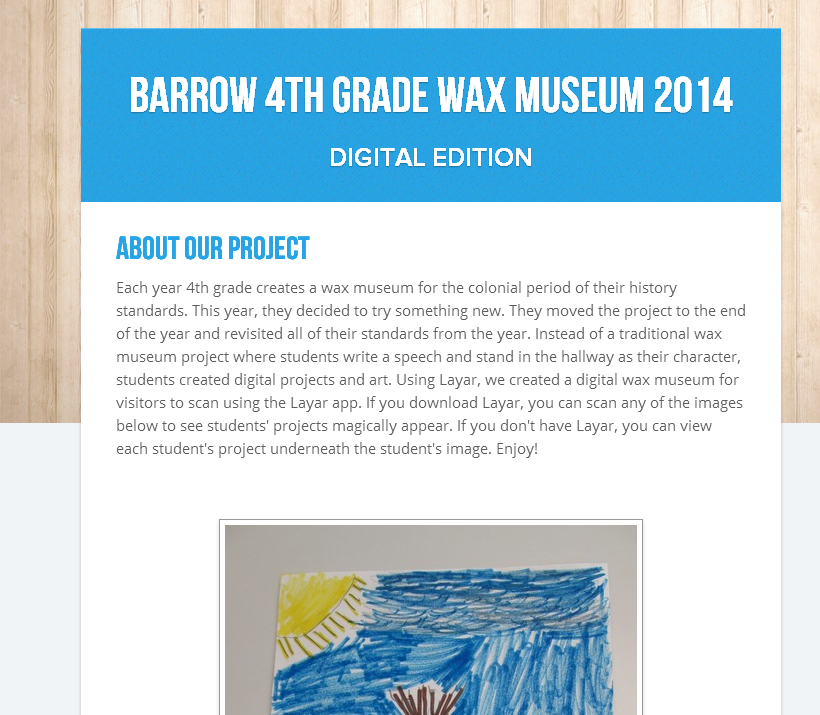
Each year, our 4th grade creates a wax museum for their colonial period social studies standards. Students research a person from that time, write and memorize a script, dress as that character, stand throughout the school, and give their speech multiple times to visitors. This year the 4th grade team and I decided to try something different. We wanted to create a digital wax museum and expand the standards beyond the colonial period to the entire 4th grade social studies standards. This new project would use the augmented reality app, Layar, to unlock all of the digital projects that students created about their person from history. It would also be a collaborative project between 4th grade, art, and the media center.
Updating this project was a big undertaking, but we created a process that I think can grow and expand next year.
First, students came to the library and learned about the project. I showed them various digital resources that they might use for their research including Pebble Go and our state Galileo database which includes Encyclopedia Britannica. I showed them how they could search for websites within Destiny when they are logged in.
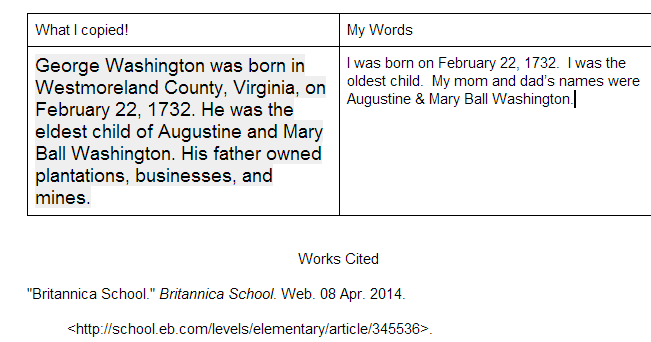
Next, I showed them how they could create a double column table in a Google doc. One side would be a space to copy and paste information from digital resources and the other side would be for putting the information into their own words. I showed them how to use the Easybib add-on within Google docs to document where their information was coming from. They loved this feature and so did the teachers.
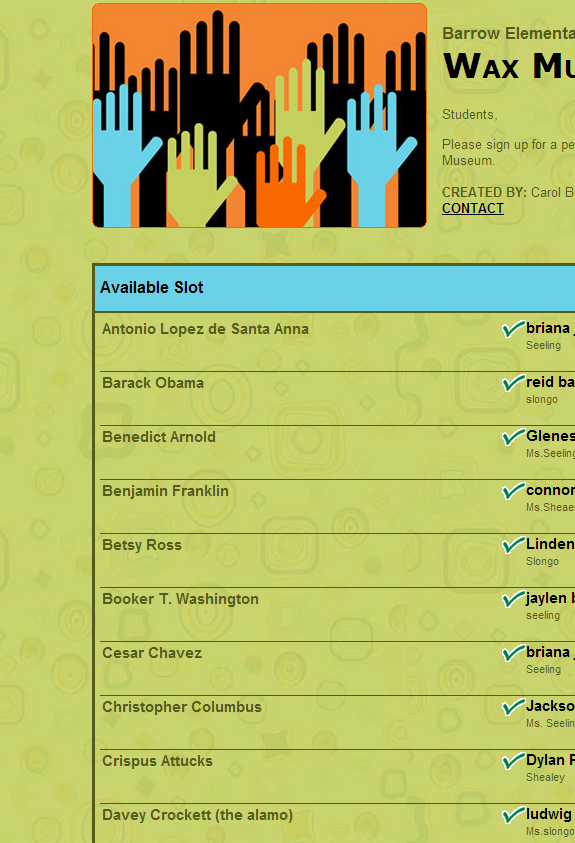
Finally, students used a Signup Genius to sign up for their topics. This made topic selection fast and teachers were able to give a final approval to the person that students signed up for.
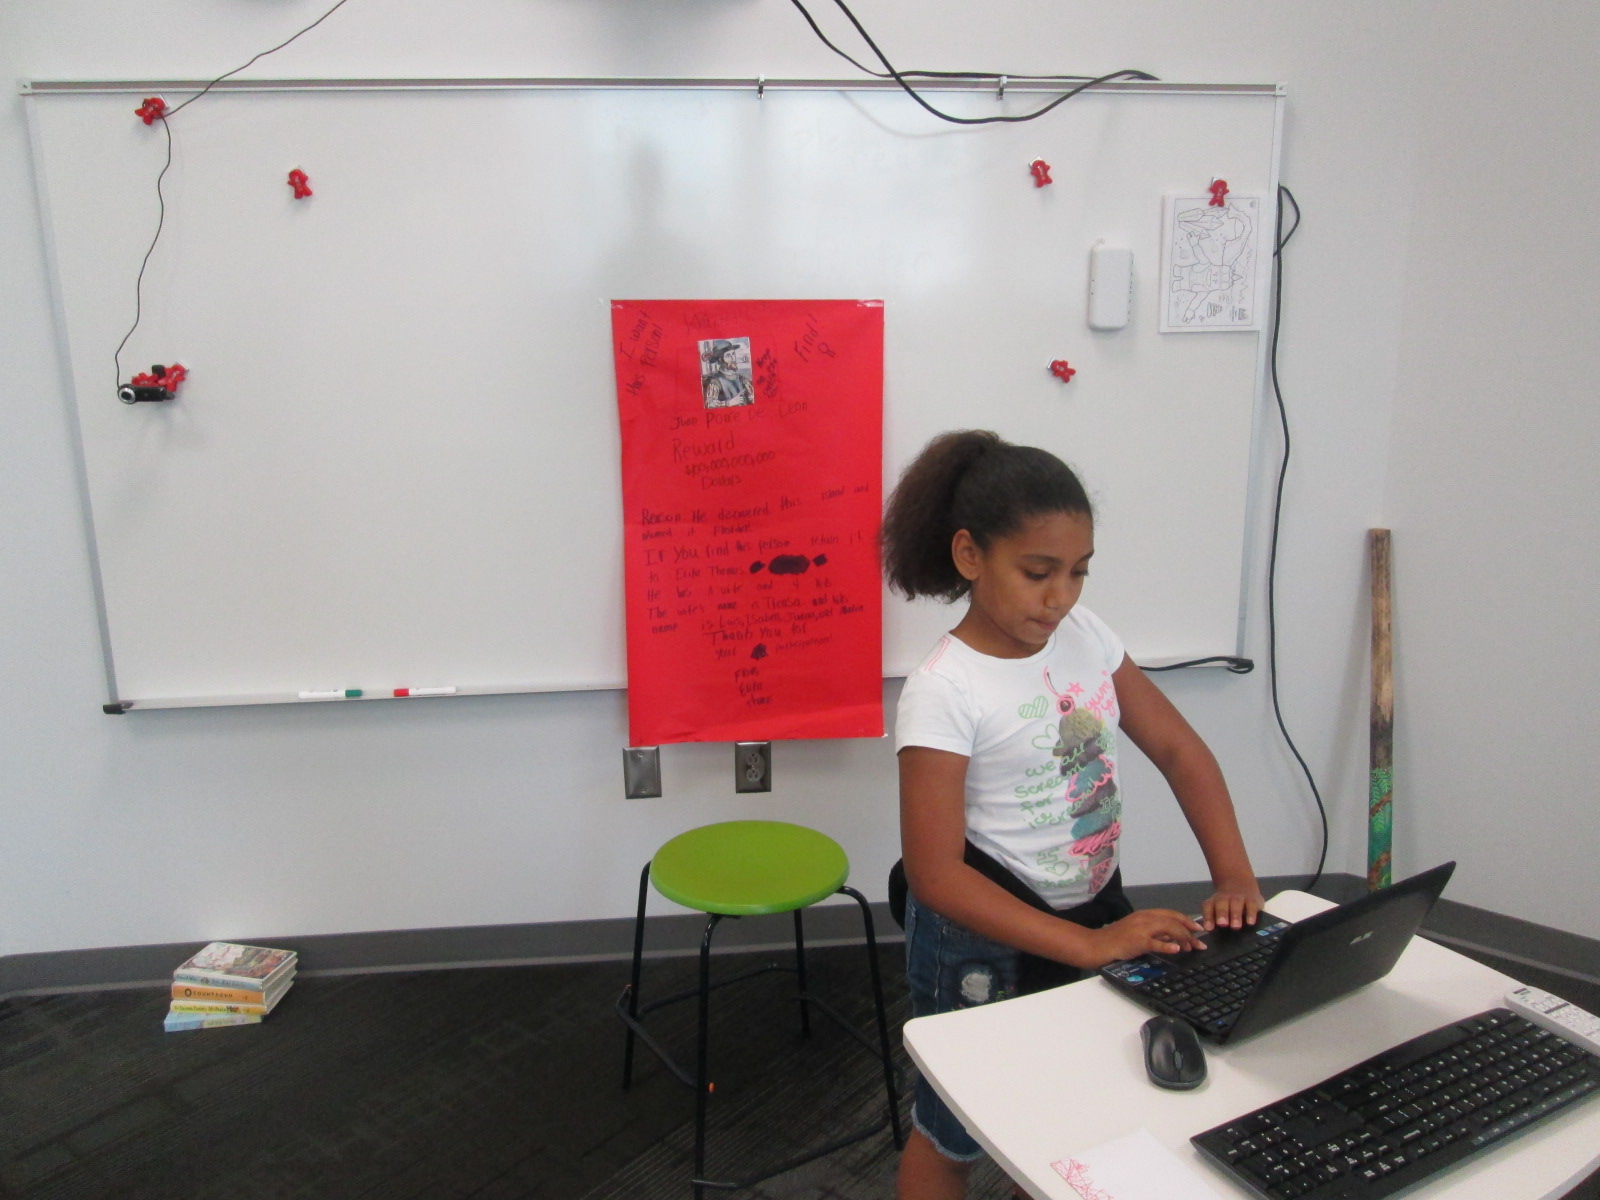
After that, students started their research. Most used their gathered facts to write scripts for various projects.
Then, they all returned to the library to learn about their project options. Students did not have to use technology to create their project, but they did have to use technology to document their project. For example, if they made a physical poster, they had to use some type of technology tool to record some information about their poster using their script. Many digital tools were suggested to students, but students were welcome to find and try their own tools. We suggested Chatterpix, Tellagami, and iMovie as main options. Students chose projects and continued working in class.
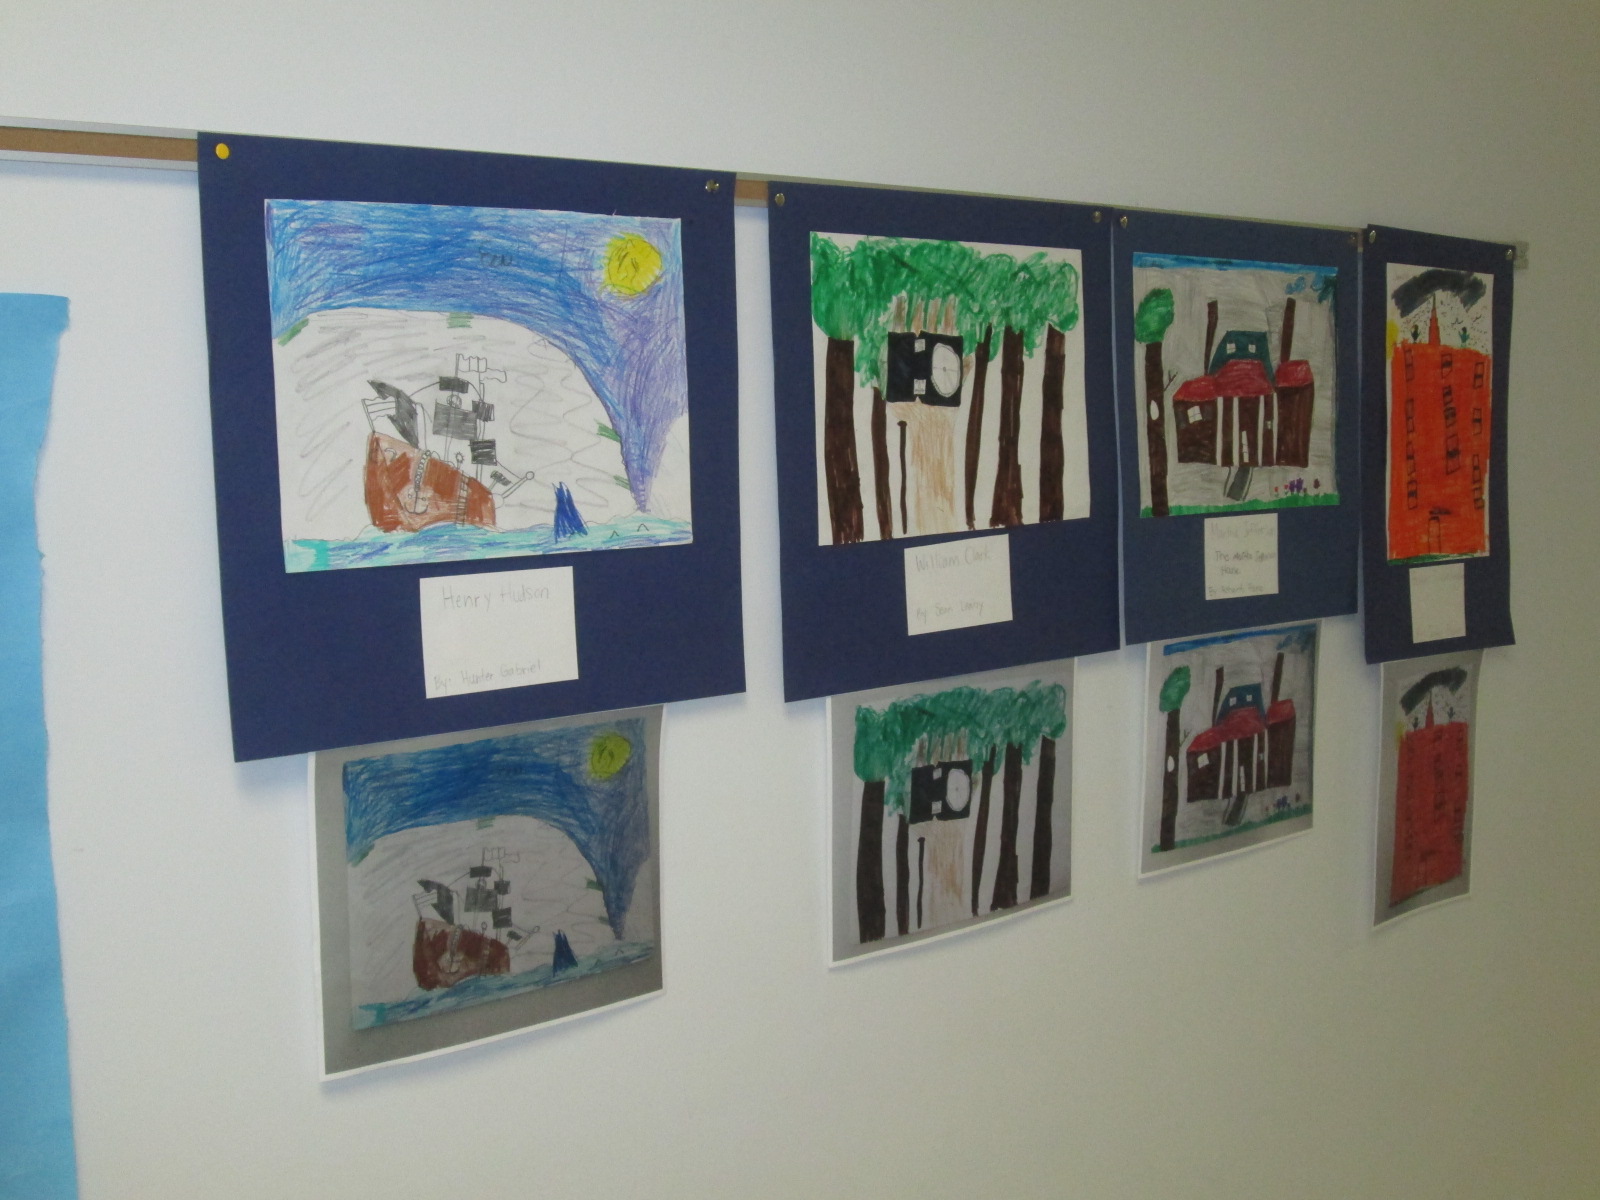
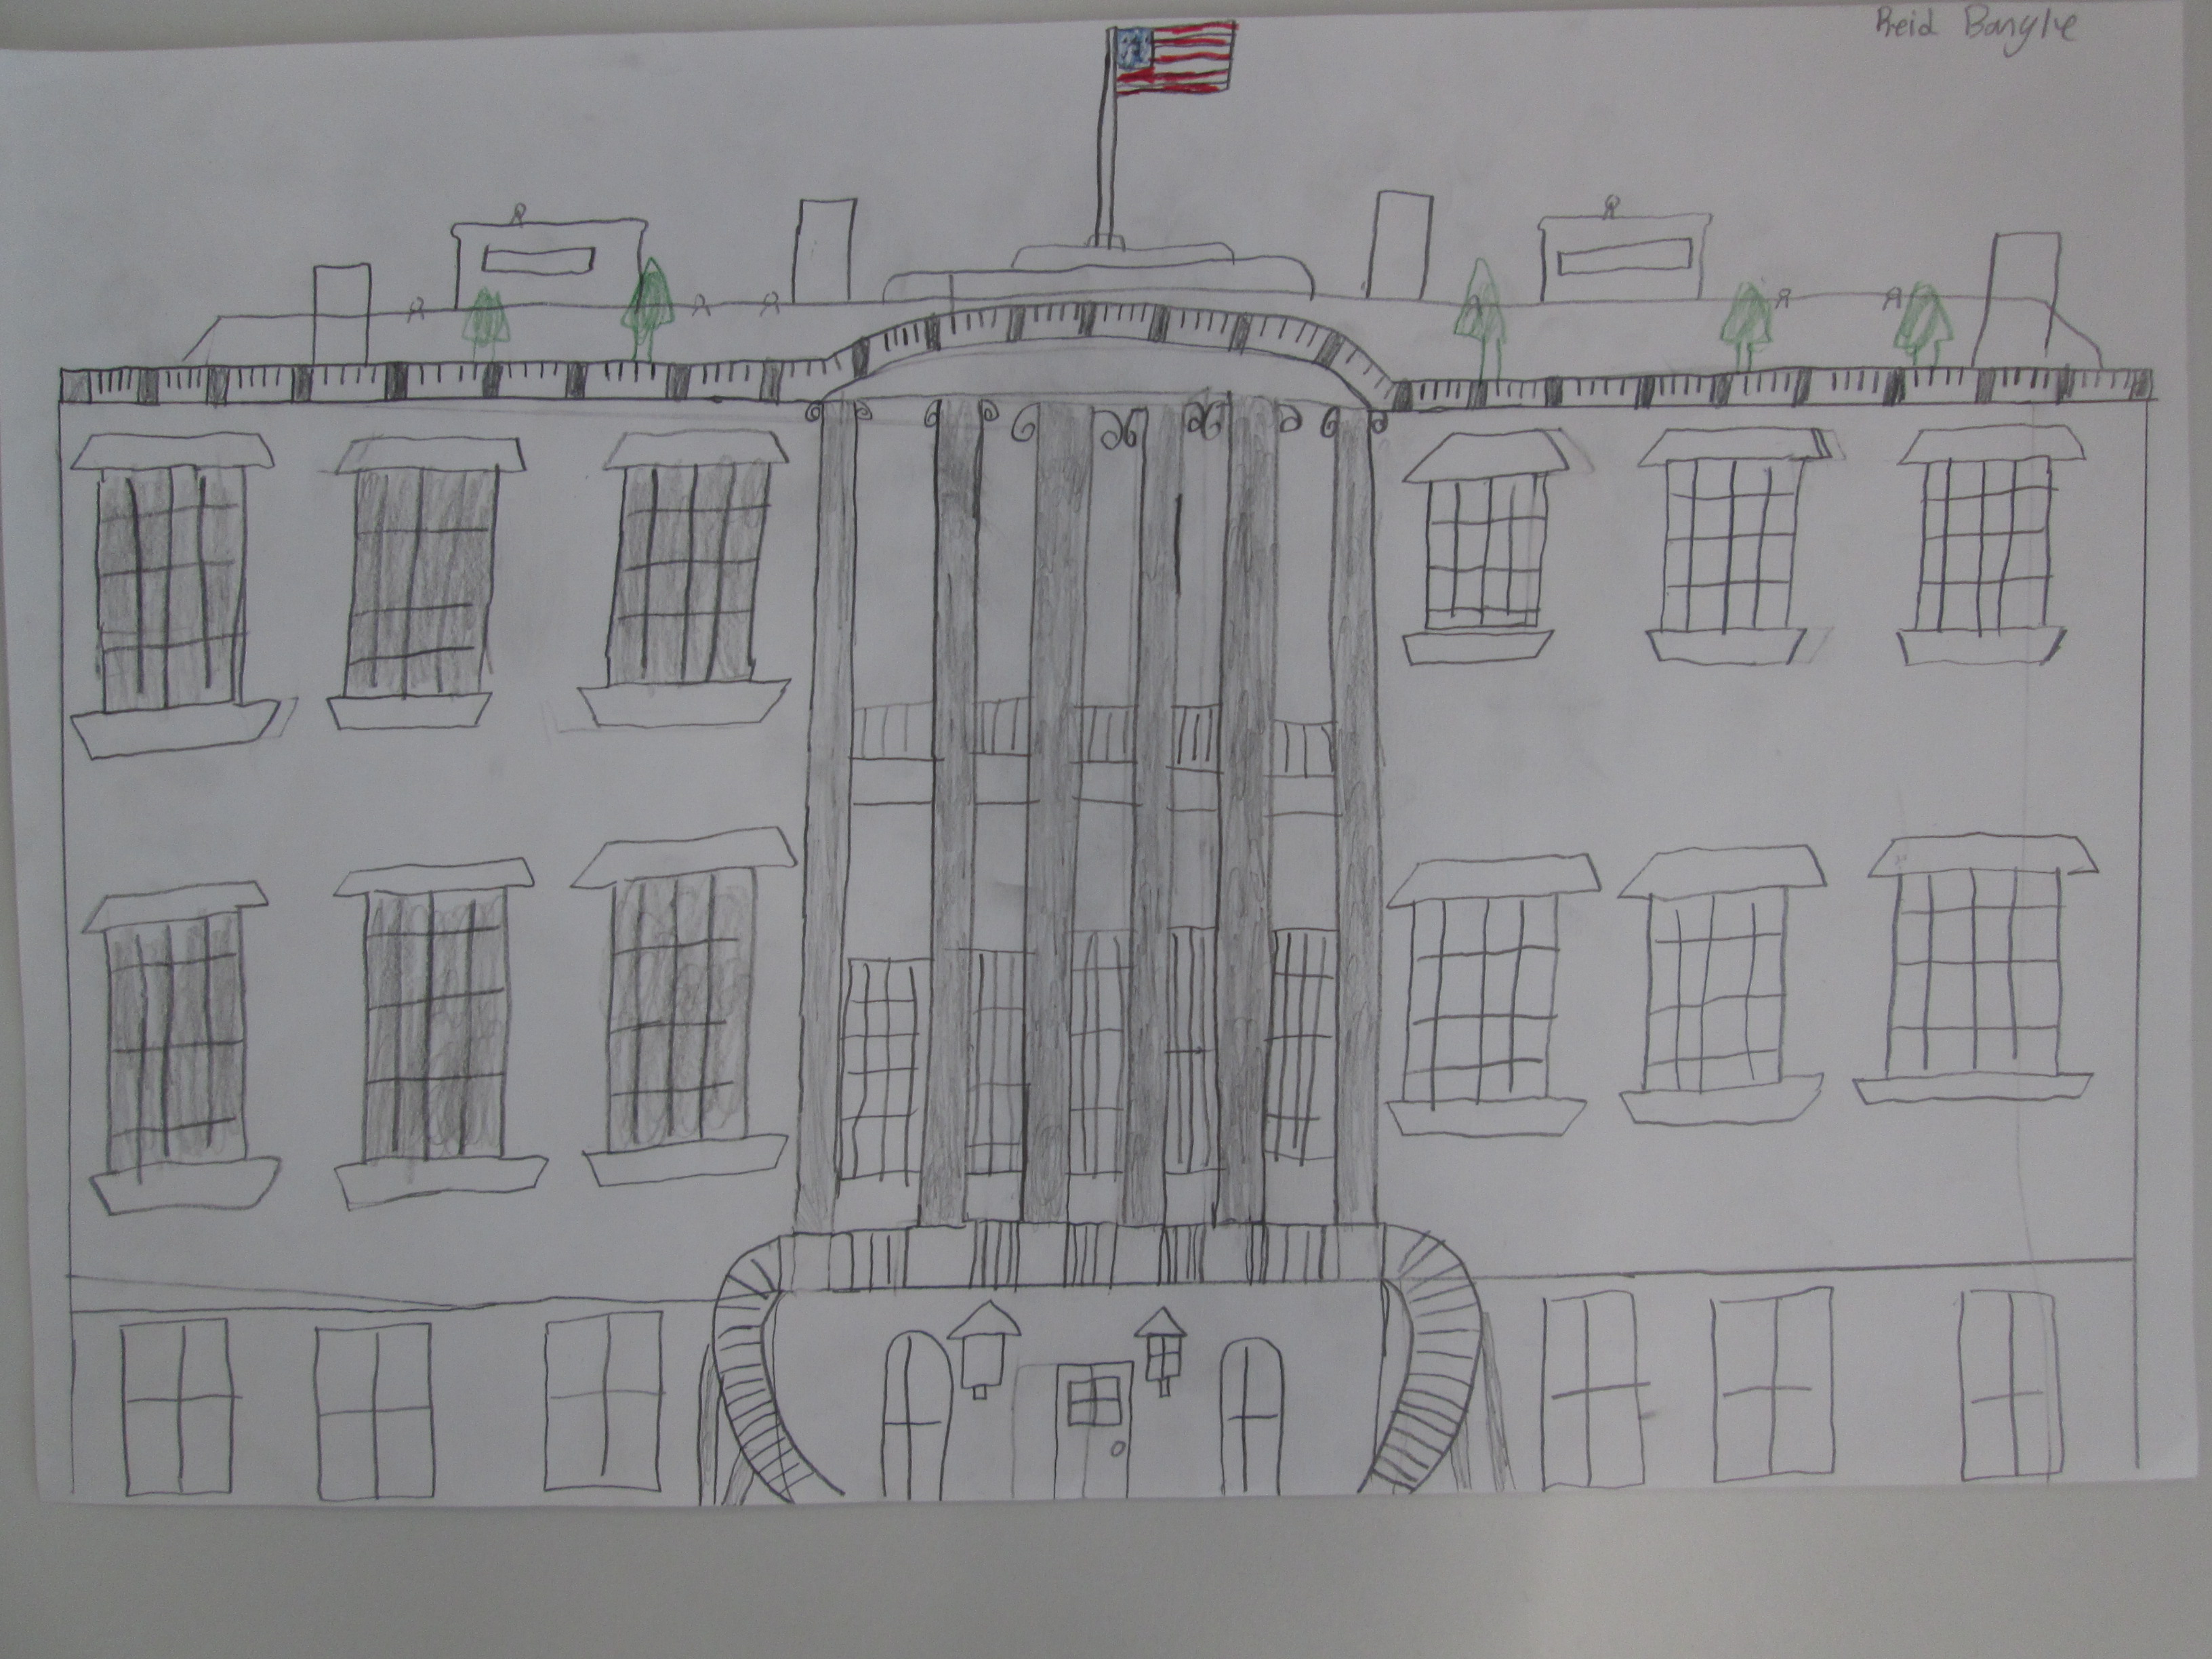
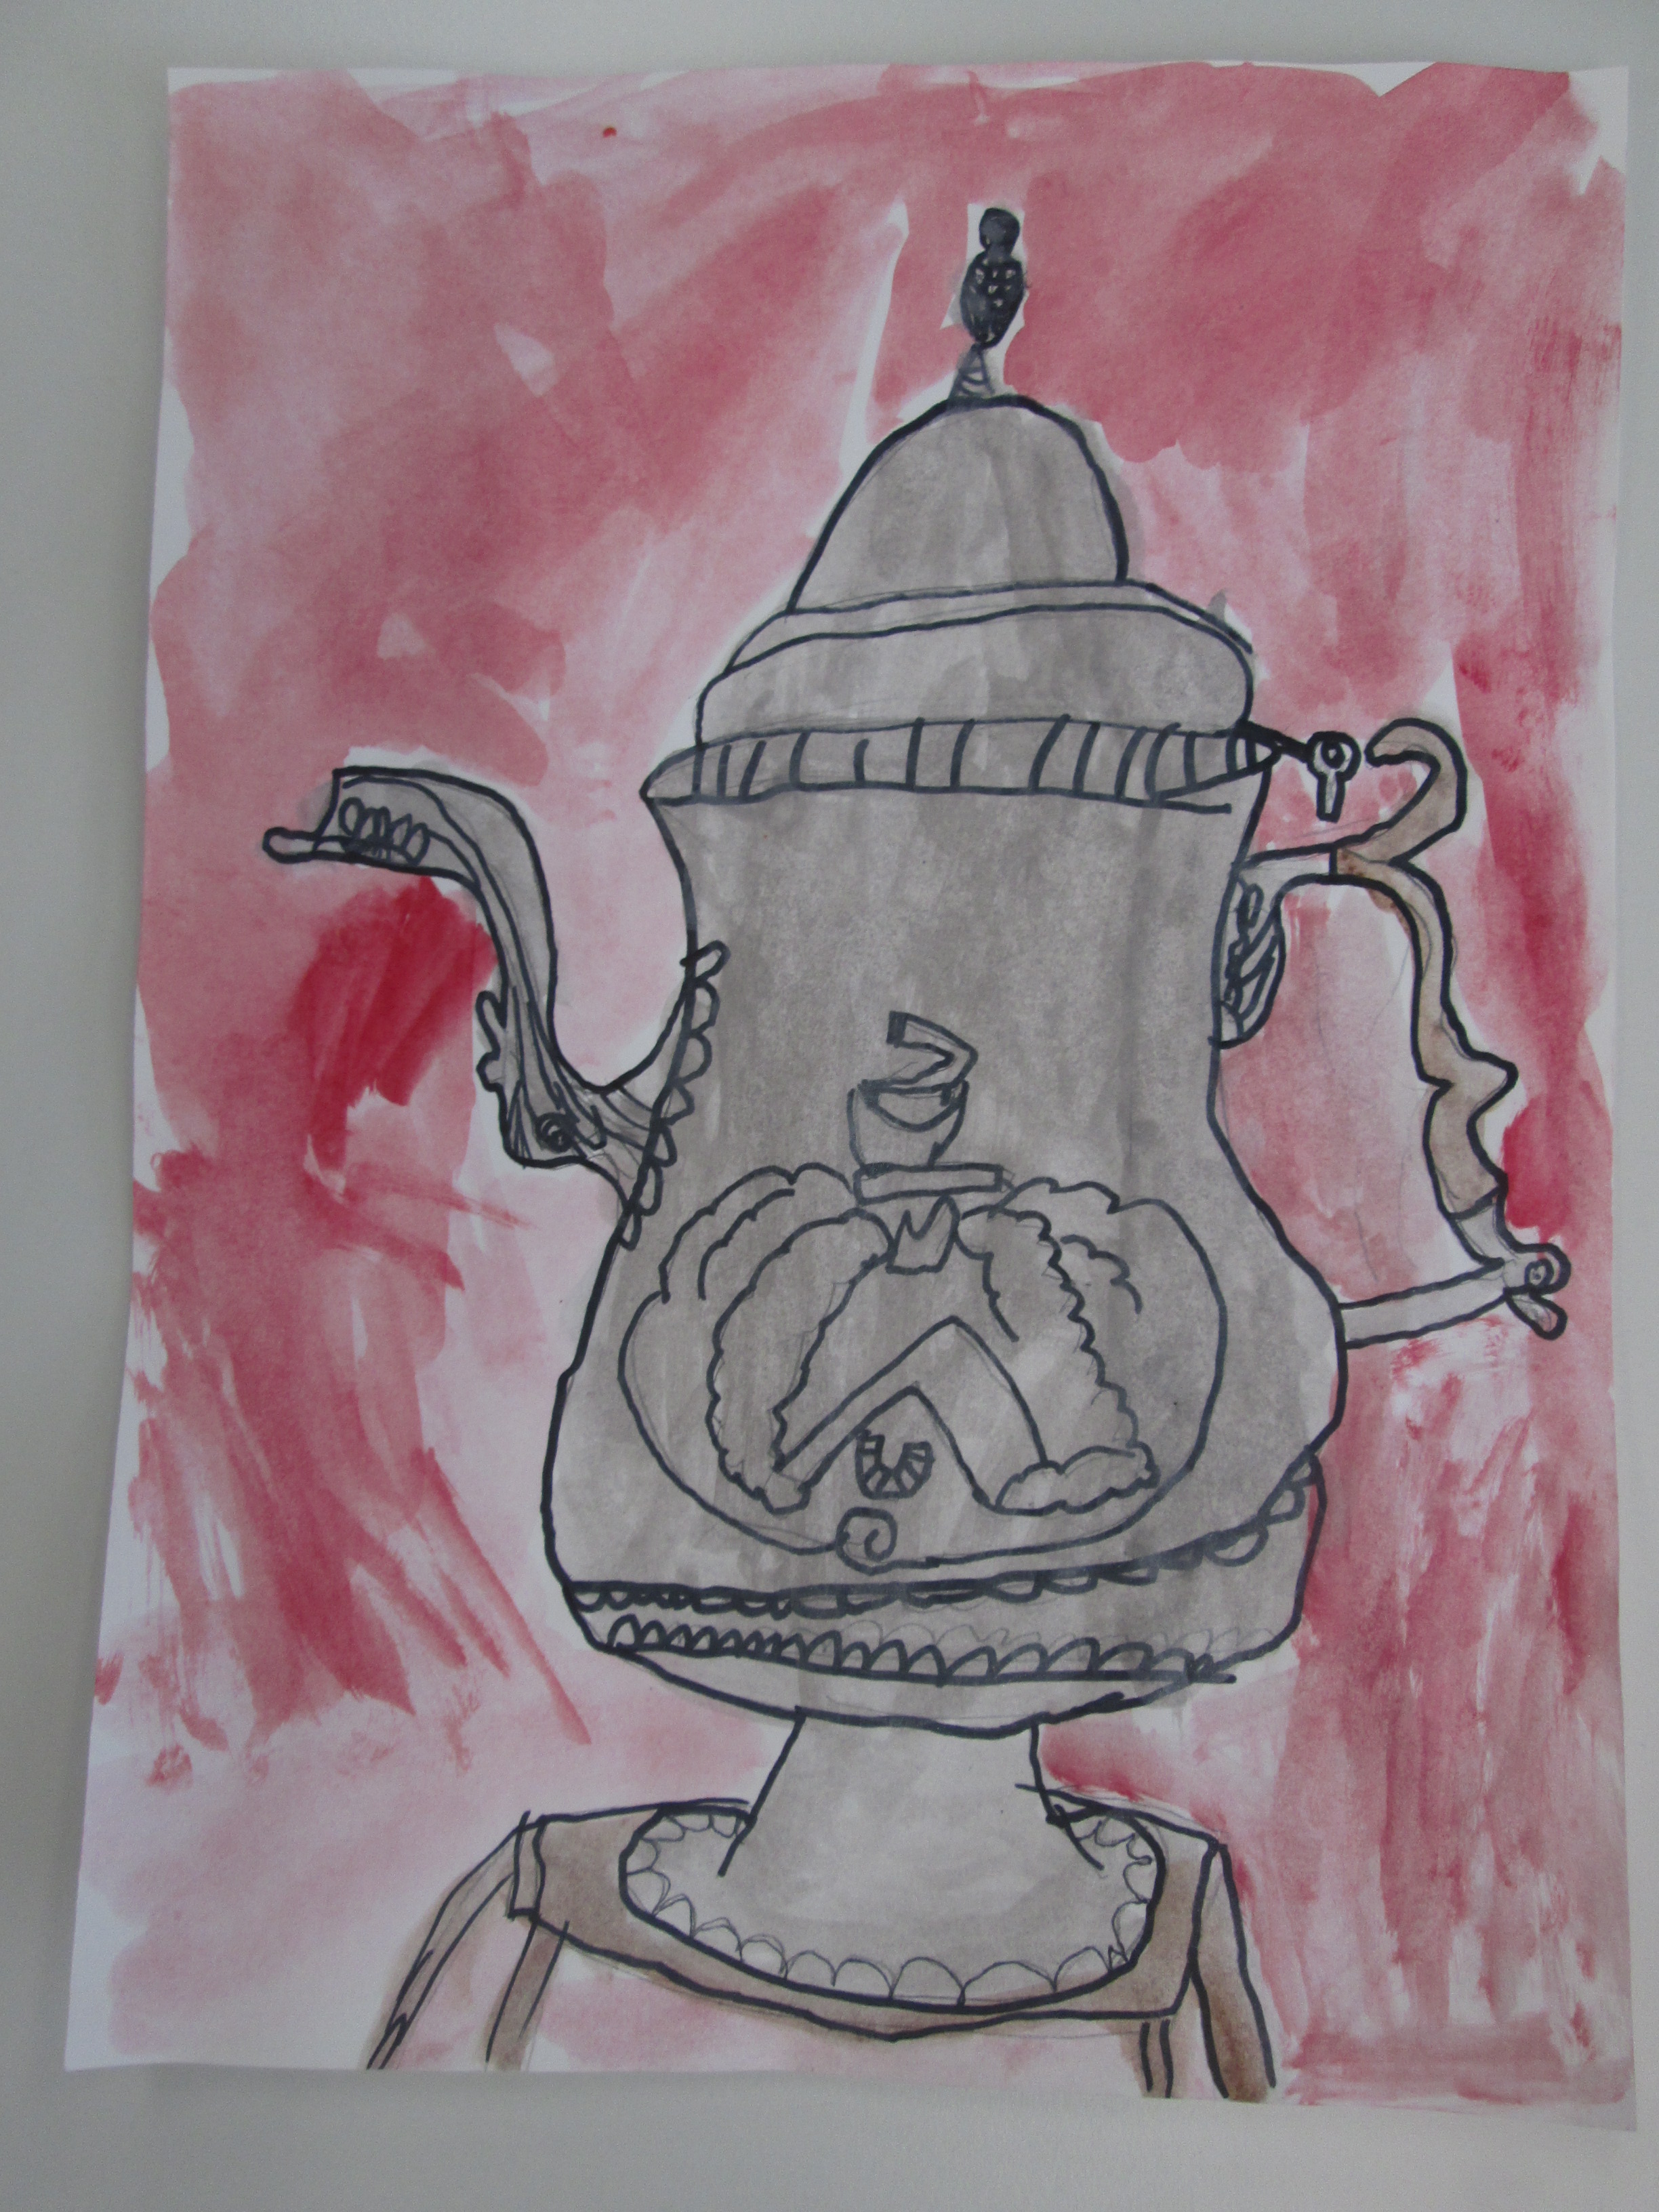
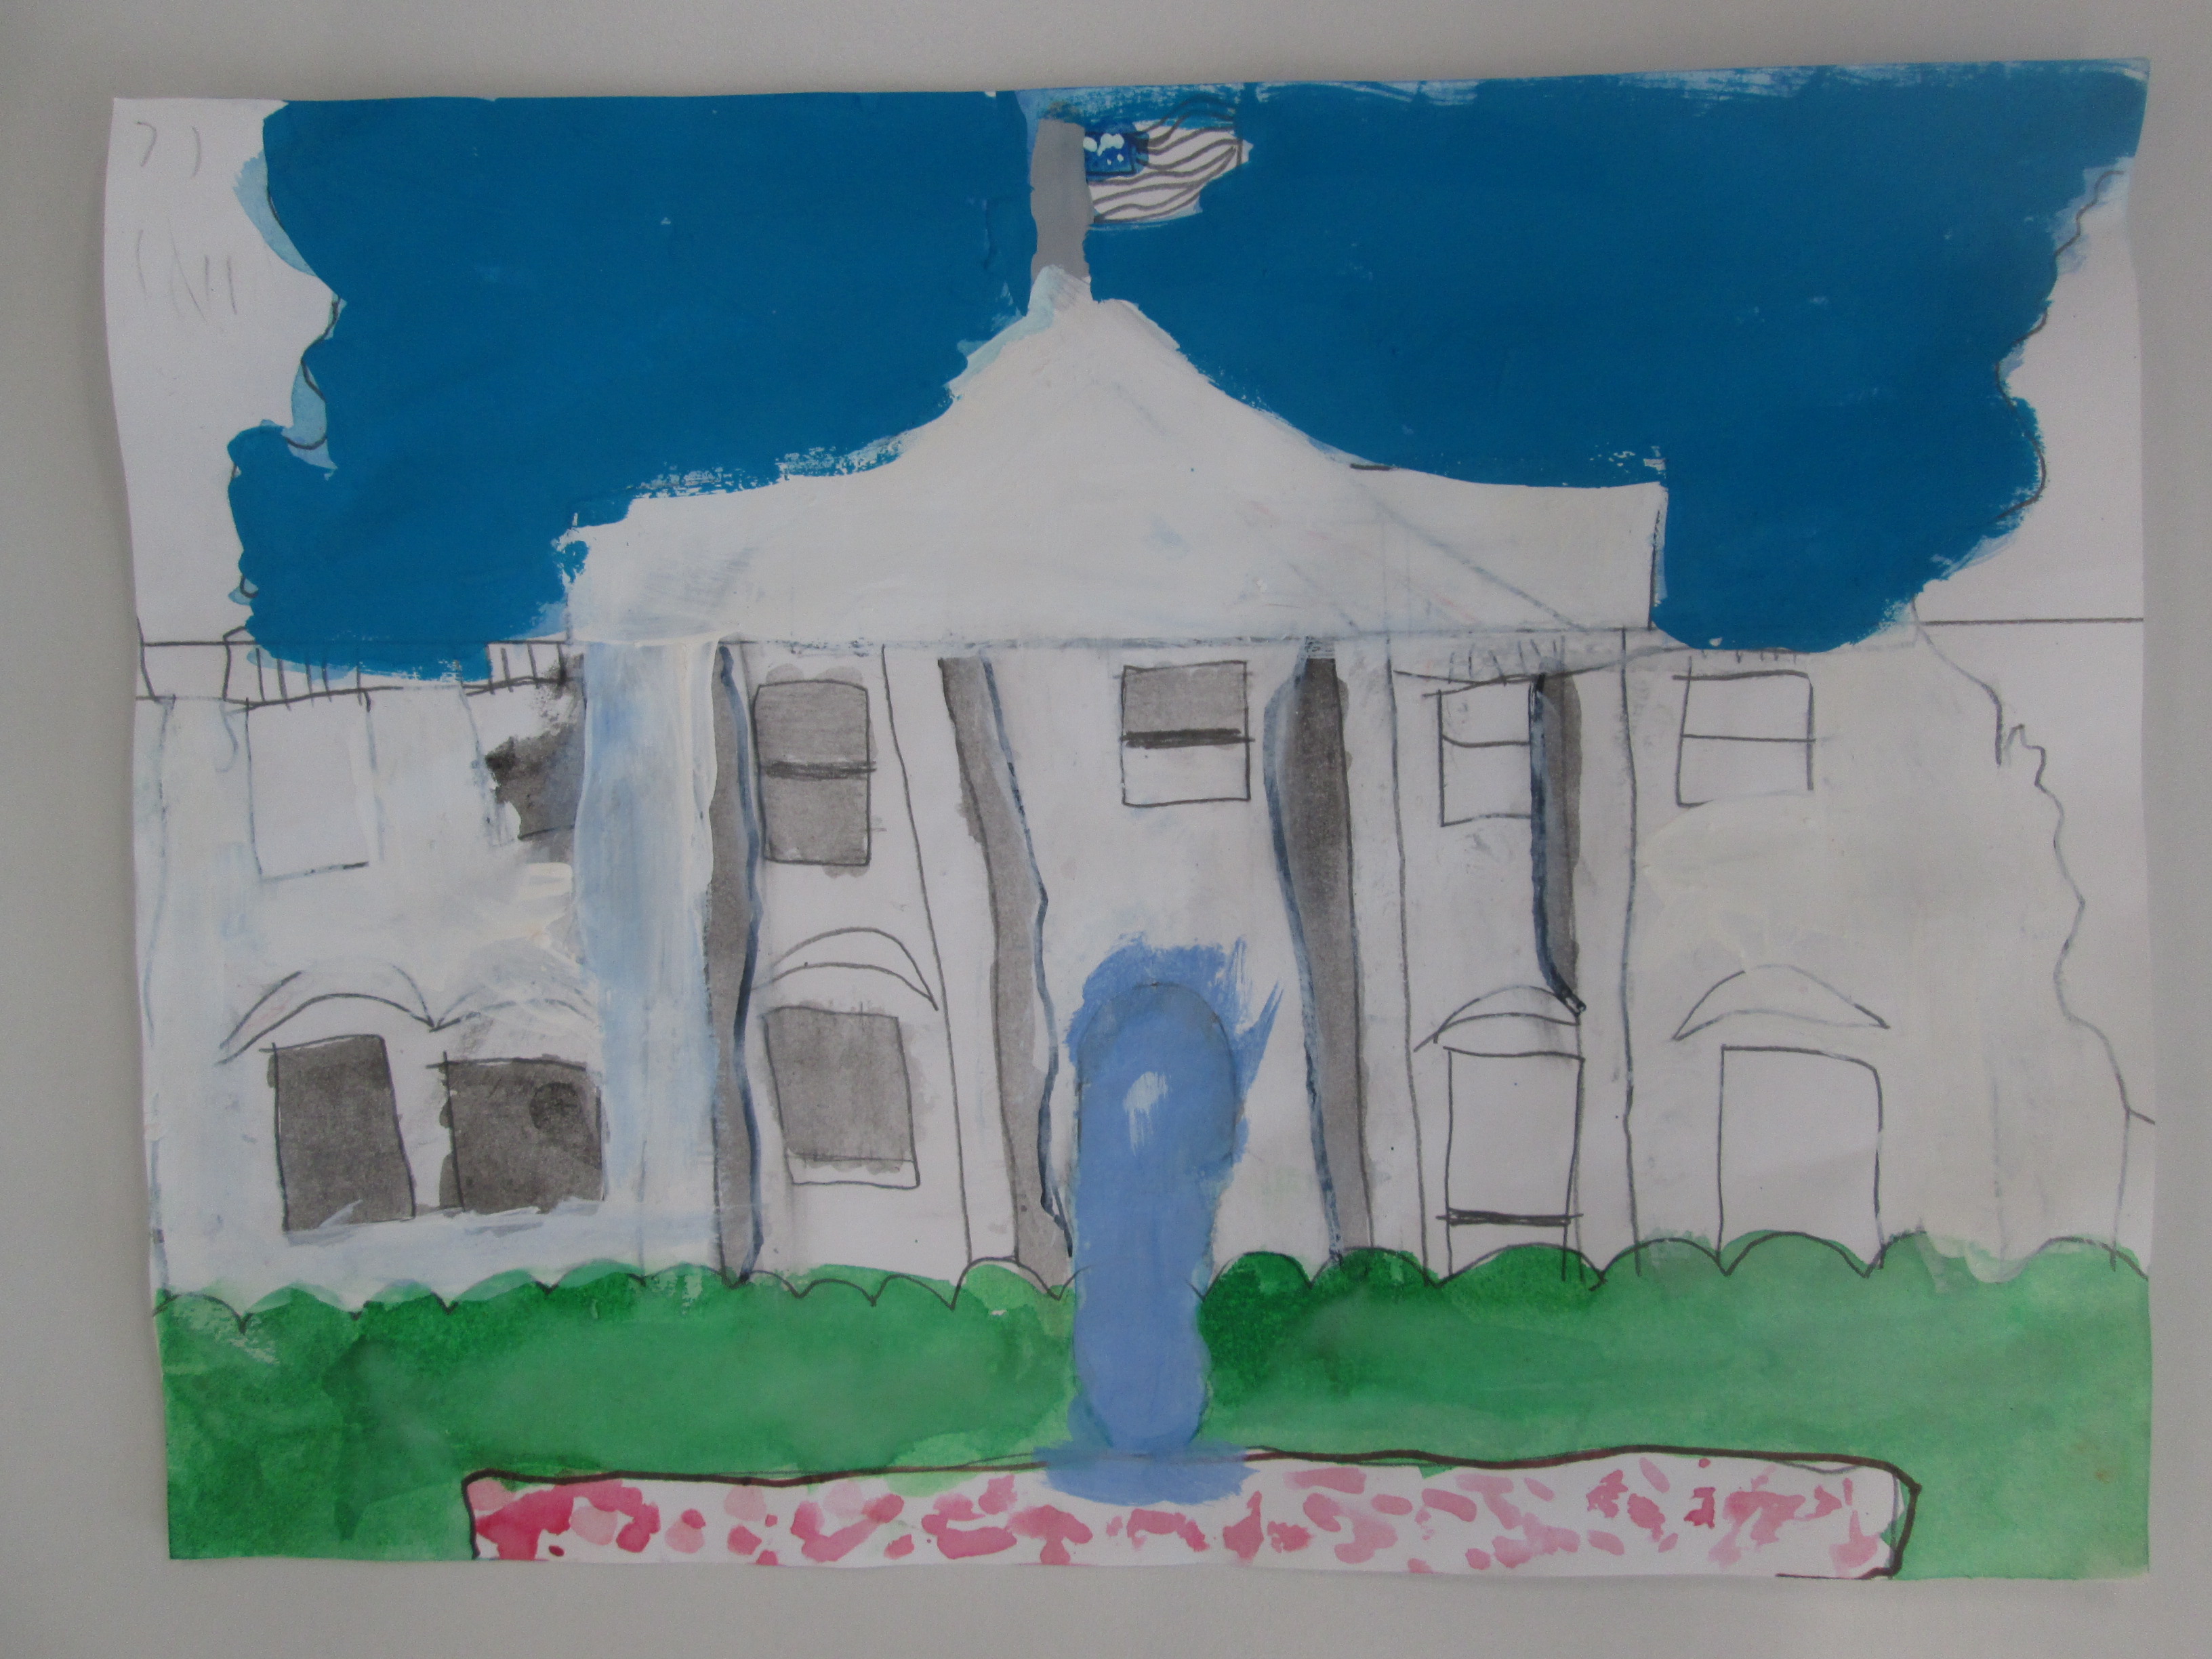
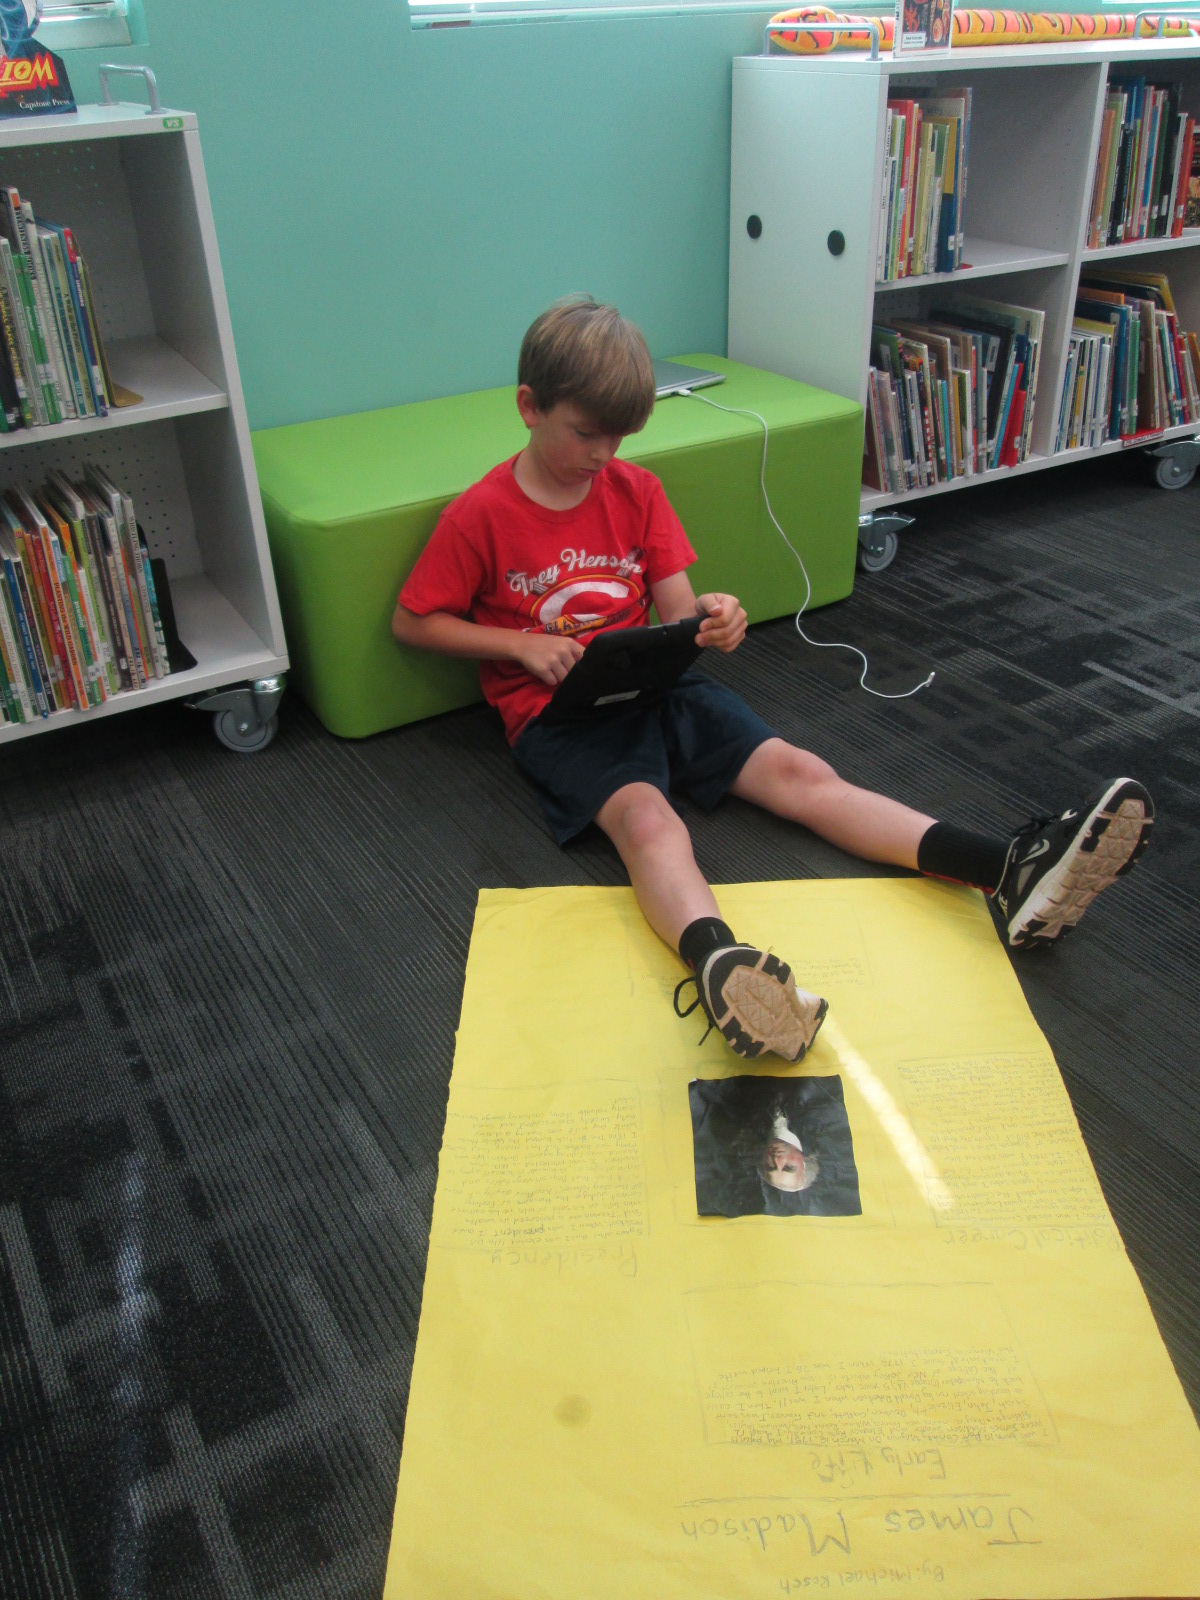
In art, students researched images of the historical events their person was involved in and created an image to serve as the trigger image for the Layar augmented reality app. The images were created with water colors, pencils, crayons, markers, and various other tools.
As images were finished, they came to me in the library so that they could be photographed and uploaded to Layar. I also printed each photograph so that we had a uniform size picture to scan in the hallway. This wasn’t necessary, but it was nice to have a smaller image to scan since some were large.
Students made multiple kinds of projects to attach to their image in Layar. Some chose to make gamis in Tellagami. Because this app lets you make 30-second clips, some students chose to make multiple videos to upload to Youtube while others used iMovie to compile their videos.
Some students used Chatterpix to make a picture of their character talk. Once again, they either created multiple files or compiled them.
Some students chose to do the traditional wax museum project of dressing up as your person, but this time, they filmed themselves and uploaded to Youtube.
A few students created unique projects that no one else attempted. One student used Powtoon to make a Common Craft-like video about indentured servants.
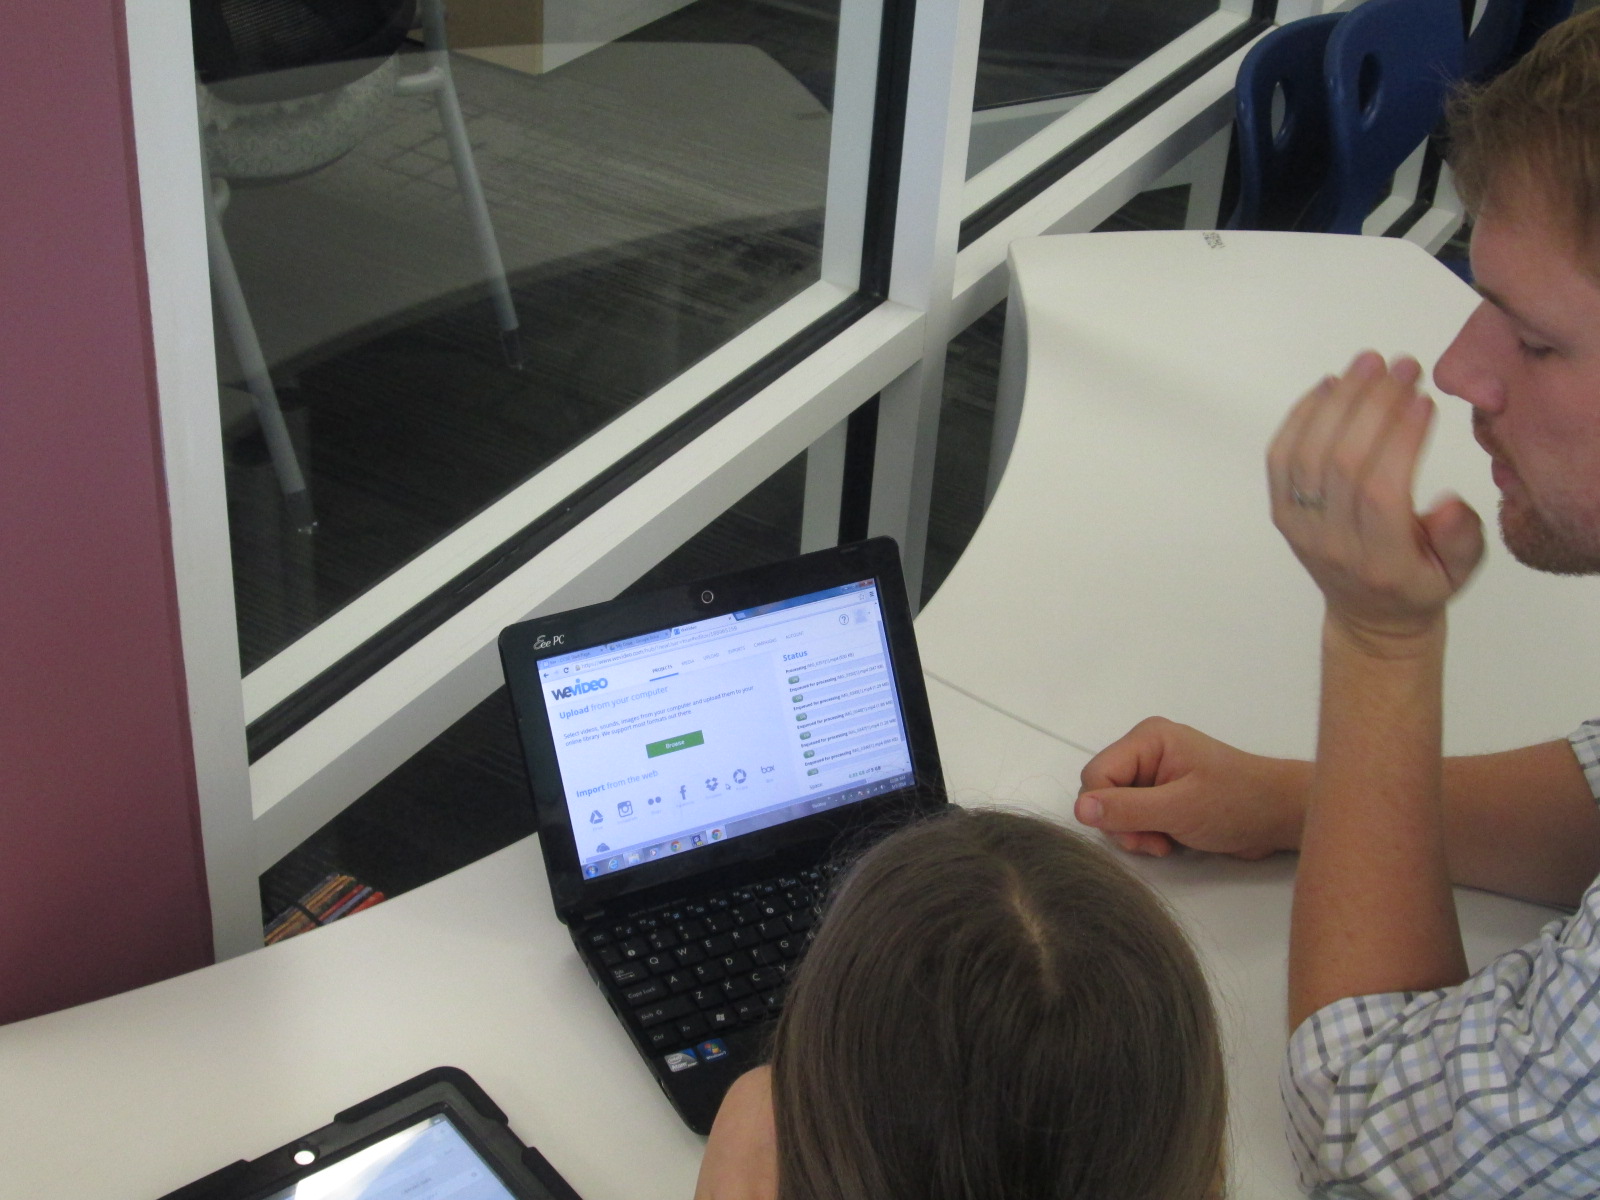
Another student wanted to do an interview, so she filmed clips of herself as a news reporter asking questions and made response videos using Chatterpix. Then, she used WeVideo to put them together. Because the free version of WeVideo doesn’t upload to Youtbe, we had to do a screencast of her project in order to view on the iPad.
Another student used Songify to record a rap song about Martin Luther King. We converted his file in Any Video Converter and put it into iMovie so that it could be uploaded to Youtube.
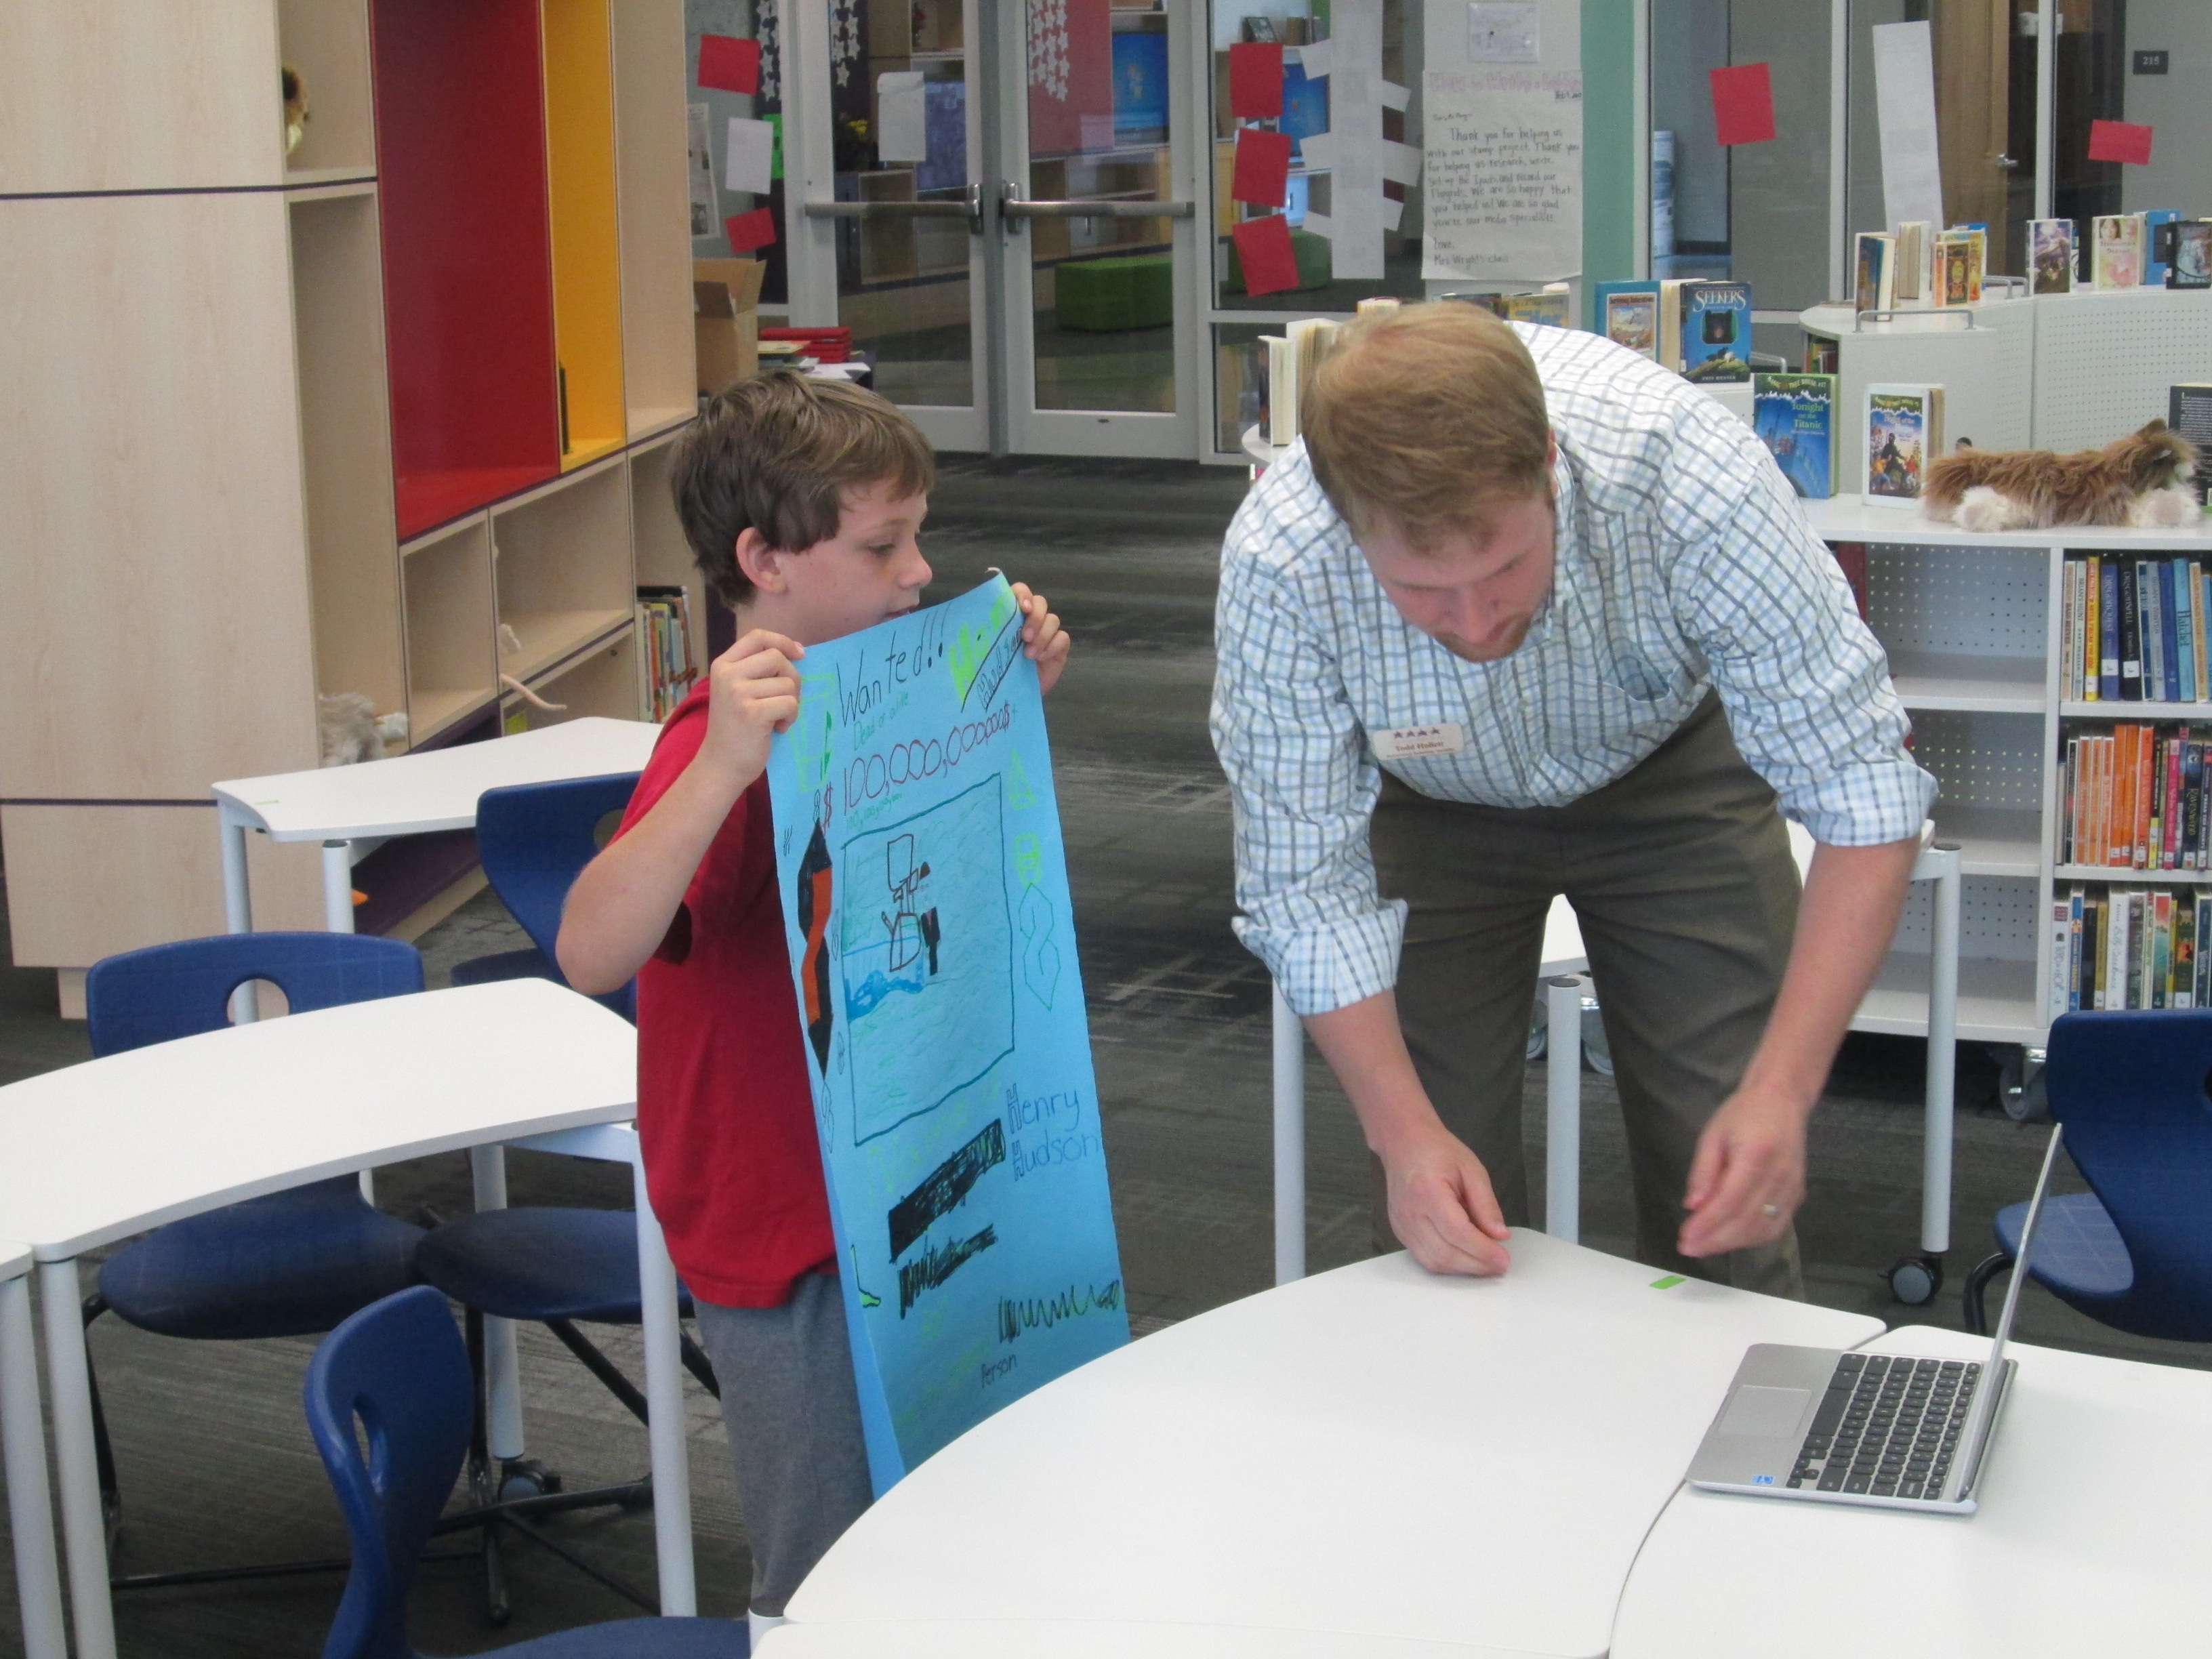
Once students had a video or link to their project, they emailed it to me to upload to Layar. They could have done the uploading to Layar themselves but we wanted to test most of the Layar pages before we put them in the hall. Many people helped students with the creation and uploading of their projects. Many thanks to the 4th grade teachers, our grad assistant Carol Buller-McGee, our instructional tech specialist Todd Hollett, gifted teacher Heather Carlson, special ed teacher Haley Beaver, an EIP teacher Lee Rogers for assisting me with getting students videos uploaded and emailed.
Students worked with me to connect their links in Layar, put them in right spots on the image, and test them out. I went ahead and published our “campaign” in the Layer creator. You have to “publish” before the images will work when they are scanned. You can still add pages and links even after you have published.
We also uploaded all of the content to a Smore page so that families (and the world) could view the projects from home without Layar.
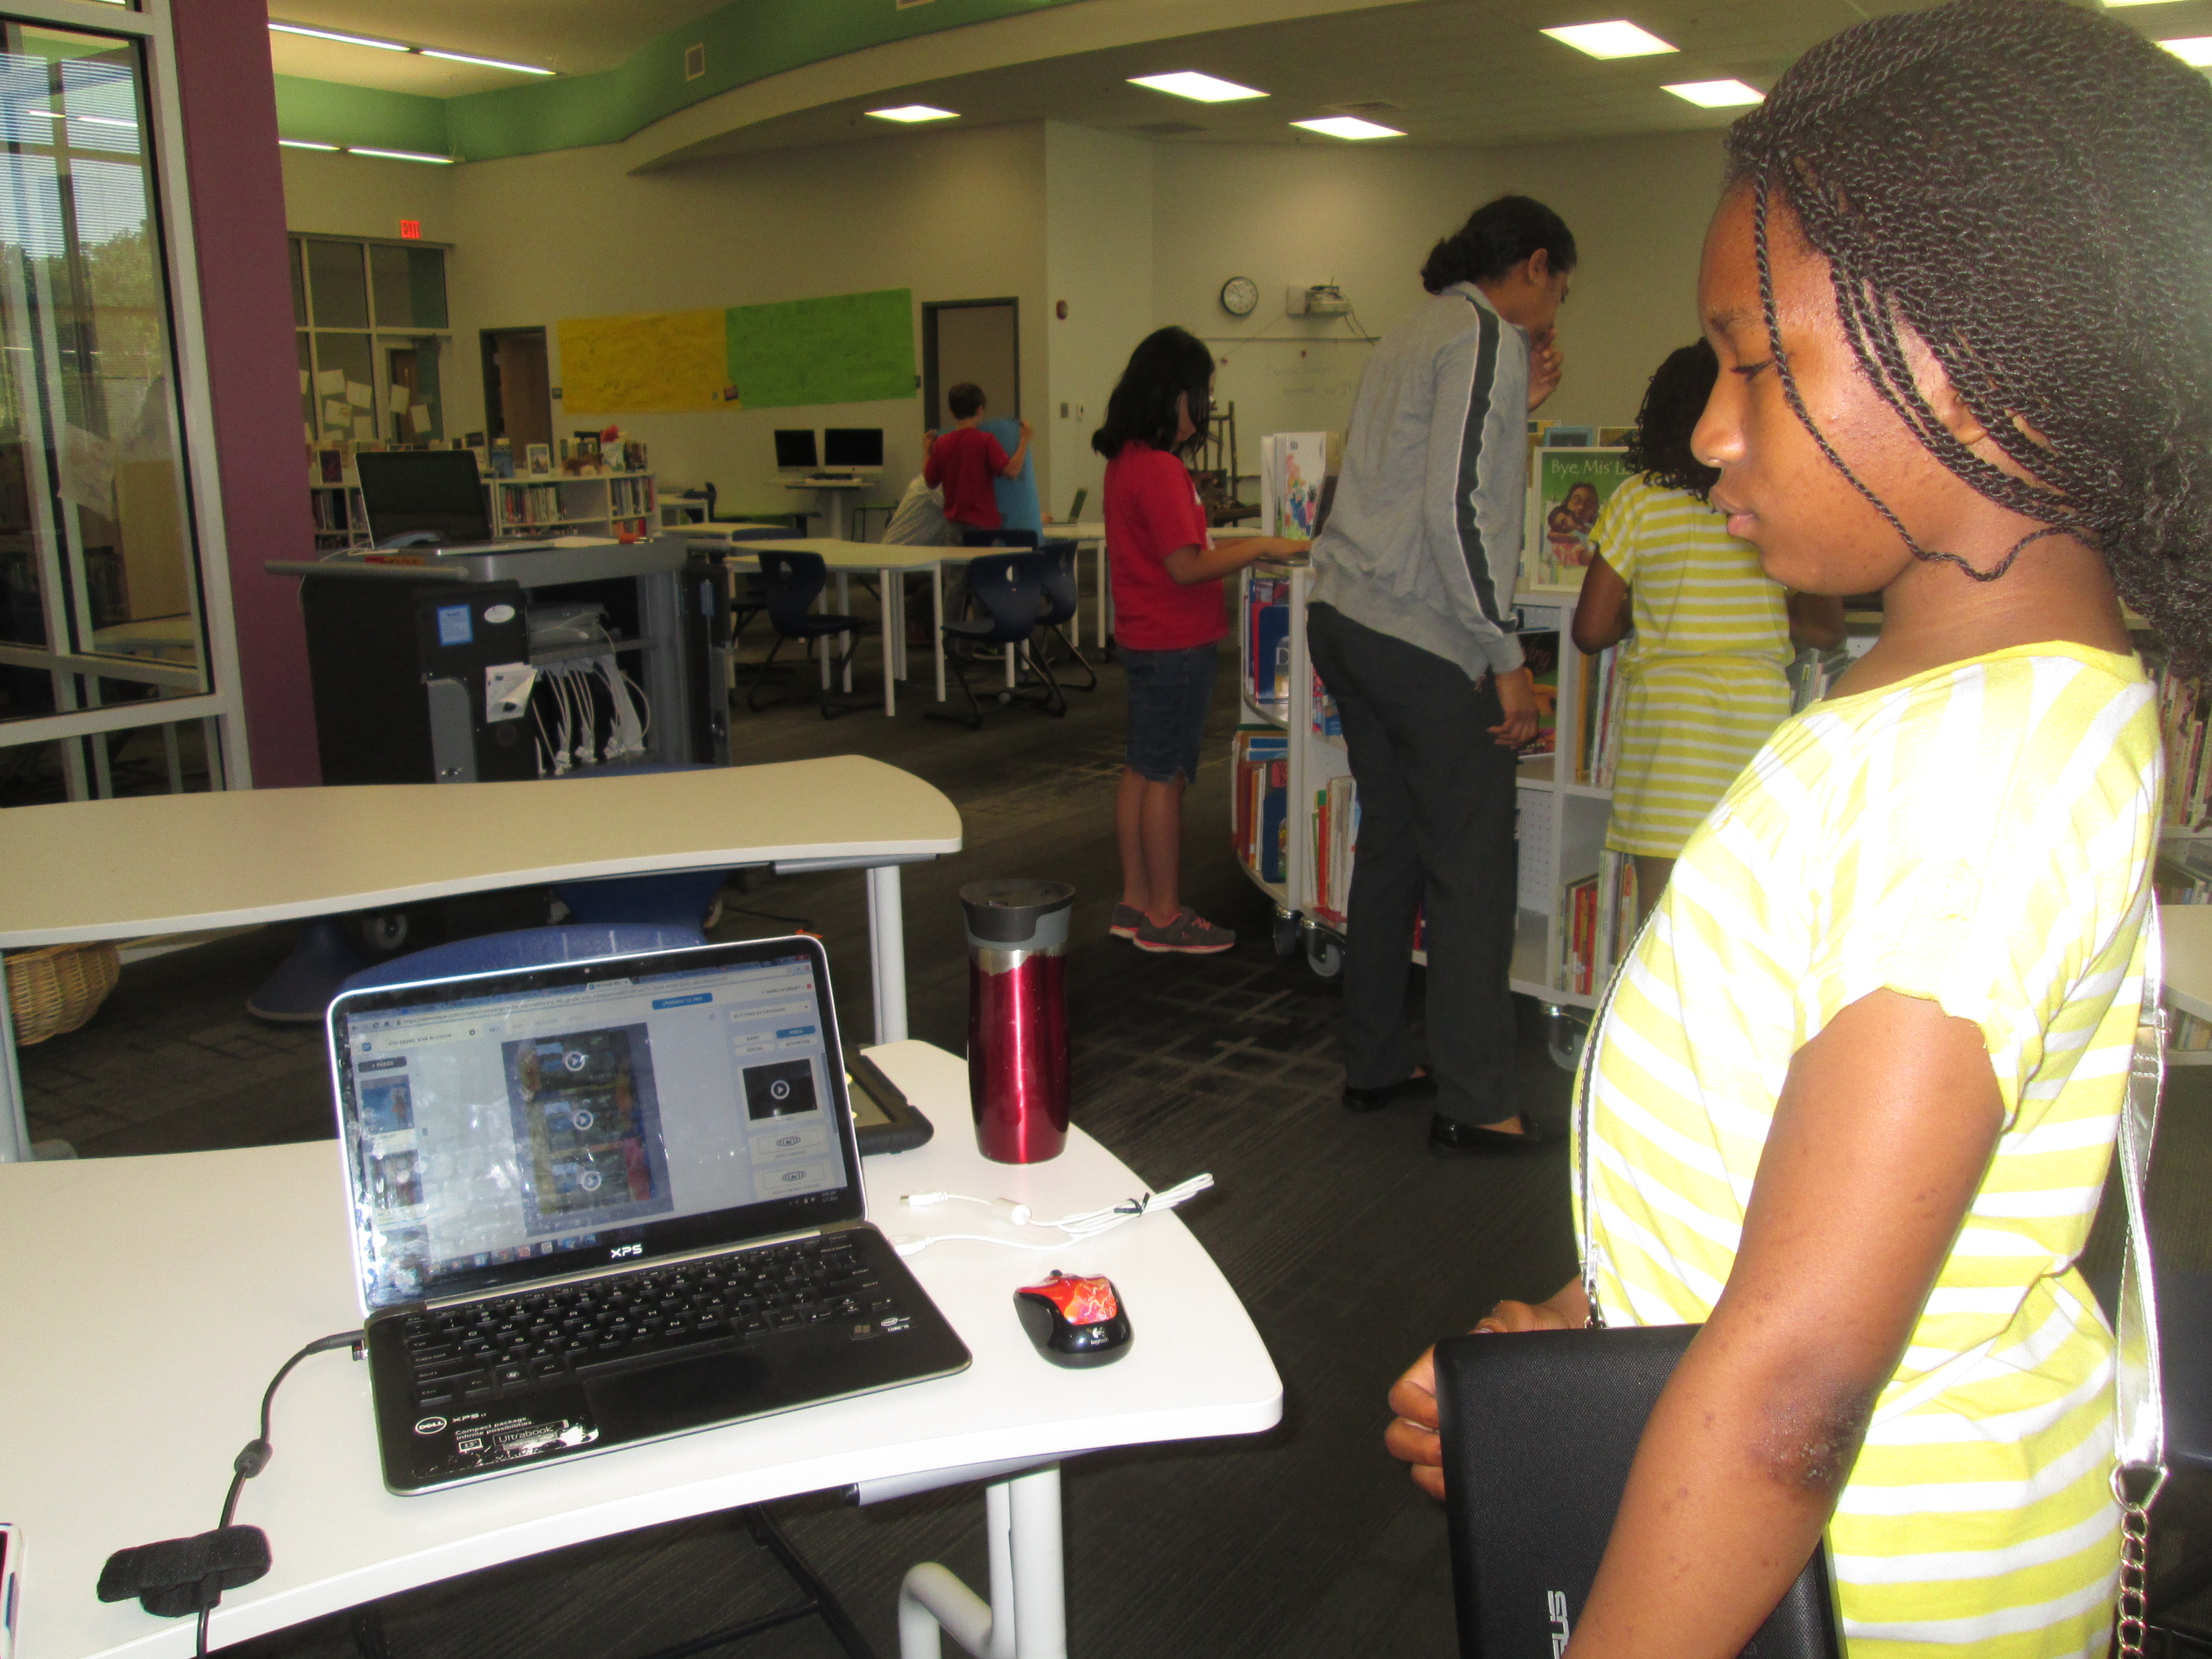
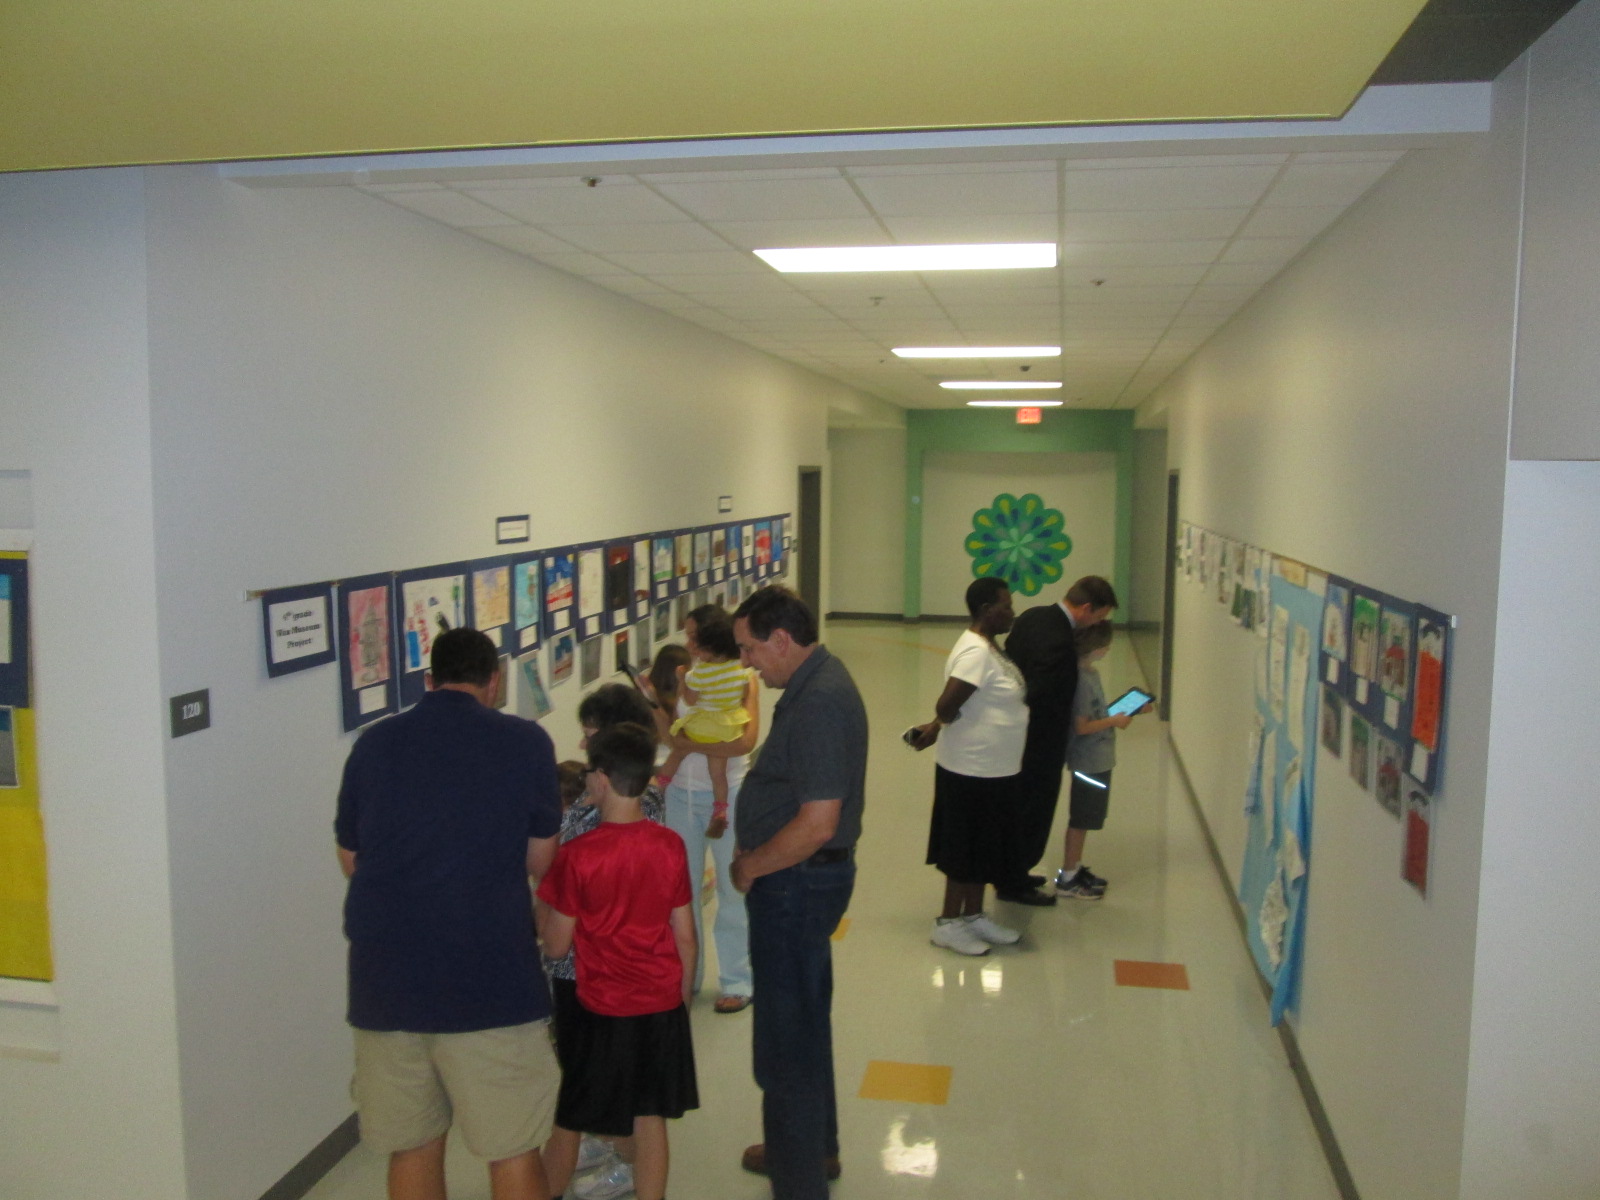
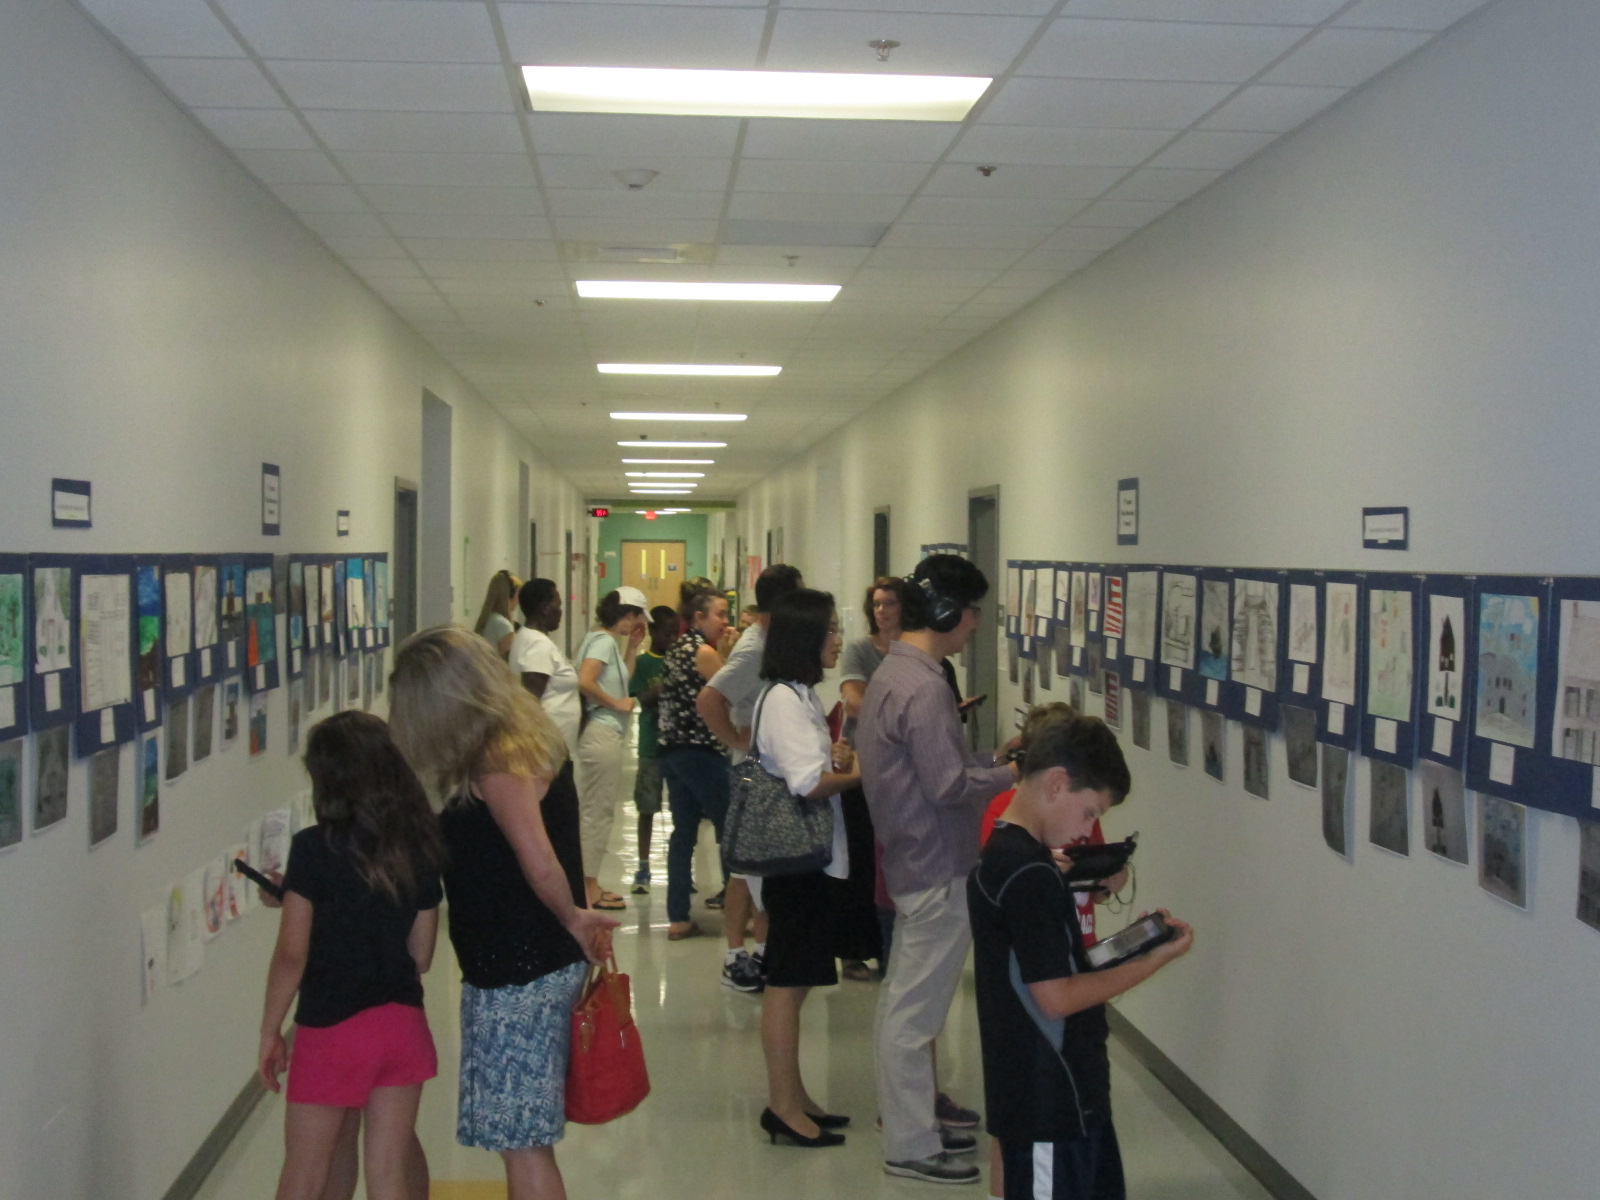
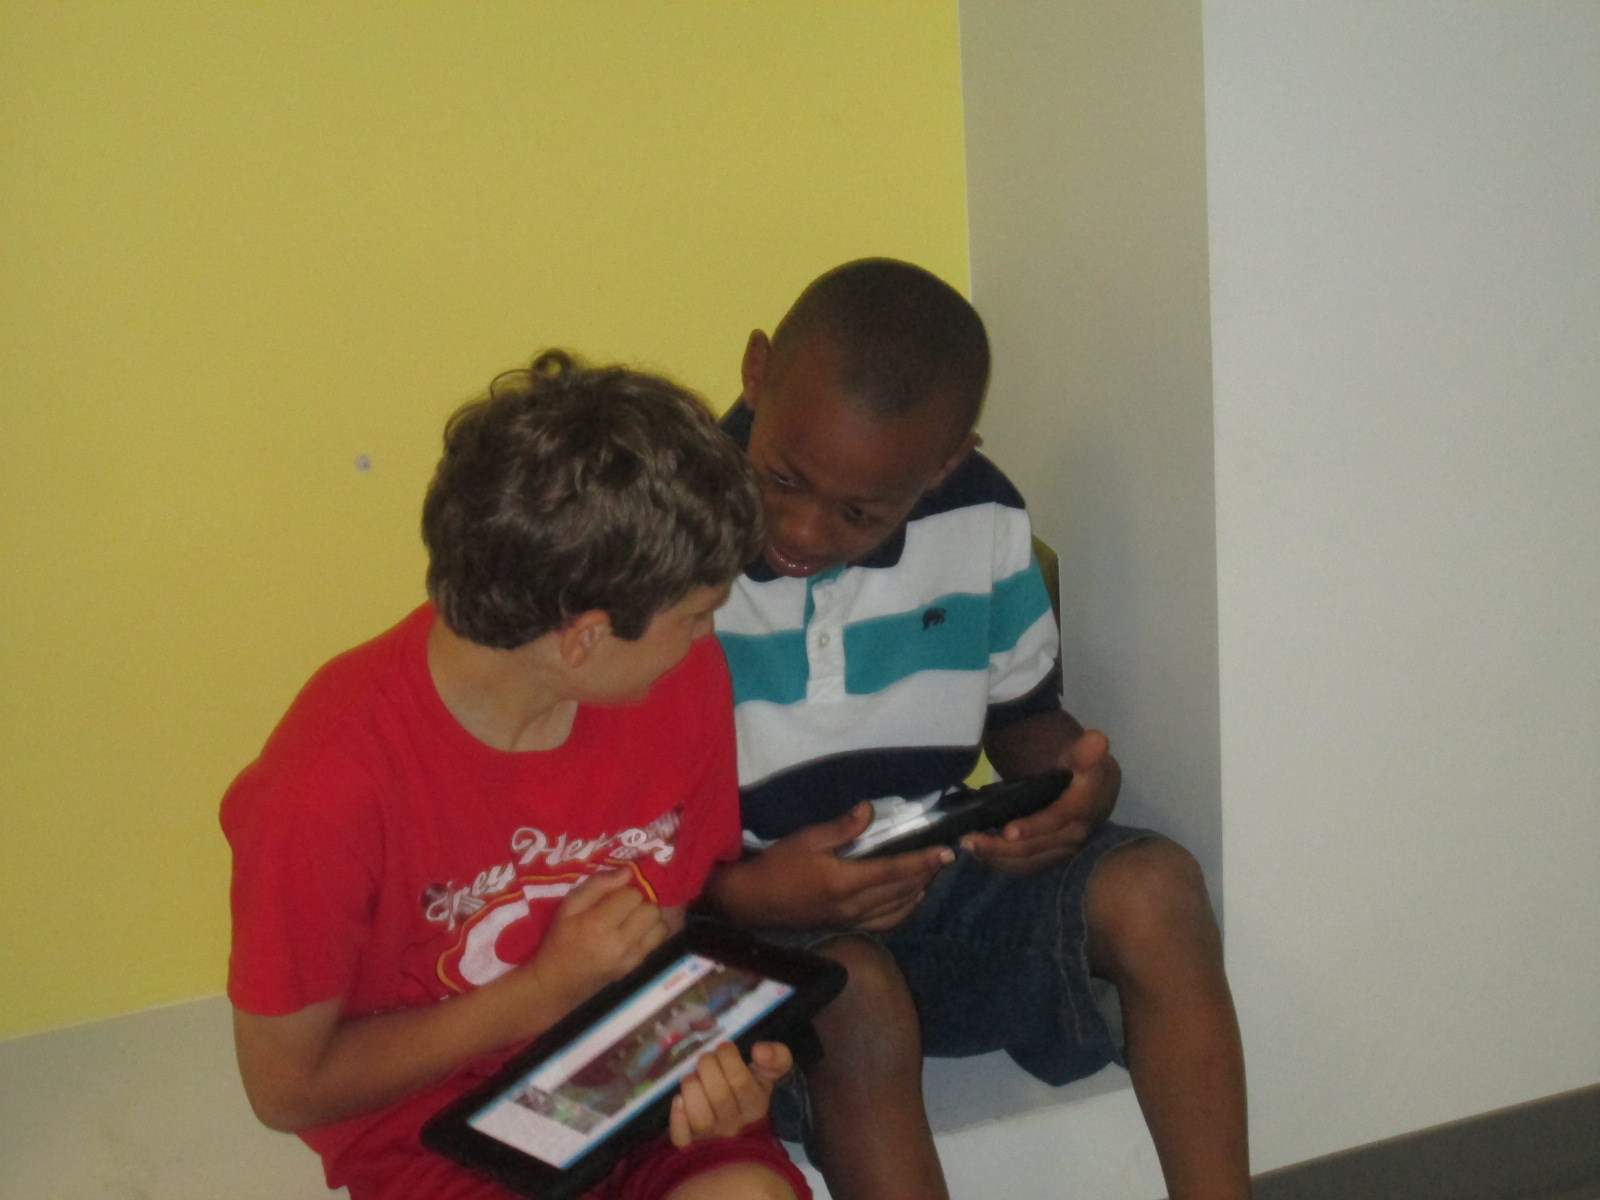
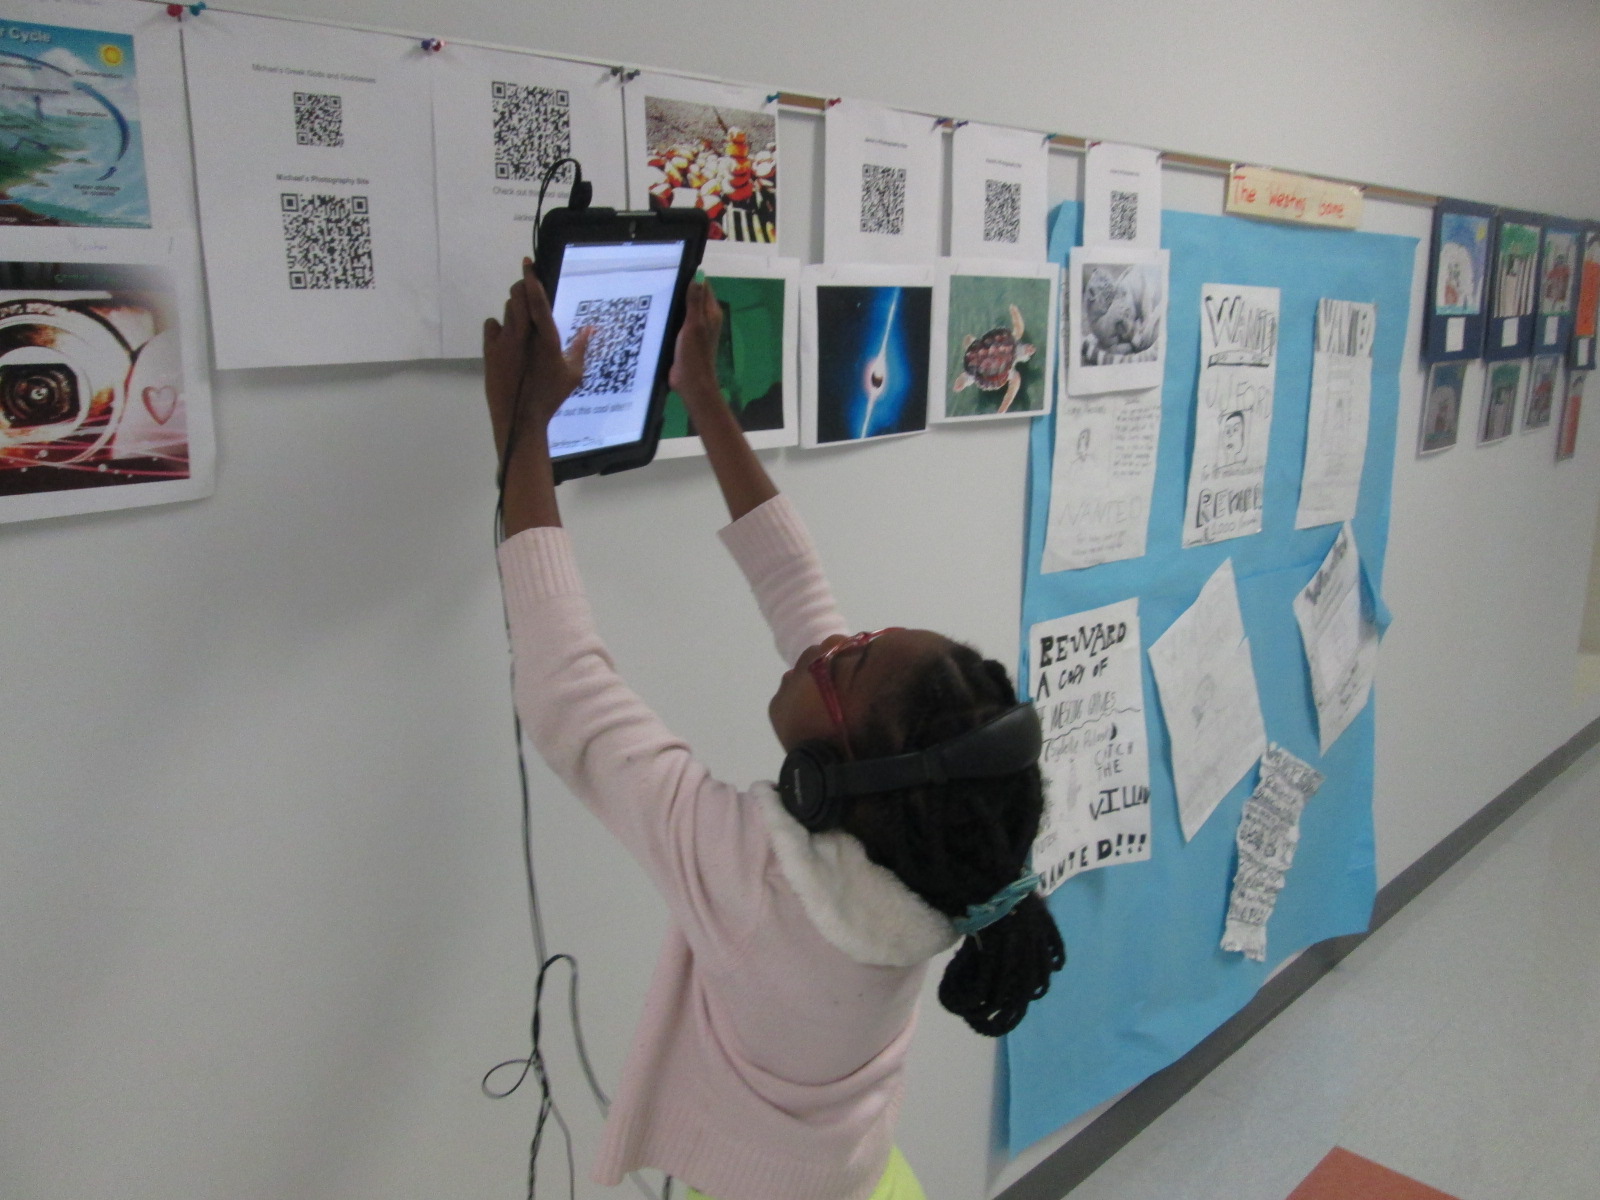
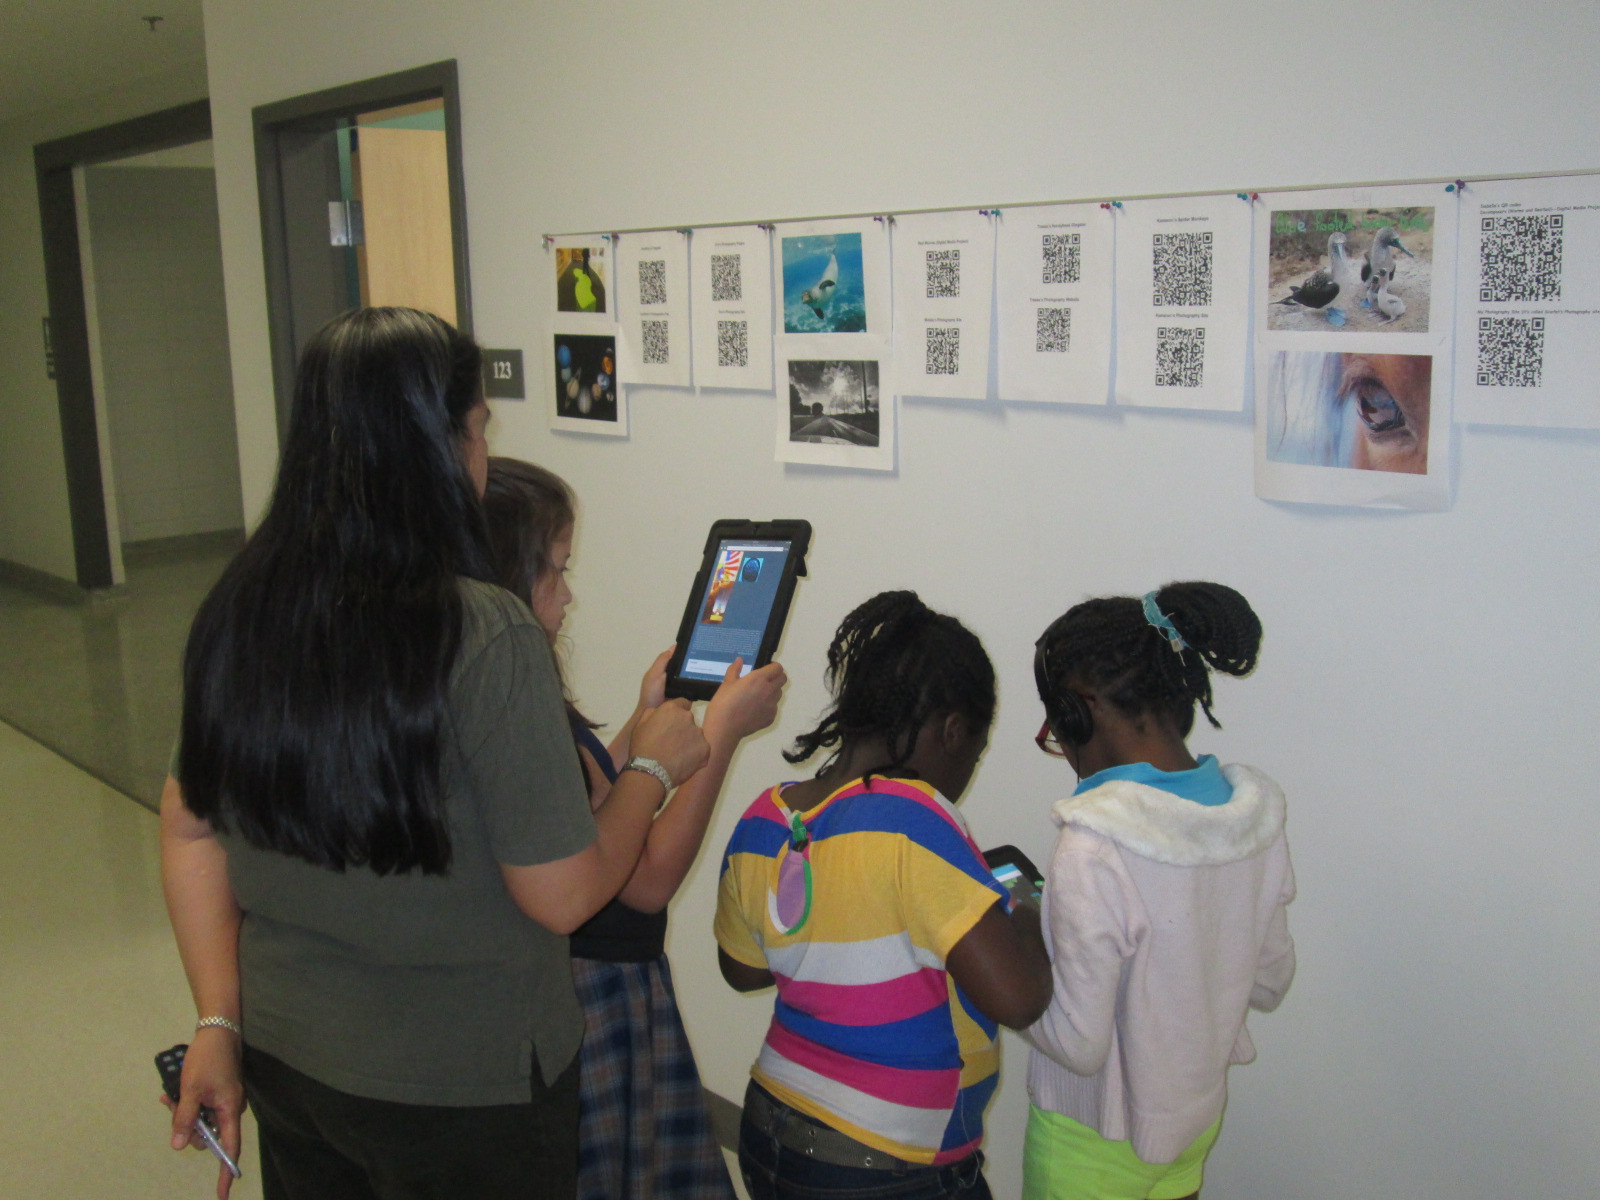
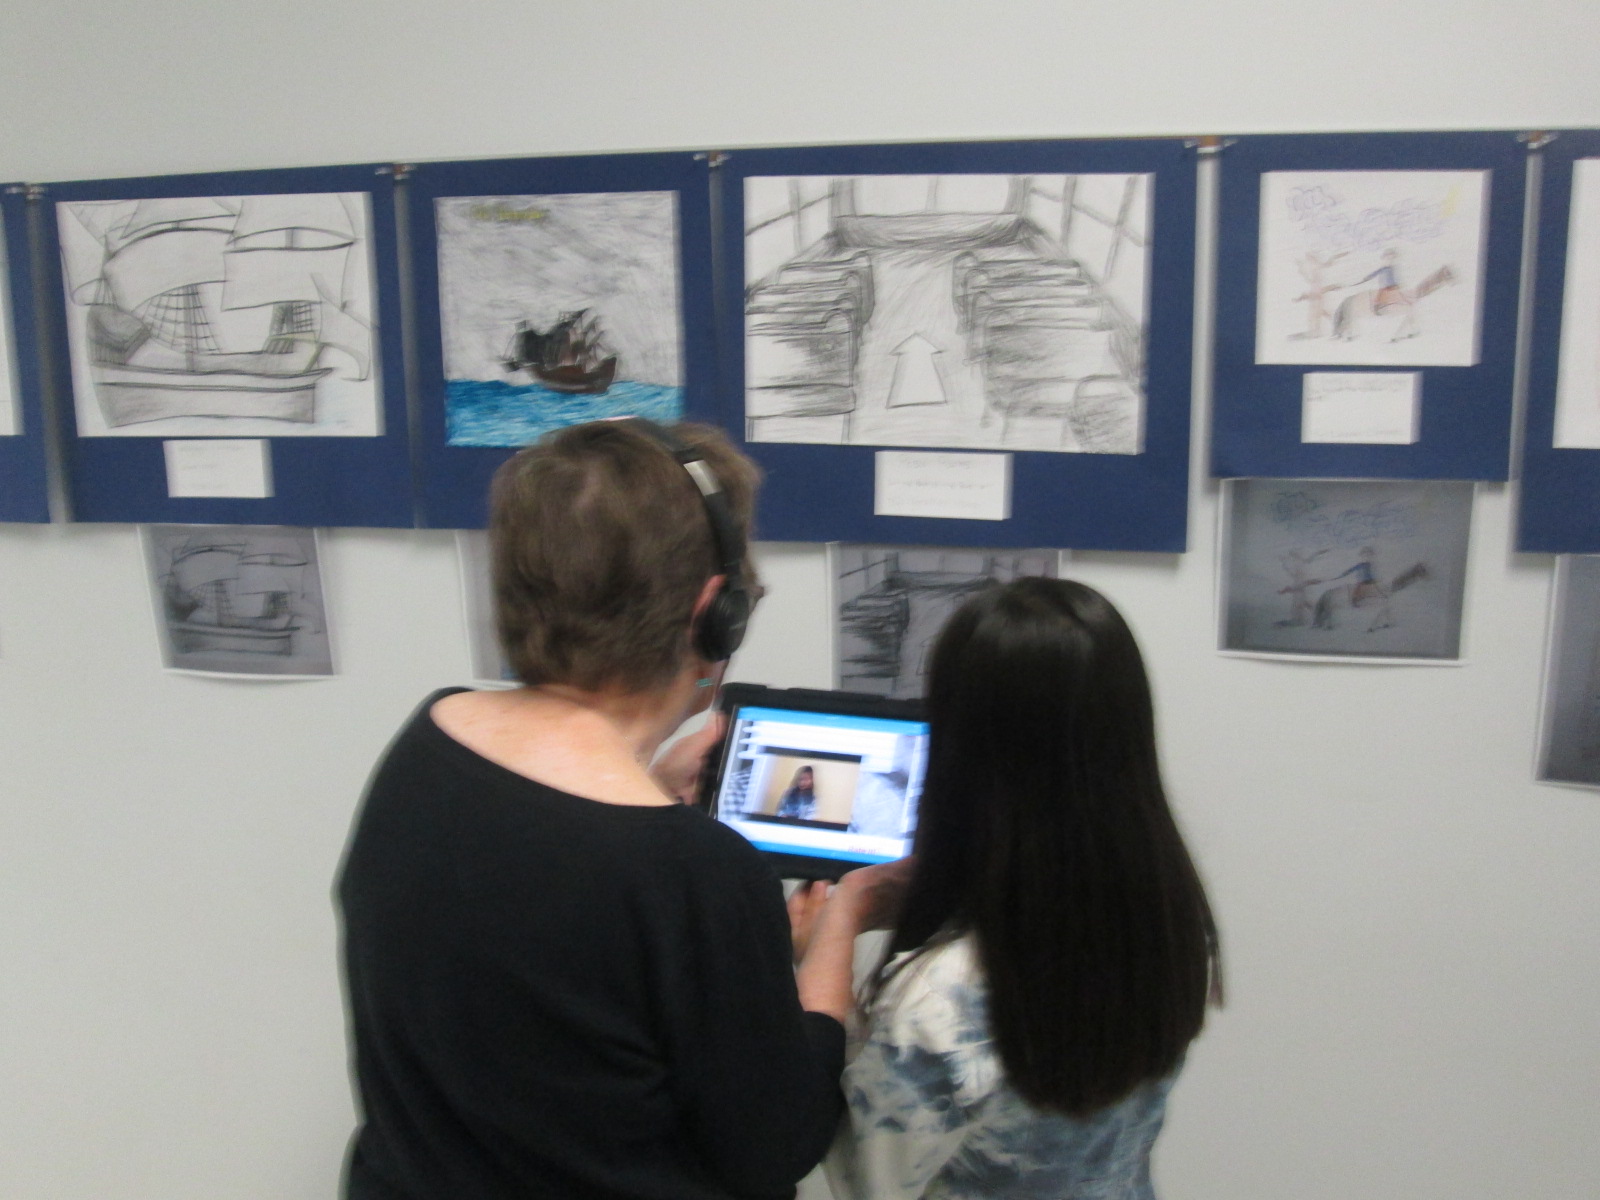
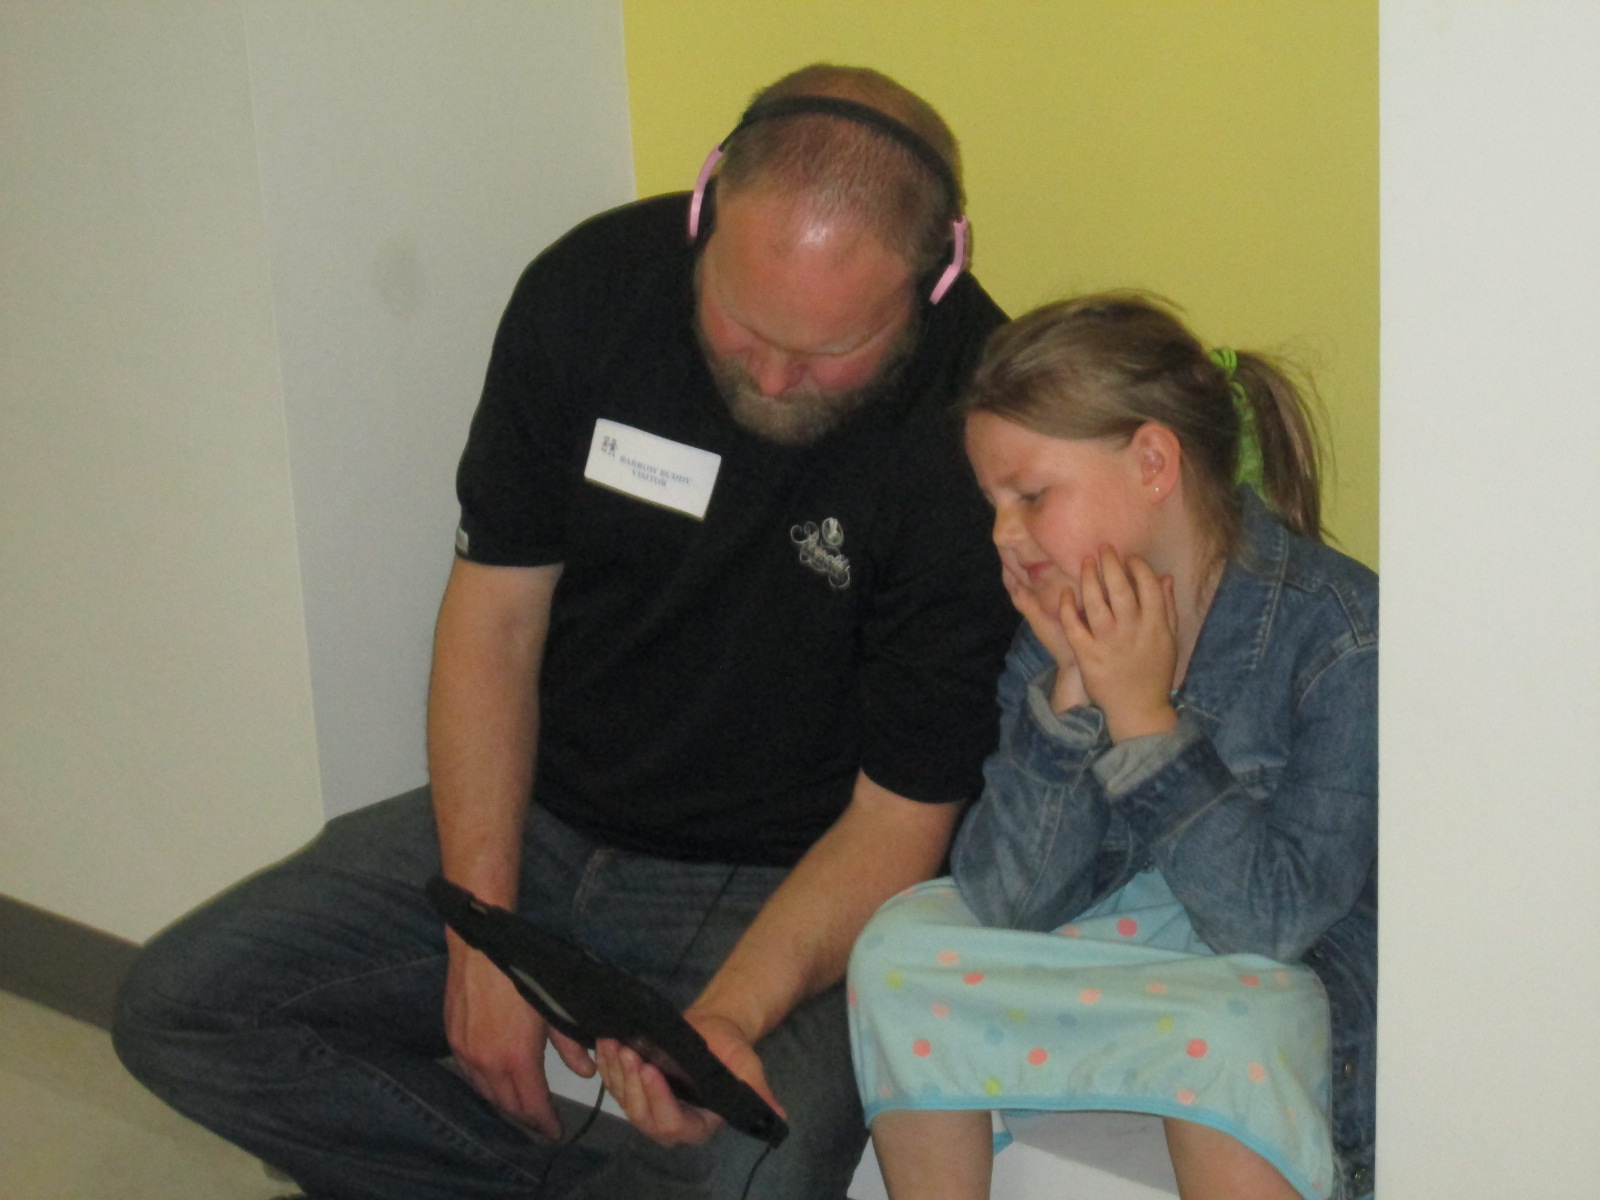
The 4th grade team and art teacher displayed all of the art in the hallway. Today, families were invited to stop by and view the gallery. I rolled the iPads to classrooms and took headphones too. Students came out with their families and showed off their projects and the projects of their friends. They showed parents how to open the Layar app, point the iPad at the image, tap the screen to let Layar scan the image, and watch the content magically pop up on the iPad screen. Several parents had already downloaded Layar on their phones too. There was excitement in the air as families experienced augmented reality for the first time. I overheard some of them saying how they wanted to go home and try it themselves. Others were amazed by the variety of projects that students made. I overheard conversations about social studies content but also conversations on how to use all of the tool that were needed to make this project happen. I loved seeing the students taking a leadership role in sharing with their families how to use the technology that they use at school.
Next week, classrooms will be invited to tour the gallery. I think we learned a lot from this project. One of the things that I loved most was how differentiated it was. Some students created multiple projects for their person while others focused really hard on one project. Students were able to showcase their strengths and interests, and I felt that every single student was fully engaged in this project. I hope that others found value in this project as well so that we can continue and expand upon this type of experience for projects next year.
All of our 4th grade classes are starting blogs. After meeting with the teachers and discussing their goals for blogging, we chose to use Kid Blog as our tool of choice. We chose this tool because it gives teachers the options to set several privacy settings, monitor posts & comments, and also simultaneously creates a class blog as well as individual blogs for all students. I showed the teachers how to quickly import their students into KidBlog and setup accounts. They each setup their own class.
Our 4th grade classrooms are all trying out a special time in their day called Heart Time. During this time, each student has a specified amount of time to work on something that truly matters to them. Some construct masks. Others explore drum making. Some spend time writing. The possibilities for this time are endless. There are many pieces to this time. One piece is for students to begin to learn about what matters to one another and spend time sharing and connecting with one another. The teachers’ hope is that these classroom discussions can be documented through blogging so that they document the process but also impact a larger audience than just the classroom. Other classrooms could learn from what these students are exploring. Also, members of the community might make a connection with a student and be able to share their own expertise with a student if they know what that student is exploring.
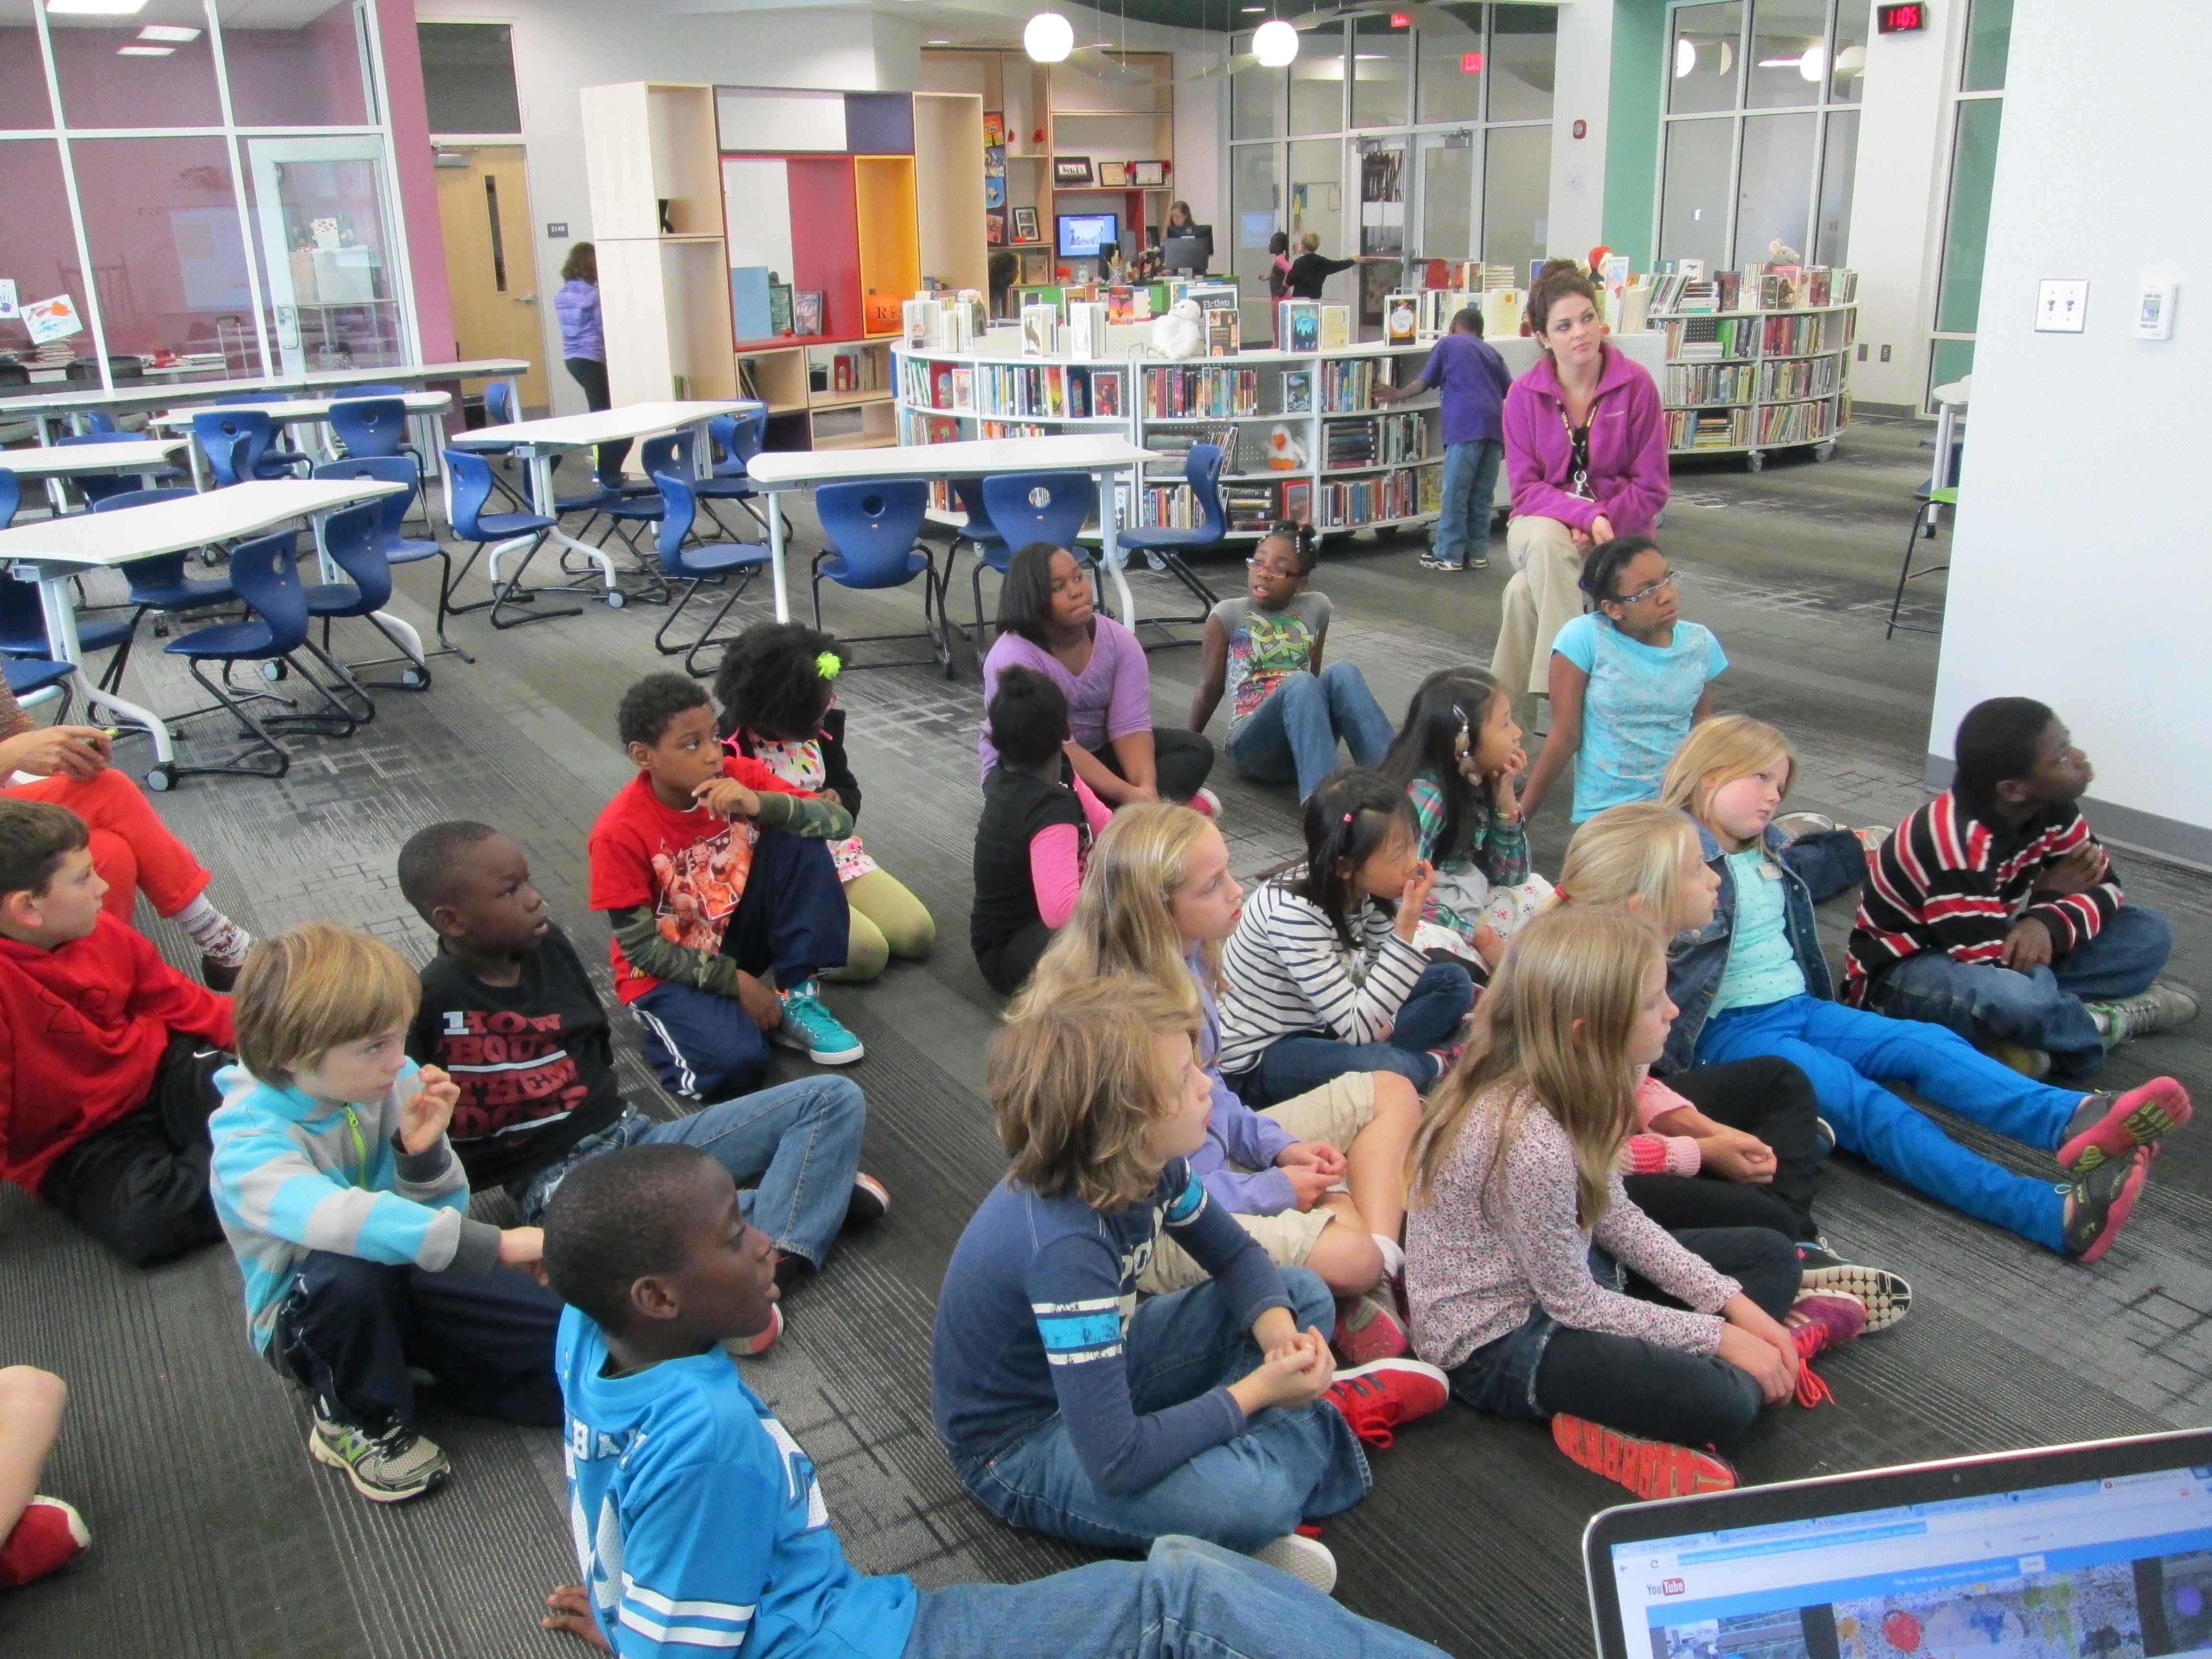
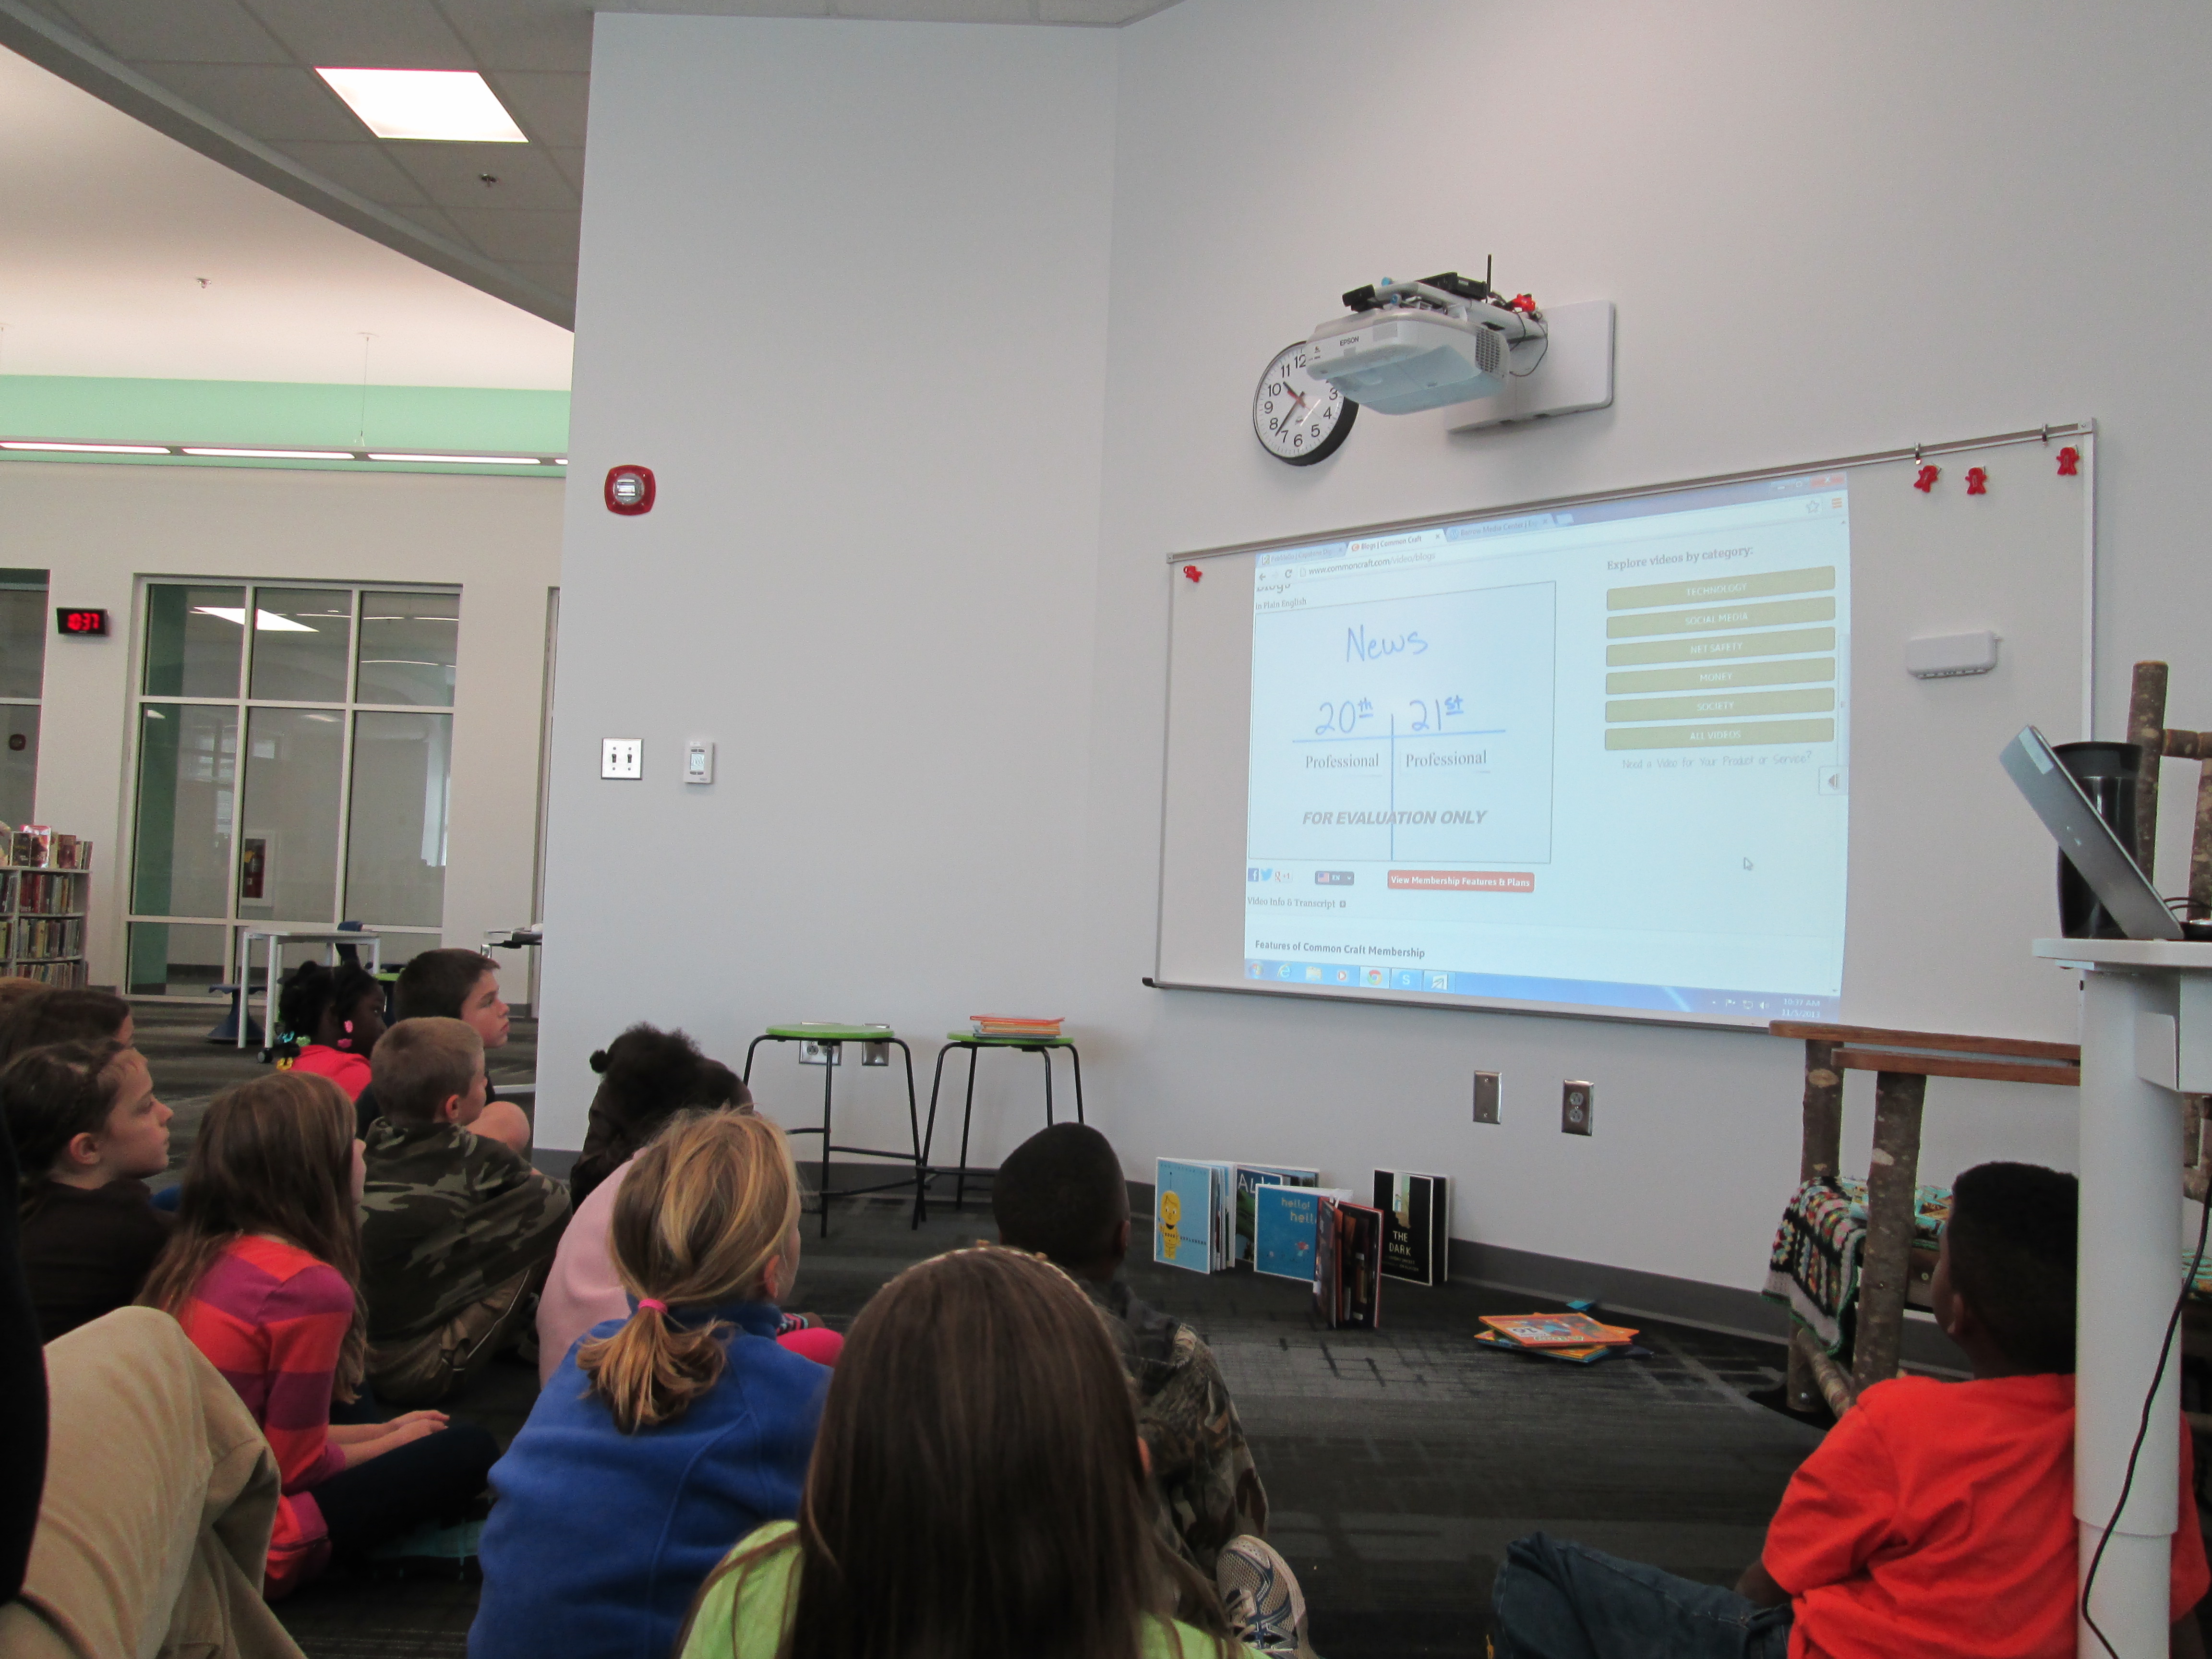
We held a kickoff to the blogging project. During the kickoff, all of the 4th grade classes rotated through 3 centers. With me, students learned a bit of history about blogging. We learned that in 1999 there was less than 100 blogs and today there’s well over 100 million blogs. We looked at this blog, and I explained how blogging has a purpose. Students were wowed when they saw the map of where people are reading the media center blog.
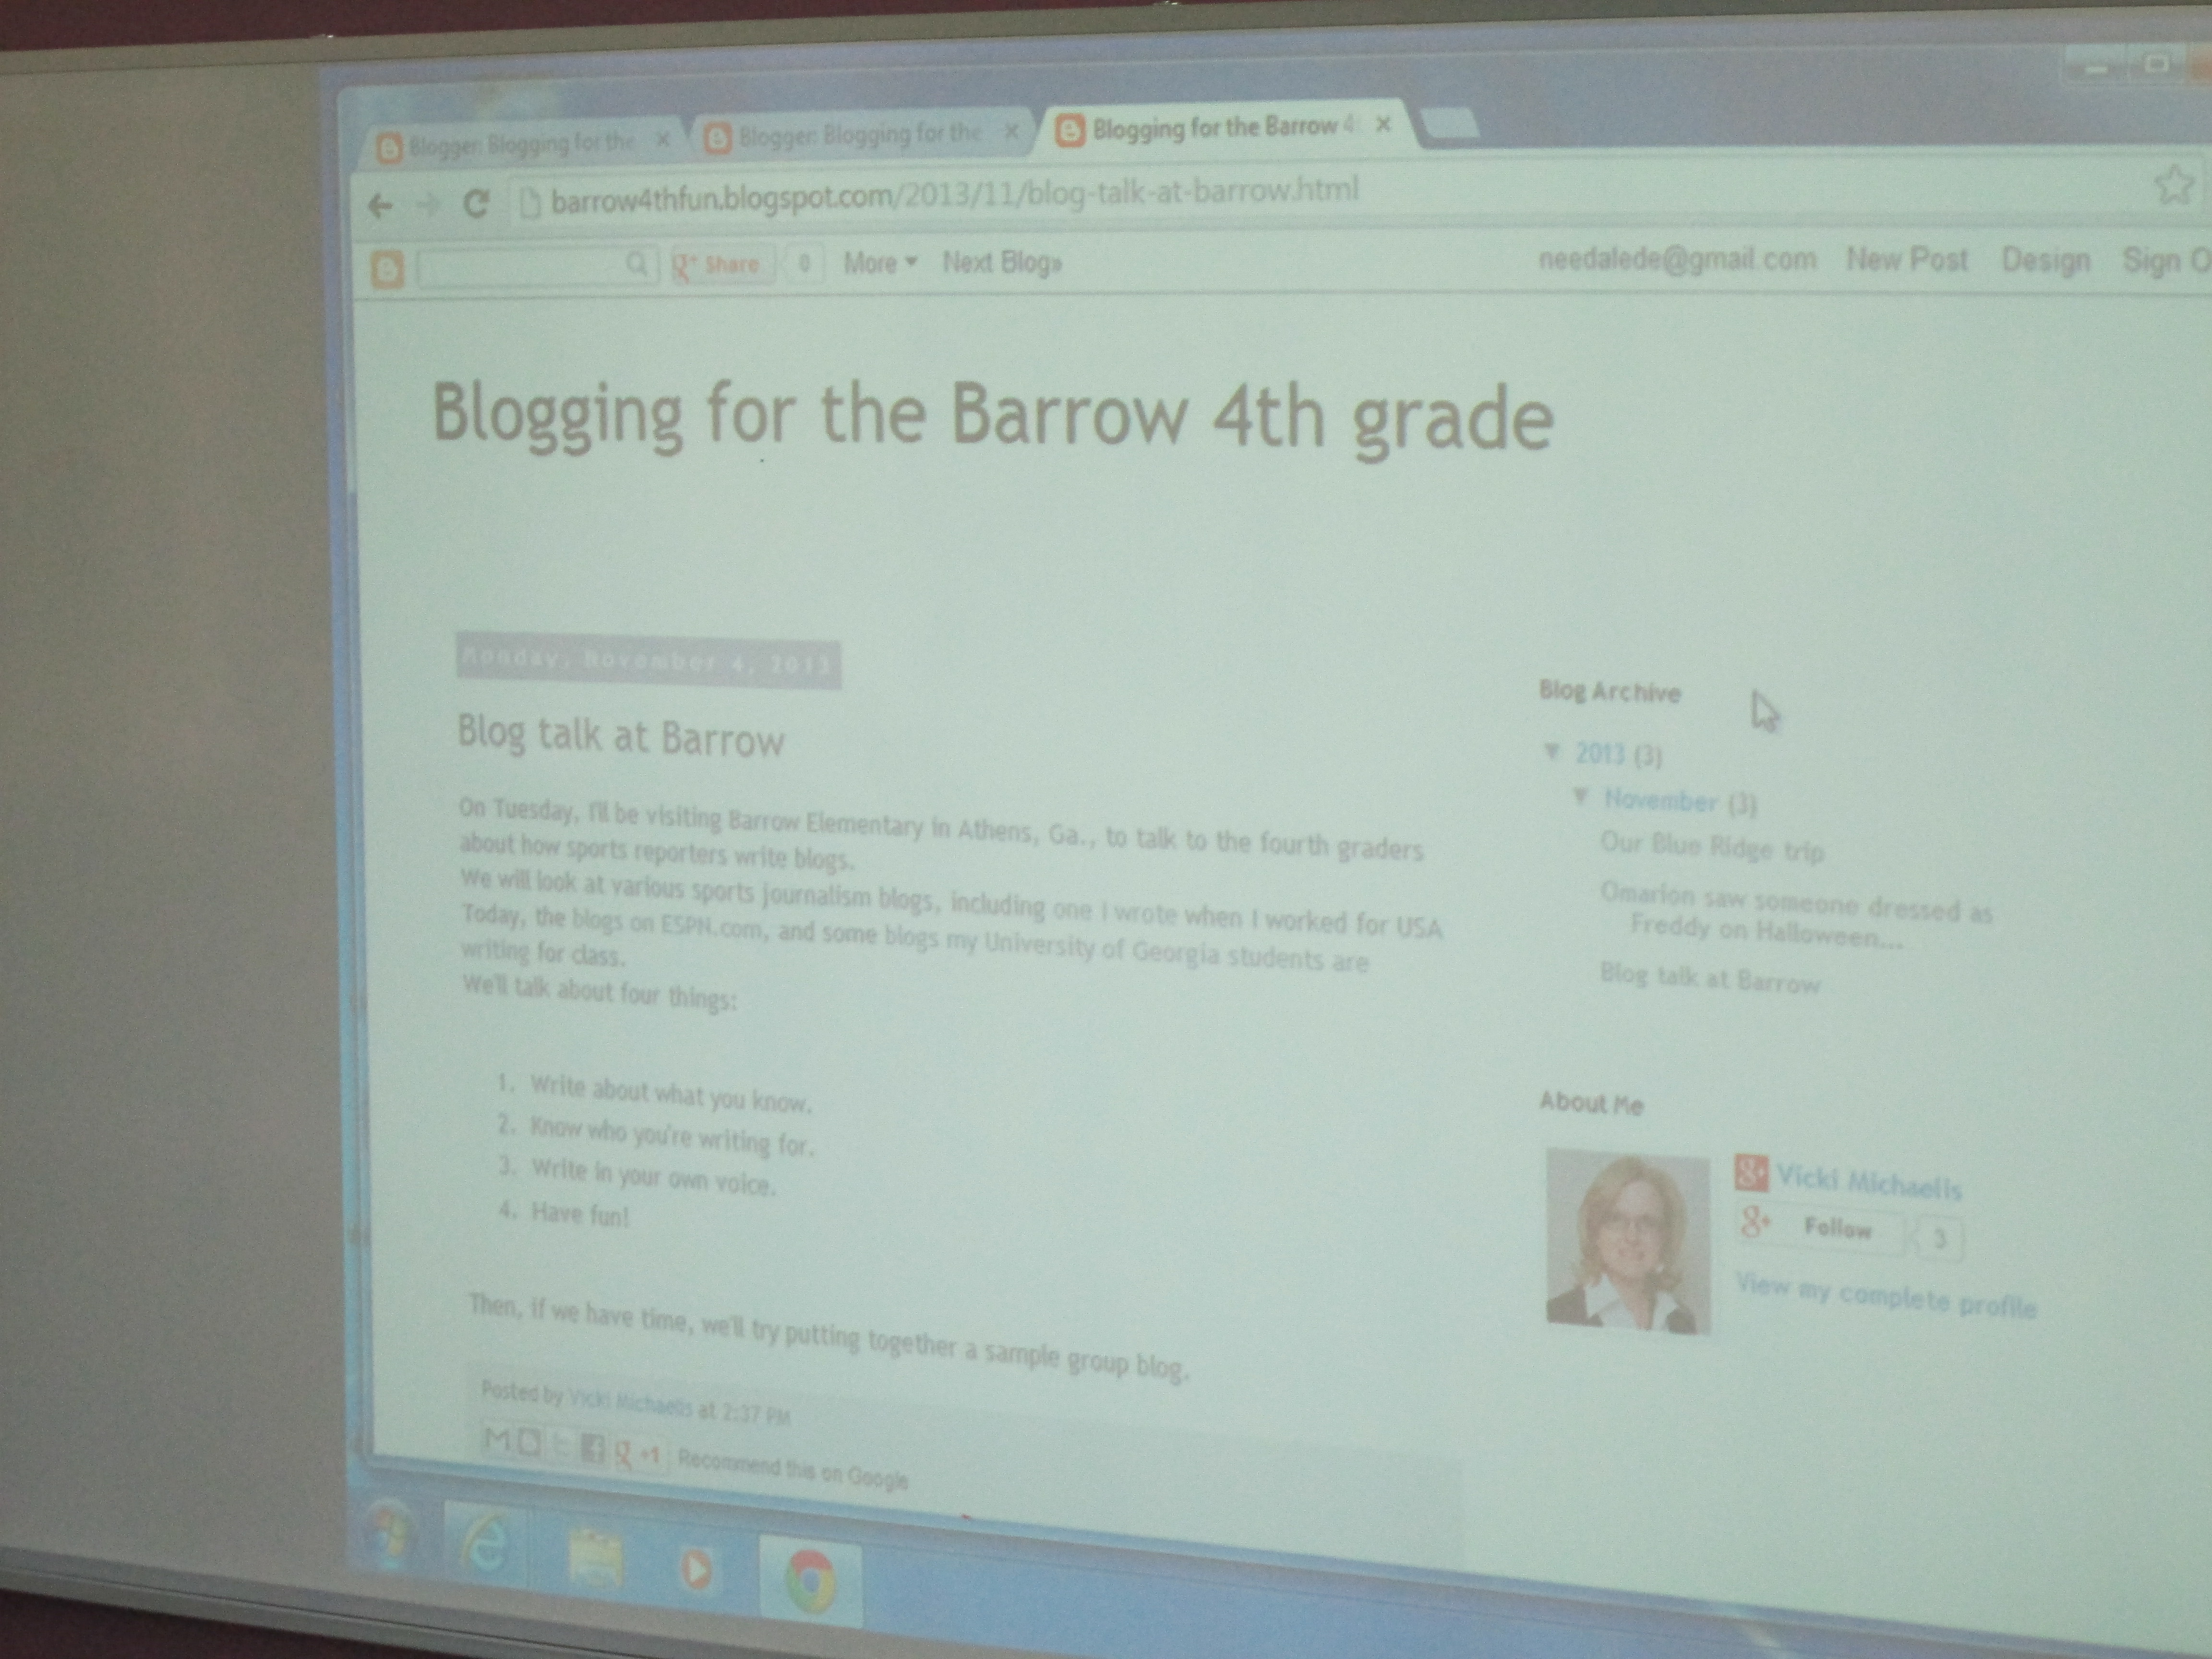
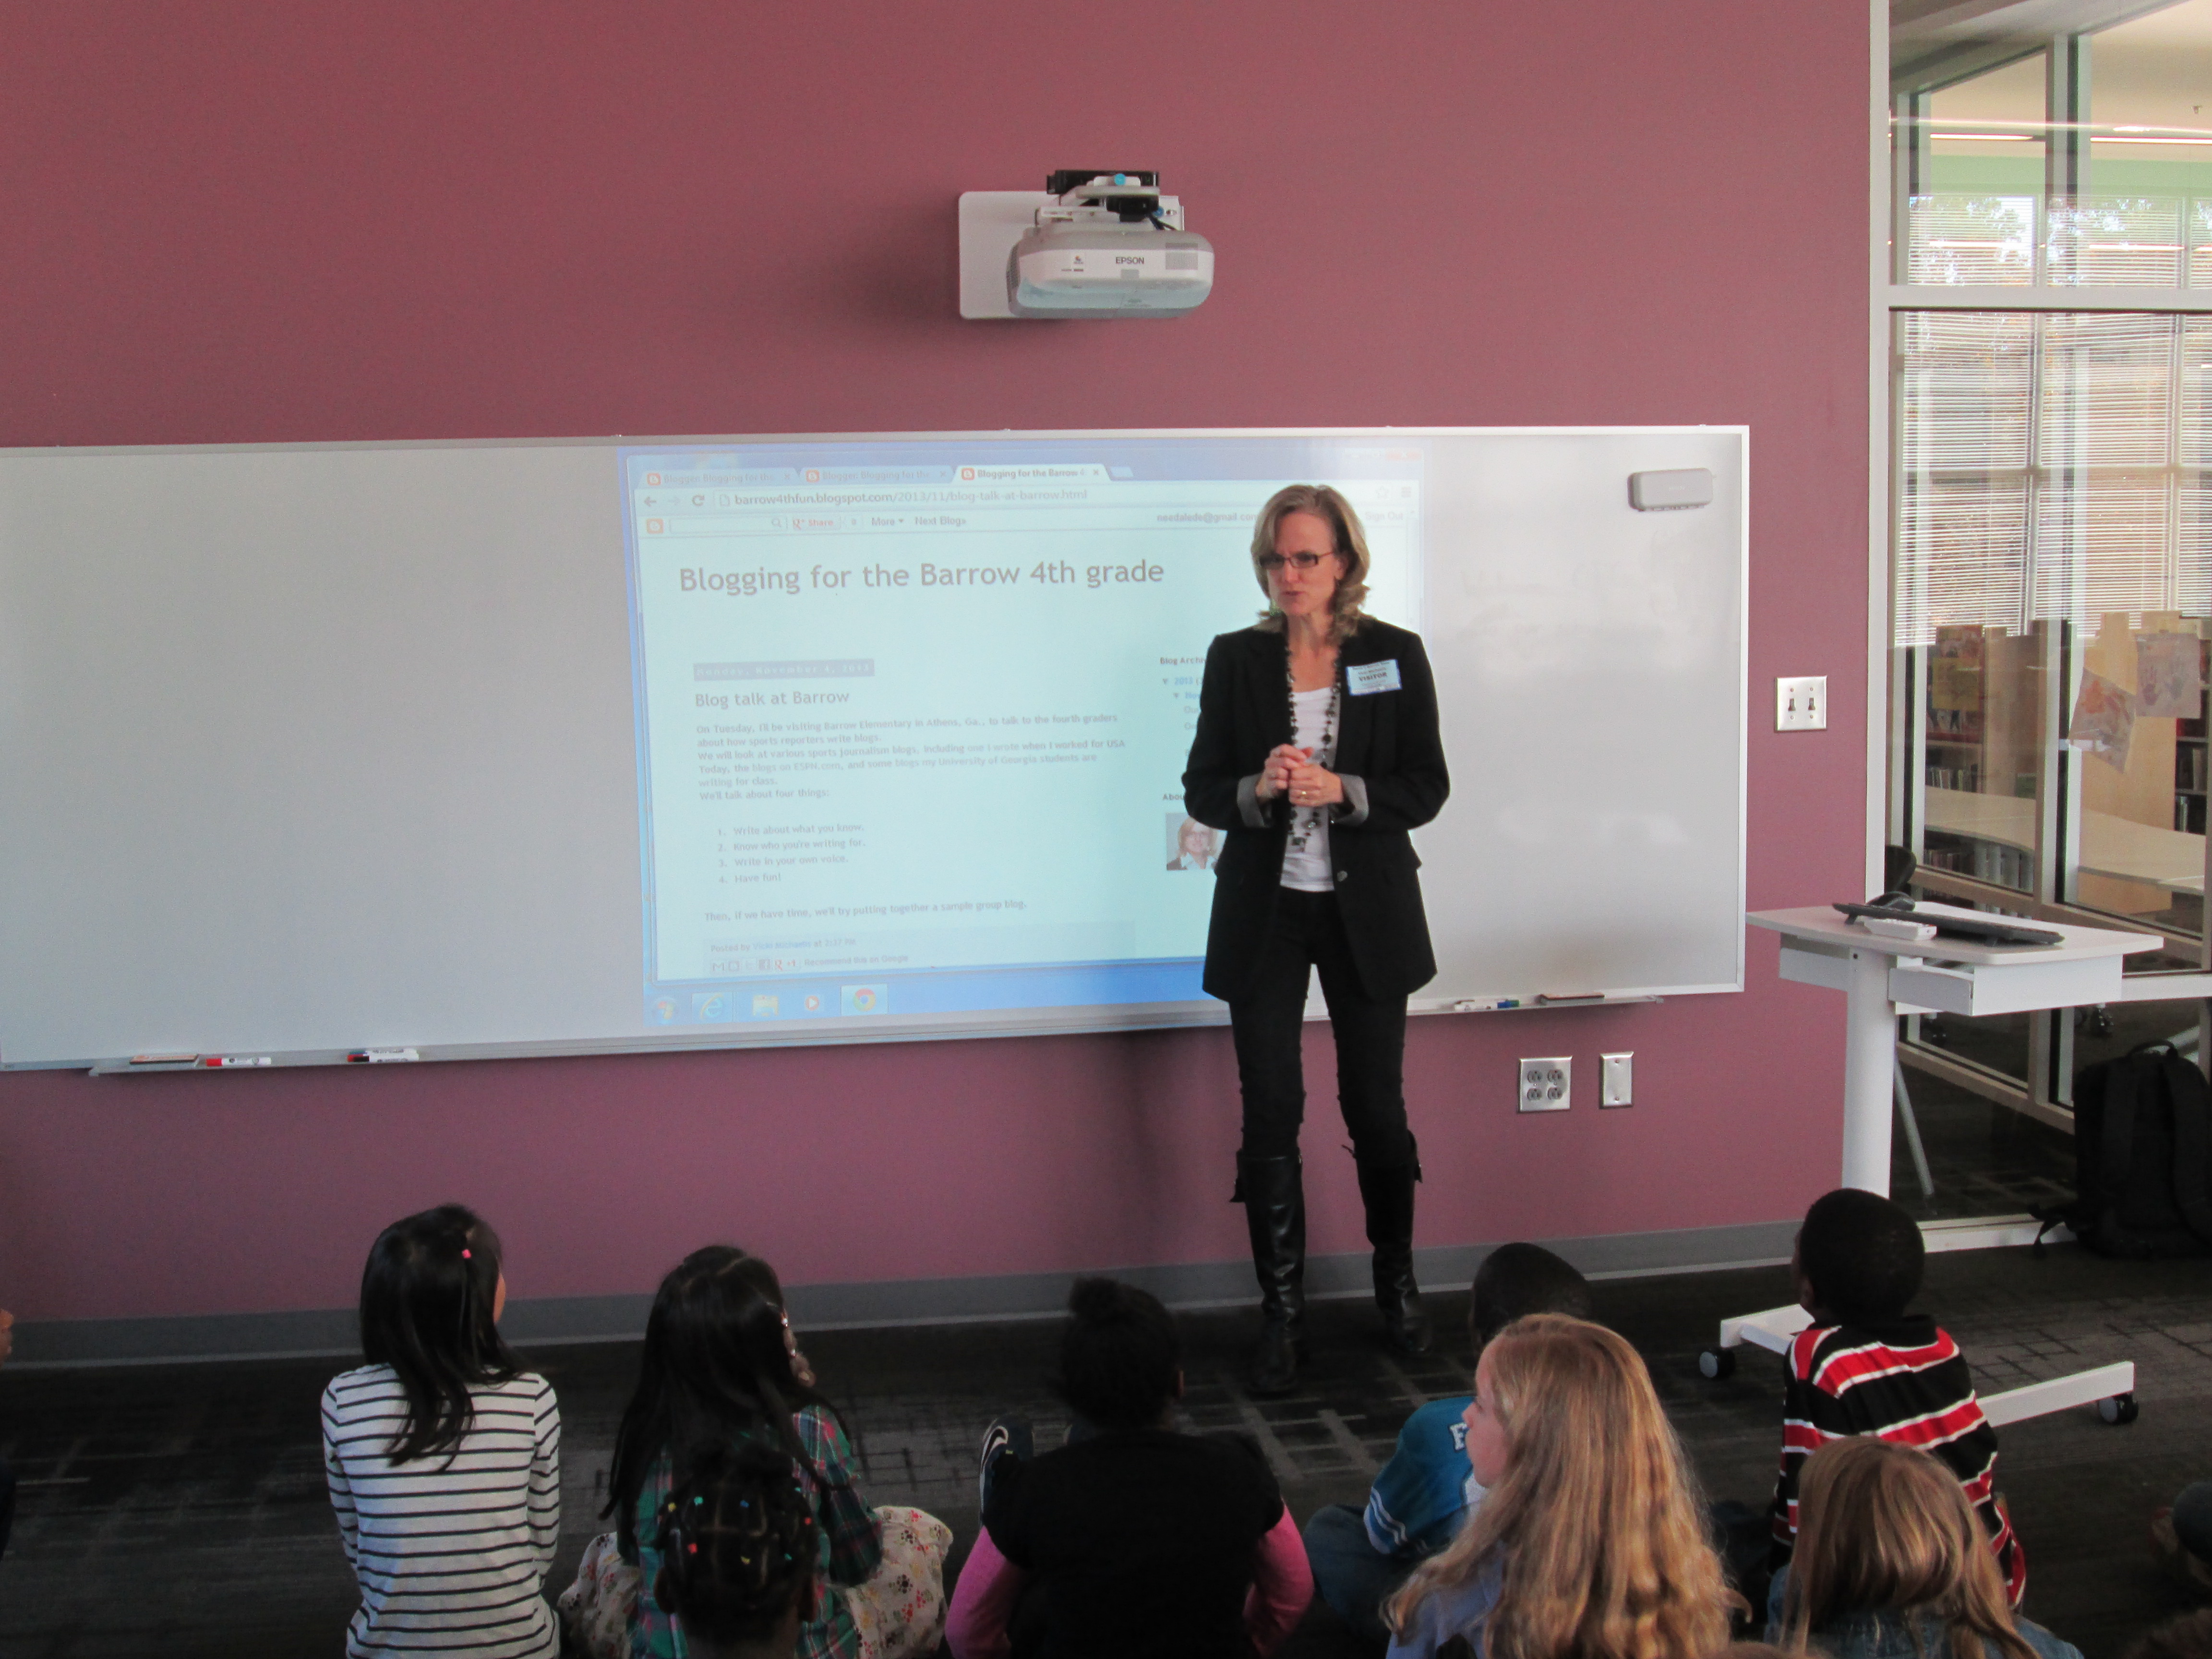
With Vicki Michaelis, a parent, students learned about how blogging is used in careers. Vicki does sports blogging through her career at UGA, so she was able to show students how she uses blogs to reach her audience.
With Heather Carlson, 4th grade gifted teacher, students explored blogging ethics and the importance of proofreading and deciding what to post or not post online.
Next, students will begin exploring their blogs in class and using this new tool to document their learning throughout the year. I can’t wait to read what they write!
Our 4th grade is studying Native Americans and Explorers. When I met with the 4th grade team to plan, one of the main topics of our conversation was how we wanted our students to really think about perspective. We didn’t want them to come away looking at the explorers as only a group of heroes, but instead to question what the costs were of their exploration. We wanted them to think from the Native Americans’ perspective and consider how they felt about the explorers coming into their land. We decided to approach this in a few ways. The teachers planned regular social studies instruction in their classrooms. They made Google presentations that were shared with the kids. They also created graphic organizers for students to use to collect info. Some students chose to have paper print outs of their organizers while others chose to fill out the organizer digitally.
Our guiding standards included:
SS4H1 The student will describe how early Native American cultures developed in
North America.
a. Locate where Native Americans settled with emphasis on the Arctic (Inuit),
Northwest (Kwakiutl), Plateau (Nez Perce), Southwest (Hopi), Plains (Pawnee),
and Southeast (Seminole).
b. Describe how Native Americans used their environment to obtain food, clothing,
and shelter.
SS4H2 The student will describe European exploration in North America.
a. Describe the reasons for, obstacles to, and accomplishments of the Spanish,
French, and English explorations of John Cabot, Vasco Núñez de Balboa, Juan
Ponce de León, Christopher Columbus, Henry Hudson, and Jacques Cartier.
b. Describe examples of cooperation and conflict between Europeans and Native
Americans
In the media center, I pulled multiple folktales from each of the Native American tribes. During 2 separate sessions, we looked at Google Earth to see where the tribes were located originally. Then as we read the folktales, we considered how location impacted the food, shelter, and clothing of the tribes by citing evidence from the tales.
The teachers wanted students to have access to multiple kinds of resources for their research portion of the unit. We talked about classes coming individually to the library, but we ultimately decided that it would be nice for students to all be together in one location with multiple resources. We scheduled 3 hour-long sessions. I pulled together folktales, books about explorers, books about Native Americans, a pathfinder about Native Americans, and a pathfinder about Explorers.
During session 1, we met as a whole group. I showed students a video of Christopher Columbus from National Geographic. After the video, I asked students to think about how they would describe Columbus. After talking with partners, I put as many words into a Tagxedo as possible.
These words were how students described Christopher Columbus after watching a video about Columbus.
Then, we read the book Encounter by Jane Yolen, which is the Columbus story told from the Native American perspective. After the story, I asked the students to once again describe Columbus. Their words made a big shift.
These words are how students described Christopher Columbus after reading Encounter by Jane Yolen.
I followed up by talking about perspective, and how so many stories in history are silenced until the perspective of that group of people is brought forward. I cited authors such as Phillip Hoose and Tanya Lee Stone who have written multiple texts about stories from history that have been untold. I encouraged students as they did their research for this project to strongly consider perspective. I did not want to tell them what to believe, but I asked them to be critical of the information they read and form their own opinions of history.
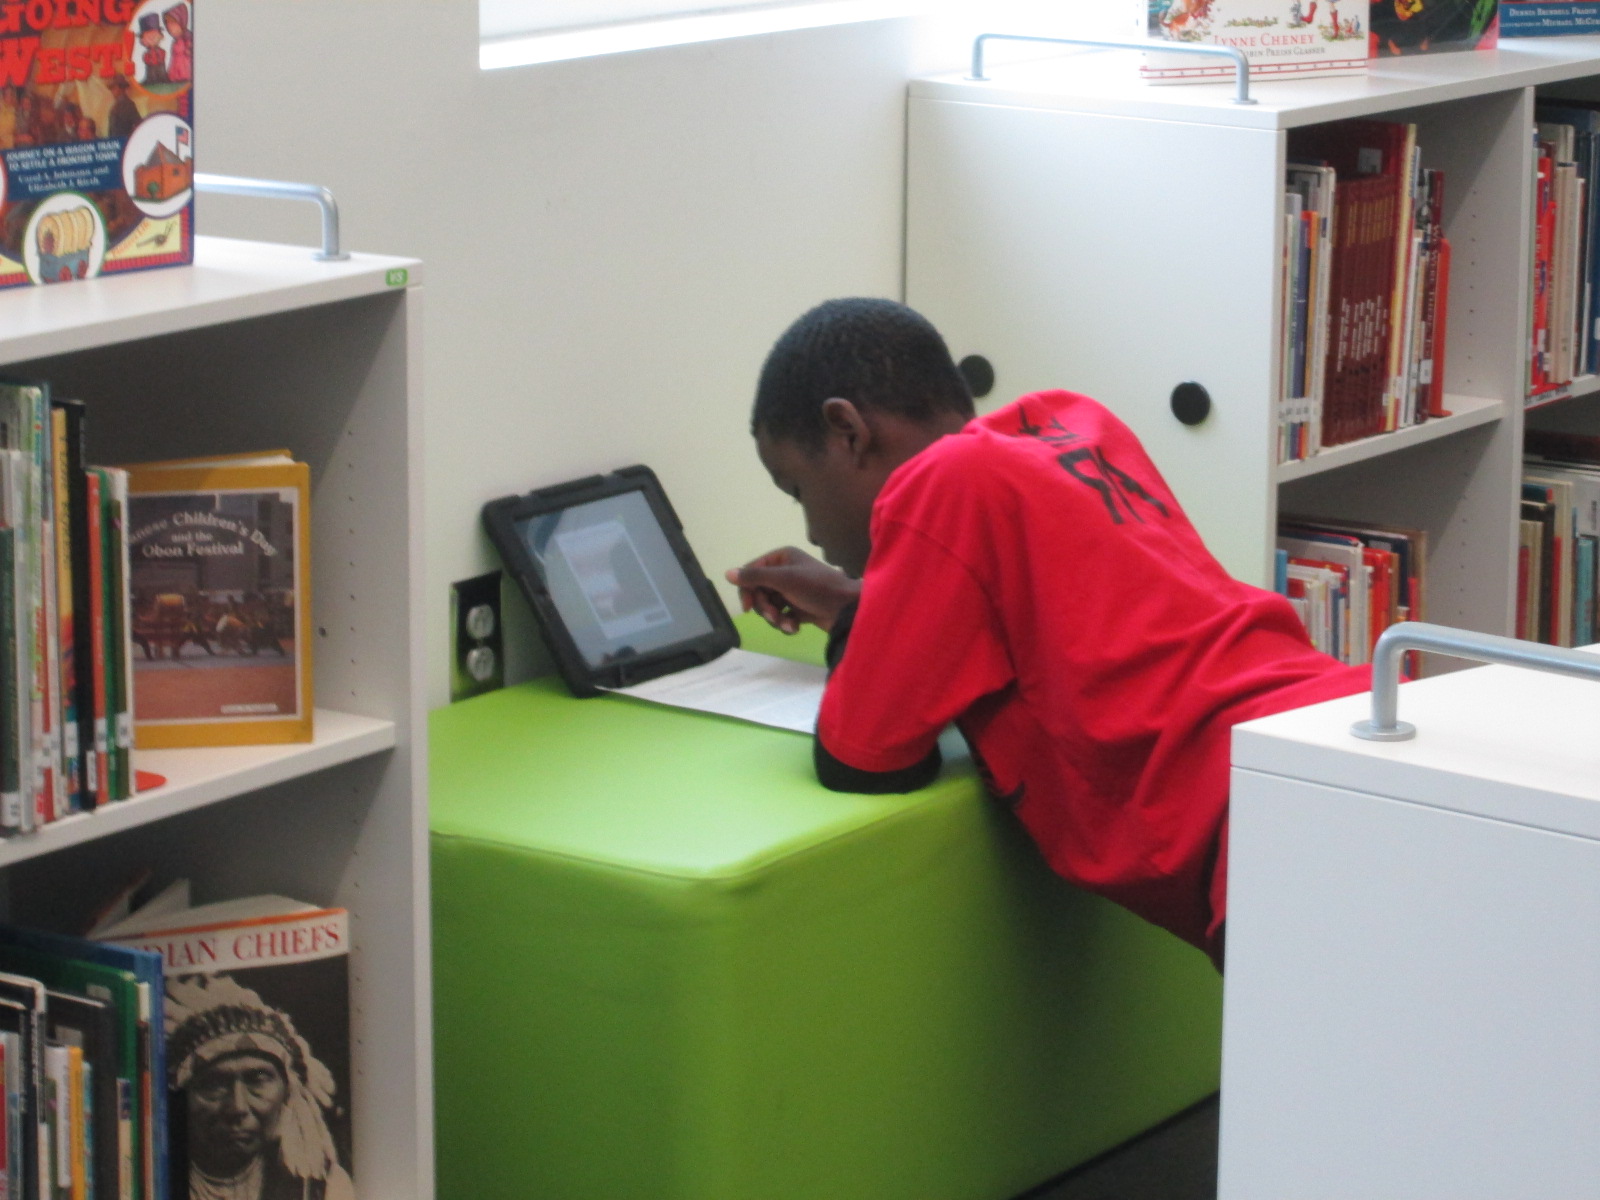
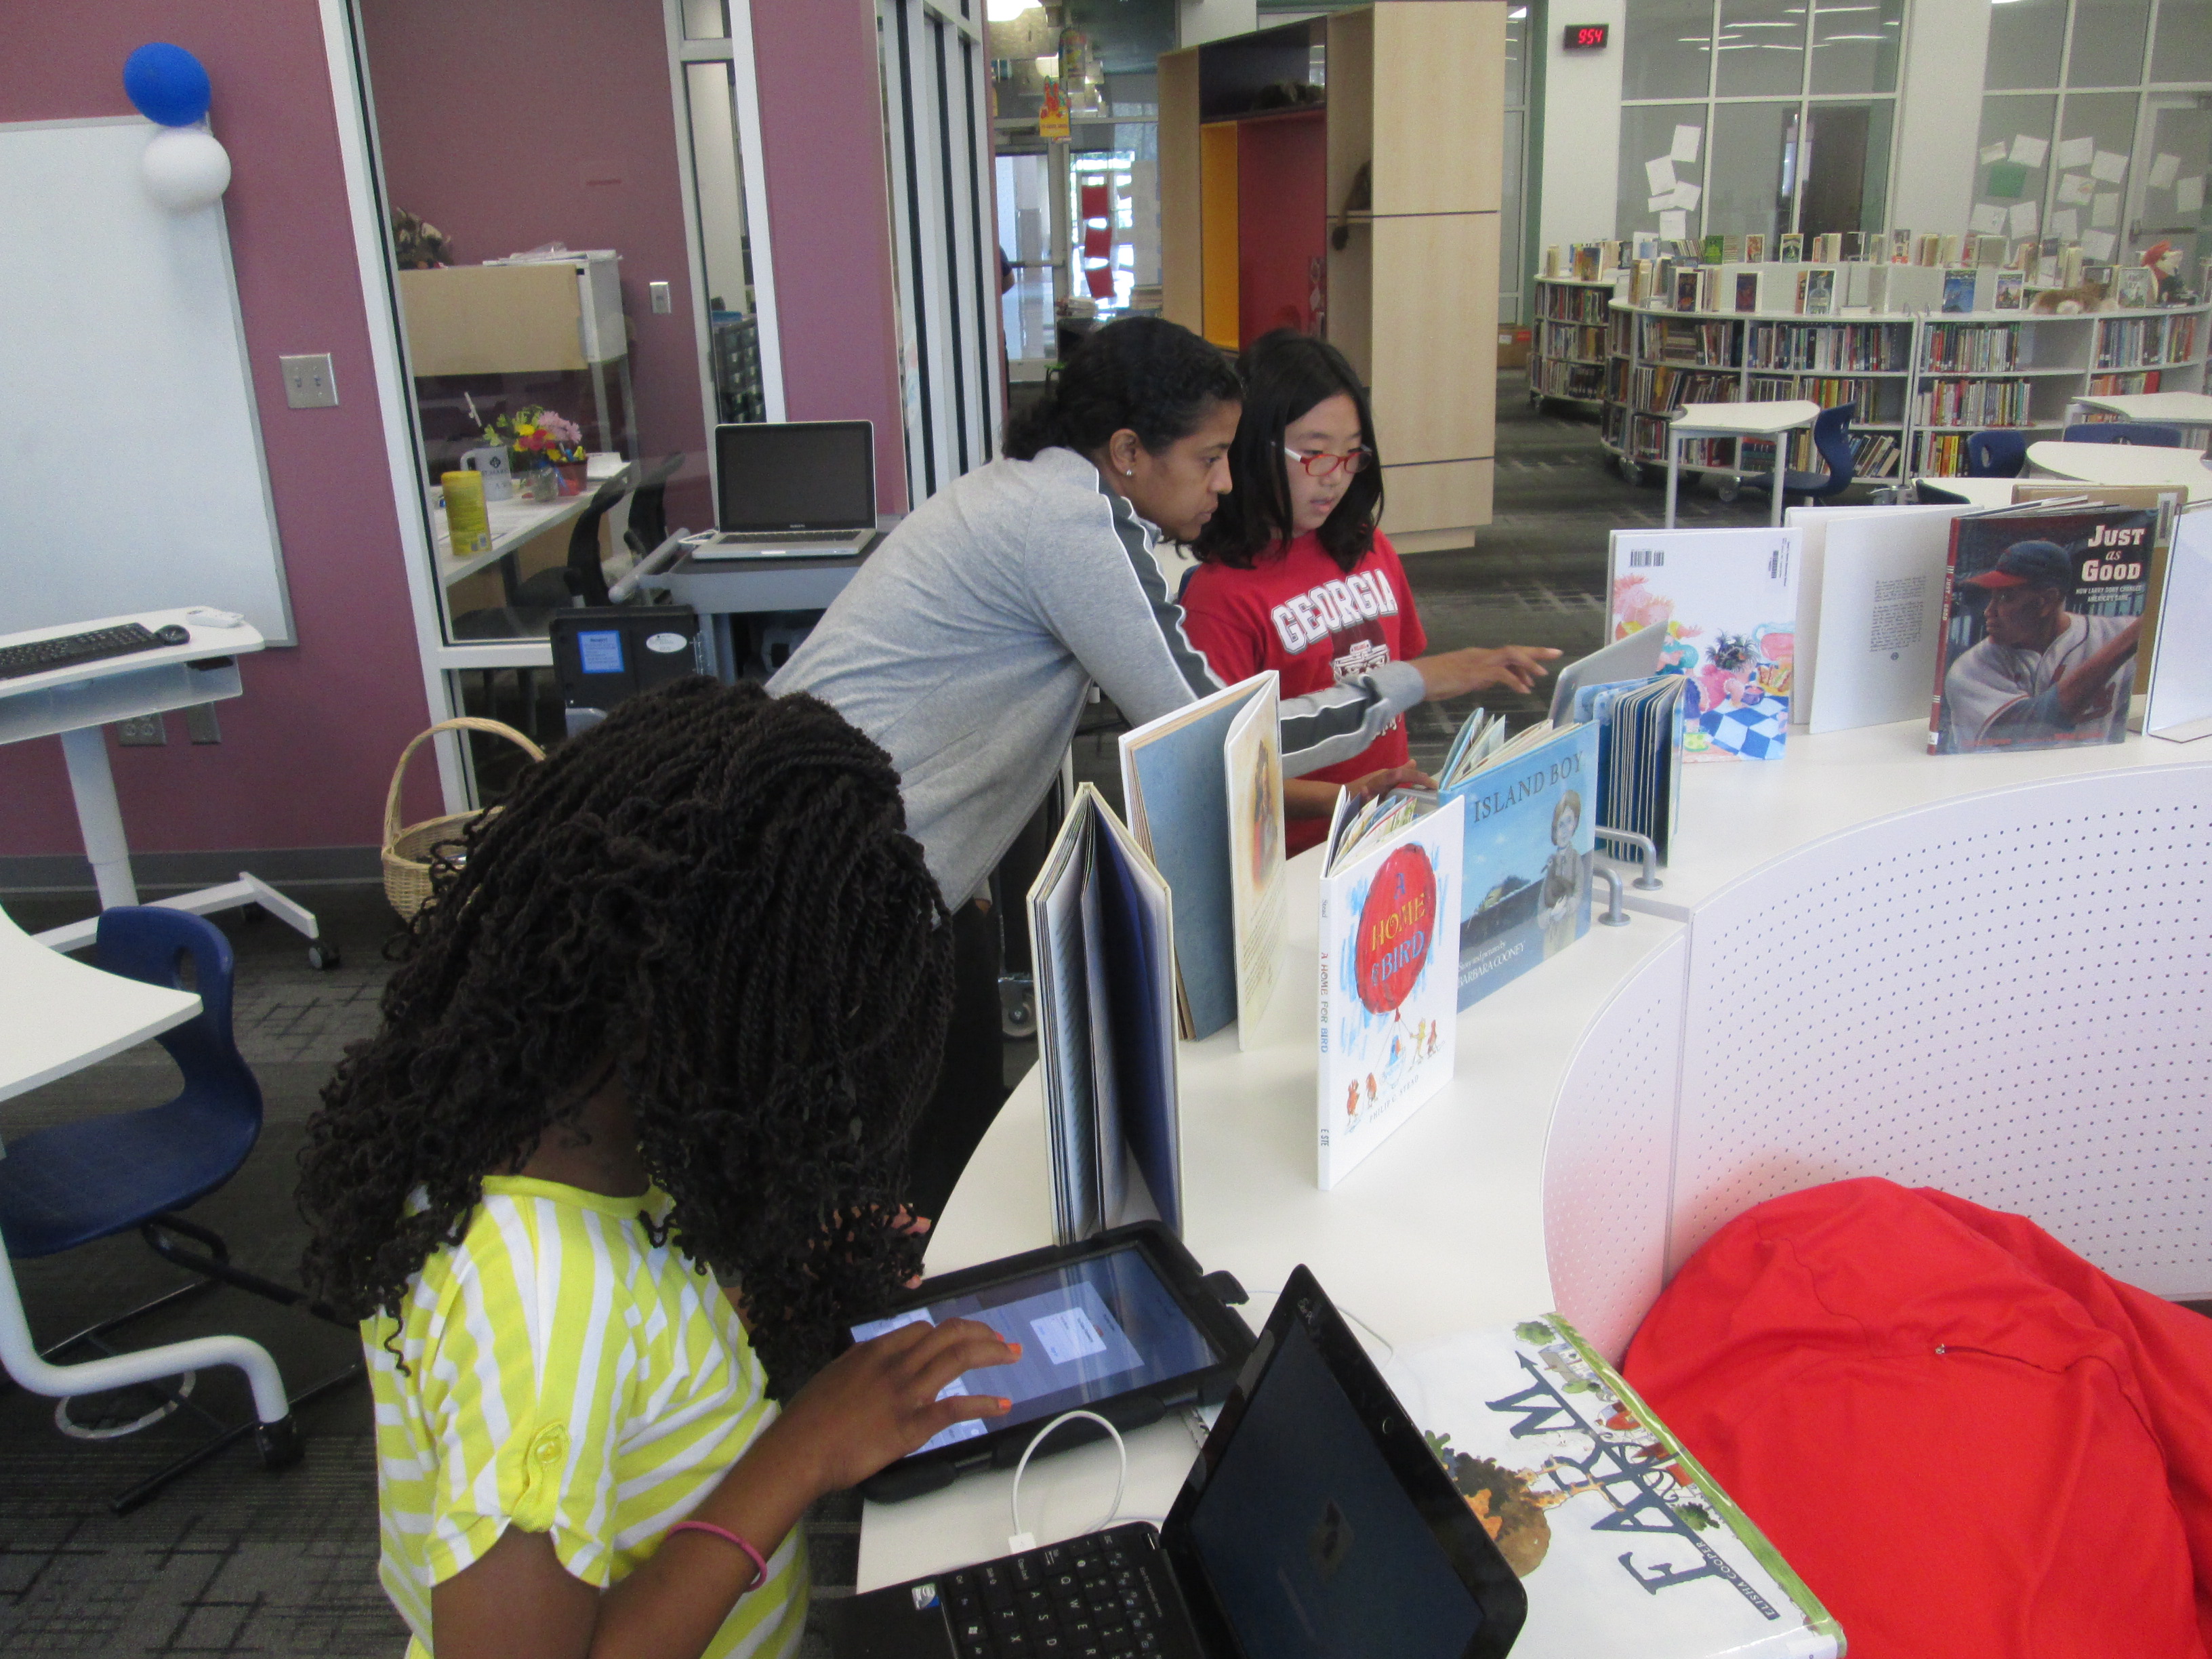
During sessions 2 & 3, all classes came back to the media center. On one projection board, I posted the Native American pathfinder. On the other projection board, I posted the Explorers pathfinder. In addition, I made QR codes for each pathfinder and pulled out our cart of iPads. I separated the books into 3 separate areas: folktales, Native Americans, and explorers. All students brought their netbooks, but they had the option to use the iPad if it fit their learning needs better than the netbook. After a quick reminder about our focus and where things were located, students freely moved around the media center. About 75 students simultaneously made choices about which resources to start with, where to work, whether to work with a partner or small group or alone, and what technology supported their needs the most. All 3 classroom teachers, a teacher candidate (student teacher), a gifted teacher, and I walked around and checked in with students. Sometimes we were troubleshooting technology or redirecting, but often we were able to have individual conversations with students about the information that students were collecting. Teachers worked with all students regardless if they were in their class or not.
What amazed me the most were the decisions that students made about their learning. I saw transliteracy in action. As I walked around, I saw students with pencils, papers, iPads, netbooks, and books all spread out around them. They were simultaneously moving from one device or tool to the next. Some students sat at tables while others sat inside bookshelves. Some students tucked away by themselves while others worked in a large group. Some students worked with very few resources at a time such as 1 book while others had every possible resource in front of them at once. After months of wondering about how our space would support the kinds of learning I hope to see in our library, I was finally able to truly see it today. I saw every piece of furniture in use. I saw students combine pieces of furniture to make themselves comfortable for learning. An entire grade level descended upon the library and remained productive while groups of kids were still coming into the library to checkout books.
It was loud, energetic, productive, and fun. It’s a model I hope to replicate with other groups and a model that I hope carries into our classrooms, which can now accommodate some of these sames types of opportunities.
Last week half of Mrs. Hunter’s ELT class came to the library to work on iPad photography. Read about it here. Over the past 2 days, the other half of her class came for the same exploration. Once again, students chose their favorite photo to email to me for our blog gallery. Enjoy many of their Halloween inspired photos below and feel free to leave comments about their work.
Back in December, fourth grade asked me to teach their students about primary resources in the context of their social studies standards. Primary sources can be tough if students don’t really have a connection to what they are. I wanted to build some connection for them before we jumped into the Bill of Rights and Declaration of Independence, so I pulled out some artifacts from the cabinets in the BTV studio that are filled with scrapbooks, boxes of photographs, journals, newspaper clippings, class projects, and more from Barrow’s history. I spread the objects out on the table and had the students start there. They were immediately connected. They buzzed with energy and conversation making “noticings” about what had changed with the physical building, how people dressed, how long into the summer we went to school, the “color” of the people in the classrooms, and more. They could have easily spent the entire class period looking at these artifacts.
Next, we shared some of our noticings and made a guess at what primary sources might be. Many of the students said that primary sources were “old information”. I read an excerpt from Primary Sources by Leia Tait, and we talked about the kinds of primary sources that the students are creating today. On p. 7 of the book, there are 2 paragraphs about Thanksgiving (one primary and one secondary source). Students were able to verbally say what a primary source was, but they still had trouble distinguishing how to tell if something was a primary source or a secondary source. We surfaced and discussed this confusion and tried to think of ways to help us remember. We talked about writing reports or informational writing versus writing to document an event. This distinction seemed to help the most.
Finally, we moved to the computer lab and students used a pathfinder to explore primary sources at the Library of Congress related to the fourth grade social studies standards. Students really took their time with this. Most of them stayed on the first task of examining the pictures of presidents for similarities and differences. The teacher recognized the level of engagement and said that the students would continue their exploration of primary sources as a reading center in the classroom.
This lesson really pushed my own thinking of how we are documenting the present so that future individuals can learn about the past. So much of our work now is digital, that I wonder how these digital pieces are preserved and published so that future generations can find them. What an interesting thought to explore with the students. I will teach this lesson two more times and hope to ponder that with them.


")
")
")
")
")
")
")


")
")
")
")
")
")
")
")
")
")


")
")
")
")
")
")
")
")
")
")
")
")
")
")
")
")
")


