Library Orientation: Starting the Year with Failure

QR orientation (6)

Last year, I decided to try something new for my library orientation.  Rather than have students sit and listen to me go on and on about how the library works, I let them explore the library with QR codes.  I loved this change so much that I decided to try this again this year and add some new twists.

First, I thought about all of the main questions that pop up during the year about using the library and made a list.  Then, I took this list and tried to make videos that were concise and addressed one task rather than weaving in multiple topics into one video.  This included topics such as how to search in Destiny, how to check out with and without a student id, how to check in, how to use a shelf marker, how to place a hold, and where supplies are located.  I also had some pieces of the library that I wanted students to know about such as areas where participatory opportunities would be displayed and what was new in our makerspace.

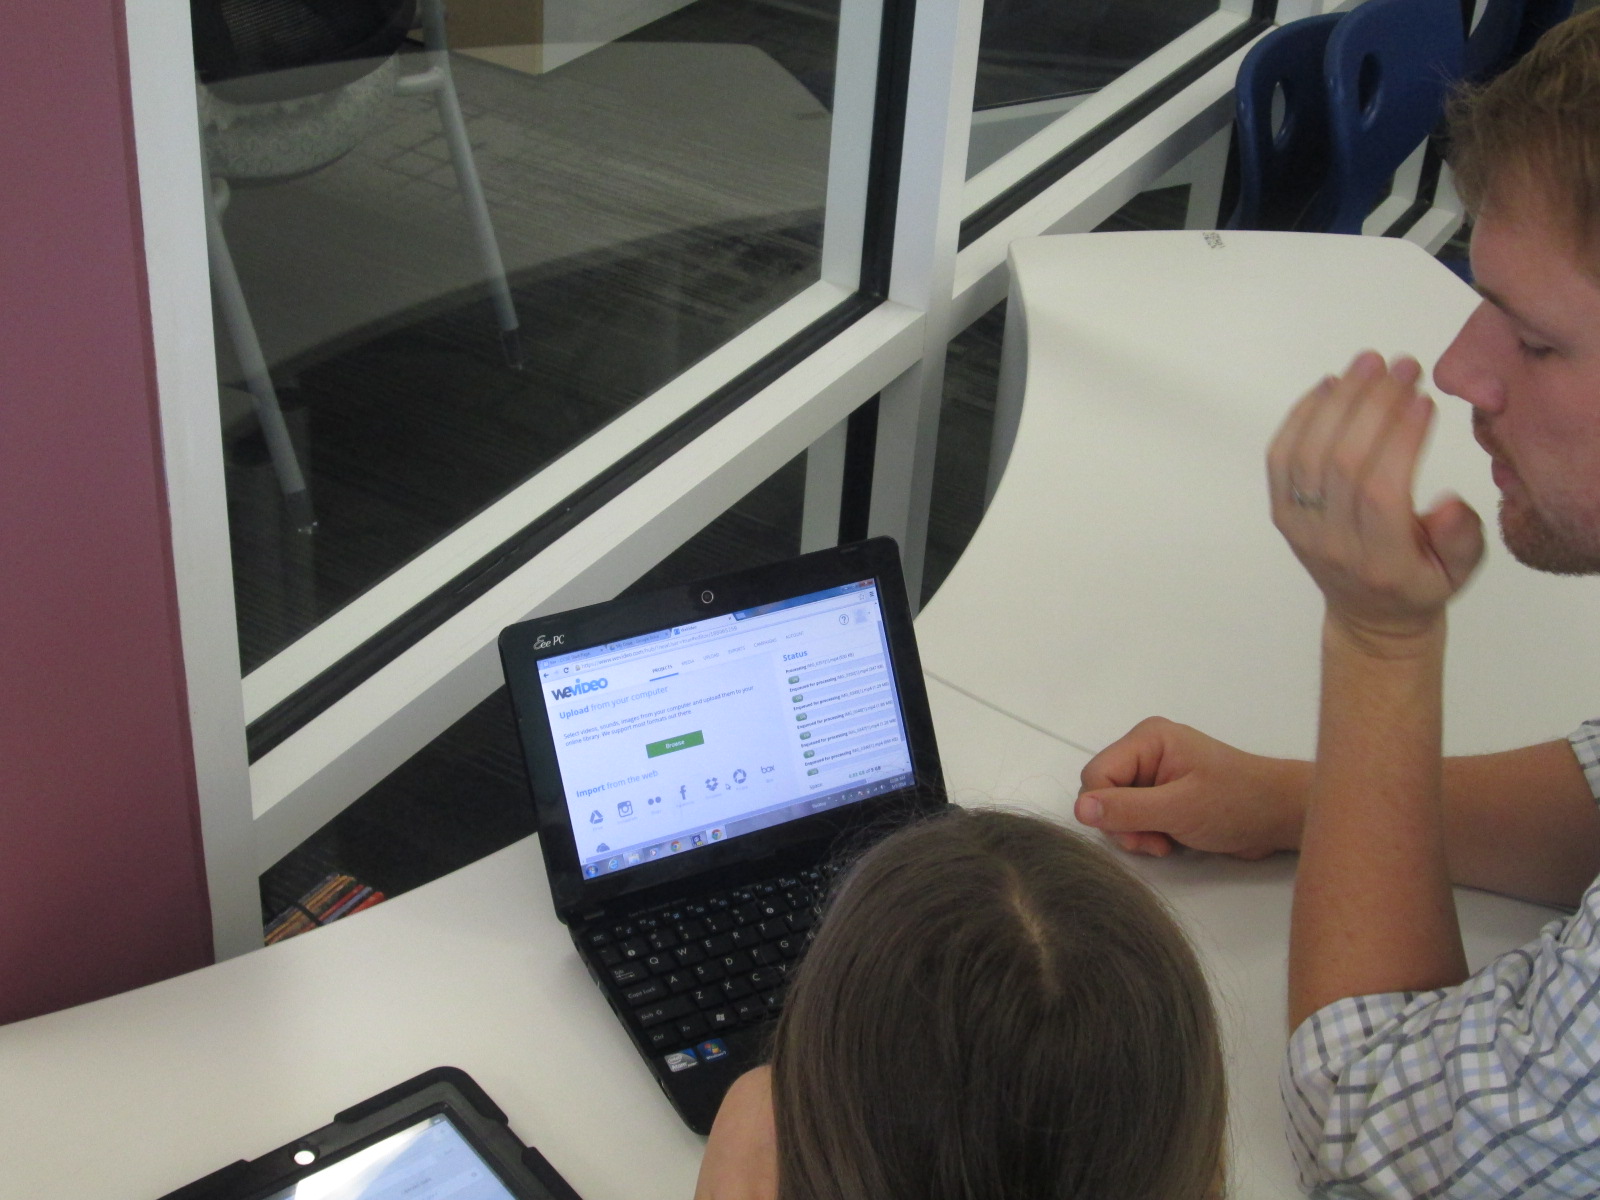
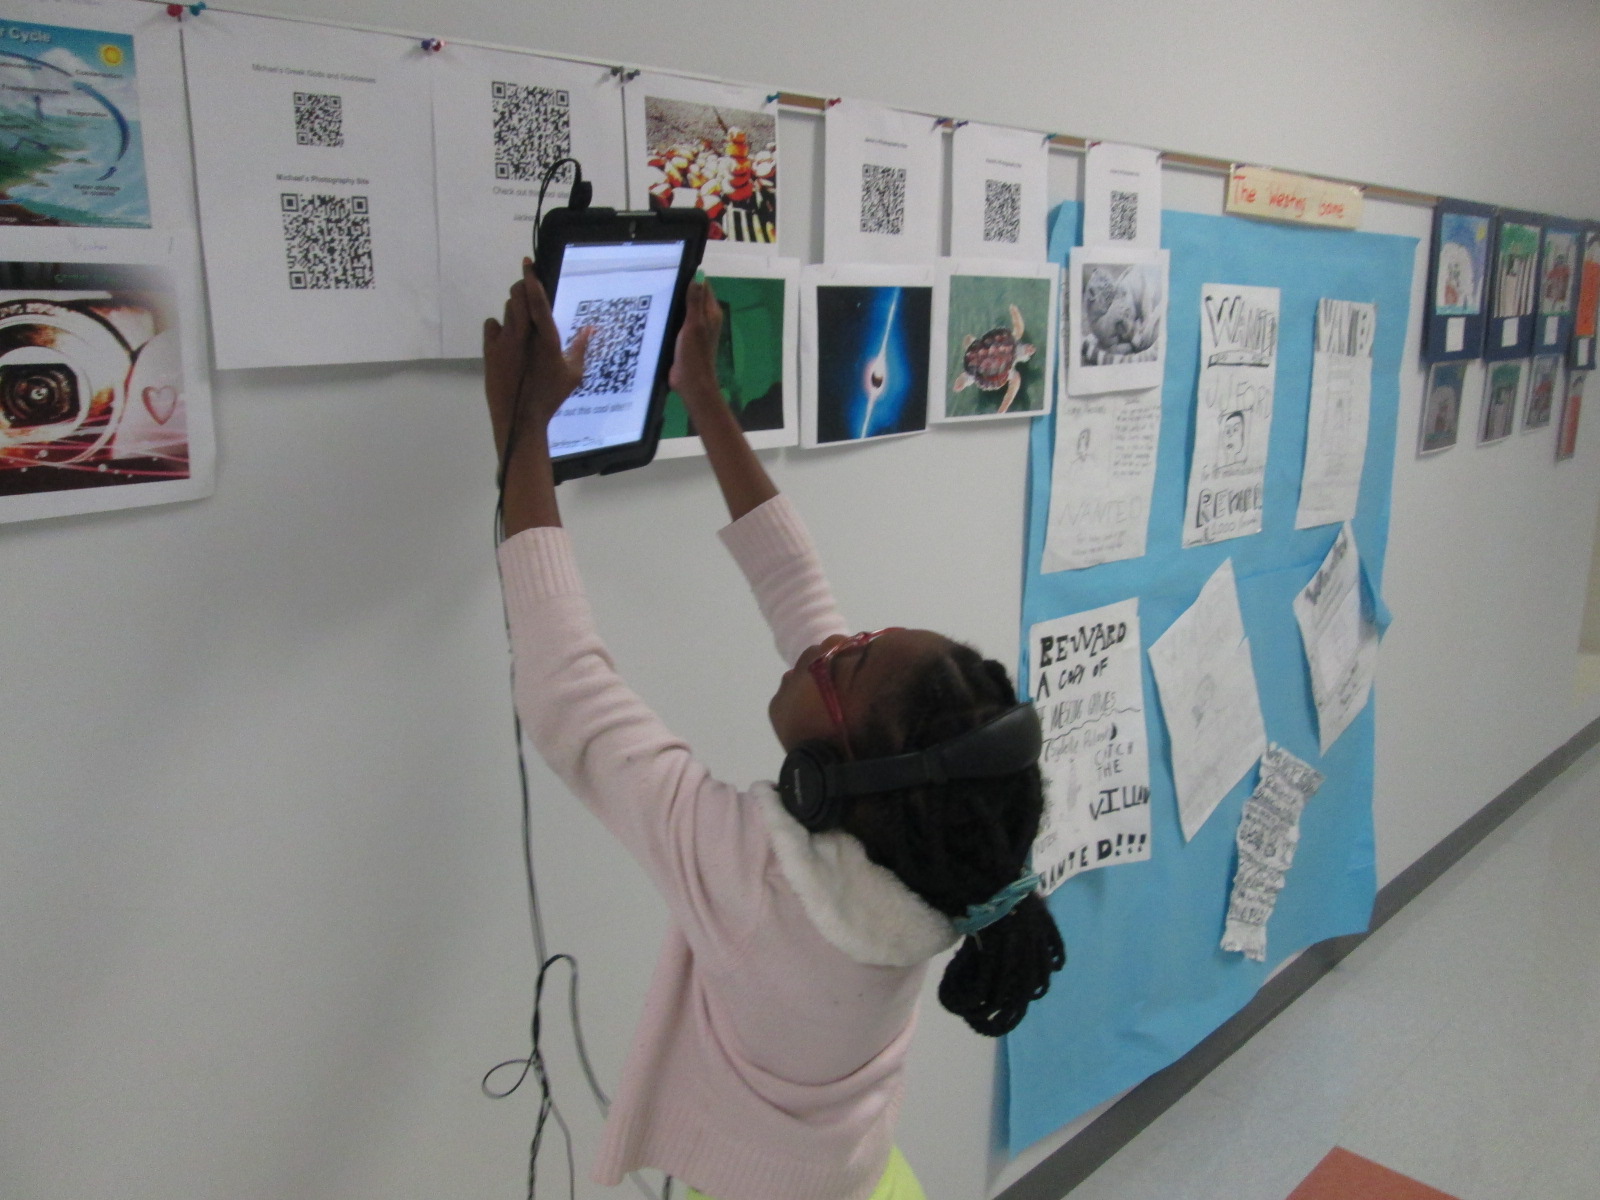
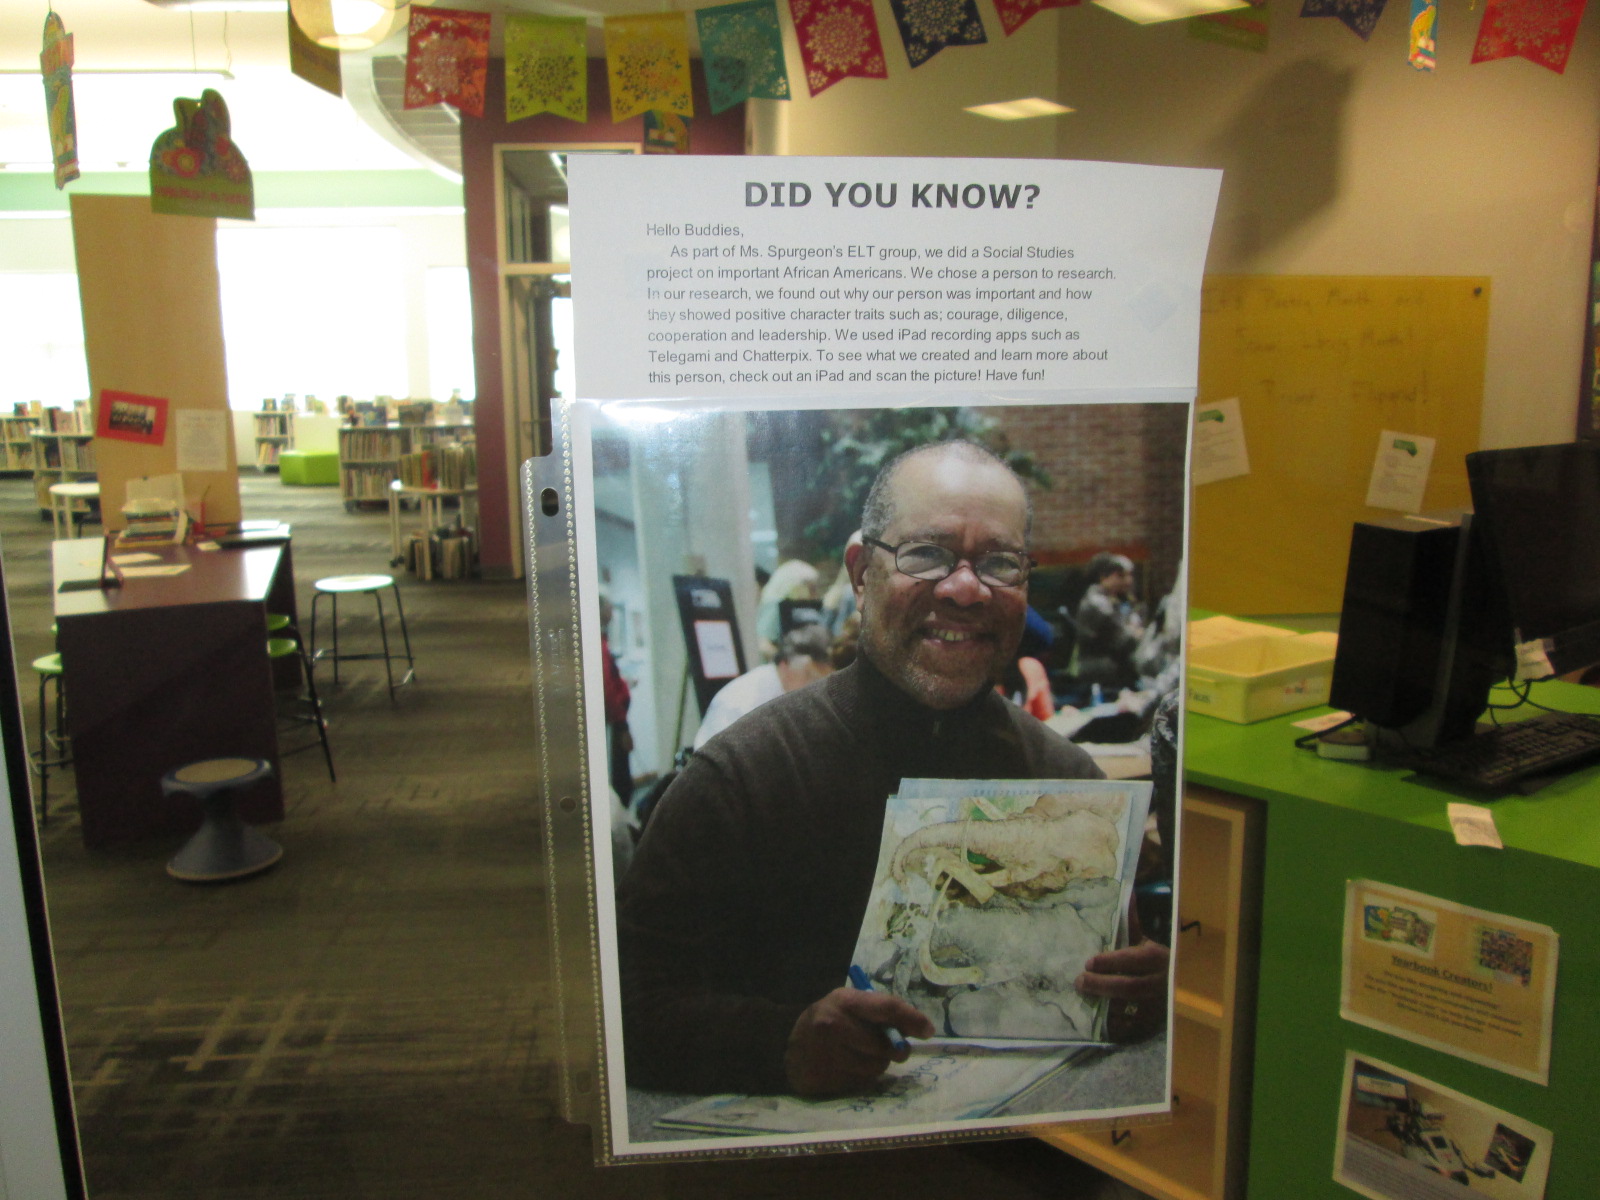
I took each video, improved the sound quality in iMovie, and uploaded to Youtube.  Using Kaywa QR Code generator, I made a QR code to each video, labeled it, printed it, and put it in a sleeve to hang in the library.

When 2nd-5th grade came to the library, they entered to a rolling slideshow of our 4 library goals.

1dream

2global

3empower

4reading

I wanted our first focus to be what we hope our library is about this year.  The procedures are important because they affect the flow of the year, but the goals are what drive us every day.

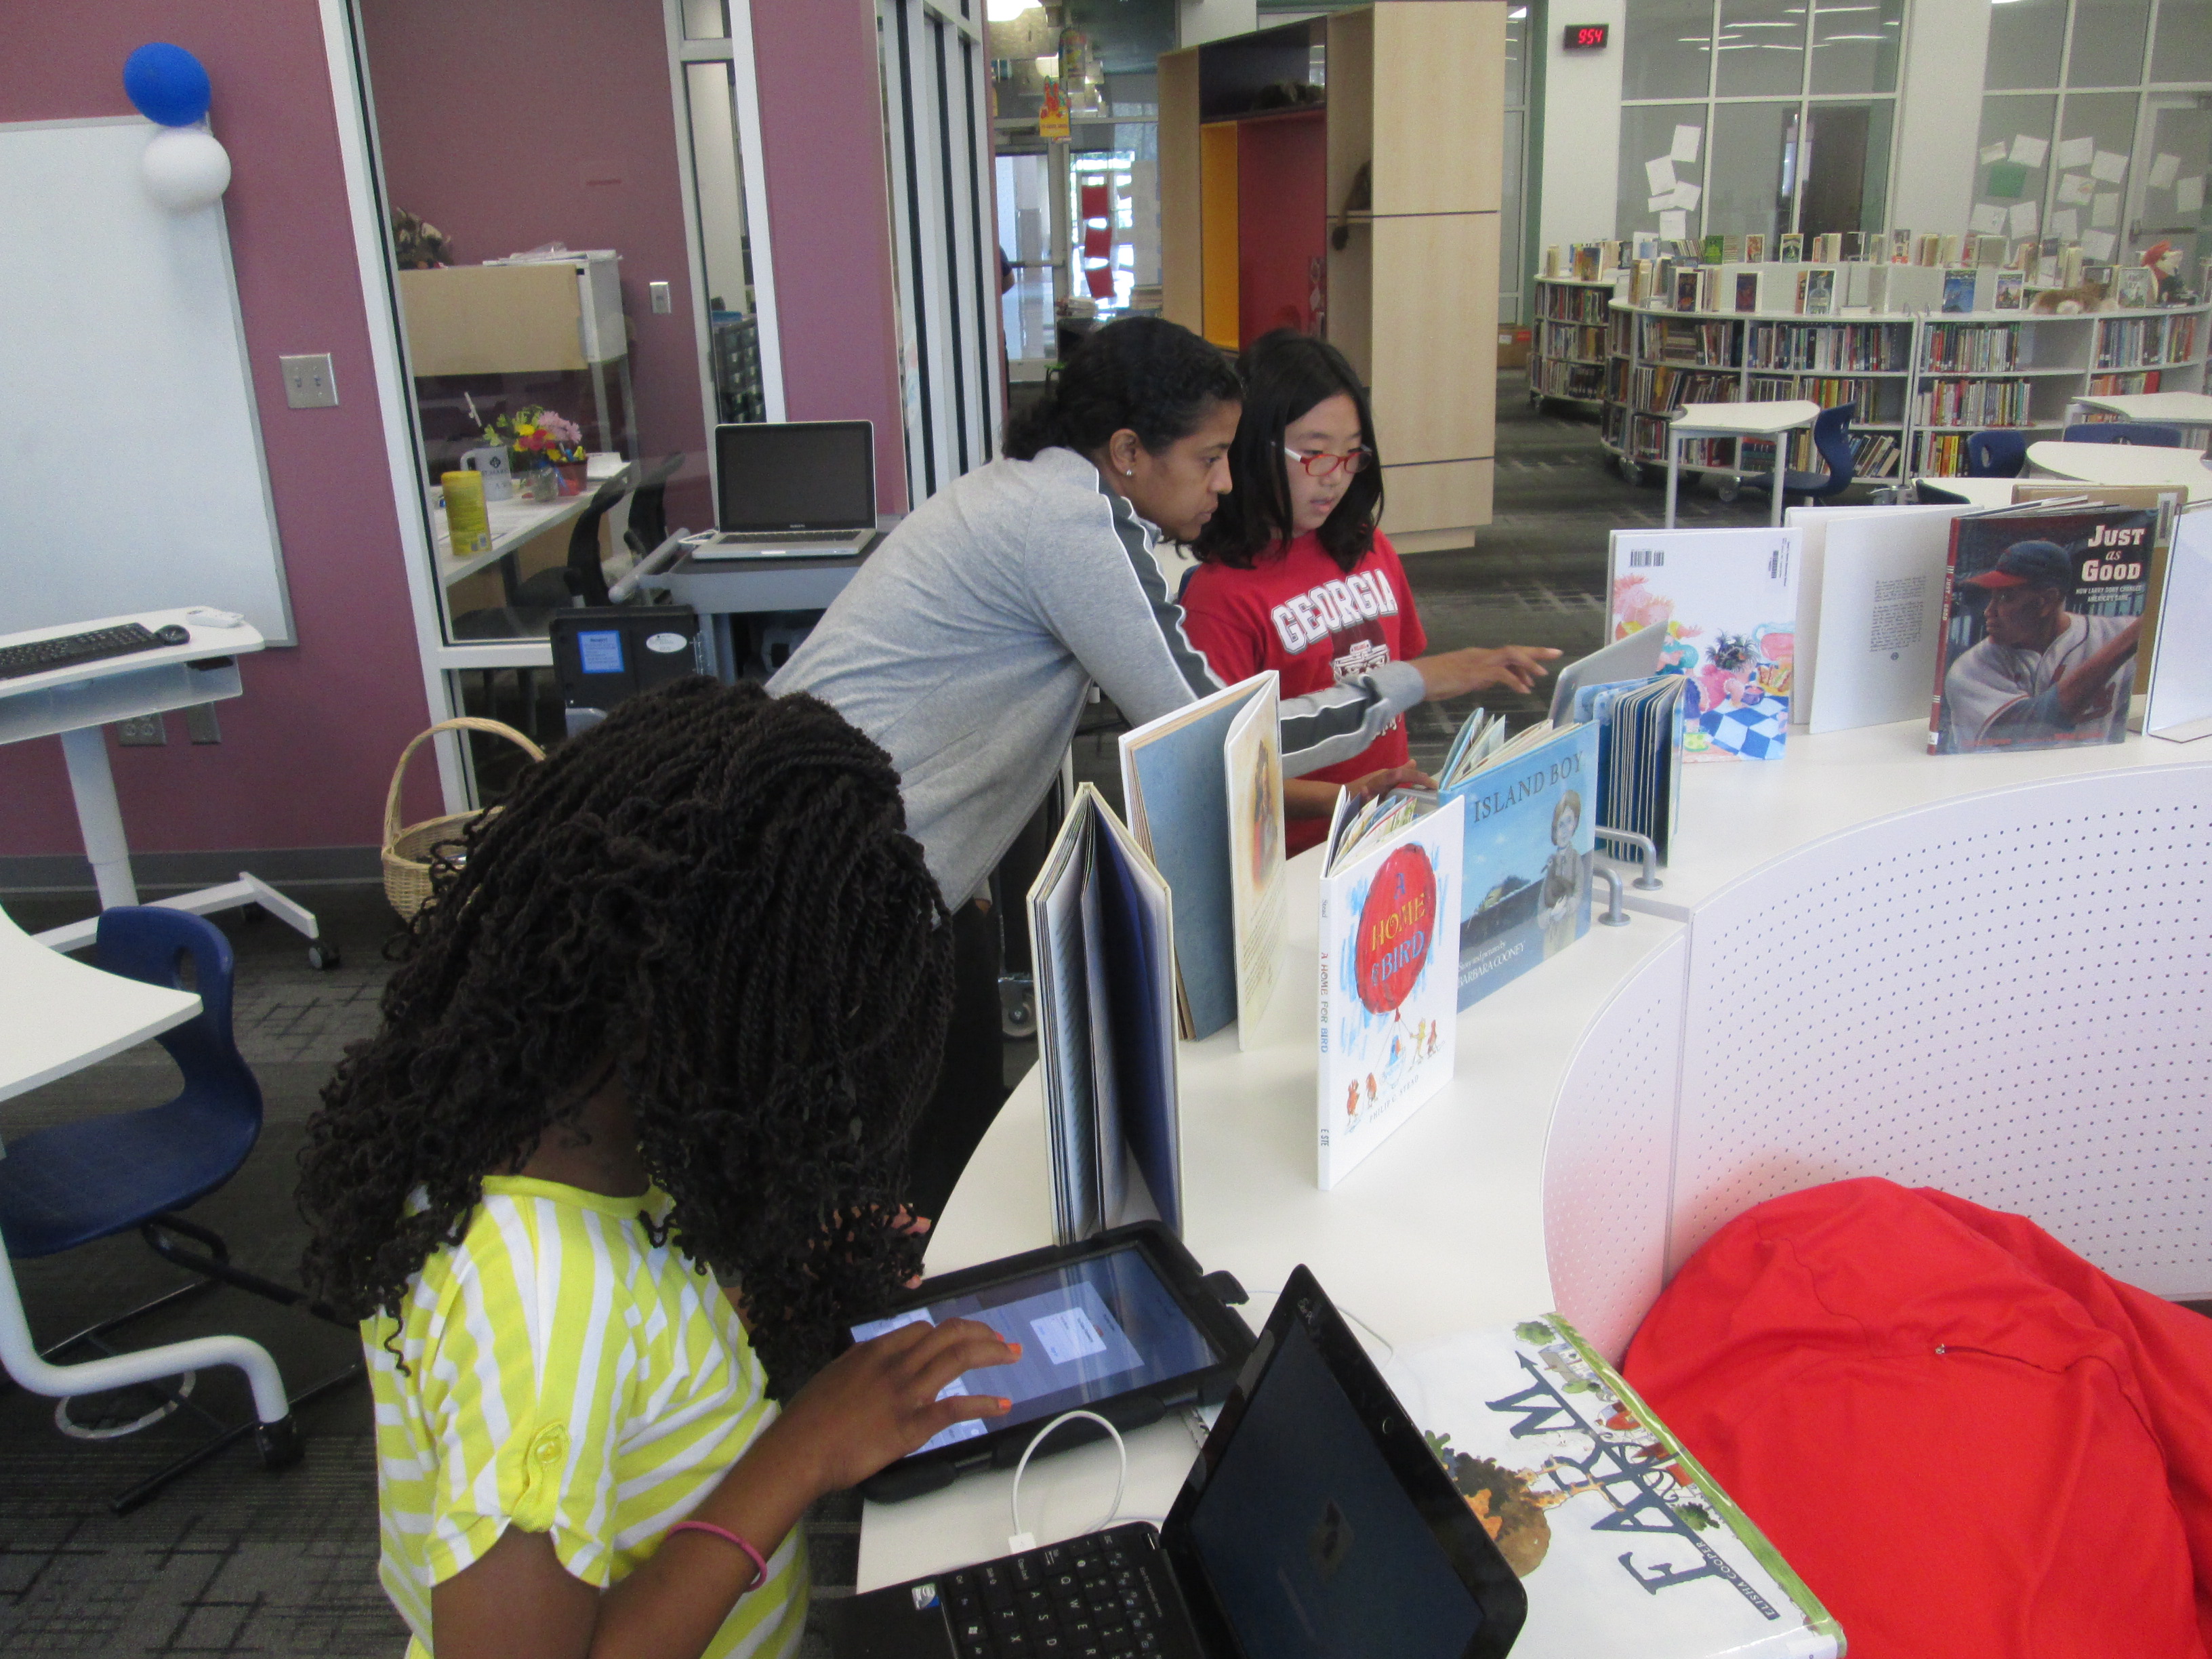
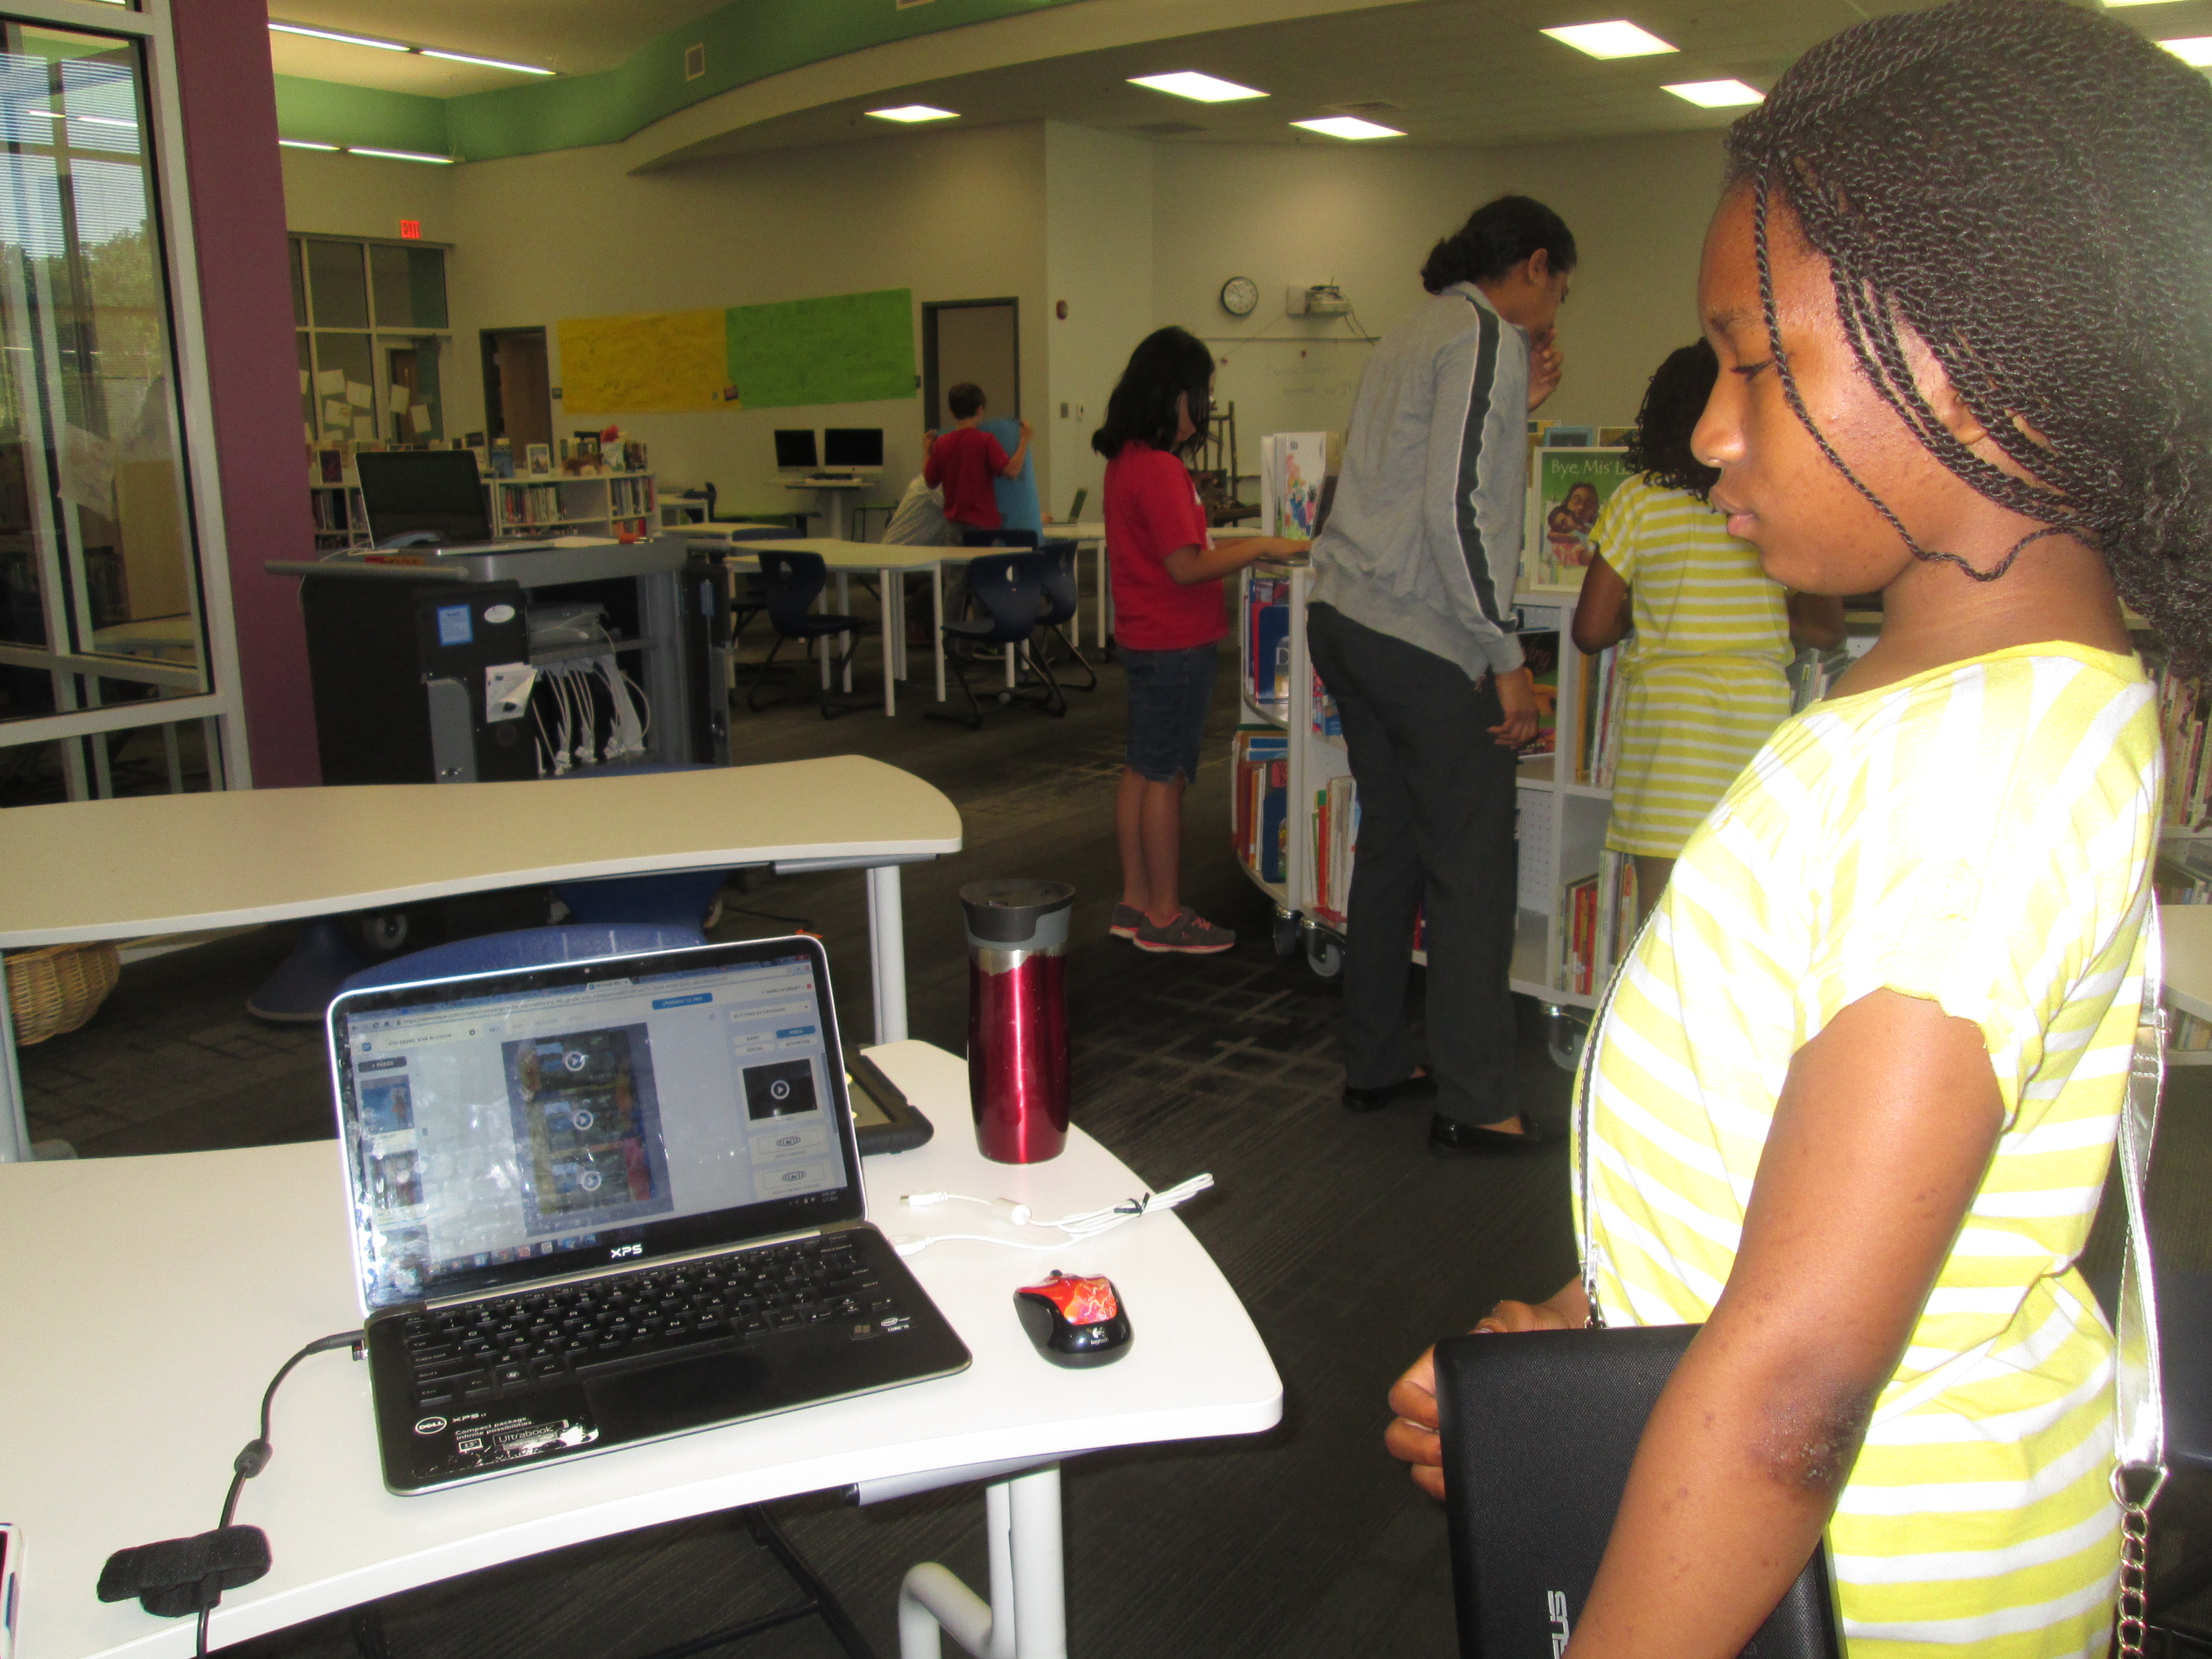
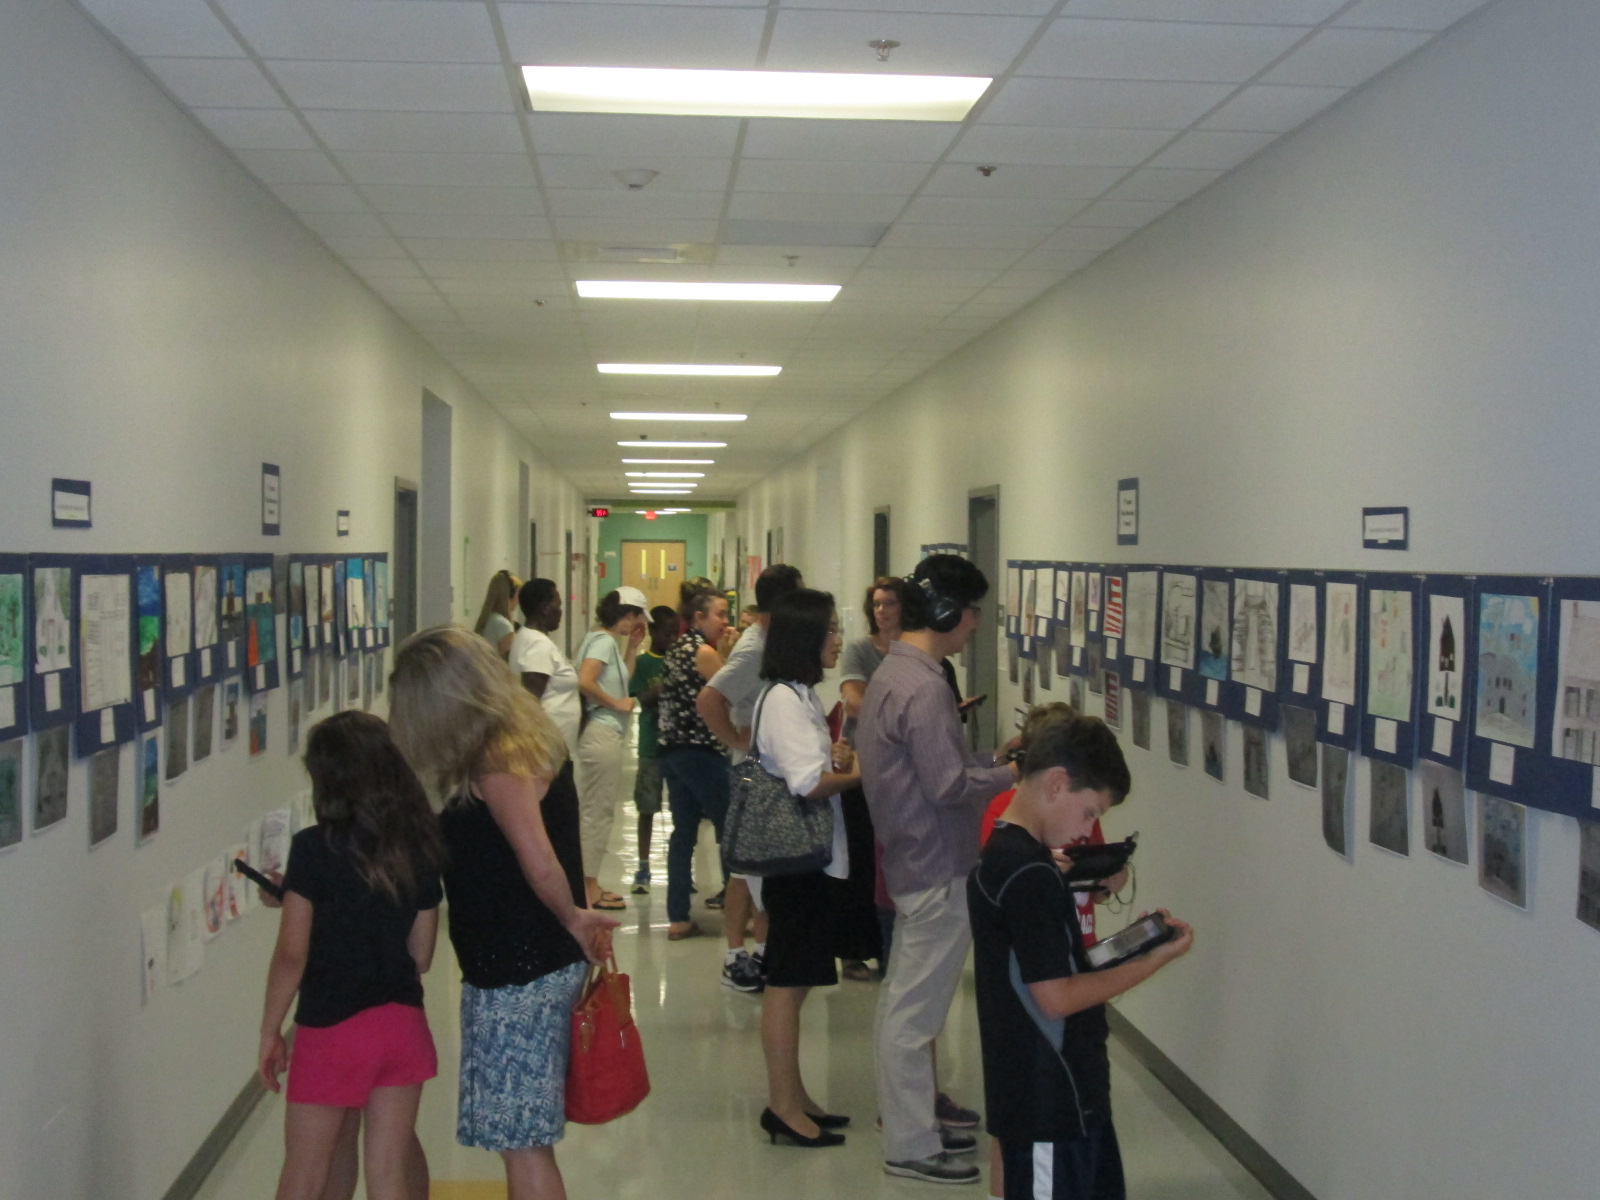
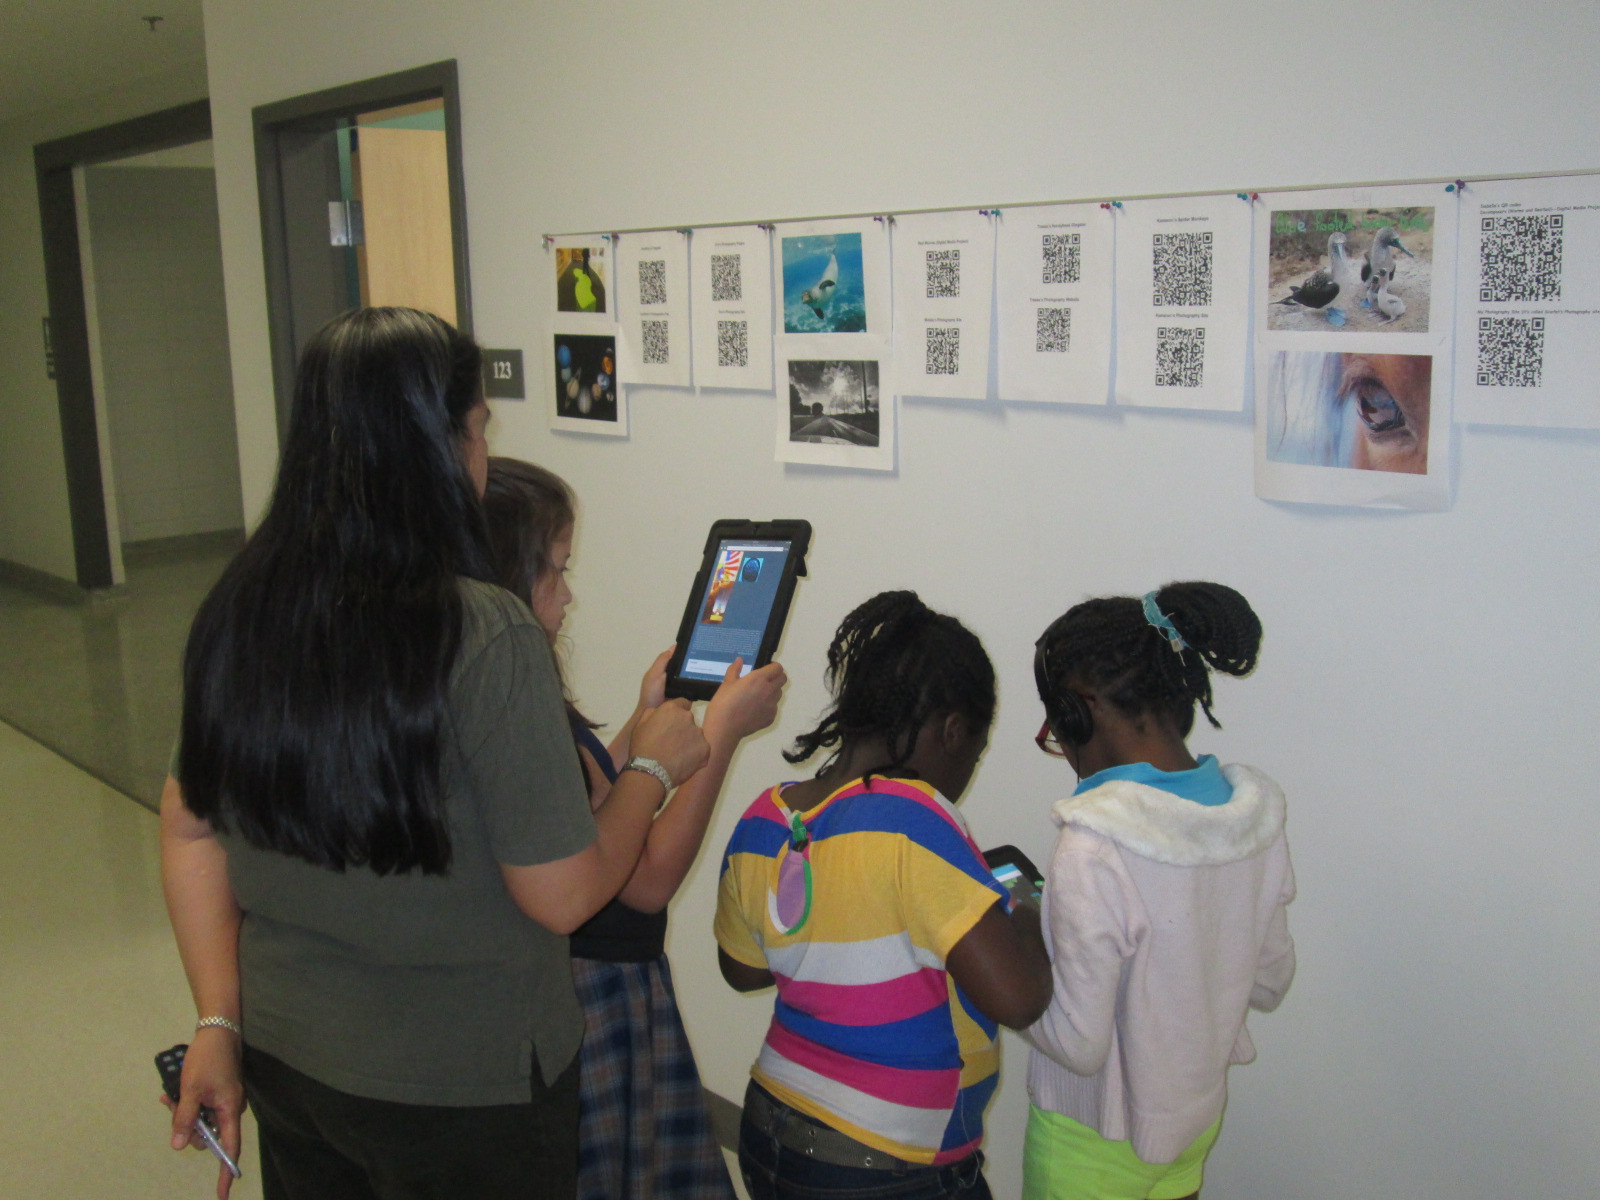
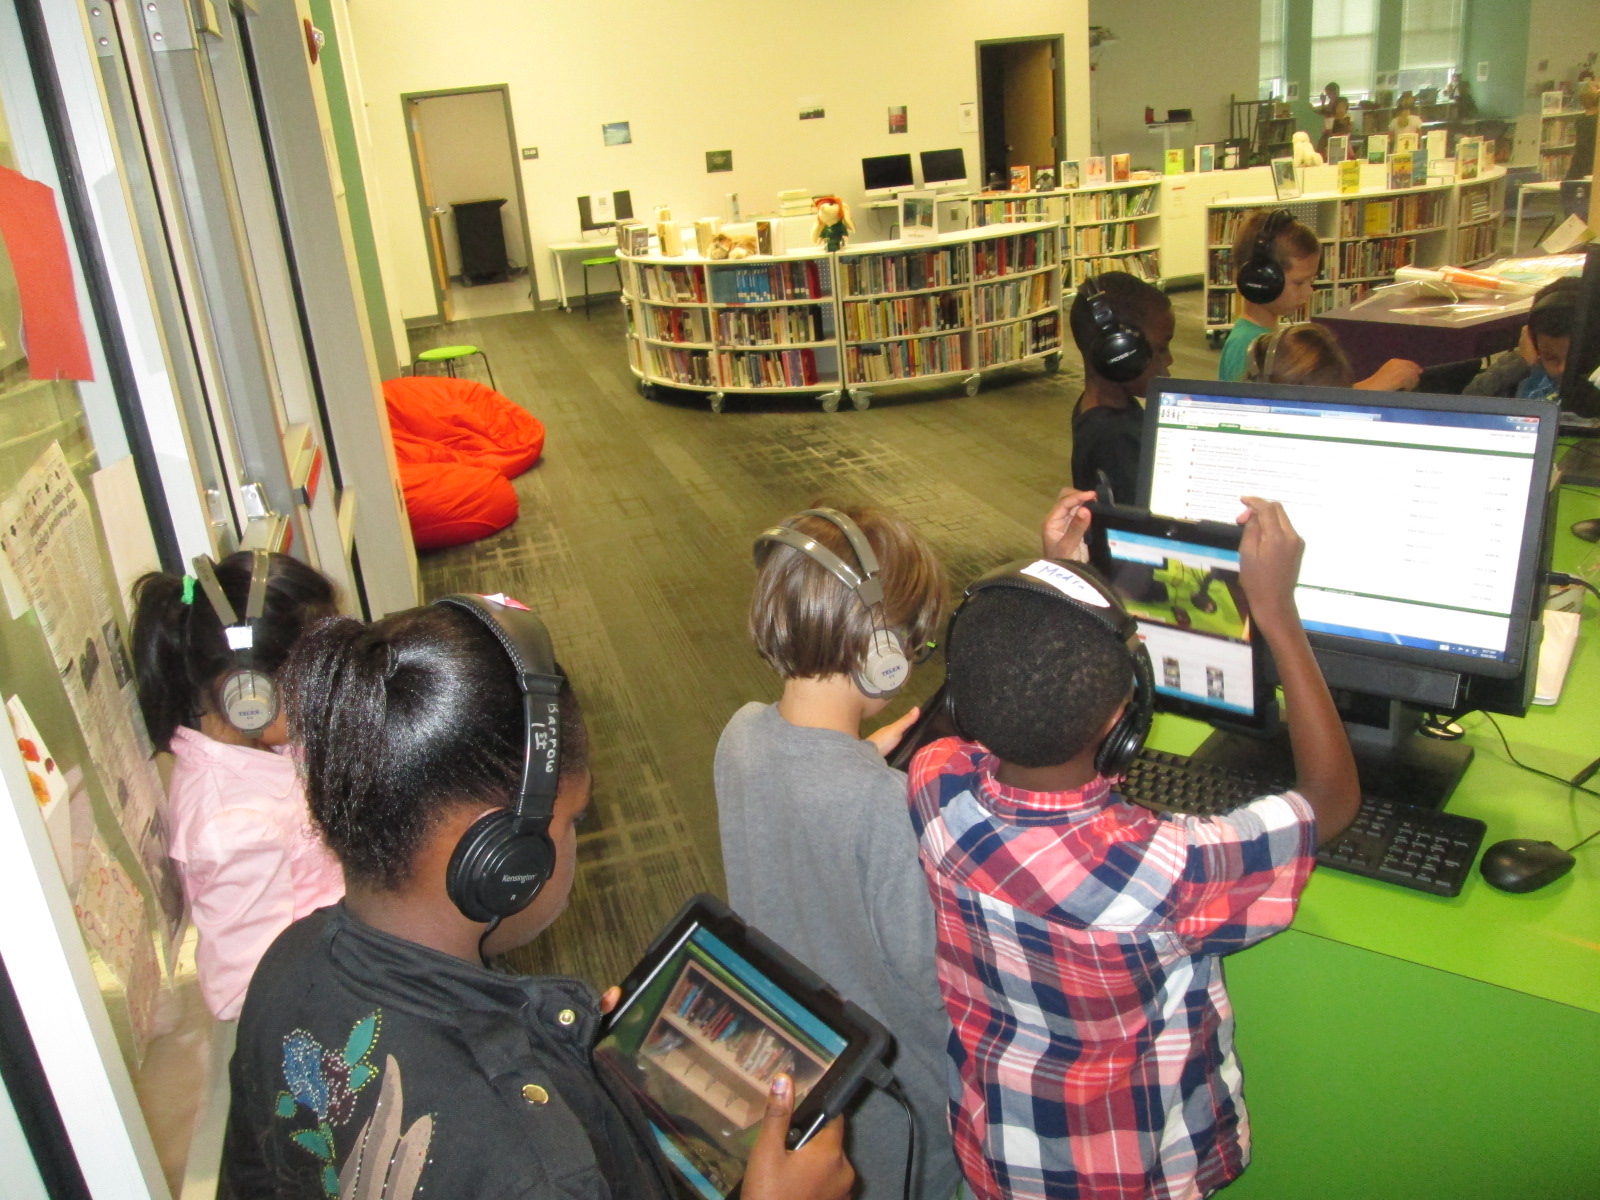
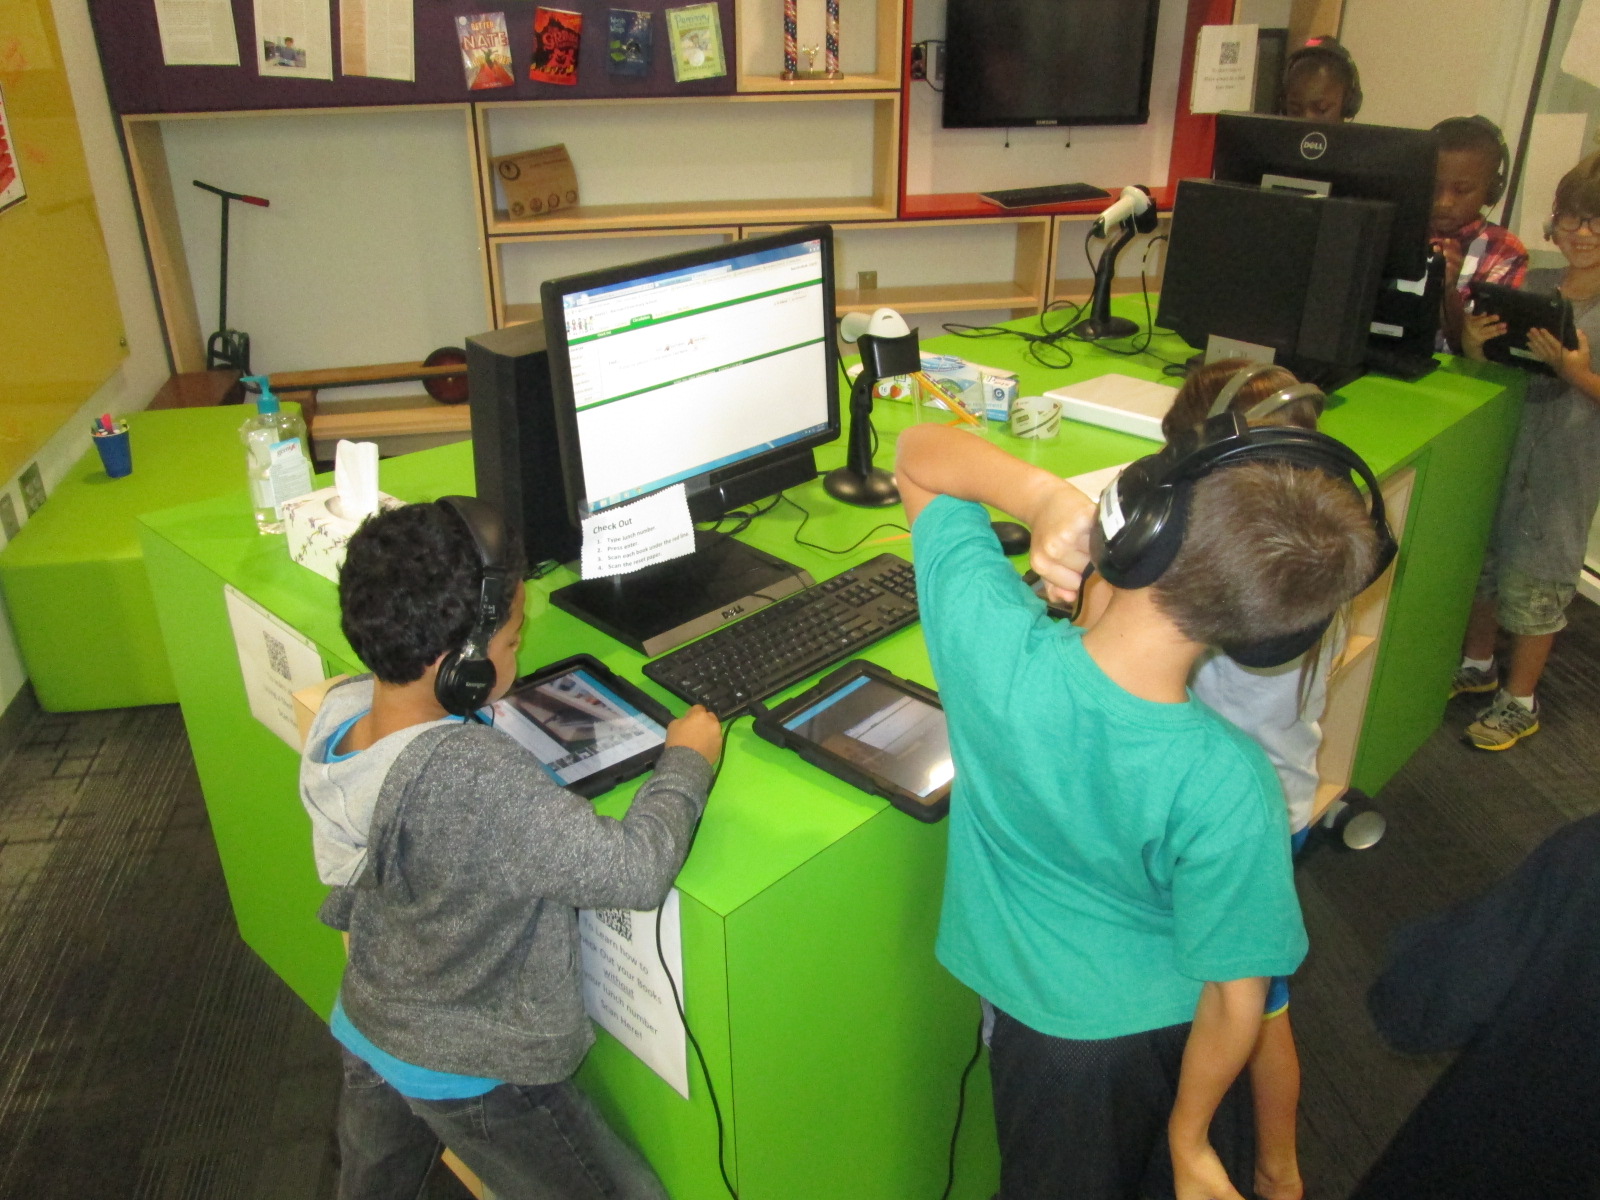
After talking about the 4 goals, I showed students how the orientation would work.  Each student would have an iPad with headphones.  Using the Layar app, students would scan each QR code and tap on the video to begin listening.  There were 4 videos that I wanted every student to review:  how to check out, how to check in, how to use Destiny, and a tour of the library sections.  I placed these 4 codes on 4 tables so that students could easily keep track of which videos they needed to watch first.  Following the 4 videos, students could scan a QR code on the project board that took them to a playlist so that they could choose any of the other videos to watch.

QR orientation (5)QR orientation (8)
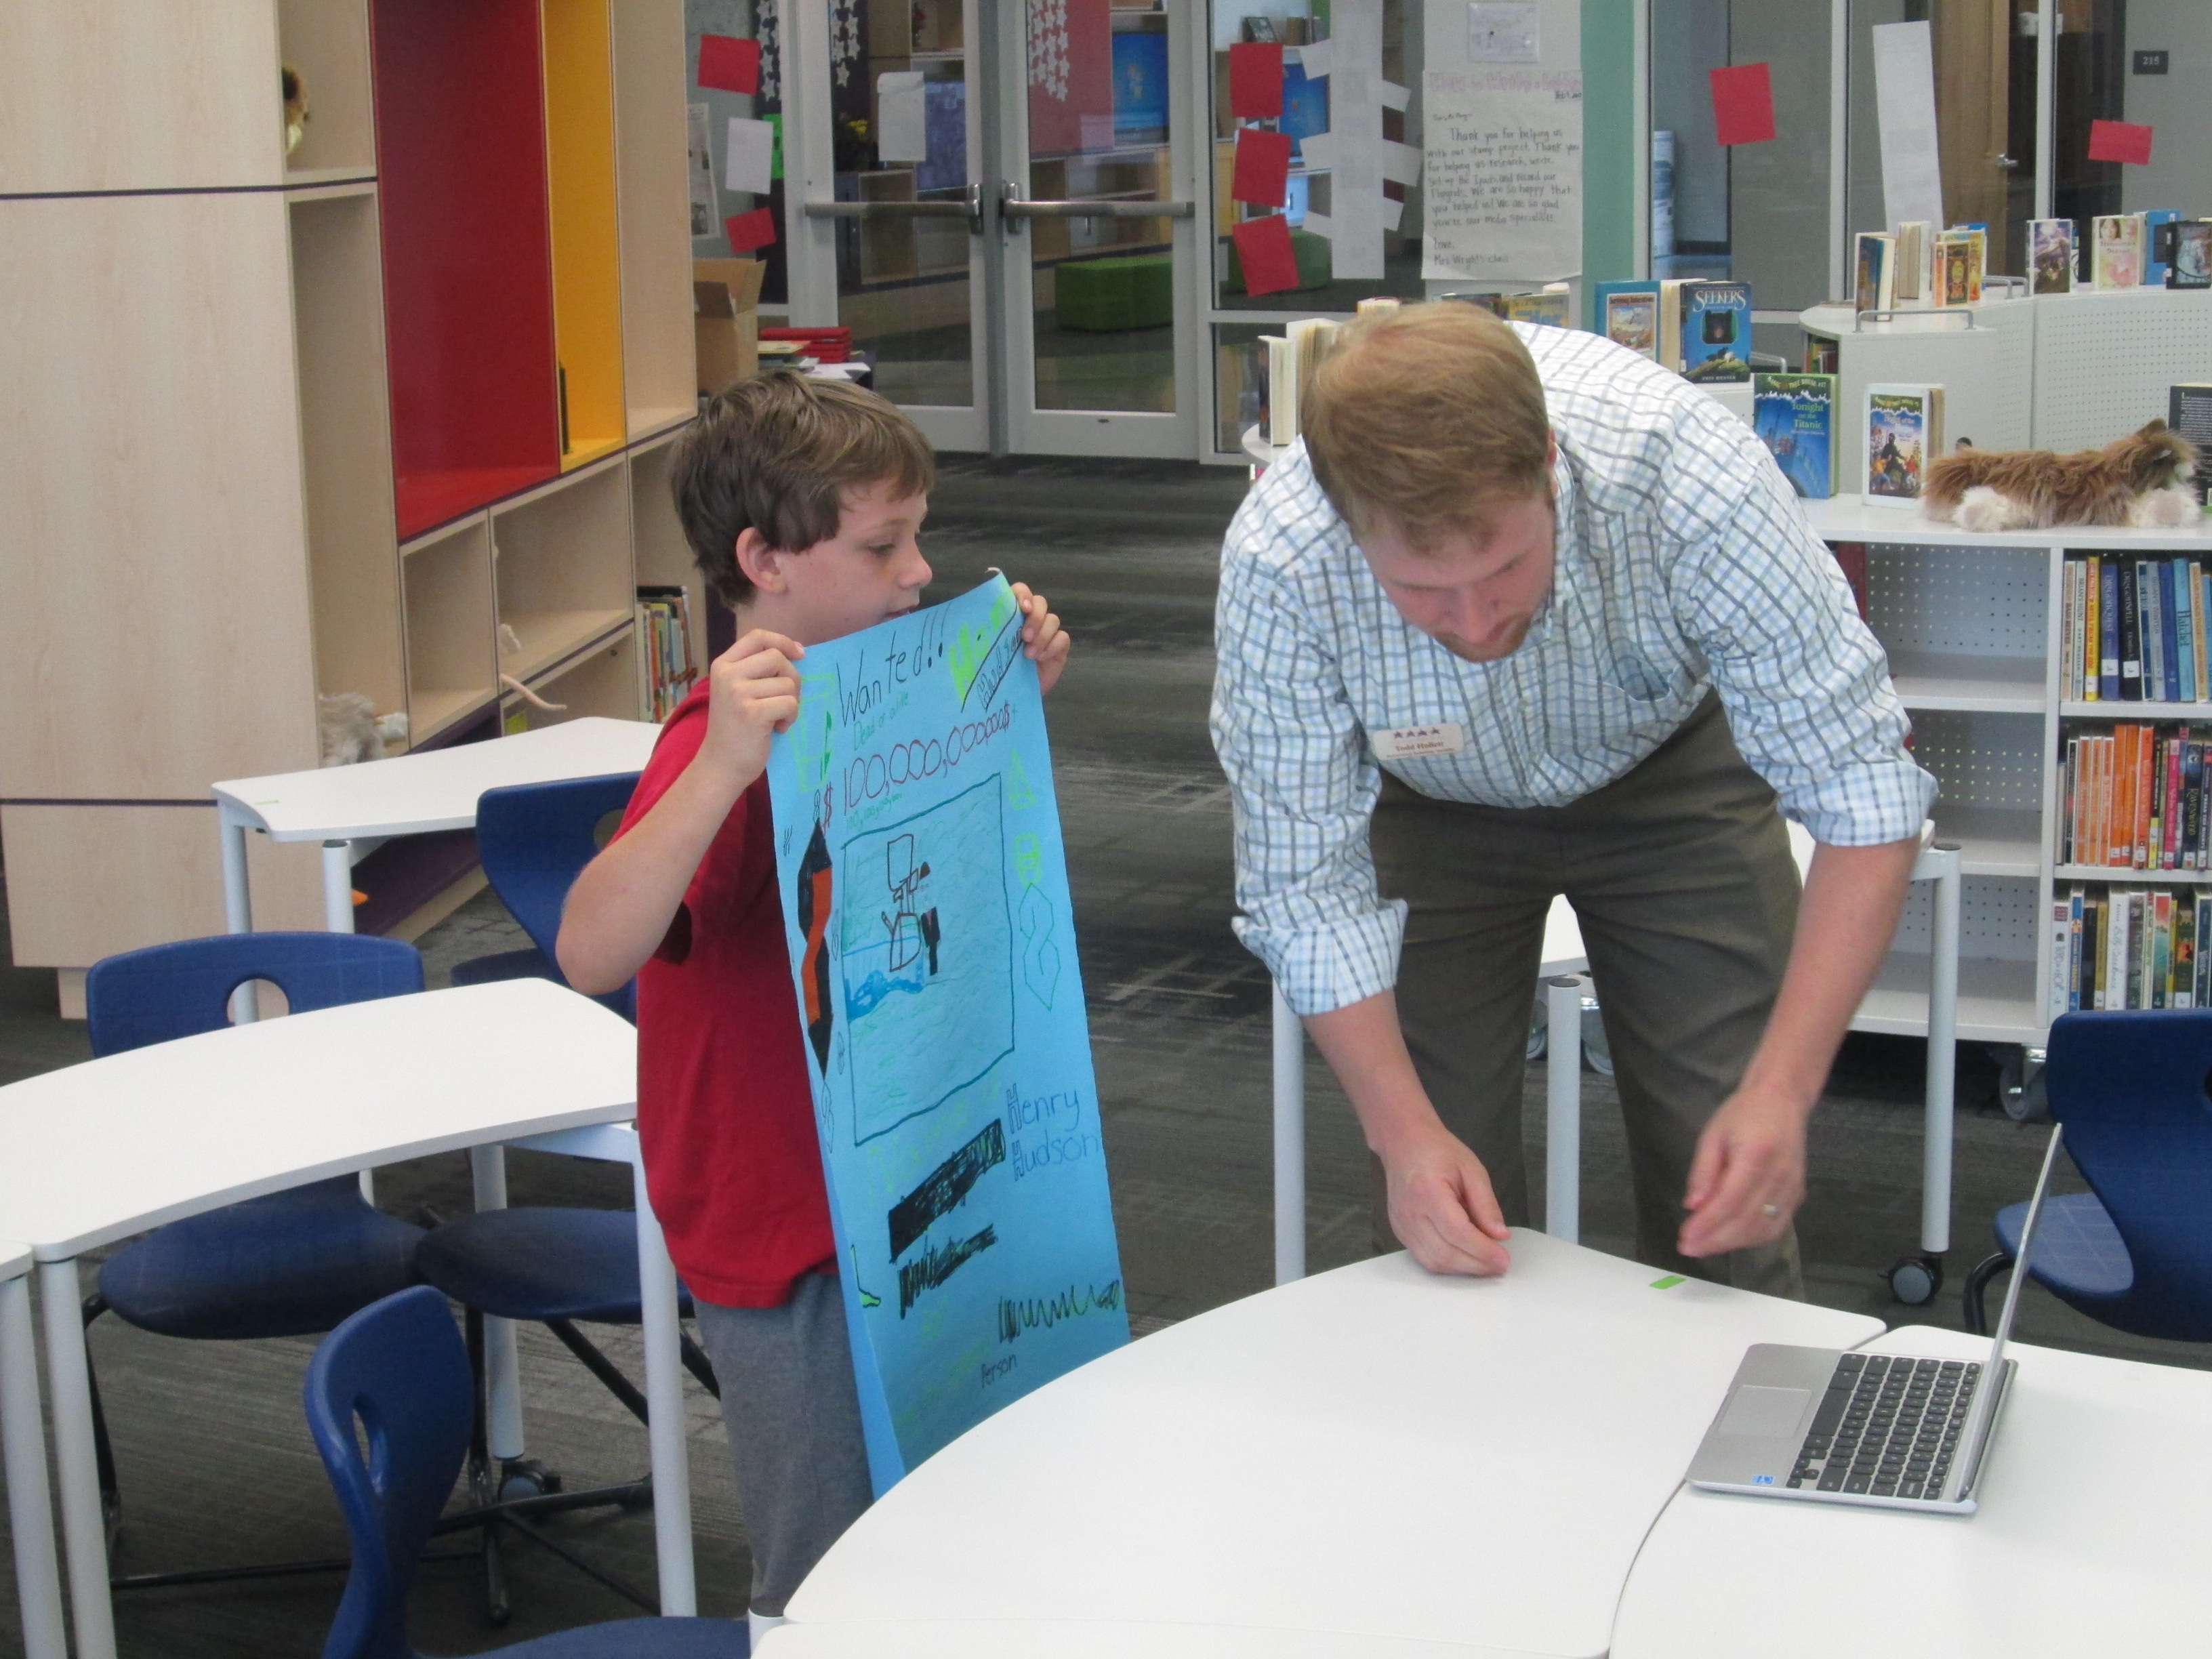
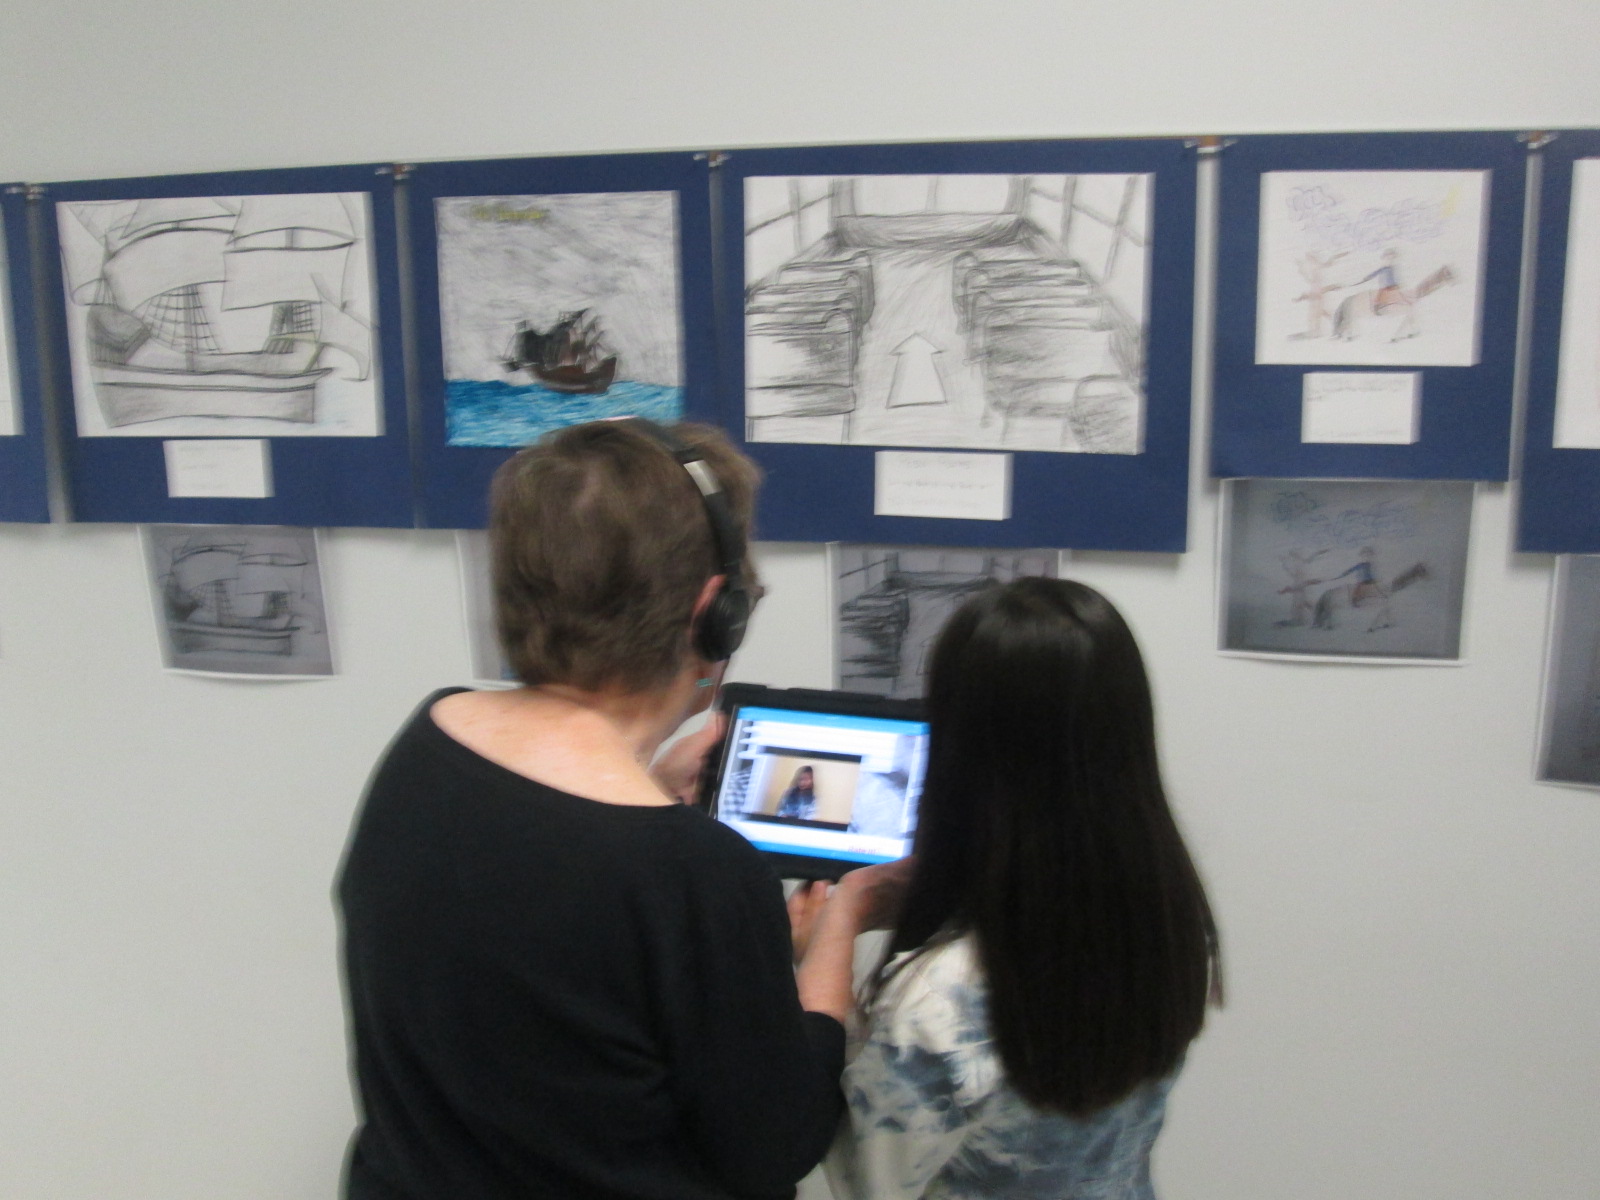
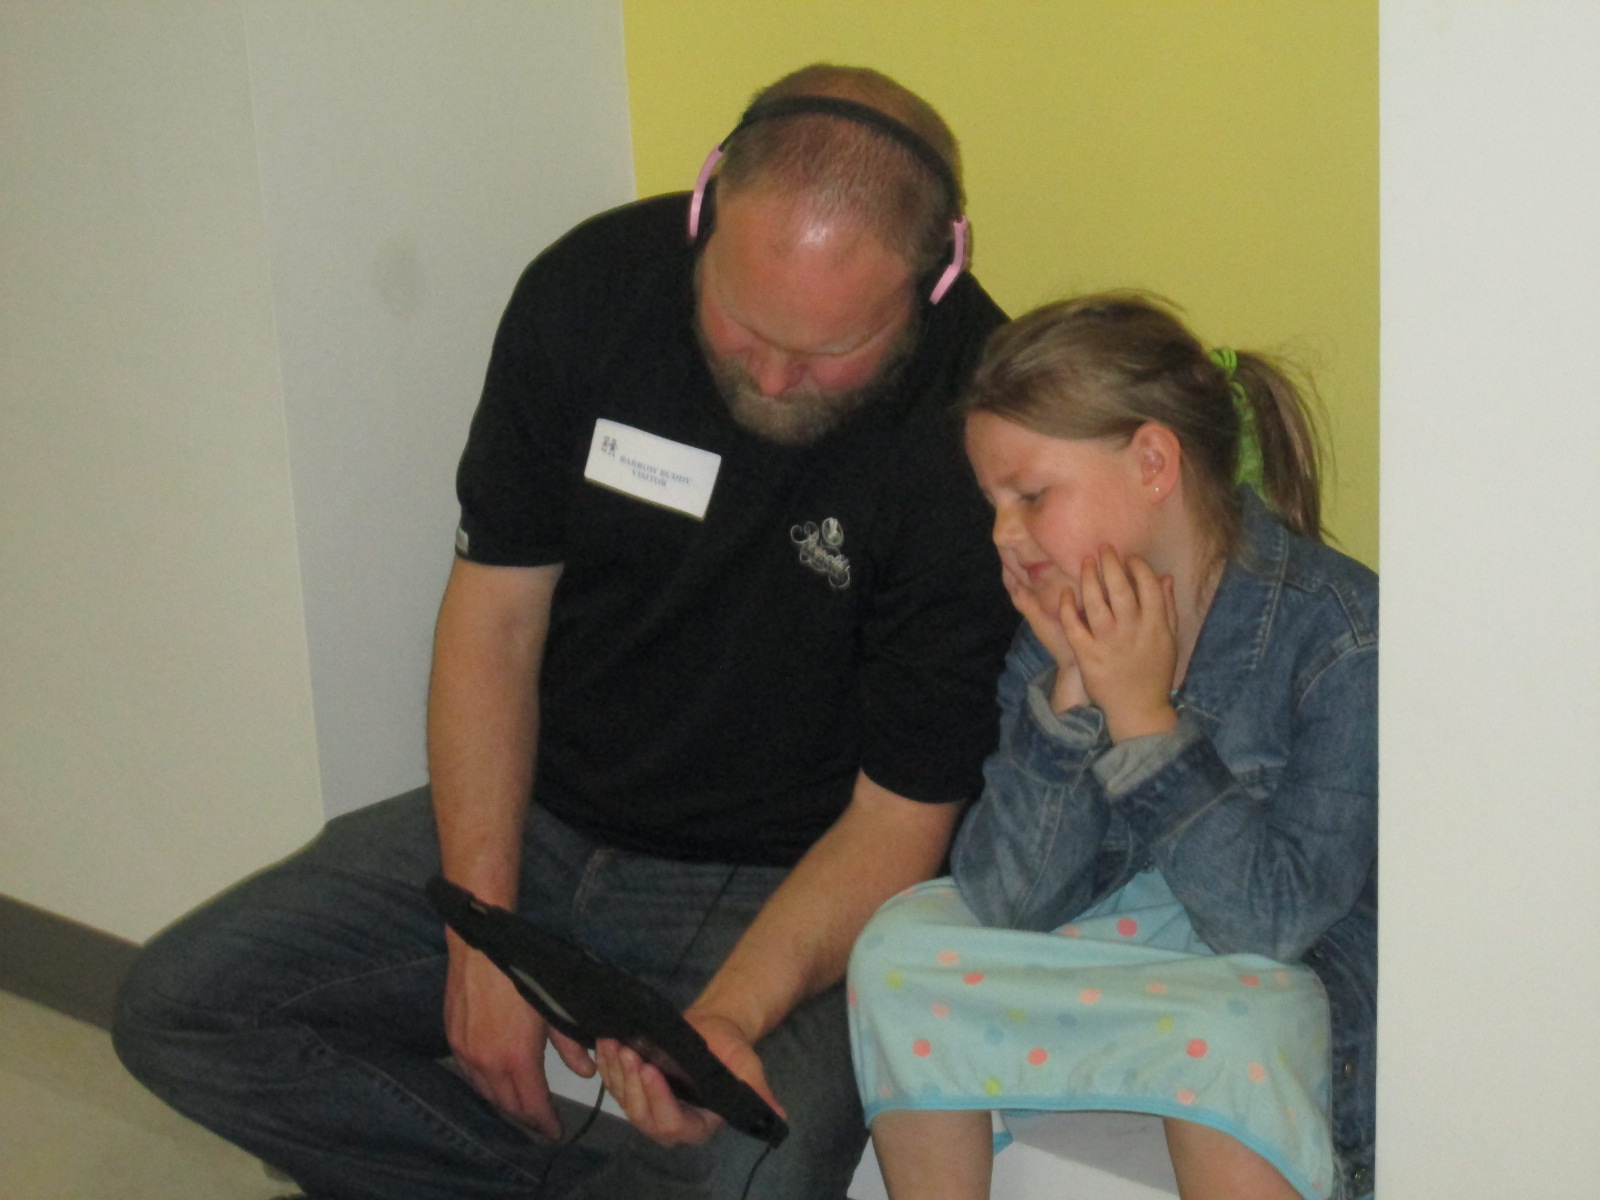
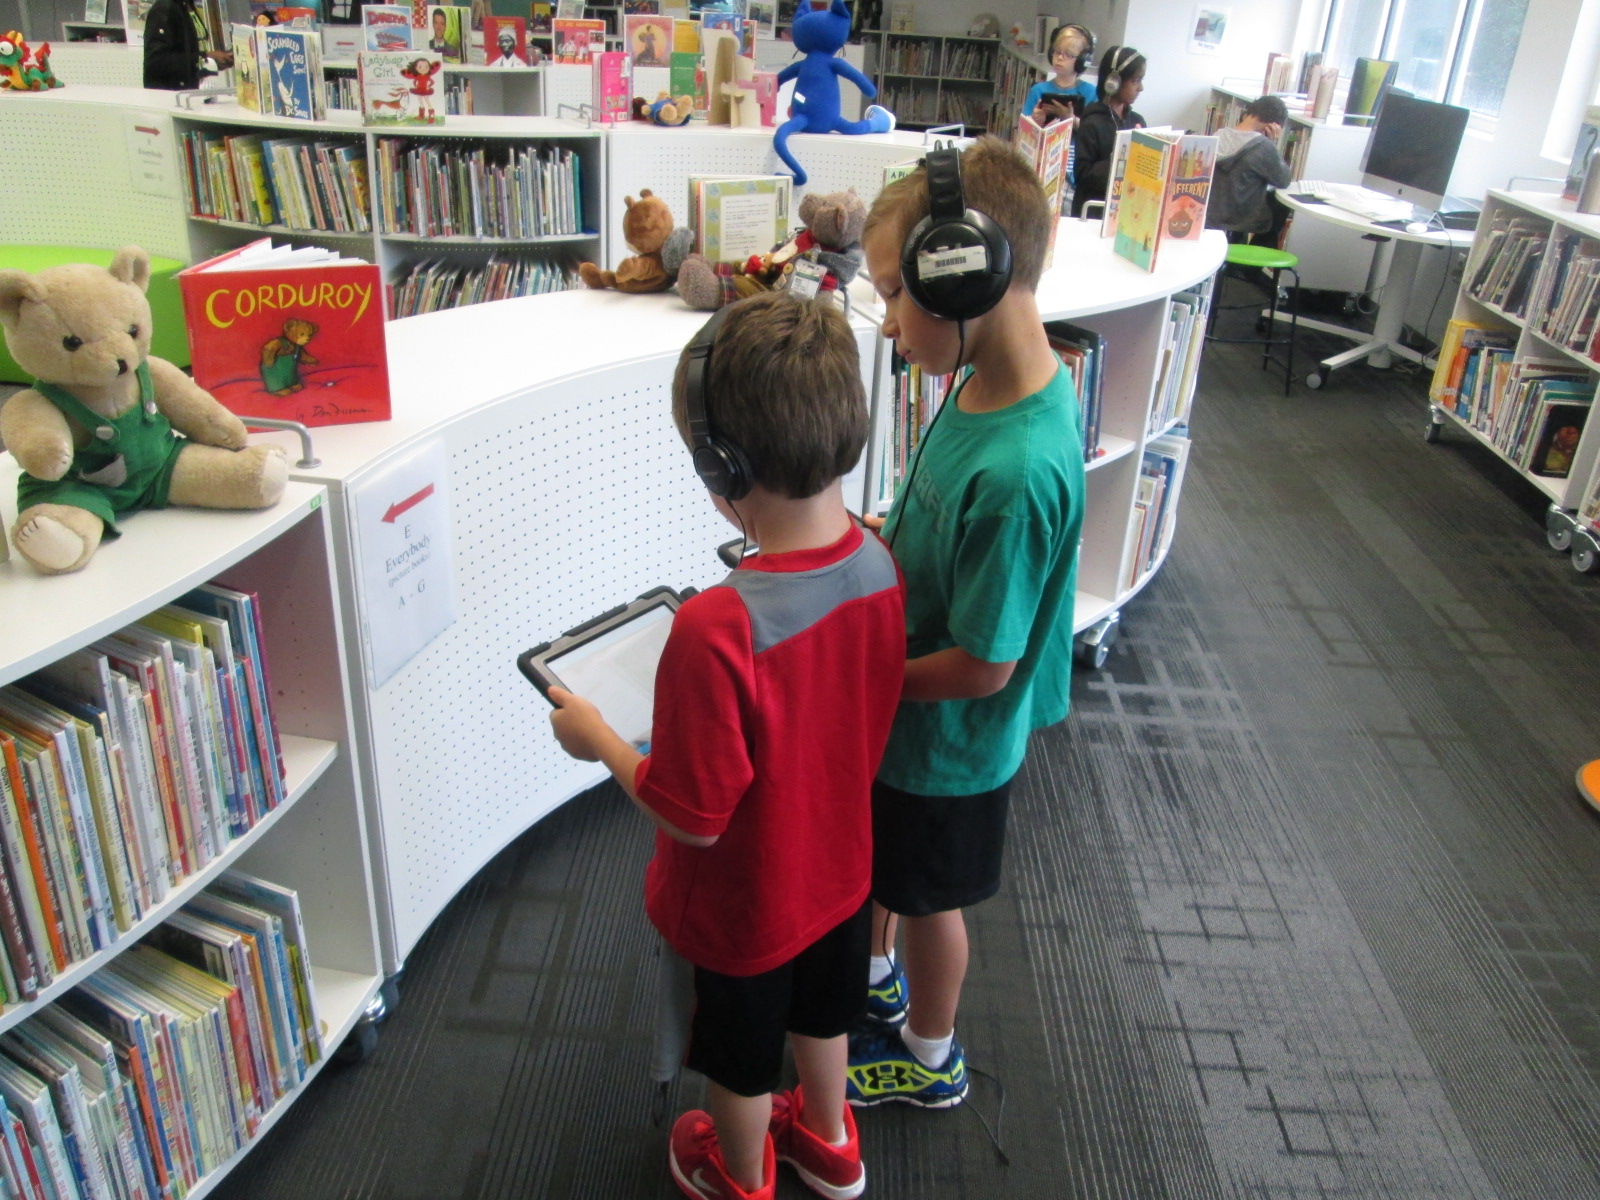
Once students scanned a video, I encouraged them to carry their iPad and go to that section of the library so that they could physically see the things that I was talking about in the video.  Once again, this was a wonderful experience because it allowed students to move, replay videos if needed, and actually see the library spaces rather than sit and listen.

QR orientation (4) QR orientation (2)

This worked beautifully some of the time, but here’s where the failure comes in.  On the 2nd week of school, our district implemented a new filter.  Filters can be wonderful things to protect our students, but anytime something new is implemented the bugs have to be worked out.  On day 1, every Youtube video was blocked on the iPads.  As soon as students started scanning, they got the no access screen.  Luckily, I could still access Youtube on my own computer so I decided we could just watch some of the videos on the projector.  Then, the internet speed became so slow that no videos would work.  Finally, we just got in a line and did an old-fashioned tour around the library.  The coolness of the QR codes was gone, but we still accomplished learning about the library.

While this experience was very frustrating, it allowed me to model what it means to not give up, to persevere through failures, and to expect that great things will happen even when things don’t work.  Rather than bottle all of my thinking in my head, I began to share it with the kids.  I said things like, “This was an epic failure, so let me back up and rethink this” and “Why don’t we try…”.  In future lessons, I built this conversation into our mini-lesson.  I prepped the kids by sharing the failures we had already encountered and how we worked through them together.  What I started to see was kids who were being more patient and were trying different strategies when the internet was slow or a code didn’t scan rather than kids who were giving up or kids who were yelling out about something not working and asking for an adult’s help.  I was reminded of the importance of sharing that it’s ok to fail as long as you use that failure to learn what you might do differently.

QR orientation (3)

In Kindergarten and 1st grade, we used the book Awesome Dawson by Chris Gall.  I chose this book because Dawson is a “maker”.  I felt like he embodied what I hoped that all of us would consider ourselves across the course of the year.  During our reading of this book, we paused to notice how Dawson never gave up.  We pointed out his epic failures along the way and how he took those failures, backed up, and tried something new.  He never lost his cool.  Instead, he took a different path or split a huge invention into 3 smaller ones.  As we made these noticings, we made connections to our own learning and the goals that we had for this year in the library.

QR orientation (1)

Following our read aloud and/or QR code tour, we used Kahoot to review a few of the library procedures.  I chose Kahoot for a few reasons.  One was to put it in front of teachers at the very beginning of the year as an engaging tool to use with students to check for understanding.  Several teachers were eager to try it in their classrooms.  Another reason was to make the really boring topic of library procedures fun and get us all on the same page.  It worked.  Even another reason was to throw a tool at students that was new to just about all of them and once again practice our acceptance of failure.  Several students couldn’t login.  Others had games that didn’t load as fast as other i Pads.  Still others got kicked out in the middle of the game and had to log back in.  Did any of these failures stop of us from learning? No.  We used each and every barrier, glitch, and student error as a learning tool for how we will work together this year.

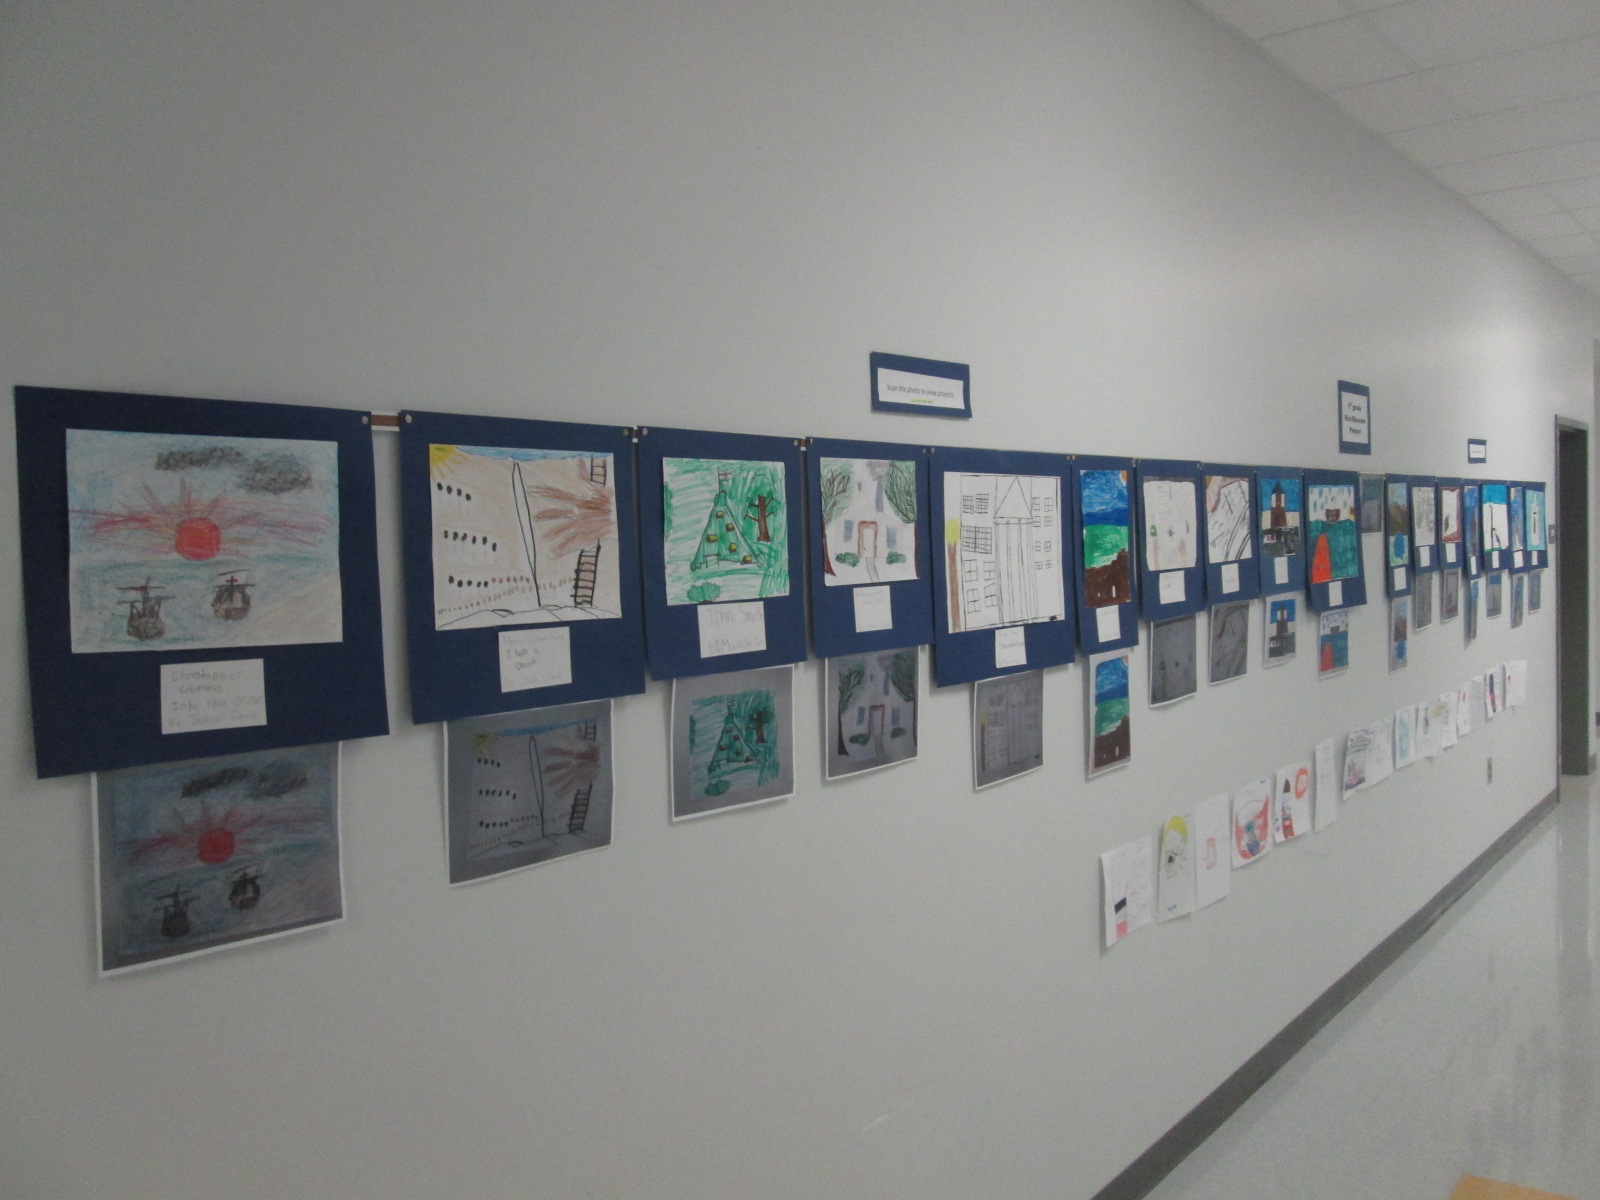
Now that our orientations are over. We are ready for a year of miraculous projects.  The QR codes are now hanging all over the library for students to continue to reference throughout the year as they forget how to check out or place a hold.  The videos are also being sent to all of the library volunteers so that they can also review the different ways the library works before assisting students and shelving books.

I’m sure I will make even more changes to next year’s orientation, but I love how this one set the stage for our year.


4th Grade Created an Augmented Reality Wax Museum using Layar and Multiple Digital Tools

IMG_3325Each year, our 4th grade creates a wax museum for their colonial period social studies standards.  Students research a person from that time, write and memorize a script, dress as that character, stand throughout the school, and give their speech multiple times to visitors.  This year the 4th grade team and I decided to try something different.  We wanted to create a digital wax museum and expand the standards beyond the colonial period to the entire 4th grade social studies standards. This new project would use the augmented reality app, Layar, to unlock all of the digital projects that students created about their person from history.  It would also be a collaborative project between 4th grade, art, and the media center.

IMG_3320 IMG_3321 IMG_3322

Updating this project was a big undertaking, but we created a process that I think can grow and expand next year.

IMG_3323 IMG_3324

First, students came to the library and learned about the project.  I showed them various digital resources that they might use for their research including Pebble Go and our state Galileo database which includes Encyclopedia Britannica.  I showed them how they could search for websites within Destiny when they are logged in.

Wax Museum Research   Google Docs

Next, I showed them how they could create a double column table in a Google doc.  One side would be a space to copy and paste information from digital resources and the other side would be for putting the information into their own words.  I showed them how to use the Easybib add-on within Google docs to document where their information was coming from.  They loved this feature and so did the teachers.

Barrow Elementary  Wax Museum   4th Grade

Finally, students used a Signup Genius to sign up for their topics.  This made topic selection fast and teachers were able to give a final approval to the person that students signed up for.

After that, students started their research.  Most used their gathered facts to write scripts for various projects.

Wax Museum Project Options   Google Docs

Then, they all returned to the library to learn about their project options.  Students did not have to use technology to create their project, but they did have to use technology to document their project.  For example, if they made a physical poster, they had to use some type of technology tool to record some information about their poster using their script. Many digital tools were suggested to students, but students were welcome to find and try their own tools.  We suggested Chatterpix, Tellagami, and iMovie as main options. Students chose projects and continued working in class.

In art, students researched images of the historical events their person was involved in and created an image to serve as the trigger image for the Layar augmented reality app.  The images were created with water colors, pencils, crayons, markers, and various other tools.

IMG_3132 IMG_3133 IMG_3136 IMG_3137


As images were finished, they came to me in the library so that they could be photographed and uploaded to Layar.  I also printed each photograph so that we had a uniform size picture to scan in the hallway.  This wasn’t necessary, but it was nice to have a smaller image to scan since some were large.

IMG_3312 IMG_3306 IMG_3304 IMG_3298 IMG_3296 IMG_3295

Students made multiple kinds of projects to attach to their image in Layar.  Some chose to make gamis in Tellagami.  Because this app lets you make 30-second clips, some students chose to make multiple videos to upload to Youtube while others used iMovie to compile their videos.

Some students used Chatterpix to make a picture of their character talk.  Once again, they either created multiple files or compiled them.

Some students chose to do the traditional wax museum project of dressing up as your person, but this time, they filmed themselves and uploaded to Youtube.


A few students created unique projects that no one else attempted.  One student used Powtoon to make a Common Craft-like video about indentured servants.

Another student wanted to do an interview, so she filmed clips of herself as a news reporter asking questions and made response videos using Chatterpix.  Then, she used WeVideo to put them together.  Because the free version of WeVideo doesn’t upload to Youtbe, we had to do a screencast of her project in order to view on the iPad.

Another student used Songify to record a rap song about Martin Luther King.  We converted his file in Any Video Converter and put it into iMovie so that it could be uploaded to Youtube.


Once students had a video or link to their project, they emailed it to me to upload to Layar.  They could have done the uploading to Layar themselves but we wanted to test most of the Layar pages before we put them in the hall.  Many people helped students with the creation and uploading of their projects.  Many thanks to the 4th grade teachers, our grad assistant Carol Buller-McGee, our instructional tech specialist Todd Hollett, gifted teacher Heather Carlson, special ed teacher Haley Beaver, an EIP teacher Lee Rogers for assisting me with getting students videos uploaded and emailed.

IMG_3307

Students worked with me to connect their links in Layar, put them in right spots on the image, and test them out.  I went ahead and published our “campaign” in the Layer creator.  You have to “publish” before the images will work when they are scanned.  You can still add pages and links even after you have published.

Barrow 4th Grade Wax Museum 2014   Smore

We also uploaded all of the content to a Smore page so that families (and the world) could view the projects from home without Layar.

IMG_3327 IMG_3328 IMG_3335

The 4th grade team and art teacher displayed all of the art in the hallway.  Today, families were invited to stop by and view the gallery.  I rolled the iPads to classrooms and took headphones too.  Students came out with their families and showed off their projects and the projects of their friends. They showed parents how to open the Layar app, point the iPad at the image, tap the screen to let Layar scan the image, and watch the content magically pop up on the iPad screen. Several parents had already downloaded Layar on their phones too.  There was excitement in the air as families experienced augmented reality for the first time.  I overheard some of them saying how they wanted to go home and try it themselves.  Others were amazed by the variety of projects that students made.  I overheard conversations about social studies content but also conversations on how to use all of the tool that were needed to make this project happen.  I loved seeing the students taking a leadership role in sharing with their families how to use the technology that they use at school.

IMG_3339 IMG_3336 IMG_3337 IMG_3330 IMG_3333

Next week, classrooms will be invited to tour the gallery.  I think we learned a lot from this project.  One of the things that I loved most was how differentiated it was.  Some students created multiple projects for their person while others focused really hard on one project.  Students were able to showcase their strengths and interests, and I felt that every single student was fully engaged in this project.  I hope that others found value in this project as well so that we can continue and expand upon this type of experience for projects next year.

You can see all of the projects without Layar by visiting our Smore.

Also, take a look at what our augmented reality wax museum looked like in action today.

Using Layar Augmented Reality App for a Digital Wax Museum

IMG_2902Our 4th grade team does a huge wax museum project each year for their study of the Colonial Period.  Kids get assigned a person from colonial times and spend several days researching their person and taking notes.  The notes get condensed into a short script that they memorize.  Then, they dress up as the character, stand in the halls of Barrow, and families and classes walk through and listen to the “wax figures” come to life and talk.

It’s a great project, but I’ve always wondered about bringing in some digital components for many reasons.  One reason is the fact that many families don’t get to come and listen to their child perform something that he or she has spent a lot of time working on.  Another reason is that many students are overwhelmed by the volumes of people walking up and waiting to hear a monologue.  Traditionally, boys have chosen males from the colonial period and girls have chosen females, but I’m sure that there are 4th graders who would love to research the other gender and not necessarily dress up as that character.

IMG_2906

We have a big project in the works to the end the year in 4th grade.  We’ve extended the wax museum to include the entire year’s social studies curriculum and revisit many of the famous people from history in the 4th grade standards.  We’ve also decided to give the students many choices about what they will create as their final product.  The art teacher is also working with us on this project and having kids research images of their chosen person and create new images or collages with the found images.  Whatever students decide to create, it will become digital through a video uploaded to youtube or a link to the project that they create online.

IMG_2905

Before I had even tried it, I suggested that the wax museum be a display of all of the pictures that students created or compiled and that we could use the augmented reality app Layar to link those images to the digital wax museum projects.  The teachers were thrilled and excited, but I was a little nervous trying something I have never done before.  A fantastic opportunity came up for me to try this same project on a much smaller scale with 12 third grade students in Ms. Spurgeon’s ELT class before doing the project with 70 4th graders.

IMG_2903

The third graders chose an African American to research, wrote a script, and filmed themselves or created a video using Tellagami or Chatterpix.  We uploaded those videos to Youtube.  Students searched online for images of their person.  We uploaded those to Layar and then linked the videos to each picture.  I published our “campaign” in Layar Creator.

IMG_2904

Layar is loaded onto all of our iPads.  Mrs. Spurgeon took the images we used in Layar and displayed them in the rotunda, library, and third grade hall.  Students and families can check out an iPad in the library to go and scan the images.  When they scan, the student videos pop up right on top of the picture on the wall and students and families can listen to the video about the person.  Here are a few of the videos that pop up through augmented reality:

I think it’s going to be a messy process to do this with the whole fourth grade with only 5 weeks of school left, but it will be fun and we will learn so much about continuing to upgrade this fantastic project into something that reaches a wider audience.