Fostering Digital Leadership: A Next Step

chromville1I recently rolled out our 1 to 1 devices to grades 3-5.  During this orientation, I talked with students about digital leadership.  Since then, our oldest grades have started taking their computers home, but our 3rd graders are still waiting.  It’s their first year with their own computer and we are trying to do a better job of helping them understand what kinds of things they can do with their computer when they take it home.

The third grade teachers chatted with me about digital leadership and digital citizenship and we thought about what would be the most important thing to explore next.  We looked at Common Sense Media and their scope and sequence.  We also talked about ideas that I planted during the orientation.

Based on our discussions, I decided to focus on our digital snapshots.  What are we currently doing with technology?  What do we want to strive to do with technology?  What is ok to share?  What do we keep private?

I created a short set of slides to guide our conversation, and I’m fascinated by some of the things that came up.  I started with a small piece of my own digital snapshot.

It contained my blog as well as a screenshot of my home screen on my iPhone.  I asked students to look at this one piece of my digital life and see what they could learn about how I use technology.  They had conversations with partners and I eavesdropped.  I heard things like:

  • He misses a lot of calls and doesn’t answer his text messages
  • He likes to share things
  • He takes a lot of pictures
  • He likes to travel
  • He is very organized with his apps
  • He uses his phone to look up books in the library
  • He has 2 kids

The list continued to grow with each class, and each class inferred something more than the last class.  I was actually amazed about how much they could learn from me just by focusing on my phone.  In fact, that’s all they focused on.  Not a single student talked about the picture of my blog.  There focus was completely on the apps on my phone, which was also interesting to me.

I used their noticings to connect to some of the decisions I make as a user of technology.  I talked about how I know when I share a picture or a blog post that it is going to be seen around the world.  I once again shared our blog map to remind students where people are looking at our work.

Next, I had students talk with partners about what their digital snapshots look like.  How are they using technology in their everyday lives?  We started adding some of these ideas to a doc.  We didn’t capture everything, but I at least wanted a list we could refer to.

All of this was leading up to us spending more time talking about using our devices in school and at home for educational purposes.  I loved having this list because most students thought it was bad for them to go onto Youtube.  Many were surprised when I talked about all of the great things Youtube is for.  In most classes, we spent a bit of time brainstorming why we might use Youtube.  This list also gave me some insight into what students are doing at home that I haven’t even heard of.

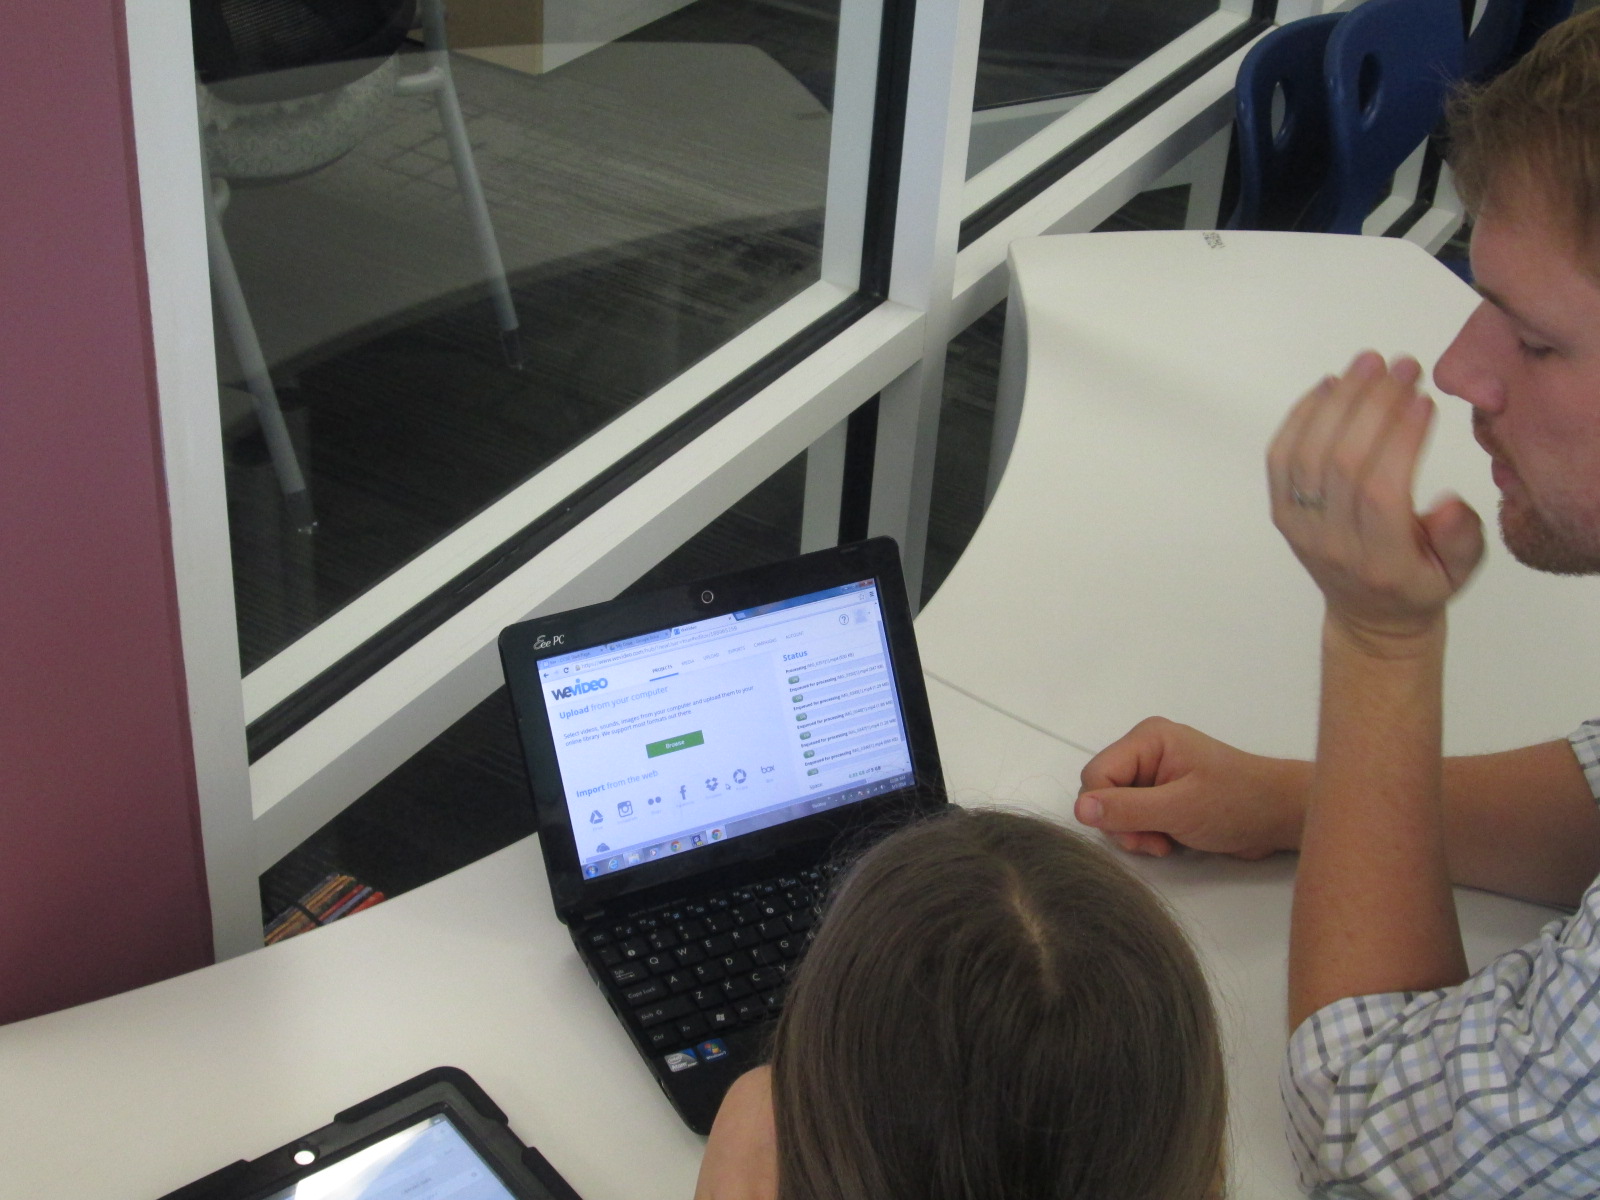
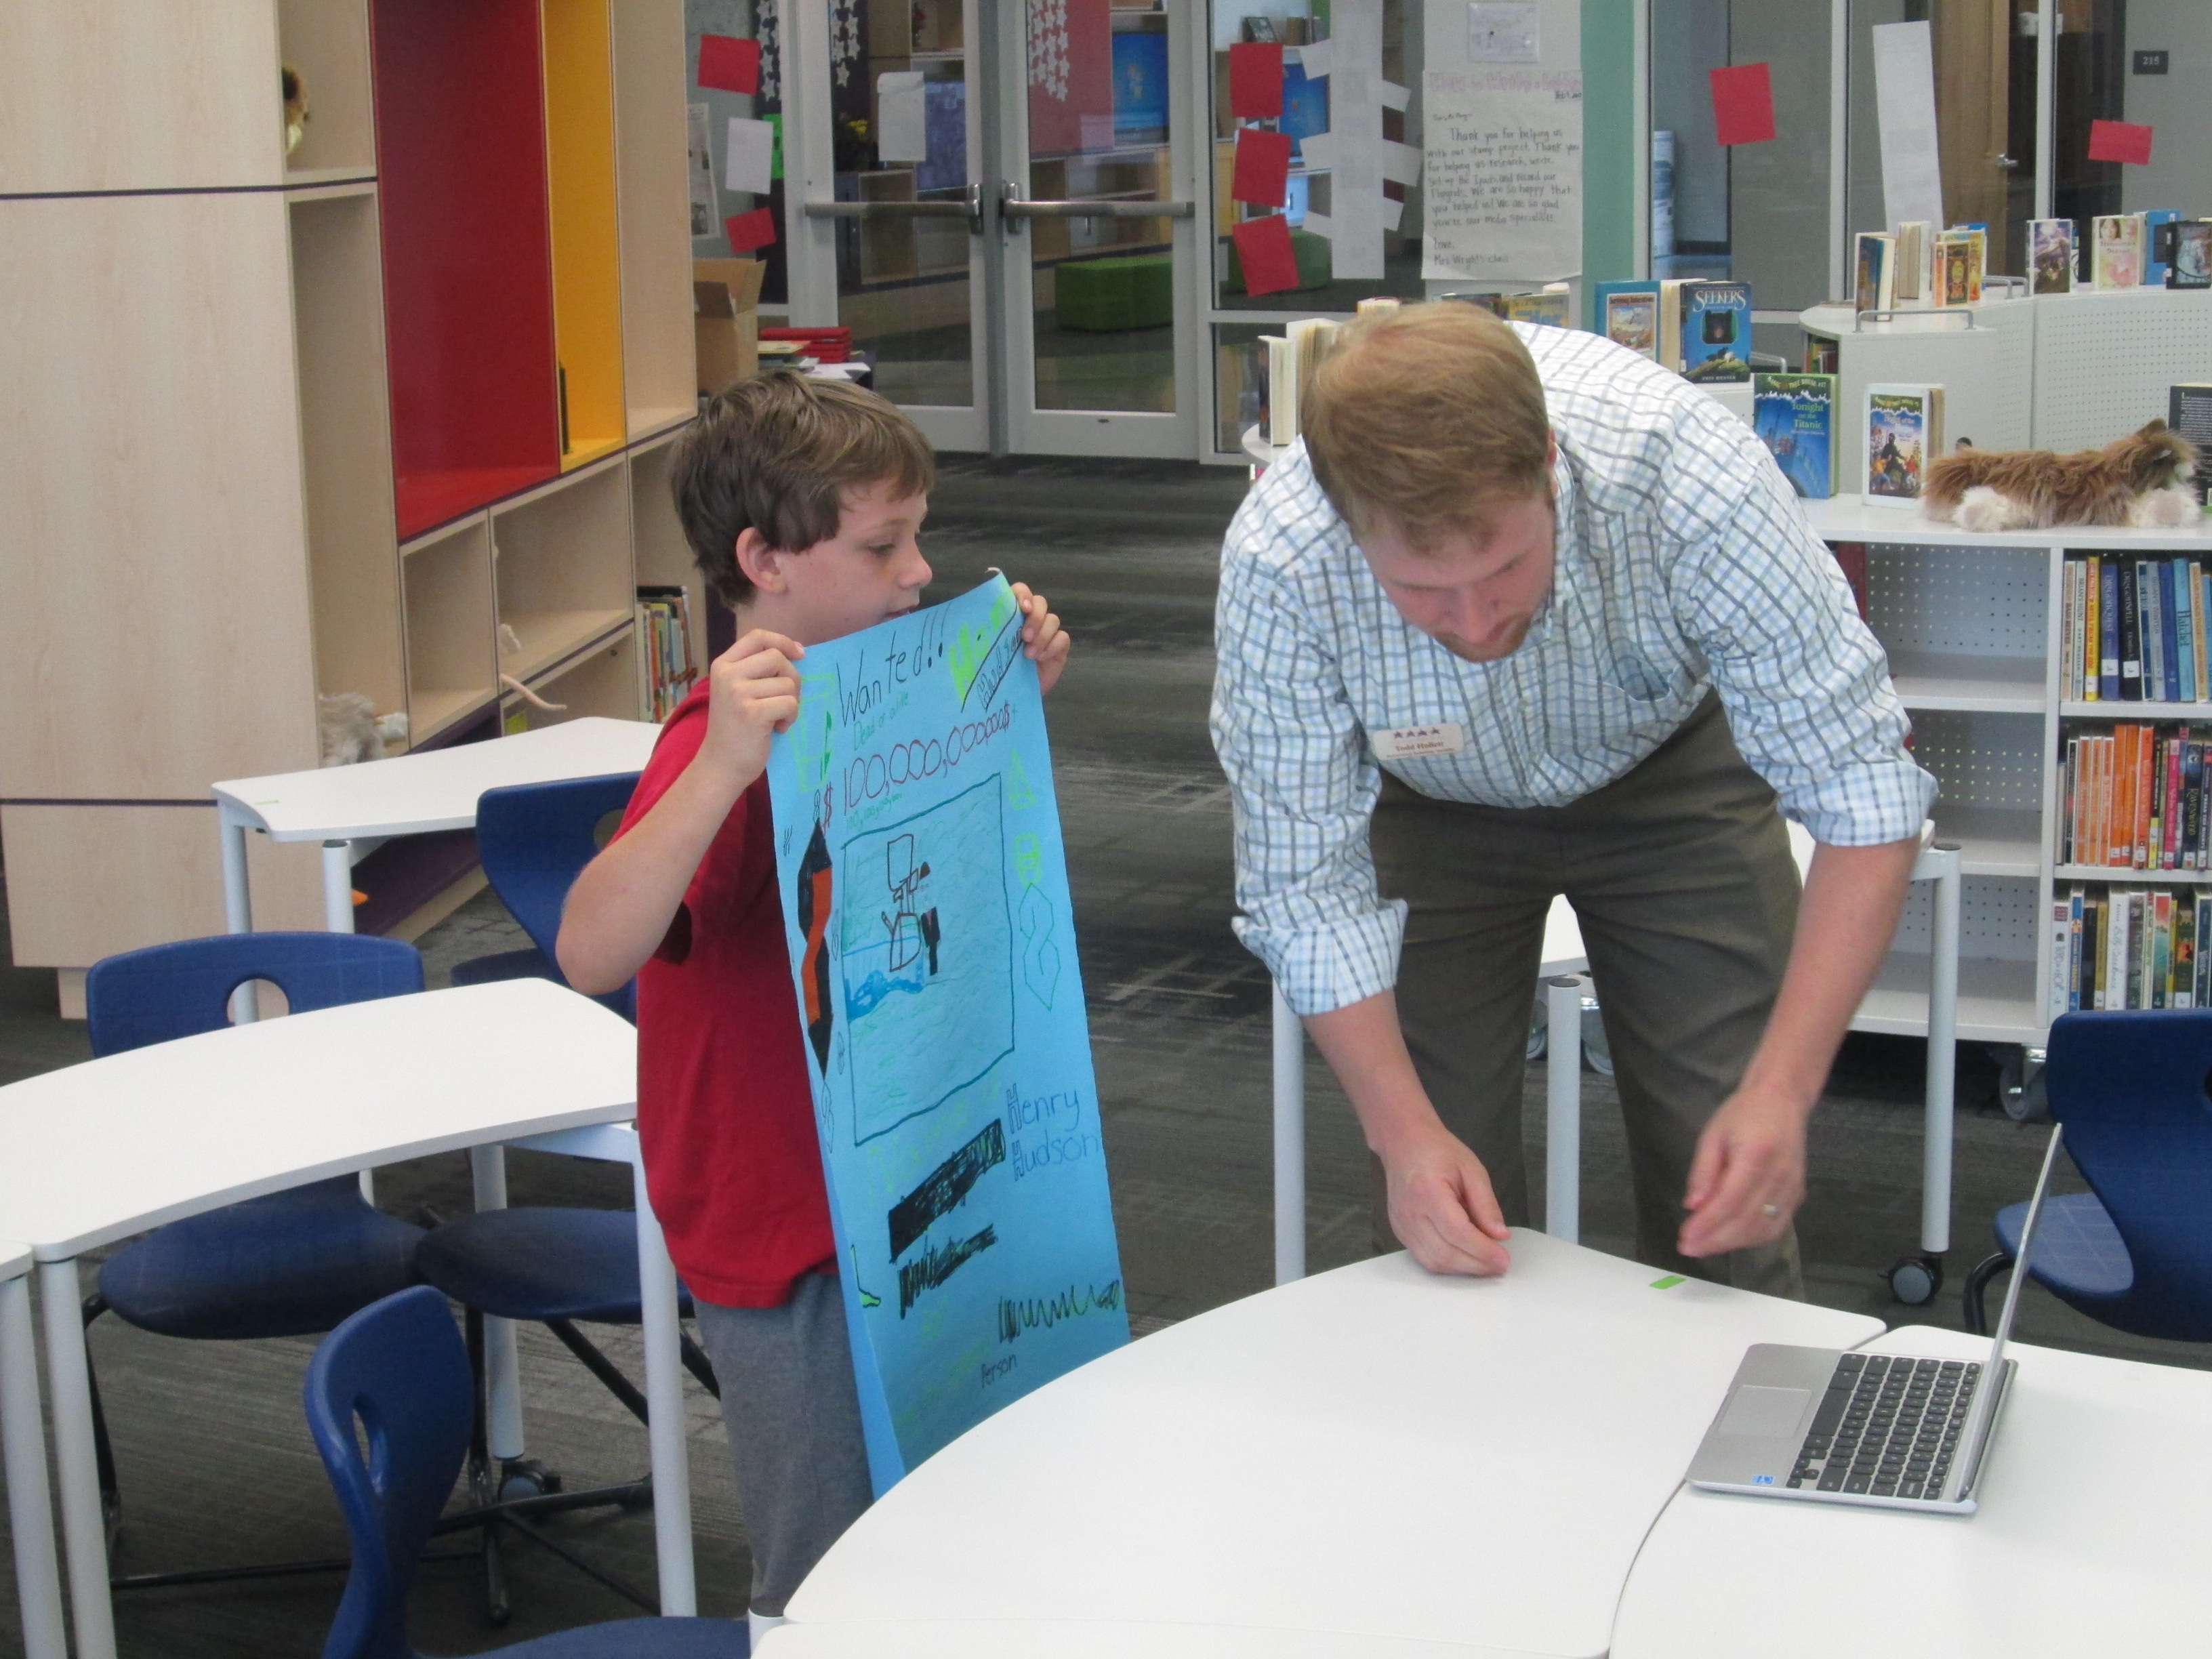
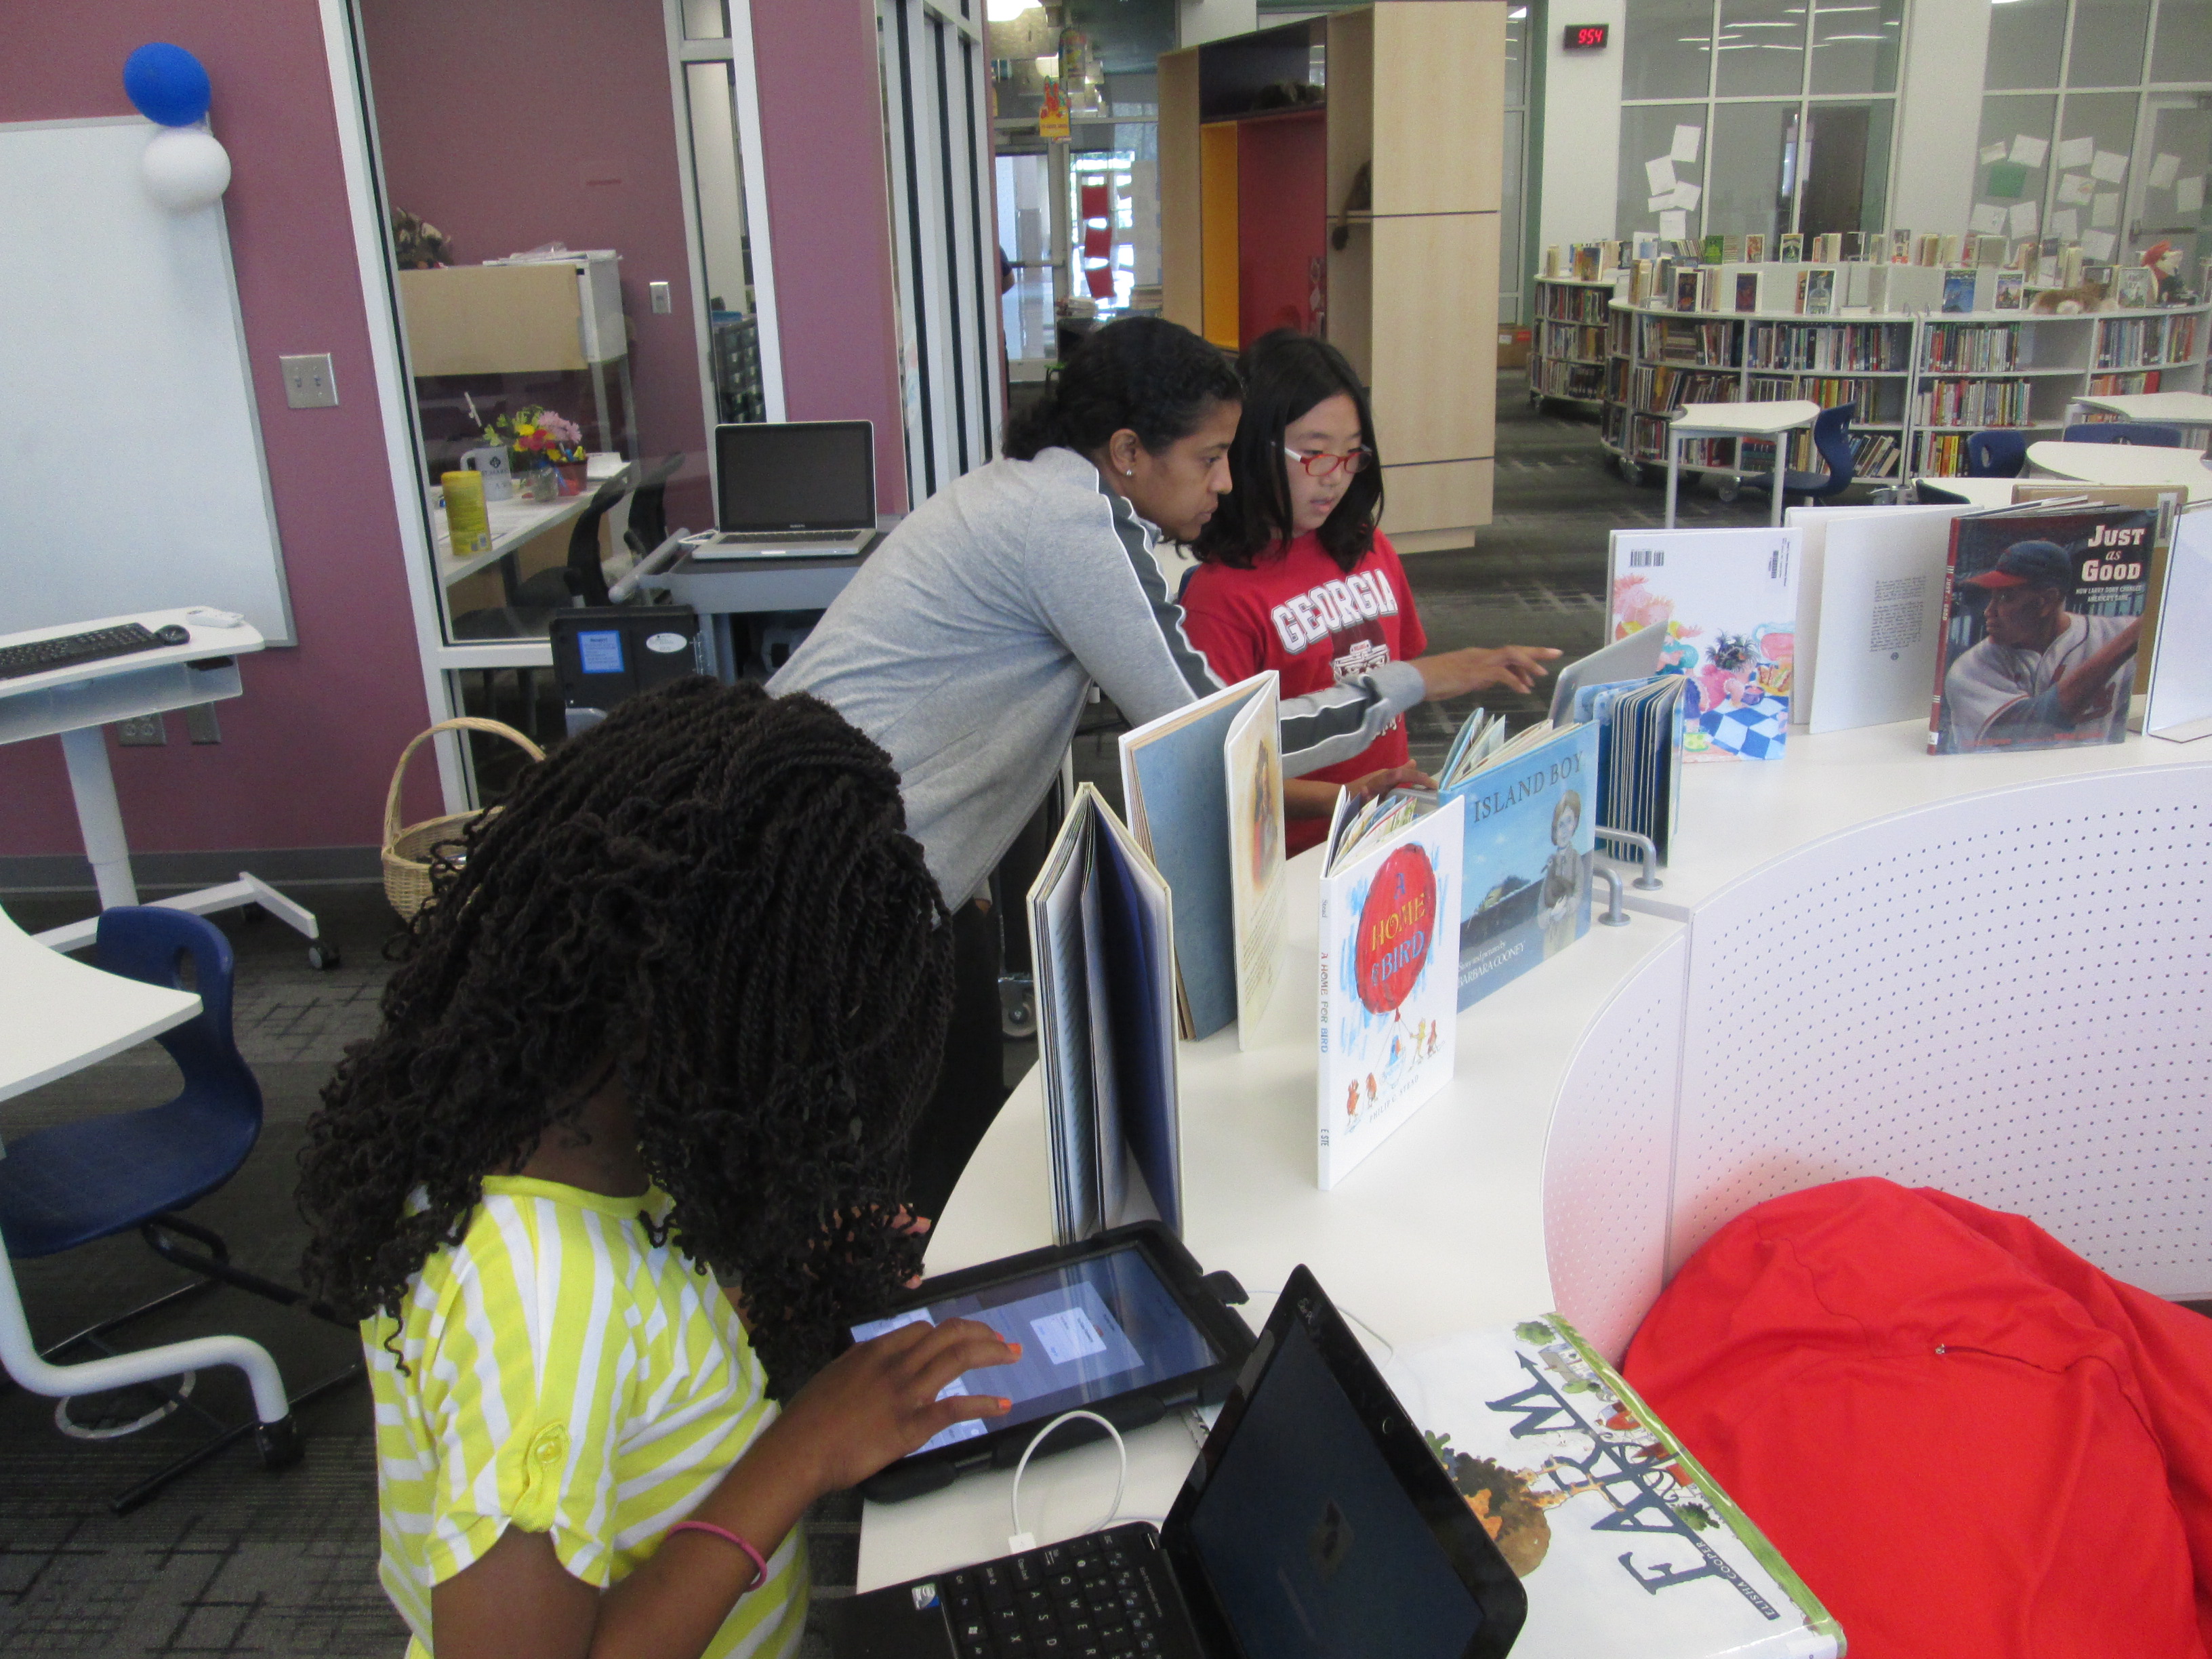
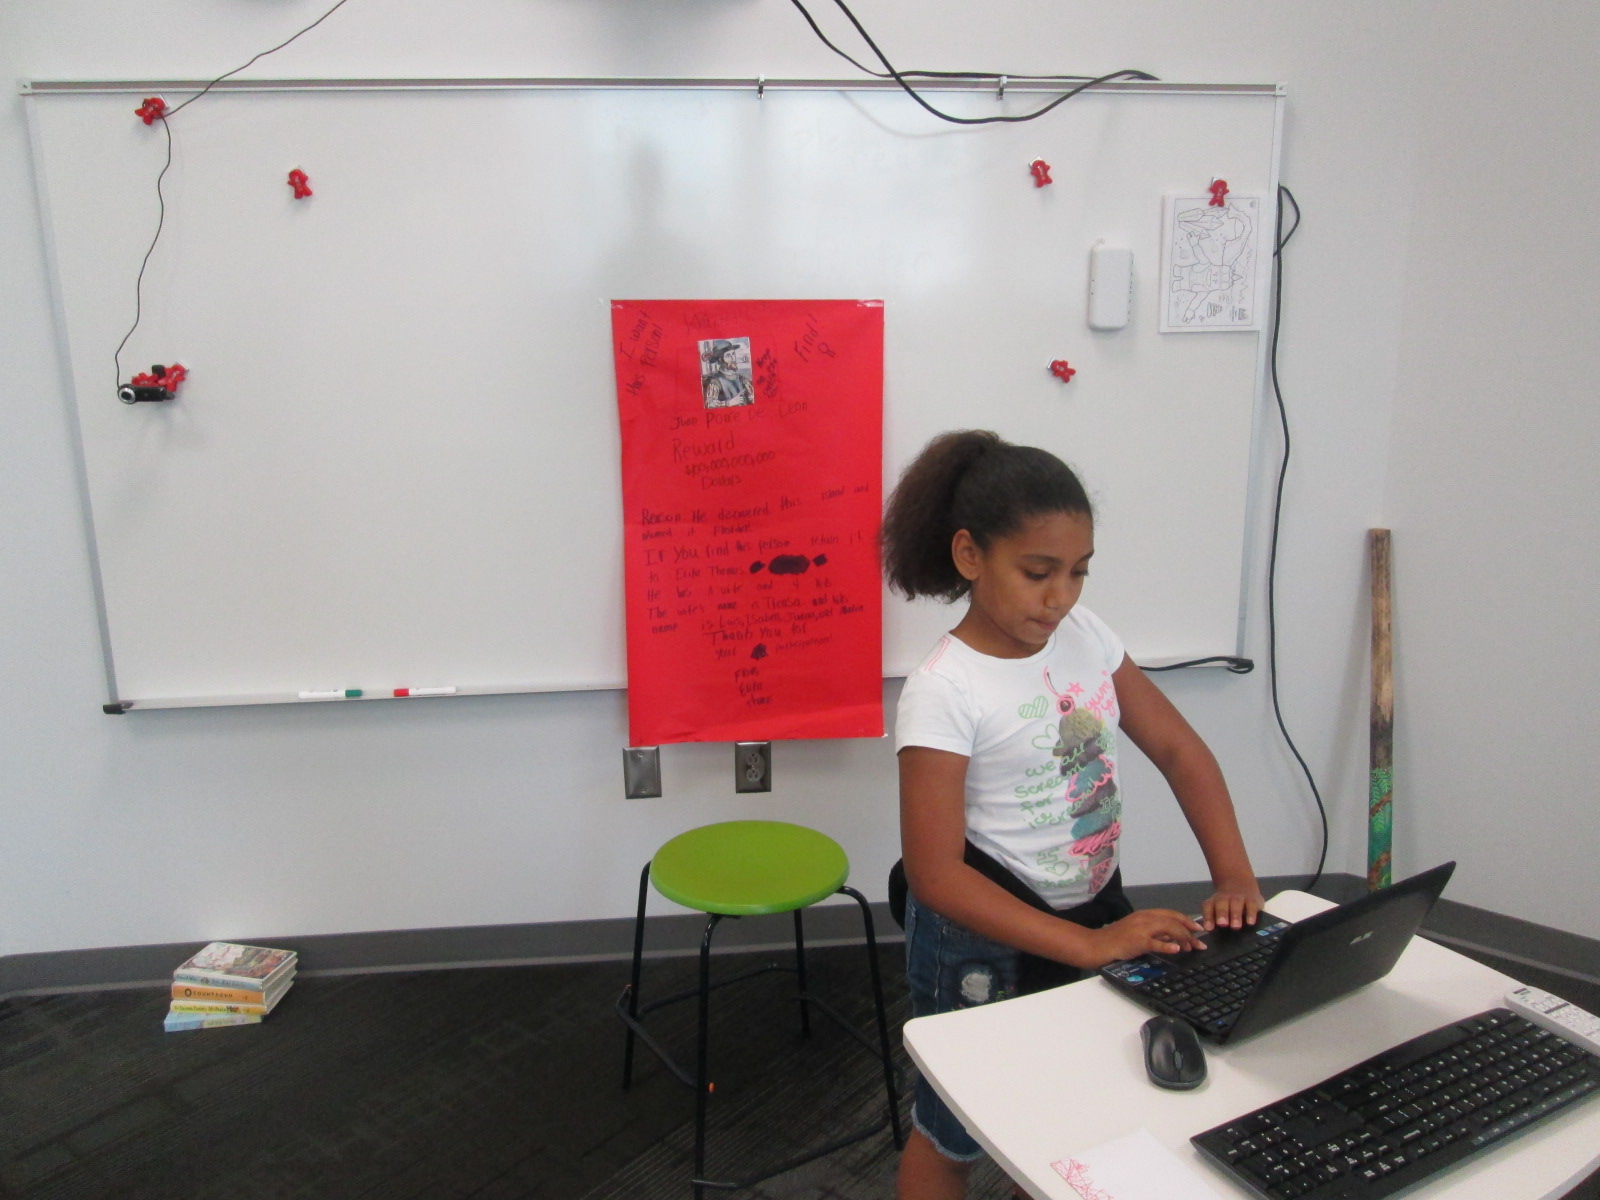
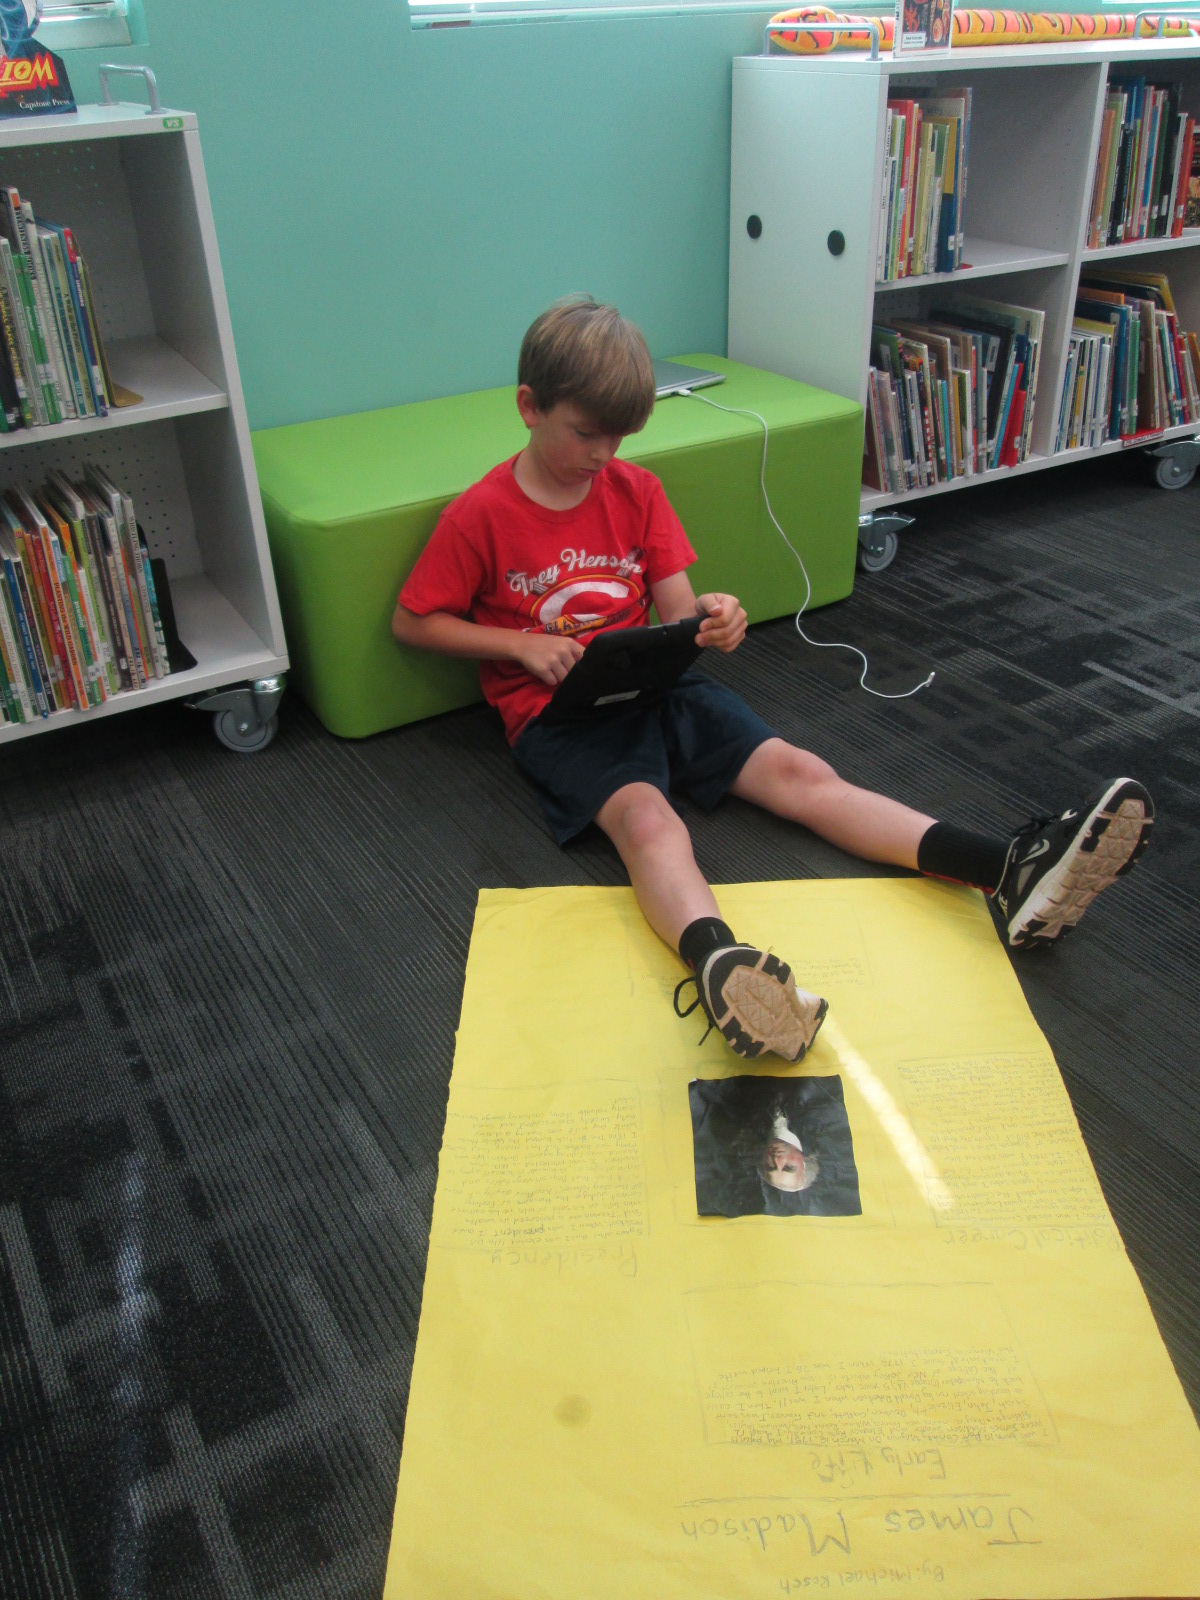
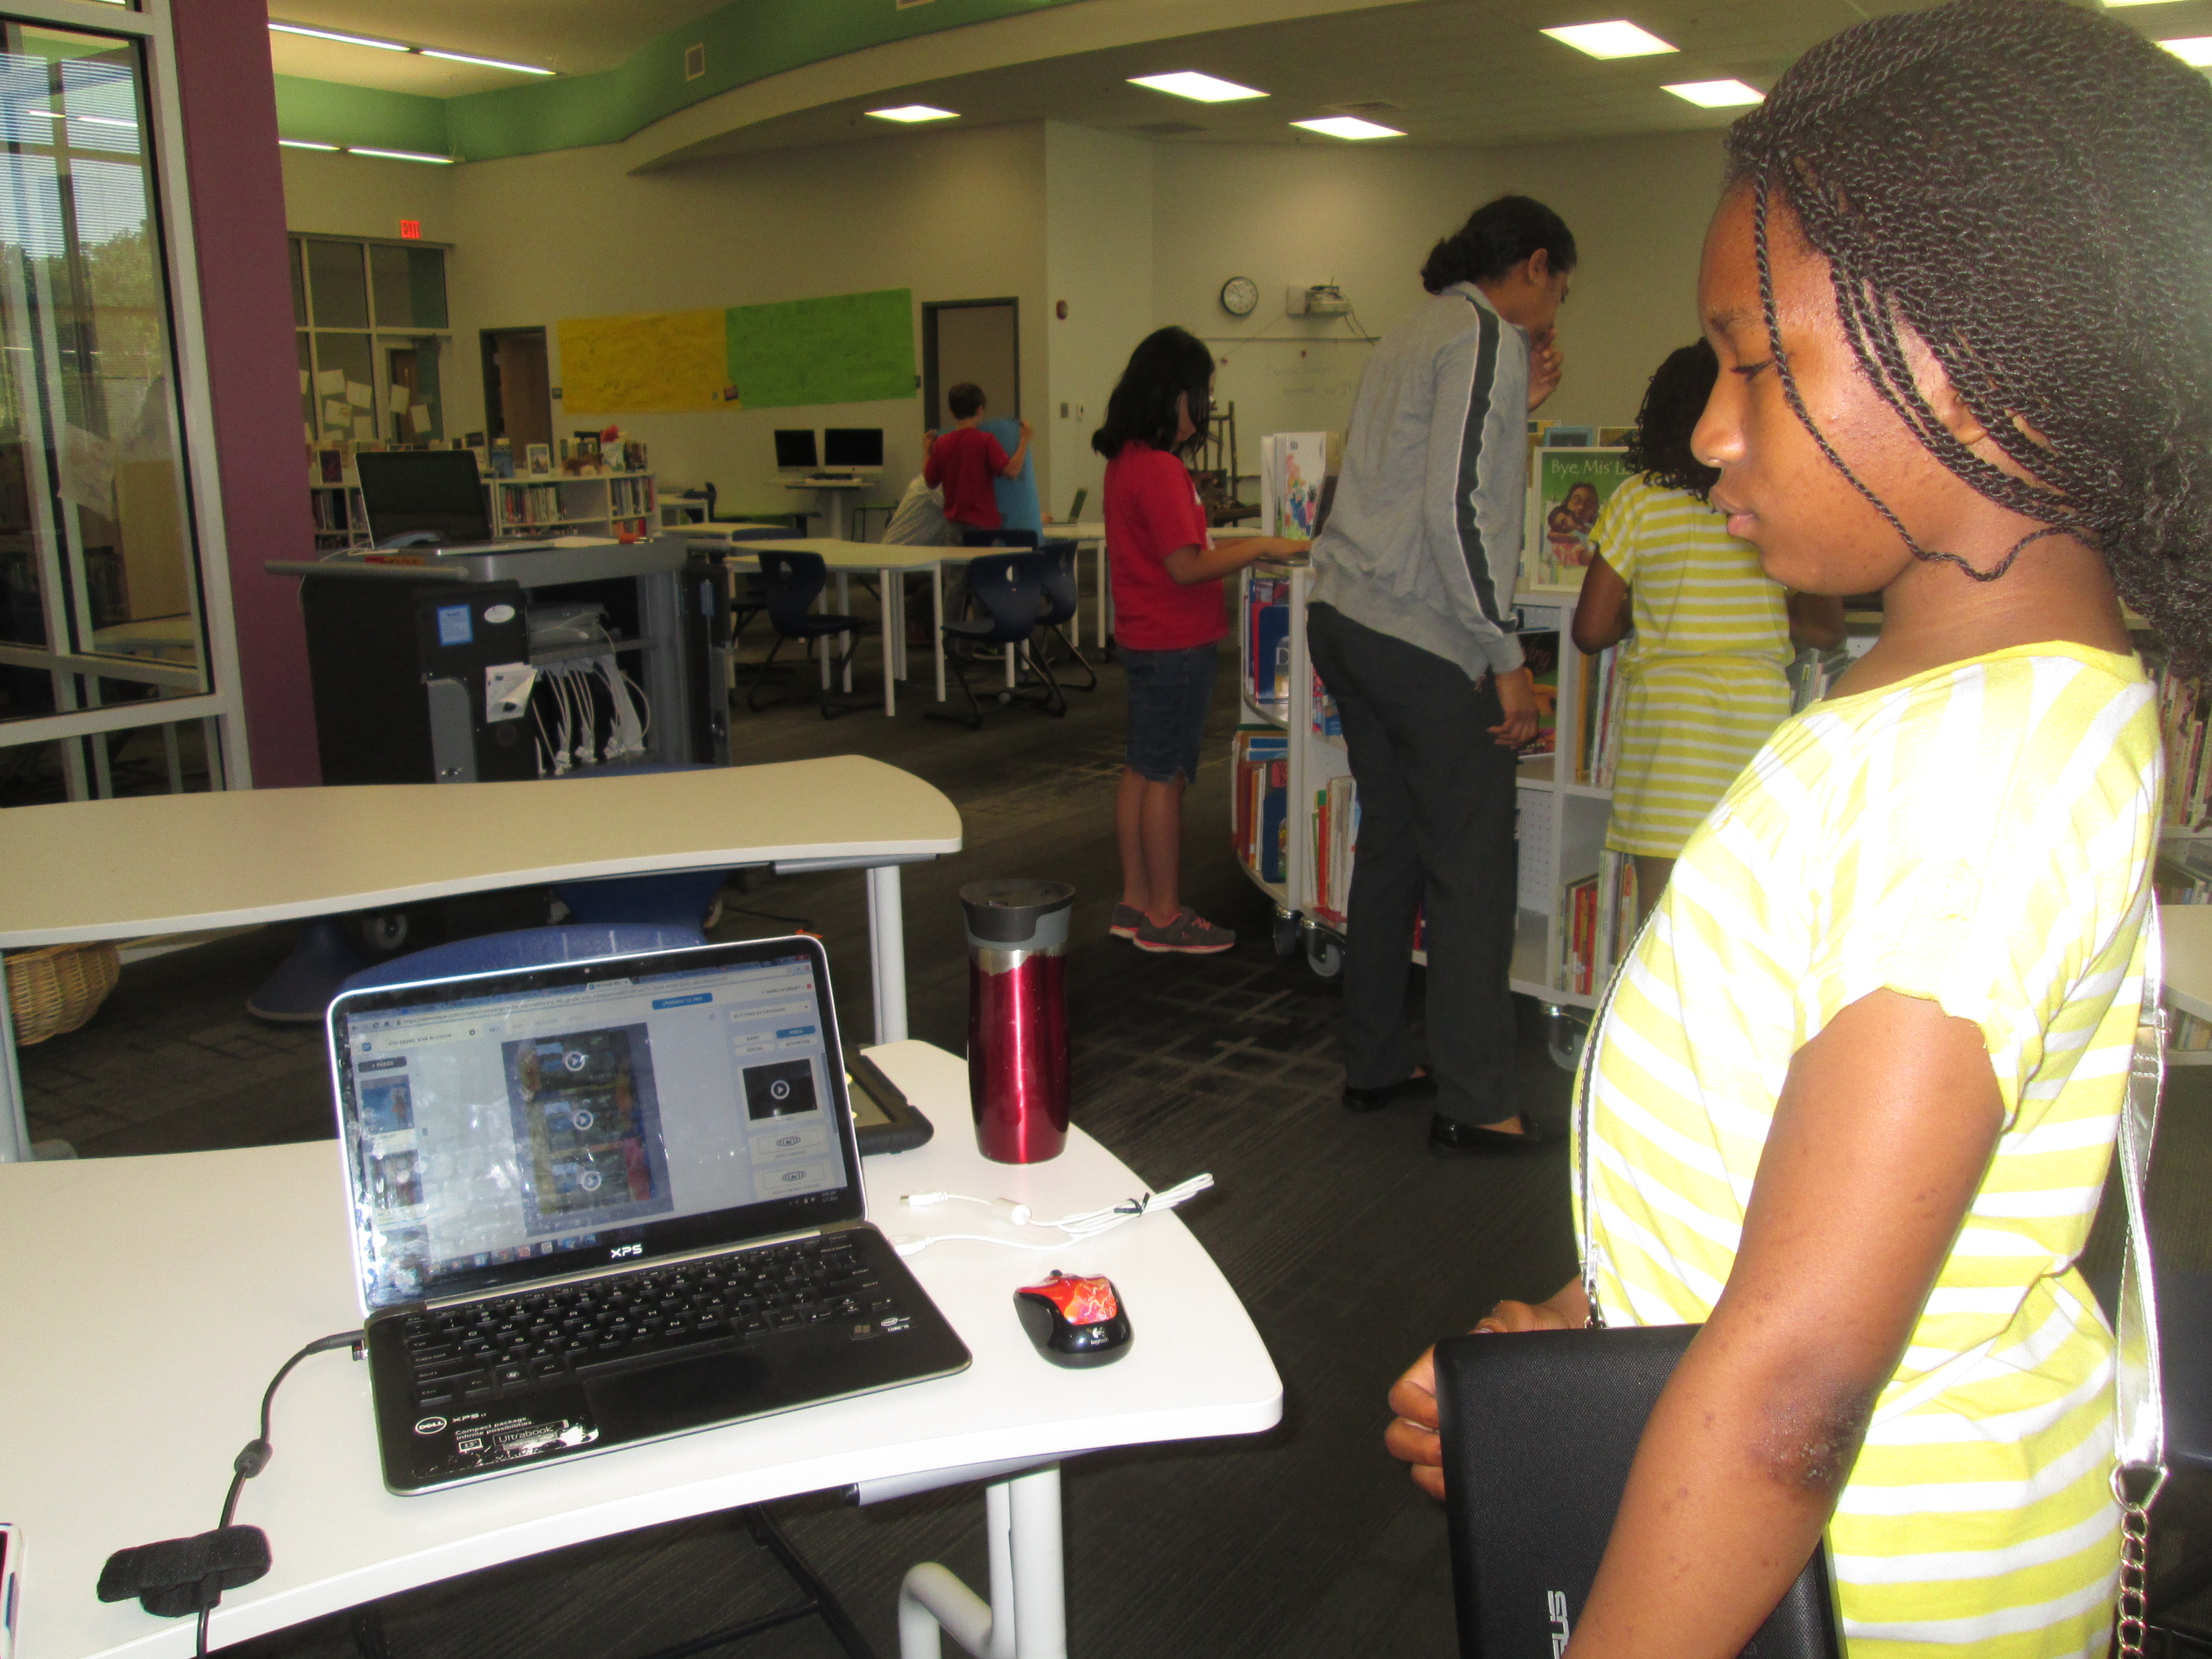
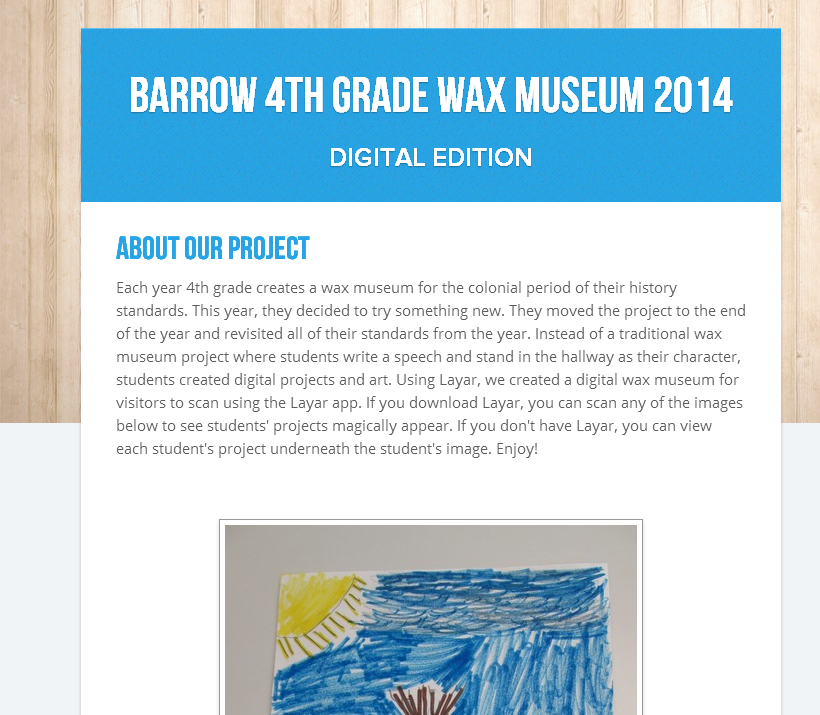
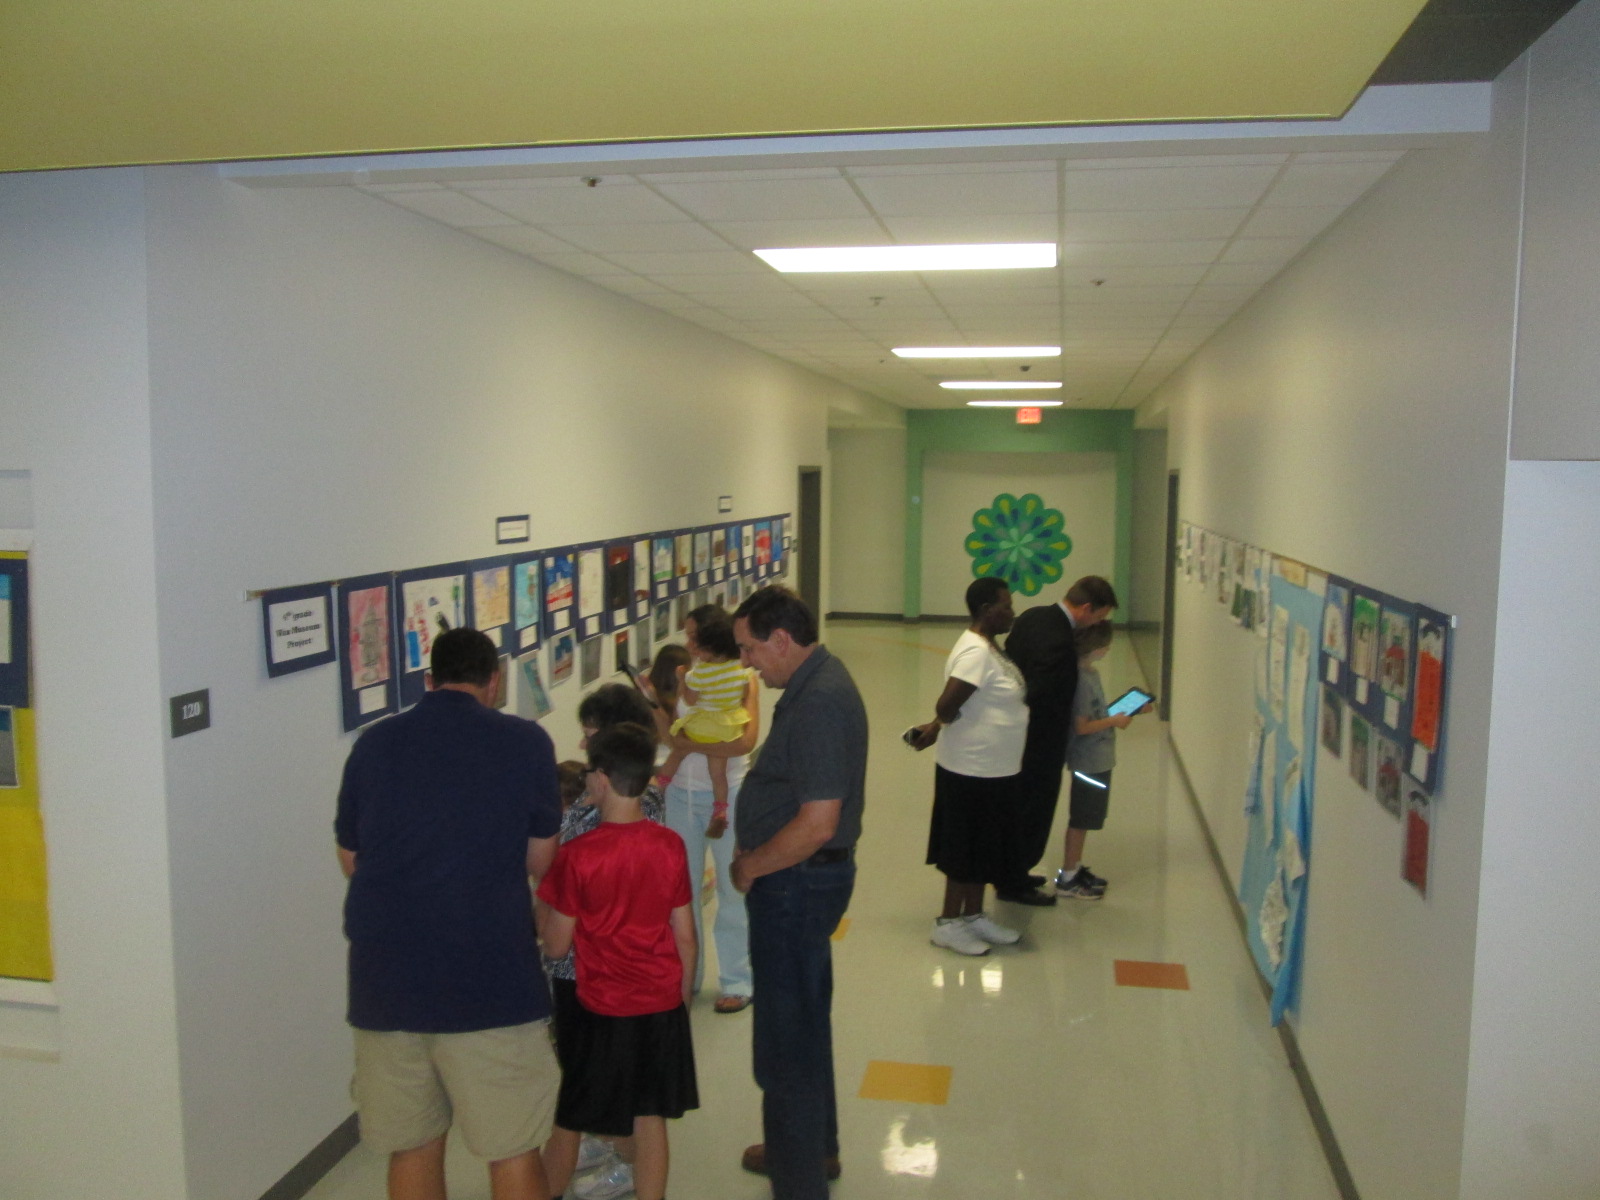
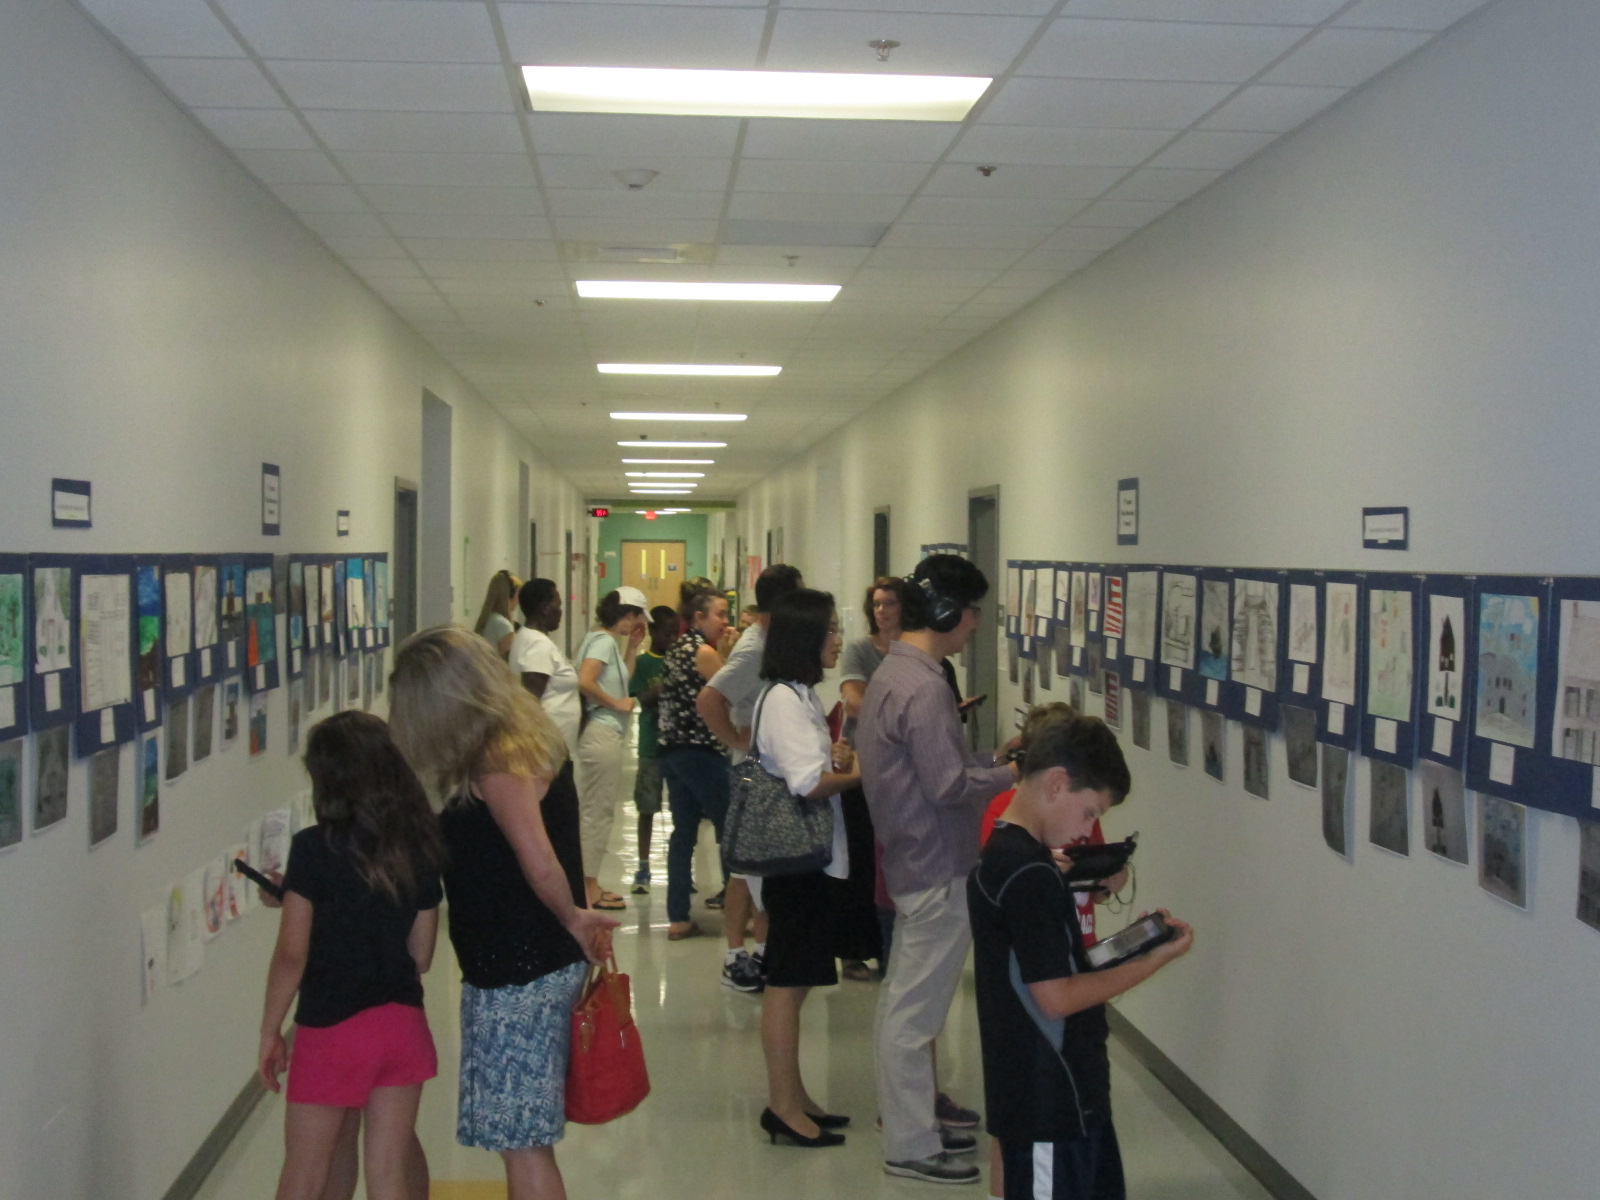
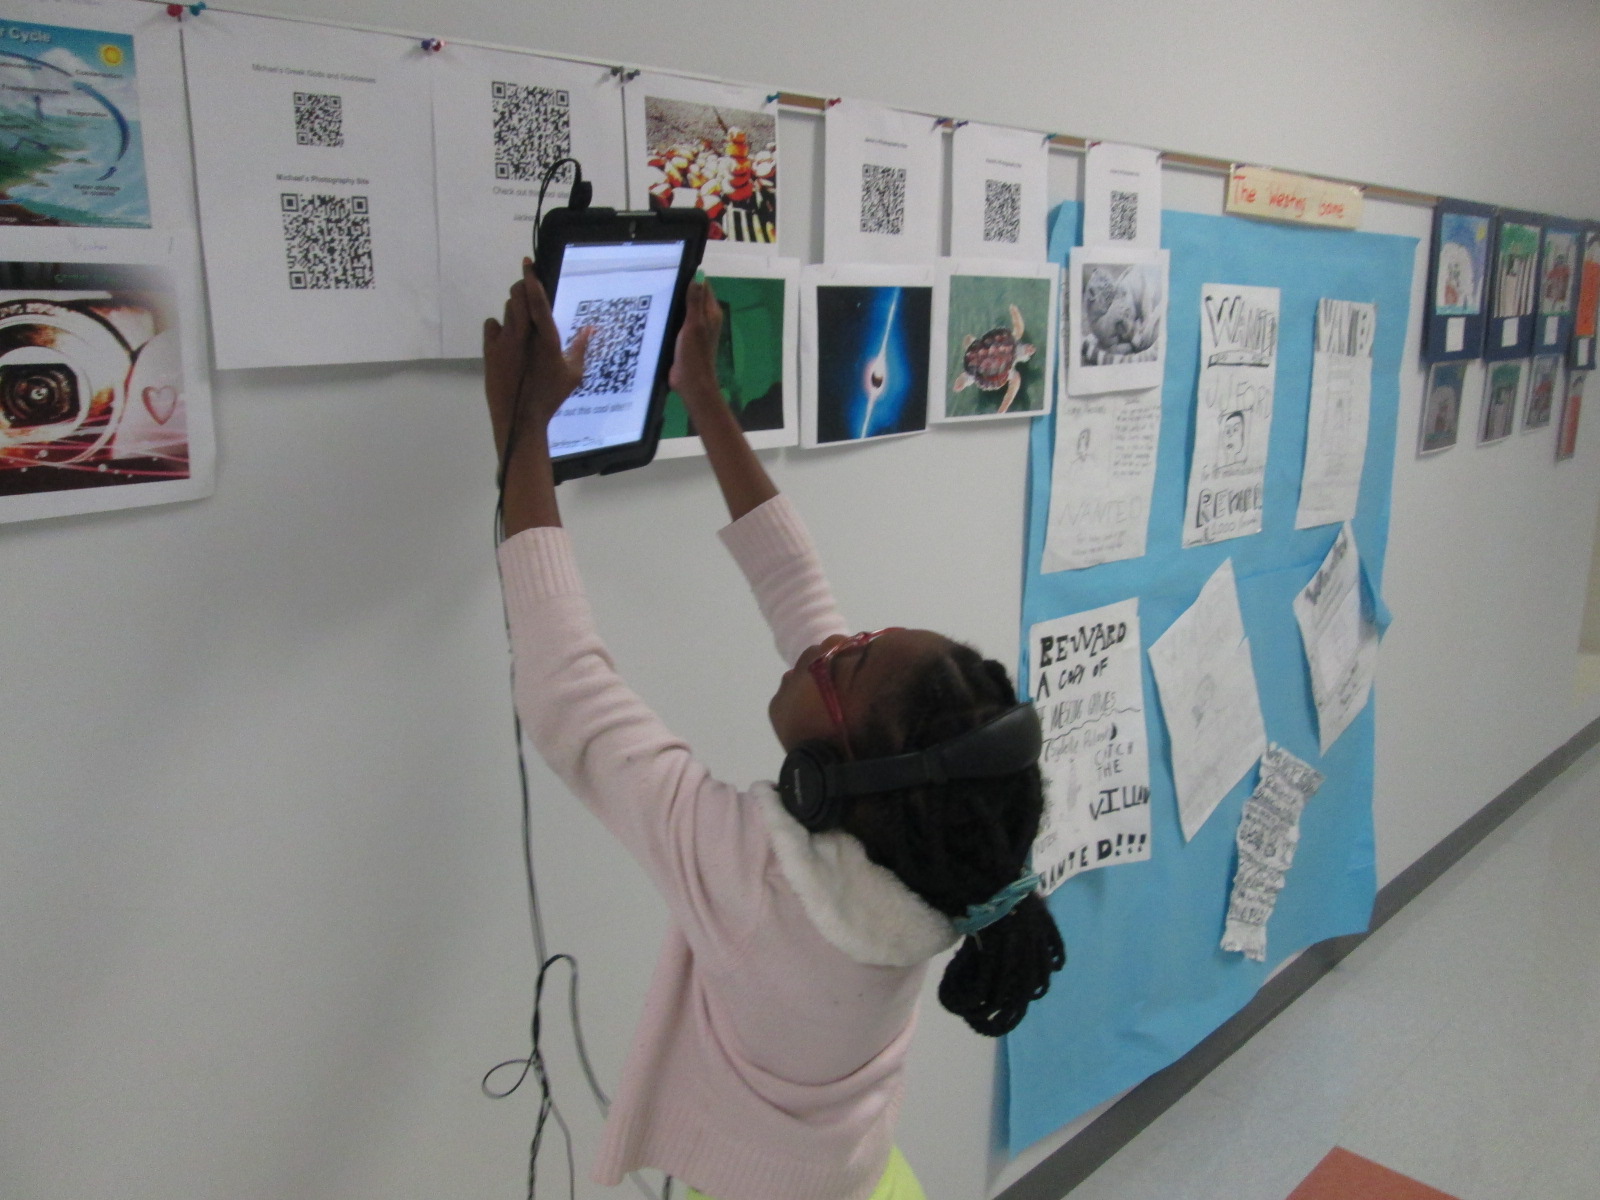
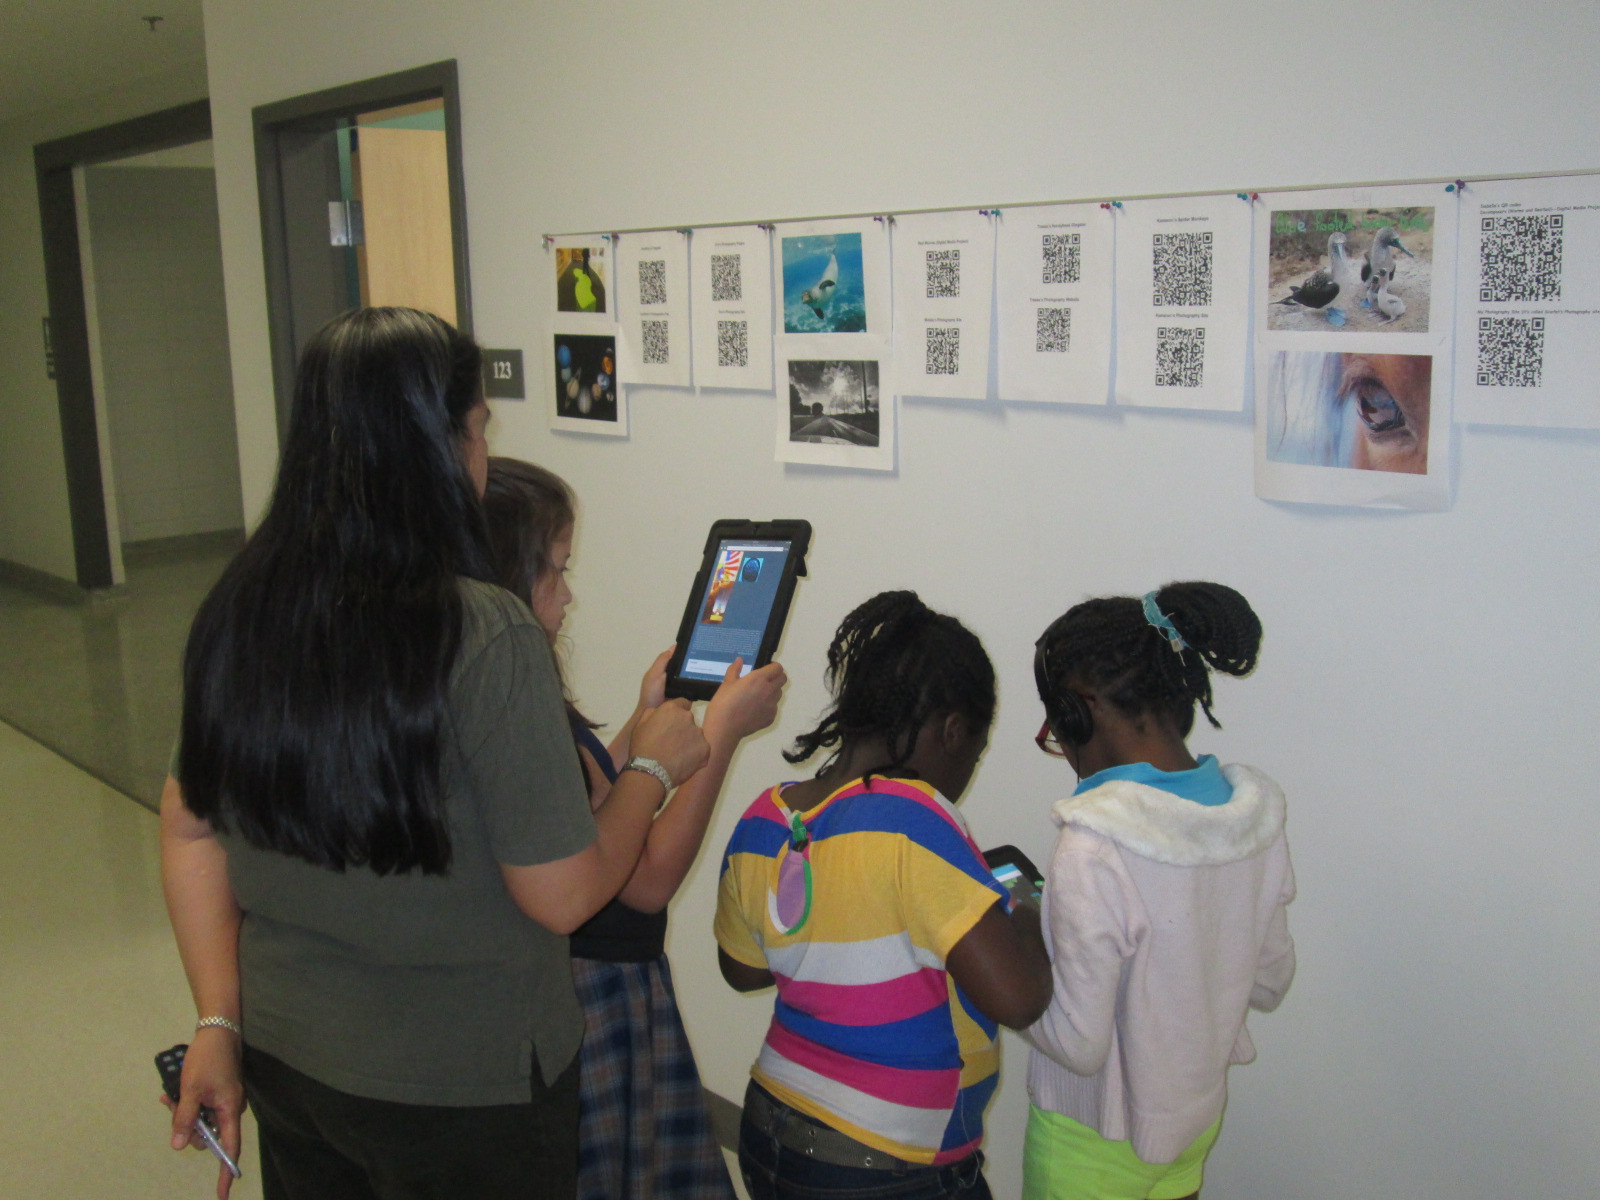
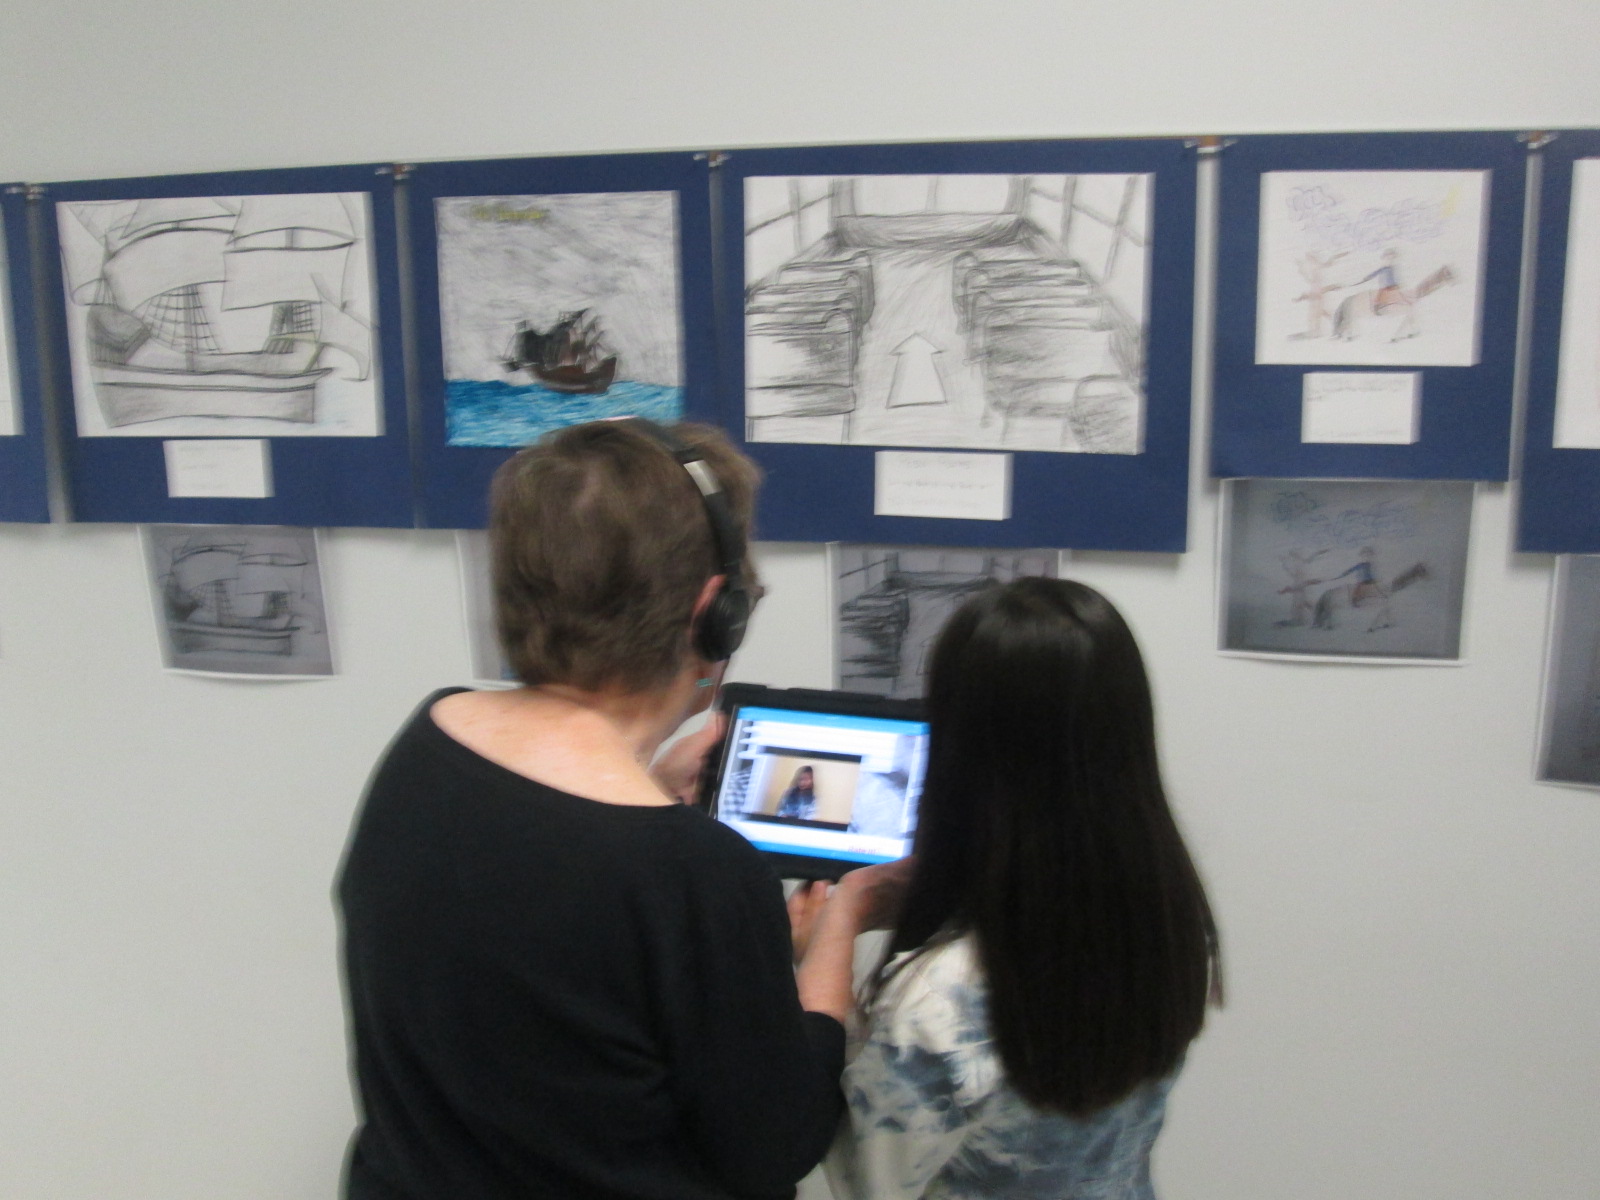
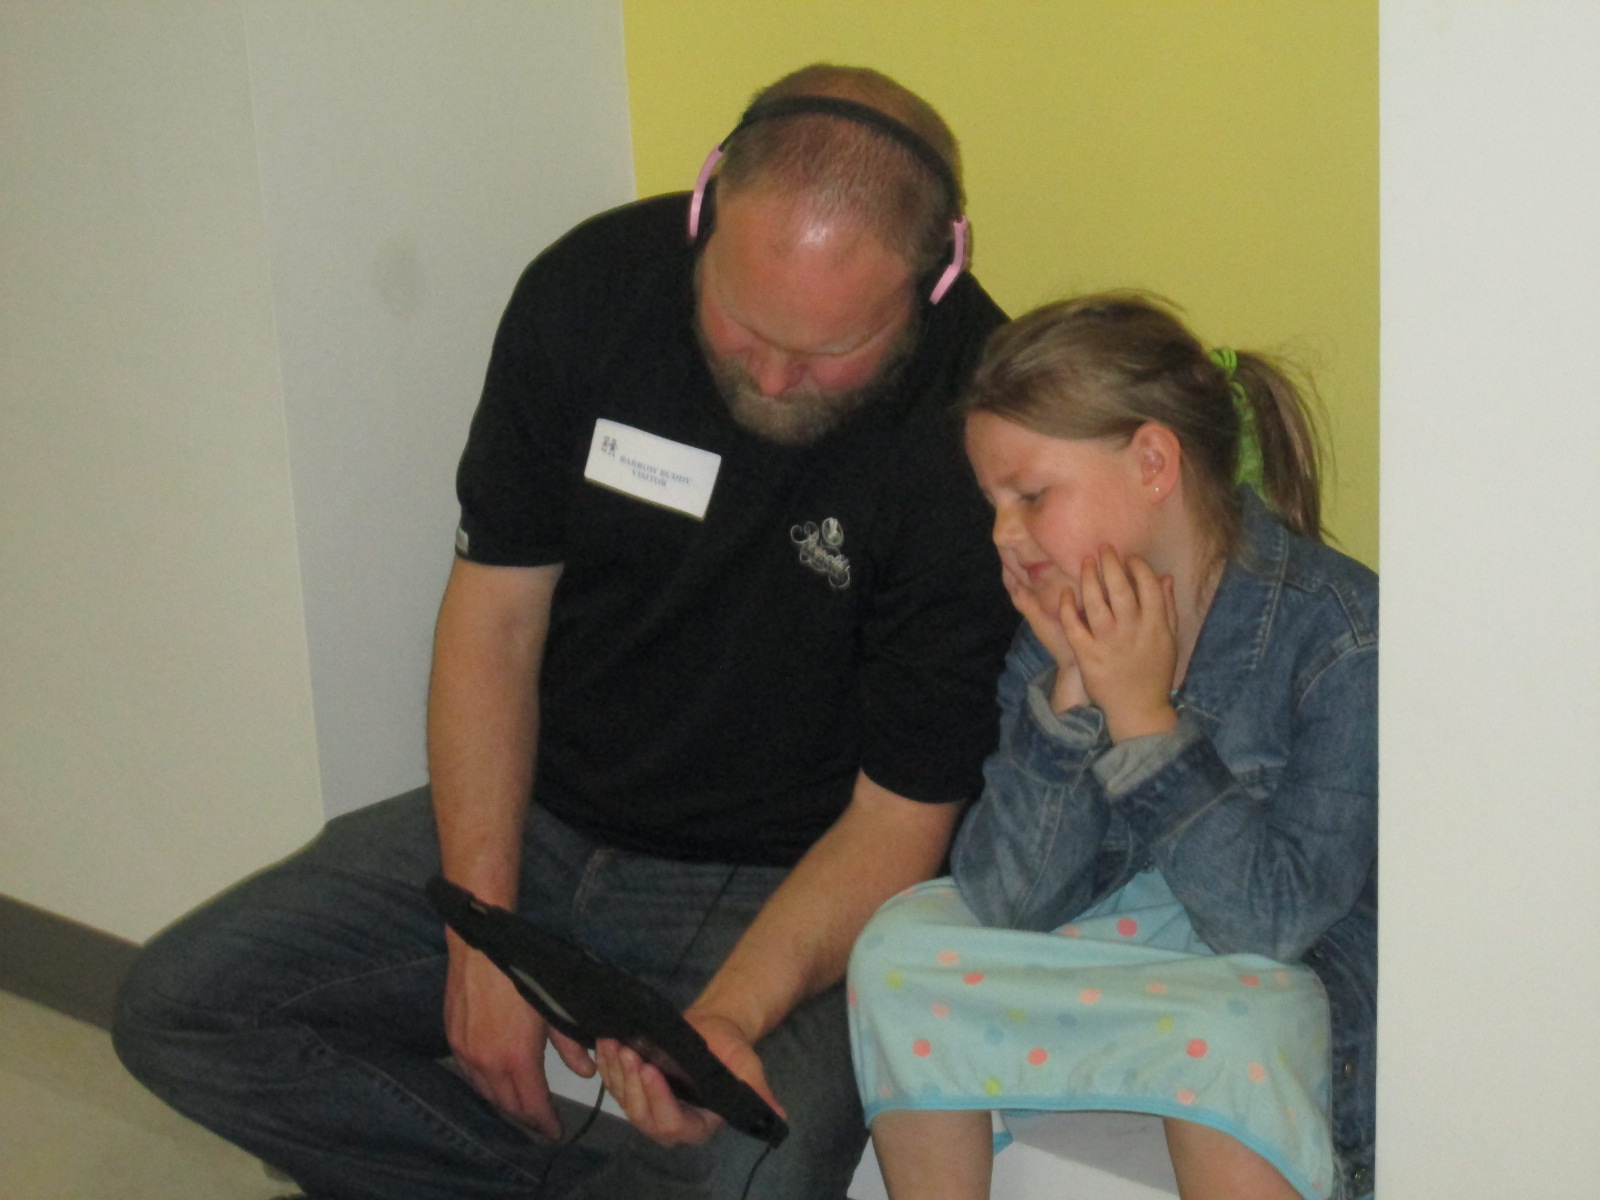
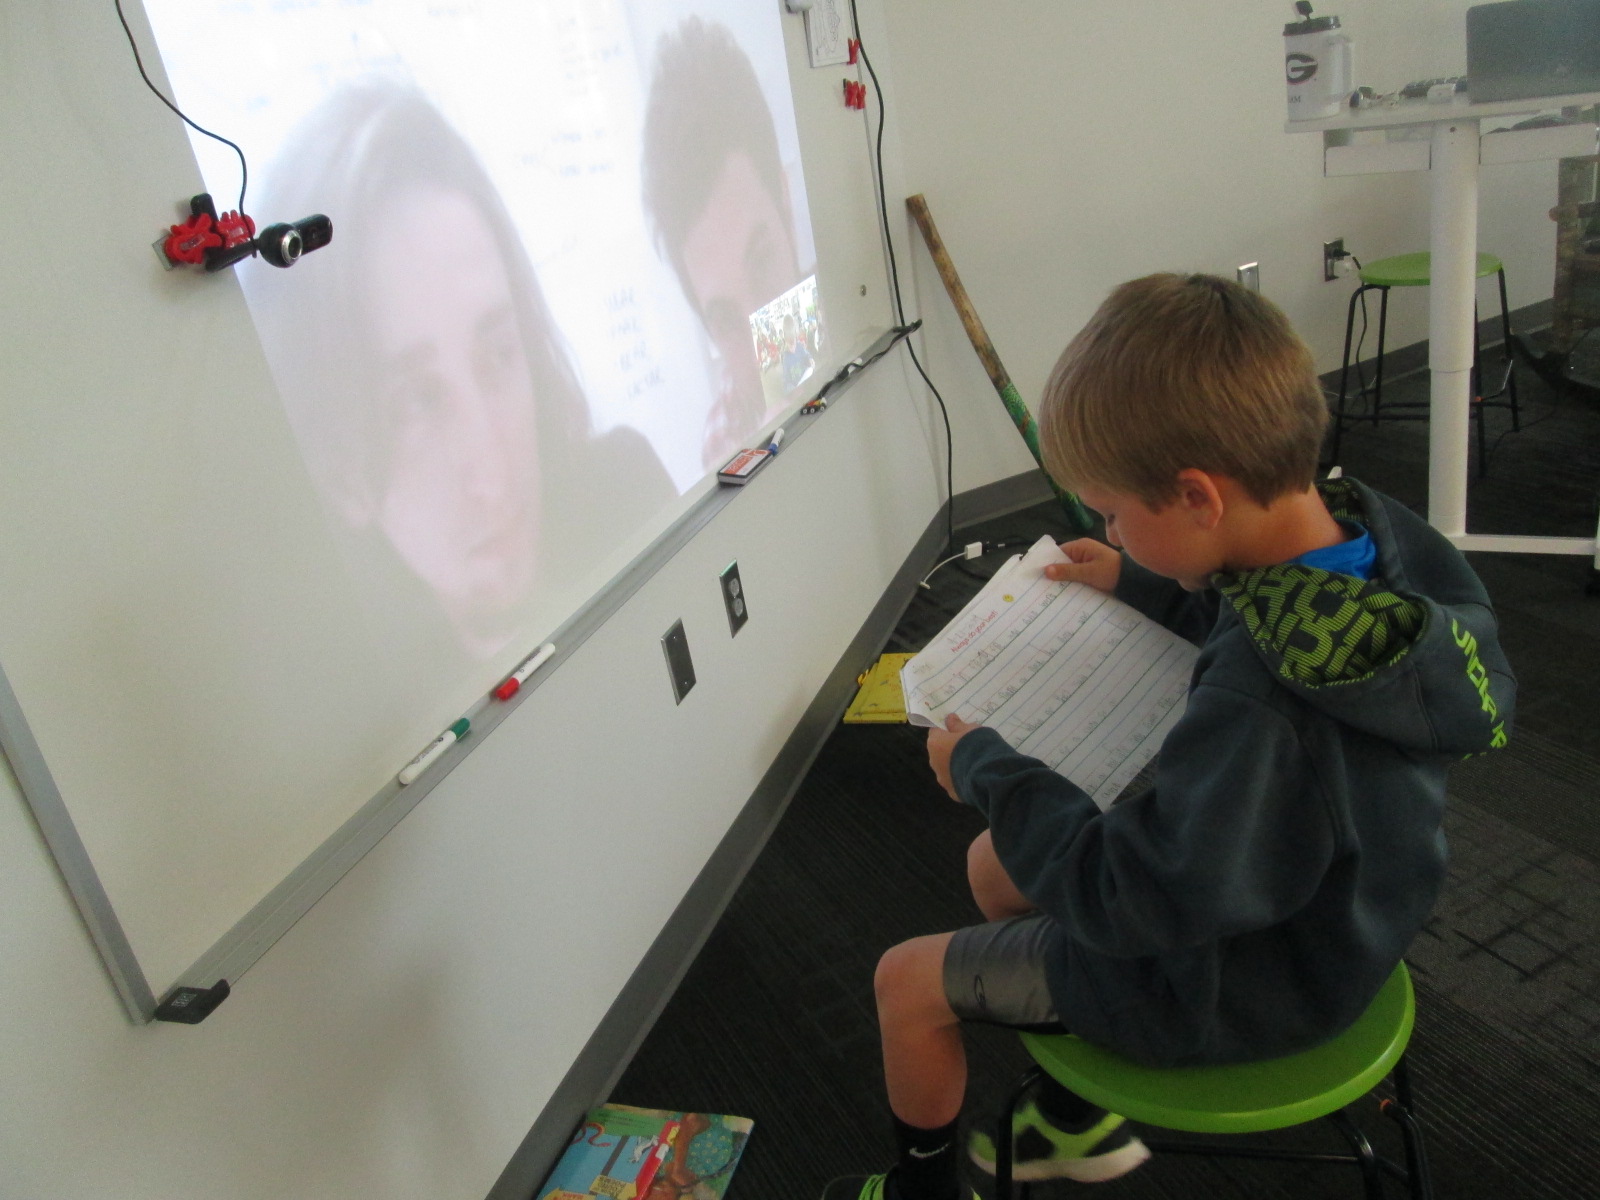
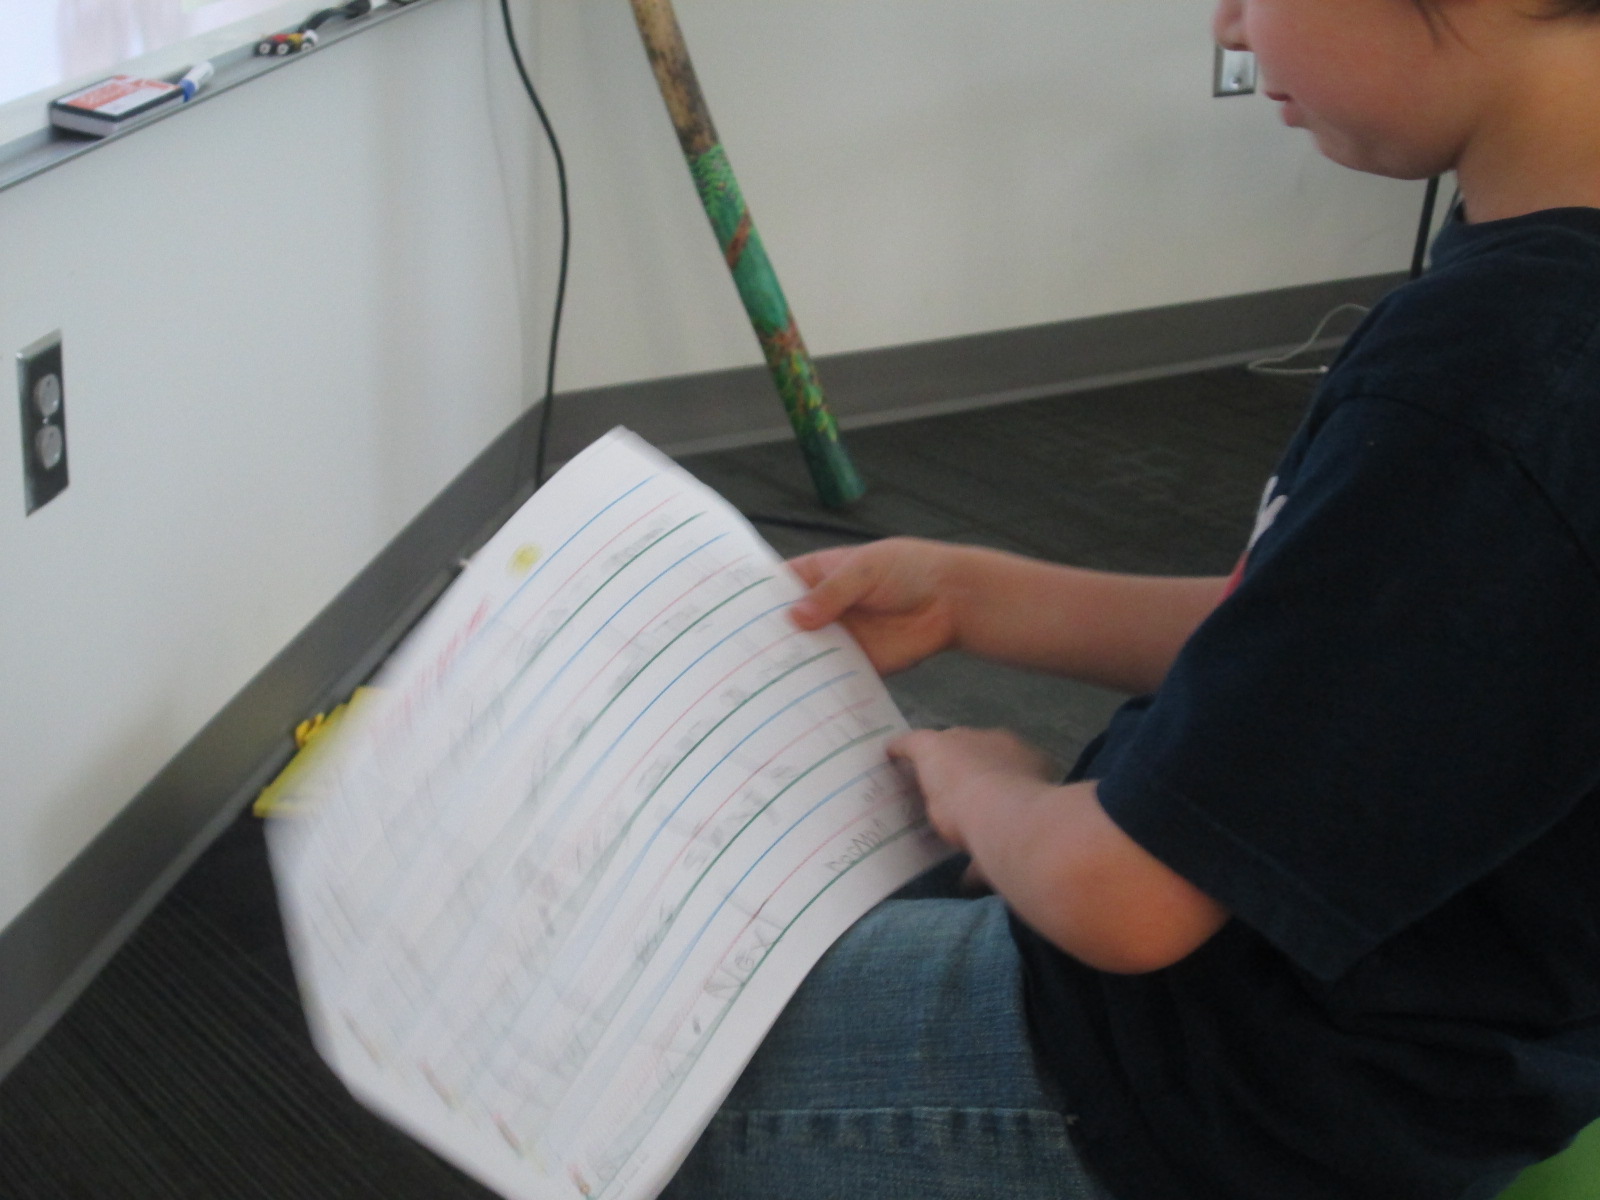
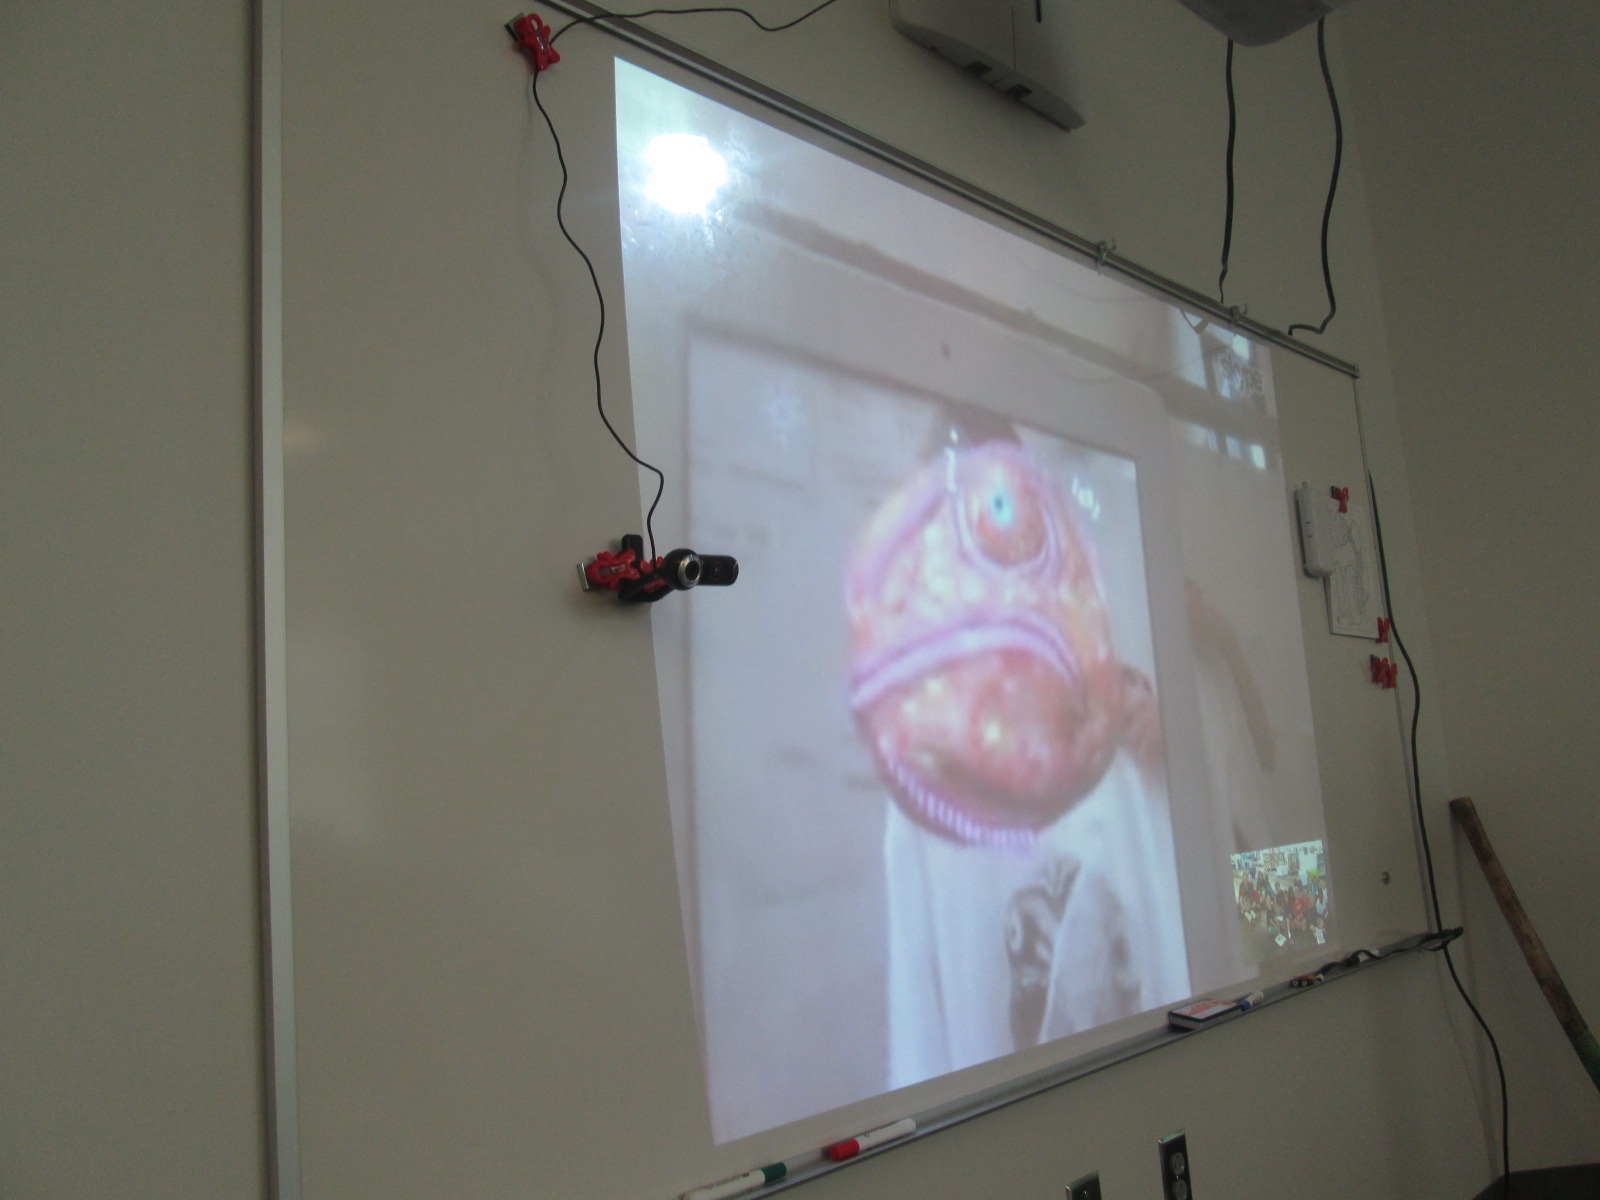
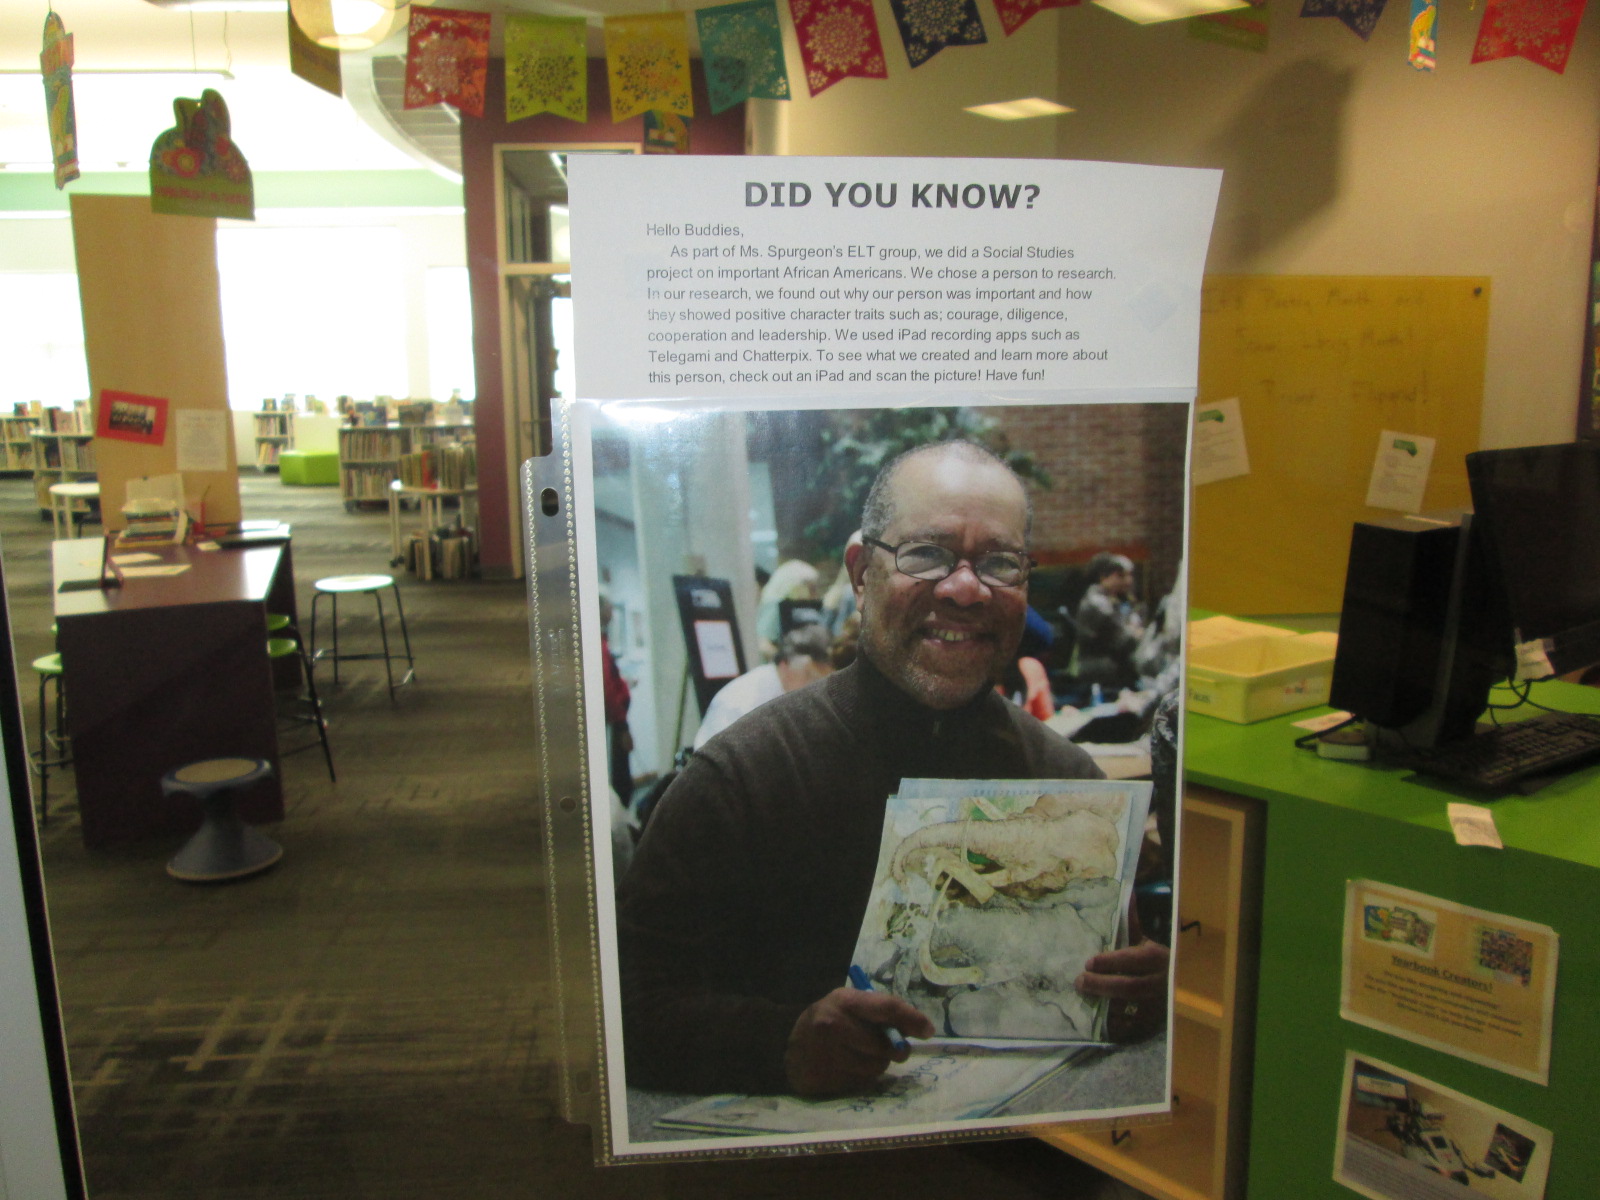
After students reflected on their own digital snapshot, I showed students what other students have already done at our school with technology.  I couldn’t show everything, but I gave them a quick look at pictures to show some of the awesome ways we’ve used technology to connect, collaborate, create, and share.

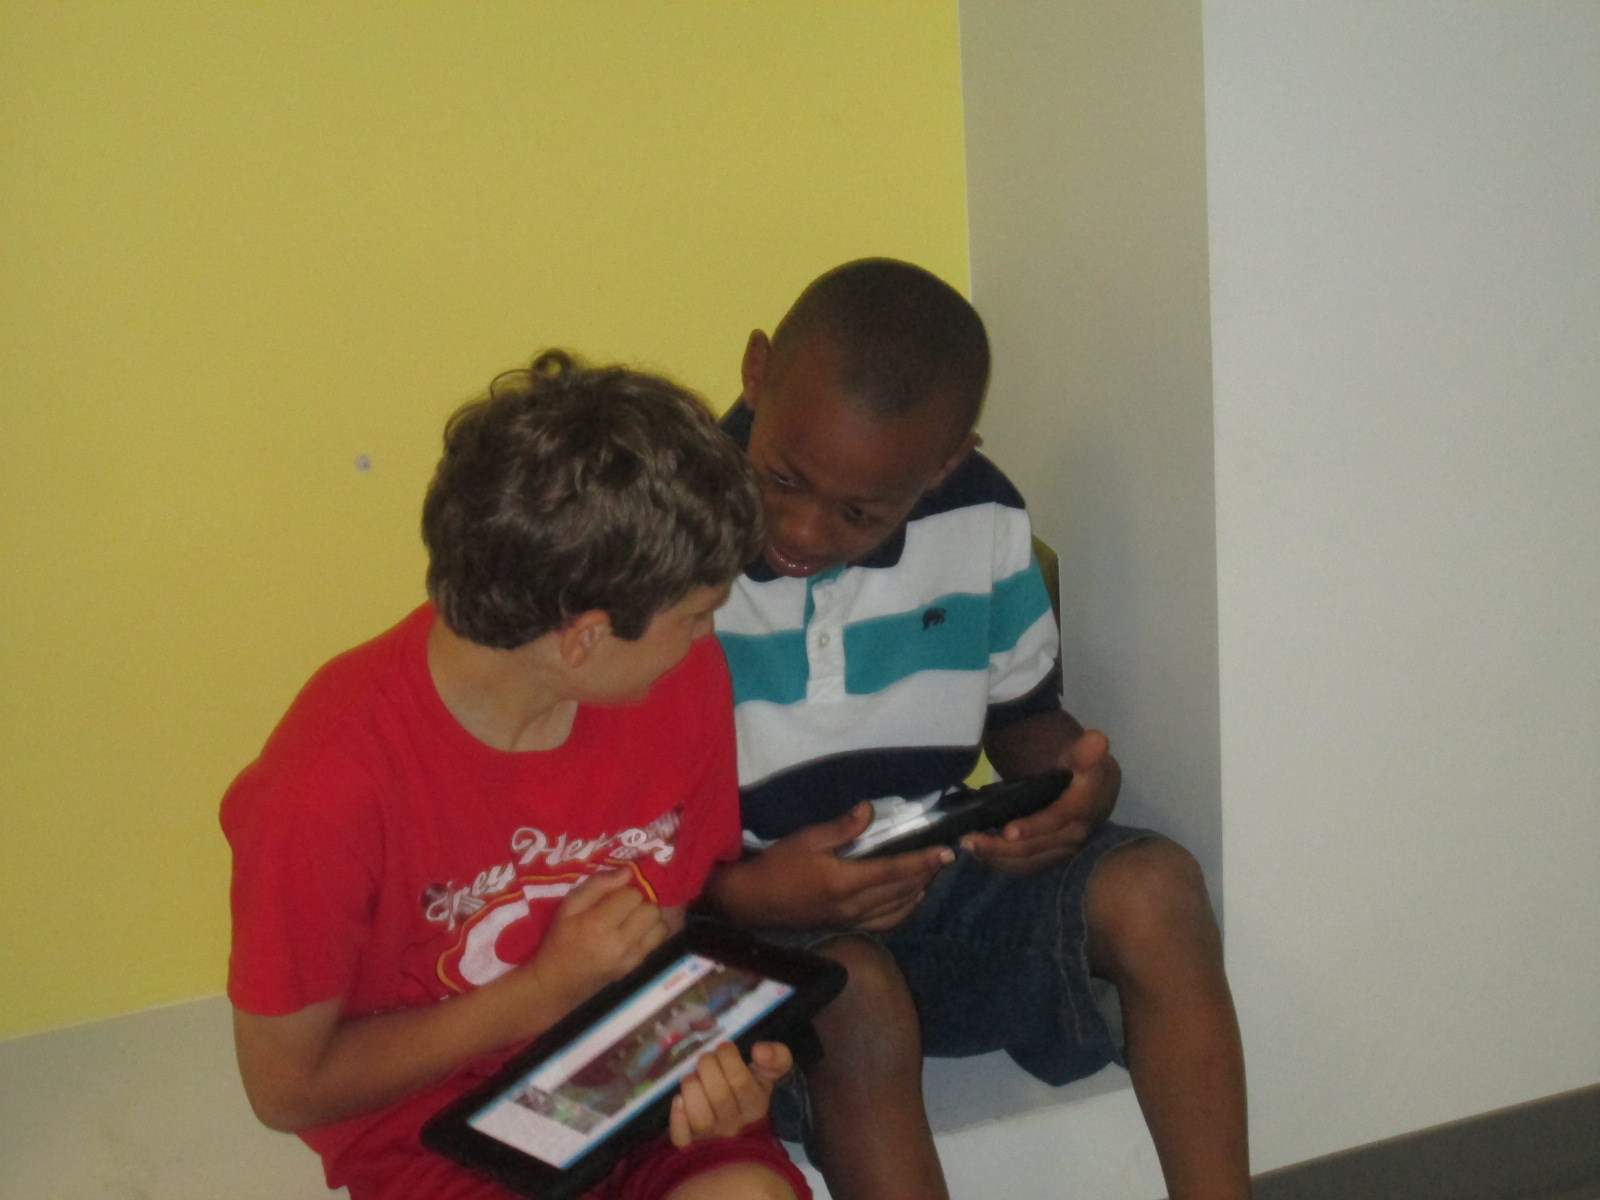
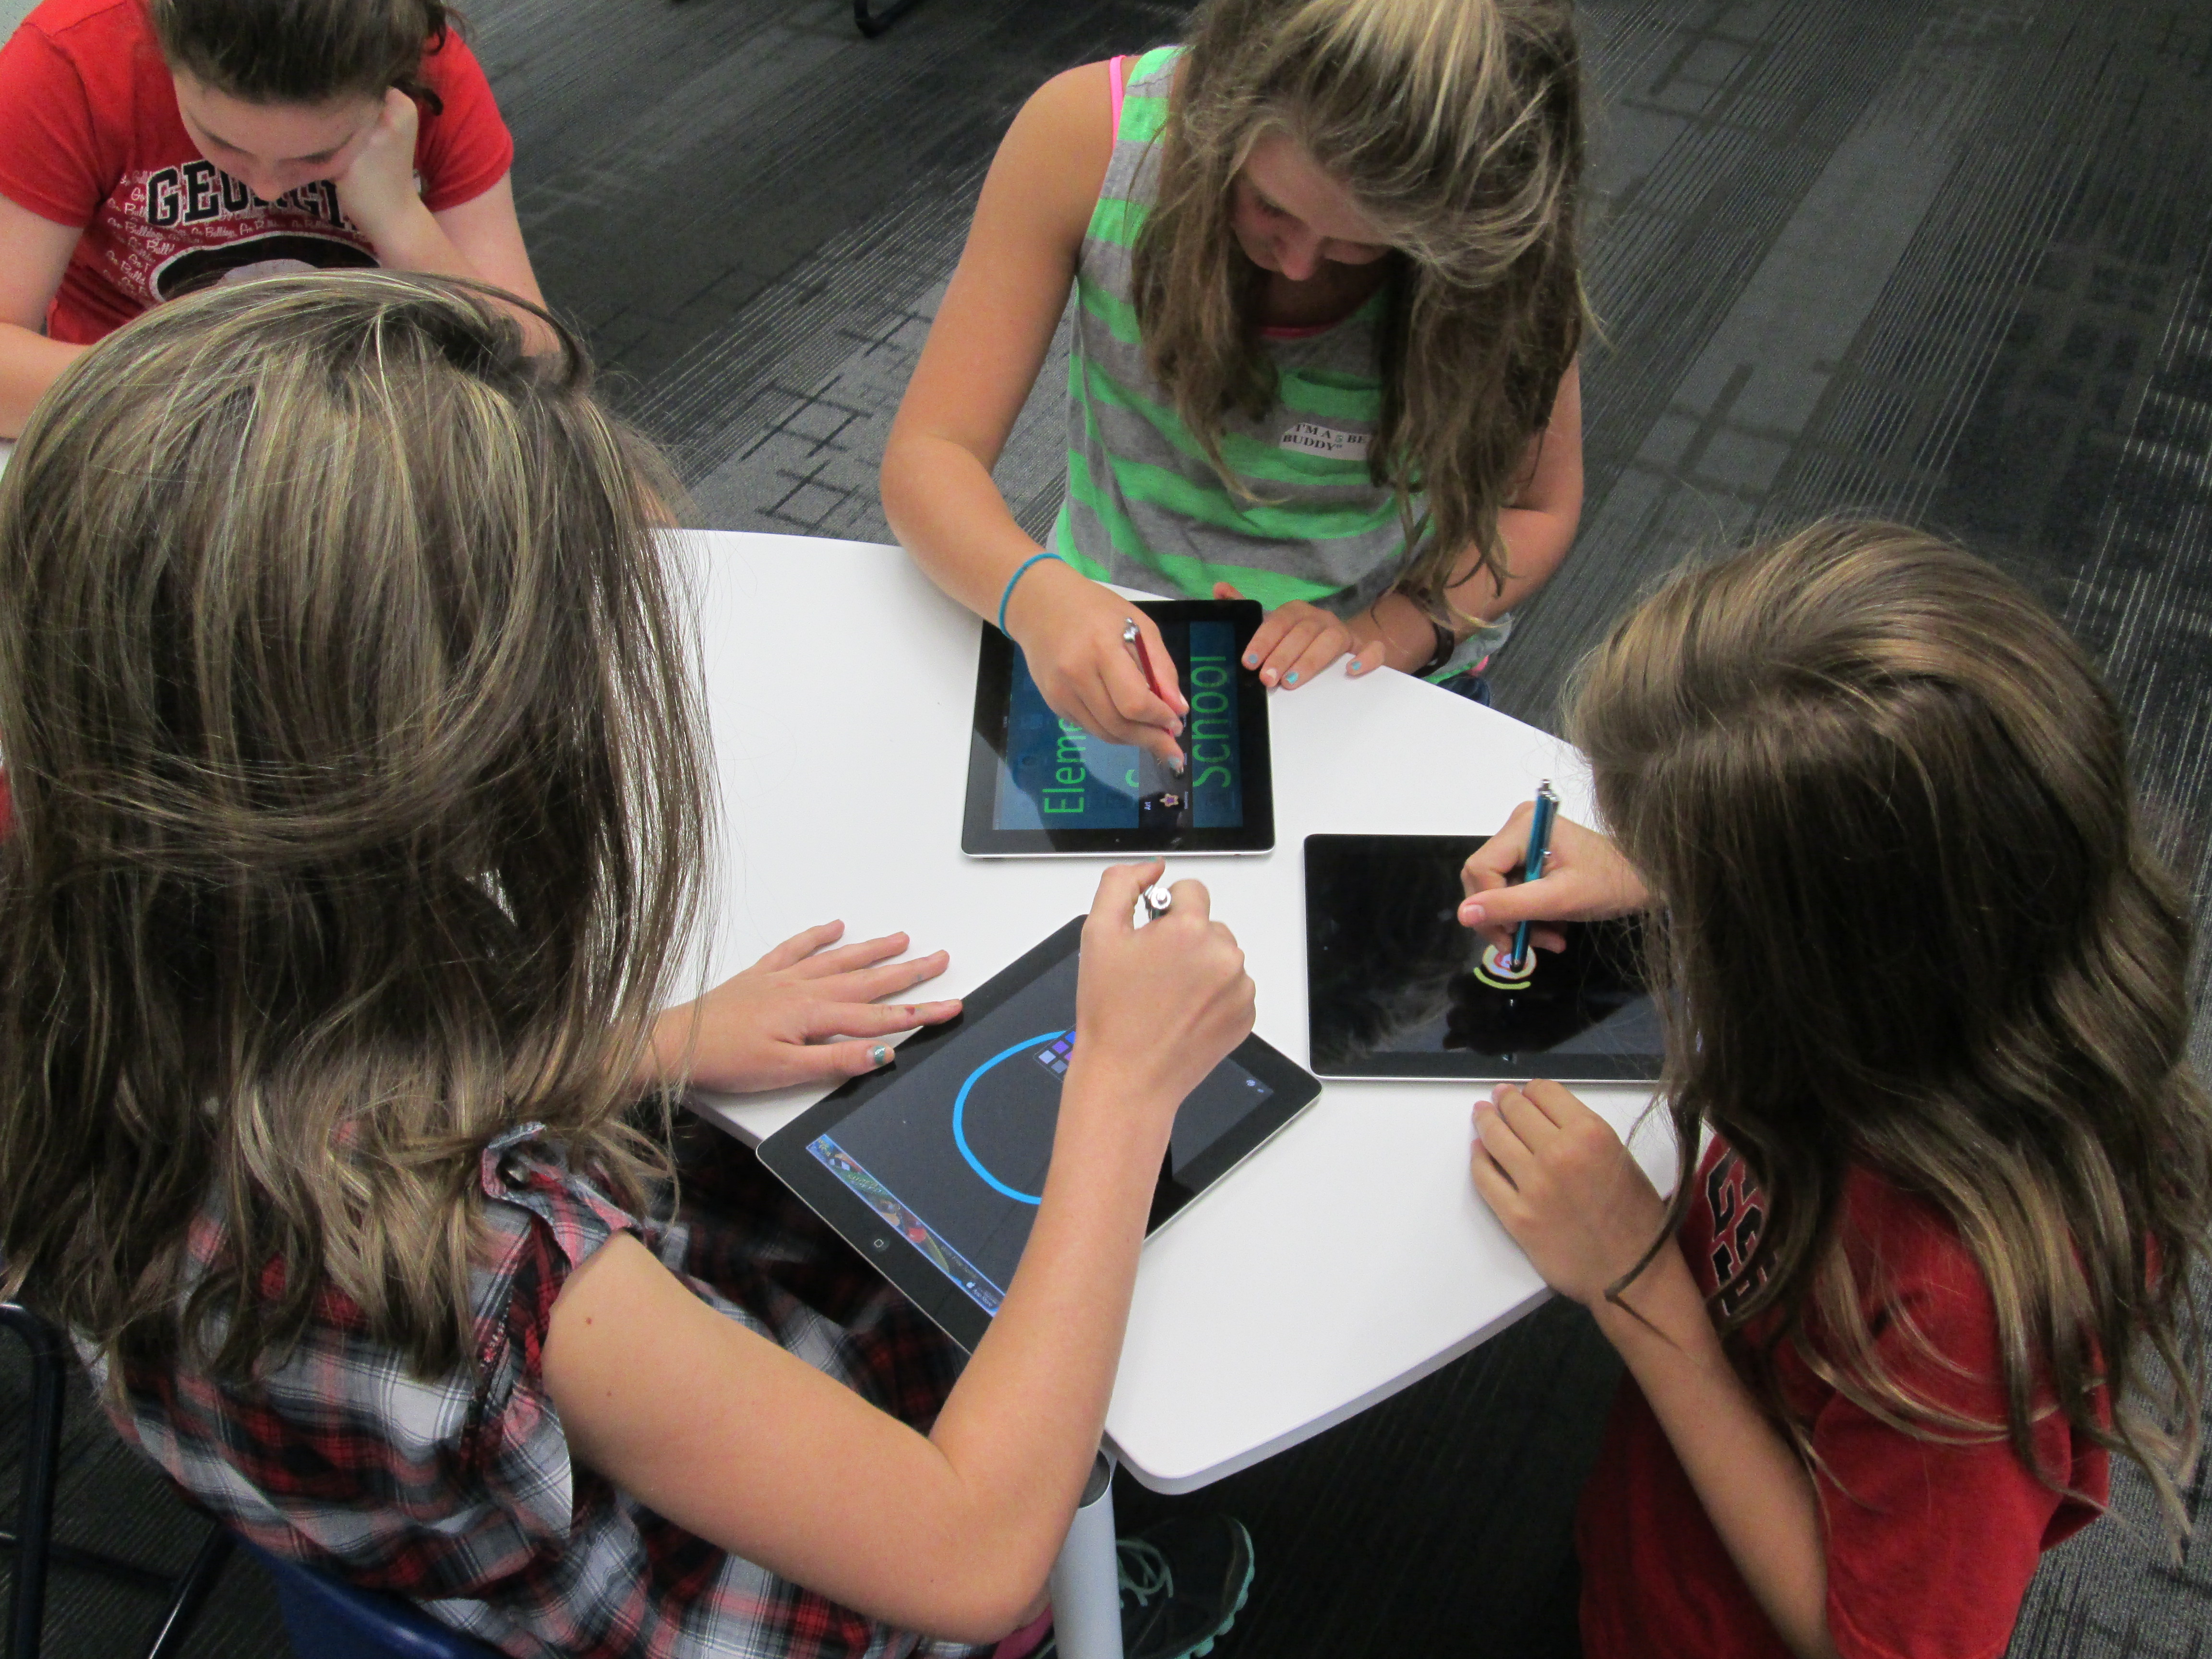
Finally, I asked students to spend time brainstorming how they might use their 1:1 technology.  This was only a starting place.  Many students focused on videos, games, or websites they might visit, so we have some work to do in regards to thinking about our devices as creation tools and tools that connect us to opportunities.  Students added their ideas for how to use technology at home and keep it connected with learning and appropriate use for an elementary student to a padlet.

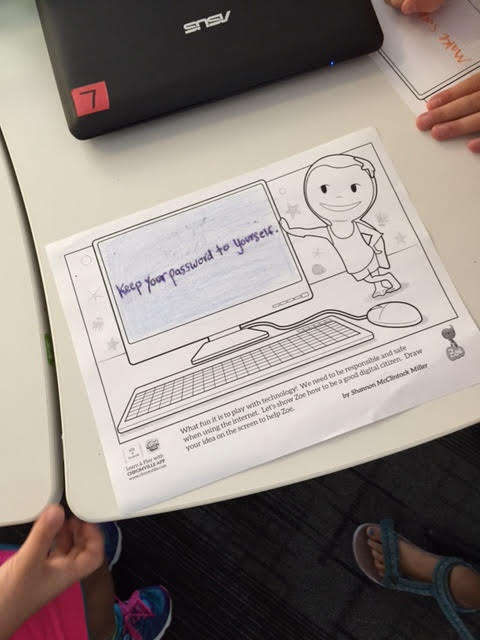
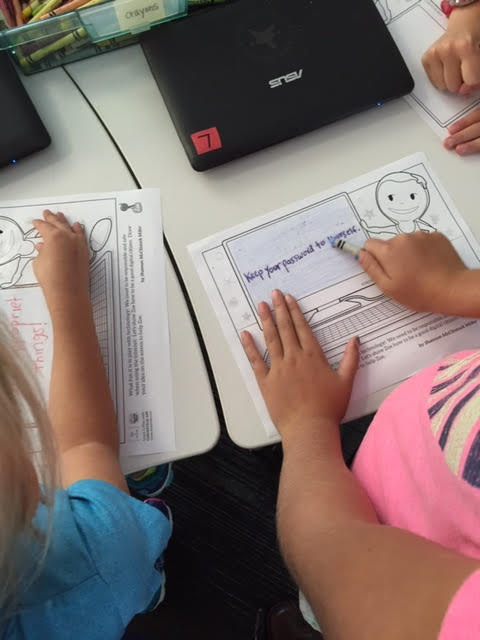
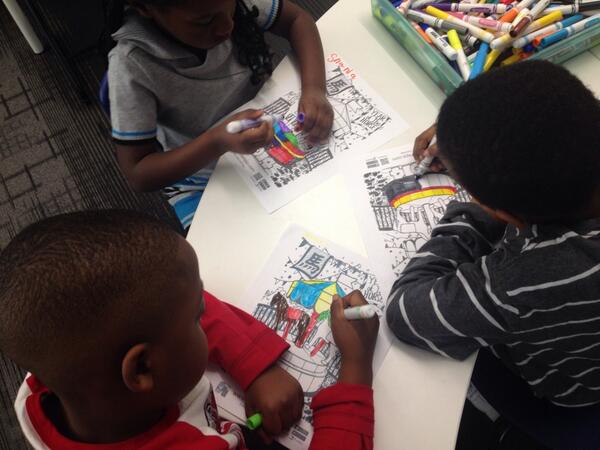
Some students were also able to move on to a wonderful coloring page from the augmented reality app, Chromville.  This coloring page features Zoe and a computer screen.

Students can draw or write about a digital citizenship message on the screen.

chromville 6 chromville 5

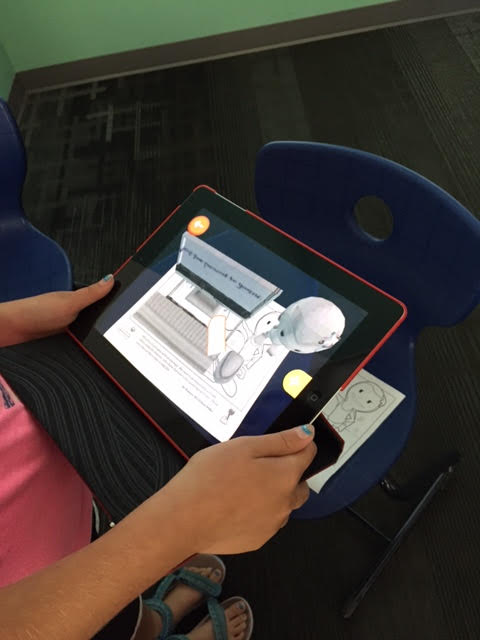
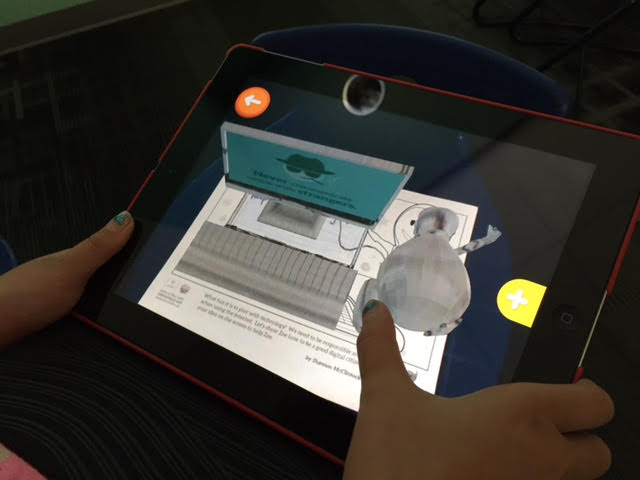
Using the Chromville app, Zoe comes to life on the screen displaying the students’ digital citizenship message and you can even click the mouse to display additional messages about staying safe online.  I want to make sure all of the students get to try this out, but only a few made it this far during our hour together.

chromville4 chromville 5 chromville 6

We will continue to revisit these topics in classrooms and during library projects and lessons throughout the year.  If you have an innovative way to have these conversations with your students, I would love to hear them.

chromville


4th Grade Created an Augmented Reality Wax Museum using Layar and Multiple Digital Tools

IMG_3325Each year, our 4th grade creates a wax museum for their colonial period social studies standards.  Students research a person from that time, write and memorize a script, dress as that character, stand throughout the school, and give their speech multiple times to visitors.  This year the 4th grade team and I decided to try something different.  We wanted to create a digital wax museum and expand the standards beyond the colonial period to the entire 4th grade social studies standards. This new project would use the augmented reality app, Layar, to unlock all of the digital projects that students created about their person from history.  It would also be a collaborative project between 4th grade, art, and the media center.

IMG_3320 IMG_3321 IMG_3322

Updating this project was a big undertaking, but we created a process that I think can grow and expand next year.

IMG_3323 IMG_3324

First, students came to the library and learned about the project.  I showed them various digital resources that they might use for their research including Pebble Go and our state Galileo database which includes Encyclopedia Britannica.  I showed them how they could search for websites within Destiny when they are logged in.

Wax Museum Research   Google Docs

Next, I showed them how they could create a double column table in a Google doc.  One side would be a space to copy and paste information from digital resources and the other side would be for putting the information into their own words.  I showed them how to use the Easybib add-on within Google docs to document where their information was coming from.  They loved this feature and so did the teachers.

Barrow Elementary  Wax Museum   4th Grade

Finally, students used a Signup Genius to sign up for their topics.  This made topic selection fast and teachers were able to give a final approval to the person that students signed up for.

After that, students started their research.  Most used their gathered facts to write scripts for various projects.

Wax Museum Project Options   Google Docs

Then, they all returned to the library to learn about their project options.  Students did not have to use technology to create their project, but they did have to use technology to document their project.  For example, if they made a physical poster, they had to use some type of technology tool to record some information about their poster using their script. Many digital tools were suggested to students, but students were welcome to find and try their own tools.  We suggested Chatterpix, Tellagami, and iMovie as main options. Students chose projects and continued working in class.

In art, students researched images of the historical events their person was involved in and created an image to serve as the trigger image for the Layar augmented reality app.  The images were created with water colors, pencils, crayons, markers, and various other tools.

IMG_3132 IMG_3133 IMG_3136 IMG_3137


As images were finished, they came to me in the library so that they could be photographed and uploaded to Layar.  I also printed each photograph so that we had a uniform size picture to scan in the hallway.  This wasn’t necessary, but it was nice to have a smaller image to scan since some were large.

IMG_3312 IMG_3306 IMG_3304 IMG_3298 IMG_3296 IMG_3295

Students made multiple kinds of projects to attach to their image in Layar.  Some chose to make gamis in Tellagami.  Because this app lets you make 30-second clips, some students chose to make multiple videos to upload to Youtube while others used iMovie to compile their videos.

Some students used Chatterpix to make a picture of their character talk.  Once again, they either created multiple files or compiled them.

Some students chose to do the traditional wax museum project of dressing up as your person, but this time, they filmed themselves and uploaded to Youtube.


A few students created unique projects that no one else attempted.  One student used Powtoon to make a Common Craft-like video about indentured servants.

Another student wanted to do an interview, so she filmed clips of herself as a news reporter asking questions and made response videos using Chatterpix.  Then, she used WeVideo to put them together.  Because the free version of WeVideo doesn’t upload to Youtbe, we had to do a screencast of her project in order to view on the iPad.

Another student used Songify to record a rap song about Martin Luther King.  We converted his file in Any Video Converter and put it into iMovie so that it could be uploaded to Youtube.


Once students had a video or link to their project, they emailed it to me to upload to Layar.  They could have done the uploading to Layar themselves but we wanted to test most of the Layar pages before we put them in the hall.  Many people helped students with the creation and uploading of their projects.  Many thanks to the 4th grade teachers, our grad assistant Carol Buller-McGee, our instructional tech specialist Todd Hollett, gifted teacher Heather Carlson, special ed teacher Haley Beaver, an EIP teacher Lee Rogers for assisting me with getting students videos uploaded and emailed.

IMG_3307

Students worked with me to connect their links in Layar, put them in right spots on the image, and test them out.  I went ahead and published our “campaign” in the Layer creator.  You have to “publish” before the images will work when they are scanned.  You can still add pages and links even after you have published.

Barrow 4th Grade Wax Museum 2014   Smore

We also uploaded all of the content to a Smore page so that families (and the world) could view the projects from home without Layar.

IMG_3327 IMG_3328 IMG_3335

The 4th grade team and art teacher displayed all of the art in the hallway.  Today, families were invited to stop by and view the gallery.  I rolled the iPads to classrooms and took headphones too.  Students came out with their families and showed off their projects and the projects of their friends. They showed parents how to open the Layar app, point the iPad at the image, tap the screen to let Layar scan the image, and watch the content magically pop up on the iPad screen. Several parents had already downloaded Layar on their phones too.  There was excitement in the air as families experienced augmented reality for the first time.  I overheard some of them saying how they wanted to go home and try it themselves.  Others were amazed by the variety of projects that students made.  I overheard conversations about social studies content but also conversations on how to use all of the tool that were needed to make this project happen.  I loved seeing the students taking a leadership role in sharing with their families how to use the technology that they use at school.

IMG_3339 IMG_3336 IMG_3337 IMG_3330 IMG_3333

Next week, classrooms will be invited to tour the gallery.  I think we learned a lot from this project.  One of the things that I loved most was how differentiated it was.  Some students created multiple projects for their person while others focused really hard on one project.  Students were able to showcase their strengths and interests, and I felt that every single student was fully engaged in this project.  I hope that others found value in this project as well so that we can continue and expand upon this type of experience for projects next year.

You can see all of the projects without Layar by visiting our Smore.

Also, take a look at what our augmented reality wax museum looked like in action today.

Kindergarten Narrative Writing Using Chromville Augmented Reality (and a little Skype too)

IMG_2789 IMG_2804Kindergarten is revisiting narrative writing at the close of the year.  This year, they have also worked very hard on the standard

ELACCKW6 Production and distribution of writing: With guidance and support from adults, explore a variety of digital tools to produce and publish writing, including in collaboration with peers.

With this standard as our guide, we have explored tools such as Storybird, Padlet, and Flipgrid to publish our writing.  We’ve also used digital tools such as Pebble Go and the Capstone Interactive Library to gather information for our writing.

The Kindergarten teachers wanted to try one more digital tool, so I met with them to brainstorm.  We tossed around a lot of ideas, but we ended up deciding to try a brand new tool called Chromville.  Chromville is an augmented reality app that was just released this year.  It offers 6 different coloring pages.  Five of the coloring pages have a setting and a character and the sixth coloring page is a “create your own” character with no setting.  First you color your page.  Then, you use the Chromville app to select the matching setting and scan the page.  Once the screen turns green and you wait 3 seconds, the character and setting come to life on the iPad and the character begins to move around and interact with the setting.

IMG_2928 IMG_2933

From my own experience with Kindergarten students, I’ve seen how visual they are, and I thought that seeing their character and setting in an interactive way might give them enough ideas to begin imagining their own stories.  The teachers and I mapped out what we would do in the library and in class.  It looked something like this:

  • In class, choose a setting and color it.
  • In the library, use the iPads and the Chromville app to see the setting come to life and brainstorm what to write about.
  • In class, begin the writing process by describing the character and setting as well as thinking about 3 events and a reaction that might happen in the story.
  • In the library, use the iPads to look at the Chromville character and setting again for more brainstorming and continue the writing process, including revision and publishing.
  • In class and in the library, share the final stories.
  • In the library, do a gallery walk of the all the stories by scanning the Chromville setting and reading the accompanying story

Four of the Kindergarten classes went through this process and it was very exciting to watch.  I saw some of the longest stories by Kindergarten students that I have ever seen.  Chromville was an exciting and motivating tool for them to use and they were full of energy when using it.

IMG_2932 IMG_2921 IMG_2778

We did learn a lot about what to do differently next time.  For example, we will probably opt to use crayons or color pencils next time rather than markers.  We will also avoid black as a color since the lines of the coloring page are black.  These black lines are the instructions for the iPad to read in order to generated the augmented reality scene.  Students also need to be careful not to cross over too many of the lines or color so dark that the black lines can no longer be seen.

IMG_3053 IMG_3052

Along the way, we shared our success (and our failures) with Chromville, and they were eager to learn with us.  We sent them images of pictures that didn’t scan for us and they started taking a look at them to better improve the app.

chromville skype (2)

Today, Mrs. Boyle’s class Skyped with them all the way in Spain.  It was so much fun to Skype with someone in another country, but it was even cooler to see the improvements that they are working hard to create for the next update of Chromville.  We even got to see some upcoming Chromville projects as well as other augmented reality projects that the team is working on.  We loved seeing how even a t-shirt could be a part of an augmented reality project.  During the Skype, we also heard them talk about the improvements that they are making to the app.  This was such a great connection to the writing revision that students had just gone through.  It also validated all of the feedback that students have given about the app over the past few weeks.  They heard from the developers that their feedback was making a difference.

chromville skype (4) chromville skype (5)

We selected one student from each of the Chromville settings to share their stories with the Chromville team.  Each student showed his/her coloring page first and then read the story.

chromville skype (10) chromville skype (15) chromville skype (13) chromville skype (12) chromville skype (17)

Chromville currently has a narrative writing contest going on using the Greenland setting but Kindergarten is not eligible to enter.  This was a way to still honor their work and let the good people at Chromville hear how fantastic a Kindergarten story can be too.

chromville skype (19)

This is definitely a project we will try again.  I’m thankful for Kindergarten teachers who took a risk with me to try something totally new.  As usual, things didn’t work perfectly along the way, but that’s usually where some of the best learning happens.  Even though there were some tears, it was a great lesson that things aren’t always perfect and we have to push through failure and learn from it in order to be innovative.


Using Layar Augmented Reality App for a Digital Wax Museum

IMG_2902Our 4th grade team does a huge wax museum project each year for their study of the Colonial Period.  Kids get assigned a person from colonial times and spend several days researching their person and taking notes.  The notes get condensed into a short script that they memorize.  Then, they dress up as the character, stand in the halls of Barrow, and families and classes walk through and listen to the “wax figures” come to life and talk.

It’s a great project, but I’ve always wondered about bringing in some digital components for many reasons.  One reason is the fact that many families don’t get to come and listen to their child perform something that he or she has spent a lot of time working on.  Another reason is that many students are overwhelmed by the volumes of people walking up and waiting to hear a monologue.  Traditionally, boys have chosen males from the colonial period and girls have chosen females, but I’m sure that there are 4th graders who would love to research the other gender and not necessarily dress up as that character.

IMG_2906

We have a big project in the works to the end the year in 4th grade.  We’ve extended the wax museum to include the entire year’s social studies curriculum and revisit many of the famous people from history in the 4th grade standards.  We’ve also decided to give the students many choices about what they will create as their final product.  The art teacher is also working with us on this project and having kids research images of their chosen person and create new images or collages with the found images.  Whatever students decide to create, it will become digital through a video uploaded to youtube or a link to the project that they create online.

IMG_2905

Before I had even tried it, I suggested that the wax museum be a display of all of the pictures that students created or compiled and that we could use the augmented reality app Layar to link those images to the digital wax museum projects.  The teachers were thrilled and excited, but I was a little nervous trying something I have never done before.  A fantastic opportunity came up for me to try this same project on a much smaller scale with 12 third grade students in Ms. Spurgeon’s ELT class before doing the project with 70 4th graders.

IMG_2903

The third graders chose an African American to research, wrote a script, and filmed themselves or created a video using Tellagami or Chatterpix.  We uploaded those videos to Youtube.  Students searched online for images of their person.  We uploaded those to Layar and then linked the videos to each picture.  I published our “campaign” in Layar Creator.

IMG_2904

Layar is loaded onto all of our iPads.  Mrs. Spurgeon took the images we used in Layar and displayed them in the rotunda, library, and third grade hall.  Students and families can check out an iPad in the library to go and scan the images.  When they scan, the student videos pop up right on top of the picture on the wall and students and families can listen to the video about the person.  Here are a few of the videos that pop up through augmented reality:

I think it’s going to be a messy process to do this with the whole fourth grade with only 5 weeks of school left, but it will be fun and we will learn so much about continuing to upgrade this fantastic project into something that reaches a wider audience.


Exploring Chinese New Year with Kindergarten: Google Voice Search, Pebble Go, colAR Mix, and More

BeghKH6IAAAZUVXMrs. Li’s Kindergarten class has been exploring the Chinese New Year with me in the library.  During our exploration, we’ve tried out several resources for information.  First, we used Capstone’s PebbleGo database to do some pre-reading for background information.  We did this with little discussion about the holiday, but instead just focused on listening to the information to build some shared knowledge.

pebble go

Next, we thought of questions that we had about the Chinese New Year that were possibly not answered by PebbleGo.  We asked things like:

  • When is Chinese New Year this year?
  • When is the lantern festival?
  • Where is it celebrated?
  • How is it celebrated?

Before students came, I installed the Google Voice Hotword Search extension in Chrome.  This allowed us to control a Google search with our voice.  For Kindergarten students who aren’t fluent in typing, this lifted a big search barrier for them.  We took our list of questions and took turns saying:

  • “OK Google”
  • When is the Chinese New Year?

Google searched and spoke to us telling us that this year Chinese New Year begins on January 31st.  We continued this process to answer many of our questions.

IMG_1806[1]

Next, we used Grace Lin’s book Bringing in the New Year to continue our exploration.  Many facts that we had already discovered were confirmed in the text, but the book allowed us to learn some of the family structure in China and what different family member roles are.  Mrs. Li was able to help us with this part of the lesson.  Since I wasn’t sure how to pronounce some of the words, she pronounced them for us and also explained the meaning of each family member’s name.  We certainly could have used Google for this, but we had a conversation about choosing resources to answer our questions.  Since Mrs. Li was with us in the room and is an expert in Chinese culture, she was a faster option for us than taking the time to go to Google.  It’s never too early to begin surfacing the thinking process that we go through as learners when we are trying to find the answers to our questions.

During the 2nd lesson, we once again used the Google Voice Hotword Search to explore the Chinese Zodiac.  We learned that 2014 is the “Year of the Horse”.  Students were curious about their own birth years, so we used Google to look for the signs for each of their years too.  From here, we spent some time coloring a colAR mix coloring page for Chinese New Year.  Students used the iPad app to view their carousel creations.  The app uses augmented reality to bring coloring pages to life.  The carousel pops off the page and rotates to music with they year 2014 in front of the carousel.  Students were mesmerized by their coloring page brought to life.

We explored so many skills and tools in just 2 lessons.  I want to continue this transliterate thinking of how our students can experience content across multiple platforms.  In these 2 lessons, we examined print, databases, websites, search engines, crayons/markers/paper, and augmented reality.  I’m curious to ask students later what they remember about Chinese New Year and see what stands out in their minds from these 2 days.

Dot Day Fun with colAR Mix App

Every year, I enjoy celebrating International Dot Day, and it seems that every year we discover new ways to celebrate.  This year, I was excited to discover colAR Mix 3D coloring book.  I discovered the app while reading Fablevision’s posts about Dot Day.  colAR Mix is an augmented reality app that takes 2D coloring pages and brings them to life.  You can see the amazing video here:

For Dot Day, they made a special free page that allows students to design their own dots and turn them into rotating discs, falling balls, rotating solar systems, and revolving globes.  The app has a built in camera so you can take pictures of your creation, pretend that you are holding your creation in your hand, or even work with a partner to take your picture with your creation.

The students have been blown away by the coolness of this app.  Every adult that has seen it has immediately downloaded it on their phones and iPads to try it out for themselves.  Other than the coolness, I could really see this being used for multiple purposes.  When you study maps, you often have to think about something that is 3D in a flat format.  This app allows students to design something flat and see what it looks like in 3D.  Perhaps by working through this several times students would gain some understanding about how our flat maps of the world actually translate into the actual 3D world we live in.  It would be interesting to connect this with the upcoming explorers study that I am doing with 4th grade.  I would love to hear others’ ideas of how it might be used beyond dot day.


International Dot Day: First Steps

dot day (14)Today, the very first classes came to participate in International Dot Day lessons.  Ms. Olin’s 5th grade class read The Dot by Peter Reynolds.  We talked about what it means to make your mark on the world.  I loved hearing their ideas because they really had a sense of how they could make a difference.  I had 2 separate areas setup for them.  One area had coffee filters, a variety of coloring supplies, a water bottle, and tables covered in black butcher paper.  They could use the materials in any way they wanted to be creative making a dot.  The other area had iPads loaded with Glow Coloring and Drawcast.  Students who chose iPads used a stylus to draw a dot and save it to the camera roll on the device.

Students chose where they went.  I made no requirements about doing a dot at both locations.  Some students chose to make several coffee filters dots by trying different techniques of using markers, crayons, color pencils, and water.  Others chose to make multiple iPad dots.  A few chose to do both.  Once students’ dots dried, I started making our dot gallery on the windows of the library.dot day (15)

dot day (16)Later in the day, Mrs. Kelly Hocking’s Kindergarten class came to begin a dot project.  They are going to be studying several artists and learning how they can express themselves through art.  One of the artists they will learn about is Chuck Close.  This is a perfect tie-in to Dot Day since Chuck Close creates paintings that are made of numerous dots that come together to make a larger picture.  I had already read Sky Color to her class and they became very interested in painting murals.  Today, I showed them pictures of a mural in my daughter and son’s room and how the idea for the mural came from several children’s books.  Then, we read Diego Rivera His World and Ours.  The book details how Rivera traveled Mexico to get ideas for his murals.  It also raises the question about what Rivera would paint if he were alive today.  I love that the book ends by saying, “Today Diego is not around to make this happen.  So it is up to us to make our own murals and bring them to life.”  This was Mrs. Kelly’s lead-in to the mural that they will now create using dots in their classroom.  The mural will be displayed in the library, and we will probably have some more lessons before it is done.

dot day (17)I also discovered a great new iPad app after reading about it on Fablevision.  colAR Mix is an augmented reality app that brings coloring pages to life in 3D.  They have made a special coloring page just for dot day.  I made a practice dot, and it was so much fun seeing it pop off the page on the iPad.  You can take a picture of your 3D dot and save it to the camera roll.  I’m sure several classes will try this one out.dot day

Fetch! Lunch Rush! App

Recently, on one of my favorite blogs, Free Technology for Teachers, Richard Byrne featured the app Fetch! Lunch Rush! for iPhone (also can be for iPad).   I immediately downloaded it, played around with it, and loved it.  I emailed all lower grade teachers to see if it might benefit their students with practicing some basic math facts, and the entire 1st grade team signed up to give it a try.  I printed out the cards  and posted them around the media center so that the game took on a true scavenger hunt feel.  The basics of the game are that you have basic math facts that add or subtract up to 10.  You have 10 printed cards with numbers and symbols on them to post around the room.  The app gives you a fact, you find the answer, you point the iPad at the picture, a picture of sushi appears on your screen, and you tap it to send it to lunch.  The app times how long it takes to answer the problems and increases in difficulty as accuracy and speed increase.

Students began on the carpet for a very brief demo of how the app worked.  Some students were paired together on 1 iPad (up to 4 players can play on 1 device).  Other students worked alone.  It was amazing to watch how active the students were.  They were scurrying about the media center looking for answers, pointing their iPads at the answer, tapping the augmented reality sushi, and moving on to the next problem.  Along the way, students got problems that were challenging to them.  The teacher and I gave them tangible objects to help them (fingers, popsicle sticks, markers, etc).  They stopped on the floor or at tables to figure out the answer before moving to find the card on the wall.  Students also began to get missing integer problems like 3 + ____ = 9.  These were the most challenging for first graders, but the challenge didn’t stop them.  They were eager to get an answer and continue the game.  

This app pulled together so many great learning pieces for students.  There was gaming, movement, problem solving, the cool factor, and technology.  The teacher made observations and then went back to the classroom to practice more strategies that will help students develop their math fact fluency.  I hope more apps like this one cross our path because it was fun, engaging, and took boring math fact practice to a whole new level!

This slideshow requires JavaScript.