Kindergarten Narrative Writing Using Chromville Augmented Reality (and a little Skype too)

IMG_2789 IMG_2804Kindergarten is revisiting narrative writing at the close of the year.  This year, they have also worked very hard on the standard

ELACCKW6 Production and distribution of writing: With guidance and support from adults, explore a variety of digital tools to produce and publish writing, including in collaboration with peers.

With this standard as our guide, we have explored tools such as Storybird, Padlet, and Flipgrid to publish our writing.  We’ve also used digital tools such as Pebble Go and the Capstone Interactive Library to gather information for our writing.

The Kindergarten teachers wanted to try one more digital tool, so I met with them to brainstorm.  We tossed around a lot of ideas, but we ended up deciding to try a brand new tool called Chromville.  Chromville is an augmented reality app that was just released this year.  It offers 6 different coloring pages.  Five of the coloring pages have a setting and a character and the sixth coloring page is a “create your own” character with no setting.  First you color your page.  Then, you use the Chromville app to select the matching setting and scan the page.  Once the screen turns green and you wait 3 seconds, the character and setting come to life on the iPad and the character begins to move around and interact with the setting.

IMG_2928 IMG_2933

From my own experience with Kindergarten students, I’ve seen how visual they are, and I thought that seeing their character and setting in an interactive way might give them enough ideas to begin imagining their own stories.  The teachers and I mapped out what we would do in the library and in class.  It looked something like this:

  • In class, choose a setting and color it.
  • In the library, use the iPads and the Chromville app to see the setting come to life and brainstorm what to write about.
  • In class, begin the writing process by describing the character and setting as well as thinking about 3 events and a reaction that might happen in the story.
  • In the library, use the iPads to look at the Chromville character and setting again for more brainstorming and continue the writing process, including revision and publishing.
  • In class and in the library, share the final stories.
  • In the library, do a gallery walk of the all the stories by scanning the Chromville setting and reading the accompanying story

Four of the Kindergarten classes went through this process and it was very exciting to watch.  I saw some of the longest stories by Kindergarten students that I have ever seen.  Chromville was an exciting and motivating tool for them to use and they were full of energy when using it.

IMG_2932 IMG_2921 IMG_2778

We did learn a lot about what to do differently next time.  For example, we will probably opt to use crayons or color pencils next time rather than markers.  We will also avoid black as a color since the lines of the coloring page are black.  These black lines are the instructions for the iPad to read in order to generated the augmented reality scene.  Students also need to be careful not to cross over too many of the lines or color so dark that the black lines can no longer be seen.

IMG_3053 IMG_3052

Along the way, we shared our success (and our failures) with Chromville, and they were eager to learn with us.  We sent them images of pictures that didn’t scan for us and they started taking a look at them to better improve the app.

chromville skype (2)

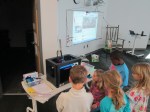
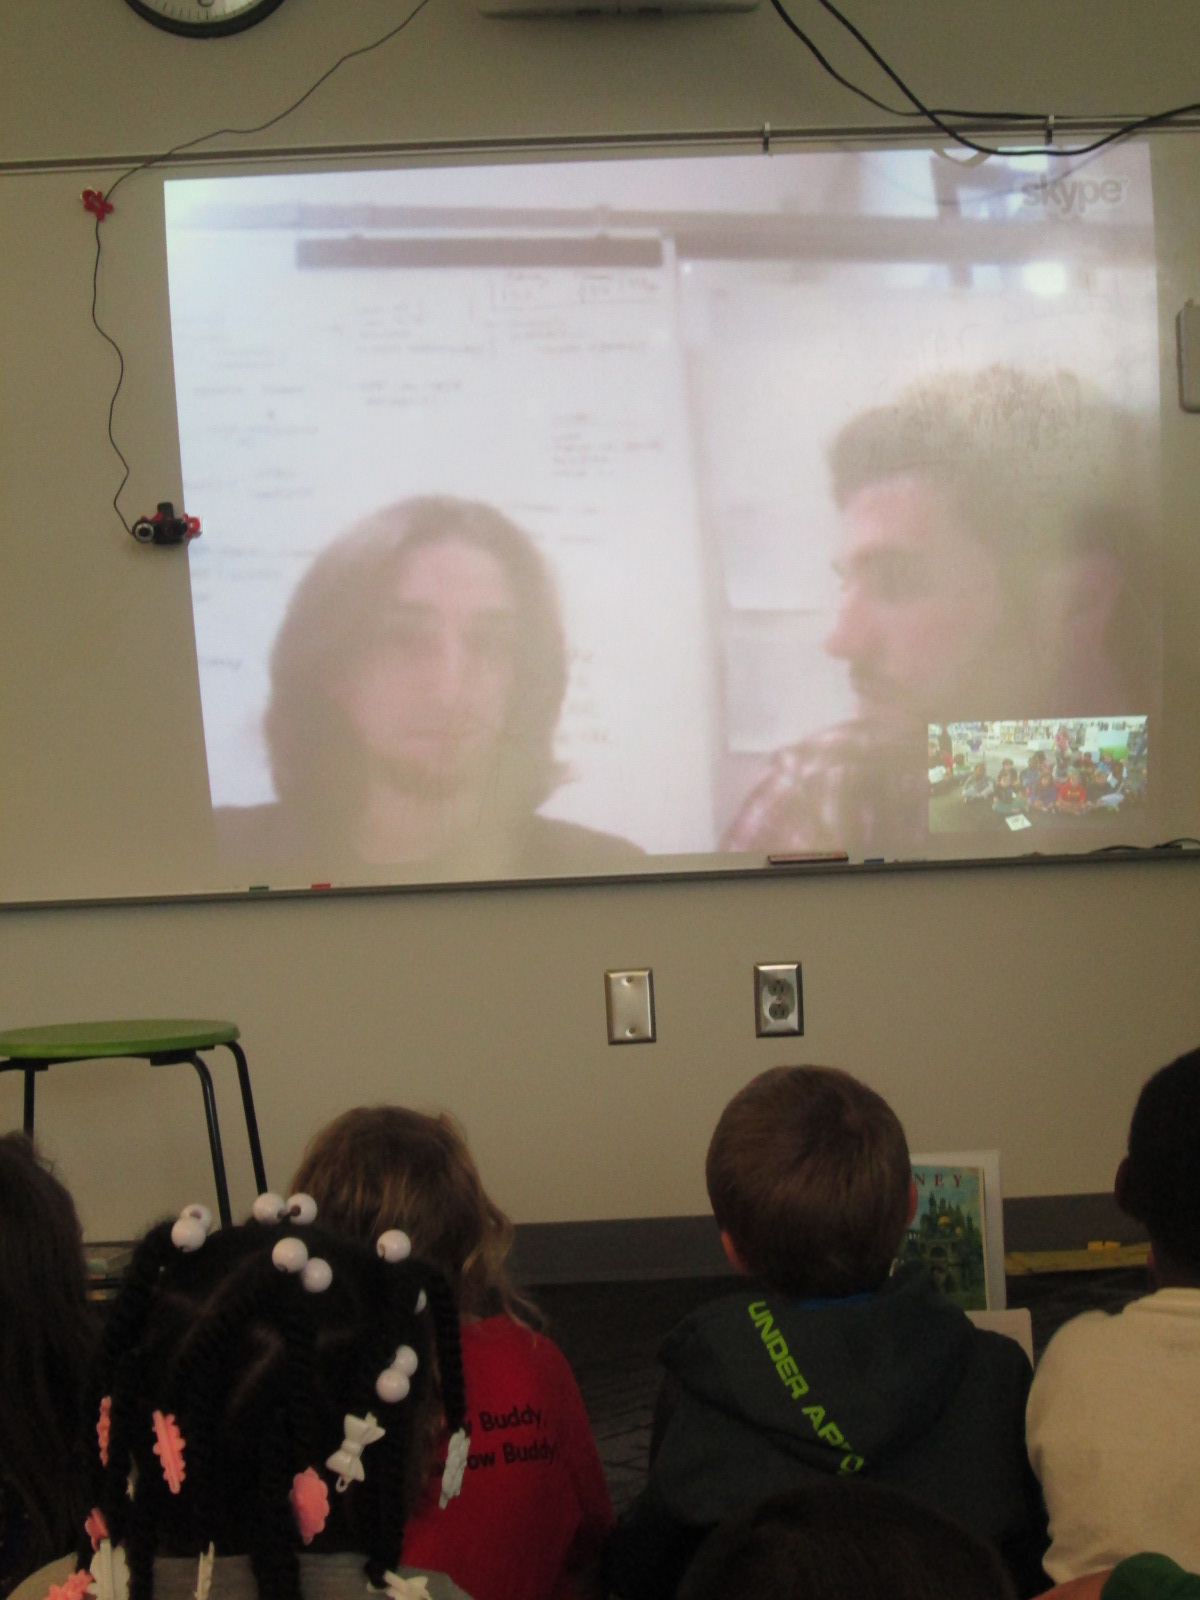
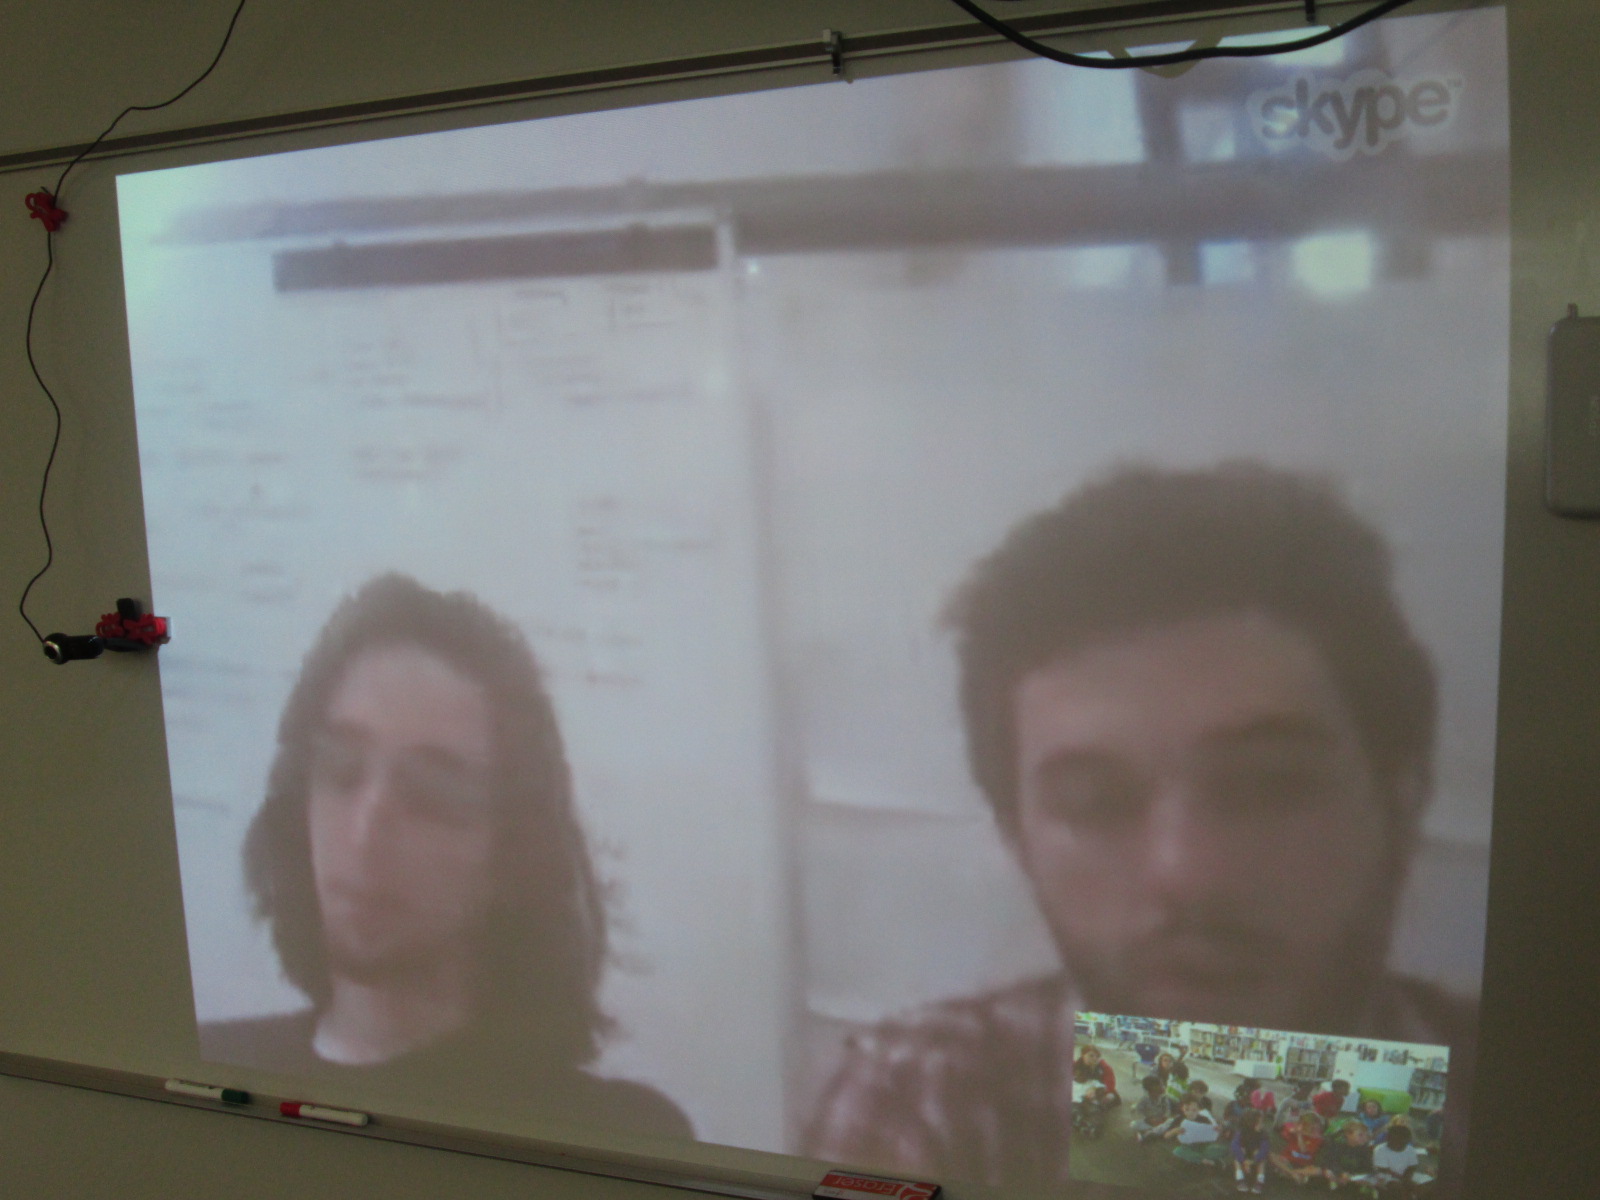
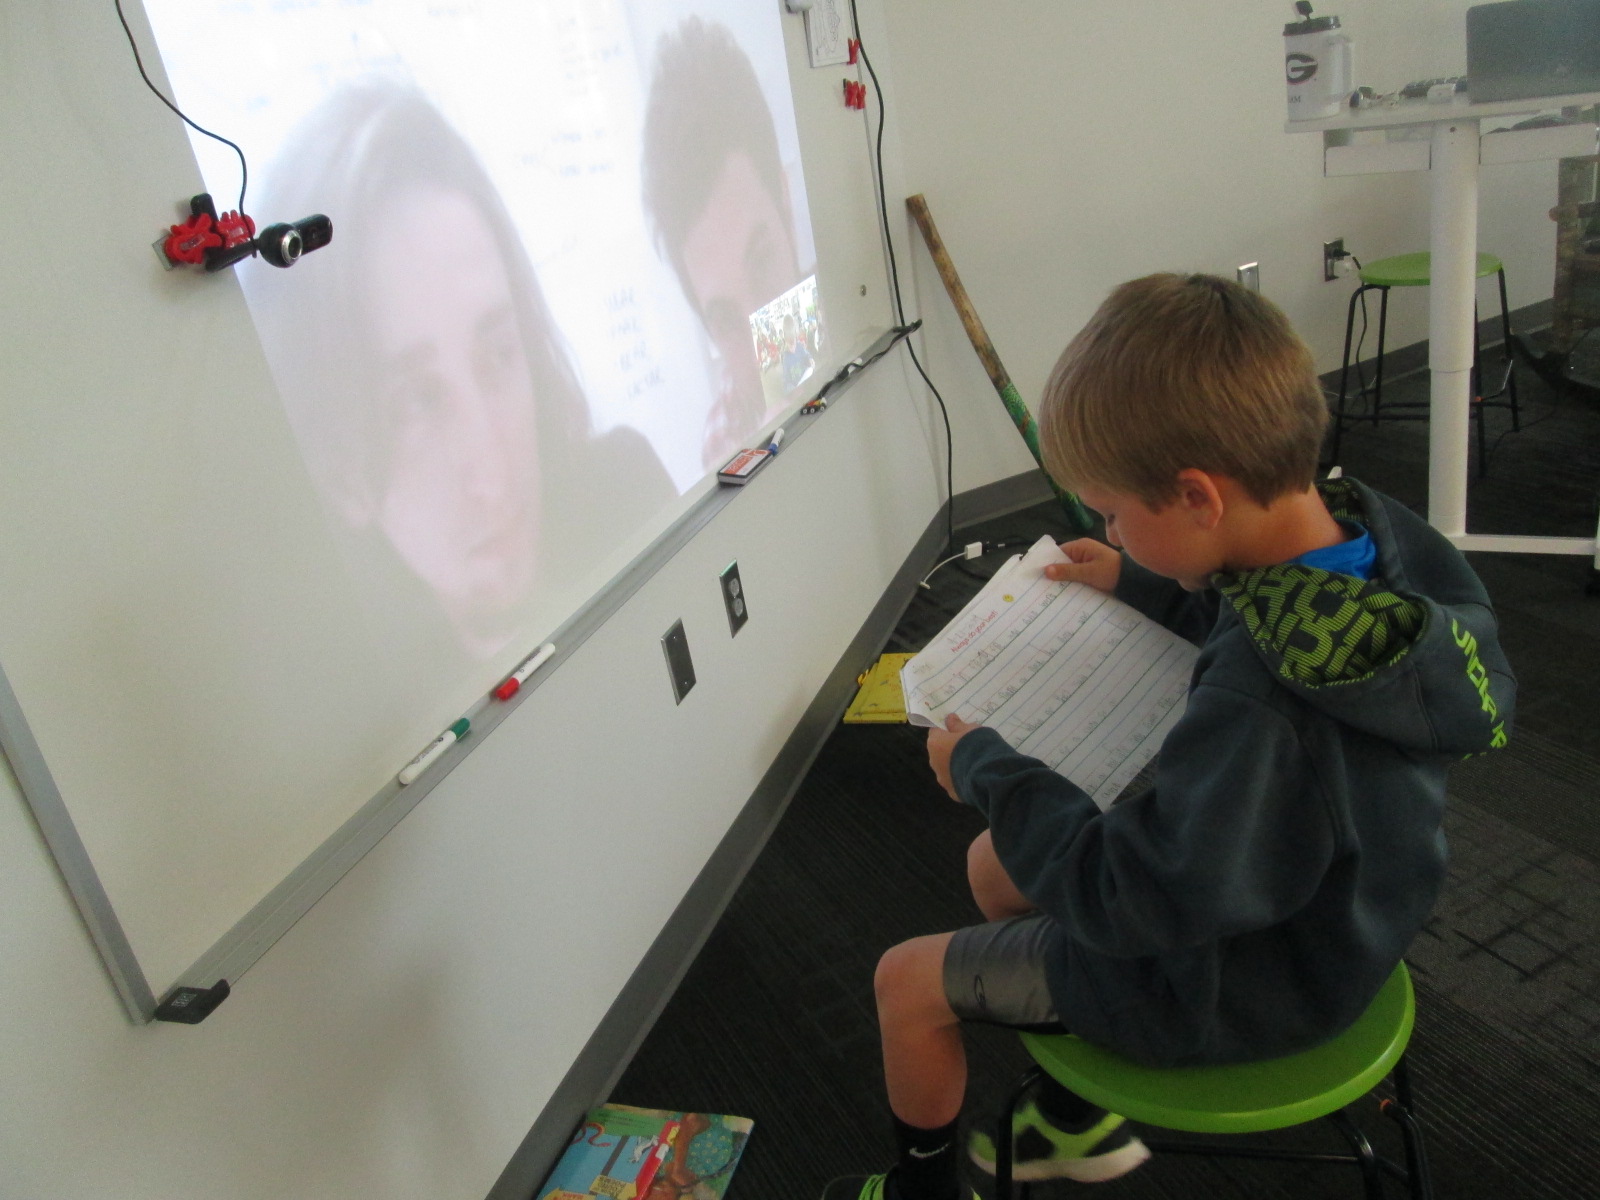
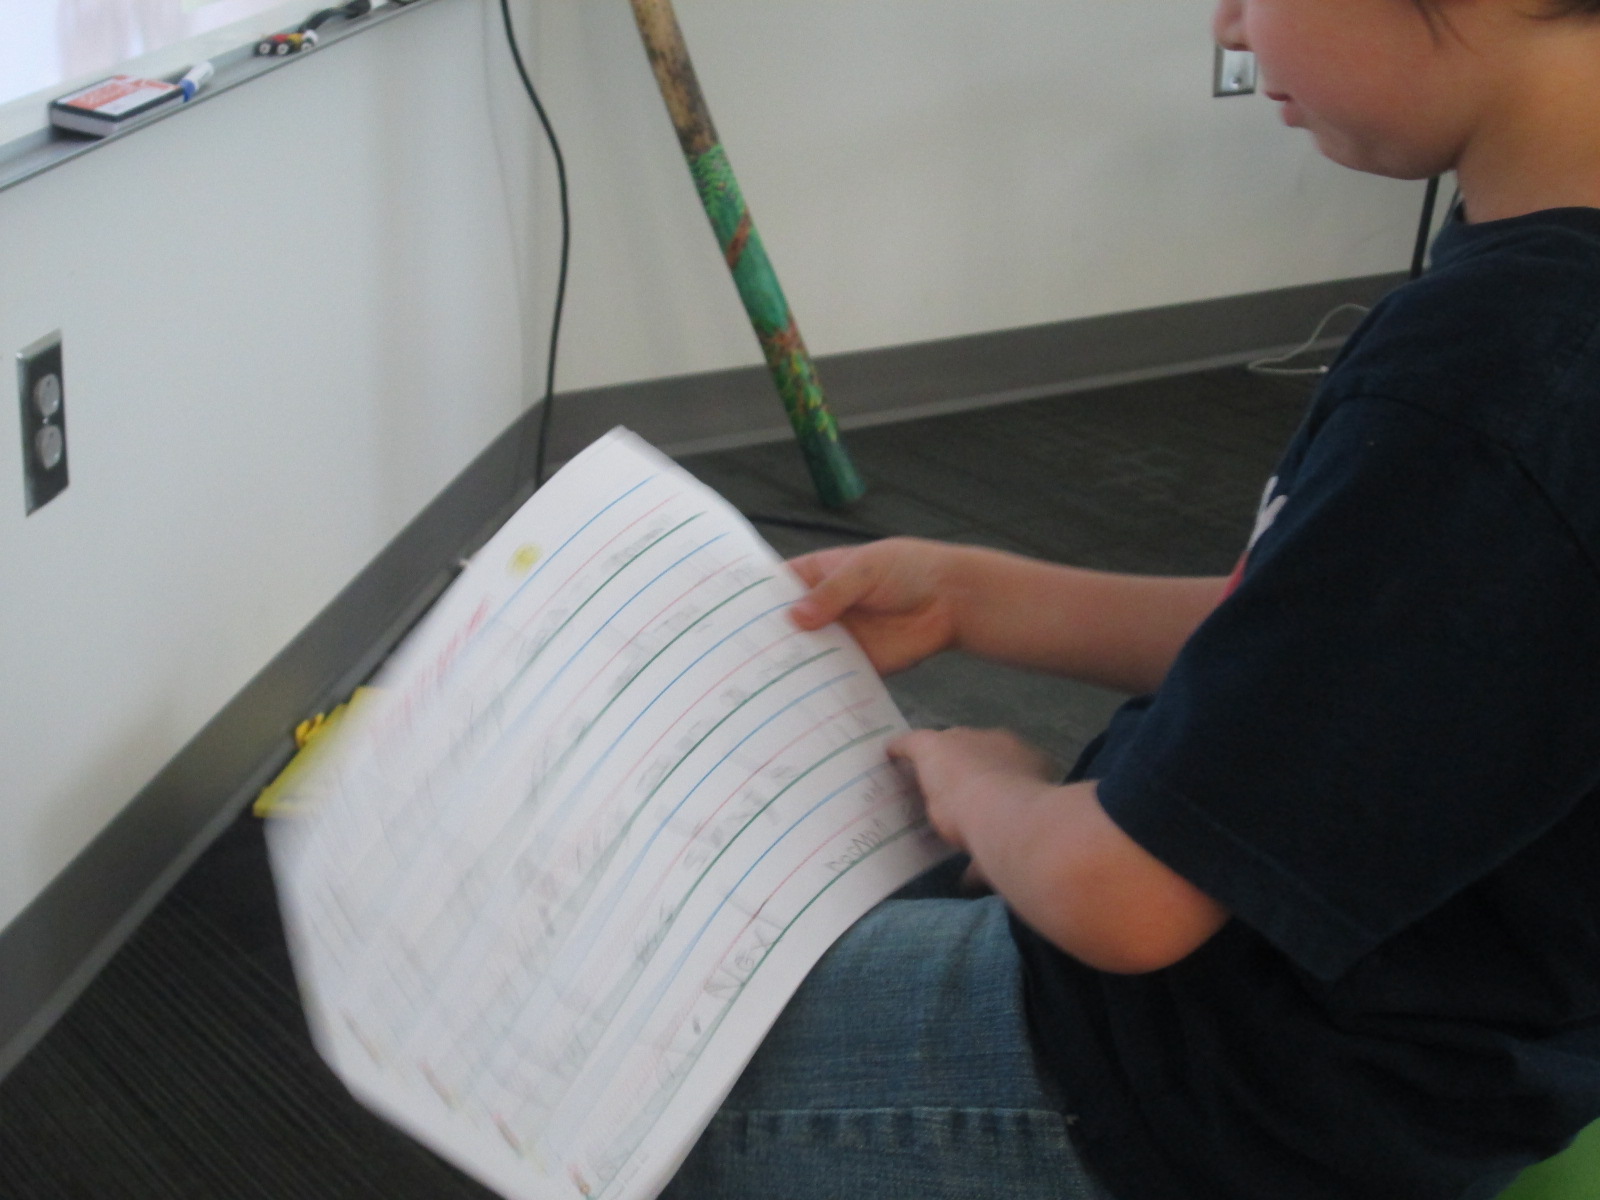
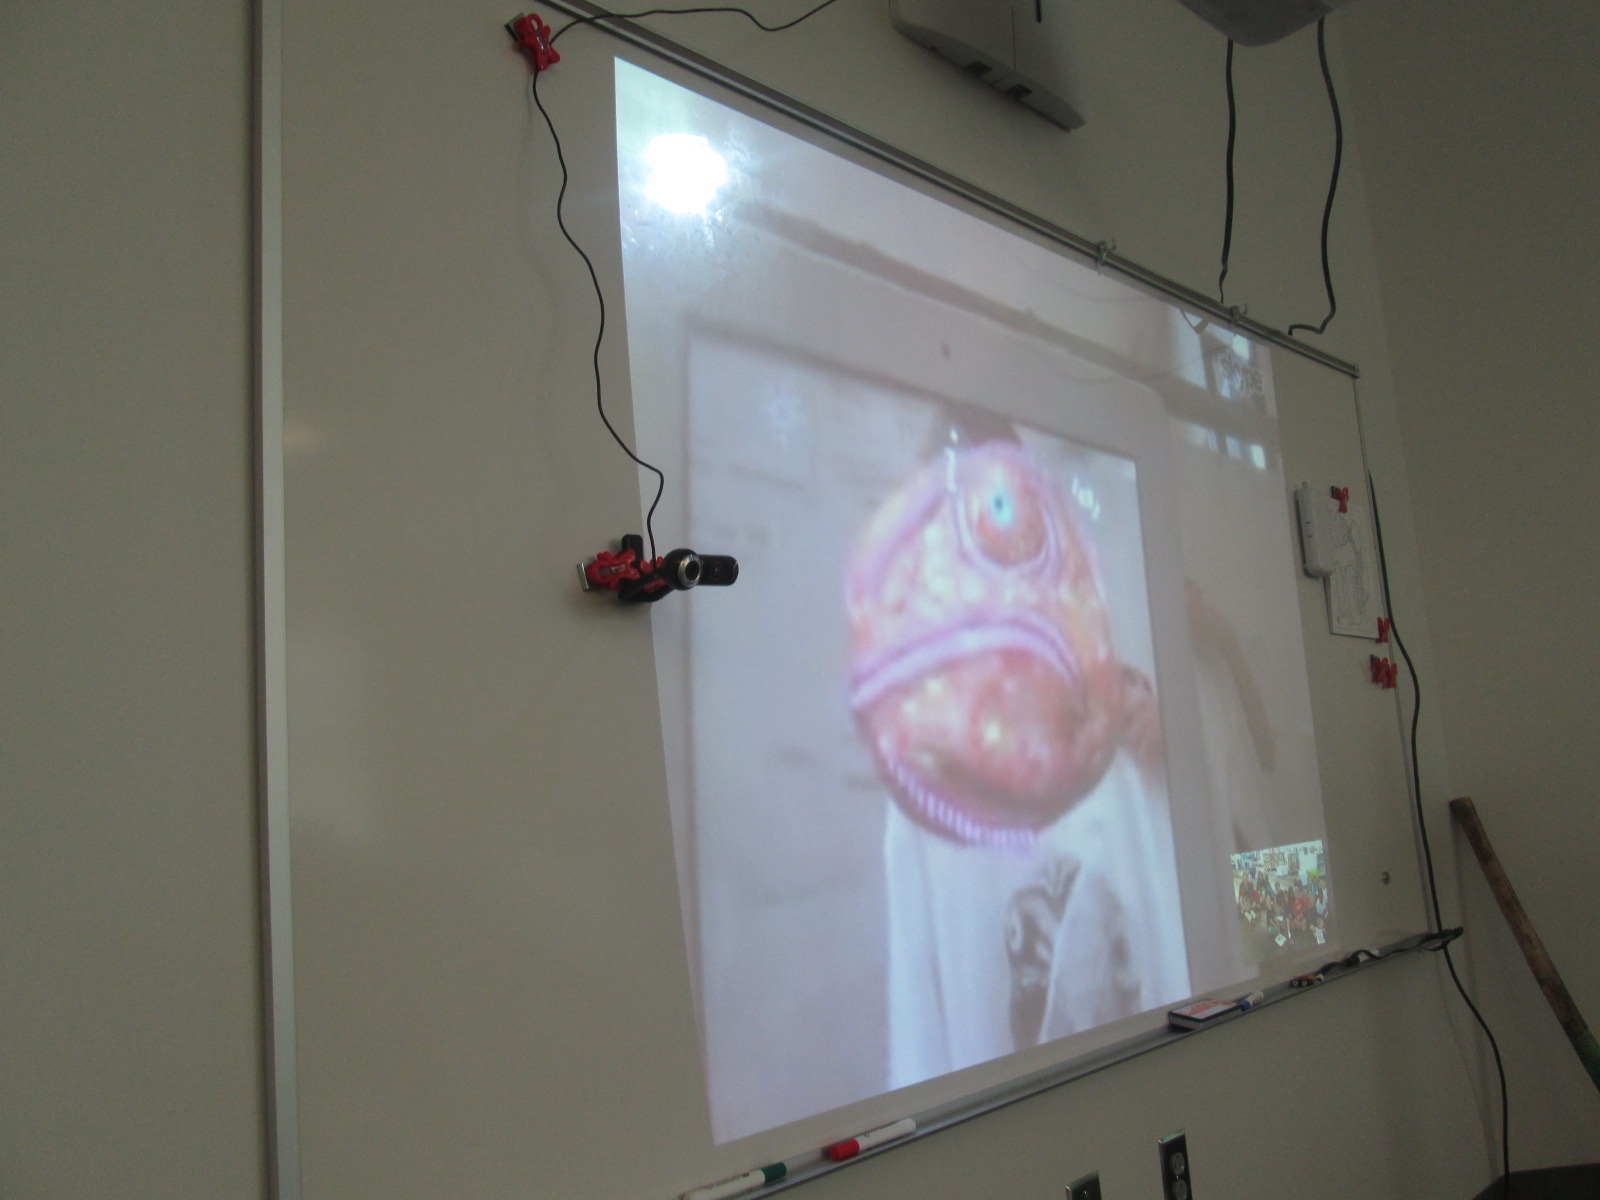
Today, Mrs. Boyle’s class Skyped with them all the way in Spain.  It was so much fun to Skype with someone in another country, but it was even cooler to see the improvements that they are working hard to create for the next update of Chromville.  We even got to see some upcoming Chromville projects as well as other augmented reality projects that the team is working on.  We loved seeing how even a t-shirt could be a part of an augmented reality project.  During the Skype, we also heard them talk about the improvements that they are making to the app.  This was such a great connection to the writing revision that students had just gone through.  It also validated all of the feedback that students have given about the app over the past few weeks.  They heard from the developers that their feedback was making a difference.

chromville skype (4) chromville skype (5)

We selected one student from each of the Chromville settings to share their stories with the Chromville team.  Each student showed his/her coloring page first and then read the story.

chromville skype (10) chromville skype (15) chromville skype (13) chromville skype (12) chromville skype (17)

Chromville currently has a narrative writing contest going on using the Greenland setting but Kindergarten is not eligible to enter.  This was a way to still honor their work and let the good people at Chromville hear how fantastic a Kindergarten story can be too.

chromville skype (19)

This is definitely a project we will try again.  I’m thankful for Kindergarten teachers who took a risk with me to try something totally new.  As usual, things didn’t work perfectly along the way, but that’s usually where some of the best learning happens.  Even though there were some tears, it was a great lesson that things aren’t always perfect and we have to push through failure and learn from it in order to be innovative.


Scratch Google Hangout with Barrow and Van Meter

GHO (4)Mrs. Hicks’s 3rd grade students have been working on building Scratch programs for several weeks now.  Originally, their journey was going to lead them to creating some scratch programs around a math standard or possibly environmental standards, but the project grew into so much more.

GHO (13)

These students started out by creating their own Scratch accounts and exploring.  I showed them how to use the tutorial built into Scratch as well as the video tutorials from Hour of Code.  From there, students got to work.  It seemed that every day these students came into class, they had learned something new.  Many of them loved using Scratch so much, that they went home and continued their projects on their own.  When a student learned something new, they came in and shared it with others.  At the close of each lesson, Mrs. Hicks had students write reflections on a Padlet.  This wall became a collective list of tips, new learning, and frustrating moments as students shared their thoughts each day.  Students often went back to review their standards, used checklists, and reviewed their work with rubrics throughout the creation process.

GHO (2) GHO (3)

Today, several students came together to share their work in progress in a Google Hangout with Shannon Miller’s students in Van Meter, Iowa.  The students were very nervous about sharing their work, but they had a lot to be proud of.  Students’ projects had branched out to projects in every subject area:  a multiplication program that solves multiplication problems, a social studies program about the regions of Georgia, a science program about dinosaurs, a math program about data, and more.  It was truly amazing to see what these students have created in Scratch knowing that they all started on the same page.  None of them were users of Scratch prior to this project.

To prepare for our Google Hangout, we talked about how to present work online.  This included reminders about talking through each step that you are doing rather than just clicking on things in silence.  Students went into my office to present their work, while the rest of the students sat in front of the projector to watch.  During the practice, students gave one another feedback on how they presented.

GHO (5) GHO (14)

Today’s live Google Hangout On Air had some glitches at the beginning when we couldn’t get everyone connected in the hangout, but once we got rolling, the process was smooth.  A student screenshared their Scratch project, while students at Barrow and Van Meter listened.  Barrow students wrote feedback on paper to give to the presenters during tomorrow’s class.  Todd Hollett, our tech integration specialist, helped facilitate the hangout at the projector while I facilitated the student presenting in my office.  Van Meter’s students gave verbal feedback during and after each presentation.

GHO (12) GHO (8)

I think today gave our 3rd graders confidence in presenting their work online.  The positive feedback from Van Meter boosted their confidence as well.  Here’s a look at how our Hangout went.  It’s a long video, but the projects are amazing for our 1st attempt.

I was excited to hear after the hangout that the students in Van Meter have an idea for a project between Barrow students and Van Meter.  I can’t wait to hear more!

GHO feedback


Kinetic Art Sculptures Using Our Makerbot Replicator 2

kinetic sculpturesOur art teacher, art student teacher, and I have been having a blast with 3rd graders designing kinetic sculptures.  About 2 weeks ago, students came to the library during art to learn about Tinkercad and how artists use technology to create.  Before this lesson, they watched a Tinkercad tutorial.  In small groups, they designed an object for 3D printing.  Whatever they designed would become one piece of a larger kinetic sculpture in art.  You can read more about that experience here.  

kinetic sculptures (15)

Once students finished their design, I went into each account and tried to double check that the designs were all pushed together into one piece art.  Then, I downloaded the .stl file into Makerware.  In Makerware, I resized the object to a smaller size to speed up the printing process.  I also added a raft (removeable base) and supports to each print.  I’ve found that in Tinkercad these 2 steps are needed because what you see on the computer screen might actually be misleading.  The raft and supports help the 3D print be more stable.  All files were loaded onto the SD card prior to students arriving.

kinetic sculptures (9)

Ms. Foretich, art teacher, created a printing schedule with about 60-90 minutes between prints.  During each time frame, students came to the library and chose their filament color.  Then, I shared some information about the 3D printer since it was the 1st 3D print for most students.  Finally, we pulled up the file on the SD card and a student pressed the M.  Students sat in chairs or huddled around the printer to watch.  After watching the print for a few minutes, students went back to their regular day while the print finished.  I kept an eye on each print during and between my lessons.

kinetic sculptures (13)

Each printing experience was different and you really never know what is going to happen when you press that red M.  Many times the print is a big success, but sometimes it’s not.  We’ve had some failures, which are very important.  We save every failed print we have and put it in a box.  It reminds us that we aren’t perfect, but it also serves as an instructional tool to talk to students about what didn’t work.  We learn from our failures and a box full of failure speaks volumes to all of the students who are starting their 3D printing process.

fail

When a print fails, we go back into the design and look at what needs to happen.  Sometimes it’s as simple as pushing some pieces together more than they were.  However, sometimes it’s a big flaw that cause students to just start over.  It certainly slows the process down, but it is important for them to revisit their work, revise, and try again.

kinetic sculptures (7)

It’s always fun to see which students are motivated by the concept of 3D printing.  Sometimes the students make surprising choices like giving up their recess time to spend that time watching the 3D printer create.  Hearing their “wows” and “cools” is inspiring.

jaymar

Students are continuing to print their pieces this week and next.  In the meantime, they are continuing to work on their kinetic sculptures in art knowing that their 3D printed object will also be a part of their design.