Our art teacher, art student teacher, and I have been having a blast with 3rd graders designing kinetic sculptures. About 2 weeks ago, students came to the library during art to learn about Tinkercad and how artists use technology to create. Before this lesson, they watched a Tinkercad tutorial. In small groups, they designed an object for 3D printing. Whatever they designed would become one piece of a larger kinetic sculpture in art. You can read more about that experience here.

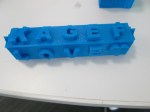
Once students finished their design, I went into each account and tried to double check that the designs were all pushed together into one piece art. Then, I downloaded the .stl file into Makerware. In Makerware, I resized the object to a smaller size to speed up the printing process. I also added a raft (removeable base) and supports to each print. I’ve found that in Tinkercad these 2 steps are needed because what you see on the computer screen might actually be misleading. The raft and supports help the 3D print be more stable. All files were loaded onto the SD card prior to students arriving.

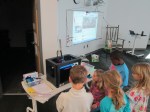
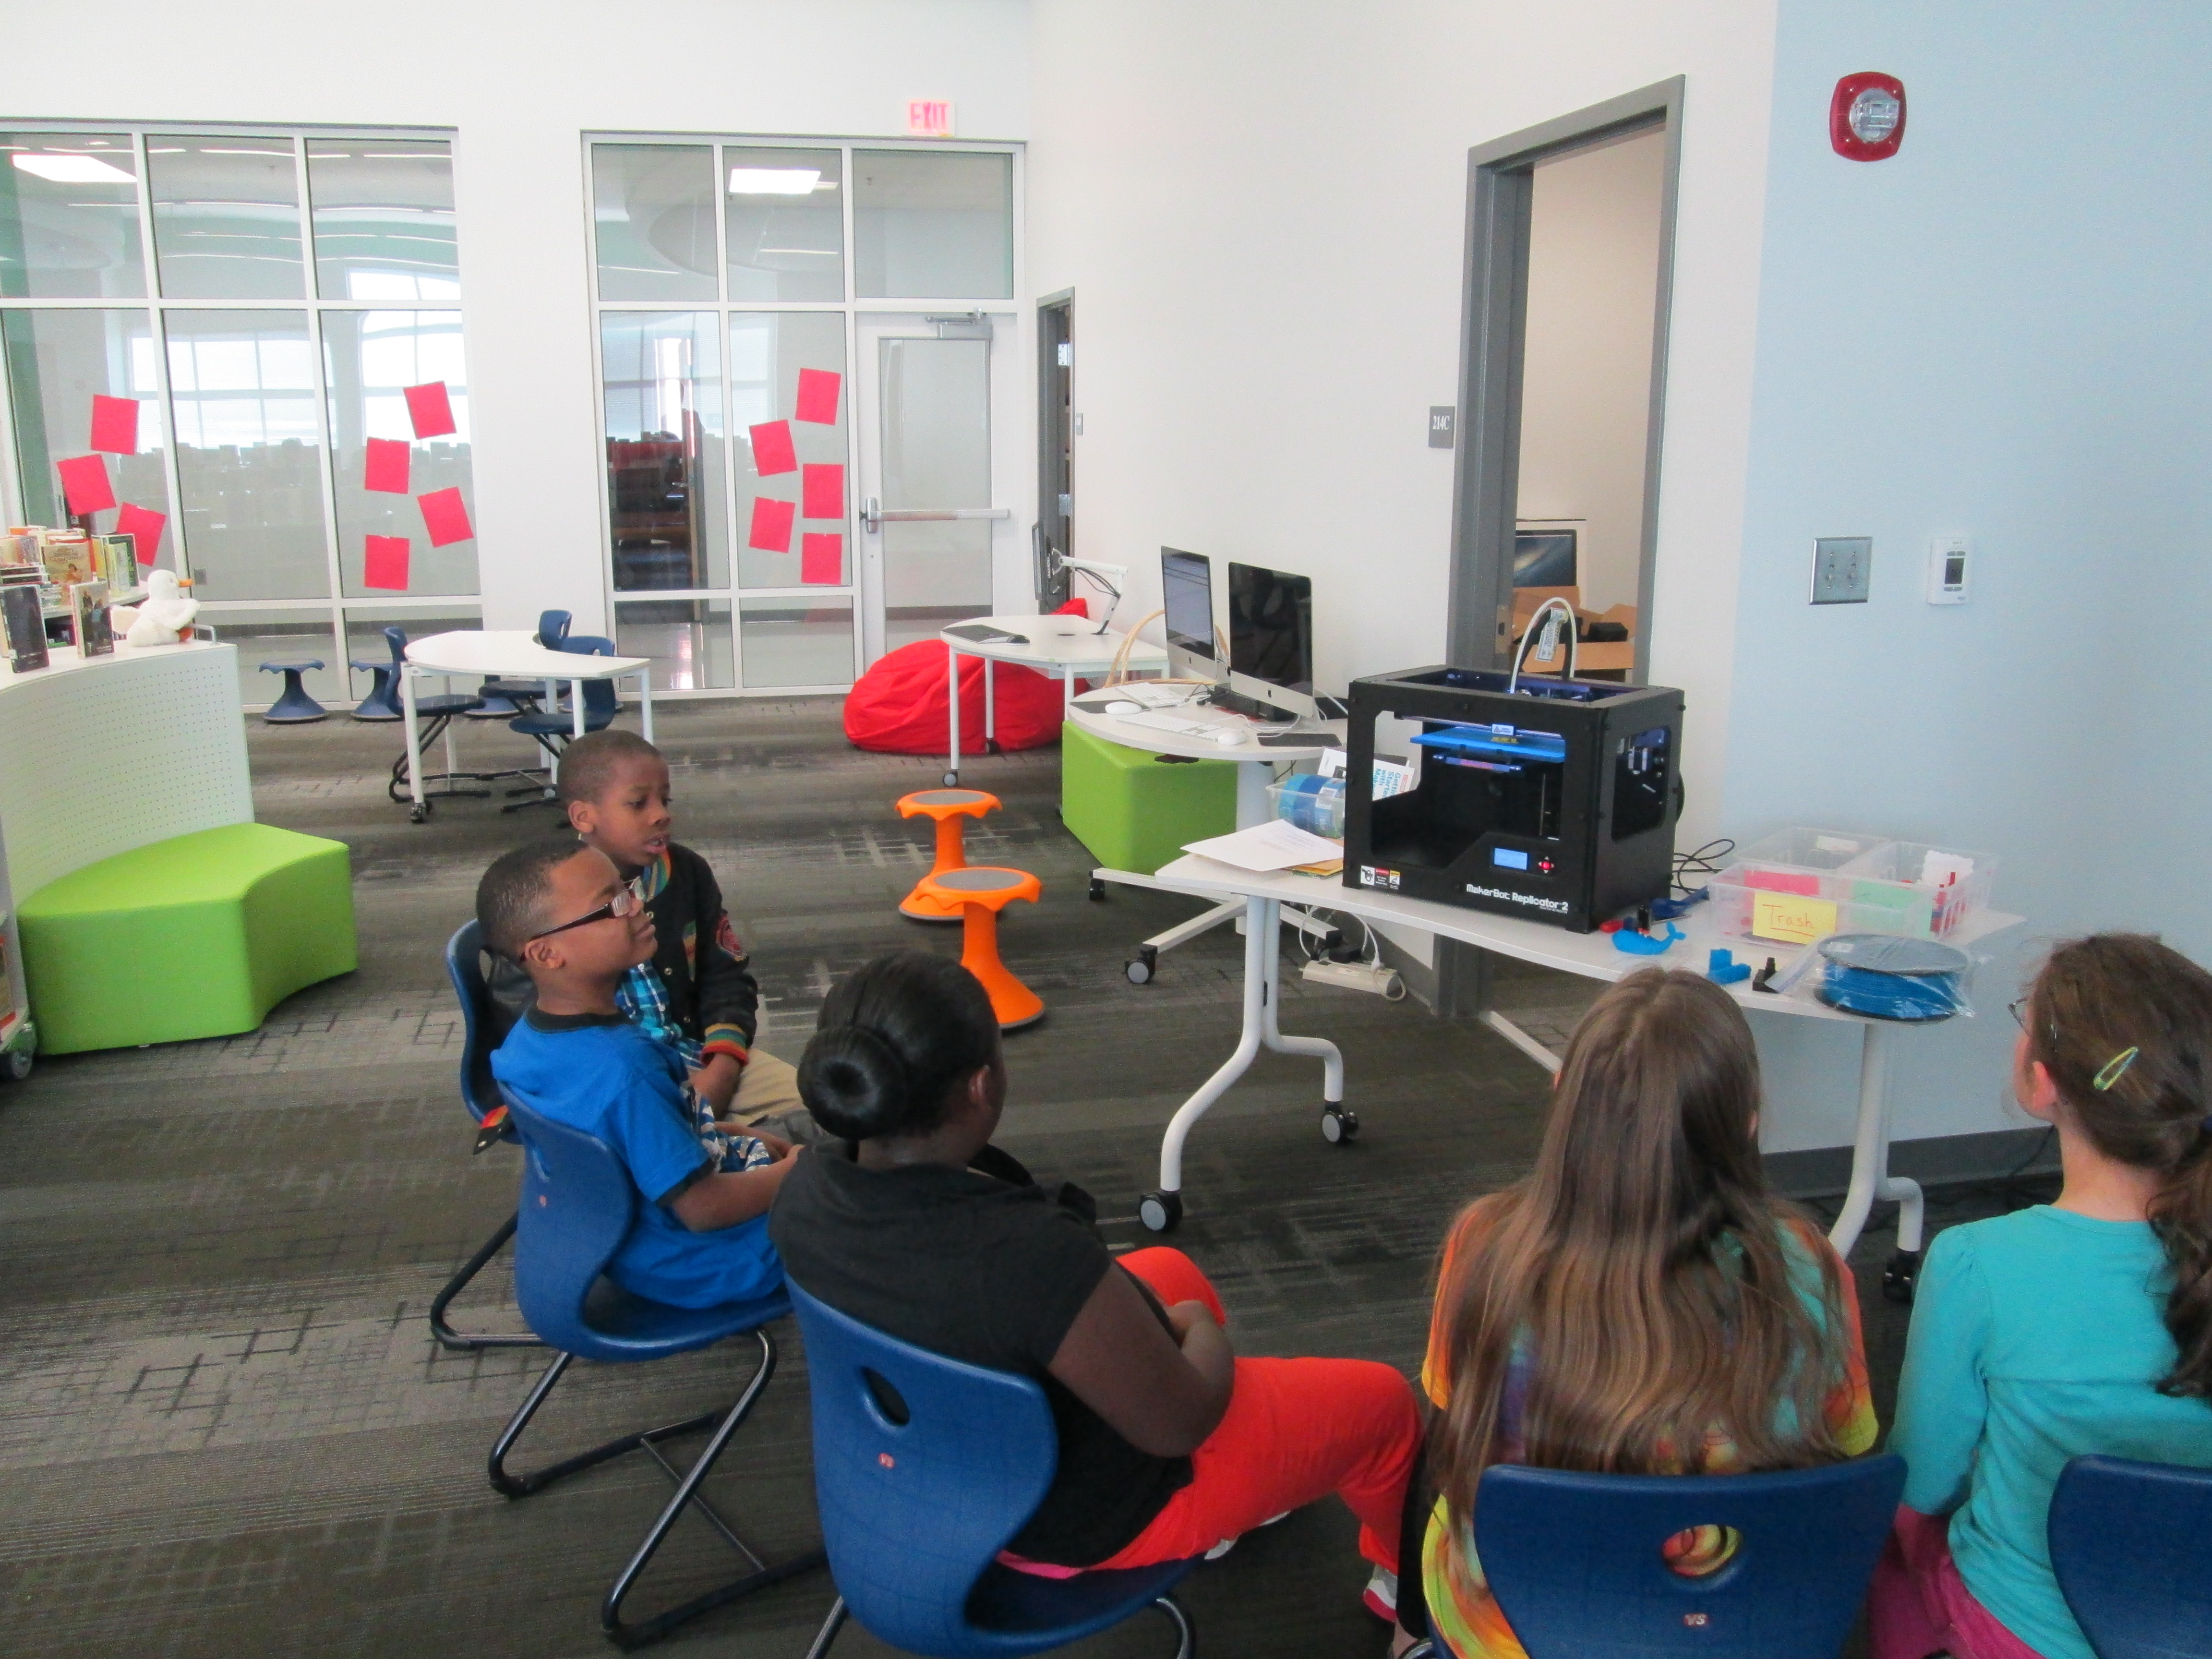
Ms. Foretich, art teacher, created a printing schedule with about 60-90 minutes between prints. During each time frame, students came to the library and chose their filament color. Then, I shared some information about the 3D printer since it was the 1st 3D print for most students. Finally, we pulled up the file on the SD card and a student pressed the M. Students sat in chairs or huddled around the printer to watch. After watching the print for a few minutes, students went back to their regular day while the print finished. I kept an eye on each print during and between my lessons.
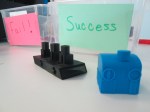
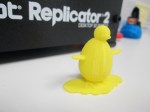
Each printing experience was different and you really never know what is going to happen when you press that red M. Many times the print is a big success, but sometimes it’s not. We’ve had some failures, which are very important. We save every failed print we have and put it in a box. It reminds us that we aren’t perfect, but it also serves as an instructional tool to talk to students about what didn’t work. We learn from our failures and a box full of failure speaks volumes to all of the students who are starting their 3D printing process.
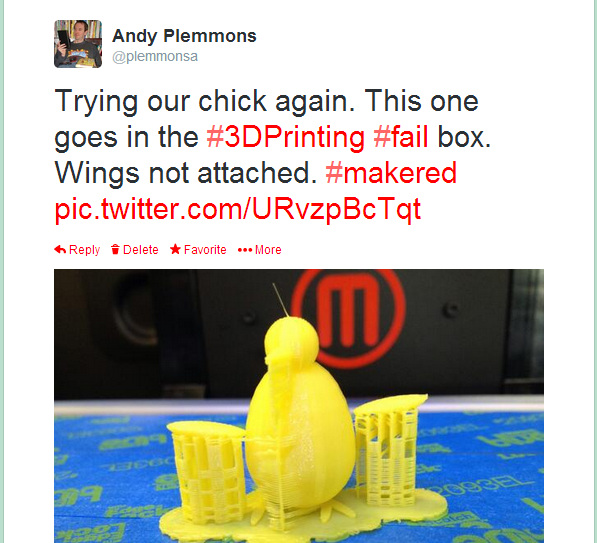
When a print fails, we go back into the design and look at what needs to happen. Sometimes it’s as simple as pushing some pieces together more than they were. However, sometimes it’s a big flaw that cause students to just start over. It certainly slows the process down, but it is important for them to revisit their work, revise, and try again.

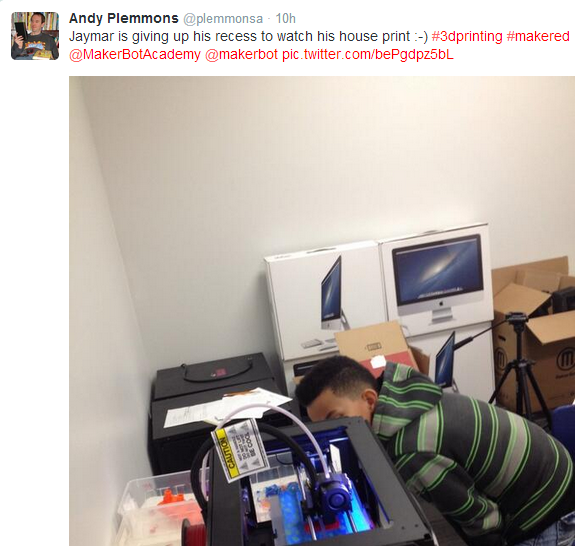
It’s always fun to see which students are motivated by the concept of 3D printing. Sometimes the students make surprising choices like giving up their recess time to spend that time watching the 3D printer create. Hearing their “wows” and “cools” is inspiring.
Students are continuing to print their pieces this week and next. In the meantime, they are continuing to work on their kinetic sculptures in art knowing that their 3D printed object will also be a part of their design.