Celebrating Read Across America, Dr. Seuss, and Our Community

Seuss Readers (13)

March 2nd is always a special day for our school. We have a long tradition of having guest readers for all classrooms in honor of Read Across America and the birthday of Dr. Seuss.  The goal is to have two readers for every classroom. This allows more connections to the community, more books to be heard, and also more people in case we have people who are unable to come.

Courtney Tobin is a parent volunteer at our school who organizes my library volunteers. She also creates a Signup Genius for events like this one.  She puts 2 slots for every class, and we start sending it out asking for readers. The link is put in my library newsletter, library facebook page, and grade level parent representatives send it out to lists of parents.  I invite district leadership including our superintendent, public relations, and board of education members.

Seuss Readers (24) Seuss Readers (23)

As the event nears, we always have empty spaces still left, so we repeat sending out the link and send it to additional places like the UGA Athletic Association. Usually be the day of the event, the list is full and we have people who show up who didn’t even get to sign up.

It takes a whole community to pull off 2 readers in every class.

We gather in the library, and readers check in with Kim Ness, another wonderful parent volunteer. She does this while I’m helping with morning broadcast. Readers select a Seuss book from our library collection and my personal collection and socialize and practice reading. We gather for a group picture and a huge thank you for taking time to celebrate reading with our students.

Seuss Readers Crop

It’s always fun to race around the school to try to catch a glimpse of the smiling faces in every class and the community readers having such a great time sharing stories.

For the remainder of the day, we continue our Skype connections with other schools around the country. This is a continuation of our World Read Aloud Skypes.

WRAD16 (1)

Today, we connected with:

  • Shannon Hyman in Glen Allen, VA and her 3rd grade students to read Be a Friend and Mother Bruce. Their teacher was a big UGA fan!
  • Lisa Lindeman in Babylon, NY and her 5th grade students to read Snappsy the Alligator
  • Terry Freyou in Coppell, TX and her 5th grade students to read Be a Friend
  • Sarah Staudt in Mason City, IA to read Mother Bruce
  • Donna MacDonald in South Burlington, VT and her 1st grade to read Snappsy the Alligator
  • Dana Susko in Santa Barbara, CA and her Prek to read The Day the Crayons Came Home
  • Carol Scrimgeour in Essex, VT and her Kindergarten to read Snappsy the Alligator

It is always a magical day connecting on Skype because the kids share a story across the miles and make connections with another school. I love pulling up a map and talking about how technology not only lets us see and talk to people in other places, but it helps us literally connect the dots between our locations and know in real-time how long it would take us to get there. We’ve talked about tolls, traffic accidents, construction zones, megabus, and alternative routes along with our celebration of great stories.

We’ve also encountered technical difficulties.  One school had to cancel due to the internet being out in their school, but it was a life lesson that when something doesn’t work, you just carry on.  When we connected with Lisa Lindeman, we could not get Skype to connect us.  We tried multiple times but communicated in the chat. We finally decided to give Google Hangouts a try.  She had never used it, but she was willing to try.  It worked like a charm, but more importantly it showed our students and teachers in both states that we weren’t afraid to fail, back up, and try something else. Life isn’t smooth, and things don’t always work out, but we can’t just give up easily when something is frustrating or hard.

Thank you to everyone who read in our classrooms and connected with us. Happy Read Across America Week and Happy Connecting!

Paper Circuits Popup Project with 4th Grade


paper circuits art (16)

I’ve been wanting to explore paper circuits for quite awhile, but I haven’ taken the plunge to do it. We got many supplies for paper circuitry through a Donors Choose project. We’ve tinkered with the LEDs, conductive tape, and coin cell batteries some in our makerspace, but a class has not used it for a project….until now.

\paper circuits art (5)

4th grade is studying light as a part of their science standards, so the art teacher and I started talking together with the 4th grade team about a possible collaboration between all of us where students could create a piece of popup art and light it up using an LED. We jumped into the planning and the project without fully knowing how to make a paper circuit, but we had faith that we could figure it out together with our students.

paper circuits art (2)

We knew some basics. Students would design a piece of popup art and plan for one part of the popup to light up. This was enough for the art teacher to start working with students on their pieces in art class. There were some basic requirements from her such as the piece had to include movement and a 3D element. The content of the popup was completely student choice. Some chose animals such as sea turtles following the moon while others chose to create a popup basketball goal. Each popup brought out the unique interests of each student.

LED popup Art in 4th grade study of light and circuits. #art #artsed #popup #led #circuit #electricity #makerspace #librariesofinstagram

A photo posted by Barrow Media Center (@barrowmediacenter) on

While this series of work sessions was going on in art, the art teacher and I met after school to do a bit of tinkering. I had already done just a bit of tinkering on my own before she arrived, so I was able to show her a few things I knew. For example, I knew the positive post of the LED had to connect to the positive side of the battery.  This could be done by touching the battery directly or creating a circuit with conductive tape.  The part we were uncertain about was how students would open and close their circuit so that the light didn’t stay on all the time. We wanted to have some possibilities for students but we also wanted them to create some ways to open and close the circuit. As we tinkered, she took pictures of our steps to incorporate into some slides to share with the students.

paper circuits art (4)

When students were ready for their LED component, the art classes were held in the library. We introduced the lesson with a series of slides to show the basic of an open and closed circuit. We also showed them some options for how to open and close the circuit.

paper circuits art (3)

Students moved to tables where they found their art folder, their popup art, an LED, a coin cell battery, and some masking tape waiting for them.

paper circuits art (6) paper circuits art (7)

Before any students got conductive tape, we wanted them to plan out how their led and battery would connect. Students identified the positive and negative side of the battery and the LED and drew a path where the tape would eventually go. When they had a plan, students received conductive tape. They placed the tape along their path and tested to see if the LED lit up.  Sometimes it did and sometimes it didn’t. Actually, more often it didn’t.

paper circuits art (10)

This was frustrating for many students, but we went back to our many conversations about failure and how you have to back up, take a look at what you’ve done, make a change, and try again. Some students discovered that there were parts of the positive or negative path touching one another. Some students realized they had labeled their paths incorrectly. Some students couldn’t figure out what was happening. All of that was ok, but what we saw in the end was that students were problem solving. They were trying something they had never done before, were having some success, and were sharing the process with others.

It was a crunched amount of time to get everyone finished, so the art teacher plans to continue the work back in her classroom by having students revisit their work and see what adjustments can be made. The biggest thing we saw was that many students had a circuit created, but they had no way to open or close it. I took several students back to the board to see the slides with options of how to fold the paper so that it opened or closed the circuit and then invited them to go back and see what they could figure out.

We had a lot of hands helping with this project. There was me, the art teacher, the art student teacher, and sometimes a resource teacher or even the classroom teacher.  It was messy. We had paper all over the place by the time we were done, but there was a buzz of excitement and problem solving in the air.

Now that we have one shaky project under our belt, I hope we will take some additional risks with paper circuits and see where we can go next. I love seeing a teacher leap into a project with me without really knowing what’s really going to happen. We learn so much along the way as educators, but our students are also given an opportunity to trust themselves too.

Cranking Up the Makerspace with Student Voice and Failure

IMG_6701

Since the first day of school, students have been asking me when our makerspace will start up.  Last year, we developed a great collaboration with Gretchen Thomas and her students at UGA to hold an open makerspace that students could visit on a weekly basis.  UGA is now in full swing, so we are finally ready to start our collaboration again.

IMG_6700

IMG_6702

This year, Gretchen has an eager class of students who will be coming in groups of about 4 every Tuesday and Thursday.  Rather than have every piece of the makerspace available right away, we’ve decided to focus on different aspects so that students develop some knowledge about the parts and gradually move to making choices about what they are really passionate about.  Students signup on an open signup sheet hanging outside the library.  There are 10-12 slots in three 30-minute sessions.  Each day has two choices.


Eventually the UGA students will plan activities to bring, but for now, they are introducing things we already have in the space.  For our first session, I was excited to have Carlos and Carlena offer their craft.  Their story has grown so much since my first post about a craft they discovered in a magazine.  Just this week, Carlos and Carlena shared their craft during our Dot Day celebrations by telling Sherry Gick and her 2nd graders how they are making their mark by teaching others how to make this craft that they discovered.  I loved seeing them grow from an uncertainty of their interests to finding something they are excited to read about, make, and share with others.

The UGA students in our makerspace this week brought supplies to do this beading craft with students as one option.  Carlos brought even more beads to use and shared his expertise with students in the makerspace as well as people just visiting the library with their mentors.

This aspect of our makerspace was very successful and calming.

IMG_6710

The other choice was to use the iPads with our Sphero robots.  Students were so excited to try out Sphero this year, but we ran into lots of problems.  First, the Spheros didn’t charge like they were supposed to.  Then, they were all connecting to random iPads instead of the one they were supposed to be connecting to.  Luckily, we had Sterling Bailey with us who had helped in our space last year.  He stay cool and collected through the whole epic failure and continuously thought of things he could try.  He helped the students to push through the frustration and keep trying different things to get their Spheros to connect and work.  While it wasn’t successful on the programming side of things, I think students learned a valuable lesson in maintaining patience in frustration and persevering.

We are ready to try again every Tuesday and Thursday through December!

Using the 3D Printer to Empower Student Voice: A New Piece of Our Barrow Peace Prize Flipgrid Project

IMG_4943

Any time I implement a collaborative project, there are way more ideas swirling around in my head than we can actually pull off.  This year, our Flipgrid Black History Project has gone through so many changes.  Several of these changes were ideas that we had last year.  One of those ideas was the concept of moving this project to something more authentic than designing the next postage stamp.  We wanted something that was more within our control that students could actually have a voice in deciding.  We came up with the Barrow Peace Prize.  I’ve written a few posts about this project already this year.

One day an idea just popped into my head that we really need an actual “Barrow Peace Prize” to present when we announce which person from Black History will receive this honor this year.  Since we have a makerspace in our library with a 3D printer, I knew it was certainly possible for us to make a professional award.  I considered how this might happen.  Should I ask an older student who had experience with 3D printing but no real connection to the project?  Was there a 2nd grader who might work with an older student to design our award?

Then, a student voice came through during one our enrichment cluster sessions.  Taylor is a 2nd grader who has tinkered with all sorts of things in our makerspace.  At our last enrichment cluster session, Taylor brought in a pair of spy glasses.  They are glasses that have mirrors build in so that you can see what is behind you. He wanted to learn how he could design something like this by using Tinkercad and our 3D printer.  He had never used Tinkercad before, but he jumped right in and started tinkering.  He had a clear plan in his mind of what he wanted to create and in one session he had an initial design for his glasses.

Ideas and student voice collided and I knew that Taylor was the designer for our Barrow Peace Prize.  By the time this all happened it was just days before our Skype with Flipgrid and the announcement of our award, so I emailed his teacher just to see if it was possible to pull him into the library at some point to work with me on a design.  One of the things I love so much about our school is how much our teachers know each individual student and how much they want them to explore their passions.  His teacher wanted to do everything possible to make this happen.  We scheduled a time…..and he was absent.   We scheduled another time…..and he was absent.  The third time was the charm apparently because on the day before our Skype with Flipgrid, he was here.

I brought him into the library and told him about the idea.  He was beyond excited to get to work.  I showed him one of the designs that I had tinkered with.

One of my designs as I was tinkering with the idea of a peace prize

Being the kind student that he is, he said, “Well….I do like how you included the word peace, but I was thinking it should be more like a medal”.

I handed over the mouse and he got right to work.  I really sat back and let Taylor drive the work, but if I saw a tip that would help him I jumped in and shared.  For example, he didn’t know about grouping objects in Tinkercad so that they always stay together as you move them.

Within 30 minutes, he had his design ready to go and we put it into Makerware to prepare it for 3D printing.


Taylor’s Tinkercad Design

Taylor picked out his filament to look like an actual medal, and he pressed the glowing M to get it started.  While he was gone, this happened.

We are very used to failure in our makerspace.  I’m not really sure what happened, but I think the filament got tangled on the spool and caused some stress on the printer.  We decided to make some very minor tweaks and also to print it smaller than we were trying to print.

Taylor came in when the other print was nearing its finish and we talked about the first print failure.  He picked up the failure and started showing me all of the things that went right in the print.  It was an amazing examination of work.  Seeing a student not reach a point of frustration or meltdown, but instead, look for what was right and what needed to change was simply miraculous.

We did keep a close eye on this 2nd print, and before we knew it, we had a medal.

Even our friends at Flipgrid think this student voice is awesome.

Like many people, we are not having the best luck with weather right now, so we hope we are able to connect with Flipgrid very soon and announce the winner of the Barrow Peace Prize.  For now, we will celebrate that one more student’s voice was empowered through the makerspace in our library.

Teachers in the Makerspace: An Exploration Experiment

teacher makerspace (2)

Each time I see students using our makerspace tools I see possibilities.  I see the problem solving that goes into each attempt and each failure.  I see the curiosity and energy that students bring with them.  I begin to make connections to the more structured curriculum that students use in their classrooms.  So far, I have been the main person to offer ideas to our teachers on how our makerspace supports the Common Core and the Georgia Performance Standards.  However, I don’t want to be the only one.  Since every lesson that happens in the library is a collaboration between me, the classroom teachers, and other support teachers, I want their wheels to be turning about our makerspace as well.

teacher makerspace (1)

The problem with this has been time.  Most teachers know we have a makerspace, but they haven’t actually had a moment where they could put their hands on the maker tools and experience tinkering and making for themselves.  I recently sent out a survey to see how many people would be interested in holding a teacher makerspace exploration

FireShot Capture - Staff Makerspace Exploration_ - https___docs.google.com_a_clarke.k12

I got an overwhelming response from our teachers that this is an area that they want to explore more.

FireShot Capture - Staff Makerspace Exploration - Google F_ - https___docs.google.com_a_clarke.k12

I met with my principal to talk about some possibilities for days to offer an exploration.  Luckily, we had a district professional learning day that offered some flexibility for school-based professional learning.  After all of us attended district meetings during the first half of the day, we returned to our schools for independent studies and choice offerings.  This was the perfect time for me to offer our first makerspace exploration because it gave us more time and it was on a day where teachers weren’t exhausted from teaching all day.  I offered an open makerspace on Feb 16th from 1:30-3:30PM.  Teachers from our school were encouraged to sign up and teachers from other schools were invited too.  We had 12 teachers from our school sign up, 1 teacher from JJ Harris, and a few drop-ins.

teacher makerspace (4)

I setup multiple areas of the library for exploration.  First, I pulled all of our maker books from the library and professional collection.

Then, I setup area with

  • 5 MaKey Makey kits connected to computers.  Playdoh was available
  • A box of duct tape and books on making from duct tape
  • Two spheros with ramps and iPads
  • Our workshop kit of littleBits
  • Our 3 Osmo kits
  • And our makerspace was open where our 3D printer is kept

I invited Kenneth Linsley from GYSTC to bring his squishy circuits, Spheros, and expertise.  I also invited Gretchen Thomas and her Maker Dawgs.  Two Maker Dawgs were able to come and spent much of their time at our Sphero and MaKey MaKey areas.

teacher makerspace (9)

We all started together at tables, but I wanted to keep my introduction extremely short.  I opened by thanking teachers for signing up to explore.  I invited them to give themselves permission to tinker, dream, create, fail, back up, and try again.  I also invited them to think about their curriculum as they tinkered.  I offered them a Padlet space to capture any brainstorming that they had during the session.

FireShot Capture - Makerspace Curriculum Ideas - http___padlet.com_plemmonsa_makerspace

I also showed them a Symbaloo with some instructional videos to refer to.  I know that some people prefer to look at how something works before they explore and some people prefer to just jump in.

FireShot Capture - Barrow Makerspace - Symbaloo - http___www.symbaloo.com_mix_barrowmakerspace

I finished by telling them to use this time to get their hands on as many things as possible and just give it a go.

teacher makerspace (5)

Teachers jumped right in.  I loved watching them make their first choices.  They really split themselves between every area and a few lingered at the tables to watch some videos.  I felt really good about the differentiation that was offered.

I walked around and offered a few tips when needed, but I was very careful not to take over or do the making for each teacher.  Ms. Olin and I had a great conversation about circuits in 5th grade and how littleBits and MaKey MaKey could be integrated into 5th grade science.  Ms. Hocking was busy brainstorming how the Sphero could be used in her math and writing time.  Ms. Stuckey was eager to get her 1st graders using the makerspace for their unit on inventors.  Brainstorming was definitely happening.

teacher makerspace (10)

This is exactly what I wanted to happen.  My hope was that as teachers used the tools, they would start to think about their students using them.  They would be less intimidated by the space and more open to trying the makerspace within their curriculum.  I don’t think a single person is opposed to using the makerspace.  It’s just hard to visualize how something fits into your curriculum if you’ve never used it yourself.

Our Padlet really wasn’t a success this time. There was just too much to explore to stop and write on a Padlet.  I don’t think it’s a bad idea, though, so I’m going to send the link back out and invite teachers to contribute to it now that they’ve had time to reflect.

teacher makerspace (6)

As we entered into the 2nd hour, Ms. Choate, a kindergarten teacher, walked up and said “I think I have something ready to 3D print”.  Sure enough, she had walked through a Tinkercad tutorial and figured out how to make a copy of the lesson file.  She was almost ready to print.  I worked with her to put her file into Makerware and onto the SD card for 3D printing.  We announced to the group that we were about to print and every person stopped to come and celebrate with Ms. Choate.

teacher makerspace (11)

I love watching people the first time they see something print.  It still amazes me to watch it, but when you see it for the first time, it’s just mind-blowing.  I answered lots of questions about how the printer works and showed some other tools that could be used for 3D design.  Ms. Choate stayed to watch her entire print, but in the meantime, she helped Ms. Li, another Kindergarten teacher, get her own file ready to print.  I loved seeing a teacher already passing on her maker expertise to another teacher.

teacher makerspace (13)

teacher makerspace (14)

There are several other teachers who showed interest in exploring the makerspace who were unable to come, so I want to replicate this experience again.  It would be wonderful to have some of these same teachers return too and build upon what they learned as well as pass on their expertise to new teachers.

teacher makerspace (7)

teacher makerspace (12)

This experience also makes me want to do this with our Barrow families too.  There’s a lot of potential, and once again, I’m just scratching the surface.  We have a lot of work to do in the coming years, and it’s going to be exciting.

teacher makerspace (3)

I’m also excited to share that a new school makerspace book is available.  It’s called Worlds of Making: Best Practices for Establishing a Makerspace for Your School.  It’s by Laura Fleming but has contributions by Shannon Miller, Diana Rendina,and me!

Hour of Code 2014: Scenes from Day 1

We had a great day of hour of code even though there were many technical difficulties.  We wanted to start our day with coding snowflakes using Anna and Elsa, but unfortunately much of our day gave us messages like this:

code dead

Just as great coders do, we didn’t let a road block get in our way.  We had many backup plans.  Our 2nd graders used Tynker to explore block commands.

I loved their pride when they reached the end of the hour!

2014 Day 1 (9)

Our Kindergarten and 1st grade students used the iPad app “The Foos”.  This was a new app for us, so we all had a lot to learn.  I quickly saw that students weren’t necessarily writing their full code and were still being successful in getting their character to perform by repeatedly hitting the run button.  This was great learning for me and helped to adjust my setup as we went.  I loved how groups of students would gather together to code together and offer tips.  I saw very little frustration, no tears, and lots of perseverance.

We can’t wait to see what tomorrow brings.

Goal 4: Supporting the Reading Habits and Curiosities of Students with Wandoo Reader

Wandoo Reader Kickoff (18)

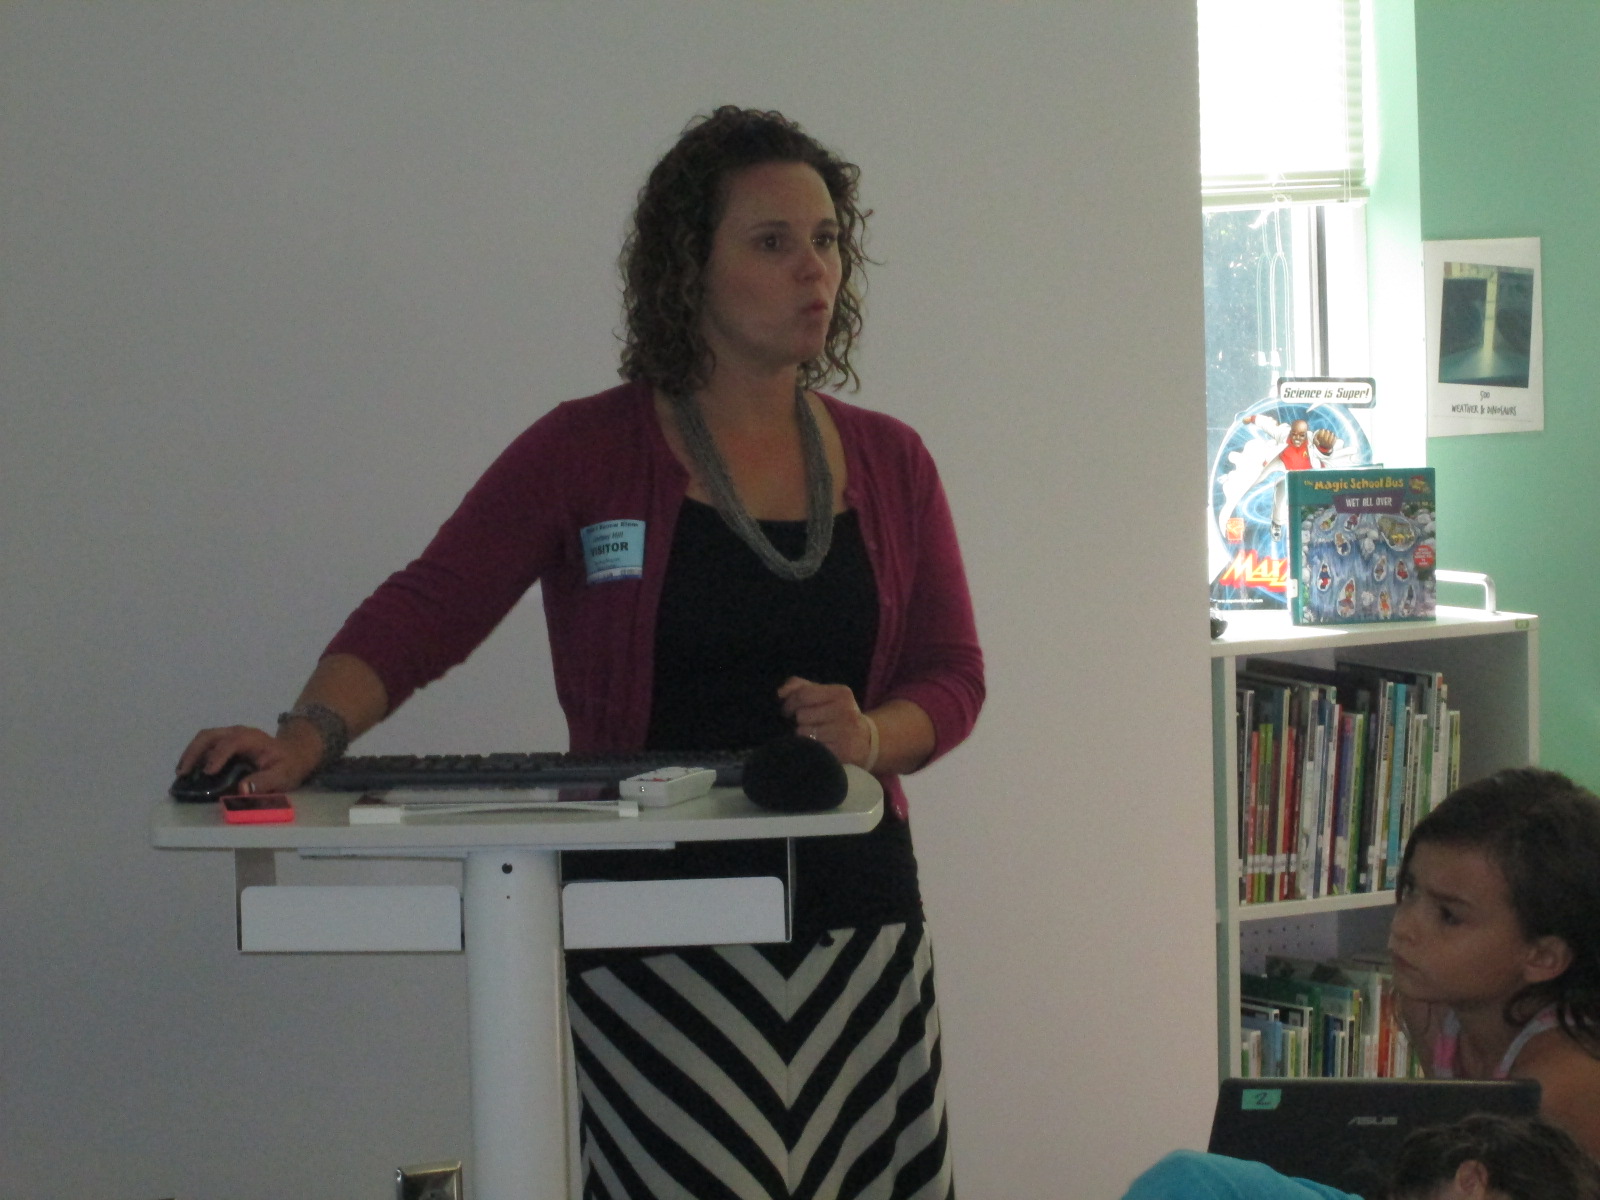
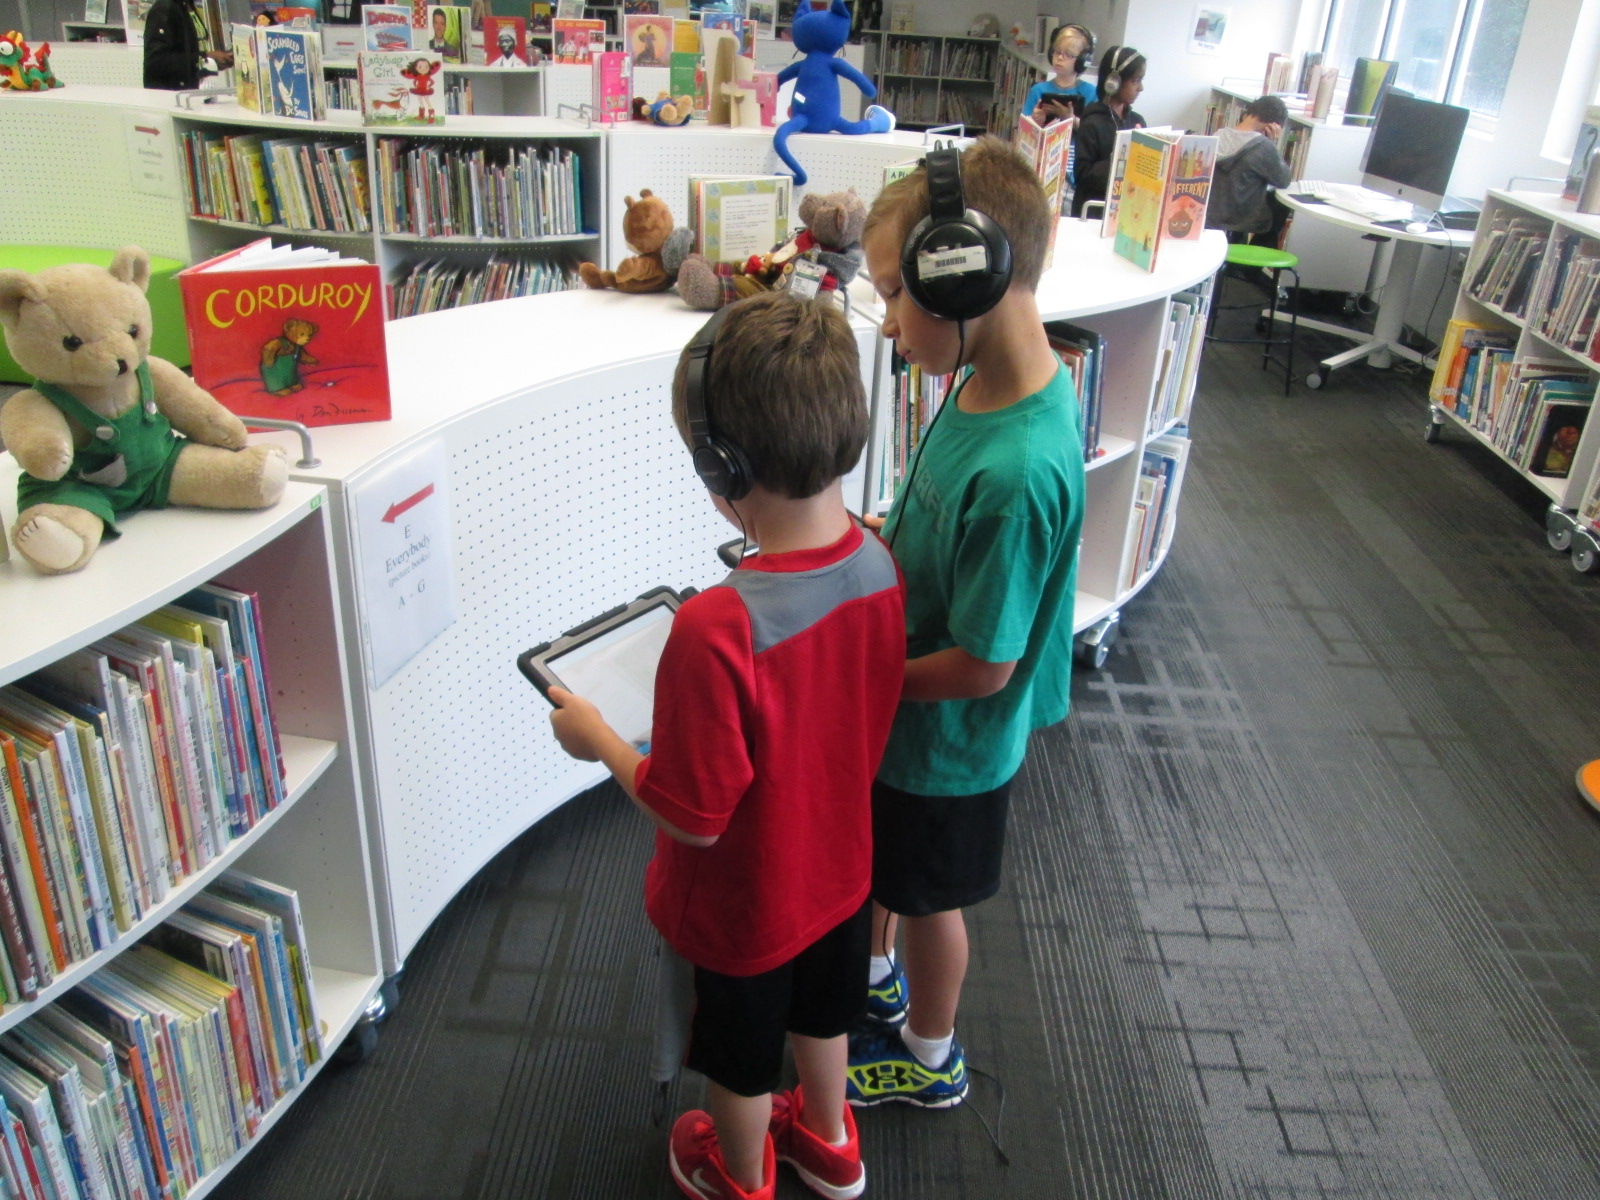
Lindsey Hill, educator superstar from Evanced Solutions, visited our library to help us with goal 4 for the library this year, “Supporting the reading habits and curiosities”.  In fact, this goal is so important that it is a part of our school improvement plan.  We believe that one of the best ways to become better readers is to read, read, read.  More importantly, we believe that finding books that we are interested in that match us as readers is an essential part of building stamina as a reader.  This year we are piloting a tool called Wandoo Reader to see how it supports us in tracking our reading habits and curiosities.  This tool is still in development for schools so we are figuring out what works well and what needs to be adjusted.

Wandoo Reader Kickoff (2)


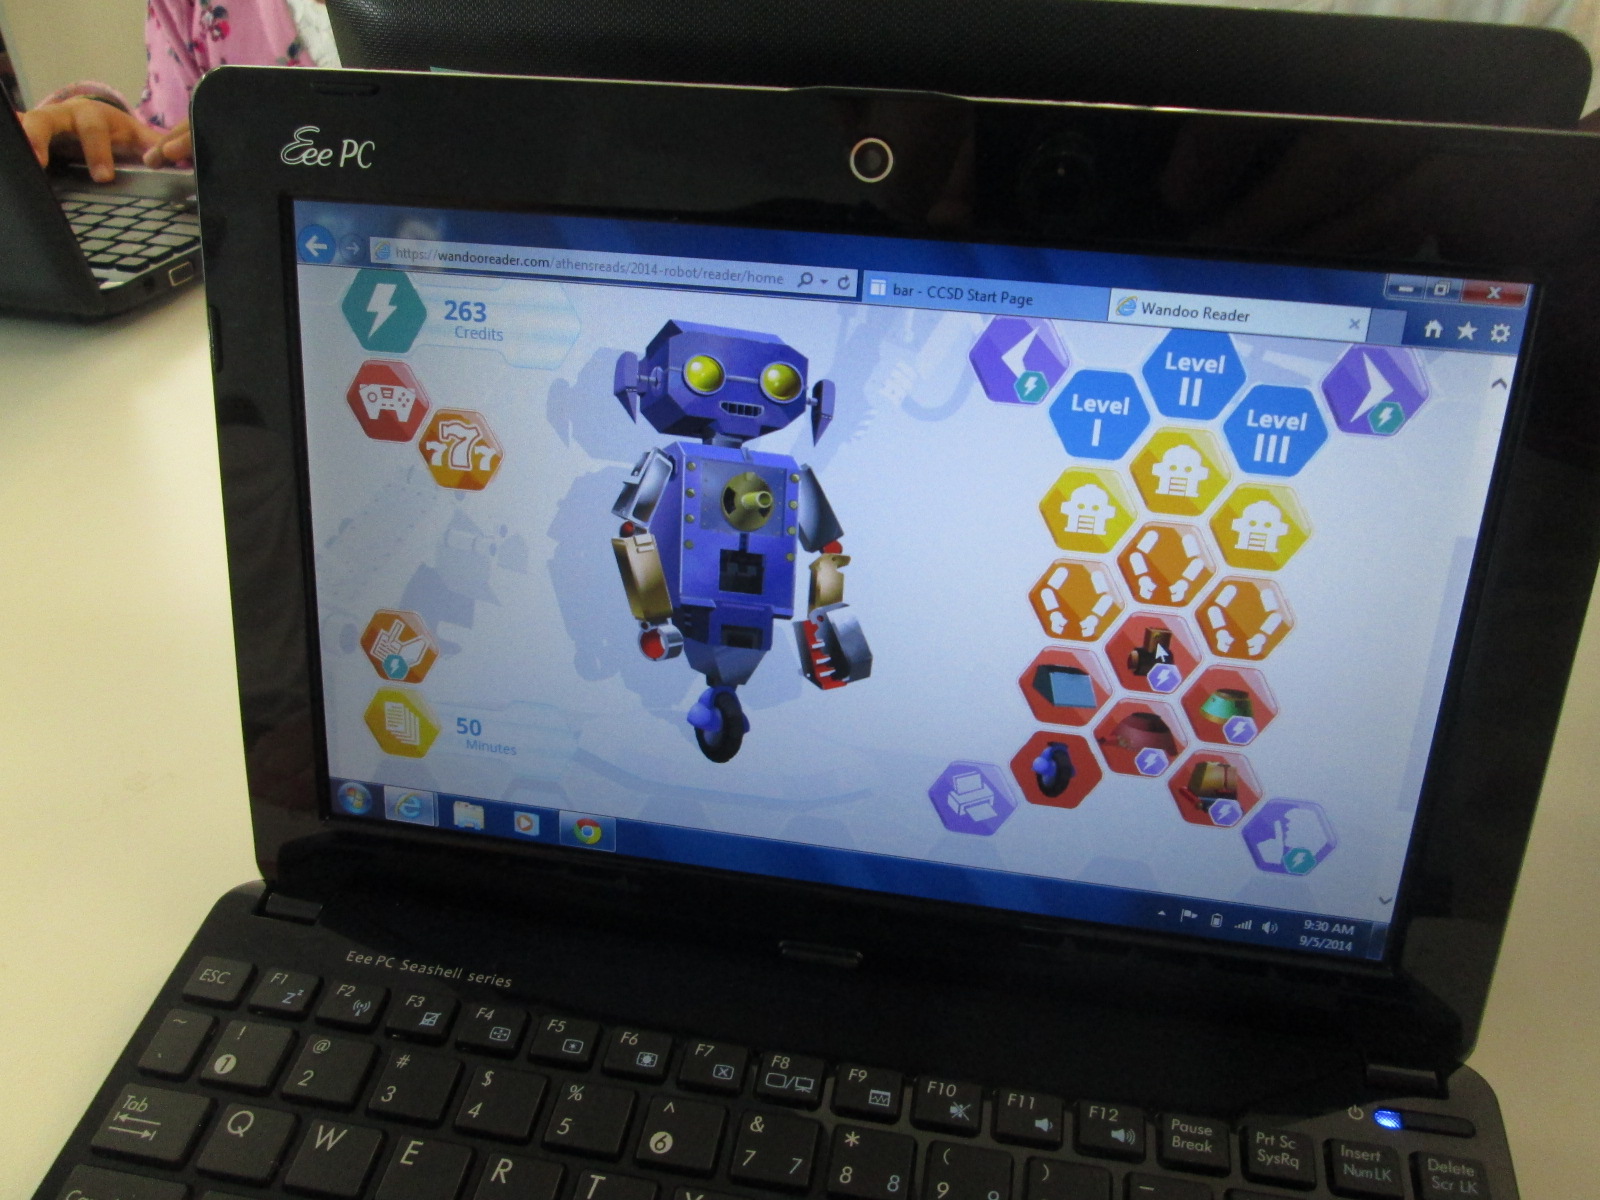
Wandoo reader is a “game and a reading tracker”.  It follows the story line of a robot who stumbles into a library but is low on power.  In order for the robot to power up, the robot needs kids to read books.  Students read books or really anything of their choosing.  In the online reading log, students submit the reading material title, amount of time read, and whether or not they finished reading the material.  Each time they log reading, they earn credits which allows them to purchase parts to the robot.  There are over 8,000 combinations of parts, so it’s pretty difficult for students to ever be truly “finished”.  Wandoo Reader also allows the administrator to setup incentives or prizes as well as secret codes for completing various challenges.

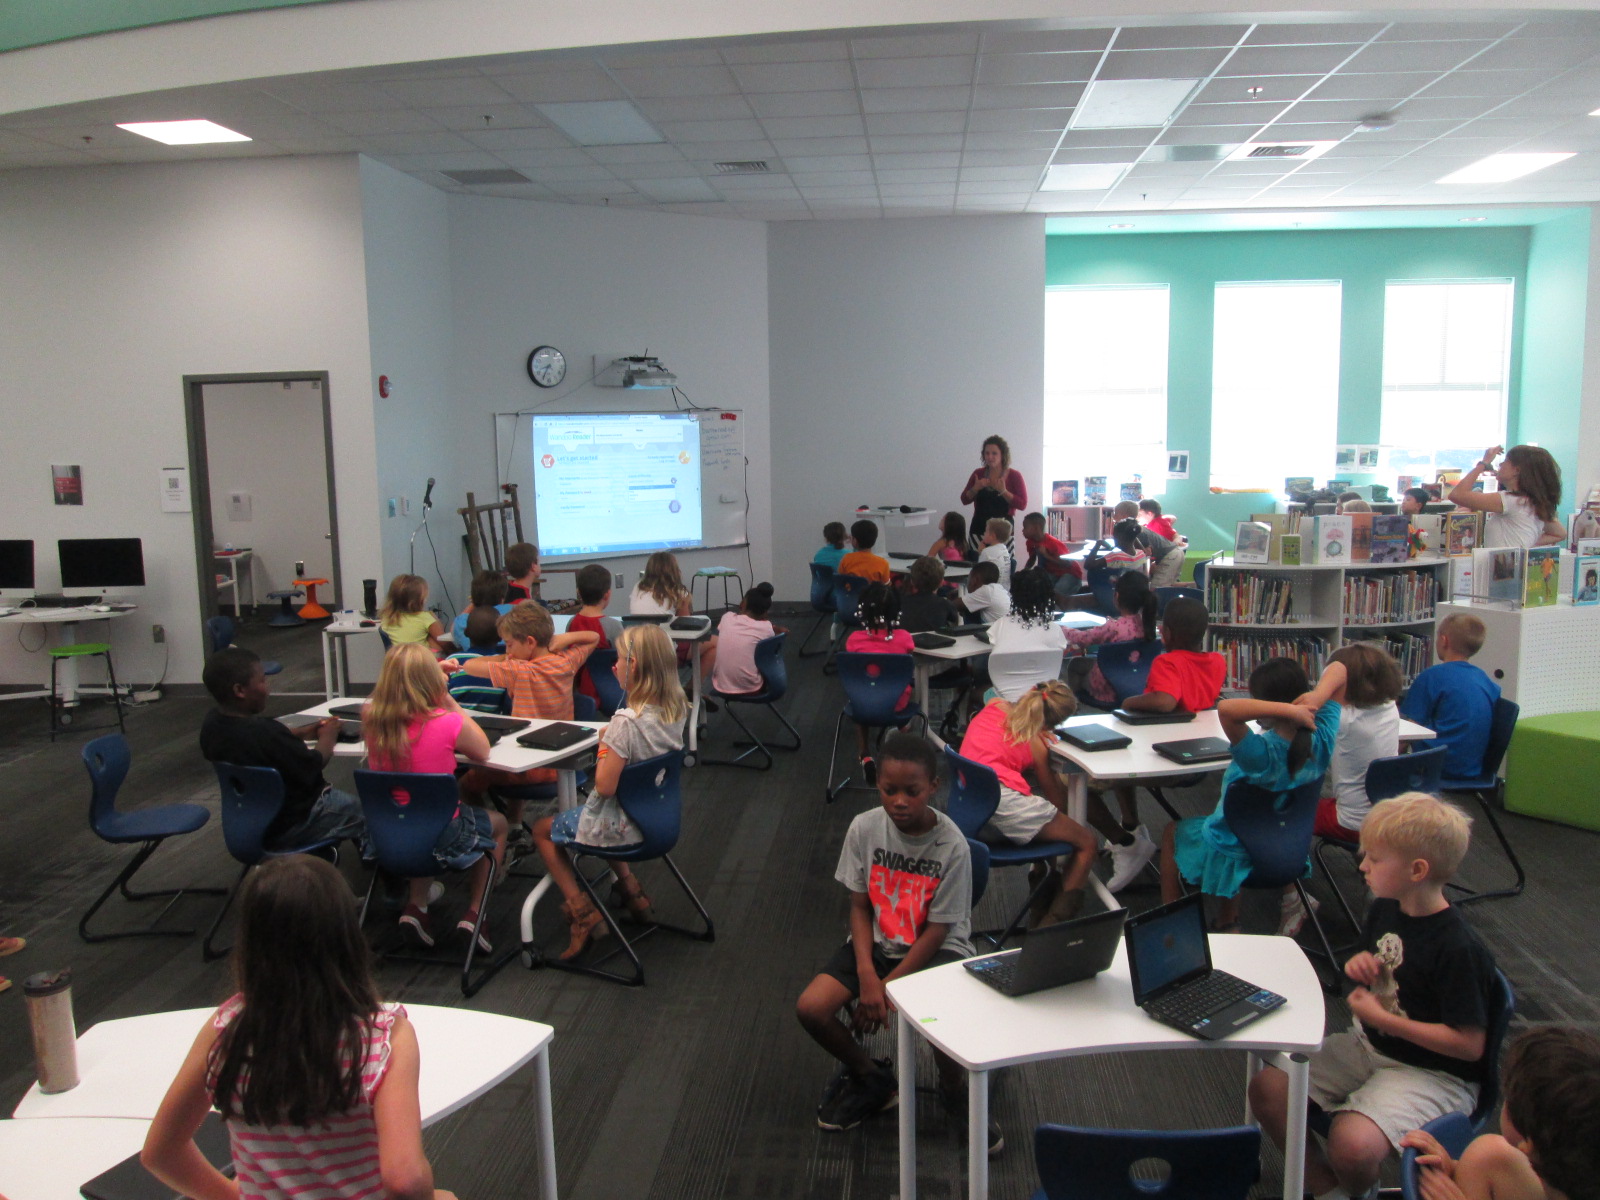
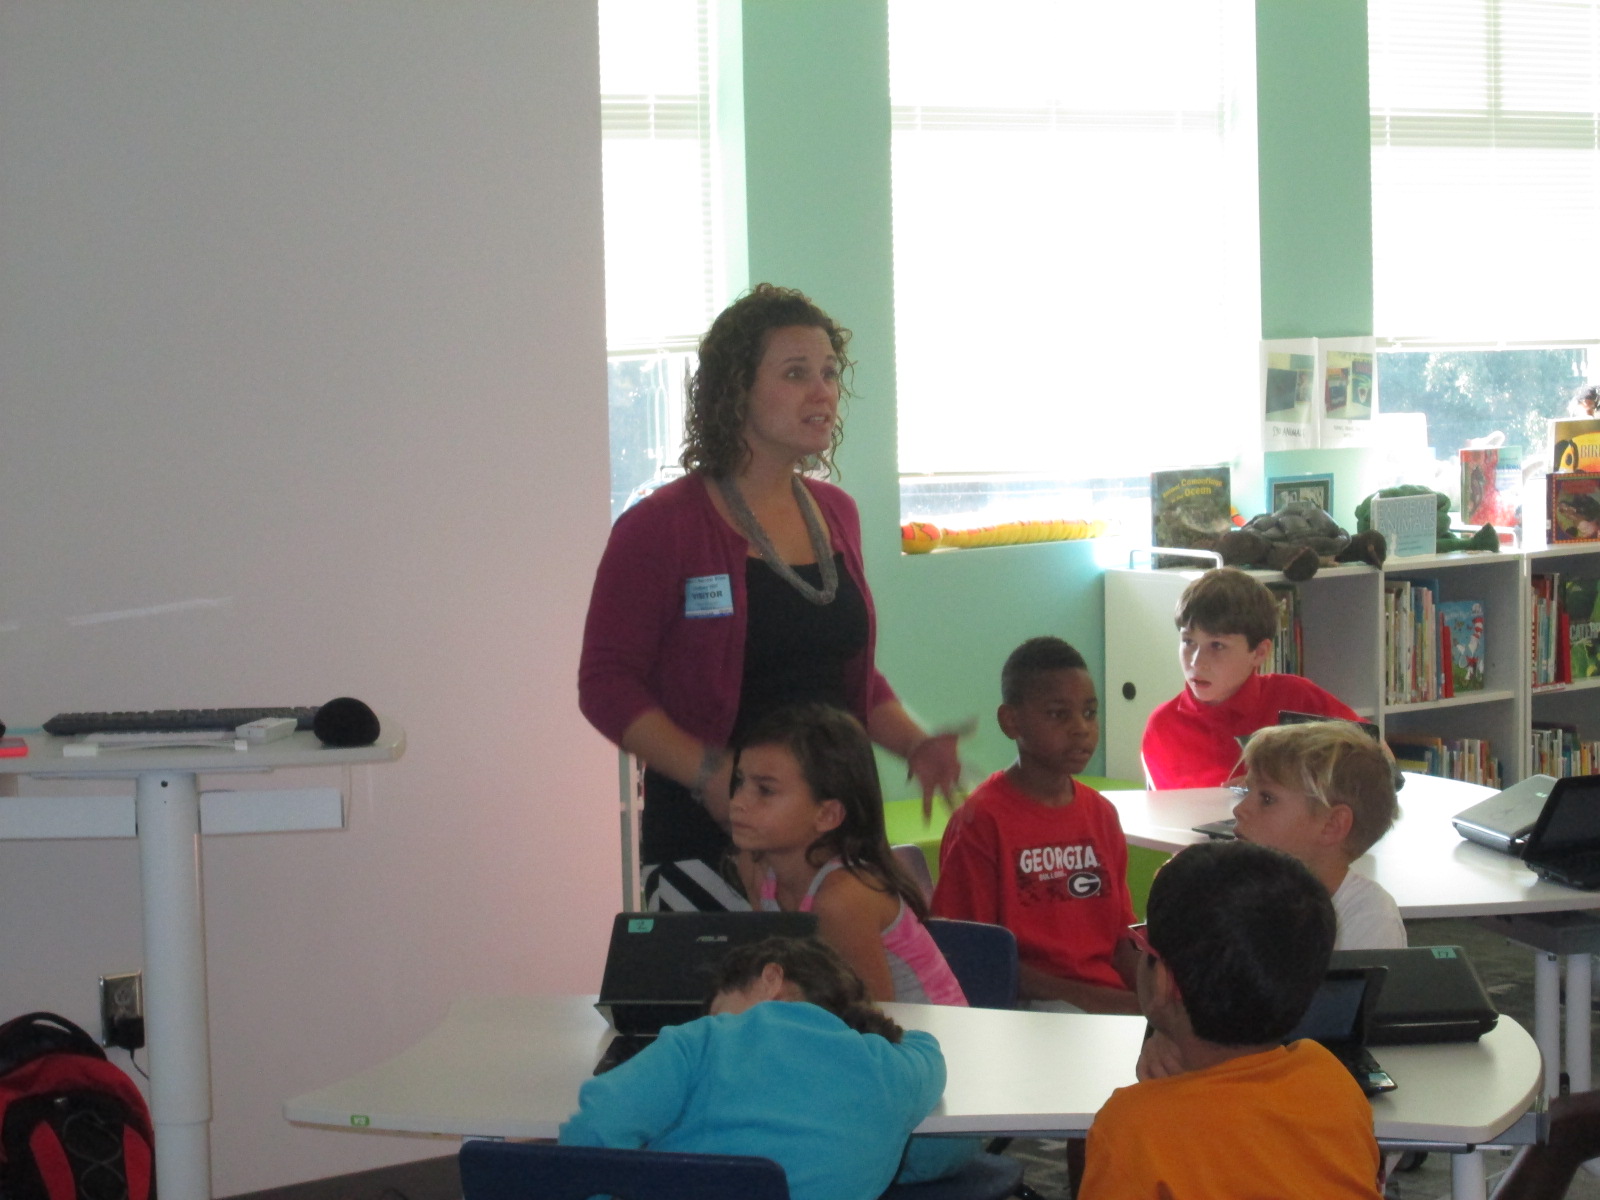
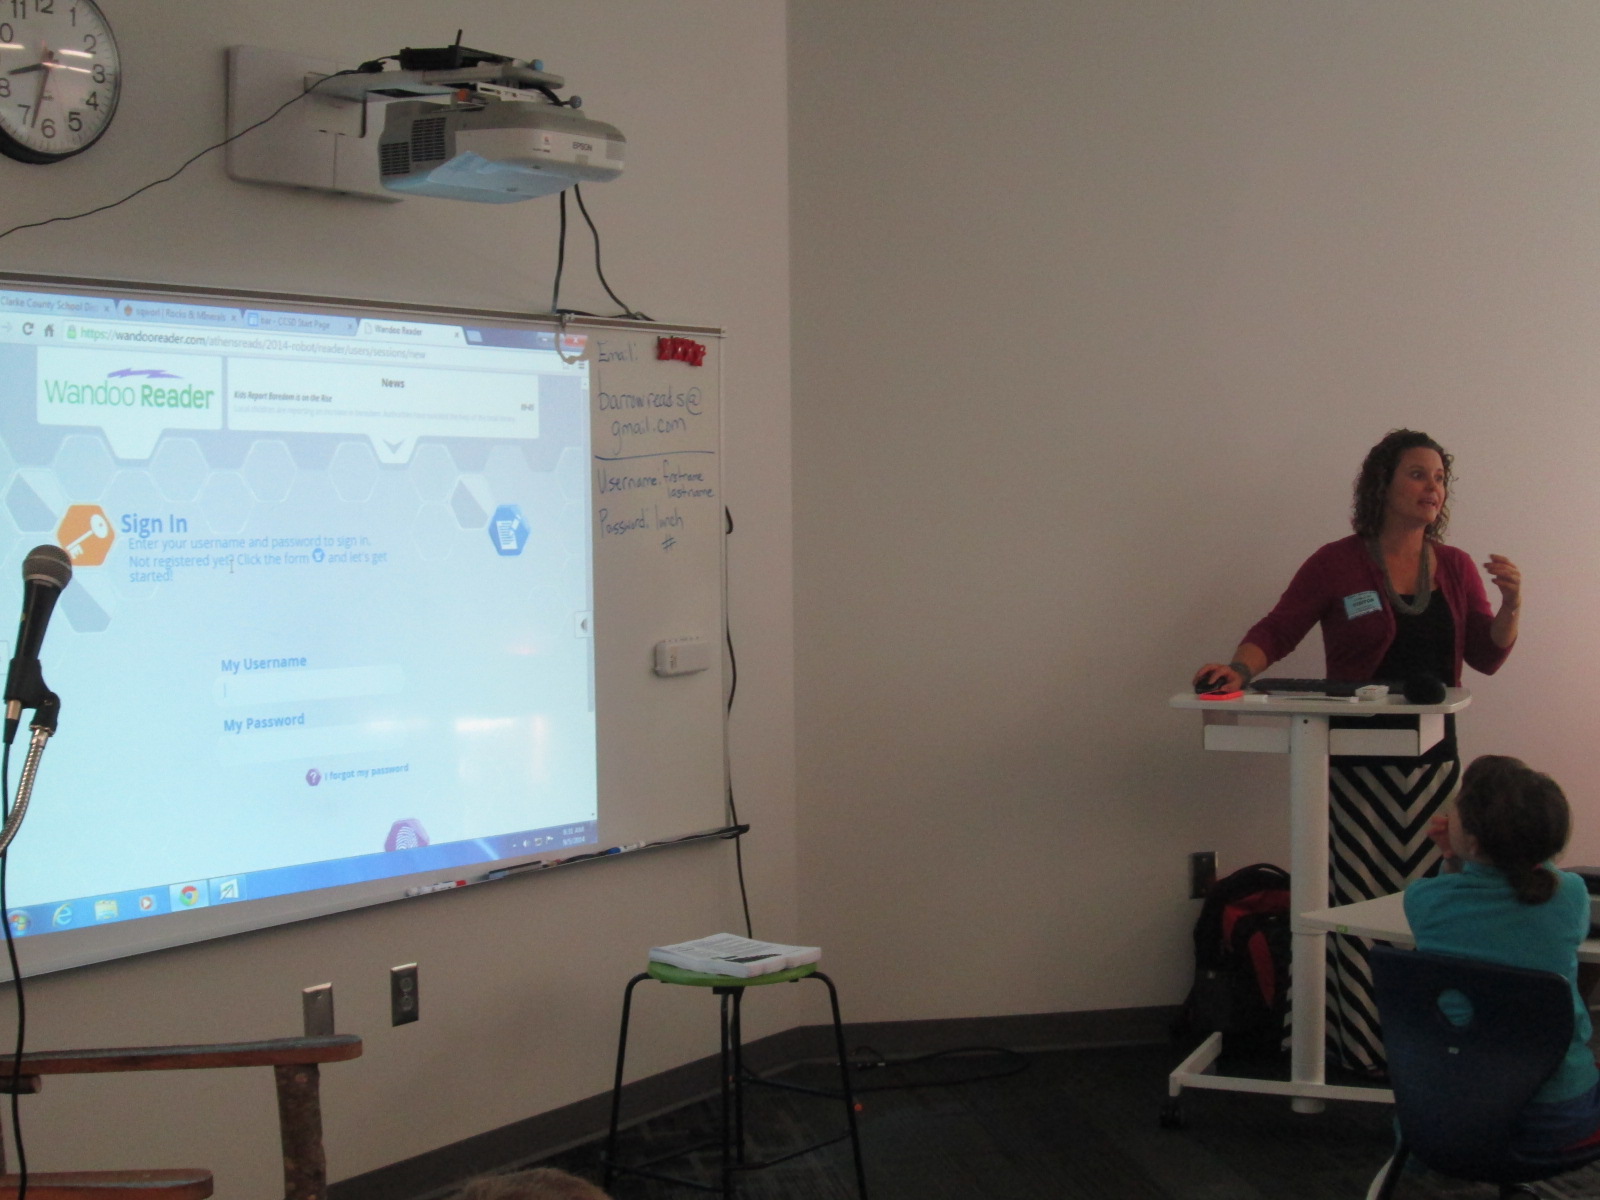
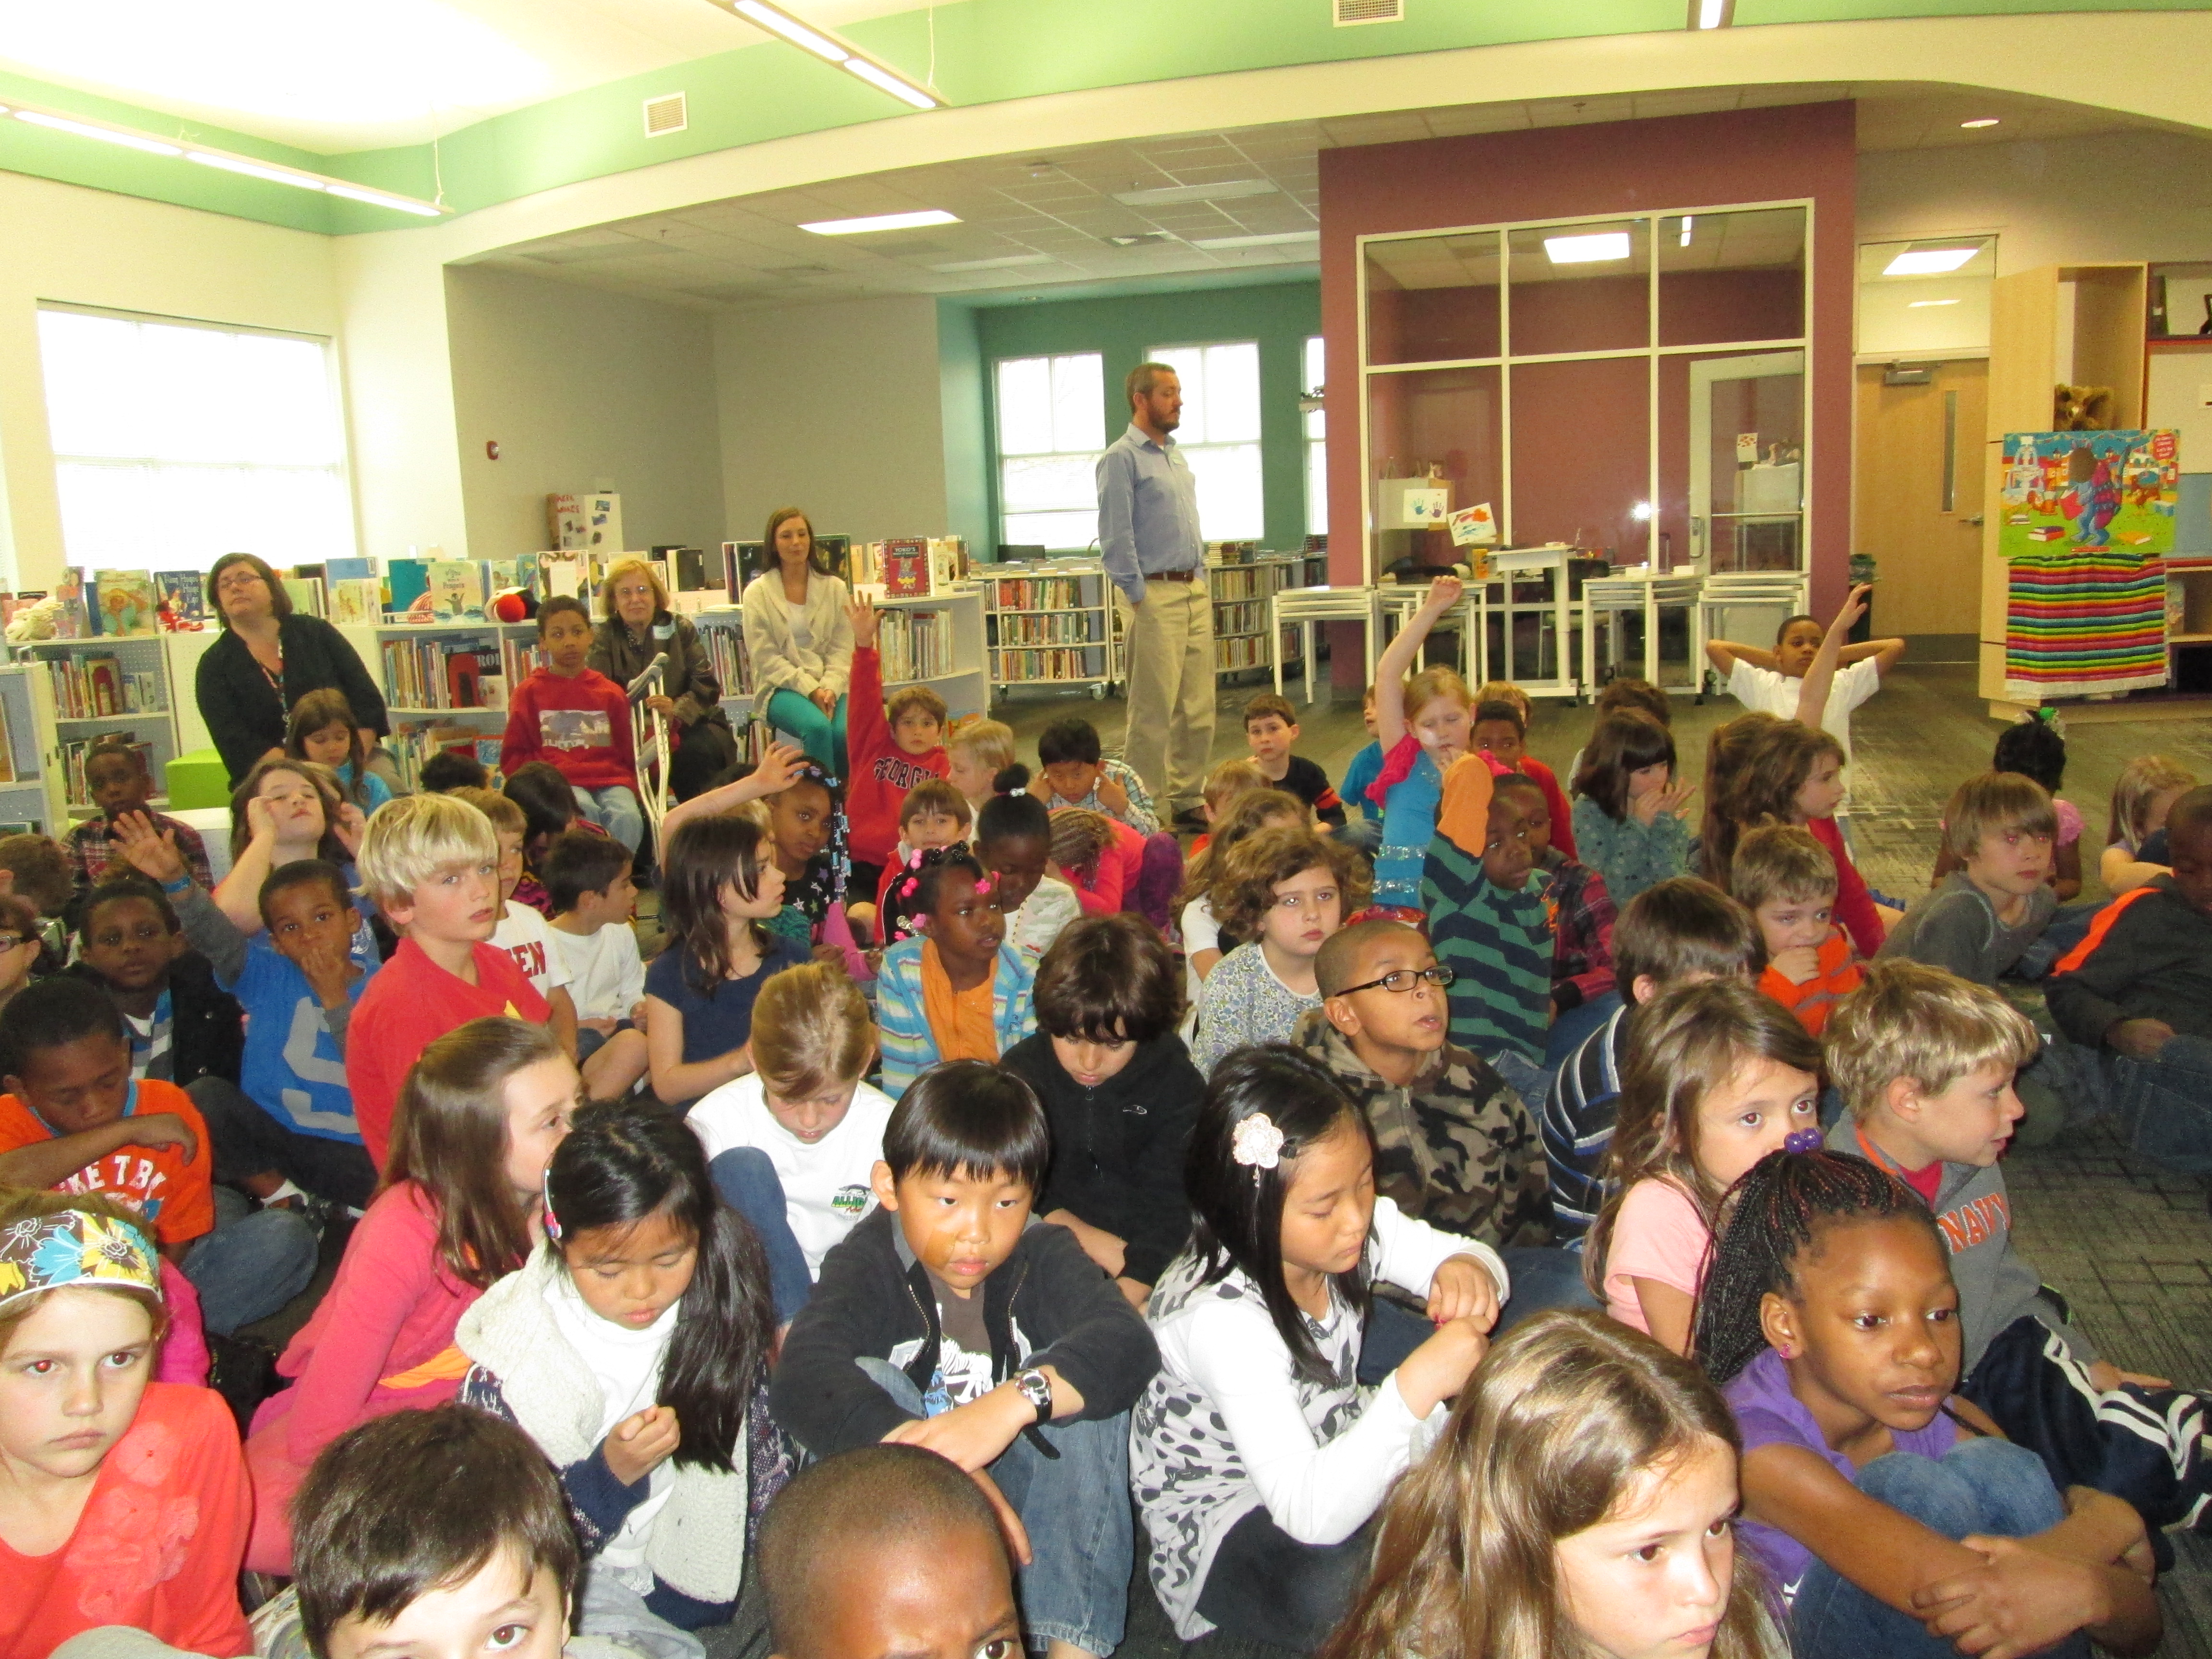
Our goal for Lindsey’s visit (and next week) was to get all of our 3rd-5th graders setup with accounts in Wandoo Reader.  Lindsey and I met with many classes.  I kicked off each session by sharing the news with students that we are the only school in the world currently using Wandoo Reader.  I wanted to emphasize the potential in this.  I brought in a conversation about empowering student voice in this opening (goal 3 for this year).  Students have an opportunity to test out a tool, figure out what they love, get frustrated with what doesn’t work, and point out what they just don’t like.  Each observation or failure that they make goes directly to Evanced Solutions for consideration in improving Wandoo Reader for future schools, so our student voice really matters and makes a difference.

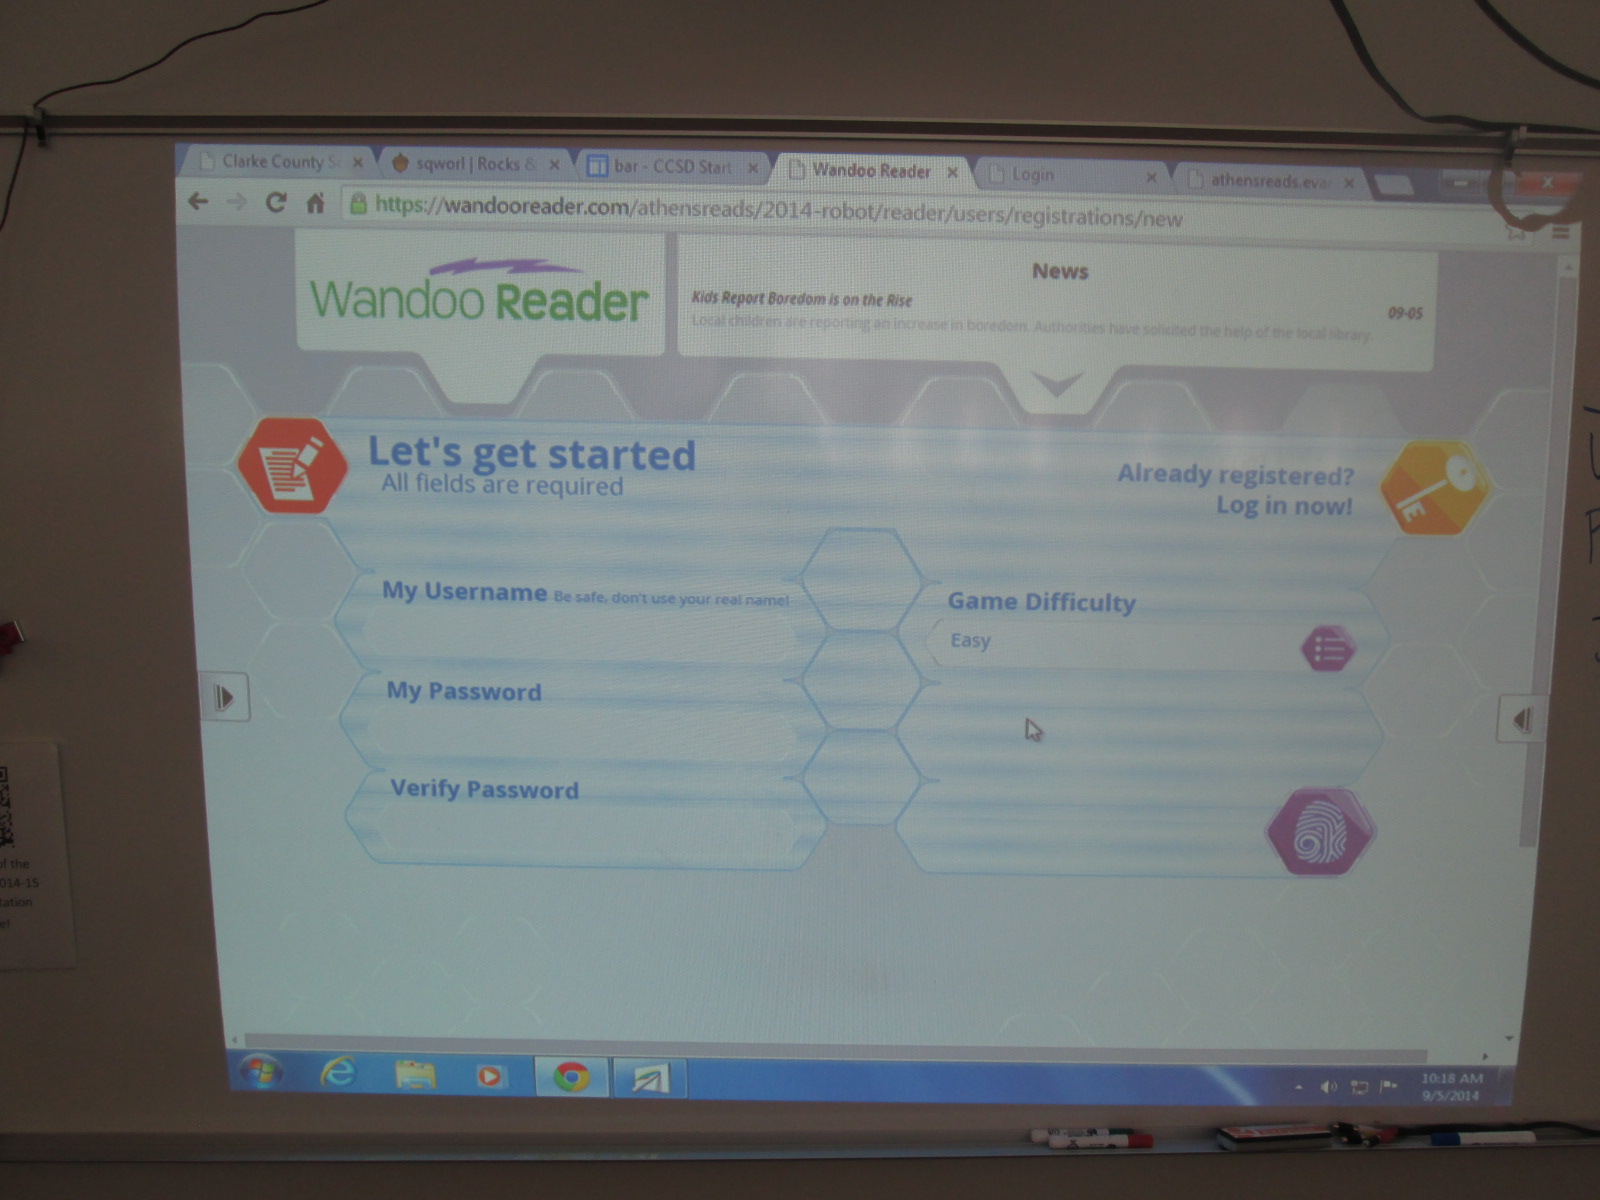
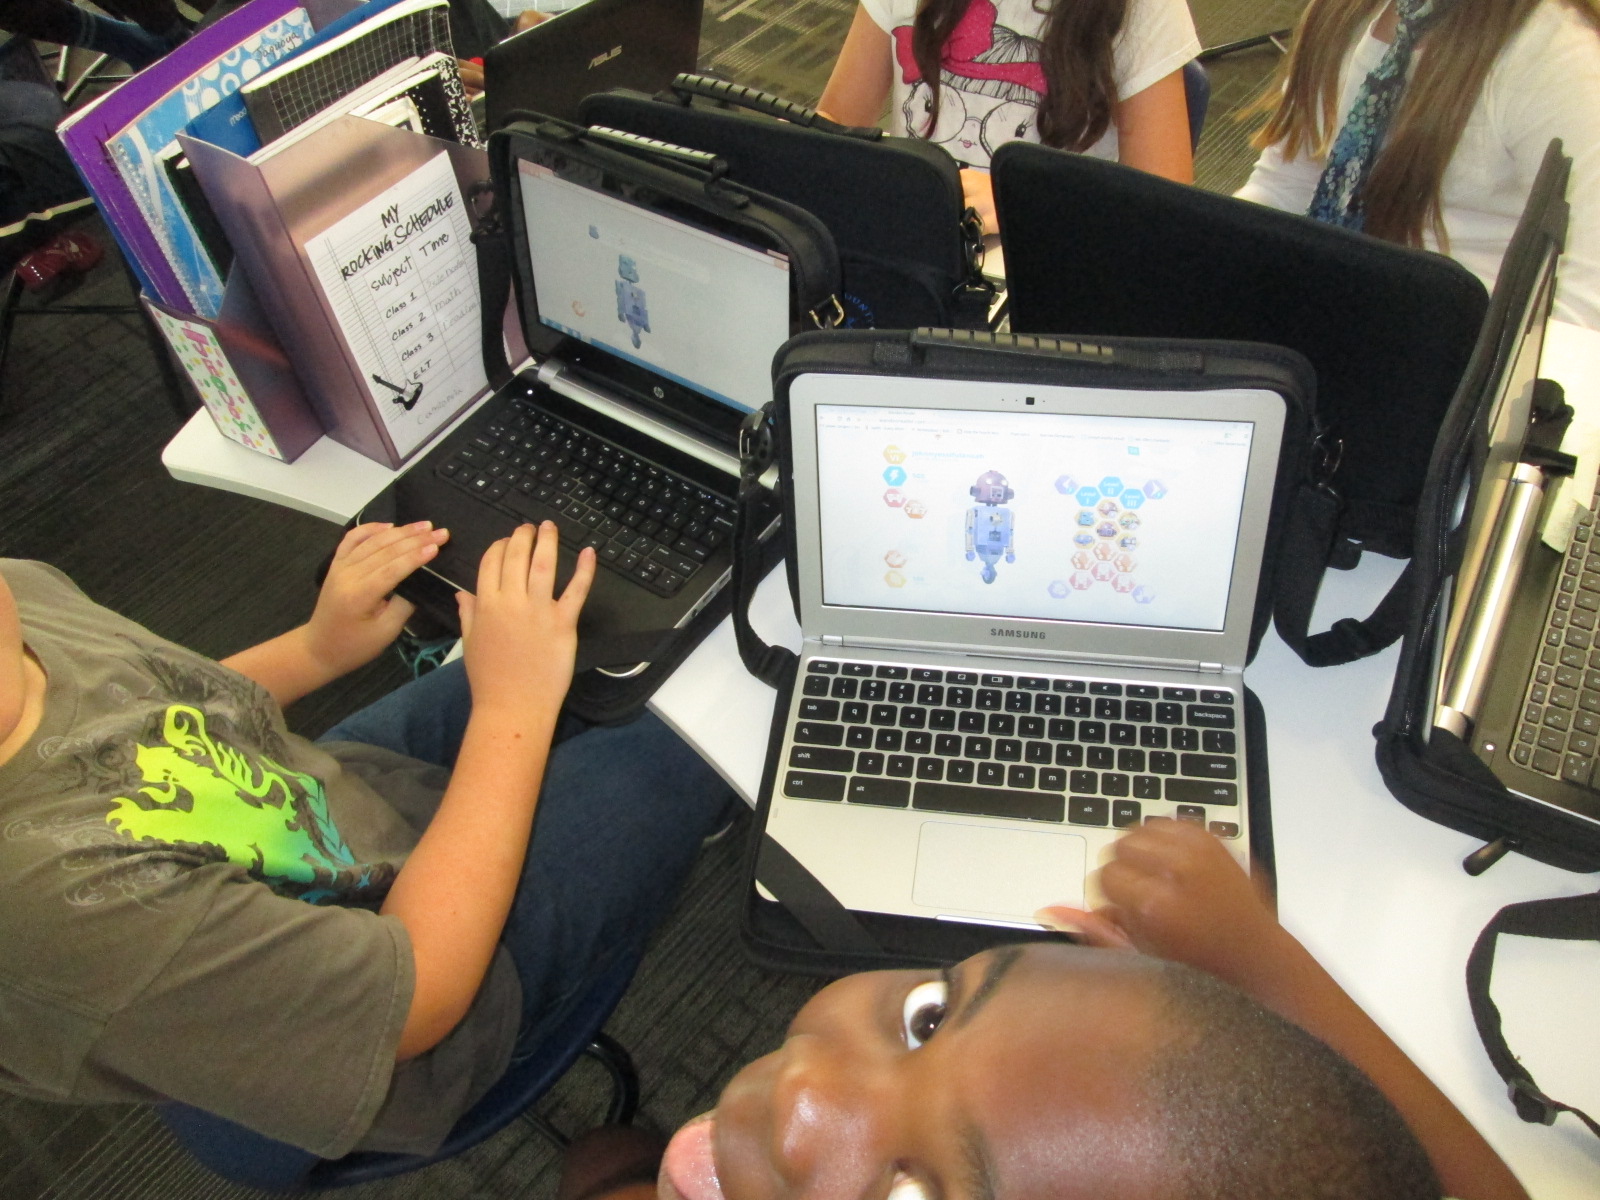
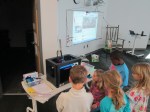
Lindsey did a demo of what Wandoo Reader would look like once students registered.  She show them how to log their minutes, how to earn credits, and how to purchase a robot part.

Wandoo Reader Kickoff (11) Wandoo Reader Kickoff (12)

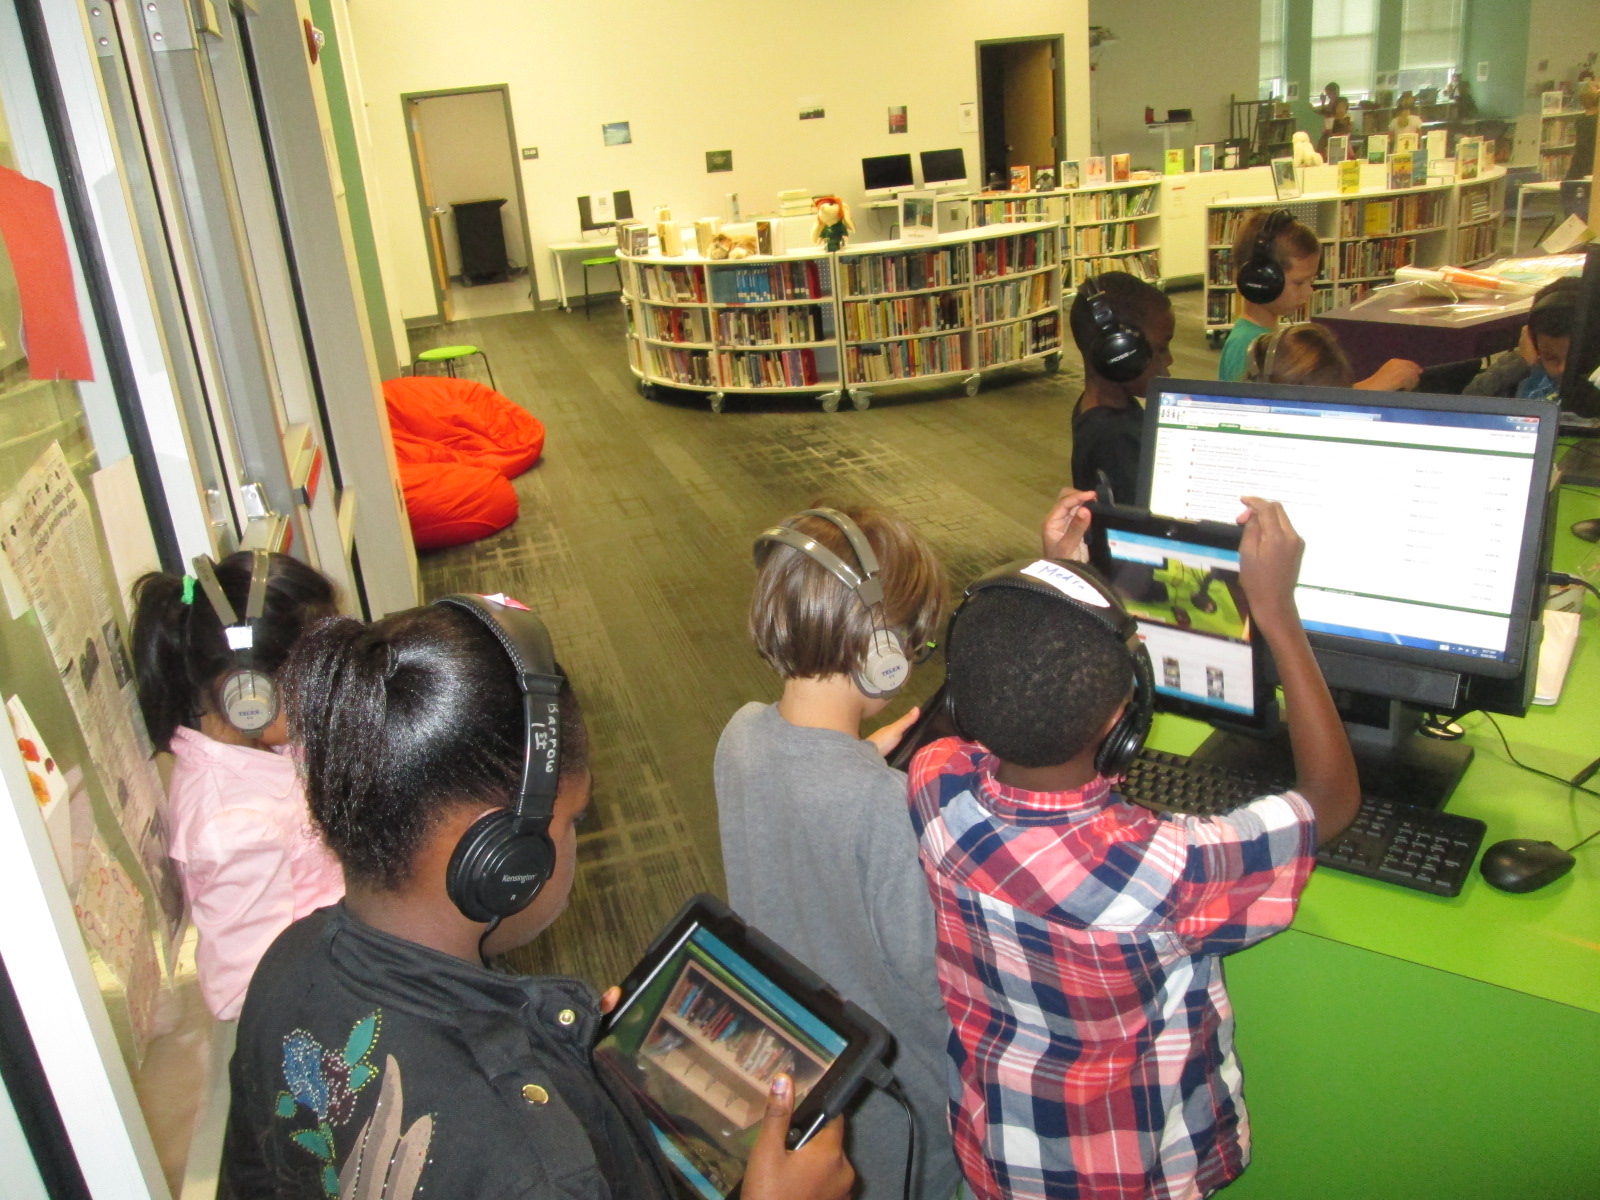
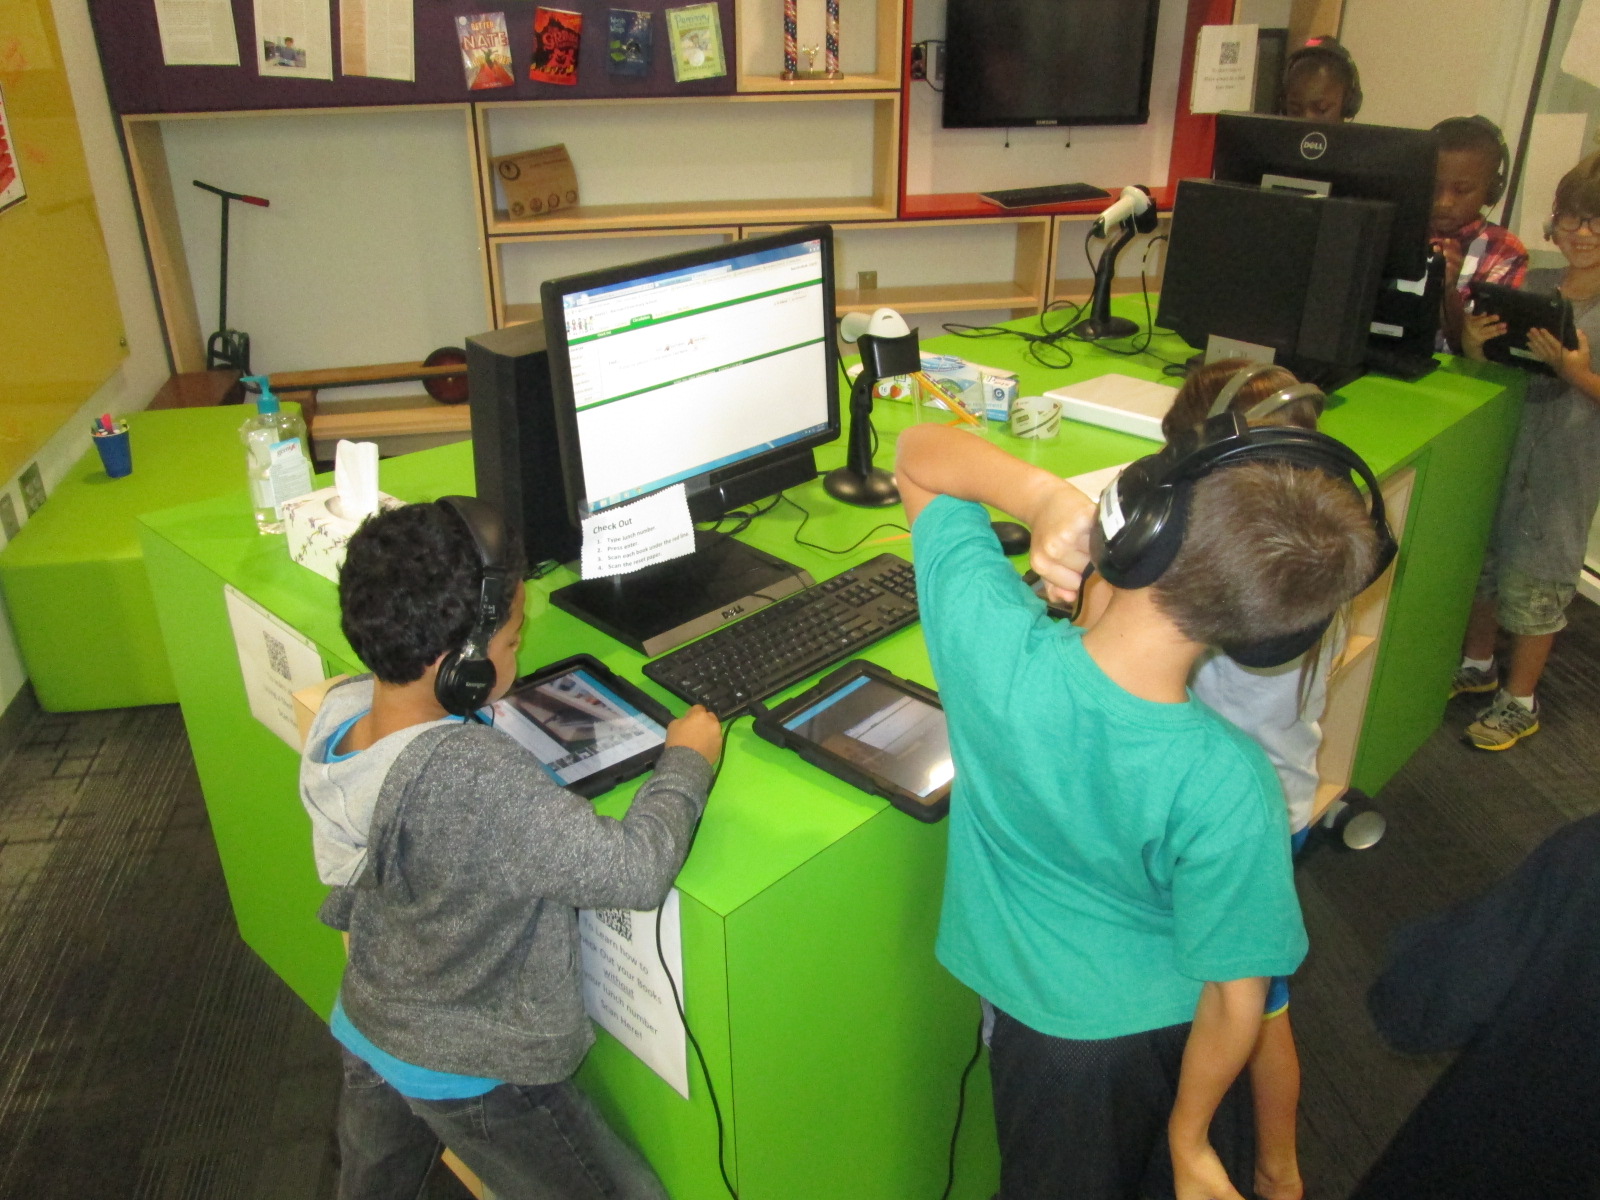
Then, we started the long process of getting students registered.  It didn’t take us long to discover that this process is not quite ready for schools and will need some adjustment.  Each student had to create a username, password, confirm password, and select the difficulty level for the game.  Then, students had to type my email address to send an email confirmation.  Each email had to be clicked on to activate each student account before they could proceed.  Bulk uploading is already in development and it is essential for schools to have this feature because the wait time students felt while I clicked on each email was too long.

Wandoo Reader Kickoff (20) Wandoo Reader Kickoff (25)

Once students have accounts activated, Wandoo Reader takes them through a tutorial which reveals the story line of the game and shows students the different buttons they will click to log reading, purchase parts, build a robot, etc.  This tutorial is text-only for now.  Some students read every word, others clicked through without reading at all, and others really tried to read but got frustrated without the support of audio or an adult’s help.  Again, this was an area where students and teachers offered feedback about their experience and observations and would really love to see an audio feature or simpler text.

Wandoo Reader Kickoff (8)

After the tutorial, students come to another screen where they have to put in their name, birthday, zip code, gender, and select their teacher.  There was a lot of learning here for students because it revealed that most students had no idea what a zip code is.  It was a great lesson, but it did slow down the registration process.  Our suggestion for this page was to cut out much of this page.  The essential information is the student name and the teacher.  These are the two pieces that will be used the most when running reports for data from Wandoo Reader.

Wandoo Reader Kickoff (16)

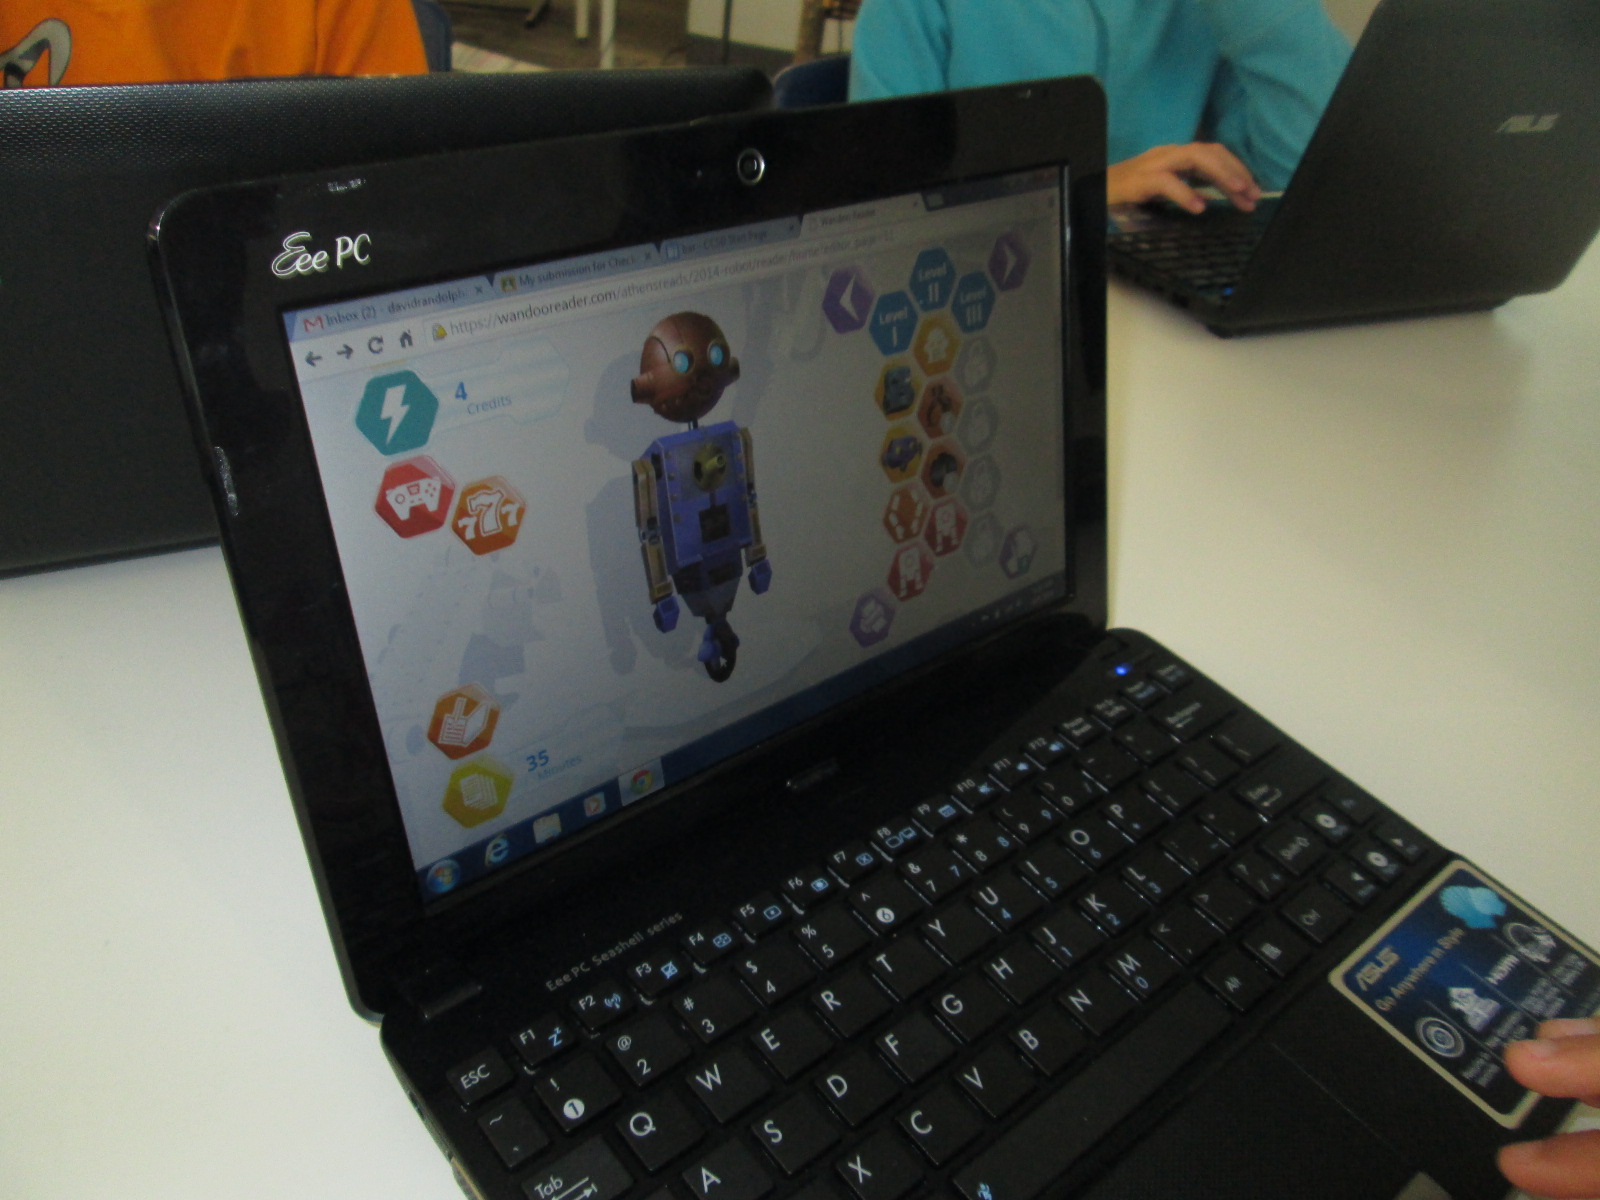
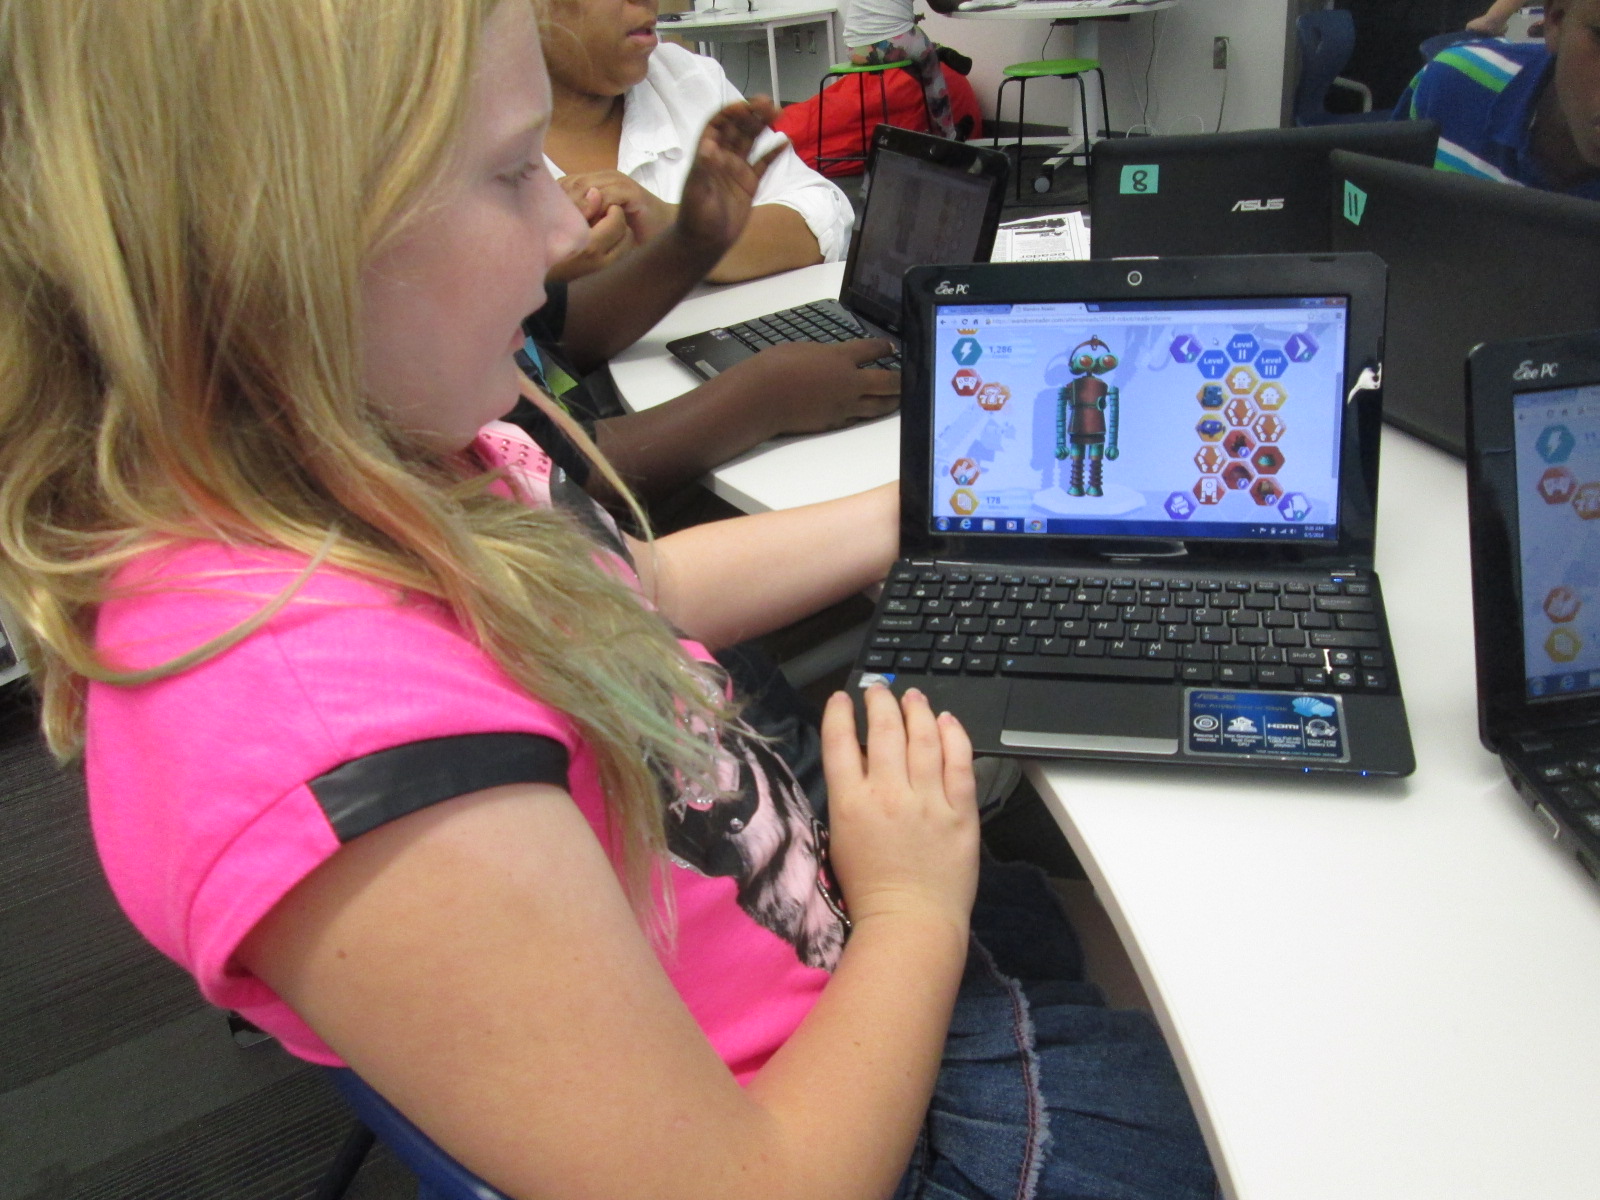
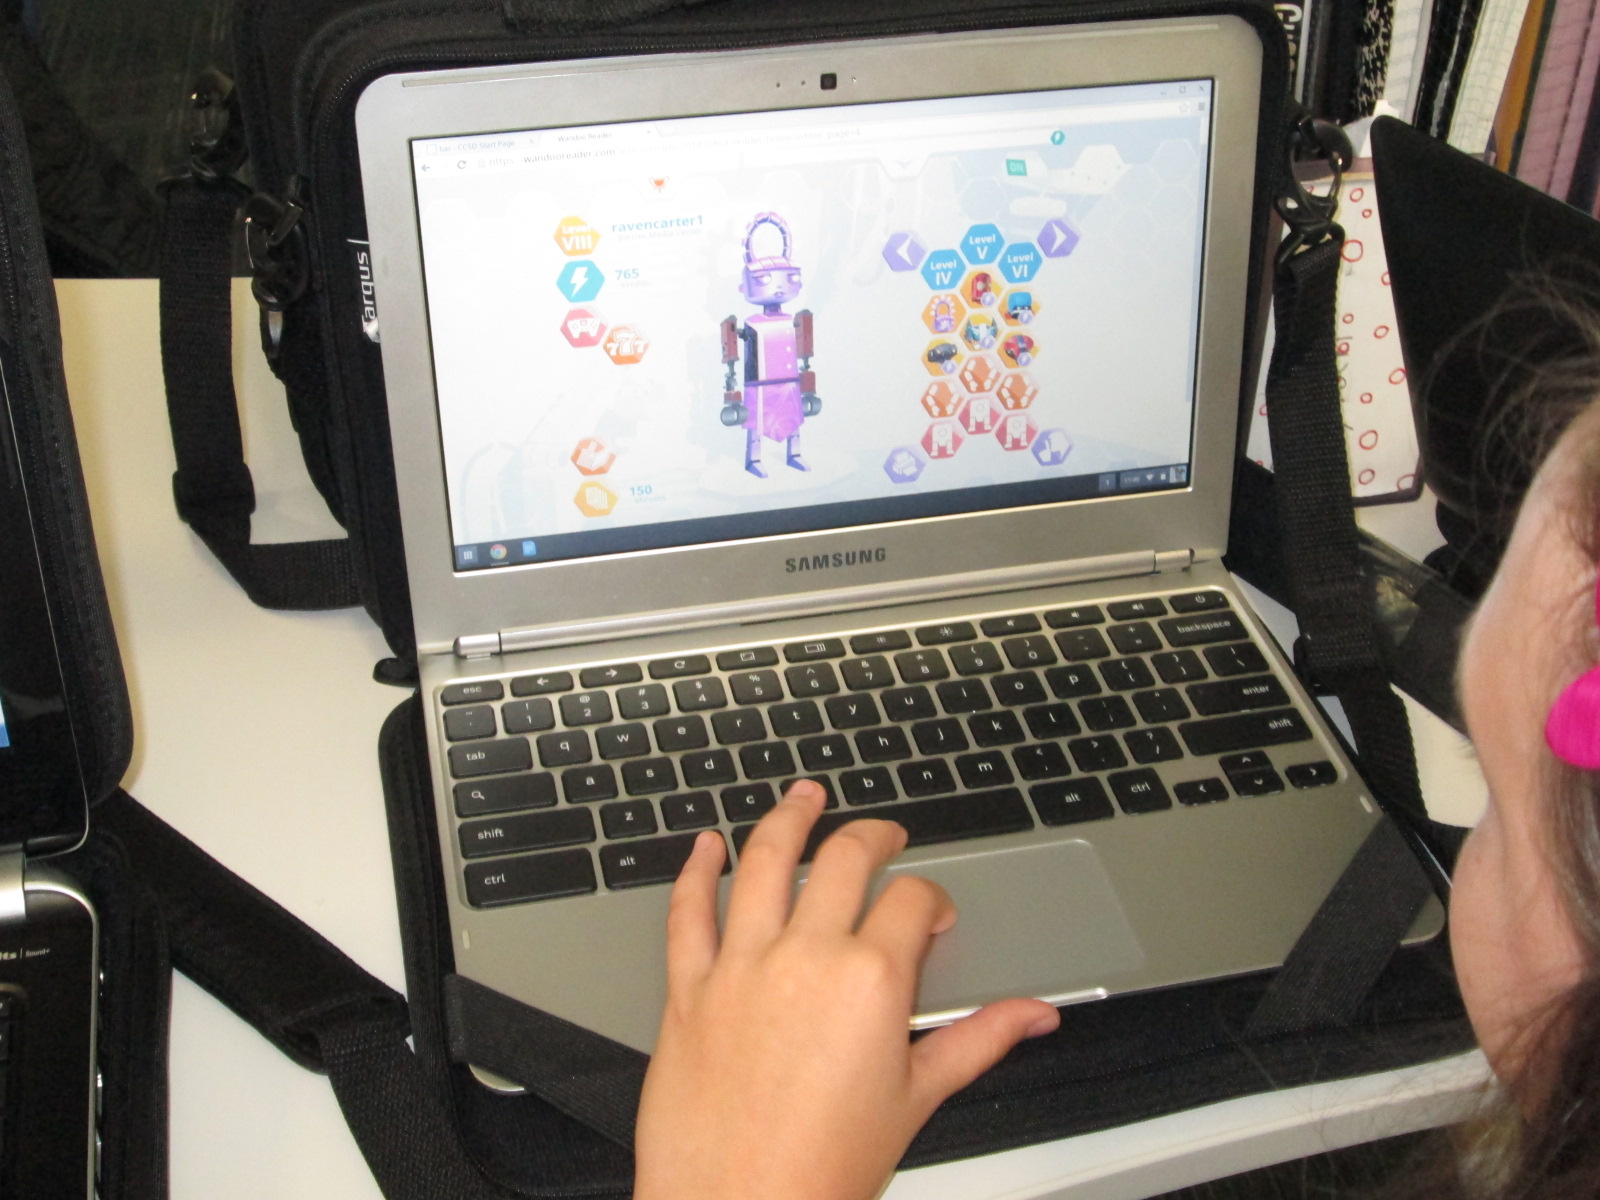
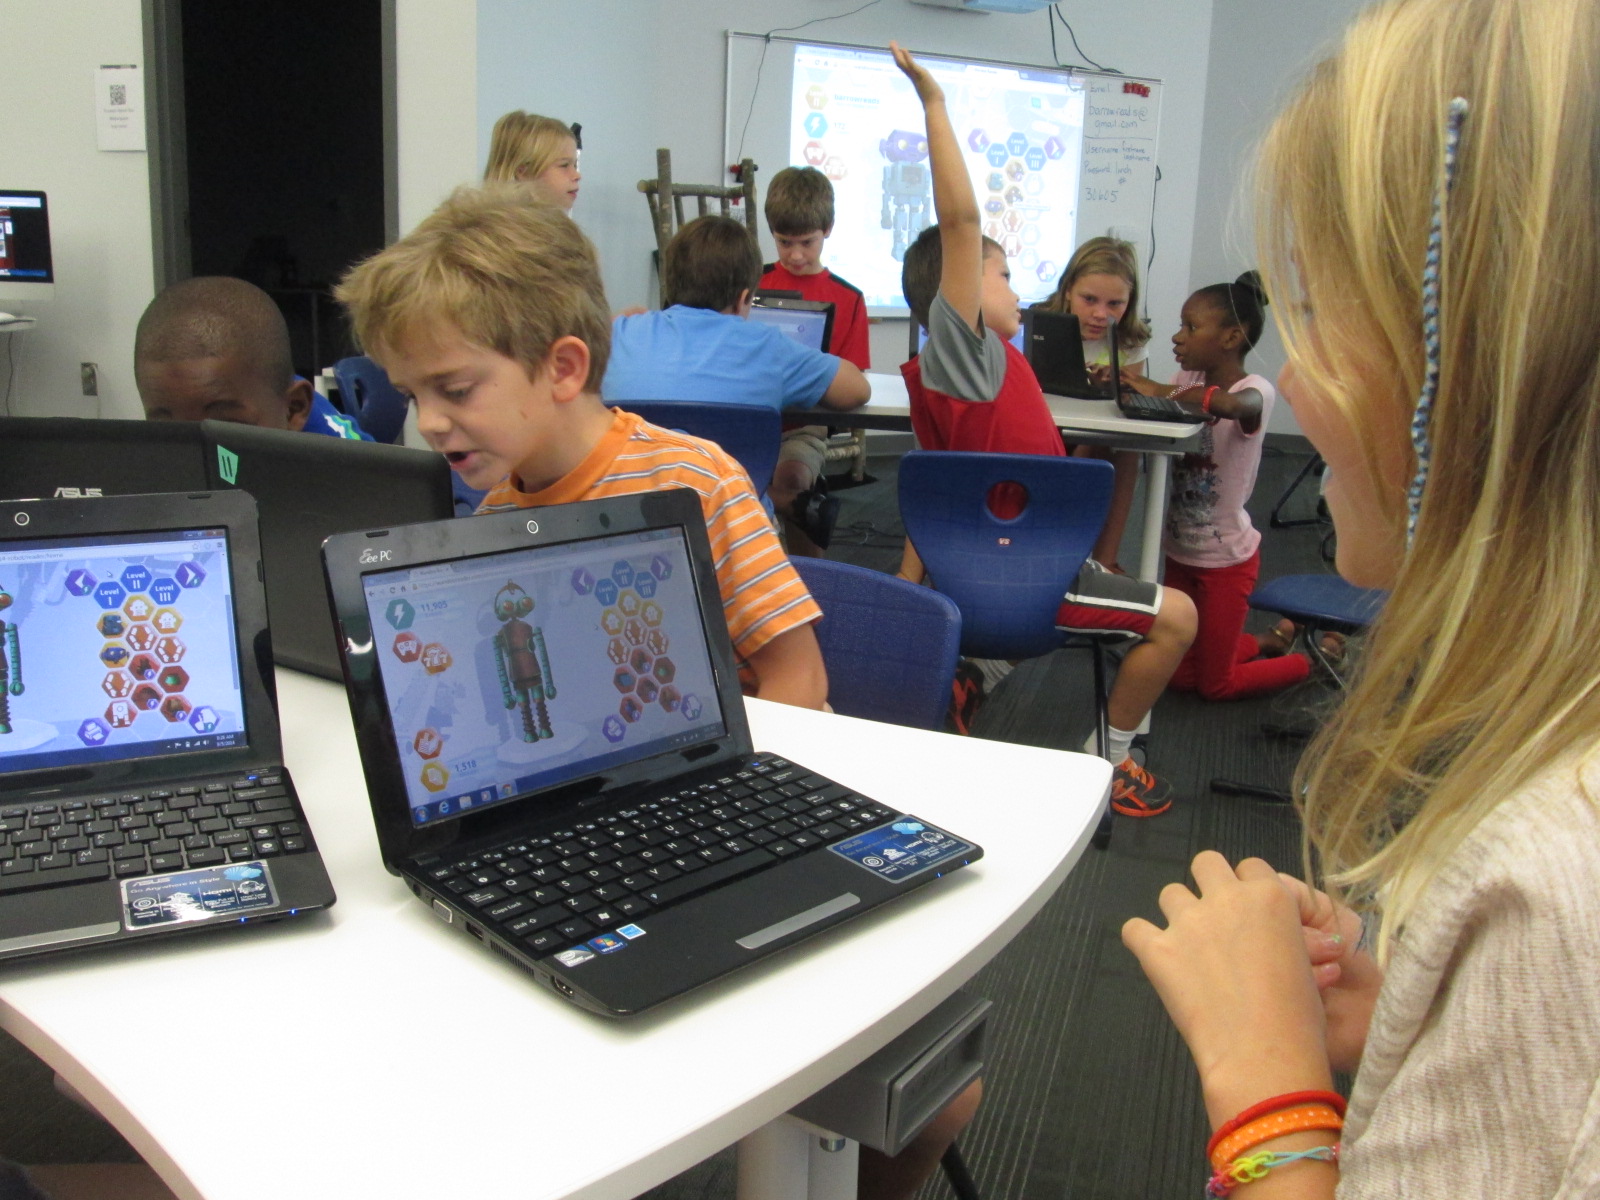
Once students made it through registration, the fun began.  Students practiced logging some books that were recently read, earned points, and started building robots.  Every student logged “Wandoo Reader” as a book if they read the tutorial.  There were smiles all around as each robot looked a little bit different than the next.  I loved how this feature gives students a sense of personalization, which is so important to students.  Once kids got into the program, we heard things like:

and

Students were really engaging in goal 1 from the library this year, “dreaming, tinkering, creating, and sharing”.  Of course, some students started testing the system to see how many points they could earn for more parts.  We can always clear that out through the administration portal, but they had permission to tinker.  They figured out how things worked, how things didn’t work, and also revealed to us what Wandoo Reader might need in order to focus kids on the true goal of the tool which is increasing student reading ability.

Wandoo Reader Kickoff (14)

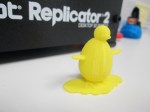
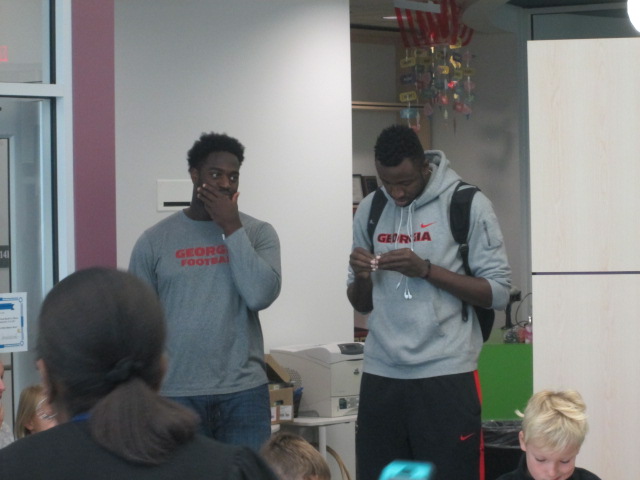
Students were so proud of their robots

Wandoo Reader Kickoff (24)

We closed our time by talking about the importance of the data that Wandoo Reader will produce for our school.  I gave specific examples.  For example, if I see that a student clicks “still reading” on multiple books and never clicks “finished reading”, it might reveal to me that the student isn’t finding a good match for reading.  If a student reads the exact same book over and over, it might reveal to me that I need to have a conversation with that student to find similar books to the trusted favorite.  If I notice that several students are reading a lot in a particular genre, it might reveal to me that I need to purchase more of that genre for our library collection.  The list could go on and on because the data that Wandoo Reader can produce for me as the librarian as well as for classroom and collaborating teachers is something we have never had access to in a single location shared across the school.  If kids use it with “fidelity” as our superintendent says, then we can start to notice and really pay attention to the amount of time that our students are spending reading.  If we want to close the achievement gaps in reading, then one of the most important steps is getting the right books in kids’ hands and giving them time to read and have fun with that reading.  Wandoo Reader has great potential for this.

Wandoo Reader Kickoff (19)

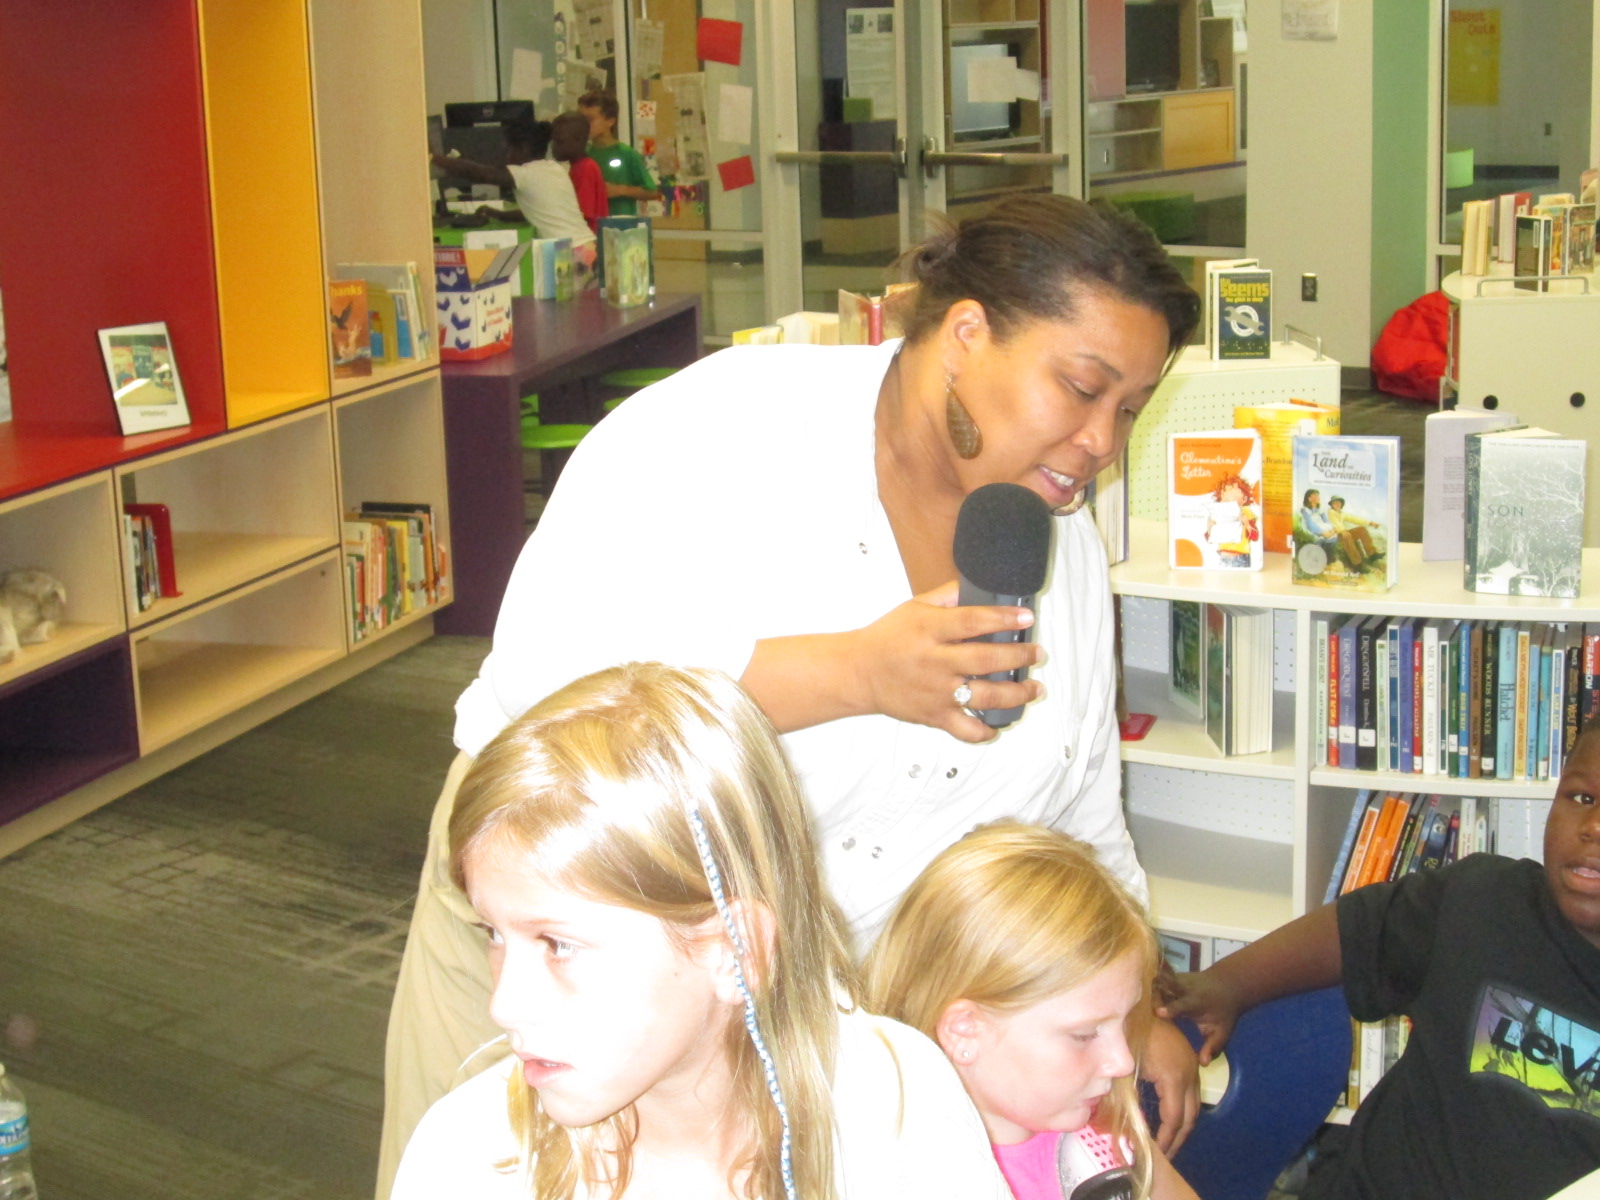
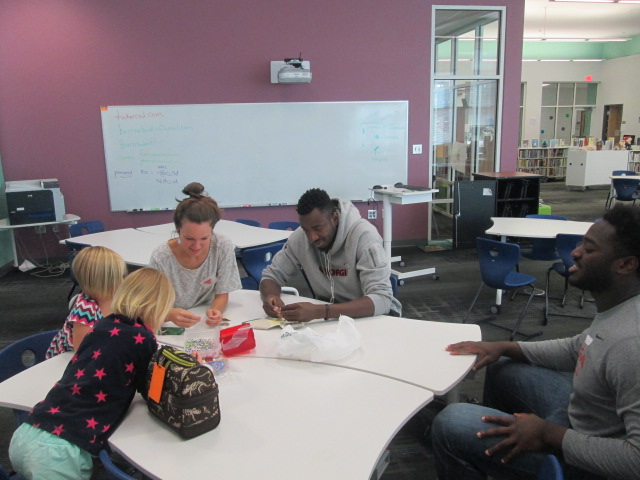
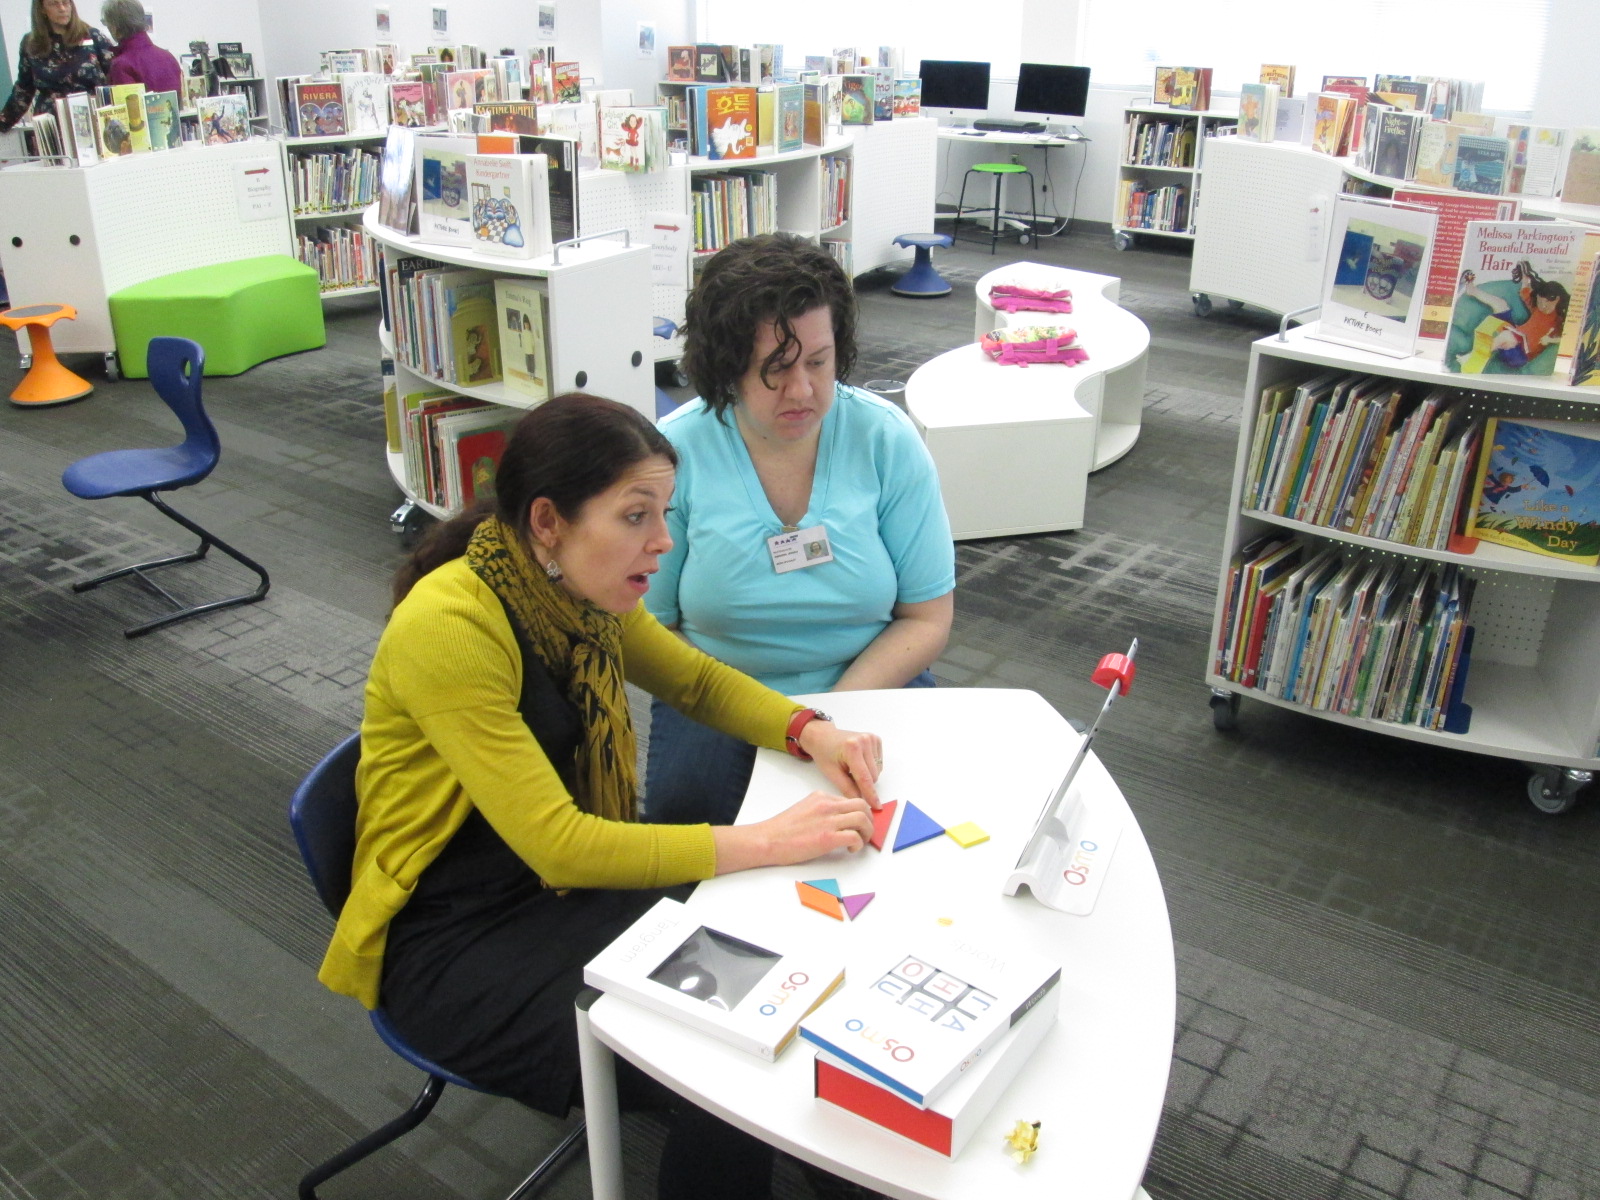
Ms. Spurgeon record feedback for Evanced while supporting a student

Looking back over the day, there were many frustrating moments in the registration process.  In fact, there were times that it was that level of frustration where you just want to say “no thanks” and move on.  For students, there were moments where meltdowns, shut downs, and giving up could have happened.  However, the thing that sticks out to me most about the day is that there weren’t any tears.  Not a single student gave up.  I won’t pretend that they didn’t get frustrated because they did.  However, it is more important to me to see what they did with that frustration and it makes me ask “why?”.  Why didn’t they crawl under tables, cry, close their computer screens, or say I don’t like this?

I can’t prove why at the moment, but I can’t help but wonder about the library goals for this year.  We began each session by giving students permission to tinker and fail (goal 1 dream, tinker, create, and share).  We established a sense of purpose by helping them realize that their failure and feedback was contributing to the greater good of the world (Goal 2 global thinking & collaboration).  We empowered them to notice what wasn’t working as well as what they loved and share that into Lindsey’s recorder to take back to the developers (Goals 3 empowering student voice).  We talked about reading multiple kinds of text and logging everything and even gave them permission to log Wandoo Reader as a book (Goals 4 supporting reading habits).

Wandoo Reader Kickoff (15) Wandoo Reader Kickoff (21)

When I started the day, I really didn’t plan for every library goal to be evident in this one lesson.  As we moved through the first session, it became very clear to me that I needed to be transparent with students about the multiple layers of why we were using Wandoo Reader.  When I did that, the library goals naturally came to life because they are a part of my thinking every day.  If I can continue to replicate experiences like today, I feel like our students will continue to develop perseverance and stamina as well as feel like their voice matters in our school as well as the world.

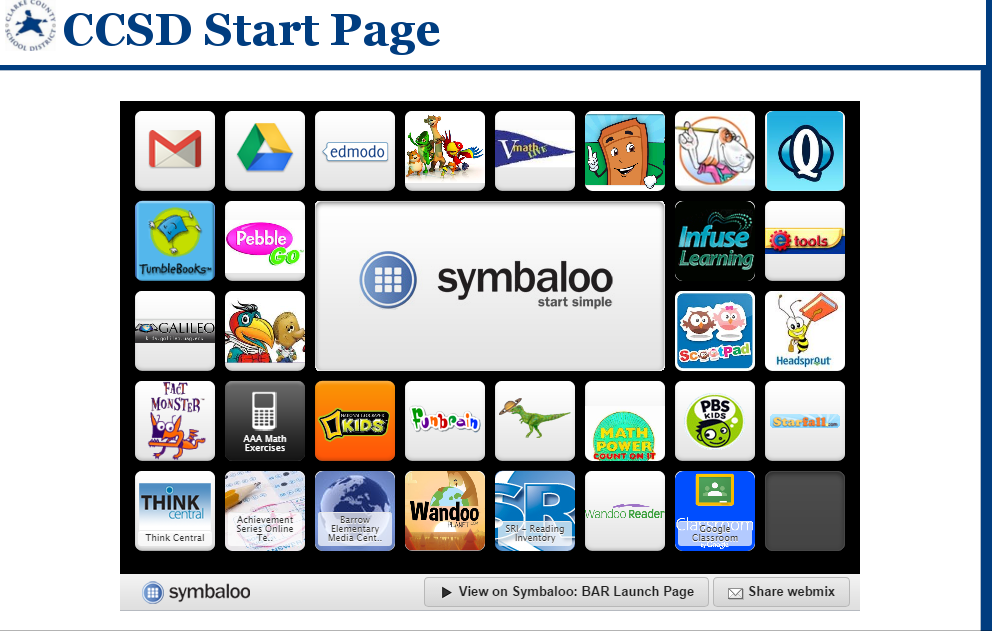
Now the students who are setup are ready to start logging everything they read and building robots.  I told them to not worry about what they have read in the past but instead start with what they are reading right now.  Many will probably log minutes this weekend by visiting our Symbaloo page where we keep all of our resources.  Others will start logging minutes at school next week.  Regardless, the task now is to continue to tinker for a bit until we all figure out the best process for having kids log their minutes.  I will also follow up with teachers to see how they are feeling about Wandoo Reader and see what our next steps really are.

bar   CCSD Start Page

Even with the frustrations of registration, I feel like we all gained so much from this day to support us throughout this school year.  Thank you Evanced for this opportunity, and we can’t wait to see the changes to Wandoo Reader based on what was learned from these first student users.

Library Orientation: Starting the Year with Failure

QR orientation (6)

Last year, I decided to try something new for my library orientation.  Rather than have students sit and listen to me go on and on about how the library works, I let them explore the library with QR codes.  I loved this change so much that I decided to try this again this year and add some new twists.

First, I thought about all of the main questions that pop up during the year about using the library and made a list.  Then, I took this list and tried to make videos that were concise and addressed one task rather than weaving in multiple topics into one video.  This included topics such as how to search in Destiny, how to check out with and without a student id, how to check in, how to use a shelf marker, how to place a hold, and where supplies are located.  I also had some pieces of the library that I wanted students to know about such as areas where participatory opportunities would be displayed and what was new in our makerspace.

I took each video, improved the sound quality in iMovie, and uploaded to Youtube.  Using Kaywa QR Code generator, I made a QR code to each video, labeled it, printed it, and put it in a sleeve to hang in the library.

When 2nd-5th grade came to the library, they entered to a rolling slideshow of our 4 library goals.

1dream

2global

3empower

4reading

I wanted our first focus to be what we hope our library is about this year.  The procedures are important because they affect the flow of the year, but the goals are what drive us every day.

After talking about the 4 goals, I showed students how the orientation would work.  Each student would have an iPad with headphones.  Using the Layar app, students would scan each QR code and tap on the video to begin listening.  There were 4 videos that I wanted every student to review:  how to check out, how to check in, how to use Destiny, and a tour of the library sections.  I placed these 4 codes on 4 tables so that students could easily keep track of which videos they needed to watch first.  Following the 4 videos, students could scan a QR code on the project board that took them to a playlist so that they could choose any of the other videos to watch.

QR orientation (5)QR orientation (8)Once students scanned a video, I encouraged them to carry their iPad and go to that section of the library so that they could physically see the things that I was talking about in the video.  Once again, this was a wonderful experience because it allowed students to move, replay videos if needed, and actually see the library spaces rather than sit and listen.

QR orientation (4) QR orientation (2)

This worked beautifully some of the time, but here’s where the failure comes in.  On the 2nd week of school, our district implemented a new filter.  Filters can be wonderful things to protect our students, but anytime something new is implemented the bugs have to be worked out.  On day 1, every Youtube video was blocked on the iPads.  As soon as students started scanning, they got the no access screen.  Luckily, I could still access Youtube on my own computer so I decided we could just watch some of the videos on the projector.  Then, the internet speed became so slow that no videos would work.  Finally, we just got in a line and did an old-fashioned tour around the library.  The coolness of the QR codes was gone, but we still accomplished learning about the library.

While this experience was very frustrating, it allowed me to model what it means to not give up, to persevere through failures, and to expect that great things will happen even when things don’t work.  Rather than bottle all of my thinking in my head, I began to share it with the kids.  I said things like, “This was an epic failure, so let me back up and rethink this” and “Why don’t we try…”.  In future lessons, I built this conversation into our mini-lesson.  I prepped the kids by sharing the failures we had already encountered and how we worked through them together.  What I started to see was kids who were being more patient and were trying different strategies when the internet was slow or a code didn’t scan rather than kids who were giving up or kids who were yelling out about something not working and asking for an adult’s help.  I was reminded of the importance of sharing that it’s ok to fail as long as you use that failure to learn what you might do differently.

QR orientation (3)

In Kindergarten and 1st grade, we used the book Awesome Dawson by Chris Gall.  I chose this book because Dawson is a “maker”.  I felt like he embodied what I hoped that all of us would consider ourselves across the course of the year.  During our reading of this book, we paused to notice how Dawson never gave up.  We pointed out his epic failures along the way and how he took those failures, backed up, and tried something new.  He never lost his cool.  Instead, he took a different path or split a huge invention into 3 smaller ones.  As we made these noticings, we made connections to our own learning and the goals that we had for this year in the library.

QR orientation (1)

Following our read aloud and/or QR code tour, we used Kahoot to review a few of the library procedures.  I chose Kahoot for a few reasons.  One was to put it in front of teachers at the very beginning of the year as an engaging tool to use with students to check for understanding.  Several teachers were eager to try it in their classrooms.  Another reason was to make the really boring topic of library procedures fun and get us all on the same page.  It worked.  Even another reason was to throw a tool at students that was new to just about all of them and once again practice our acceptance of failure.  Several students couldn’t login.  Others had games that didn’t load as fast as other i Pads.  Still others got kicked out in the middle of the game and had to log back in.  Did any of these failures stop of us from learning? No.  We used each and every barrier, glitch, and student error as a learning tool for how we will work together this year.

Now that our orientations are over. We are ready for a year of miraculous projects.  The QR codes are now hanging all over the library for students to continue to reference throughout the year as they forget how to check out or place a hold.  The videos are also being sent to all of the library volunteers so that they can also review the different ways the library works before assisting students and shelving books.

I’m sure I will make even more changes to next year’s orientation, but I love how this one set the stage for our year.


Using Skype in the Classroom to Connect with Rube Goldberg’s Granddaughter

jennifer george (4)Second grade has been studying force and motion as a part of their science standards.  We kicked off this unit in the library by learning about the inventions of Rube Goldberg and exploring the Rube Works app for iPad.

In class, students explored force and motion through a Picture Perfect Science lesson about roller coasters.  During this exploration, they learned key vocabulary and concepts for force and motion.  After exploring, they learned even more about force and motion through informational text.  Finally, students worked in collaborative groups to build their own Rube Goldberg invention.  During this process, students were able to apply many of the concepts and vocabulary that they learned through the other experiences.  I loved peering into their classrooms from time to time to watch them try to get their inventions to work.  I loved how they tried something, failed, and then tried again.  This is something we’ve had a lot of conversations about.

Today, thanks to Skype in the Classroom, students had the chance to Skype with Rube Goldberg’s granddaughter, Jennifer George.  If you haven’t taken a look at Skype in the Classroom, you should!  Teachers and guest speakers can post topics or lessons and classrooms can sign up to participate in those lessons.  Once you sign up, you go through a process of communicating with the creator of the lesson or topics in order to schedule your Skype connection.  Also, educators get a free Skype premium account for signing up.

Rube Goldberg   Skype in the classroom

Our connection lasted from about 40 minutes.  During our time, Jennifer George shared some Rube Goldberg facts that only a granddaughter would know.  For example:

  • he wore shoes when he went swimming
  • he was always on time
  • he ate whip cream for dessert and when cool whip came out he ate it by the bowl
  • when he got his 1st car, there were only 12 cars in New York City

She talked about how Rube Goldberg never built the inventions that he drew, but many people have taken his drawings and built the machines or designed their own.  I loved how this fact fit in with our collaborative project and how each member of the team brings something different.

jennifer george (6)

We also loved meeting Jennifer’s cat.  The students couldn’t contain their excitement when the cat jumped up behind her on the counter.  Jennifer gave us a close up view of him.

jennifer george (12)

After Jennifer gave us some facts, she spent some time letting students ask questions.  They love to do this.  I loved how she listened to each student’s name and repeated it in her response.  It made the conversation connected and personal.

It was during these questions that we learned things like:

  • Rube Goldberg created over 50,000 cartoons
  • He started drawing when he was about the age of our 2nd graders
  • Jennifer is a fashion designer who has designed clothing for several big celebrities like Madonna and Aretha Franklin

The students really wanted to see some of Rube Goldberg’s drawings, but thankfully thankfully many of them are available in a new book called The Art of Rube Goldberg.  I think that students are going to be demanding that we get this book in our library.  Thank you Jennifer George for sharing the stories and inventions of your grandfather with us.   Thanks Skype in the Classroom for this fun time.  

You can learn more about Rube Goldberg at http://www.rubegoldberg.com/

jennifer george (10)

We have another Skype in the Classroom connection coming up soon with David Fox, developer of the Rube Works app that we have been playing.  We can’t wait!

Kinetic Art Sculptures Using Our Makerbot Replicator 2

kinetic sculpturesOur art teacher, art student teacher, and I have been having a blast with 3rd graders designing kinetic sculptures.  About 2 weeks ago, students came to the library during art to learn about Tinkercad and how artists use technology to create.  Before this lesson, they watched a Tinkercad tutorial.  In small groups, they designed an object for 3D printing.  Whatever they designed would become one piece of a larger kinetic sculpture in art.  You can read more about that experience here.  

kinetic sculptures (15)

Once students finished their design, I went into each account and tried to double check that the designs were all pushed together into one piece art.  Then, I downloaded the .stl file into Makerware.  In Makerware, I resized the object to a smaller size to speed up the printing process.  I also added a raft (removeable base) and supports to each print.  I’ve found that in Tinkercad these 2 steps are needed because what you see on the computer screen might actually be misleading.  The raft and supports help the 3D print be more stable.  All files were loaded onto the SD card prior to students arriving.

kinetic sculptures (9)

Ms. Foretich, art teacher, created a printing schedule with about 60-90 minutes between prints.  During each time frame, students came to the library and chose their filament color.  Then, I shared some information about the 3D printer since it was the 1st 3D print for most students.  Finally, we pulled up the file on the SD card and a student pressed the M.  Students sat in chairs or huddled around the printer to watch.  After watching the print for a few minutes, students went back to their regular day while the print finished.  I kept an eye on each print during and between my lessons.

kinetic sculptures (13)

Each printing experience was different and you really never know what is going to happen when you press that red M.  Many times the print is a big success, but sometimes it’s not.  We’ve had some failures, which are very important.  We save every failed print we have and put it in a box.  It reminds us that we aren’t perfect, but it also serves as an instructional tool to talk to students about what didn’t work.  We learn from our failures and a box full of failure speaks volumes to all of the students who are starting their 3D printing process.

fail

When a print fails, we go back into the design and look at what needs to happen.  Sometimes it’s as simple as pushing some pieces together more than they were.  However, sometimes it’s a big flaw that cause students to just start over.  It certainly slows the process down, but it is important for them to revisit their work, revise, and try again.

kinetic sculptures (7)

It’s always fun to see which students are motivated by the concept of 3D printing.  Sometimes the students make surprising choices like giving up their recess time to spend that time watching the 3D printer create.  Hearing their “wows” and “cools” is inspiring.

jaymar

Students are continuing to print their pieces this week and next.  In the meantime, they are continuing to work on their kinetic sculptures in art knowing that their 3D printed object will also be a part of their design.