The Winner of the 2019 Barrow Peace Prize Is…

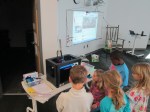
Our 2nd graders gathered in the library for the 6th annual announcement of the Barrow Peace Prize. During this special ceremony, we connect with the team at Flipgrid. Each year, the Flipgrid team grows, and this year we connected with them at their headquarters in Minnesota and also in other locations where team members were working. The kids loved seeing their many faces on the screen celebrating their work.

Before our Skype, I showed students a map of places their voices were heard around the world. They were amazed by the pins in over 110 different locations and counting.

During our ceremony, we started with some introductions and greetings from the Flipgrid team. Then, we took time to hear some special stories from the project. Every year, we get comments on social media about the project which I share with the students. They love having a personal connection with people who have heard their voices.

This year, I had a message exchange with an individual from Canada. She messaged me through our library Facebook page, so I shared her message with the students.

Marion Hodges from Canada says: “greetings from Canada. For the kids who chose Jackie Robinson they might be interested to know that he started his pro career in Montreal with the Montreal Royals. He endured a lot of the same treatment but also a lot of respect. After that he went on to play with the Dodgers. For the kids who chose Rosa Parks – there is a lady named Viola Desmond who did something very similar in Nova Scotia in the 1940s as she refused to leave the “white-only” section of the cinema. She was a successful beautician and entrepreneur and you can see her picture on the Canadian 10 dollar bill.”

Next, we launched into awards. Each teacher selected 3 students to receive one of three awards:

  • Prolific Persuader: For using your persuasive techniques to encourage an authentic audience to vote for your civil rights leader.
  • Outstanding Openers: For using a creative hook to capture your audience’s attention from the very beginning of your persuasive writing.
  • Dynamic Designers: For creating an inspiring piece of art to accompany your persuasive writing and visually engage your audience.

Christine, Marty, and Sindy from Flipgrid announced these student winners. This is one of my favorite parts of the ceremony because the kids erupt in applause for their classmates as they walk up to receive the award. The Flipgrid team applauded each group of students and we took a quick picture with the screen.

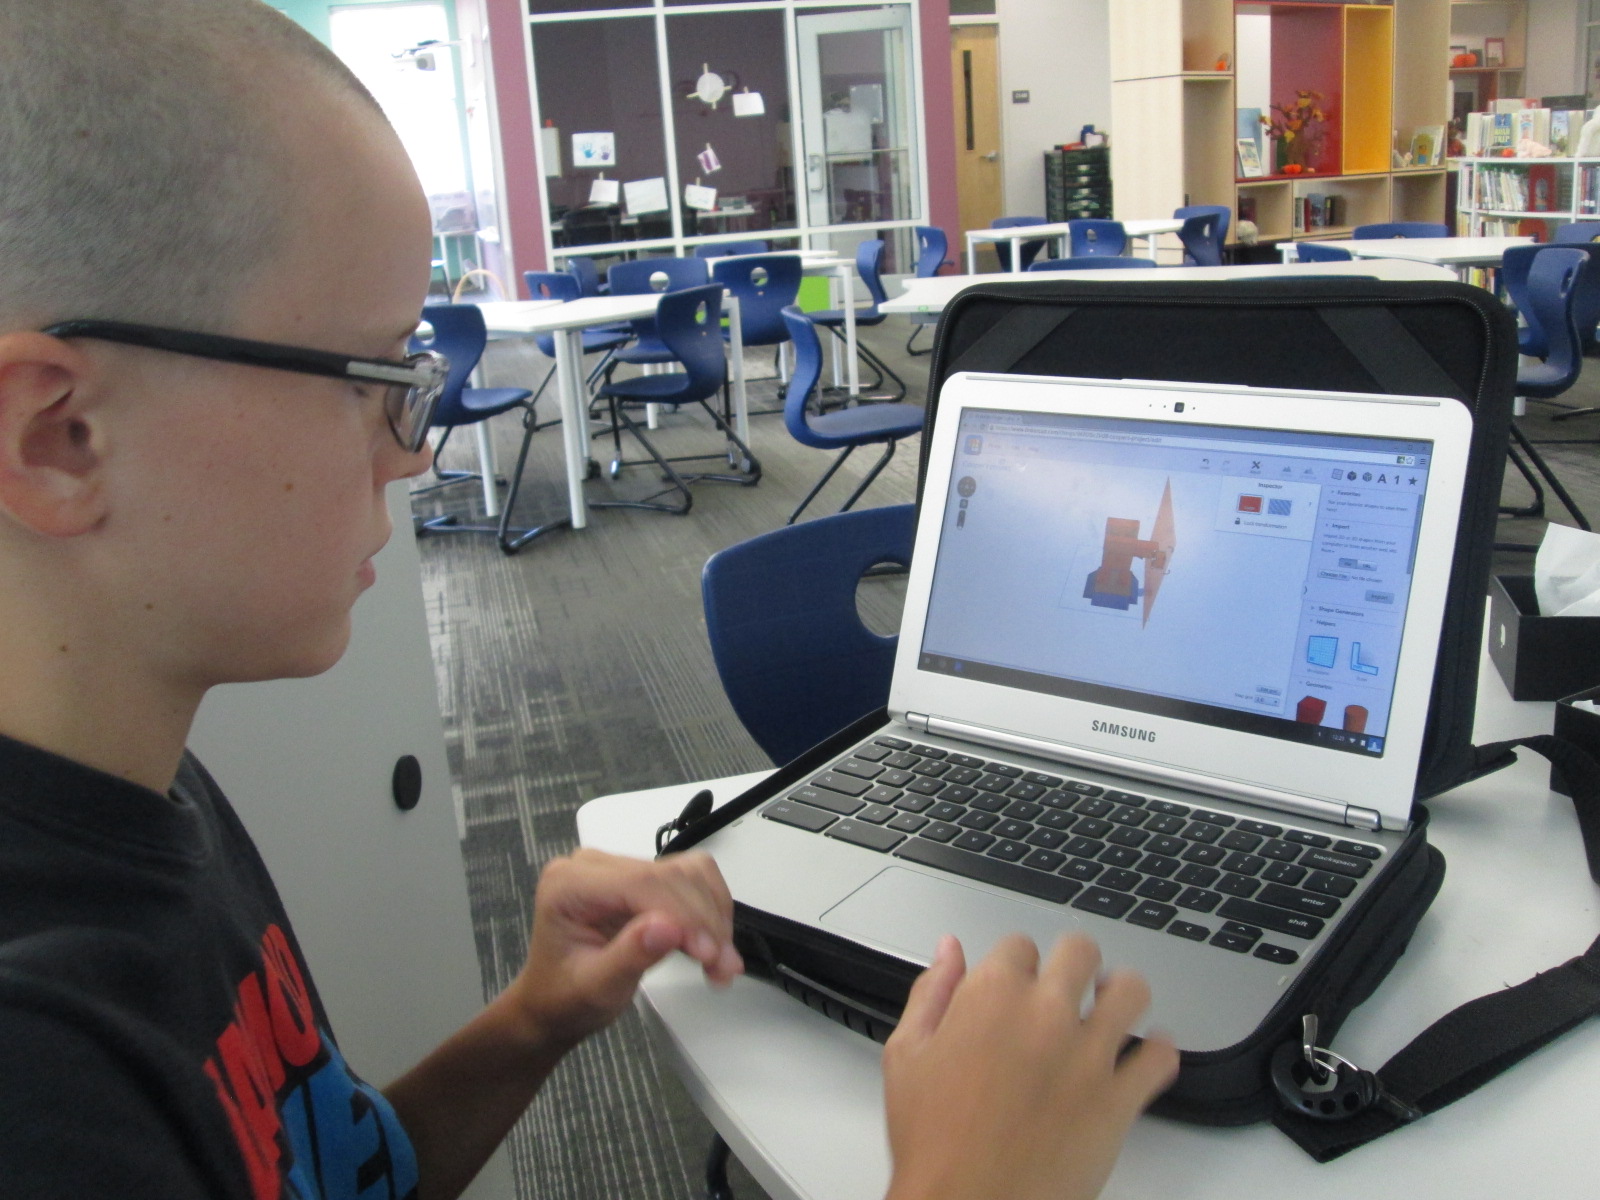
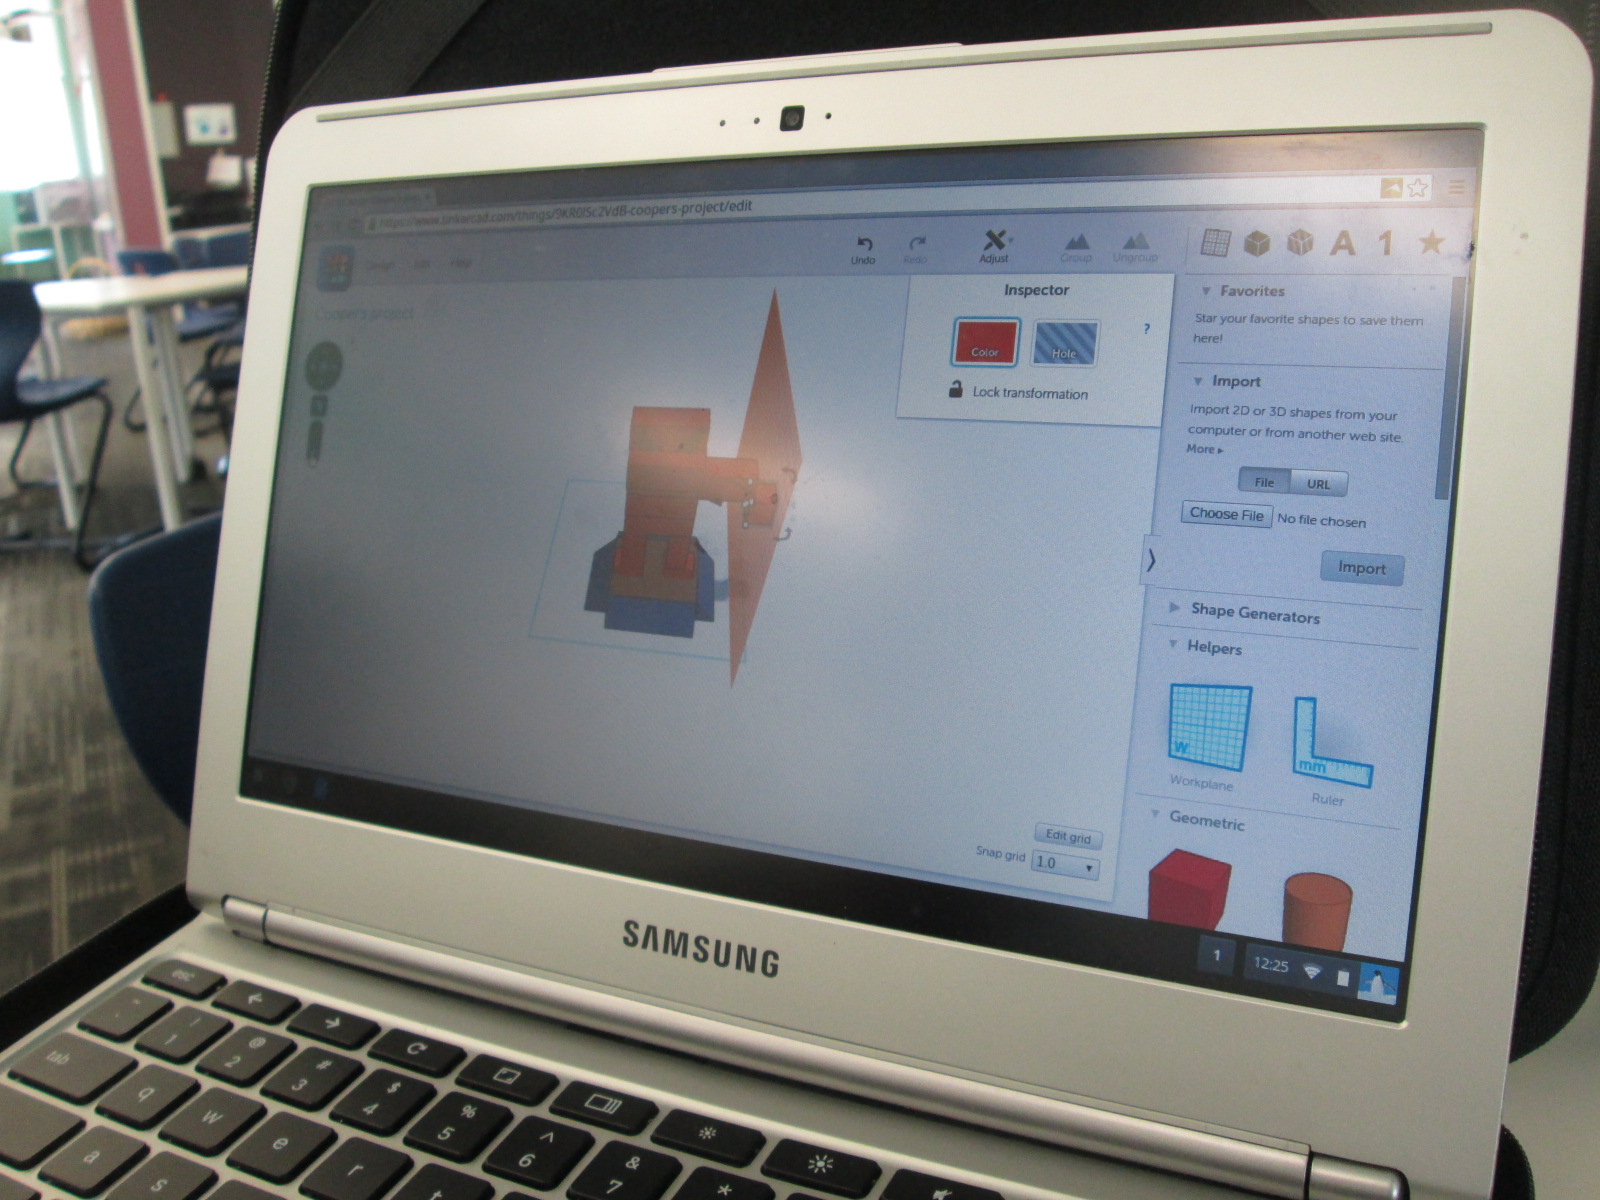
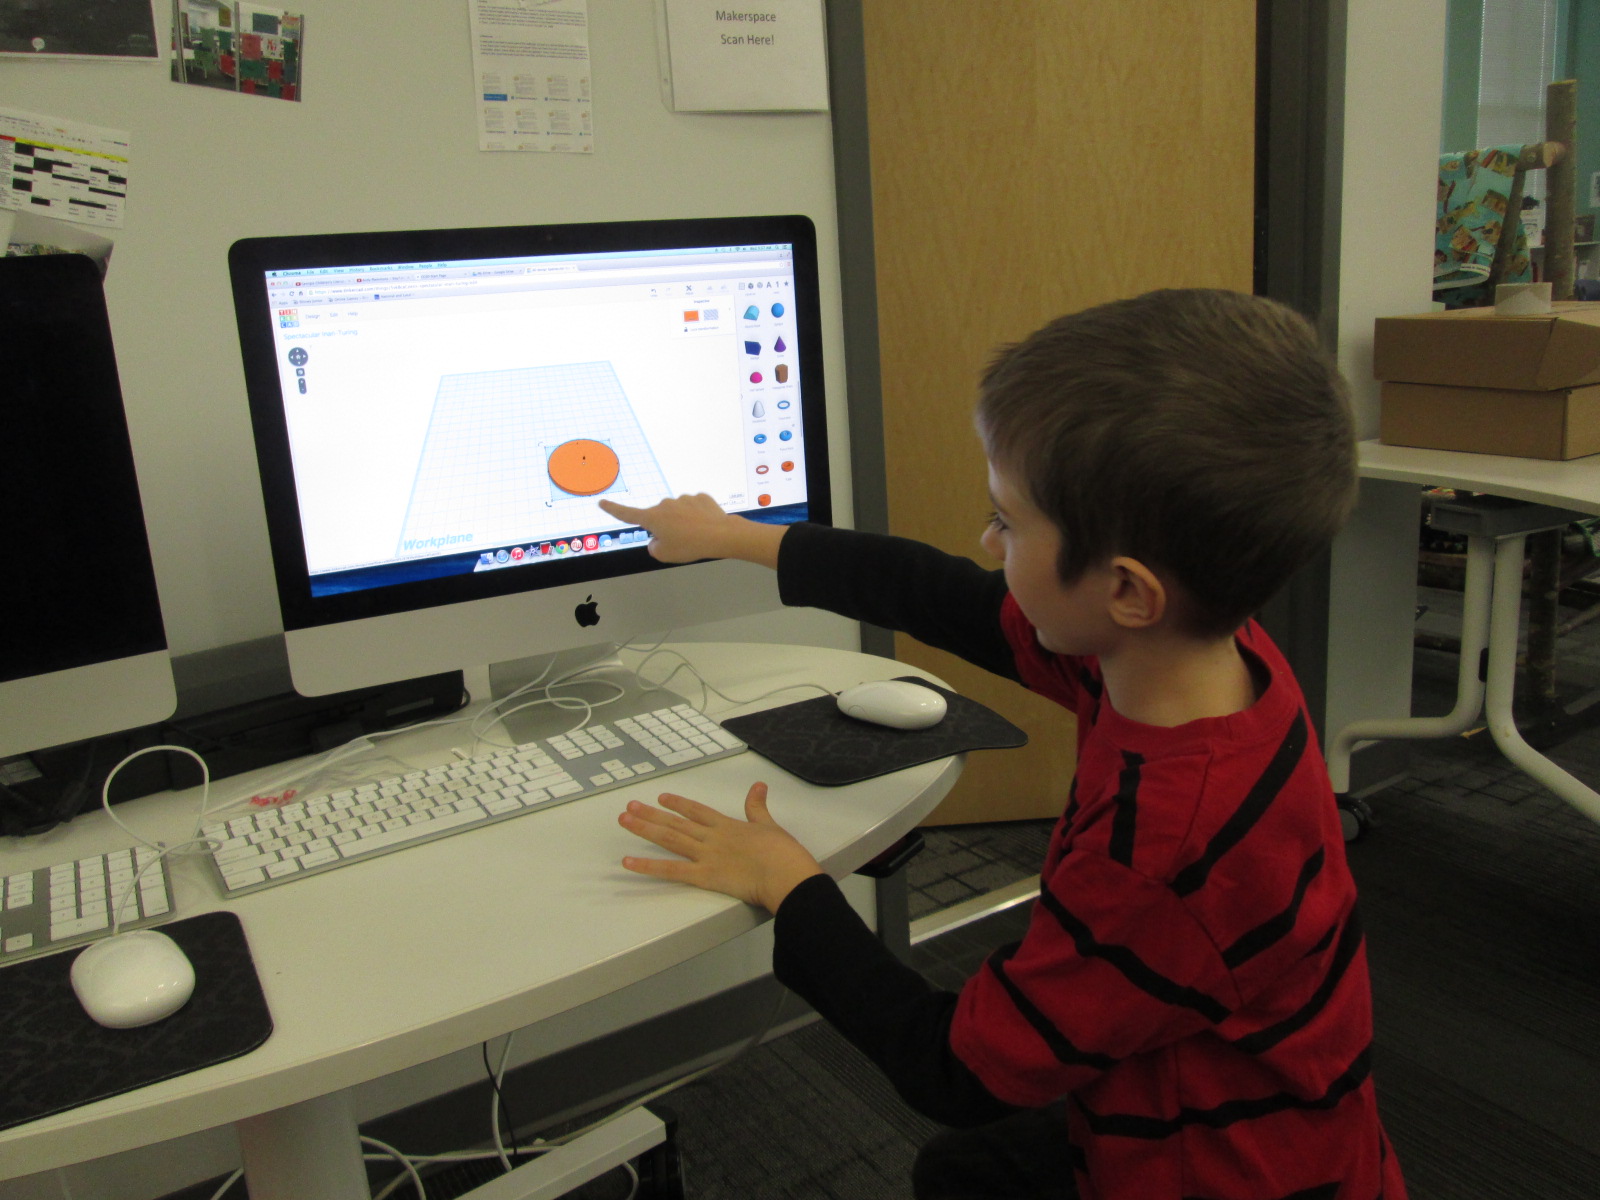
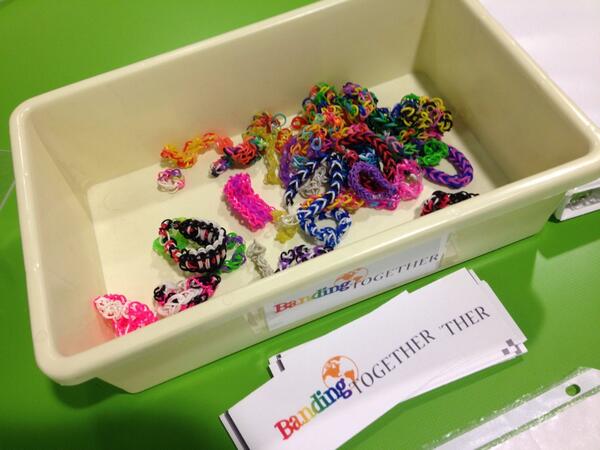
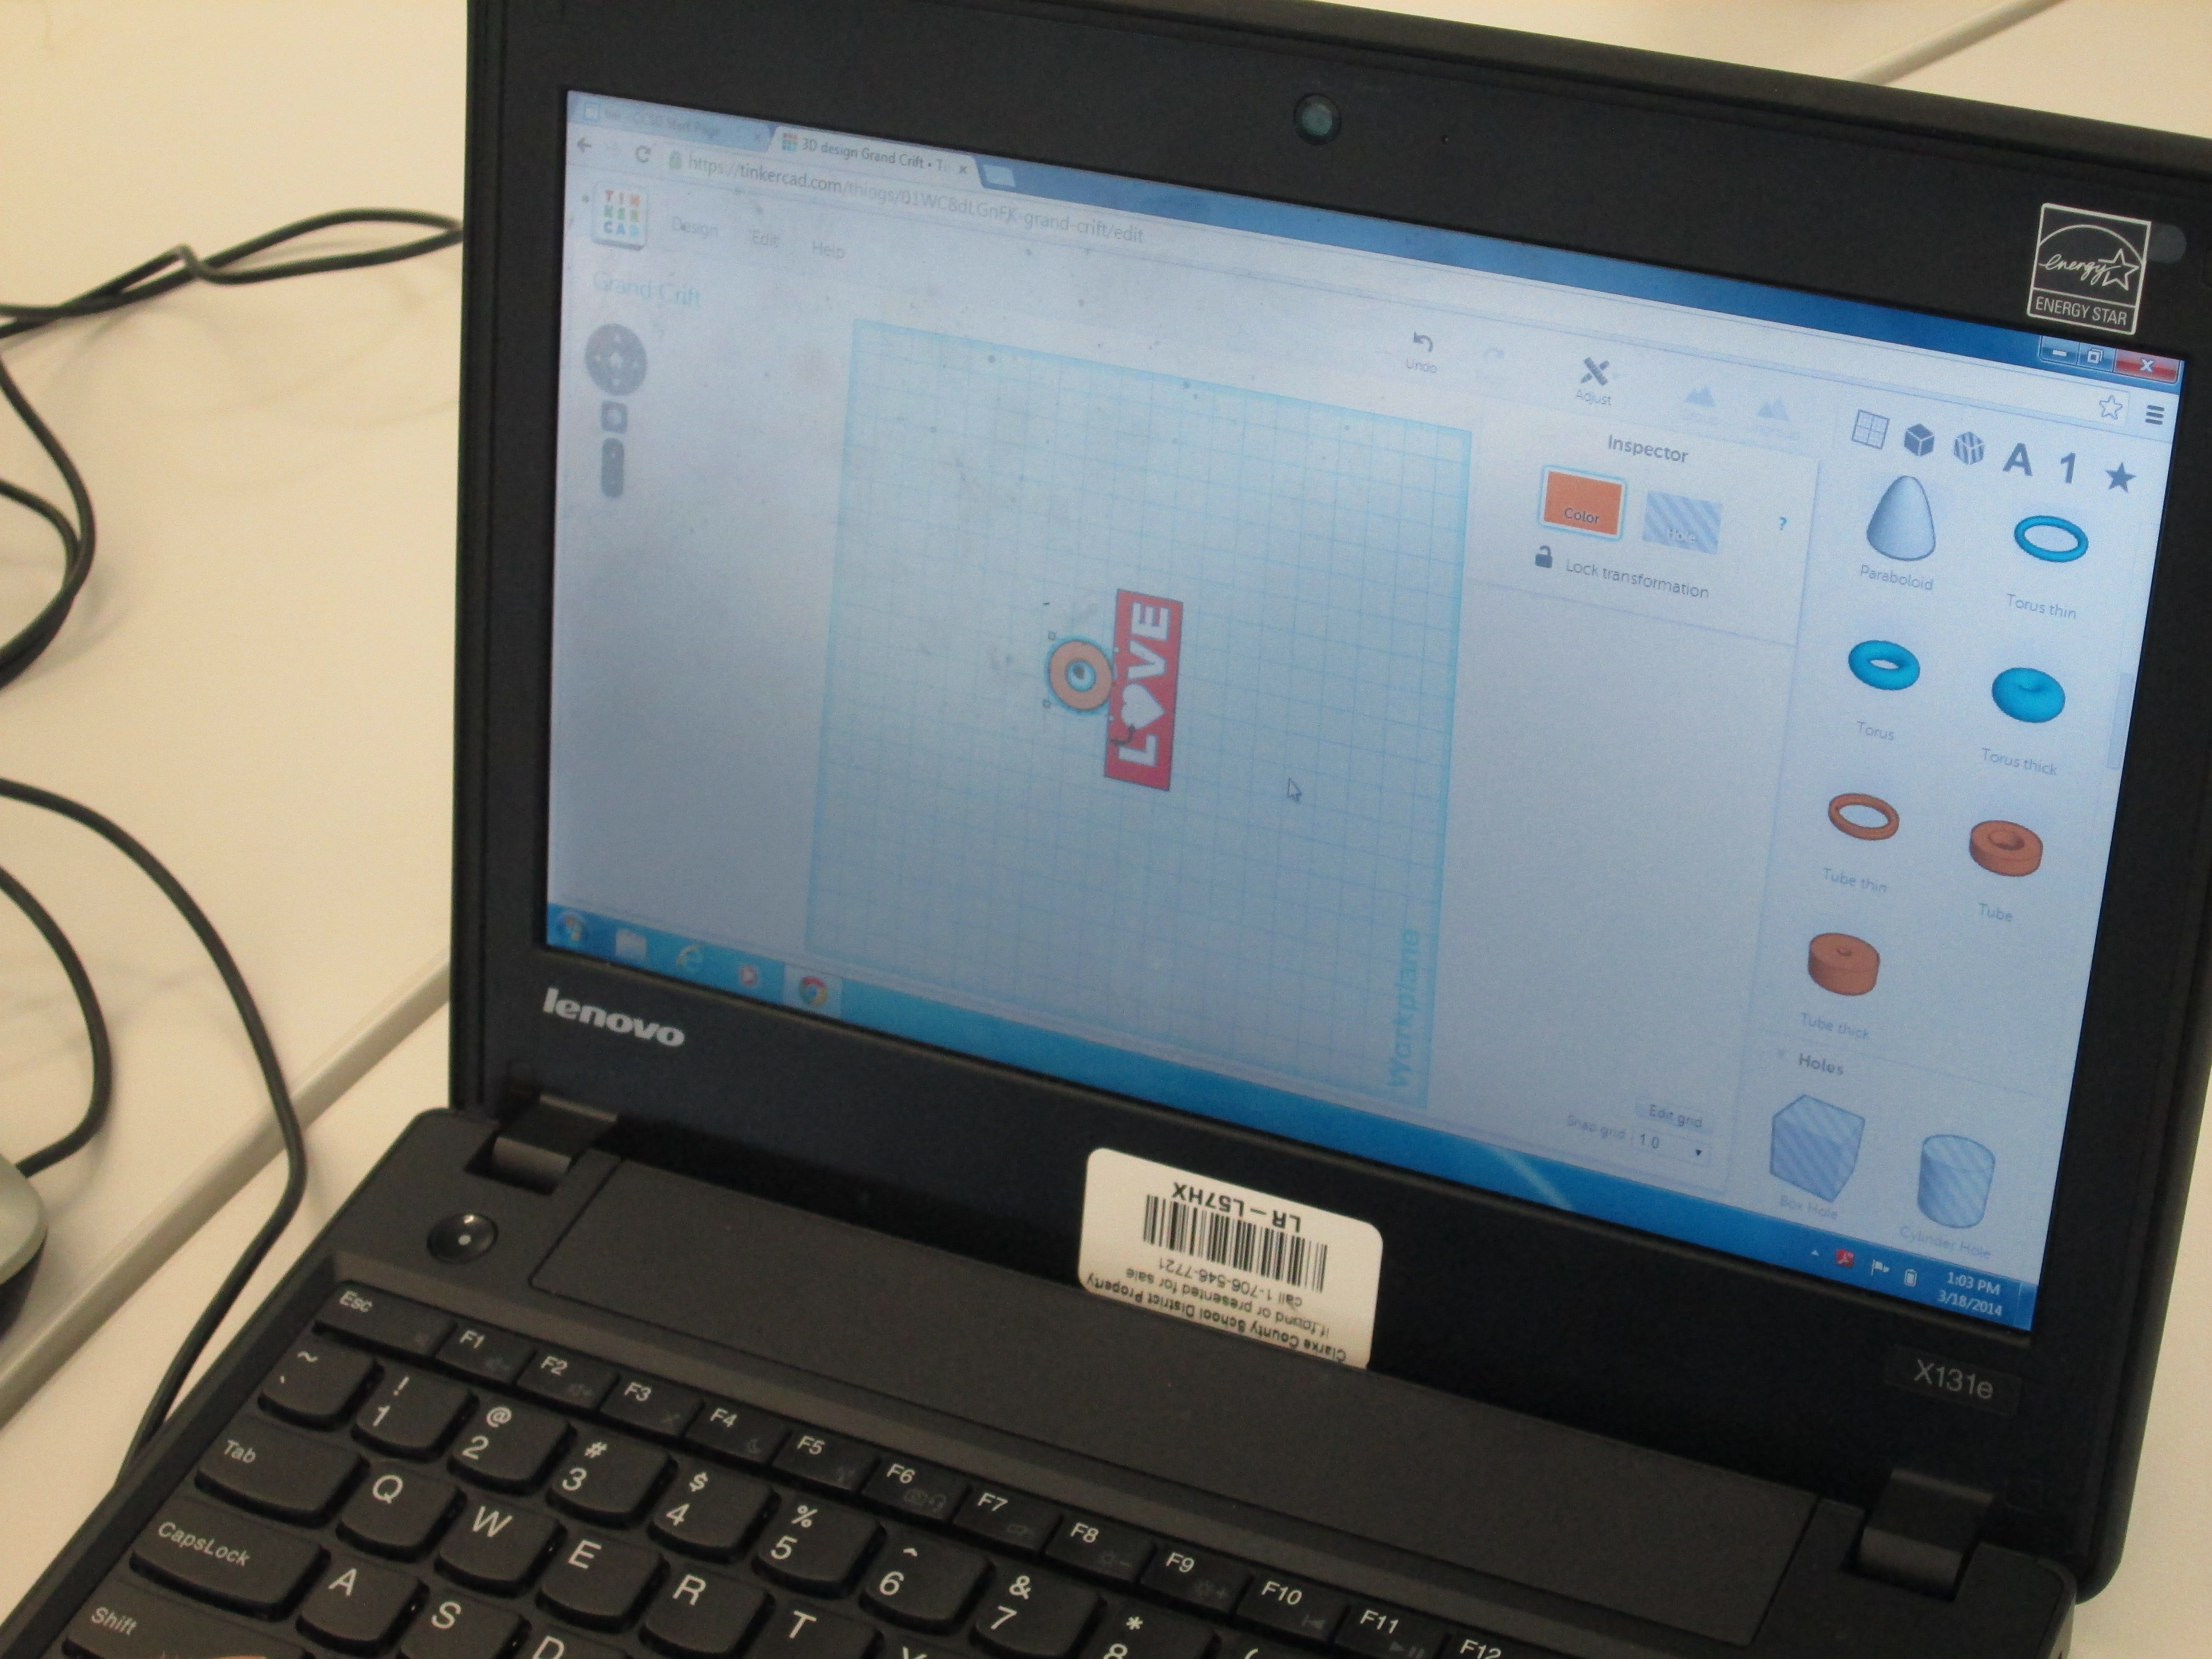
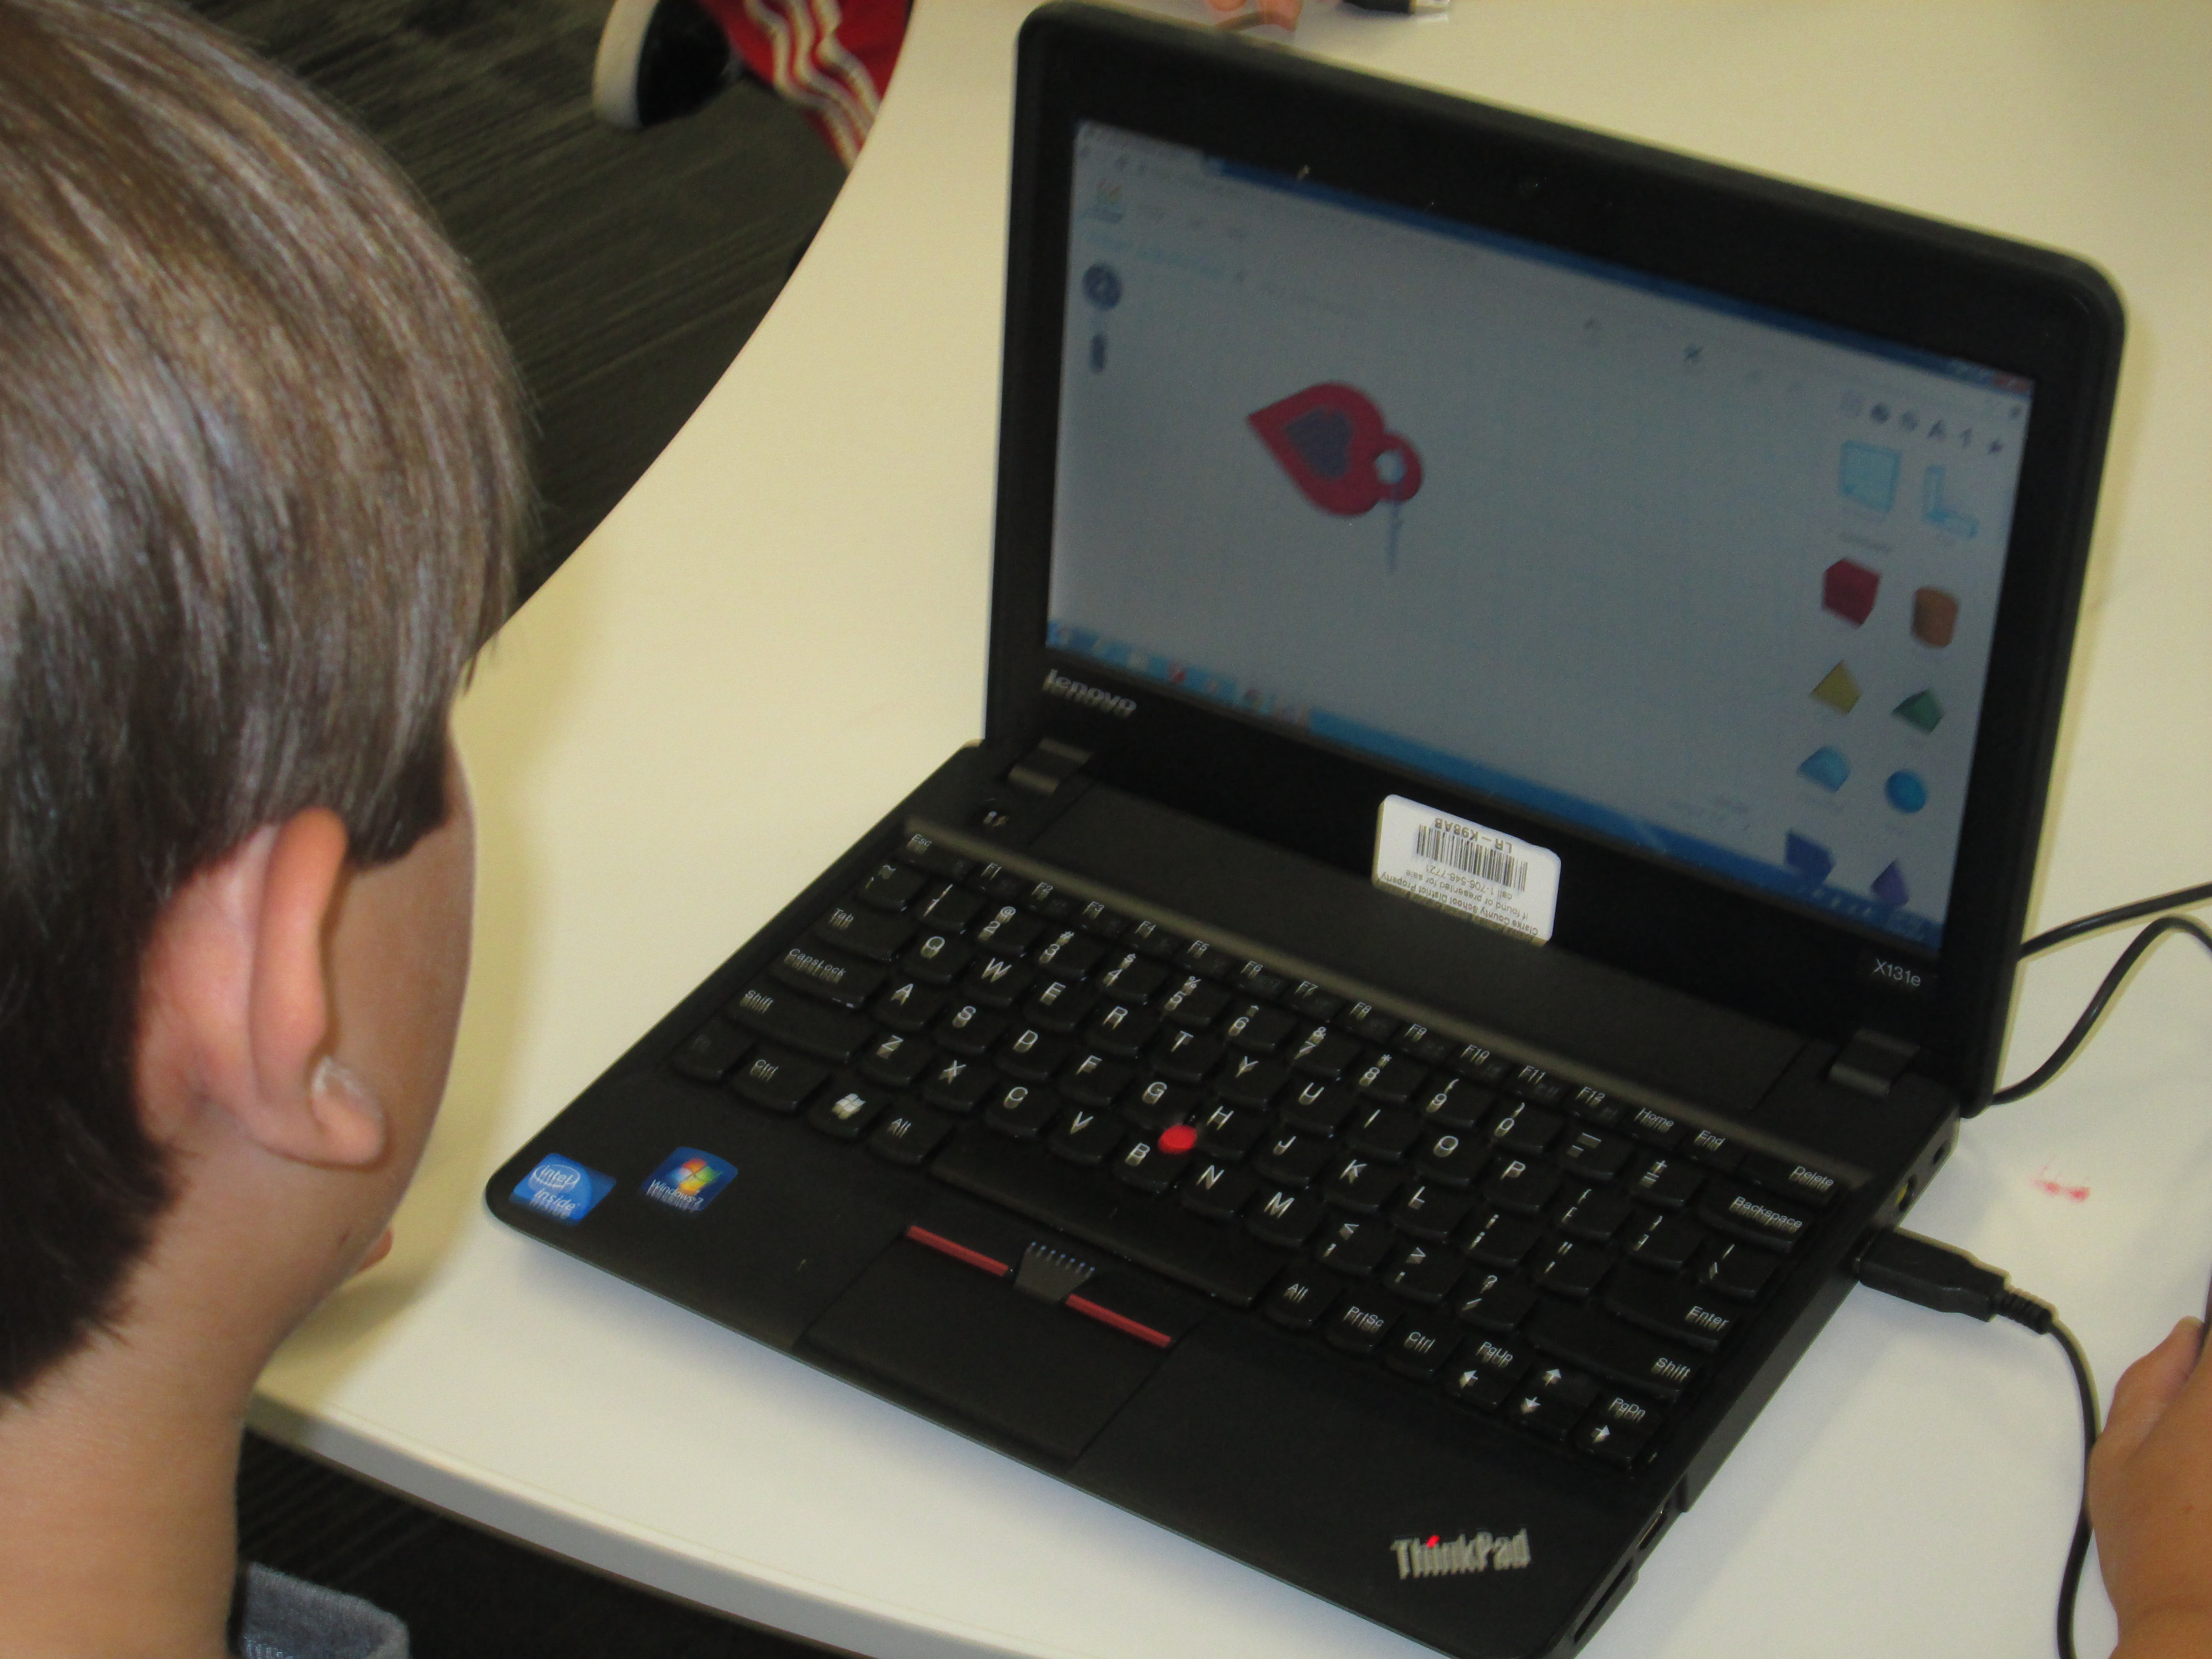
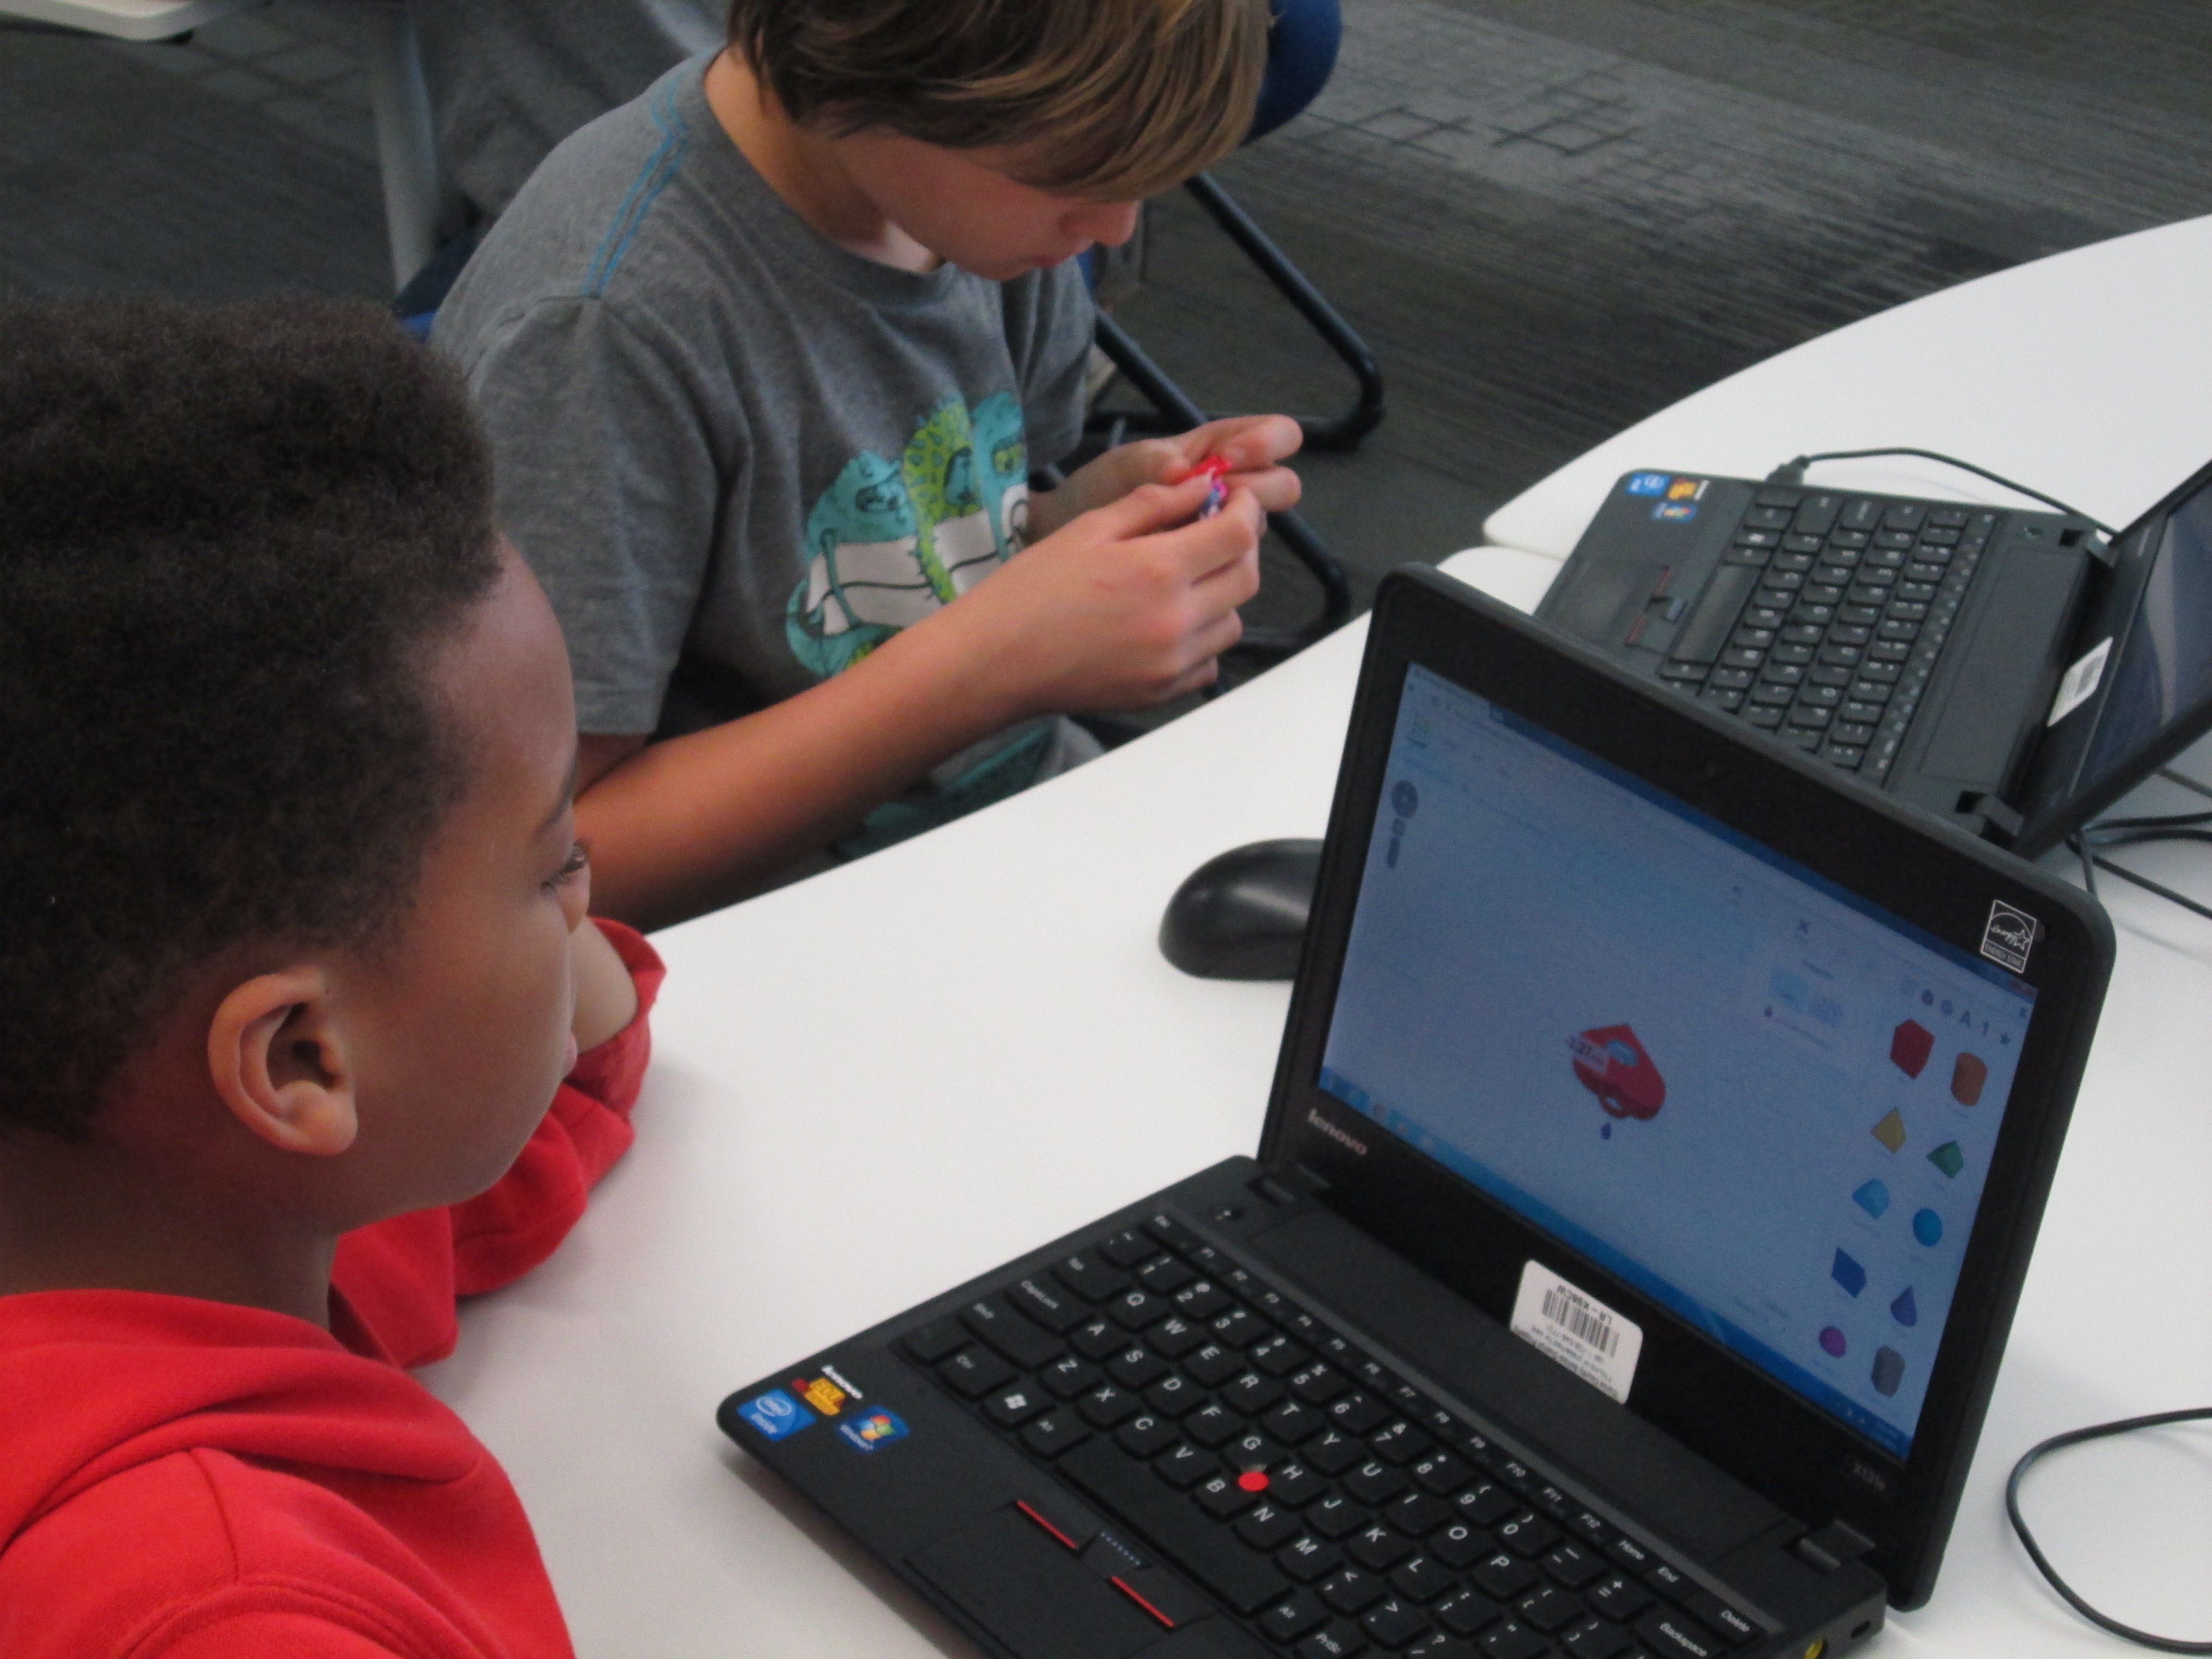
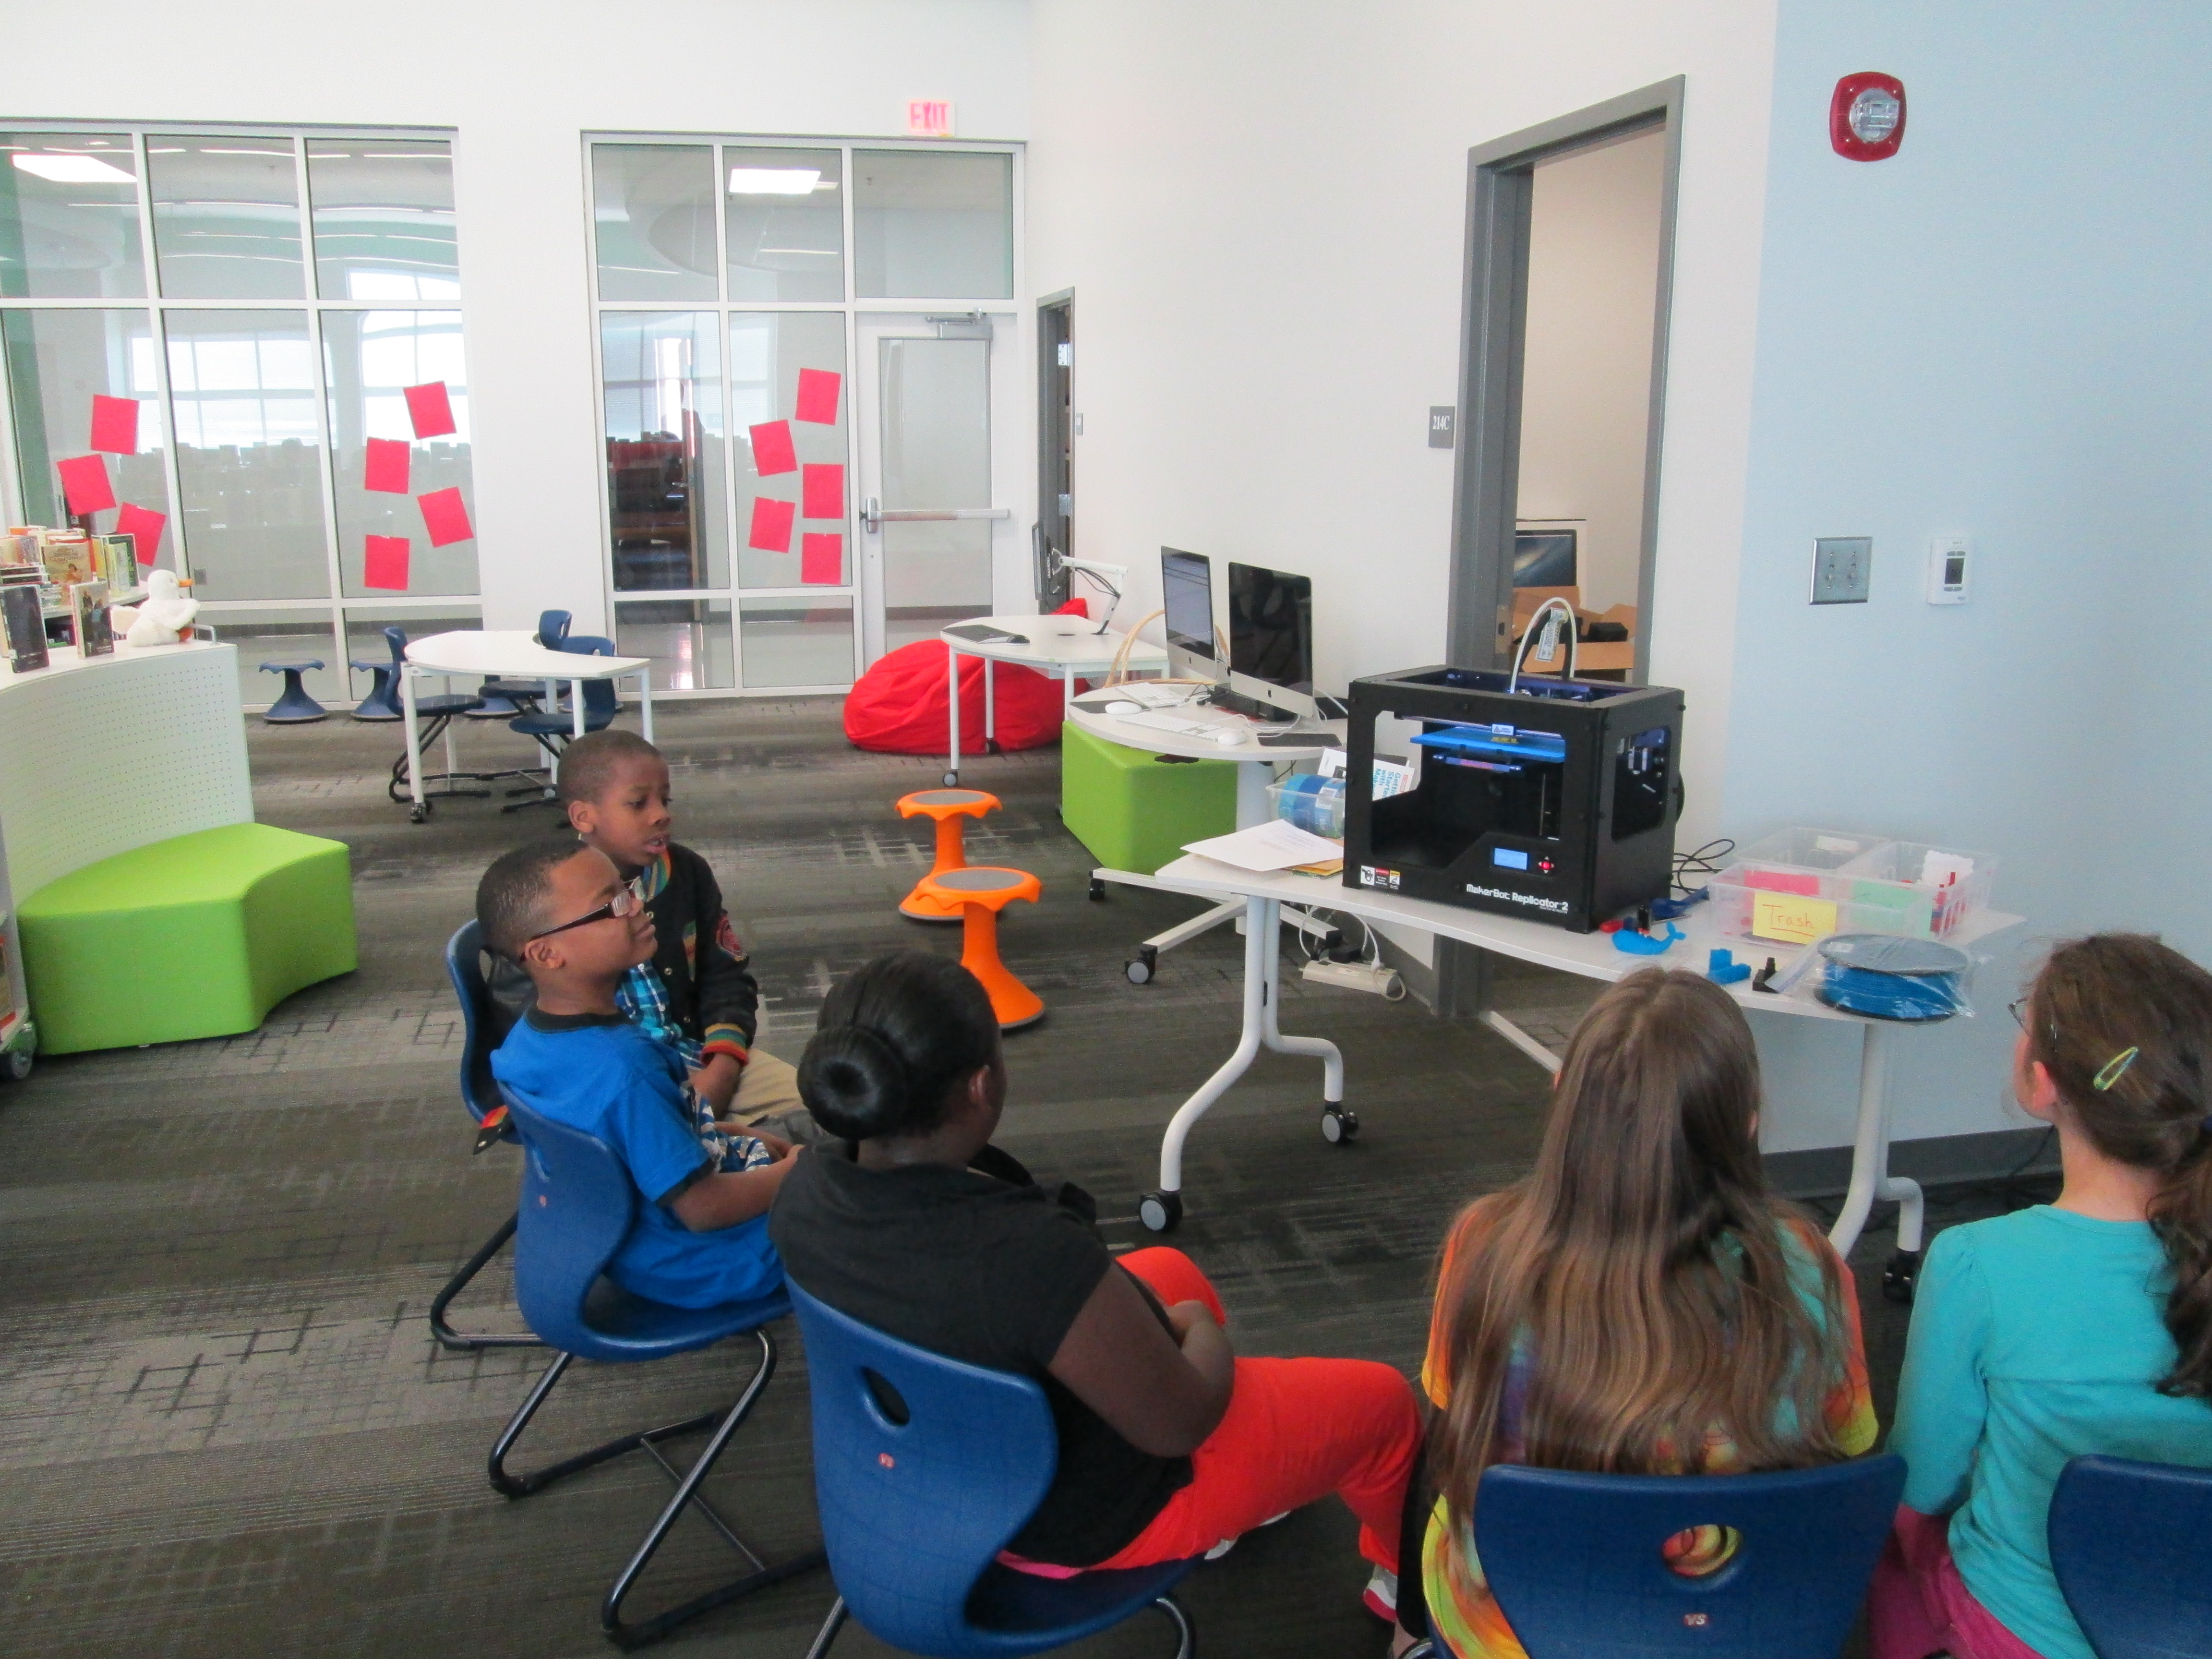
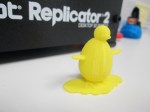
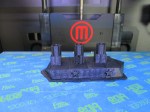
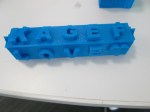
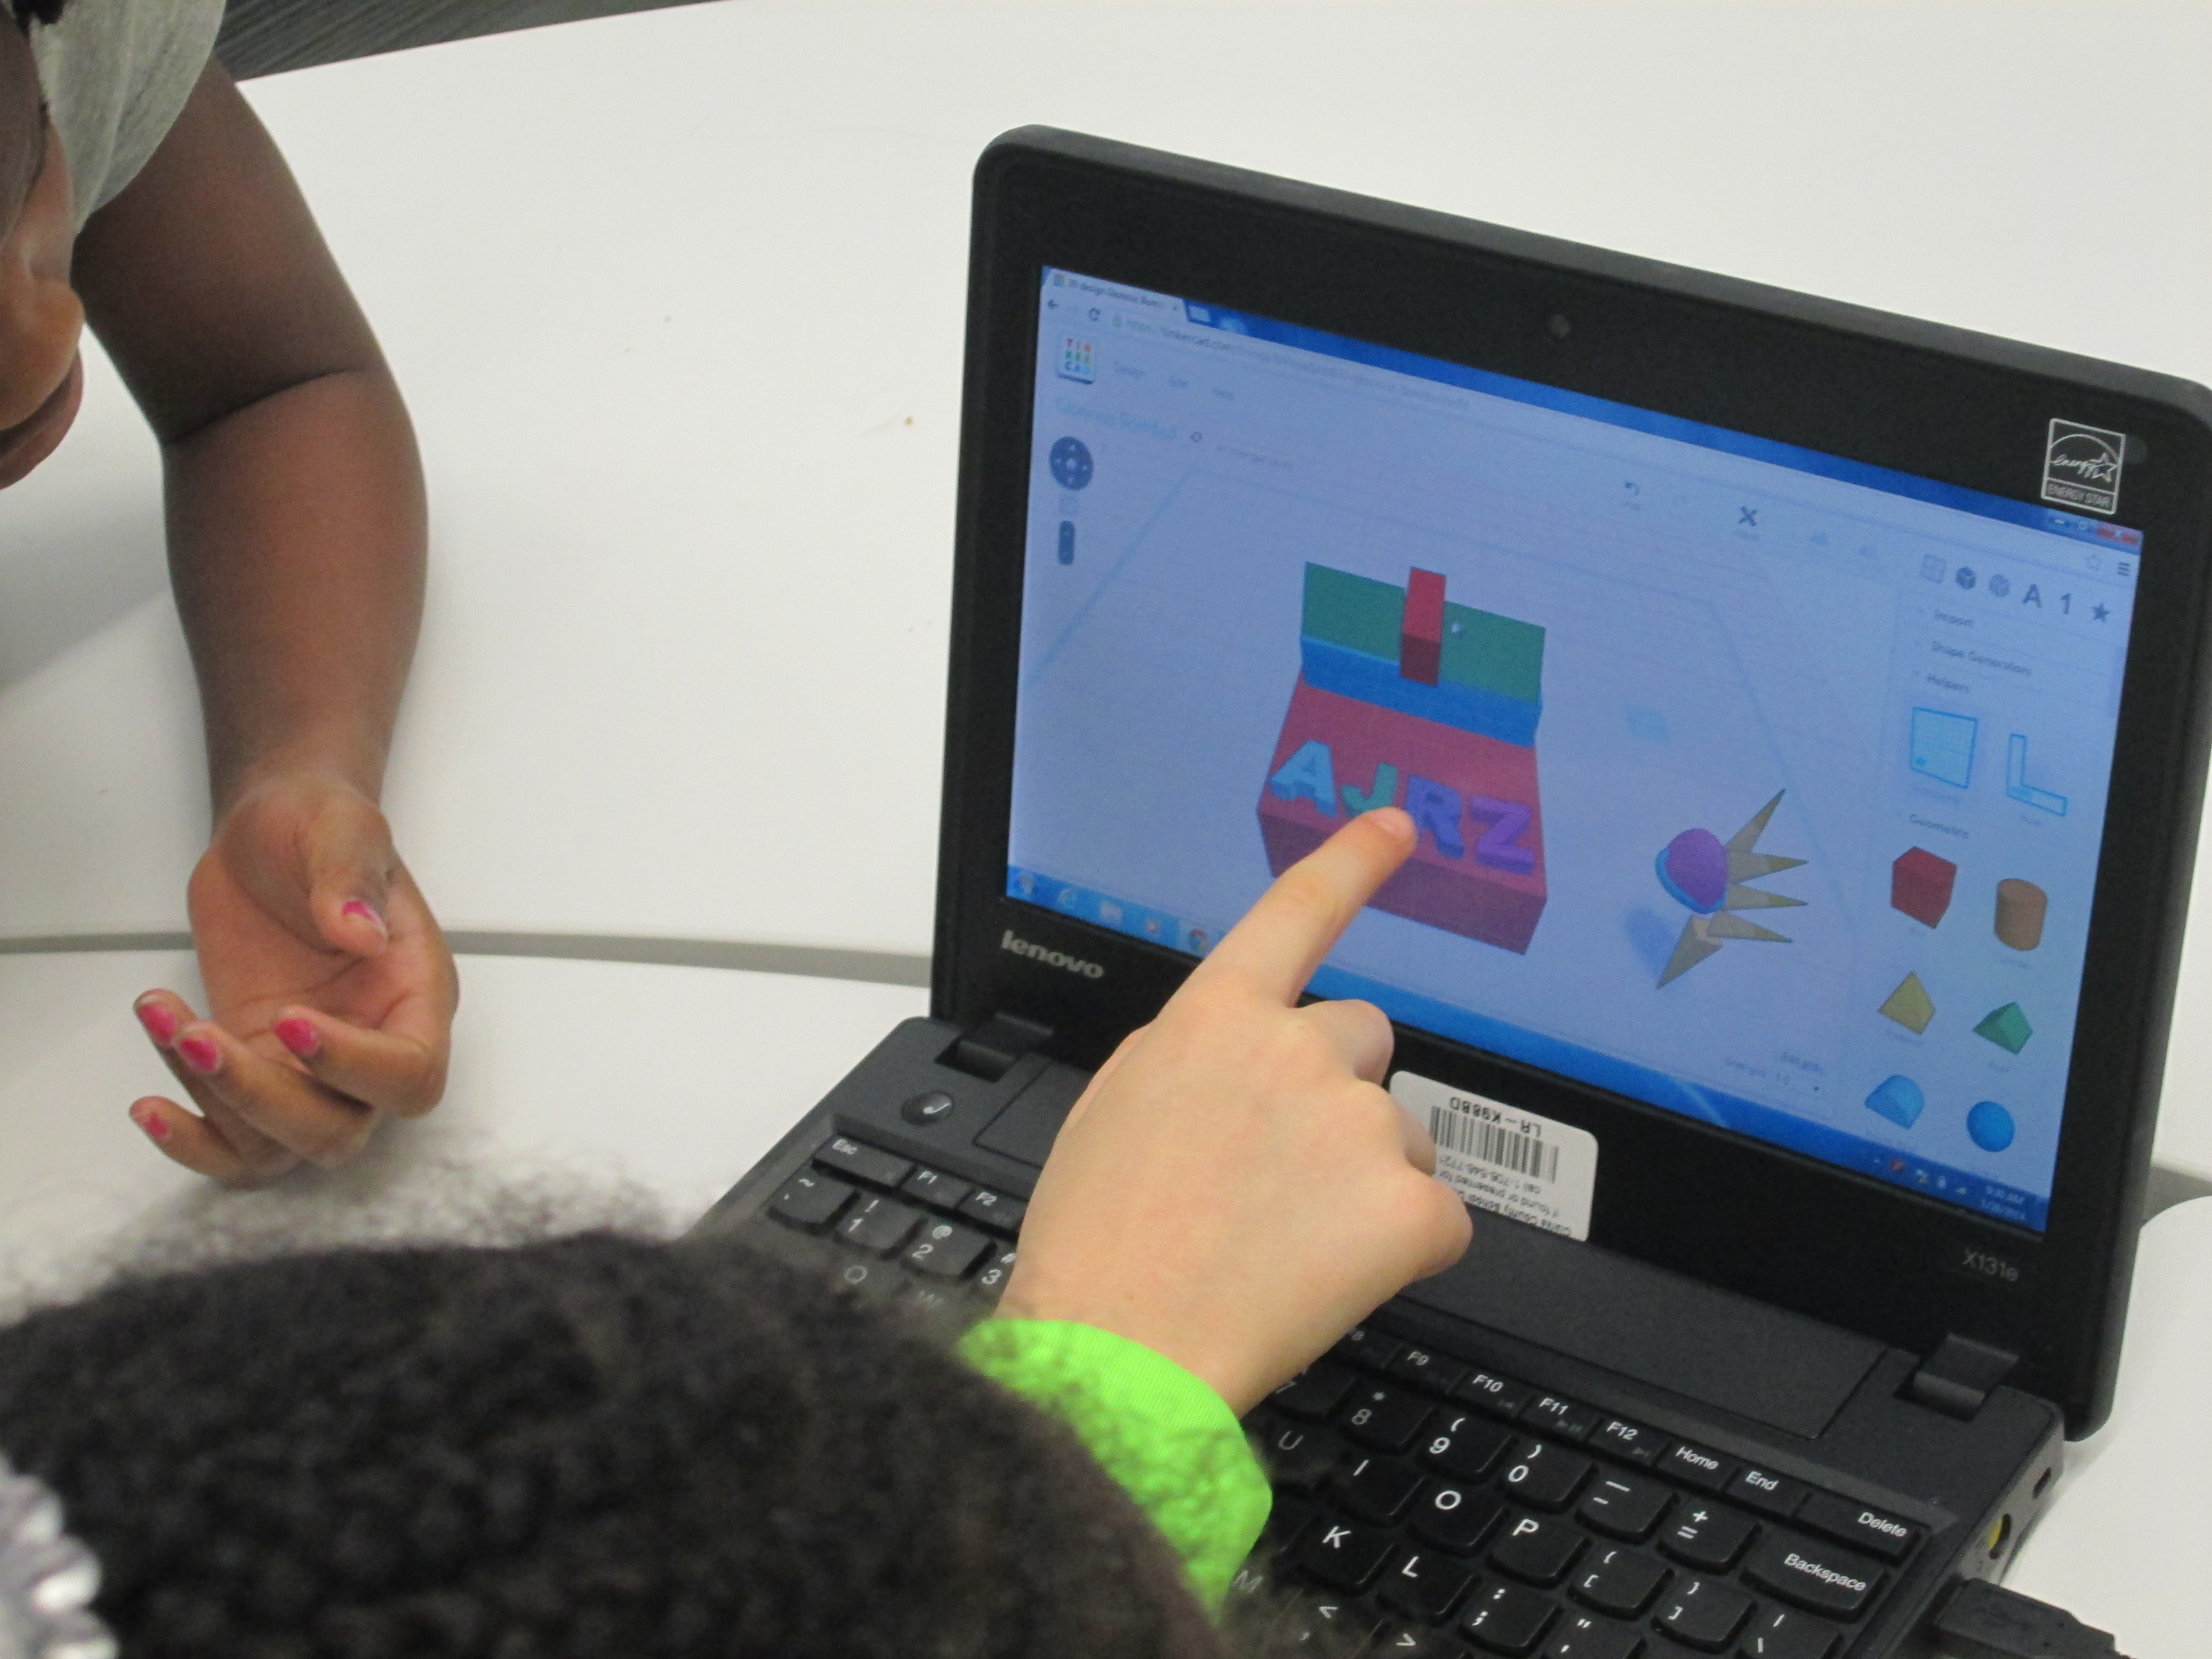
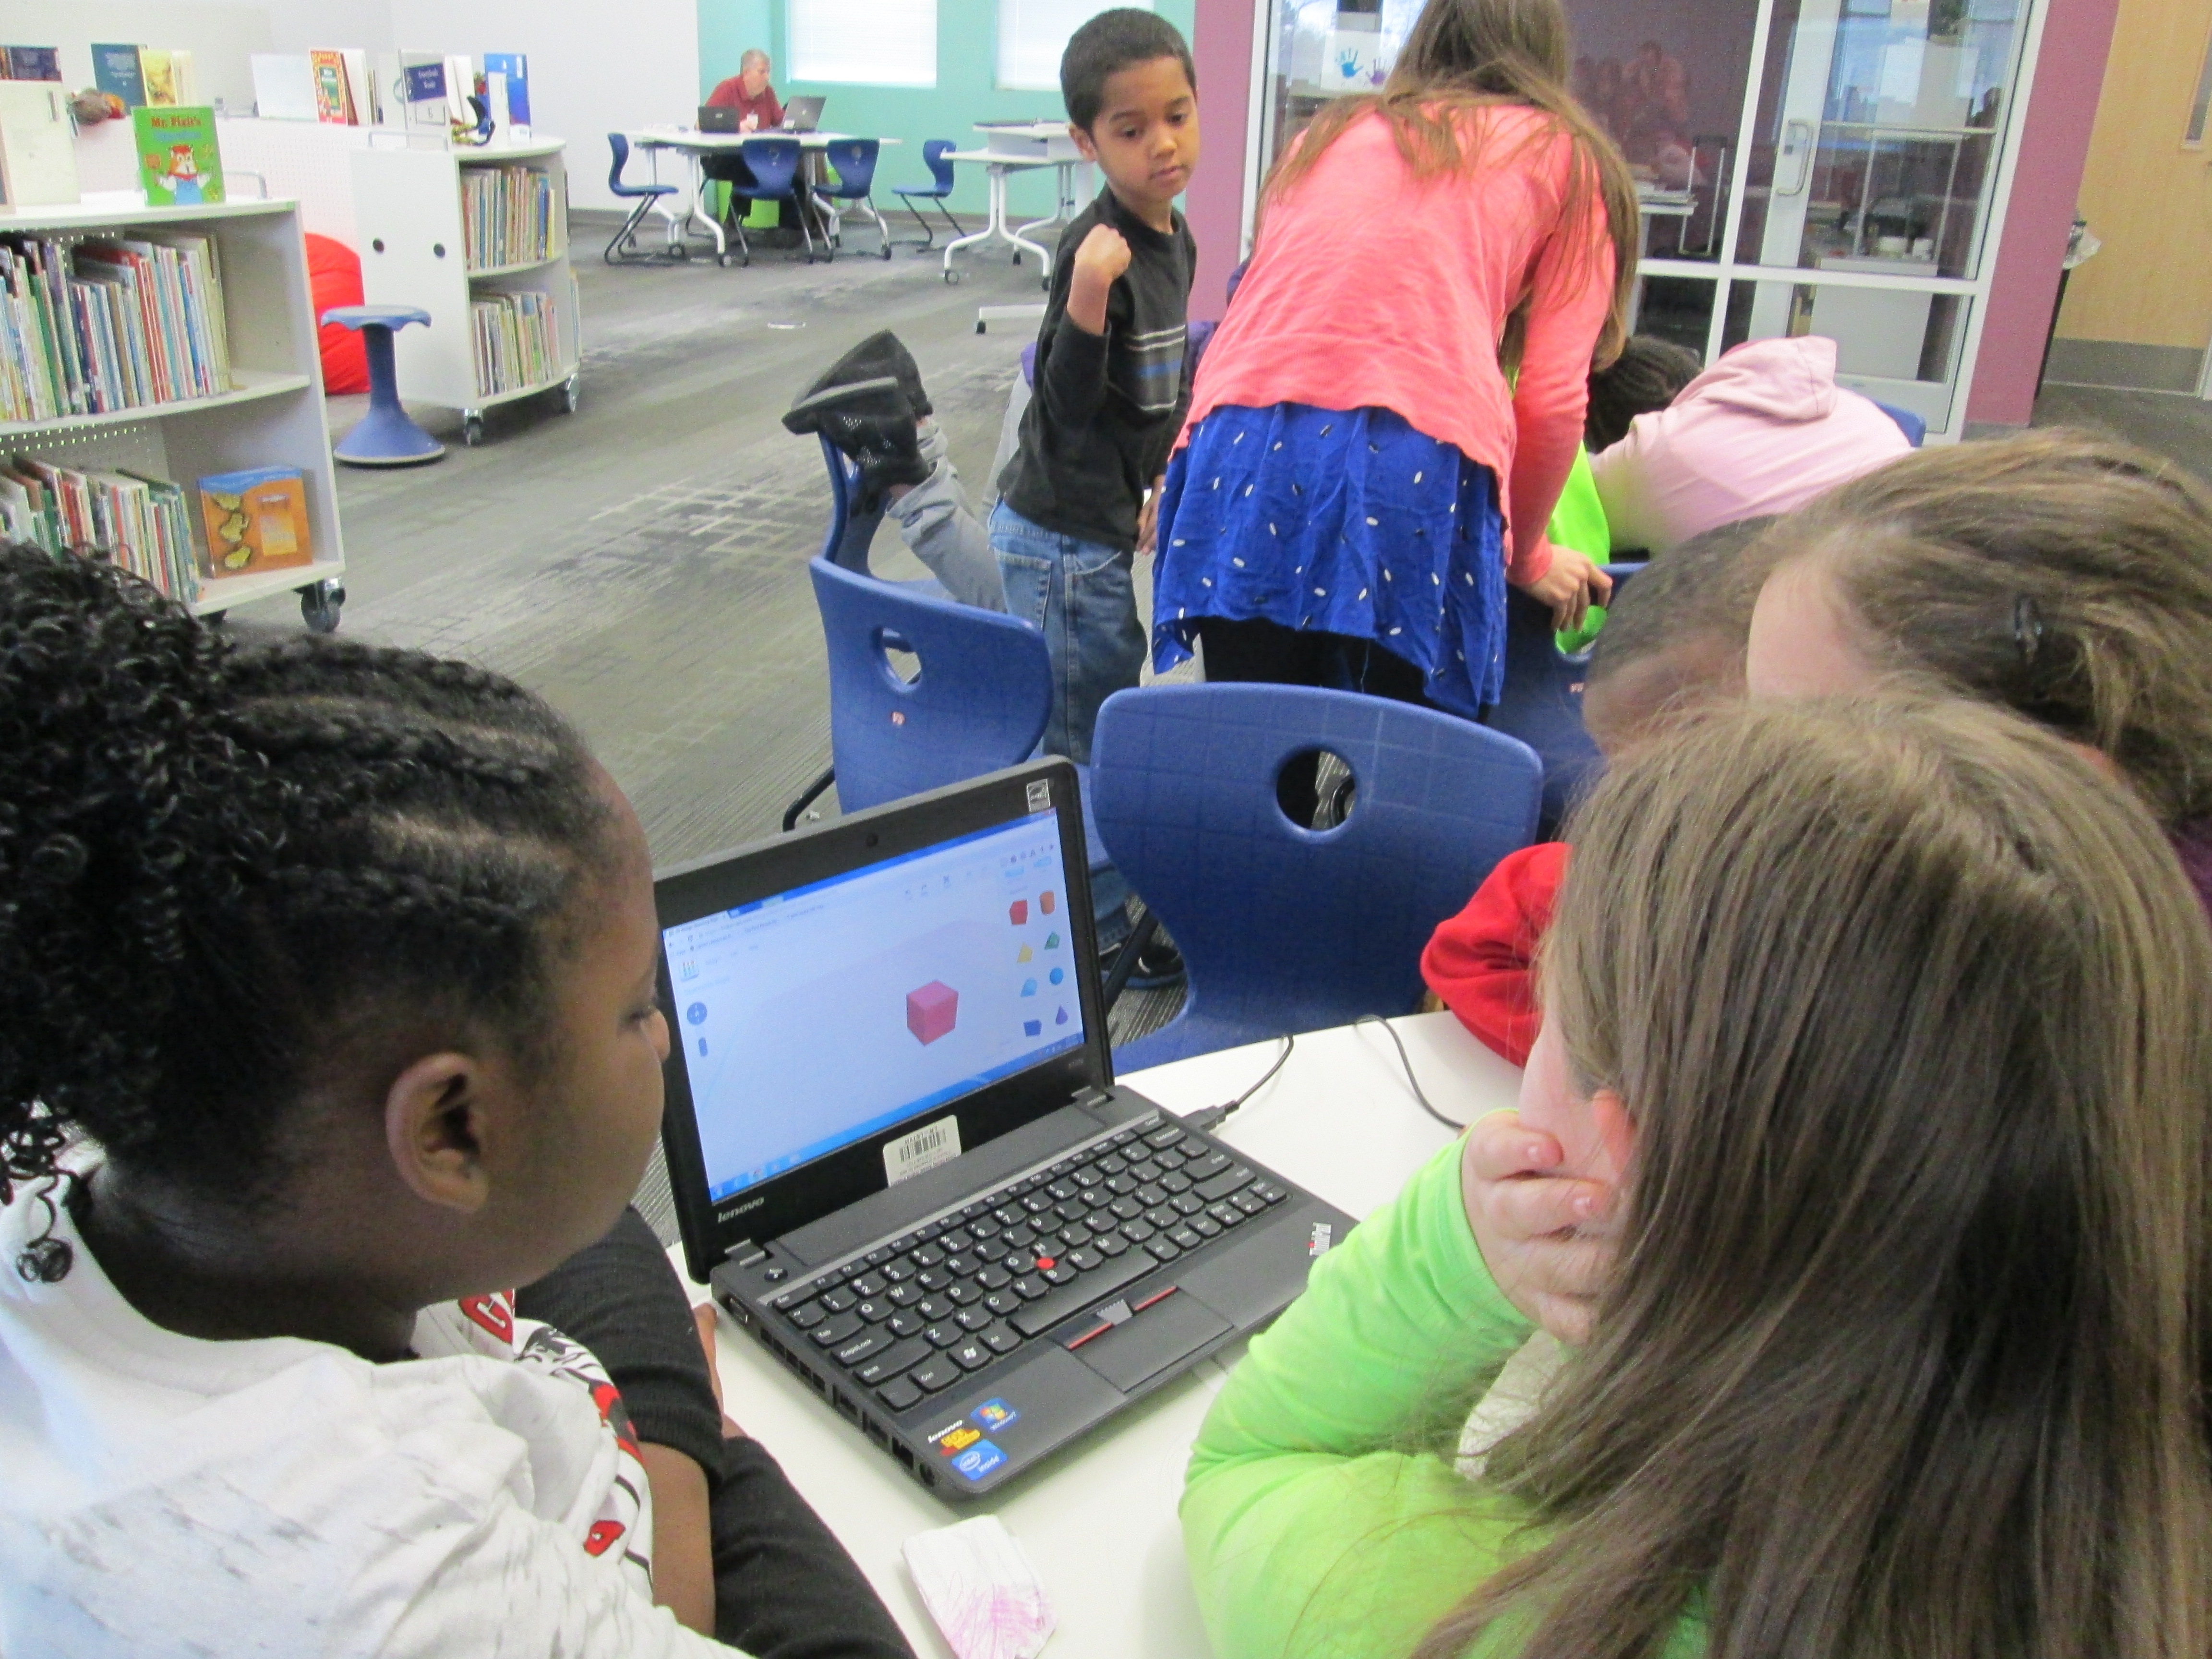
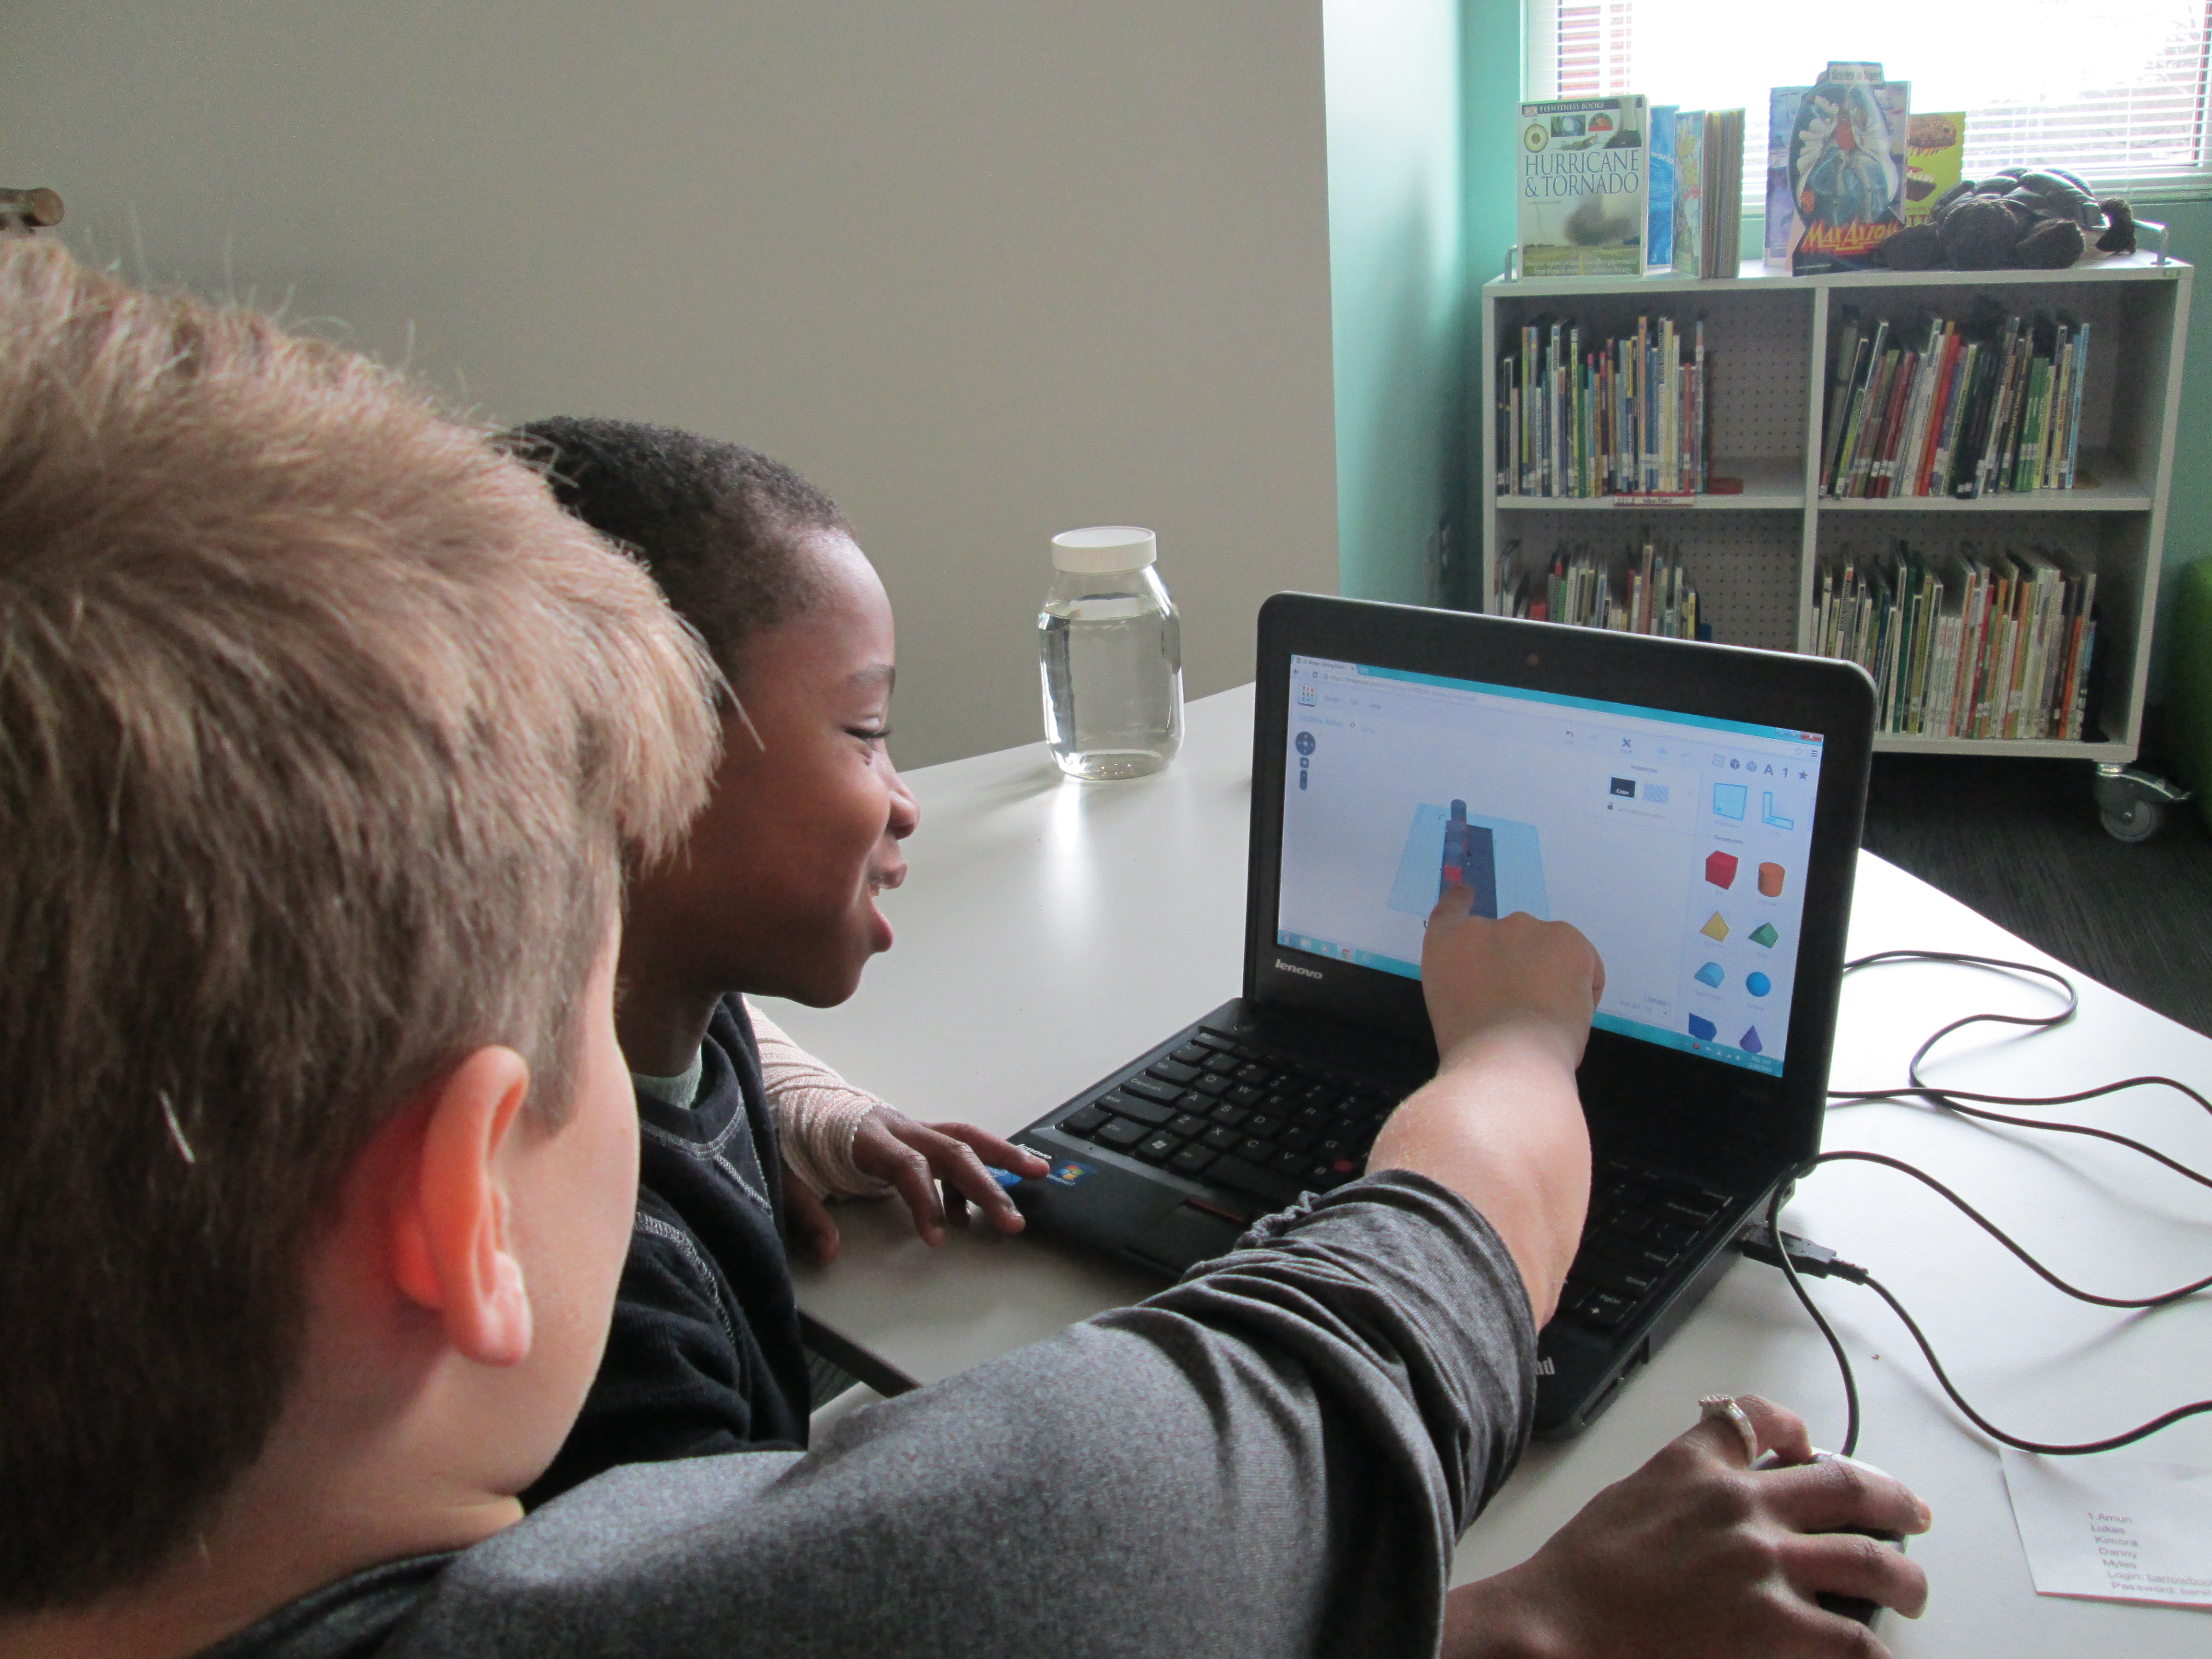
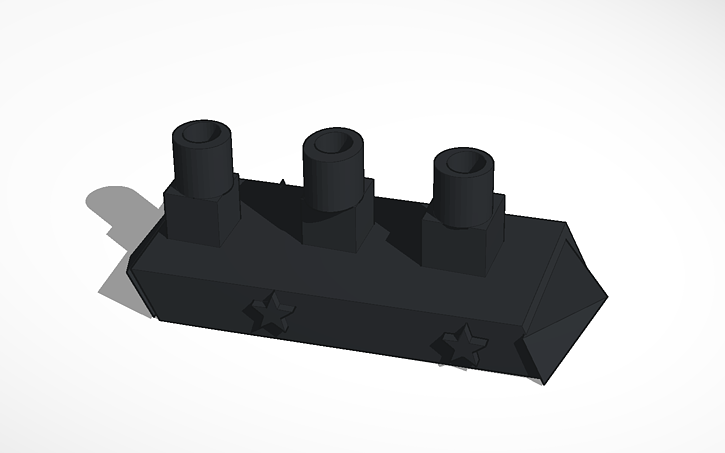
Another tradition we have thanks to a former Barrow student is having students design the Barrow Peace Prize. This year, students applied to design the peace prize by submitting sketches or ideas for what it might look like. Six students were chosen. We met together in the library and found ways to combine our ideas into one prize. The design was created in Tinkercad and printed on our Makerbot 3D printer. Each of the designers received a medal. Every student who researched the winner of the 2019 Barrow Peace Prize also received a medal. Finally, each classroom received a medal for students to take turns wearing. Even though we have one winner of the prize, this is a project that we are all contributors to.

Finally came the moment kids have been waiting to hear. The Flipgrid team announced the winner of the 2019 Barrow Peace Prize.

Jackie Robinson received the 2019 Barrow Peace Prize. Kids once again erupted with cheers and applause.

All of the researchers of Jackie Robinson came up to received their medals and take a picture. As soon as students left, I updated our Smore page.

Once again, I was reminded of how special this project is. There are so many ways for students to get engaged with the content whether their strength is art, writing, reading, speaking, designing, or something in between. I love that it gets our student voices out into the world in a positive way and shows our students how far their voices can travel.

Thank you to all of our students and teachers for their hard work on this project. Thank you to all who voted. Thank you Capstone for getting us kicked off each year in our research with PebbleGo. Thank you Flipgrid for amplifying our student voice with your product and celebrating our work each year. We look forward to next year.


Enriching Rocks with Blendspace, Tinkercad, Research, Thinglink, and Painting

Third grade studies rocks as a part of their science curriculum. Each year Ms. Hicks, 3rd grade spectrum teacher, finds so many ways to enrich the study with her students. She collaborates with me in the library on several pieces of the project.

Blendspace

Early in the project, students come to the library to learn about a tool called Blendspace. This tool has gone through many changes and names. It allows users to create a lesson made up of tiles. The tiles can include quizes, images with descriptions, links to websites, embedded Google docs, and more. The goal for the students is to use Blendspace throughout the study of rocks to capture their learning and present in a way that might teach someone new what they have learned.

I show the students how to login with Google and we explore the features together. Ms. Hicks shares a folder with students in Google drive that is filled with images for them to pull from. The images feature work the students have done in class during their study of rocks and the Mohs hardness scale.

We also think about types of quizes and students create pre-test, midpoint checks, and post tests for their blendspace tiles. Each time they learn something new in class or create something new in the library, they add a tile to their blendspace.

Tinkercad

In another series of library blocks, students return to the library to explore a 3D design tool called Tinkercad. They use their knowledge of the Mohs hardness scale to design a climbing wall prototype. Each color they select represents a different rock or mineral that would work well in their wall. As students finish their design, they create screenshots and upload those to Blendspace.

Thinglink

When students have added several tiles to their Blendspace, they return to the library and add their link to a Thinglink image so that we can access every Blendspace in one location. This makes it easy to share with families and with other viewers around the world.

Research & Painting

This year, students were very interested in their birthstones. One birthstone in particular caught their attention more than others: opal. We had no idea how many kinds of opal there are in the world. Students spent a week in the library exploring 2 websites: Gem Kids and Geology.com

Each student narrowed down to one type of opal to research. Students added notes and images to a Google doc so that they could tell someone else about the type of opal they chose. Once they gathered enough information, students selected a river rock and used paints and paint pens to design the rock to resemble the opal they studied.

We sealed these with Mod Podge to give them the shiny play of color effect that opal has. Students added their Google docs to Blendspace and will get to take their painted rocks home.

It’s always fun each year to see what new directions this project takes. There are always pieces that we keep the same, but time and interests always lead us in new directions too.  Take a moment to look at some of the student work in Blendspace and see what you might learn about rocks.


Using Makerspace to Extend Curriculum: A Geology Project

tinkercad rock walls (12)

Third grade studies rocks and minerals as a part of their science standards. In Ms. Hicks class, they have been extending their research of rocks and minerals to create their own Blendspace lessons to teach others facts about rocks and minerals. They are even including pre-tests and post-tests in their lessons. As a part of this Blendspace project, students started thinking about how they might design their own climbing wall for our school based on their research.

tinkercad rock walls (11)

Ms. Hicks asked me what tool we might use to design and prototype of a climbing wall, and I immediately thought of Tinkercad. We have used Tinkercad for other projects and have found it to be one of the better tools for 3d design at the elementary level. Students came to the library to learn a bit about how Tinkercad works.

tinkercad rock walls (10)

I gave them a very quick tutorial which basically showed them things like adding a work plane, dragging over geometric shapes, resizing shapes, and building up.

tinkercad rock walls (8)

I created two generic accounts that students share rather than creating an account for every student. Half of them logged in with one account and half with the other. Their goal was to tinker during the first lesson to see what they could figure out, but their tinkering was a bit more focused than usual. Ms. Hicks really wanted them to already start envisioning their climbing wall as they were tinkering. Some of them latched onto the tool and really got a jumpstart on designing, while others tried something and started over several times.

tinkercad rock walls (7)

One student thought we was being a bit silly by trying to design a chicken instead of a climbing wall, but we turned this into a learning opportunity. I thought about the climbing wall that is at our own Omni Club here in Athens. It is shaped like a giant bulldog, so I pulled it up on the screen to show that he could in fact design his rock all to look like a chicken if he really thought about how people would climb a giant chicken. Instead of shutting him down, his wheels were turning about what he might try, and he is in fact now designing a penguin rock wall.

Other students started thinking about which rocks and minerals would be the best choices for the climbing wall based on their strength and also their color. They referenced their research and the Mohs hardness scale to choose rocks and minerals that would hold up a climber. As they did this, they changed the colors and shapes of the climbing pieces on their walls to represent their different choices. Not all students were ready for this level of thinking, but when we found students who were thinking in this way, we encouraged them to share what they were doing in the hopes of giving other students ideas.


One student even let me record a snippet of his thinking about his own rock wall choices.

The students have worked on these designs for 3 work sessions. As they finish, they are taking screen shots of their designs and adding them to Blendspace with an explanation of their design. In the future, we plan to export their designs as .stl files so that we can actually 3d print their prototypes when they are ready to present.

tinkercad rock walls (1)

I loved this real world application of rocks and minerals because it showed students that there are actually careers where you might consider some of the facts that they are learning in science. There was so much higher order thinking built into this project, especially this design piece. I had some great conversation with students as they referenced their research to find the specific rocks and minerals they wanted to use. One conversation involved a student specifically wanting a rock that was yellow. He kept Googling different rocks he knew to see if they came in yellow. When he finally found one of the feldspar family that was yellow, he noticed that the website description referenced Bob’s Rock Shop. We had a great conversation about the importance of digging into the website to really see where the information was coming from, and he found that the information actually did come from a reliable source within that site.

tinkercad rock walls (6)

I hope that we can find ways to share the work that this class is doing in the hopes of inspiring students at all levels to apply what they are doing to really world experiences. It would be fascinating to actually see this climbing wall come to life and have o

Student Voice Extended Through 3D Printing

cooper 3d print (5)

At the very beginning of the year, a student raced into the library to tell me about his goal to design and 3D print his own Skylanders figures.  He knew what he wanted to do, but I worried about how his enthusiasm might be lost in the demands of the curriculum standards. His story led me to my goal this year of “empowering student voice”.

cooper 3d print (6)

I spent time showing him Tinkercad and he did design his own figure and 3D print it.

When you take time to honor an individual student voice like this, you sometimes wonder if the time with one student in a school of 600 is worth it, but it is!  Recently, this same student decided that he wanted 3D printing to be part of a book project he was working on. His class just finished reading The Westing Game and each group of students is working on a book float to highlight things that they learned about the book.  His group immediately emailed me to see if they could use the 3D printer to design a chess piece for the float.

They worked independently of me and the knowledge of using Tinkercad was passed on to all 4 members of the group.  They even branched off and made their own designs and chose their favorite from the group designs.  They were bubbling with excitement to get their design printed.  Since it had lots of hanging edges, it required supports.  Supports take a long time to remove, but the group took turns coming in and working on removing the supports with my help.

Now this one student voice has empowered 3 more, and my hope is that those 4 voices will continue to empower even more.

Using the 3D Printer to Empower Student Voice: A New Piece of Our Barrow Peace Prize Flipgrid Project

IMG_4943

Any time I implement a collaborative project, there are way more ideas swirling around in my head than we can actually pull off.  This year, our Flipgrid Black History Project has gone through so many changes.  Several of these changes were ideas that we had last year.  One of those ideas was the concept of moving this project to something more authentic than designing the next postage stamp.  We wanted something that was more within our control that students could actually have a voice in deciding.  We came up with the Barrow Peace Prize.  I’ve written a few posts about this project already this year.

One day an idea just popped into my head that we really need an actual “Barrow Peace Prize” to present when we announce which person from Black History will receive this honor this year.  Since we have a makerspace in our library with a 3D printer, I knew it was certainly possible for us to make a professional award.  I considered how this might happen.  Should I ask an older student who had experience with 3D printing but no real connection to the project?  Was there a 2nd grader who might work with an older student to design our award?

Then, a student voice came through during one our enrichment cluster sessions.  Taylor is a 2nd grader who has tinkered with all sorts of things in our makerspace.  At our last enrichment cluster session, Taylor brought in a pair of spy glasses.  They are glasses that have mirrors build in so that you can see what is behind you. He wanted to learn how he could design something like this by using Tinkercad and our 3D printer.  He had never used Tinkercad before, but he jumped right in and started tinkering.  He had a clear plan in his mind of what he wanted to create and in one session he had an initial design for his glasses.

Ideas and student voice collided and I knew that Taylor was the designer for our Barrow Peace Prize.  By the time this all happened it was just days before our Skype with Flipgrid and the announcement of our award, so I emailed his teacher just to see if it was possible to pull him into the library at some point to work with me on a design.  One of the things I love so much about our school is how much our teachers know each individual student and how much they want them to explore their passions.  His teacher wanted to do everything possible to make this happen.  We scheduled a time…..and he was absent.   We scheduled another time…..and he was absent.  The third time was the charm apparently because on the day before our Skype with Flipgrid, he was here.

I brought him into the library and told him about the idea.  He was beyond excited to get to work.  I showed him one of the designs that I had tinkered with.

One of my designs as I was tinkering with the idea of a peace prize

Being the kind student that he is, he said, “Well….I do like how you included the word peace, but I was thinking it should be more like a medal”.

I handed over the mouse and he got right to work.  I really sat back and let Taylor drive the work, but if I saw a tip that would help him I jumped in and shared.  For example, he didn’t know about grouping objects in Tinkercad so that they always stay together as you move them.

Within 30 minutes, he had his design ready to go and we put it into Makerware to prepare it for 3D printing.


Taylor’s Tinkercad Design

Taylor picked out his filament to look like an actual medal, and he pressed the glowing M to get it started.  While he was gone, this happened.

We are very used to failure in our makerspace.  I’m not really sure what happened, but I think the filament got tangled on the spool and caused some stress on the printer.  We decided to make some very minor tweaks and also to print it smaller than we were trying to print.

Taylor came in when the other print was nearing its finish and we talked about the first print failure.  He picked up the failure and started showing me all of the things that went right in the print.  It was an amazing examination of work.  Seeing a student not reach a point of frustration or meltdown, but instead, look for what was right and what needed to change was simply miraculous.

We did keep a close eye on this 2nd print, and before we knew it, we had a medal.

Even our friends at Flipgrid think this student voice is awesome.

Like many people, we are not having the best luck with weather right now, so we hope we are able to connect with Flipgrid very soon and announce the winner of the Barrow Peace Prize.  For now, we will celebrate that one more student’s voice was empowered through the makerspace in our library.

Banding Together with Rainbow Loom, Makerbot, and Libraries

Back at the beginning of the new year, my friend Shannon Miller in Van Meter, IA told me she was planning to do a research project that involved Rainbow Loom bracelets.  When she started implementing the project in her library, it organically grew into something much larger.  Through connections with In This Together Media , the project developed into “Banding Together”.  You can read the full details of the project here:  https://www.smore.com/n65m

Here are the basics:

  • Students at Van Meter, Barrow, and multiple schools around the country are making Rainbow Loom bracelets.
  • The bracelets will be sent to a school in Mangalore, India
  • Along with the bracelets, we will send poetry written by students, 3D printed charms designed by students, and a disposable camera to take pictures to send back

I announced the project this week on our morning BTV.  I placed a collection box for Rainbow Loom bracelets on our circulation island, and by the end of the day, a few bracelets had already been donated.  Students asked me about the project all day.  By the next day, several kids were bringing bracelets in.  I was so surprised by the generosity and enthusiasm from the students to send their bracelets across the miles.

First Day

Second Day


Next, we started designing charms for 3D printing.  I had already experimented some on my own, and I sent Shannon Miller a file that I made so that her students could print it and learn from the file too.  Her students took my file and modified it or examined it in order to design their own.

Shannon’s students in Iowa being inspired by the file I sent them

I have a group of 5th graders who have been exploring different technology and how they might support other classes trying to use that technology.  They have already been exploring Tinkercad to design objects for 3D printing, so I knew they would catch on fast to the idea of making charms.

charm design (2) charm design (3) charm design (4)

Since the Banding Together project has a lot to do with spreading the joy in our hearts, we have focused our charm design on that theme.  We decided that each charm should have some kind of heart.  Dmitri designed a heart with a heart hole in the center.  Walker designed a charm with the word “love”.  Instead of an “o” he used a heart.  I designed a triple heart to symbolize India and the US uniting together with our shared joy.  We took these first 3 designs and made sure that they printed correctly.  Once we saw how they worked, we started mass production.

charm design (5) charm design (7)

As charms were ready, parent volunteers helped put them on bracelets.  Dmitri and Walker also became quality control and made sure that all of the Rainbow Loom bracelets we were sending had joy-filled quality.  They continued attaching charms.

quality

We are waiting on a few more designs to be completed and we will ship our first batch of bracelets and charms.

Next week, we are adding a new layer onto the project with poetry, so look for an update soon about this exciting development that our 2nd graders will be involved in.

I love how this is a project that students in all grades can be a part of whether they made bracelets, wrote poetry, designed charms, or helped with packaging and quality.  We truly are banding together in more ways than one.

charm design (1)


Kinetic Art Sculptures Using Our Makerbot Replicator 2

kinetic sculpturesOur art teacher, art student teacher, and I have been having a blast with 3rd graders designing kinetic sculptures.  About 2 weeks ago, students came to the library during art to learn about Tinkercad and how artists use technology to create.  Before this lesson, they watched a Tinkercad tutorial.  In small groups, they designed an object for 3D printing.  Whatever they designed would become one piece of a larger kinetic sculpture in art.  You can read more about that experience here.  

kinetic sculptures (15)

Once students finished their design, I went into each account and tried to double check that the designs were all pushed together into one piece art.  Then, I downloaded the .stl file into Makerware.  In Makerware, I resized the object to a smaller size to speed up the printing process.  I also added a raft (removeable base) and supports to each print.  I’ve found that in Tinkercad these 2 steps are needed because what you see on the computer screen might actually be misleading.  The raft and supports help the 3D print be more stable.  All files were loaded onto the SD card prior to students arriving.

kinetic sculptures (9)

Ms. Foretich, art teacher, created a printing schedule with about 60-90 minutes between prints.  During each time frame, students came to the library and chose their filament color.  Then, I shared some information about the 3D printer since it was the 1st 3D print for most students.  Finally, we pulled up the file on the SD card and a student pressed the M.  Students sat in chairs or huddled around the printer to watch.  After watching the print for a few minutes, students went back to their regular day while the print finished.  I kept an eye on each print during and between my lessons.

kinetic sculptures (13)

Each printing experience was different and you really never know what is going to happen when you press that red M.  Many times the print is a big success, but sometimes it’s not.  We’ve had some failures, which are very important.  We save every failed print we have and put it in a box.  It reminds us that we aren’t perfect, but it also serves as an instructional tool to talk to students about what didn’t work.  We learn from our failures and a box full of failure speaks volumes to all of the students who are starting their 3D printing process.

fail

When a print fails, we go back into the design and look at what needs to happen.  Sometimes it’s as simple as pushing some pieces together more than they were.  However, sometimes it’s a big flaw that cause students to just start over.  It certainly slows the process down, but it is important for them to revisit their work, revise, and try again.

kinetic sculptures (7)

It’s always fun to see which students are motivated by the concept of 3D printing.  Sometimes the students make surprising choices like giving up their recess time to spend that time watching the 3D printer create.  Hearing their “wows” and “cools” is inspiring.

jaymar

Students are continuing to print their pieces this week and next.  In the meantime, they are continuing to work on their kinetic sculptures in art knowing that their 3D printed object will also be a part of their design.


Connecting Libraries: Using Tinkercad with Students in Van Meter, IA

Hanging out in Iowa from my kitchen!

Hanging out in Iowa from my kitchen!

I had so much fun today spending some time in Van Meter, IA from my kitchen.  Shannon Miller and her students just received their Makerbot 3D Printer from Donors Choose.  Her students are starting an Olympic project where they will be designing new symbols for the Olympics.  Students will eventually use Tinkercad for their designs.  Since this is a new tool for her students, Shannon thought it would be a good idea for us to connect and share what we’ve learned.  I had a group of 5th graders eager to share their expertise, but the GA ice and snow caused us to be out of school today.  Rather than keep her students waiting, I went ahead and shared my own learning about Tinkercad.  We plan to reconnect when we are back in school so that students can share.  I’m sure that her students will have just as much to share with mine by the time we reconnect next week.

Here’s our Google Hangout from today:

After the Hangout, I realized that I forgot to tell them an important step, so I made a quick screencast to fill in the hole I missed.  I also share with them the steps that wouldn’t screen share through hangouts.

It was wonderful to be a part of another library.  We all have expertise to share, so why not share beyond our walls.  Happy making, friends!

3rd Grade Kinetic Sculptures with Tinkercad, Makerbot, Collaboration, and Imagination

Tinker Ramsey (12)As soon as we received our new Makerbot Replicator, Rita Foretich, our art teacher, began brainstorming ideas with me about how this tool could support the standards that she teaches our students in art.  Rita is a great collaborator.  She weaves in standards from students’ classroom curriculum into her art standards.  Often, these projects involve the media center as well.

Currently, Rita and her student teacher are exploring kinetic sculptures with students.  In art, they have spent time tinkering with a variety of materials that they might use to make a larger, movable sculpture.

tinkering 2

Tinkering in art

tinkering

A piece of these sculptures that students will create will be designed using Tinkercad and printed on our Makerbot Replicator 3D printer.  We scheduled a session in the library to work on the Tinkercad design.  Working in the media center allowed us to have plenty of room to spread out as well as maximize adult support.  During each lesson, there were 3-4 adults (media specialist, art teacher, student teacher, and tech integration) to support students as they had questions.  Of course, we encourage students to support one another, but it is nice to have adults supporting students as well with problem solving and collaborating.  Also, to maximize our time in the media center, students did some flipped learning by watching this Tinkercad tutorial in advance at the closing of their last time in art.

Here’s what our time in the media center looked like:

1.  Students met on the carpet for a quick reminder of our plan for the day.  Mrs. Foretich gave them the standards we would work on:  Creating sculpture using a variety of forms and working in teams.  She also showed them how artists use technology to create their art as well as some images from the 3Dprintshow site.

Tinker Ramsey (1)

A quick intro to how artists use technology to create

2.  Students were organized into 5 collaborative groups.  Each group had a Lenovo Thinkpad computer with a mouse.  Tinkercad was already pulled up on the computer and each group had a username and password to use.

Tinker Ramsey (9)3.  Students brainstormed their concept for a piece to add to their kinetic sculpture and took turns controlling the mouse.  Adults guided students through problem solving and working together.  As students had ideas for their designs, adults helped them think through their ideas and take risks to try to get their idea onto the drawing board.

Tinker Ramsey (7)

Students quickly learned how to work together to problem solve

4.  Students named their file before leaving.

5.  I took student files and saved them as an STL file, imported those files into Makerware, and saved the file for 3D printing on the Makerbot.

Tinker Ramsey (13)

We will repeat this process with all three 3rd grade classes.  Students will continue to work on the rest of their kinetic sculptures in art.  Mrs. Fortetich will create a schedule with me in the media center for students to come and 3D print their designs.  We want each student to have the experience of pressing the red M on the 3D printer and watching their design magically appear on the build platform.  Although all students probably won’t be able to stay from start to finish during the printing process, they will at least activate the print and see the beginnings.

Tinker Ramsey (14)

As always, I was amazed by what students figured out in such a short time.  One group really wanted to put holes in the top of the smoke stacks on a boat they were making.  They tried several different things and never once got frustrated.  I was fortunate enough to be with them at that moment of exploration and encouraged them to keep trying.  After several attempts, they figured out how to put one cylinder inside another and make the inside cylinder a hole.  It looks great in Tinkercad, so we’ll see how it translates to 3D printing.  These same types of conversations were happening in every group.

Deep in thought

Deep in thought

amuns_titanic

Ship with holes in the smoke stack

I also loved that we did not tell students what they had to create.  The only guideline was that students work together to create something for their larger kinetic sculpture.  Every group created something totally different from a block filled with words to a barn to a ship.

Tinker Ramsey (8)

As usual, we are always crunched for time in school.  This was a great first pass at using Tinkercad with an entire grade level.  I’m hopeful that in the future we will figure out ways to increase the amount of time that students get to spend on their designs.