A Rock Exploration: Researchers, Photographers, and Poets

Our 3rd graders study rocks every year as a part of their science curriculum. This year, we brainstormed some new ideas to support this study and scheduled two 45-minute sessions for each 3rd grade class.

Session one focused on facts and observations. To begin, I asked student to put themselves in the shoes of a researcher and consider what someone researching rocks might do. They named things such as reading books, talking to experts, doing experiments with rocks, going outside and looking for rocks, and visiting websites and videos. For this session, students rotated between 3 stations. Each station lasted for approximately 10 minutes.  I didn’t want them to be slowed down by writing down facts, so this day was just an exploration to mentally gather as many facts as they could. Some students still chose to write things down but most took my advice of making mental notes.

Center 1: Books

I gathered multiple books from our nature section of library. Prior to this center, I reminded students how they might dive in to multiple books without reading entire books. We reviewed the table of contents, index, and captions. As students explored this station, the teachers and I noticed students talking about photographs that caught their attention so we jumped in to the conversation by directing students to text or captions that supported the conversation. So often, I see students chat about photographs and forget to read the text, so we tried to gently intervene to make sure the conversation was based in fact rather than speculation.  One of the biggest hits at this stations was learning about birthstones and making a personal connection to gemstones.

Center 2: Rocks

When I was growing up, my grandmother and grandfather took me to Cherokee, North Carolina to visit ruby and gem mines. My grandmother would save her money all year and then buy multiple bags of dirt containing gems and we would spend hours sifting through the dirt in a water trough. I saved the rocks from all of those trips and now they have become a part of my educator collection.

At this station, students used this mix of rocks to make observations and sort rocks in different ways. I included to large circles that students could use as a Venn diagram and compare and contrast rocks based on texture, size, shine, and more. All students worked together to sort as many rocks as time allowed.

Center 3: Websites and Videos

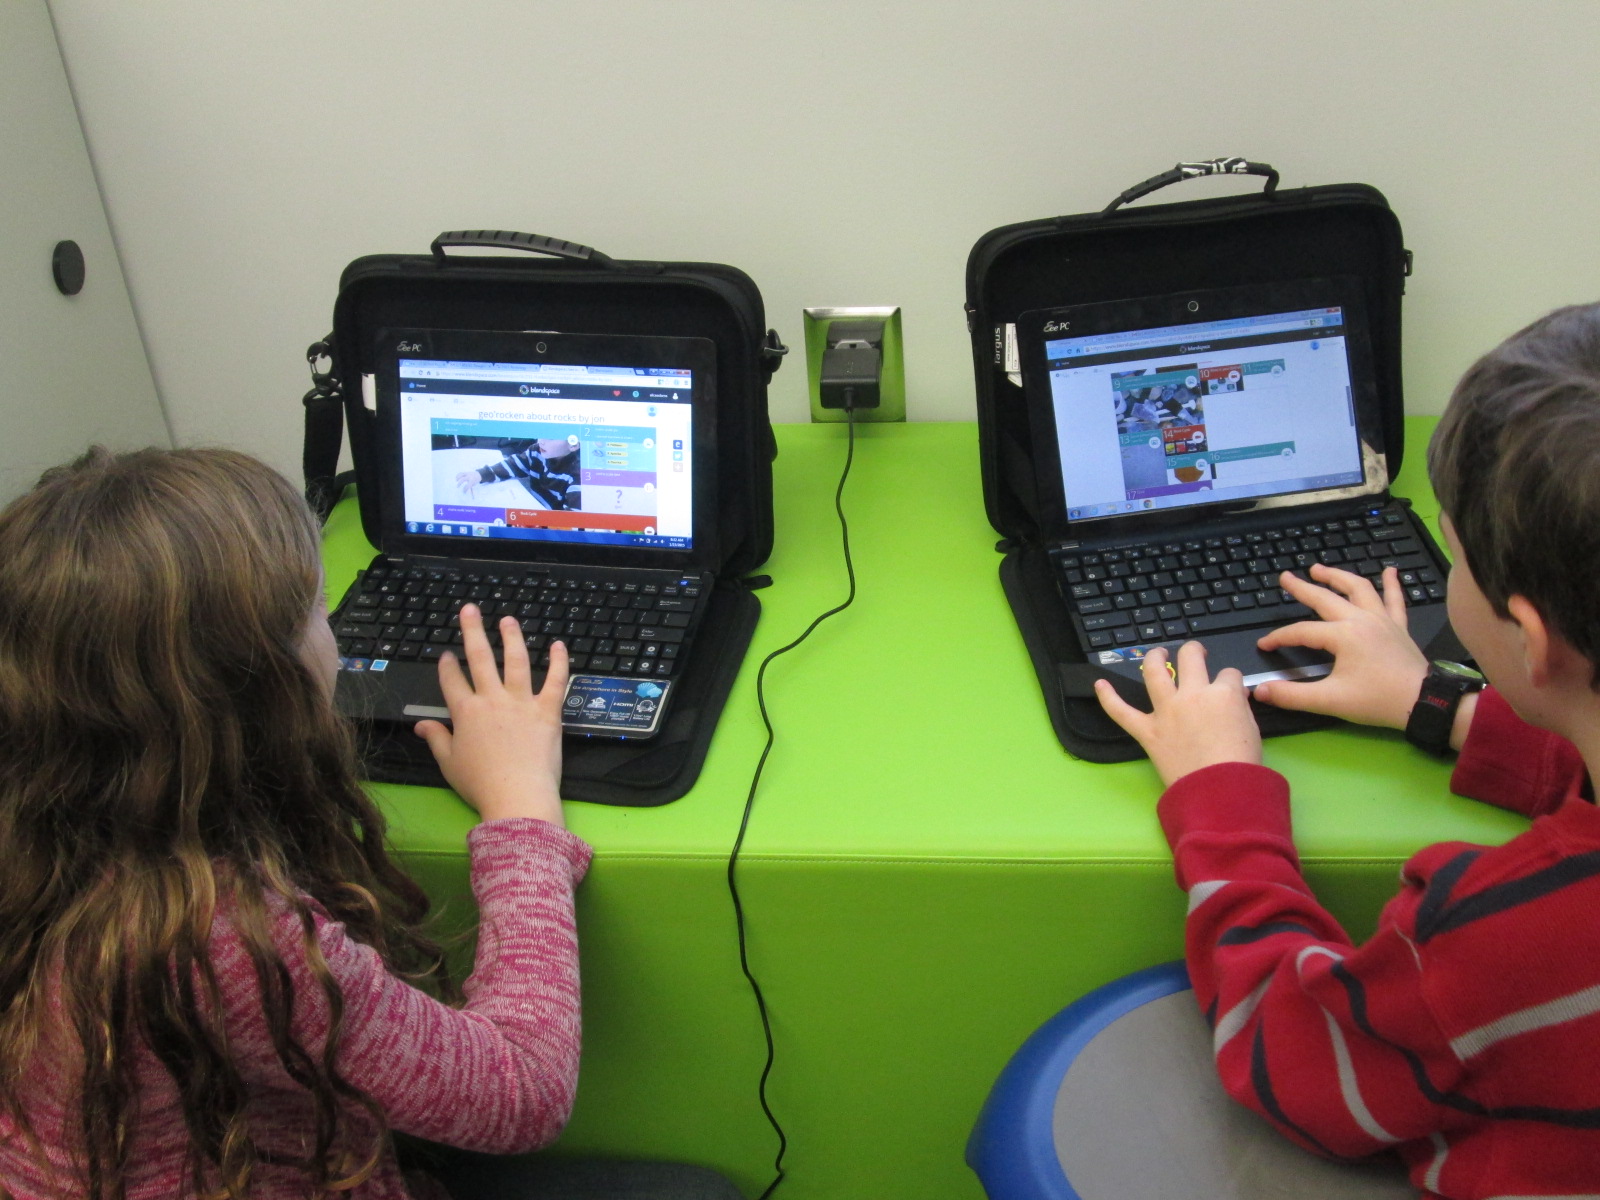
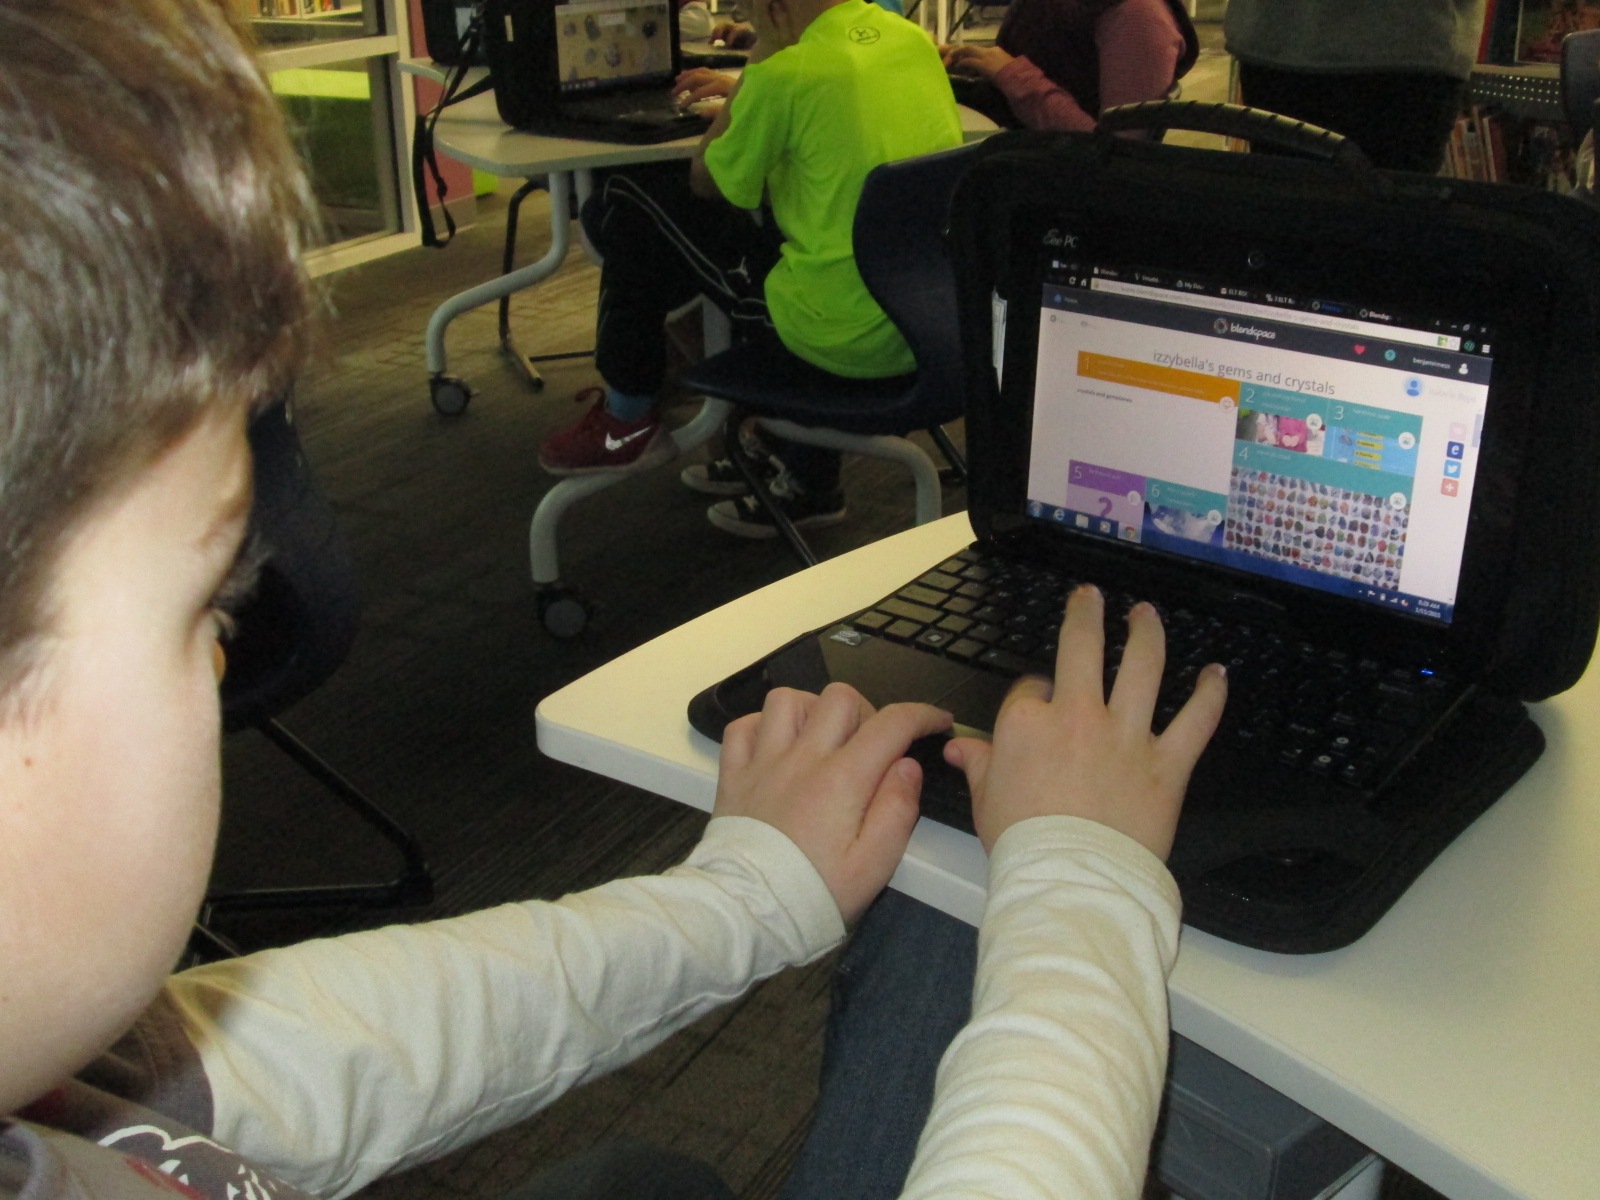
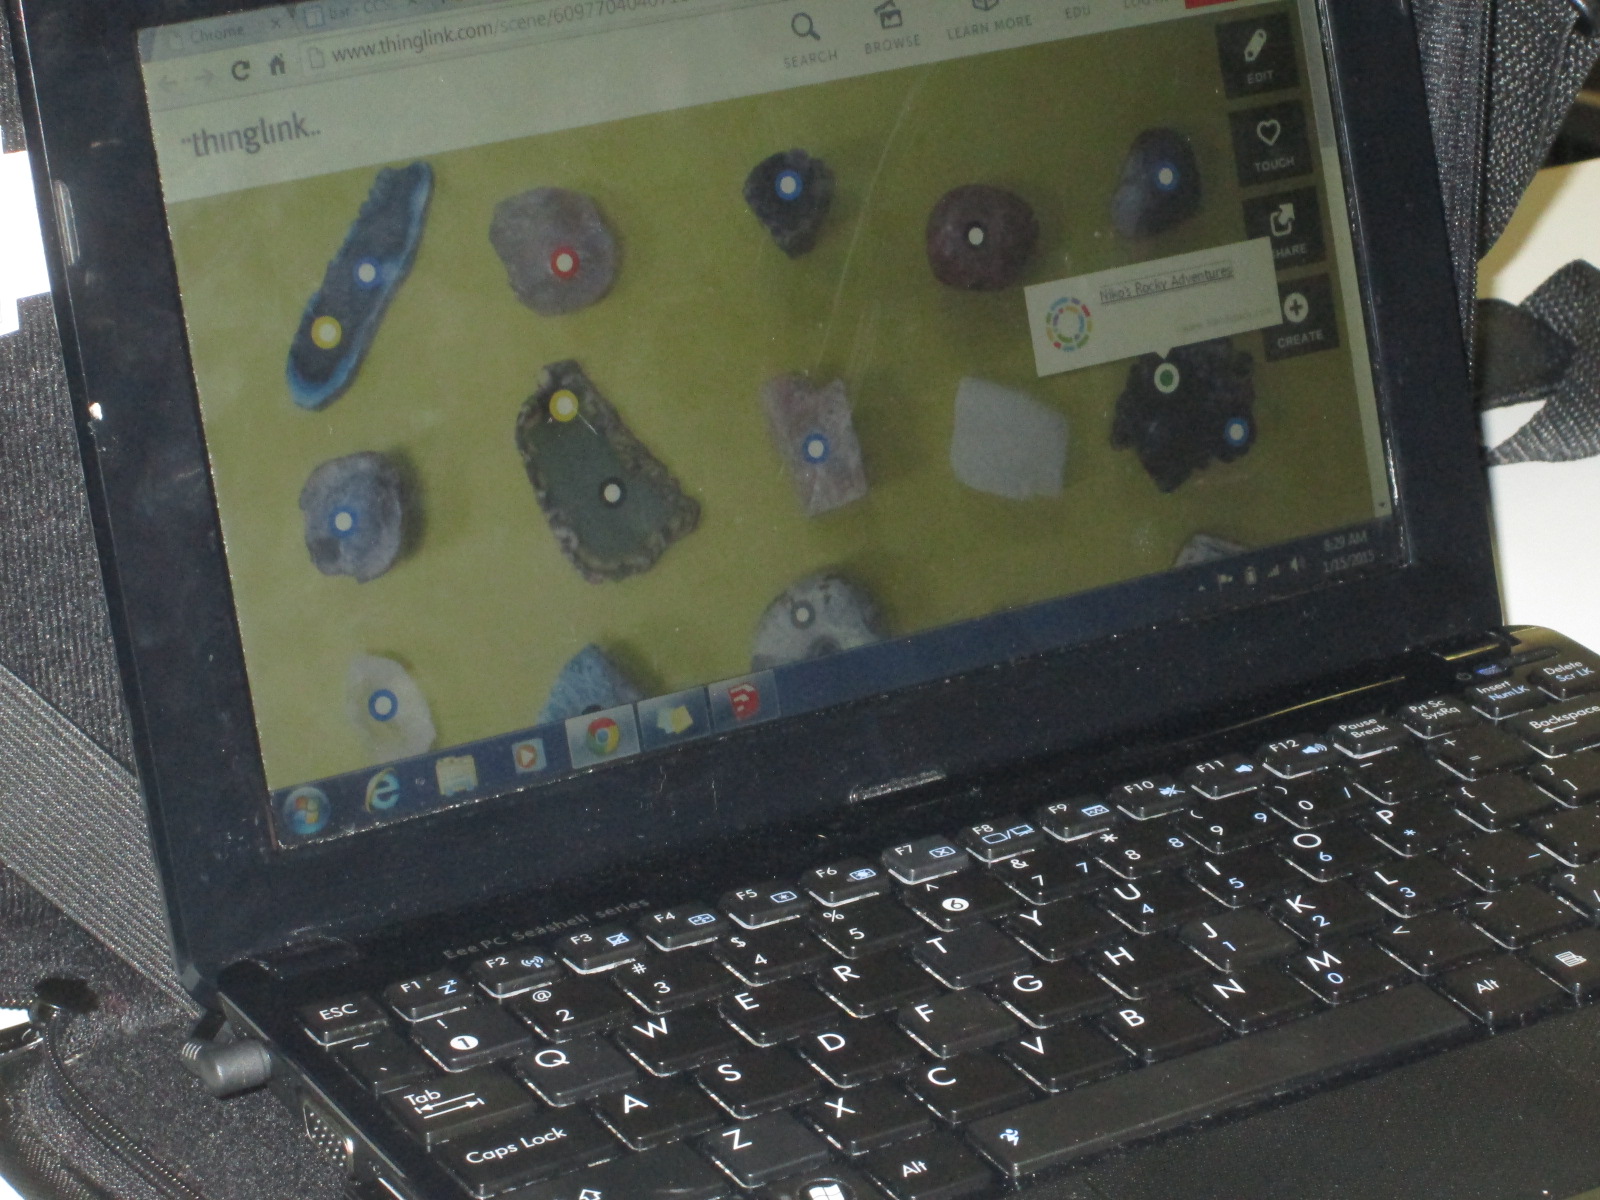
Amethyst is February’s birthstone and also Georgia’s state gem. This station focused on exploring amethyst through websites and videos using a Symbaloo. One of our favorite sites is Gem Kids because it allows students to see gems under a microscope, on a map of the world, and see photos of gems with captions full of info. Students also loved watching the Jackson’s Crossroads video from Georgia to see what amethyst looks like when it is found.

Day 2 of our exploration focused on creativity. We read the book A Rock Can Be… by Laura Purdie Salas and Violeta Dabija. At the conclusion of this poetic book, it says “go a discover what else a rock can be”. This invitation brought us to our next explorations. This time rather than rotating every 10 minutes, students rotated as they finished each step.

Center 1: Artistic Creations

Students once again found boxes of rocks that they could observe. However, this time, their goal was to use the rocks to create something new. They could create a word, shape, object, or anything their creativity sparked. Once they made this creation, they used an iPad to snap a photograph.

This center was fun to watch because every student had a different way of making something. Some had an object in mind already like a football, and they used the rocks to make that shape. Others found one rock that inspired them and they used that rock to form what came to their mind. This was also the station where we saw so many students shine. I loved that whether a student had an English barrier, a reading challenge, etc, this was a visual station that allowed so many voices to be heard in a strong way.

Center 2: Poetry

As students finished photography, they moved to writing in another part of the library. If students had a poem already forming in their mind, they could use a blank piece of paper to create it. However, if students needed some extra support, they used A Rock Can Be… as a mentor text. I had a simple organizer with a structure already formed for them with “a rock can be” and some blanks to create two-word lines in their poem.

The teachers and I did a lot of conferencing at this station to help students focus on the photograph that they created. Most students had their photograph pulled up on their iPad as they wrote. Some chose to focus more on rocks in their poem while others focused on whatever shape they had created.

Center 3: Recording

Students moved to quiet space in the library to put all of their creativity together in Flipgrid. I setup our grid to have a guest code so that students could scan a QR code, enter their first/last name, and start recording. They could record their face on the video or flip the camera and record their poem. During the final step, students imported the photograph of their creation and then used the Flipgrid stickers to add another layer of artistic expression. This final step was tricky because it was tempting to add lots of the fun stickers. However, I encouraged the students to think about what stickers added to their photograph and brought their rock to life. I loved seeing what some of the students chose from the sticker assortment.

Going into these 2 days, I was really unsure of how it would all connect together, but once I saw the flow, I really like what happened. I especially enjoyed day 2 and the creativity that came from our students. I need to do a bit more thinking about day 1. I think it was a great mix of modalities, but I do wonder about what I could do to keep the students more focused in the centers, especially the reading center. It might be as simple as drawing out a card that says “pick a word from the index to read more about” or “flip to a random page and read a caption”.

All in all, I’m excited about the creations we made. I invite you to visit our Flipgrid and view and like the student poetry videos.

Enriching Rocks with Blendspace, Tinkercad, Research, Thinglink, and Painting

Third grade studies rocks as a part of their science curriculum. Each year Ms. Hicks, 3rd grade spectrum teacher, finds so many ways to enrich the study with her students. She collaborates with me in the library on several pieces of the project.

Blendspace

Early in the project, students come to the library to learn about a tool called Blendspace. This tool has gone through many changes and names. It allows users to create a lesson made up of tiles. The tiles can include quizes, images with descriptions, links to websites, embedded Google docs, and more. The goal for the students is to use Blendspace throughout the study of rocks to capture their learning and present in a way that might teach someone new what they have learned.

I show the students how to login with Google and we explore the features together. Ms. Hicks shares a folder with students in Google drive that is filled with images for them to pull from. The images feature work the students have done in class during their study of rocks and the Mohs hardness scale.

We also think about types of quizes and students create pre-test, midpoint checks, and post tests for their blendspace tiles. Each time they learn something new in class or create something new in the library, they add a tile to their blendspace.

Tinkercad

In another series of library blocks, students return to the library to explore a 3D design tool called Tinkercad. They use their knowledge of the Mohs hardness scale to design a climbing wall prototype. Each color they select represents a different rock or mineral that would work well in their wall. As students finish their design, they create screenshots and upload those to Blendspace.

Thinglink

When students have added several tiles to their Blendspace, they return to the library and add their link to a Thinglink image so that we can access every Blendspace in one location. This makes it easy to share with families and with other viewers around the world.

Research & Painting

This year, students were very interested in their birthstones. One birthstone in particular caught their attention more than others: opal. We had no idea how many kinds of opal there are in the world. Students spent a week in the library exploring 2 websites: Gem Kids and Geology.com

Each student narrowed down to one type of opal to research. Students added notes and images to a Google doc so that they could tell someone else about the type of opal they chose. Once they gathered enough information, students selected a river rock and used paints and paint pens to design the rock to resemble the opal they studied.

We sealed these with Mod Podge to give them the shiny play of color effect that opal has. Students added their Google docs to Blendspace and will get to take their painted rocks home.

It’s always fun each year to see what new directions this project takes. There are always pieces that we keep the same, but time and interests always lead us in new directions too.  Take a moment to look at some of the student work in Blendspace and see what you might learn about rocks.


Kindness Rocks

Third grade studies rocks and minerals in science.  Ms. Hicks, 3rd grade Spectrum teacher, is always dreaming up ways to extend and enrich the study.  We have collaborated together many times, and I always love leaping into something new.  In the past, we’ve Skyped with a jewelry studio and designed our own jewelry.  We’ve thought about climbing wall design and how the hardness of different rocks and minerals would support the design. Students even 3D printed prototypes of their climbing walls.  This year we once again worked together to add a new layer to this science unit.

I’ve been watching lots of people getting involved in kindness rock projects locally and globally. The idea of these projects is to spread words of inspiration in the world through randomly placed rocks and inspire people to create good in the world.

Our local Athens Rock Project

I’ve found a few of these rocks myself and know that it gives you a bright moment in your day just to know that someone cared enough to create a piece of art intended for good.

Gretchen Thomas, UGA instructor, and I have been brainstorming the idea of weaving this project into makerspace, but we held off this semester.  I passed the idea on to Ms. Hicks and we decided to give it a trial run.

We started by showing images of rocks and asking students if they had ever found a rock like these.  I was surprised at how many stories were already in our small group of 15 kids.  From a rock in a stream to a rock in the park, students had stories of words and images they had found on rocks.

Then we watched this video to consider the meaning of a project like this.

We also read an excerpt from If You Find a Rock by Peggy Christian and Everybody Needs a Rock by Byrd Baylor. These books helped us think beyond a rock just being a rock but instead a symbol of something else.

At tables, students used an index card to plan out their rock.  We wanted them to really take their time in planning so that they chose their words with purpose, so Ms. Hicks and I conferenced with students as they worked. They chose a word or phrase, wrote a short explanation of their choice, and sketched a design for their art.  Students also selected a rock. All of this took one class session.

In the next session, students used paint pens and paint to design their rock.  Most started by getting the word(s) onto the rock and then worked on design. If they finished early, they helped one another fan portions of rocks to get them dry enough to keep painting on.

My wonderful computer technician, Allie, added layers of Mod Podge onto the rocks before our 3rd session. Here’s where this project is taking a different turn that many of the kindness rock projects.  We don’t really want to be random.  We want the person who finds our rock to know a bit more about it.

In our 3rd session, we used Flipgrid to record videos to tell the story of our rock.  Students talked about the reason they chose their word and even why they designed it the way they did.  We also brainstormed what someone would need to know in order to get to the video we recorded.

I took this brainstormed and turned it into an information card to put with our rocks.

Instead of randomly placing the rocks, we are putting them all in one container. We’ve talked with Avid Bookshop in Five Points and will be placing this container somewhere outside the shop.  Our hope is that people will select a rock, take an information card, watch the accompanying video, and hopefully leave a response video to the student.

It’s all a big experiment, and I’ve tried to be very open with students about that from the beginning.  Anything could happen.  We of course want every rock to be taken and for every person to leave a response, but we also know that might not happen.  Whatever happens, we’ll know that our rocks have gone into the world and caused at least one person to pause for just a moment and think about kindness.

Before our rocks go to Avid, we’re making a few more.  If your’e in the area, keep your eyes open in Five Points for a clear acrylic container near Avid Bookshop sometime this week!

This slideshow requires JavaScript.

Crowdsourced Rockology with Blendspace and Thinglink

3 ELT Rockology   ThingLink

A group 3rd graders have been working for several weeks on a project in Blendspace.  They are using this tool to combine their notes and photographs from class along with research and instructional videos they are finding online.  They are also creating their own pretests and post tests within the Blendspace lessons as well.

thinglink (8)

Ms. Hicks, the Spectrum teacher, and I wanted their projects to be crowdsourced into one location so that an audience could easily access all of their lessons on rocks and minerals.  Crowdsourcing the Blendspace lessons would also make it efficient when sharing their work with one another for peer review as well as sharing with families.  There’s even potential to share this work with other schools who might use their content or offer feedback to improve the work even more.

thinglink (7)

To crowdsource, we used Thinglink.  Ms. Hicks selected an image of rocks and minerals positioned in rows.  Then, she assigned students to the various rocks or minerals.  I uploaded the image to Thinkglink and made it unlisted.  Then, I allowed anyone to be able to edit it.

thinglink (5)

Ms. Hicks emailed the link to the image to all of the students.  They went to their Blendspace lessons and selected all of the privacy permissions that they wanted to.  Then, they copied the link to their Blendspace lessons and connected them to the Thinglink image.  We did run into a problem with several students trying to edit the image at the same time, but as long as they kept retrying, they eventually were able to edit the image.

thinglink (3) thinglink (4)

Now, students are looking at the image to access all of the projects in their class. They are viewing the work and offering feedback to their peers.  Since the links are active, any changes they make to their Blendspace is automatically connected to the Thinglink.

thinglink (2) thinglink (1)

I love this way of getting student work out to an authentic audience and I invite you to take a look at their work.  Feel free to leave them a comment here on the blog.