The Great Depression, The New Deal, & 2020: A 5th Grade Photography Project

The best projects start with a seed of an idea mentioned in an email or passing in the hallway. A few weeks ago, Ms. Olin, a 5th grade teacher, emailed me an idea about connecting 5th grade social studies standards to the current events of today. She wanted to possibly weave in photography or some type of multimedia project. I had to really brush up on my history. I pulled books about the dust bowl, the great depression, and the new deal hoping that something would spark an idea. In the current state of the world, I find it really hard to be creative because I can barely keep my head above water (evidenced by this blog post that is my only post in almost a year).

A few weeks passed, and Ms. Olin emailed me to see if I had anything put together. My head had still been swirling with thoughts but nothing had clicked together yet. I was on a time crunch, and just when I thought nothing would come together, I woke up one morning and picked up a book about the Migrant Mother photograph. I started wondering, what if we framed the whole project around the idea of “iconic photographs” and study one iconic photograph as our mentor text.

At the time, we were still 100% virtual with limited time for these standards. I decided to offer a lesson in 2 different ways: 1. A self-guided lesson via Wakelet 2. a whole grade level Zoom.

We opted to hold a grade level Zoom and use the Wakelet for students to reference as they worked on their projects or for students who were absent for our Zoom.

We began by looking at the Migrant Mother image.

In the chat, students wrote what they noticed about the picture as well as what they could learn about the people in the photograph. Next, I used our subscription to Capstone Connect to read from Migrant Mother: How a Photograph Defined the Great Depression. Capstone Connect gives schools full access to PebbleGo, PebbleGo Next, and Capstone Interactive Library as well as planning tools to search by standards and titles. I love that I can pull a direct link to a resource in any of these 3 databases and share it with students.

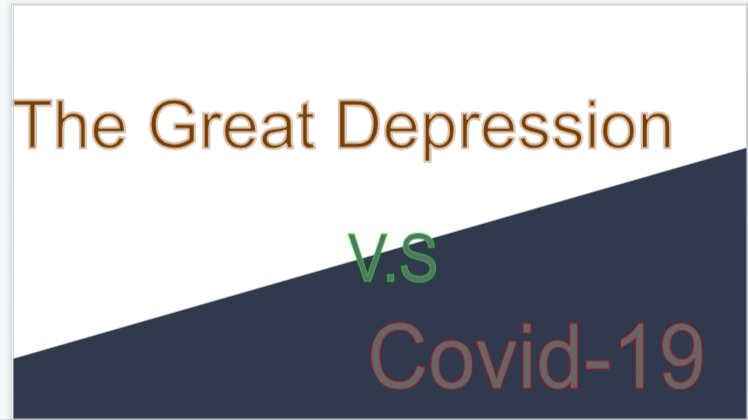
Once students had some background info on an iconic photo as well as how photographs can capture the past, we went through a series of slides to talk about how the events of the great depression can relate to events happening today. For example, during the great depression people lined up at soup kitchens for a meal during hard times. Today, people line up in cars at food distribution events or food banks as more people are unemployed due to COVID-19. I paired several photographs from the great depression with comparable photos of today as examples.

Lesson to setup the project

After this lesson, teachers offered Google slides templates for students to use to compare events of the great depression and today. Students could also choose to create their own slides or use a different tool for their project. They continued to use the Wakelet of resources to gather information and photographs for their projects.

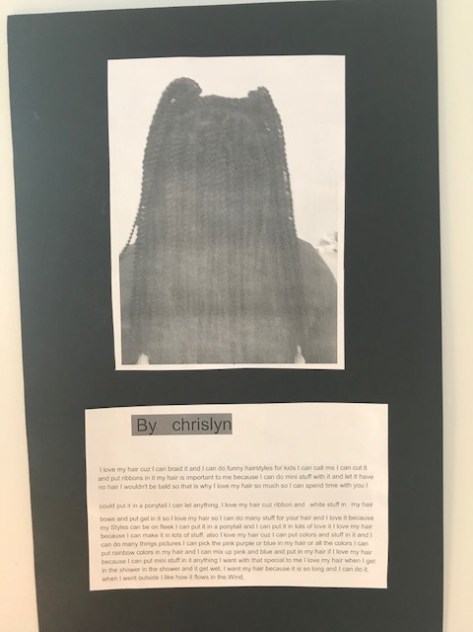
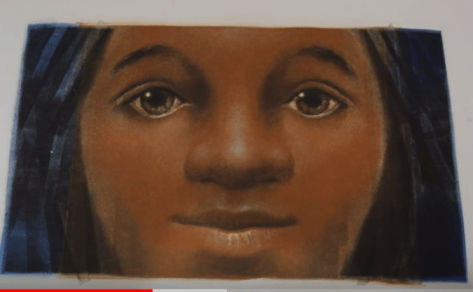
Even though I couldn’t be a part of every moment of this project, I loved following along with what students were creating. Now, the projects are starting to pour in and they are amazing. I’ve sprinkled some throughout this post and put them all together on their own Wakelet. I’ll continue to add as projects come in.

The most amazing thing about projects like these is when people beyond our school take a look at the student work. I hope it inspires you. I hope it causes you to pause and reflect on how history repeats itself or how we learn from history. I hope you’ll also take a moment to leave a comment on this post to the students in general or to a specific student. I’ll be sure to share your voice with the students.

Enjoy.

Click here to view all student projects: https://wke.lt/w/s/inx7xl

Sharing Our Reading Lives Through Book Snaps

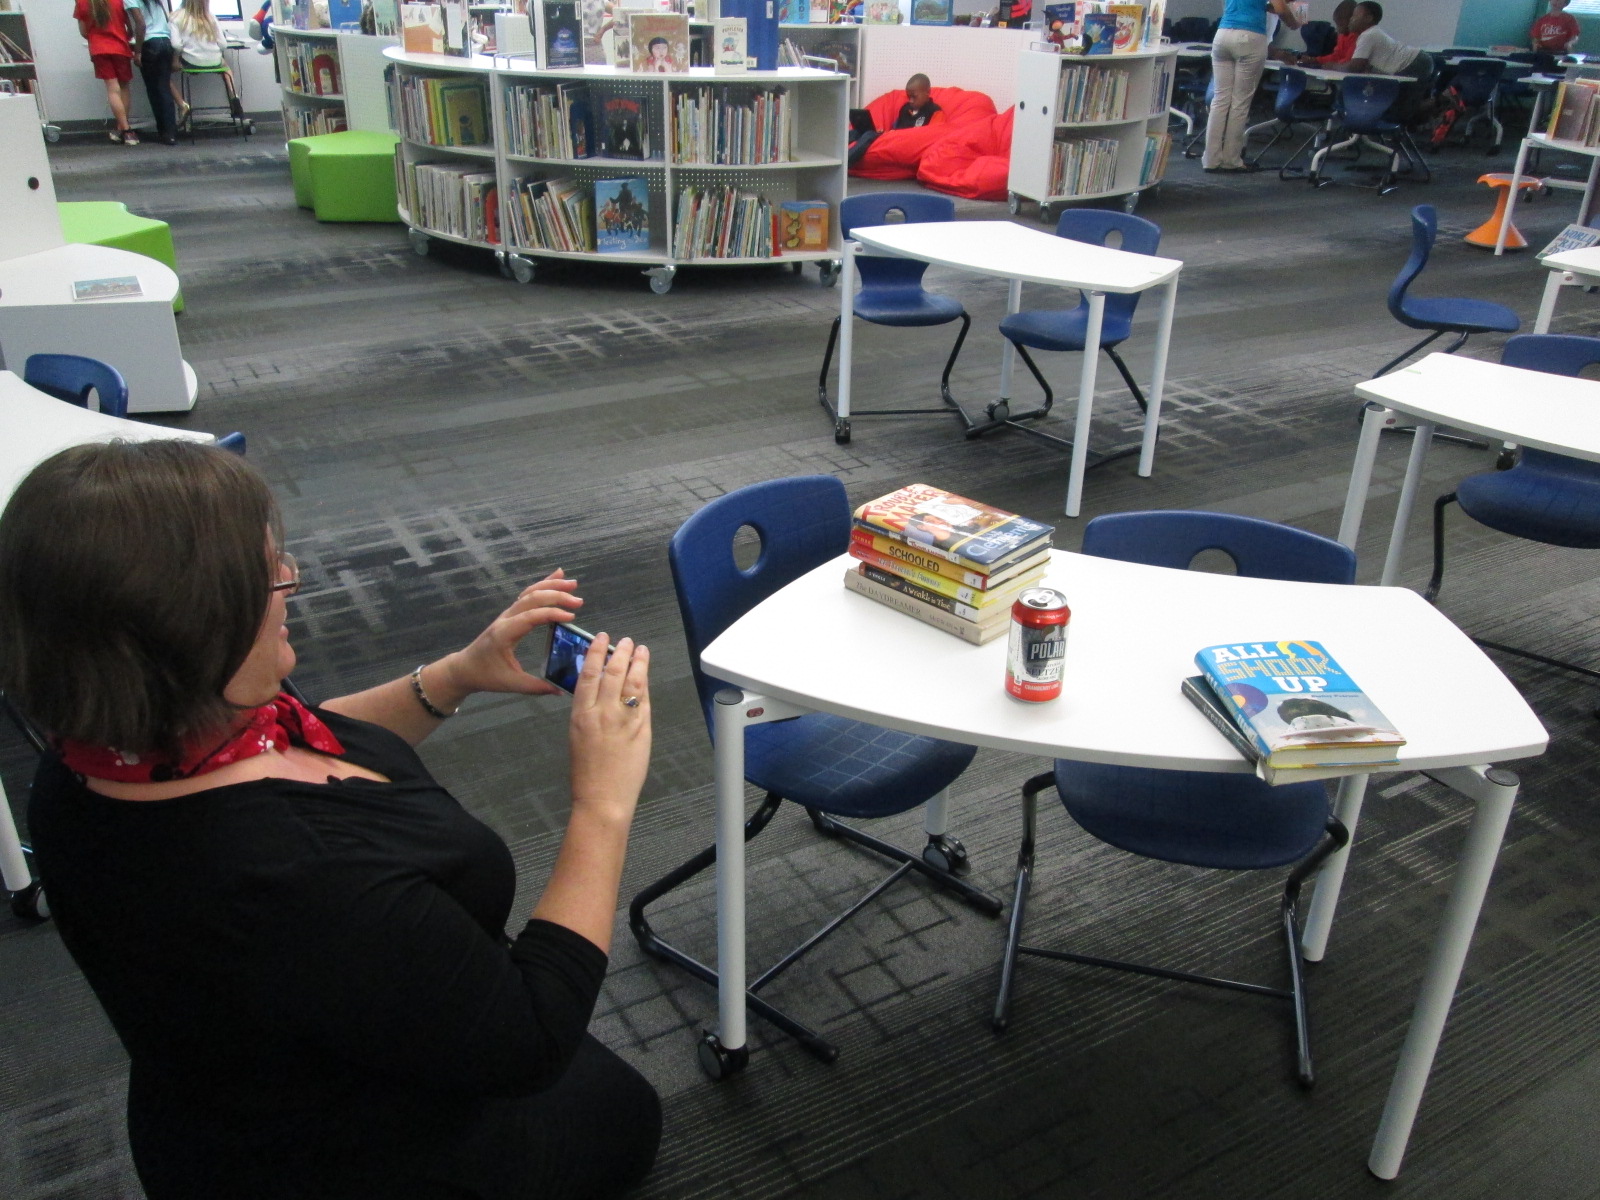
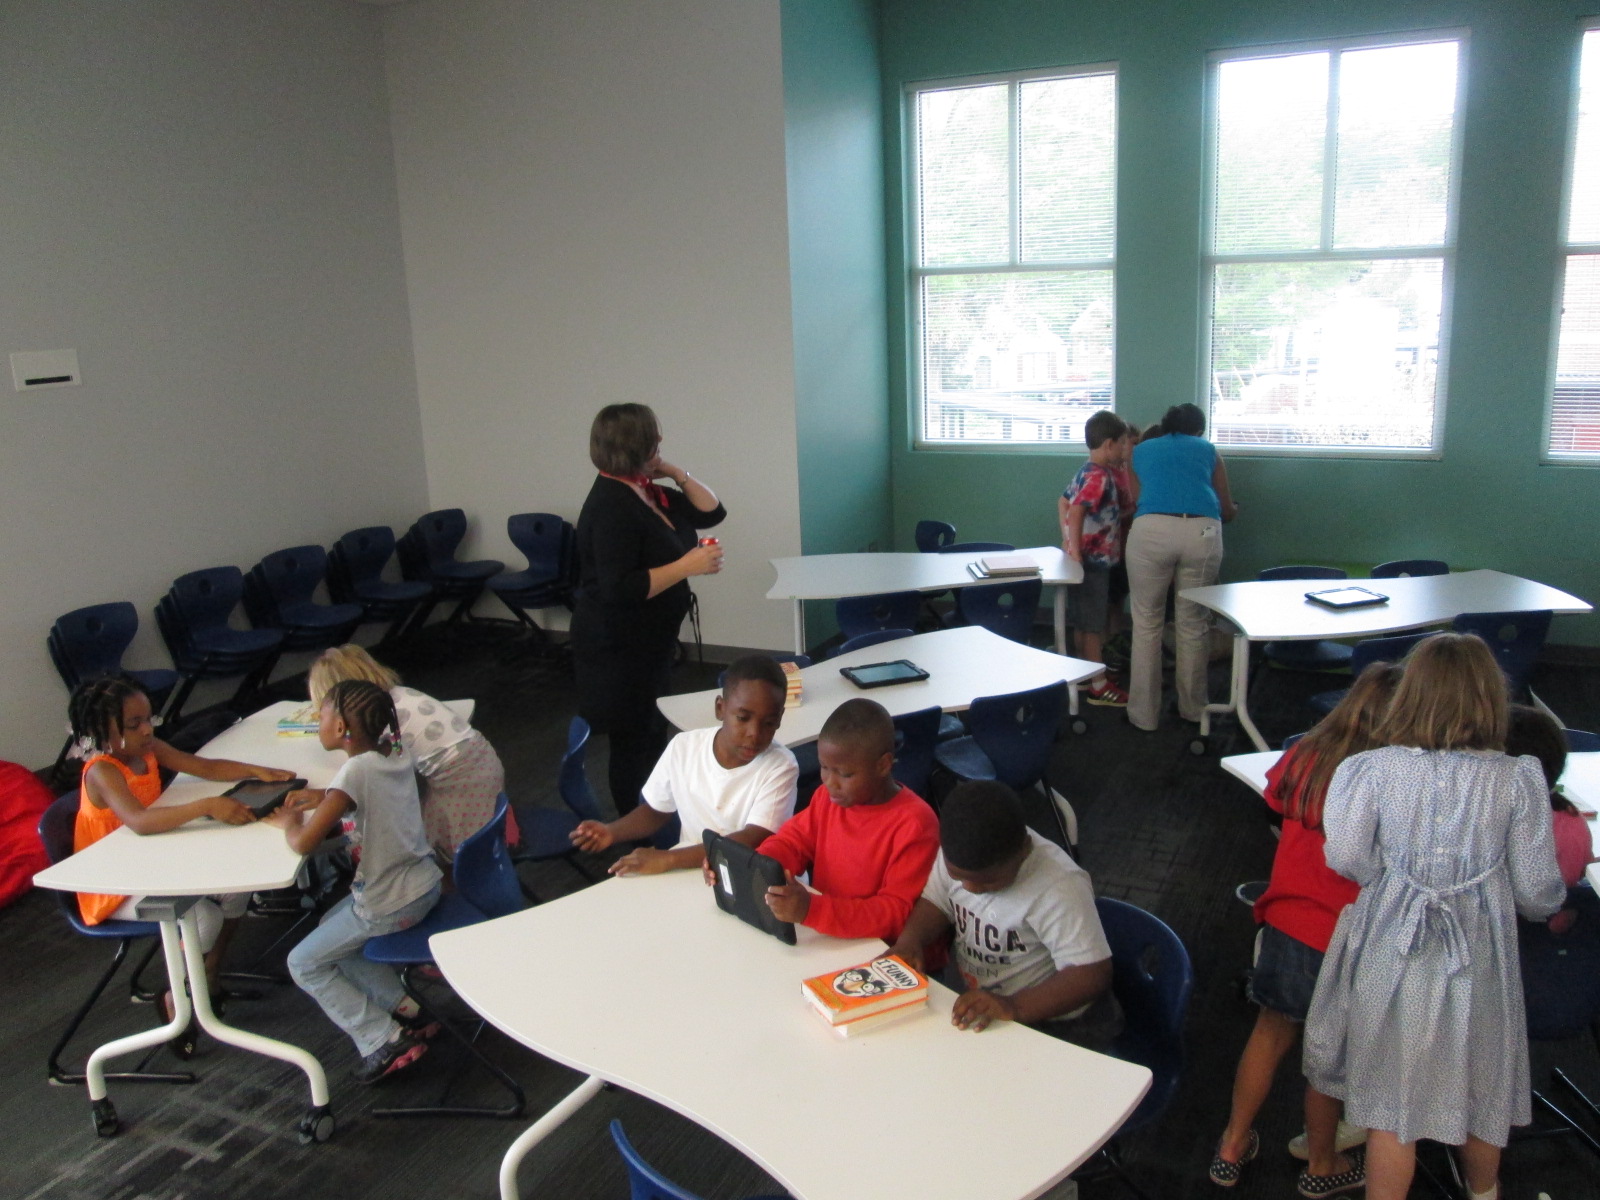
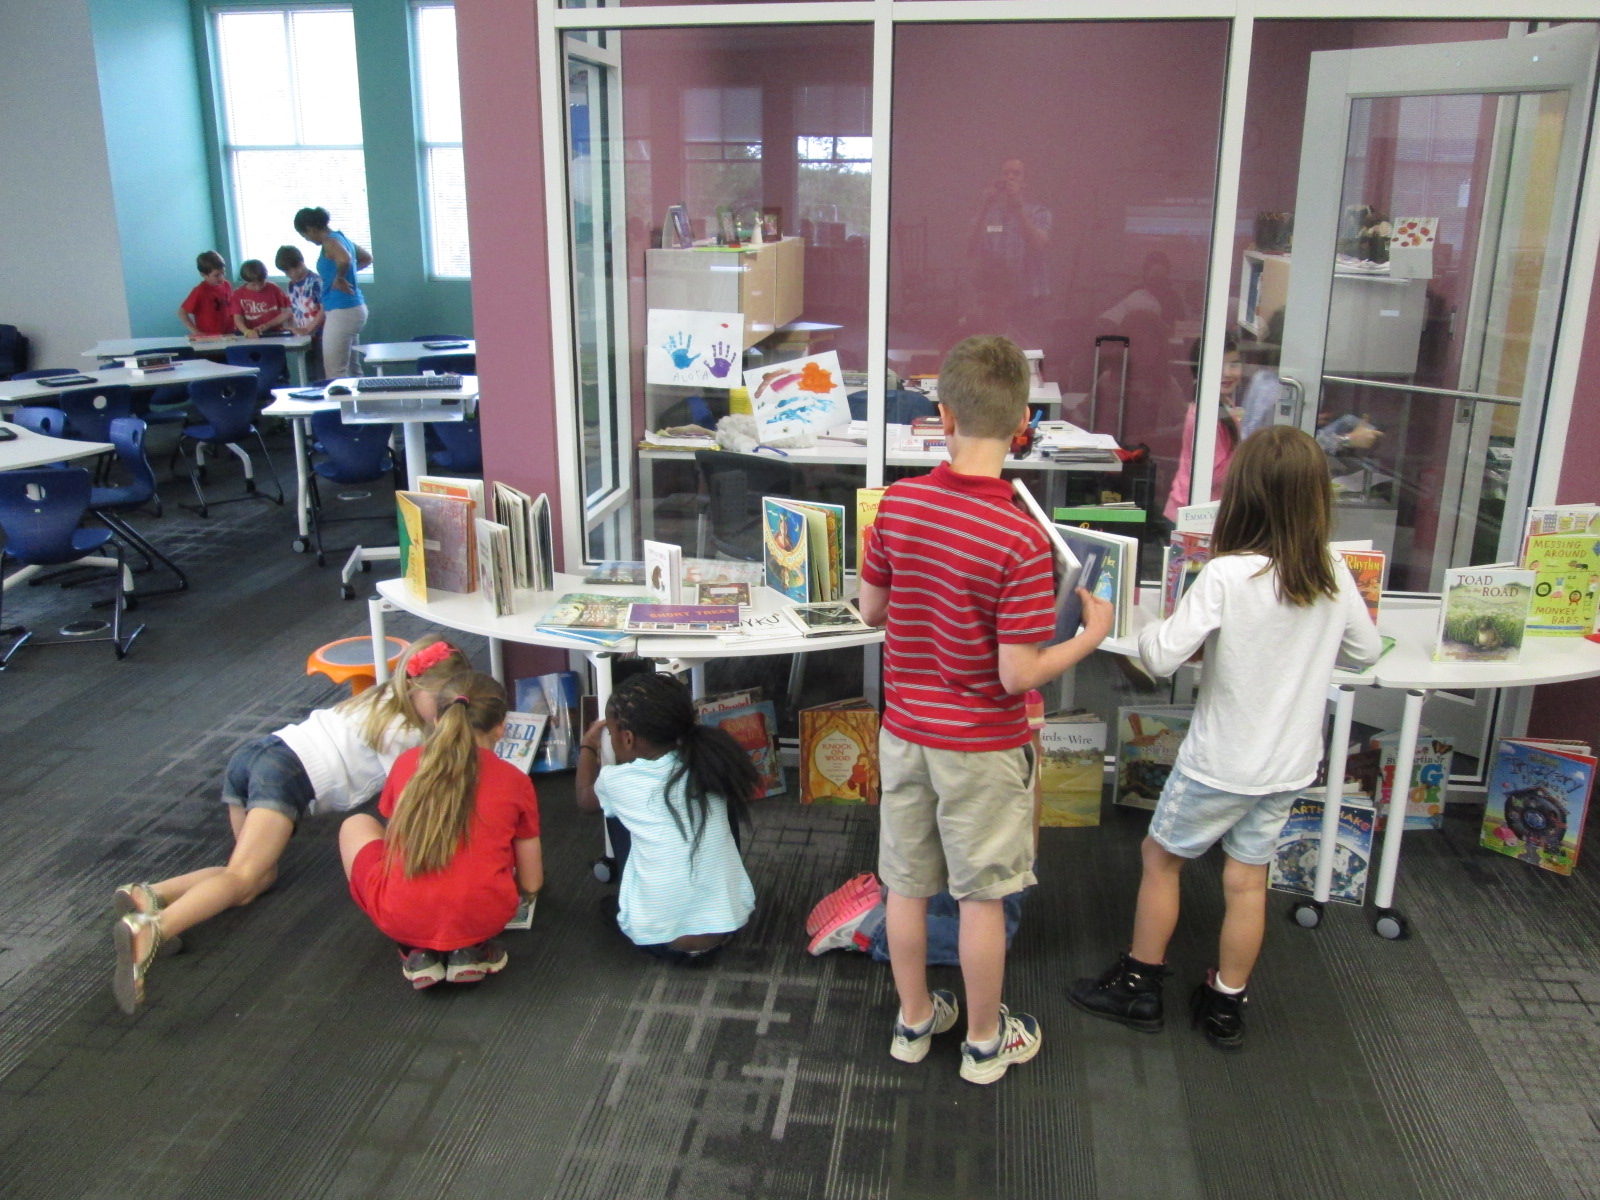
I’ve been working with a group of 3rd graders to find books that interest them. I recently wrote about how we took a survey to help me find books that might match the students as readers. Now that this group of students have been reading their books and moving on to others for a few weeks, we are talking more about what readers do while they are reading.

We’ve explored how some people like to have a journal where they write down questions and thoughts that come up as they read. We’ve talked about carrying a pad of paper or sticky notes to tag pages in the book that stood out to you. We even discussed how some readers highlight the text of books they own or write notes in the margins.

One digital way of sharing reading lives is Book Snaps. I’ve seen book snaps shared by several colleagues and even tried out a few myself. The idea of #booksnaps originated with Tara Martin. Basically, a book snap is a visual representation of your thinking on something you have read. To create a book snap, you take a photograph of a page, illustration, or cover of your book. Then, you use the editing tool in photos to highlight the text that spoke to you. You can also add text, emojis, or Bitmojis to further visualize your thinking. Book Snaps can be posted to any variety of social media and the caption can be used to further explain the meaning of the image you have created.

With the 3rd grade group, we explored a few online examples and even some I had posted.

Then students went back into their own books and found a quote that stood out. Using our iPads, they took a picture and edited the image to add visualization. Since our students are too young to use social media on their own, our plan was to post pictures to our library Instagram account.

Students used Airdrop to send the pictures to my phone. Then, they wrote their caption on a piece of paper, which also had the instructions for creating their image. Students sat with me and dictated their caption while I typed it on my phone. I had them proofread what I typed and press the share button.  We added #booksnaps and #studentvoice to each post.

If you have a moment, the students would love for you to head over to Instagram and give them a “like” or a comment. We hope to add more book snaps to our Instagram page and also explore other ways we can share our reading lives beyond our own imagination.


Using Objects from Nature to Inspire Creativity

As we near the end of the year, I’m collaborating with Natalie Hicks, one our gifted teachers, to create a project with the entire 3rd grade. In science, 3rd grade studies habitats and human impact on them. Our school is also a “Green School” which offers many opportunities throughout the year for students to explore how we care for our planet.

Each 3rd grade class is coming to the library for 2 one-hour sessions. The purpose is to use found objects from nature to create letters. Those letters are photographed so they can be used to spell various words and also inspire writing. Ms. Hicks and I both gathered as many objects as we could from outside the school and our own yards. Our original plan was for students to bring in objects to use for the project, but that piece didn’t happen this time.

Session 1:

As students were seated, they saw a clip from a Rose Bowl Parade video.

The purpose was to get them thinking about real-world examples of people using objects from nature to create. Another purpose was to think about the time and planning that went into the floats. Our students had a connection to the Rose Bowl since UGA played there this year.

Next, I segued into a book called Our World of Food: Discover Magical Lands Made of Things You Can Eat. Each page features a scene made with foods of a similar color and poetry that brings the scene to life. Again, we talked about how each object was intentionally placed into the scene.

Finally, I gave students their challenge. They could choose up to 5 objects from our nature tables to create one of their initials. I asked them to think about the shape of their letter and which objects might be the best choices to form that shape. We looked at some pictures of fonts as well as some letters found in nature for inspiration.

I covered our library tables with colorful tablecloths to use as backgrounds and building spaces.  Students sat in groups of 5 and waited for their turn to collect objects. It was wonderful to have Ms. Hicks, the classroom teacher, and Ms. Em (EIP teacher) as support during this project. Ms. Hicks had conversations with students about their selections, while the classroom teacher and I supported students with questions about how to build their letters.

When letters were made, students used iPads to take a photograph and then bring the iPad to me to upload the picture in Google Drive.

Then, students returned their nature objects for the next class to use and went to Ms. Em to select nature poetry to read while others finished. My hope was that reading lots of nature poems would serve as a mentor text for the work we will do in session 2.

I was very impressed by how efficient students were. They selected objects, experimented with combining them in different ways, and moved through all the areas of the lesson with the help of adults. Adults were all able to circulate and have conversations with students about their selections, creations, and reading. I wonder how things would have been different if we had time for students to actually collect the objects themselves.

Before session 2, I’ll print the pictures so students can use them in their writing and recording.  We can’t wait to see how all of this comes together.

Love Projects: Kindergarten & 1st Grade Hearts

When, Kindergarten finished reading Love by Matt de la Pena & Loren Long, they took time to design heart symbols of love. Ms. Foretich gave them several options for drawing a heart.  They could freehand their drawing or they could use one of many heart stencils. She modeled how to trace as well as how to use crayons to fill in all of the space with color.  She also gave them examples of how to design their hearts. They could fill the heart with patters or draw things that they love inside.

Students began these hearts in the library. Ms. Foretich and I walked around and talked with students about their designs and helped students think about designs, drawings, or colors.

They continued this process in the art room until the hearts were complete.

We displayed the hearts in 3 x 3 blocks on the windows of the library.

In first grade, students studied the work of pop artist Jim Dine after reading Love.  I was unfamiliar with this artist, so it was fun for me to go online and see some of his work. 

First graders created hearts inspired by the work of Jim Dine in the art room.  We took all of these hearts and pieced them together into a backdrop to hang in the library.  This space will be a photo booth for students, teachers, families, and guests to take their picture.  I posted photo booth instructions along with an iPad so that photos can be taken over the next few weeks.

One of the things I love about these 2 grade levels is how their work is created individually but it comes together to create larger collaborative pieces that make an eye-catching impact on each person that sees them.

Stop by and take your picture sometime soon!

Love Projects: 3rd Grade Selfies

When Ms. Foretich (art teacher) and I finished sharing Love by Matt de la Pena & Loren Long with our 3rd graders, we flipped back to one image in the book.

This image always surprised students when I read the book aloud.  It’s the only image in the book that is zoomed in so close.  There was always a collective gasp or audible reaction, and we often had to stop and talk about what this image was all about. I was so glad that Ms. Foretich chose to focus on this image with a whole grade level.

We paired this image with another book called The Best Part of Me.

This book features voices of children as they talk about the favorite parts of their body and why. Each poem/prose is accompanied by a black & white image.

In response to Love and The Best Part of Me, students brainstormed about their own bodies and what they love.  We encouraged students to think about body parts, favorite activities, and personality as they brainstormed.   By the end of class, we wanted students to focus in on a particular aspect of themselves that they could photograph and write about.

Ms. Foretich continued this project in class by having students use iPads to take selfies of the favorite parts of themselves.  Students also finished the writing and typed up their words.  Ms. Foretich printed all of these to mount on black paper.

They are now displayed in the rotunda of our school.  I love standing in the center of the rotunda and looking around at all of the student images and voices staring back at me.  To see what each student loves about himself/herself is reassuring in a world that can sometimes seem mean and chaotic.

If you find yourself in our school, I hope you’ll take time to see (and be inspired by) their work too.

Book Spine Poetry with Tellagami (Day 1)

IMG_2872Poetry month is one of my favorite times of year because I’m always inspired by what kids come up in their writing.  I love that with poetry you can try so many different kinds of writing in a short amount of time.

Each year, we usually have several classes explore book spine poetry.  If you’ve never heard of it, book spine poetry is a type of found poetry where you use the spines of books as the lines in your poem.  In the past, we’ve used digital cameras to take pictures of our stacks of books and Photo Story to put those pictures together and record our voices.

This year, I really wanted to try something new.  I decided to try Tellagami since you can take a picture as your background image, record your voice for up to 30 seconds, and create an avatar to be the narrator of your poem.  I may try some other tools, too, but this one seemed like the best to start with.

Today, Mrs. Brink’s 2nd grade class was my first book spine poetry class of the year.  Right before they came, I walked through the process of making a book spine poem myself and recording a Tellagami.  Here’s how mine turned out.

We started our quick mini-lesson on the carpet by talking about what a found poem is.  Then, we used several Google and twitter images of book spine poem examples.  Some of my favorites are from my friend, Jennifer Reed, librarian in MA.  I love this one.

We spent a little time noticing things about all of the poems.  For example, we noticed how some of them stuck to a particular theme or some started with a main line at the top and then other lines seemed to support the first line.

Then, I told the students the story of how I made my own poem.  I started with Joyce Sidman’s What the Heart Knows.  Then, I walked around and looked at books that were sitting on the tops of the shelves to see if any of them had a title that showed what my heart knows.  I was amazed at how many of them did!  It only took me about 5 minutes to find my stack of books and another 2 minutes or so to make my Tellagami.

The students were ready and eager to get started.  I really try not to give them too many rules, but we did go over a few things to think about:

1.  Spend some time walking and looking without taking books off of the shelves.

2.  Find a book title that speaks to you that might make a good starting place and then start thinking aloud about your poem with your group.

3.  Try your best to use each book you pull from the shelves.  We spent just a few seconds thinking about what would happen if 22 students starting pulling every book that they saw from the shelves.

IMG_2874

I designated different work areas of the library.  Single tables were setup in the middle of the library for students to bring books to and sort them into their poem.

IMG_2876

Another section of tables had iPads ready for creating Tellagami projects and taking pictures.  I did not spend time teaching students every step of how to use Tellagami because I knew they could figure this out.  However, I did have Carol Buller-McGee, a graduate assistant, with me today, and she stayed at the iPad tables to assist students.

My office, equipment room, makerspace room, and storage room were available for students to go to and record their projects.

IMG_2867

Originally I was going to have students make individual poems, but I made a last minute change to small groups.  The teacher had the whole class stand in a circle and find their own groups of 3.  She assisted students who needed help forming a group.  They went right to work.  It looked something like this.

The teacher and I walked around and talked with students about what they were choosing.  Many of them found one book to start with and started adding books from there.  For example, one group found Please Bury Me in the Library.  Then, they started looking for books that might designate where in the library they might be buried.  I loved how their poem turned out.

Other groups went with a theme.  For example, one group found a book called Dreaming Up, so they started looking for books that had something to do with the sky.  They even went to Destiny and searched for sky books to see if there were any interesting titles.

IMG_2873 IMG_2870 IMG_2869 IMG_2868

I must say that this was the first time that I’ve done book spine poetry where I really felt like kids were thinking about the books going into their stacks.  In the past, it has felt like students just throw a bunch of books in a stack and say they’re done.  While this is still a poem, in my opinion, what I saw today was much more thoughtful and purposeful.

IMG_2875

After students went through the whole process, some of them started again and made a second poem.

We finished by putting our poems up on the projector screen.  I played a poem and we celebrated with snaps.  While I prepped the next iPad, the students talked through the steps that they went through to form their poem.  I really loved this step because it showed me that students really were thinking carefully about each line that went into their poems.


I have 3 more classes coming this week, so we’ll see how this lesson evolves across the week.  I think I’m going to stick to small groups rather than individuals, but we’ll see.

Take a moment to enjoy their book spine gallery.


4th Grade Blogging

IMG_1341All of our 4th grade classes are starting blogs.  After meeting with the teachers and discussing their goals for blogging, we chose to use Kid Blog as our tool of choice.  We chose this tool because it gives teachers the options to set several privacy settings, monitor posts & comments, and also simultaneously creates a class blog as well as individual blogs for all students.  I showed the teachers how to quickly import their students into KidBlog and setup accounts.  They each setup their own class.

Our 4th grade classrooms are all trying out a special time in their day called Heart Time.  During this time, each student has a specified amount of time to work on something that truly matters to them.  Some construct masks.  Others explore drum making.  Some spend time writing.  The possibilities for this time are endless.  There are many pieces to this time.  One piece is for students to begin to learn about what matters to one another and spend time sharing and connecting with one another.  The teachers’ hope is that these classroom discussions can be documented through blogging so that they document the process but also impact a larger audience than just the classroom.  Other classrooms could learn from what these students are exploring.  Also, members of the community might make a connection with a student and be able to share their own expertise with a student if they know what that student is exploring.

IMG_1340

We held a kickoff to the blogging project.  During the kickoff, all of the 4th grade classes rotated through 3 centers.  With me, students learned a bit of history about blogging.  We learned that in 1999 there was less than 100 blogs and today there’s well over 100 million blogs.  We looked at this blog, and I explained how blogging has a purpose.  Students were wowed when they saw the map of where people are reading the media center blog.

IMG_1343With Vicki Michaelis, a parent, students learned about how blogging is used in careers.  Vicki does sports blogging through her career at UGA, so she was able to show students how she uses blogs to reach her audience.IMG_1345

With Heather Carlson, 4th grade gifted teacher, students explored blogging ethics and the importance of proofreading and deciding what to post or not post online.

Next, students will begin exploring their blogs in class and using this new tool to document their learning throughout the year.  I can’t wait to read what they write!

iPad Photography

A group of 4th grade ELT students have been studying photography with their spectrum teacher, Mrs. Hunter.  They have also been working in the library to learn about digital photography and tips for taking great photos.  They collaborated on a Google doc to crowdsource a list of tips for taking digital photos, and they have explored many artistic ways to take photos around our school.

Over the past 2 days, these students have used our iPads to try even more ways of taking photographs.  Students explored the following apps:

  • Photobooth-Take a photo with many fun options.
  • Camera!-Take a photo and apply many options to edit it.
  • Pic Stitch-make collages and apply filters, stickers, and many other effects to each picture.
  • Panorama-take a panoramic photo and apply filters to it.
  • Pic Collage-Make a collage of photos from the camera roll, add text & stickers & backgrounds.
  • Tap FX-Take a photo or use the camera roll and apply effects & filters
  • PS Express-Use a picture from the camera roll and do basic to advanced photo editing.

The favorite by far was Tap FX because of the many explosions and fire effects you could add to a picture.

Once students tried several apps for taking photos and editing them, I asked them to select their favorite and email it to me.  They used their school Google accounts to attach their picture.  For many, email was still a new task, so this did slow us down a bit.  I loved seeing their creativity in taking photographs but also in using apps to apply filters and effects to their pictures.  I think their work has a lot of implications for future projects.  These students could become consultants that teach others how to use the various photography apps for projects.

Take a look at their favorites in this gallery:

This slideshow requires JavaScript.

Autobiographical Poetry: A 5th grade collaborative art project

The art teacher, Mrs. Foretich, and I love to collaborate with one another.  Recently, we wrapped up a collaborative unit focused on digital photography, using technology to transform a photograph, and autobiographical poetry.

Students spent 2 days rotating through a center taught by Mrs. Foretich taking digital pictures of themselves and using Picnik.com to edit their photos and center taught by me about the many elements of poetry including personification, similes, strong verbs, and repetition.  Then students spent 2 sessions in a writing workshop using their photograph to write an autobiographical poem that included some of the poetry elements learned in my center.  Students typed their poems in word and printed them.

Mrs. Foretich had all of the student images printed at Snapfish, and she mounted these pictures on matting board.  Now, an amazing display sits atop the shelves of the media center.  Today was the debut, and students and teachers have been reading the poems all day.  If you can’t stop by the media center during poetry month, take a moment to view the pictures of the display and watch a video tour given by two students, Maggie and Delia.

This slideshow requires JavaScript.