
 Poetry month is one of my favorite times of year because I’m always inspired by what kids come up in their writing. I love that with poetry you can try so many different kinds of writing in a short amount of time.
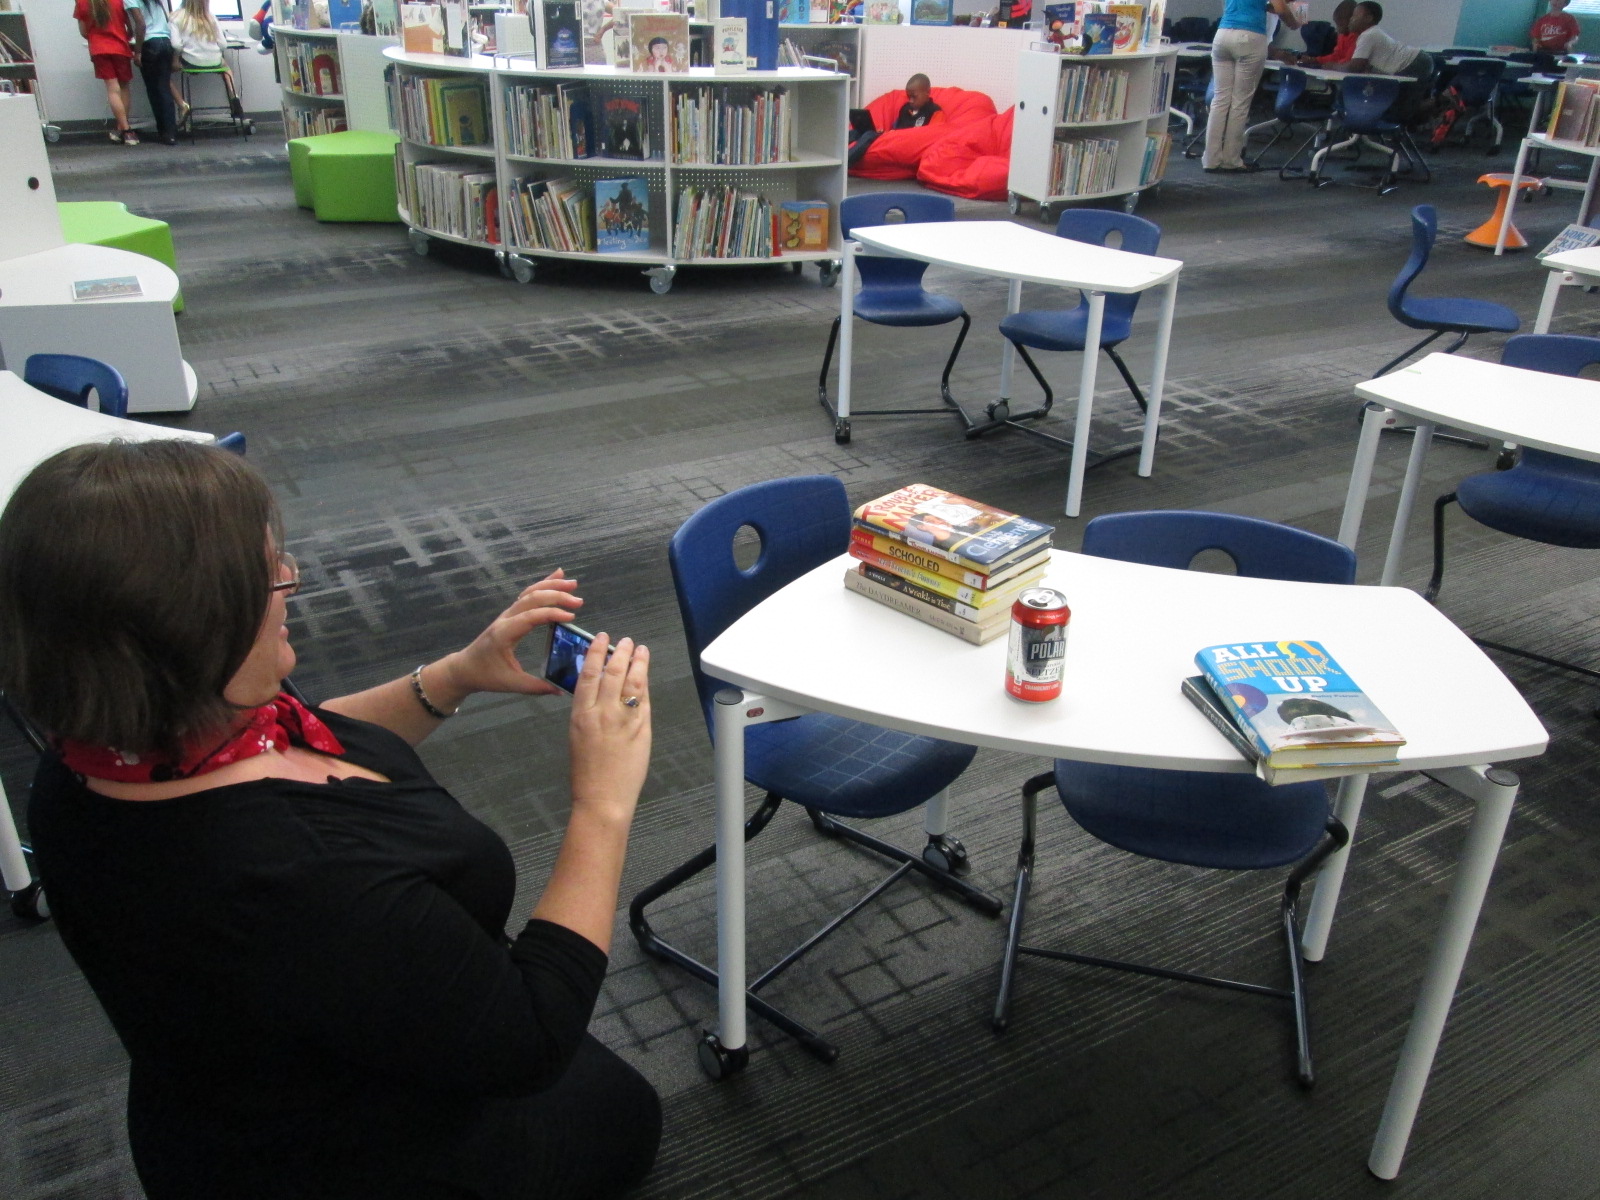
Each year, we usually have several classes explore book spine poetry. If you’ve never heard of it, book spine poetry is a type of found poetry where you use the spines of books as the lines in your poem. In the past, we’ve used digital cameras to take pictures of our stacks of books and Photo Story to put those pictures together and record our voices.
This year, I really wanted to try something new. I decided to try Tellagami since you can take a picture as your background image, record your voice for up to 30 seconds, and create an avatar to be the narrator of your poem. I may try some other tools, too, but this one seemed like the best to start with.
Today, Mrs. Brink’s 2nd grade class was my first book spine poetry class of the year. Right before they came, I walked through the process of making a book spine poem myself and recording a Tellagami. Here’s how mine turned out.
We started our quick mini-lesson on the carpet by talking about what a found poem is. Then, we used several Google and twitter images of book spine poem examples. Some of my favorites are from my friend, Jennifer Reed, librarian in MA. I love this one.
We spent a little time noticing things about all of the poems. For example, we noticed how some of them stuck to a particular theme or some started with a main line at the top and then other lines seemed to support the first line.
Then, I told the students the story of how I made my own poem. I started with Joyce Sidman’s What the Heart Knows. Then, I walked around and looked at books that were sitting on the tops of the shelves to see if any of them had a title that showed what my heart knows. I was amazed at how many of them did! It only took me about 5 minutes to find my stack of books and another 2 minutes or so to make my Tellagami.
The students were ready and eager to get started. I really try not to give them too many rules, but we did go over a few things to think about:
1. Spend some time walking and looking without taking books off of the shelves.
2. Find a book title that speaks to you that might make a good starting place and then start thinking aloud about your poem with your group.
3. Try your best to use each book you pull from the shelves. We spent just a few seconds thinking about what would happen if 22 students starting pulling every book that they saw from the shelves.
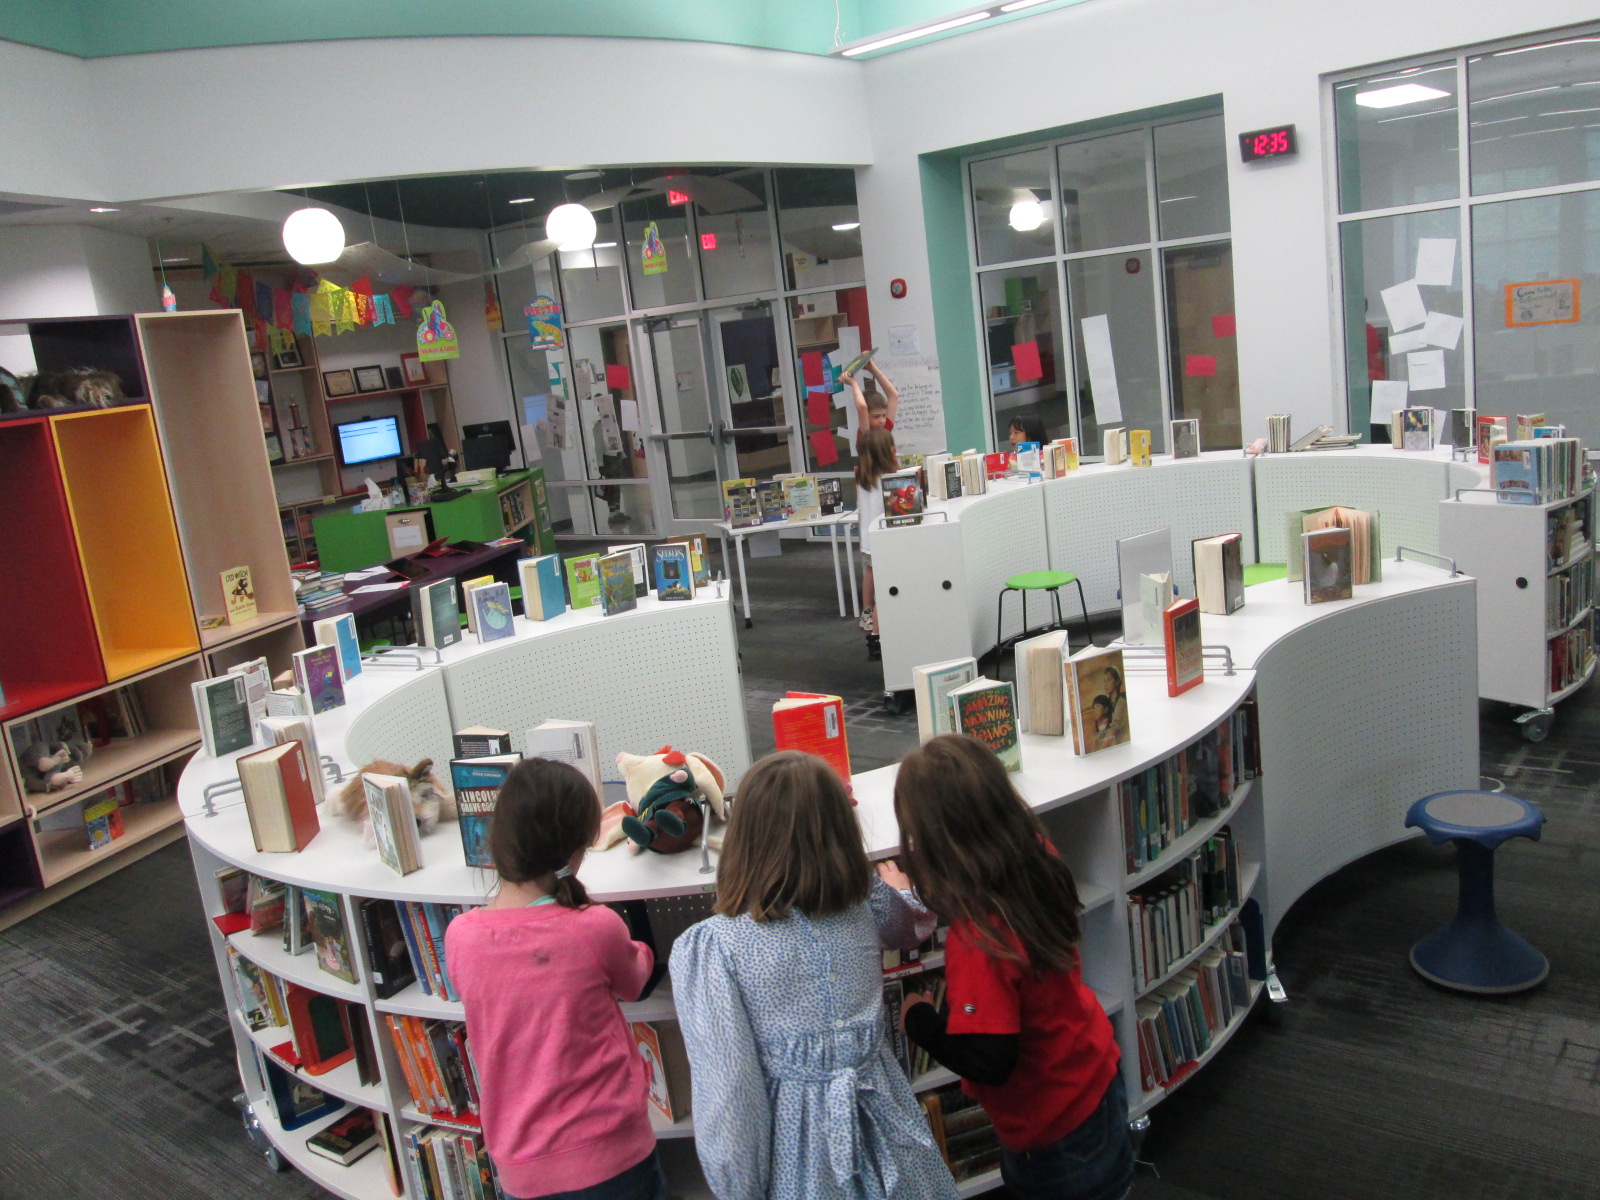
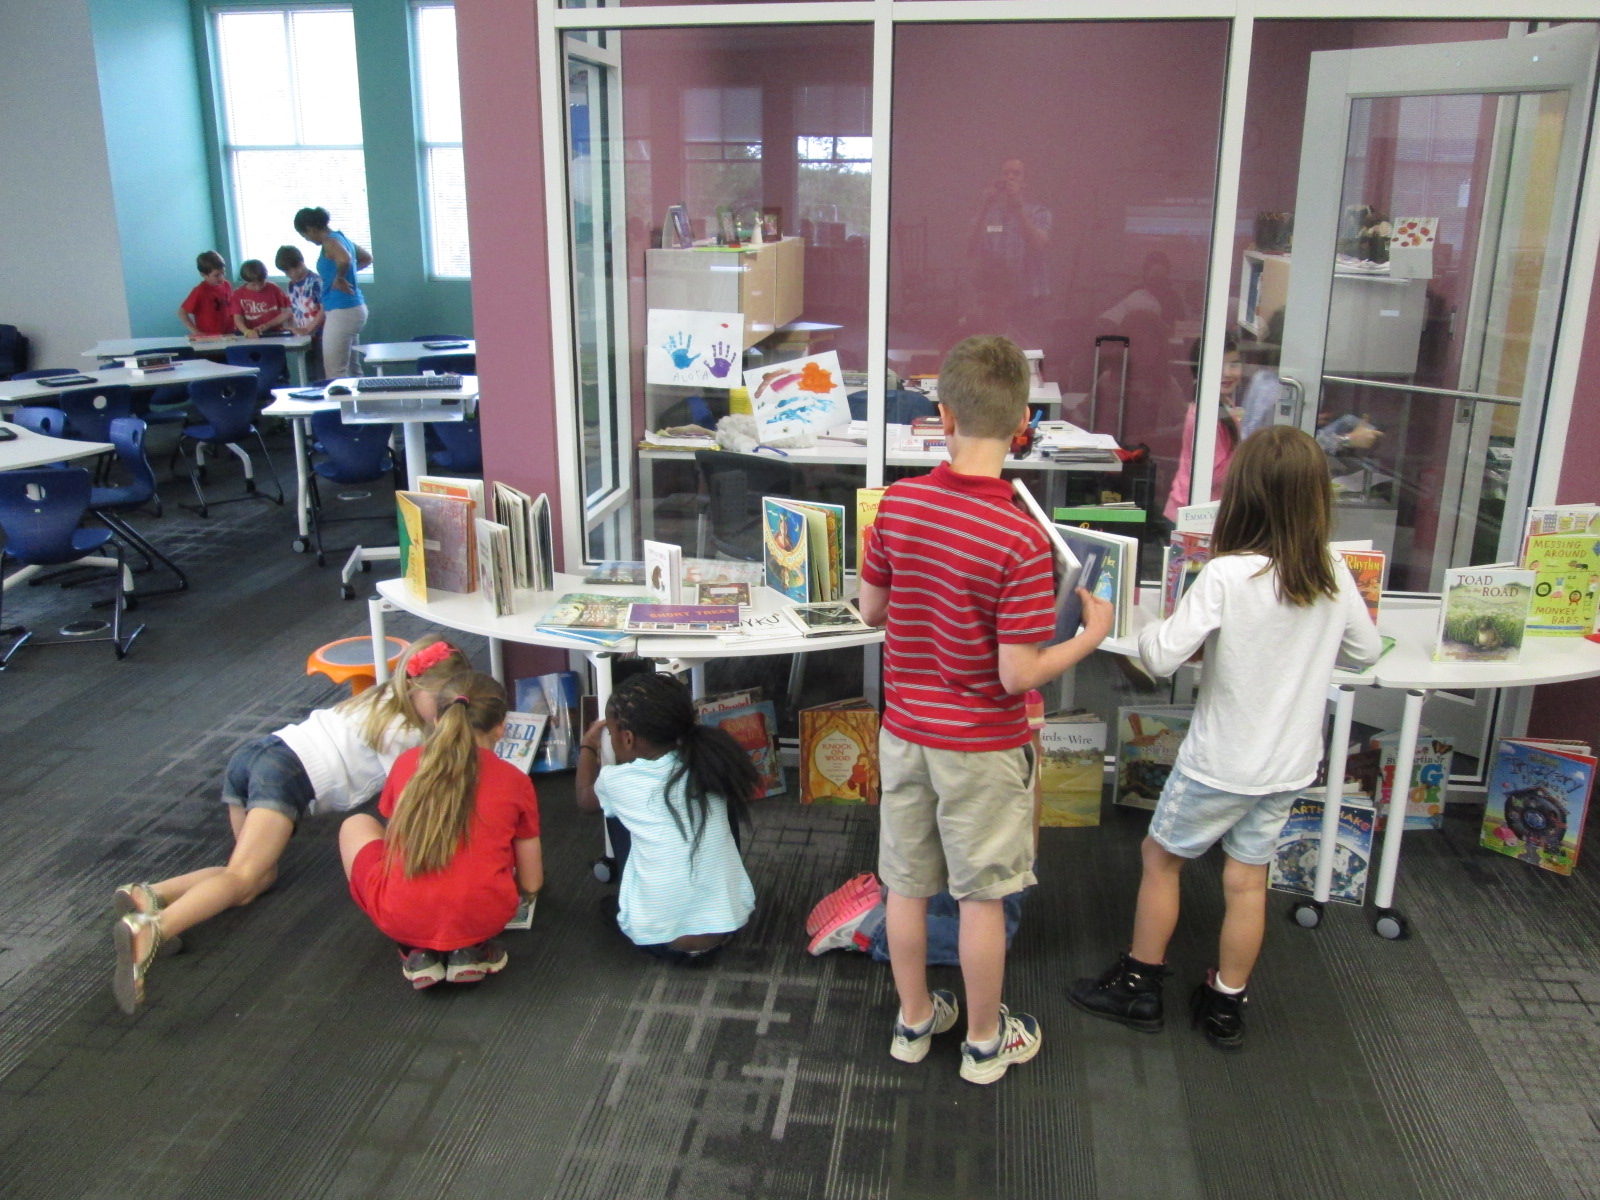
I designated different work areas of the library. Single tables were setup in the middle of the library for students to bring books to and sort them into their poem.
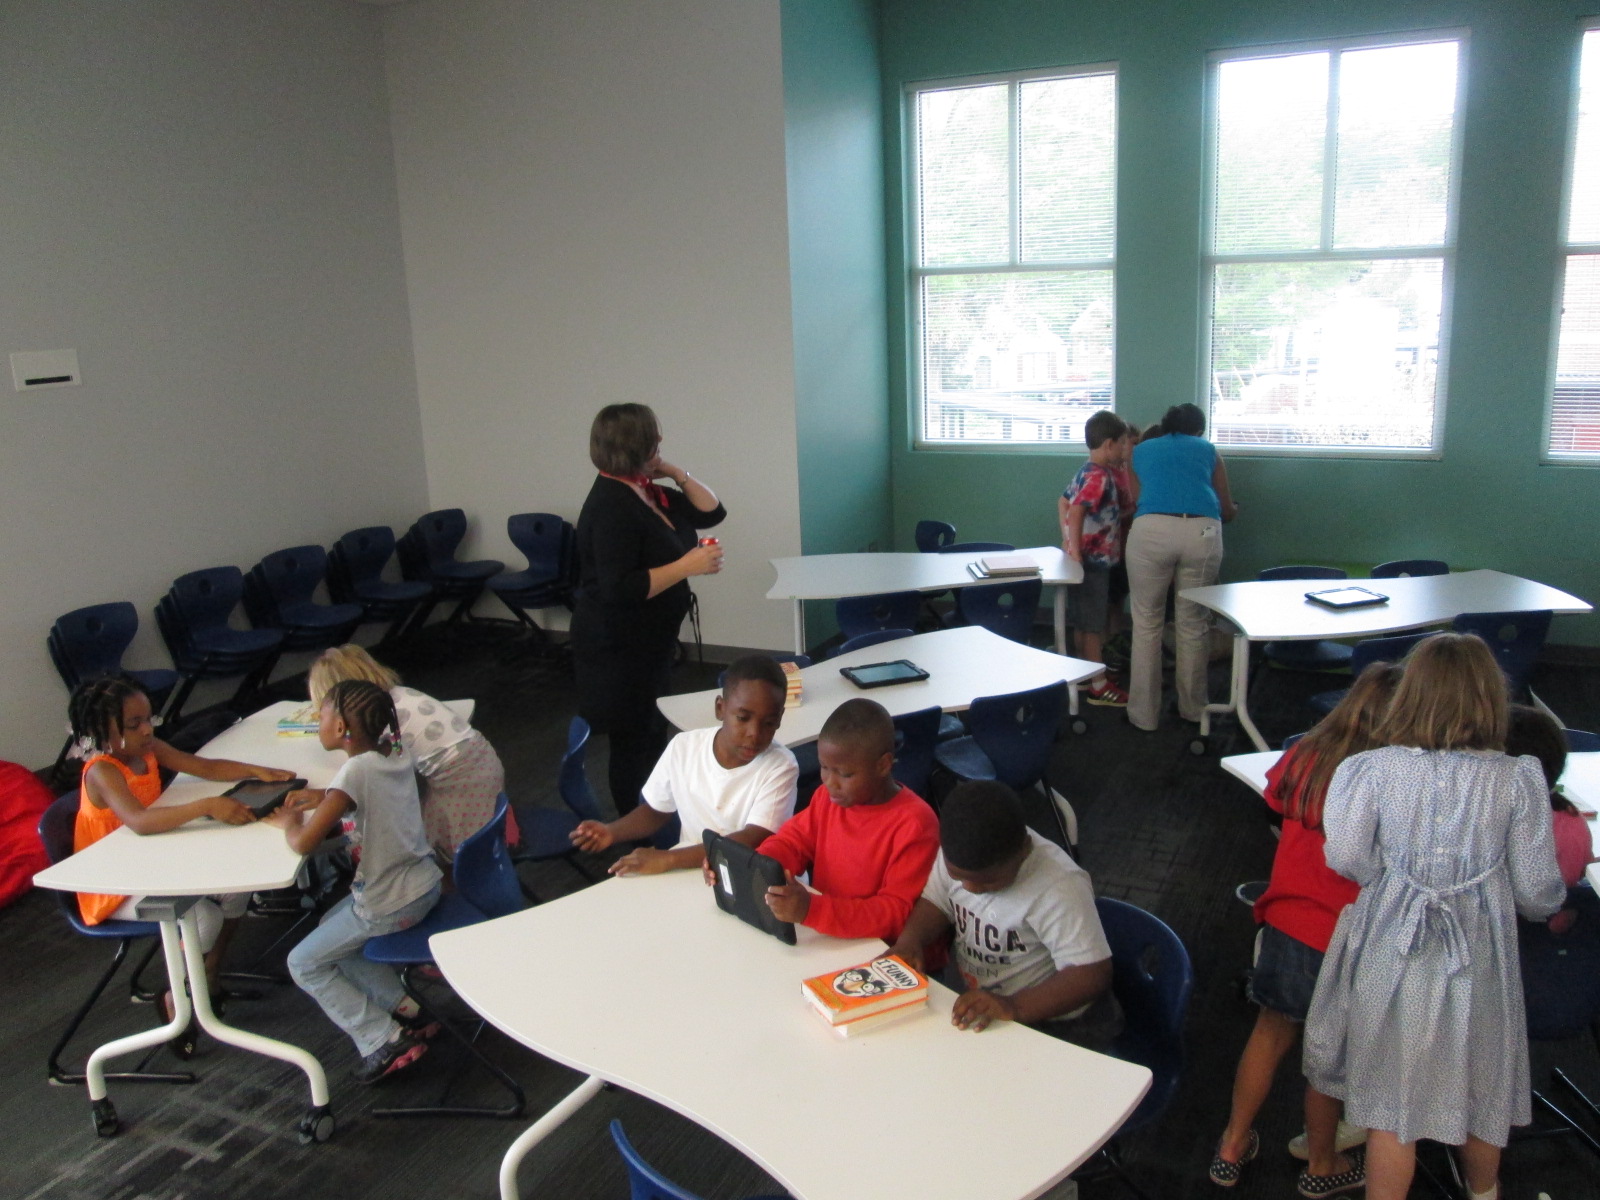
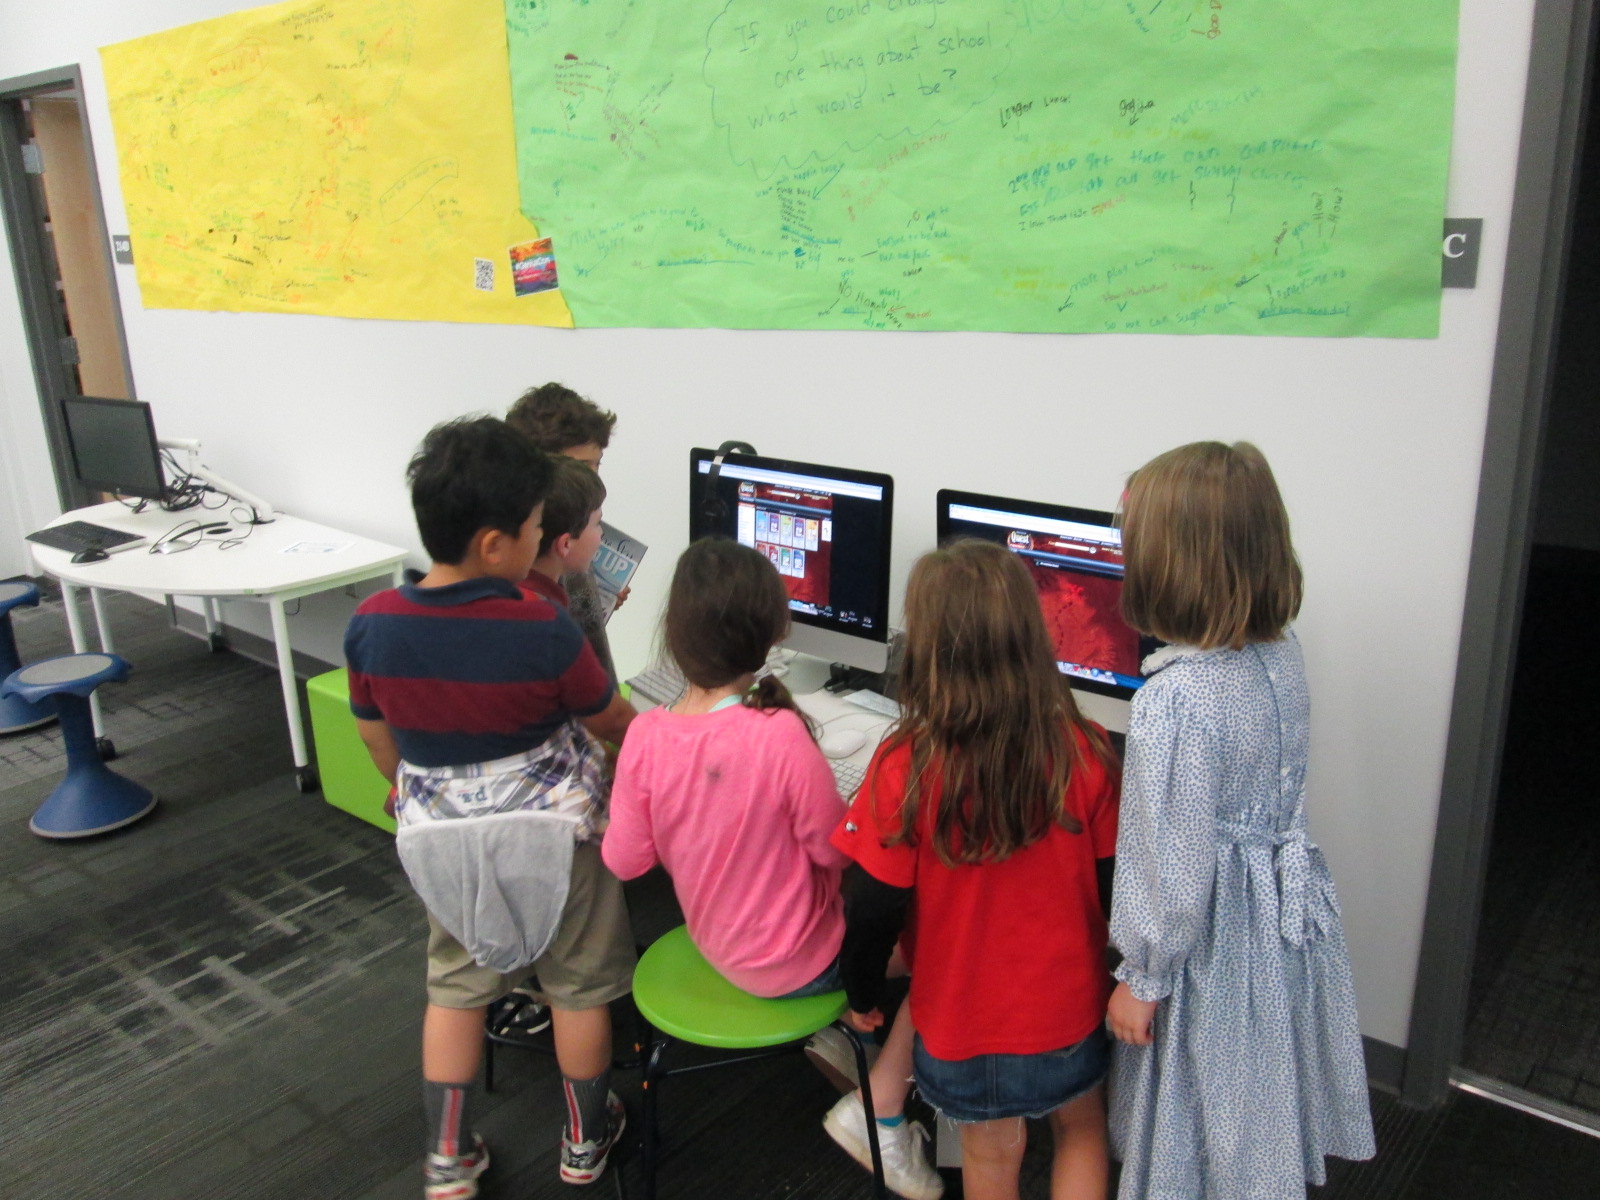
Another section of tables had iPads ready for creating Tellagami projects and taking pictures. I did not spend time teaching students every step of how to use Tellagami because I knew they could figure this out. However, I did have Carol Buller-McGee, a graduate assistant, with me today, and she stayed at the iPad tables to assist students.
My office, equipment room, makerspace room, and storage room were available for students to go to and record their projects.
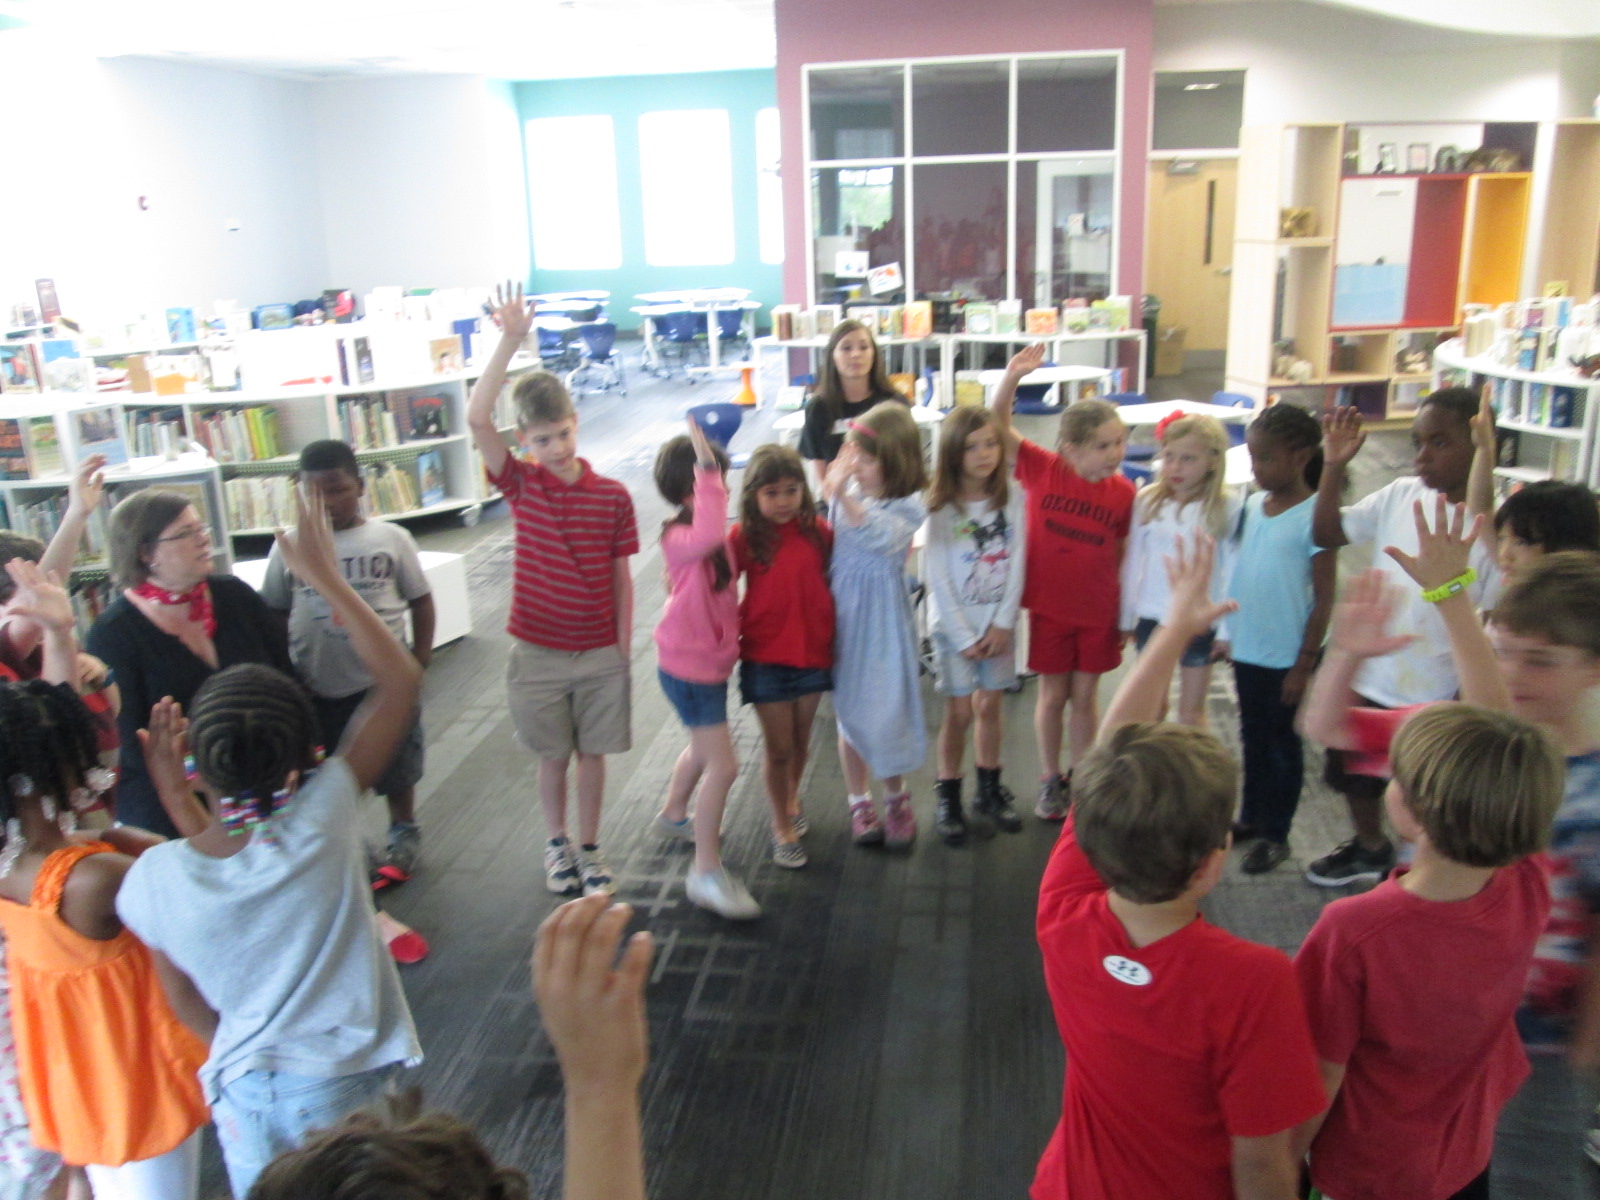
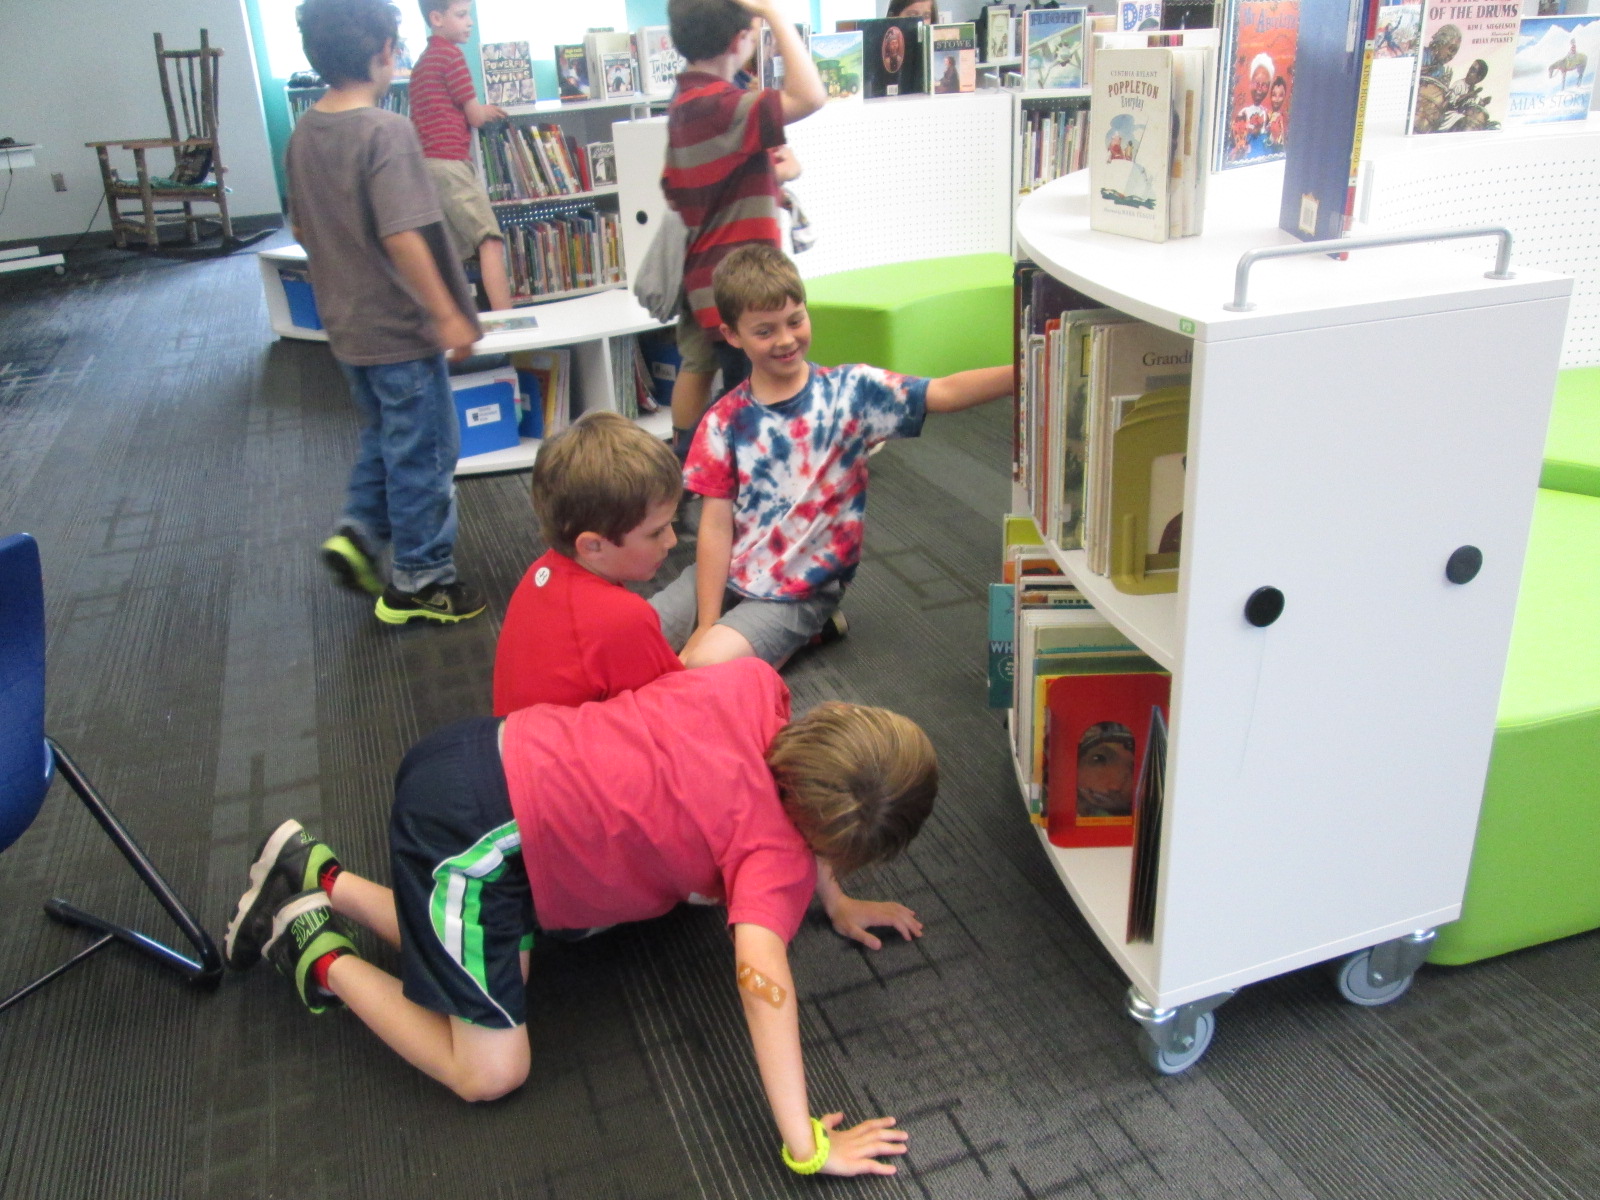
Originally I was going to have students make individual poems, but I made a last minute change to small groups. The teacher had the whole class stand in a circle and find their own groups of 3. She assisted students who needed help forming a group. They went right to work. It looked something like this.
The teacher and I walked around and talked with students about what they were choosing. Many of them found one book to start with and started adding books from there. For example, one group found Please Bury Me in the Library. Then, they started looking for books that might designate where in the library they might be buried. I loved how their poem turned out.
Other groups went with a theme. For example, one group found a book called Dreaming Up, so they started looking for books that had something to do with the sky. They even went to Destiny and searched for sky books to see if there were any interesting titles.


I must say that this was the first time that I’ve done book spine poetry where I really felt like kids were thinking about the books going into their stacks. In the past, it has felt like students just throw a bunch of books in a stack and say they’re done. While this is still a poem, in my opinion, what I saw today was much more thoughtful and purposeful.
After students went through the whole process, some of them started again and made a second poem.
We finished by putting our poems up on the projector screen. I played a poem and we celebrated with snaps. While I prepped the next iPad, the students talked through the steps that they went through to form their poem. I really loved this step because it showed me that students really were thinking carefully about each line that went into their poems.
I have 3 more classes coming this week, so we’ll see how this lesson evolves across the week. I think I’m going to stick to small groups rather than individuals, but we’ll see.
Take a moment to enjoy their book spine gallery.

WOW! SO Amazingly COOL! Thanks Andy for sharing this with us!
These are sooooo good. I can’t believe the second graders were able to pull this together so well. I definitely want to try it out with my fourth graders. You never cease to amaze me!
[…] Mrs. Brink’s Class […]
[…] seeing how Andy Plemmons (a Georgia school librarian in my professional learning community) used Tellagami with his Spine […]
[…] It makes for a load of work reshelving. I initially took the idea from Andy Plemmons in his post and considered his directions to keep from having too many books pulled off shelves. Tiffany […]