Can a Foodini 3D Printer Go to Space?: Empowering Student Voice in the Makerspace

Ms. Kelly’s Kindergarten class is continuing to explore how humans might one day travel to Mars and live.  You may recall that they spent a day in our makerspace exploring several tools that might help them in their research and inventing.

Students are now in the design phase of their project.  They have each thought about a topic that they want to focus on in relation to surviving on Mars.  Some have chosen topics like water, oxygen, food, shelter, robot exploration, and clothing.  They are continuing to research online and in books, but they are also taking time to think about their own dreams of what might be possible in 20 years when we might live on Mars.

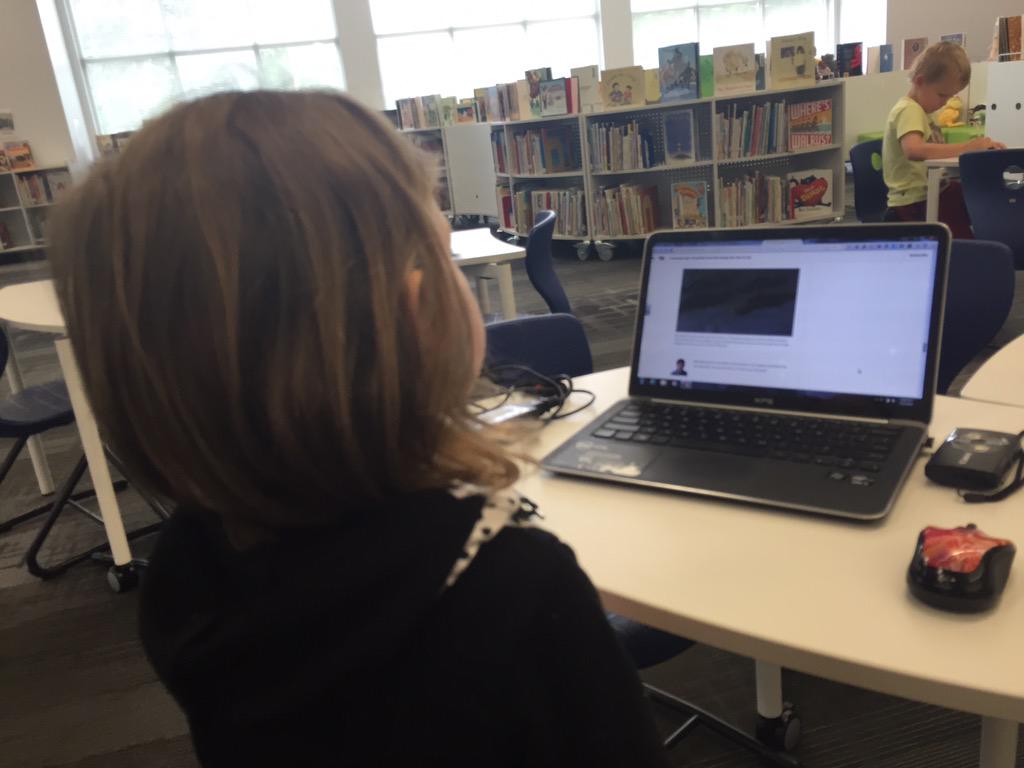
A small group of students came to me in the library.  After a quick check in on topics, each student started sketching some designs on blank paper.  I walked around and listened to students describe their designs and asked follow-up questions or shared resources that I knew about.

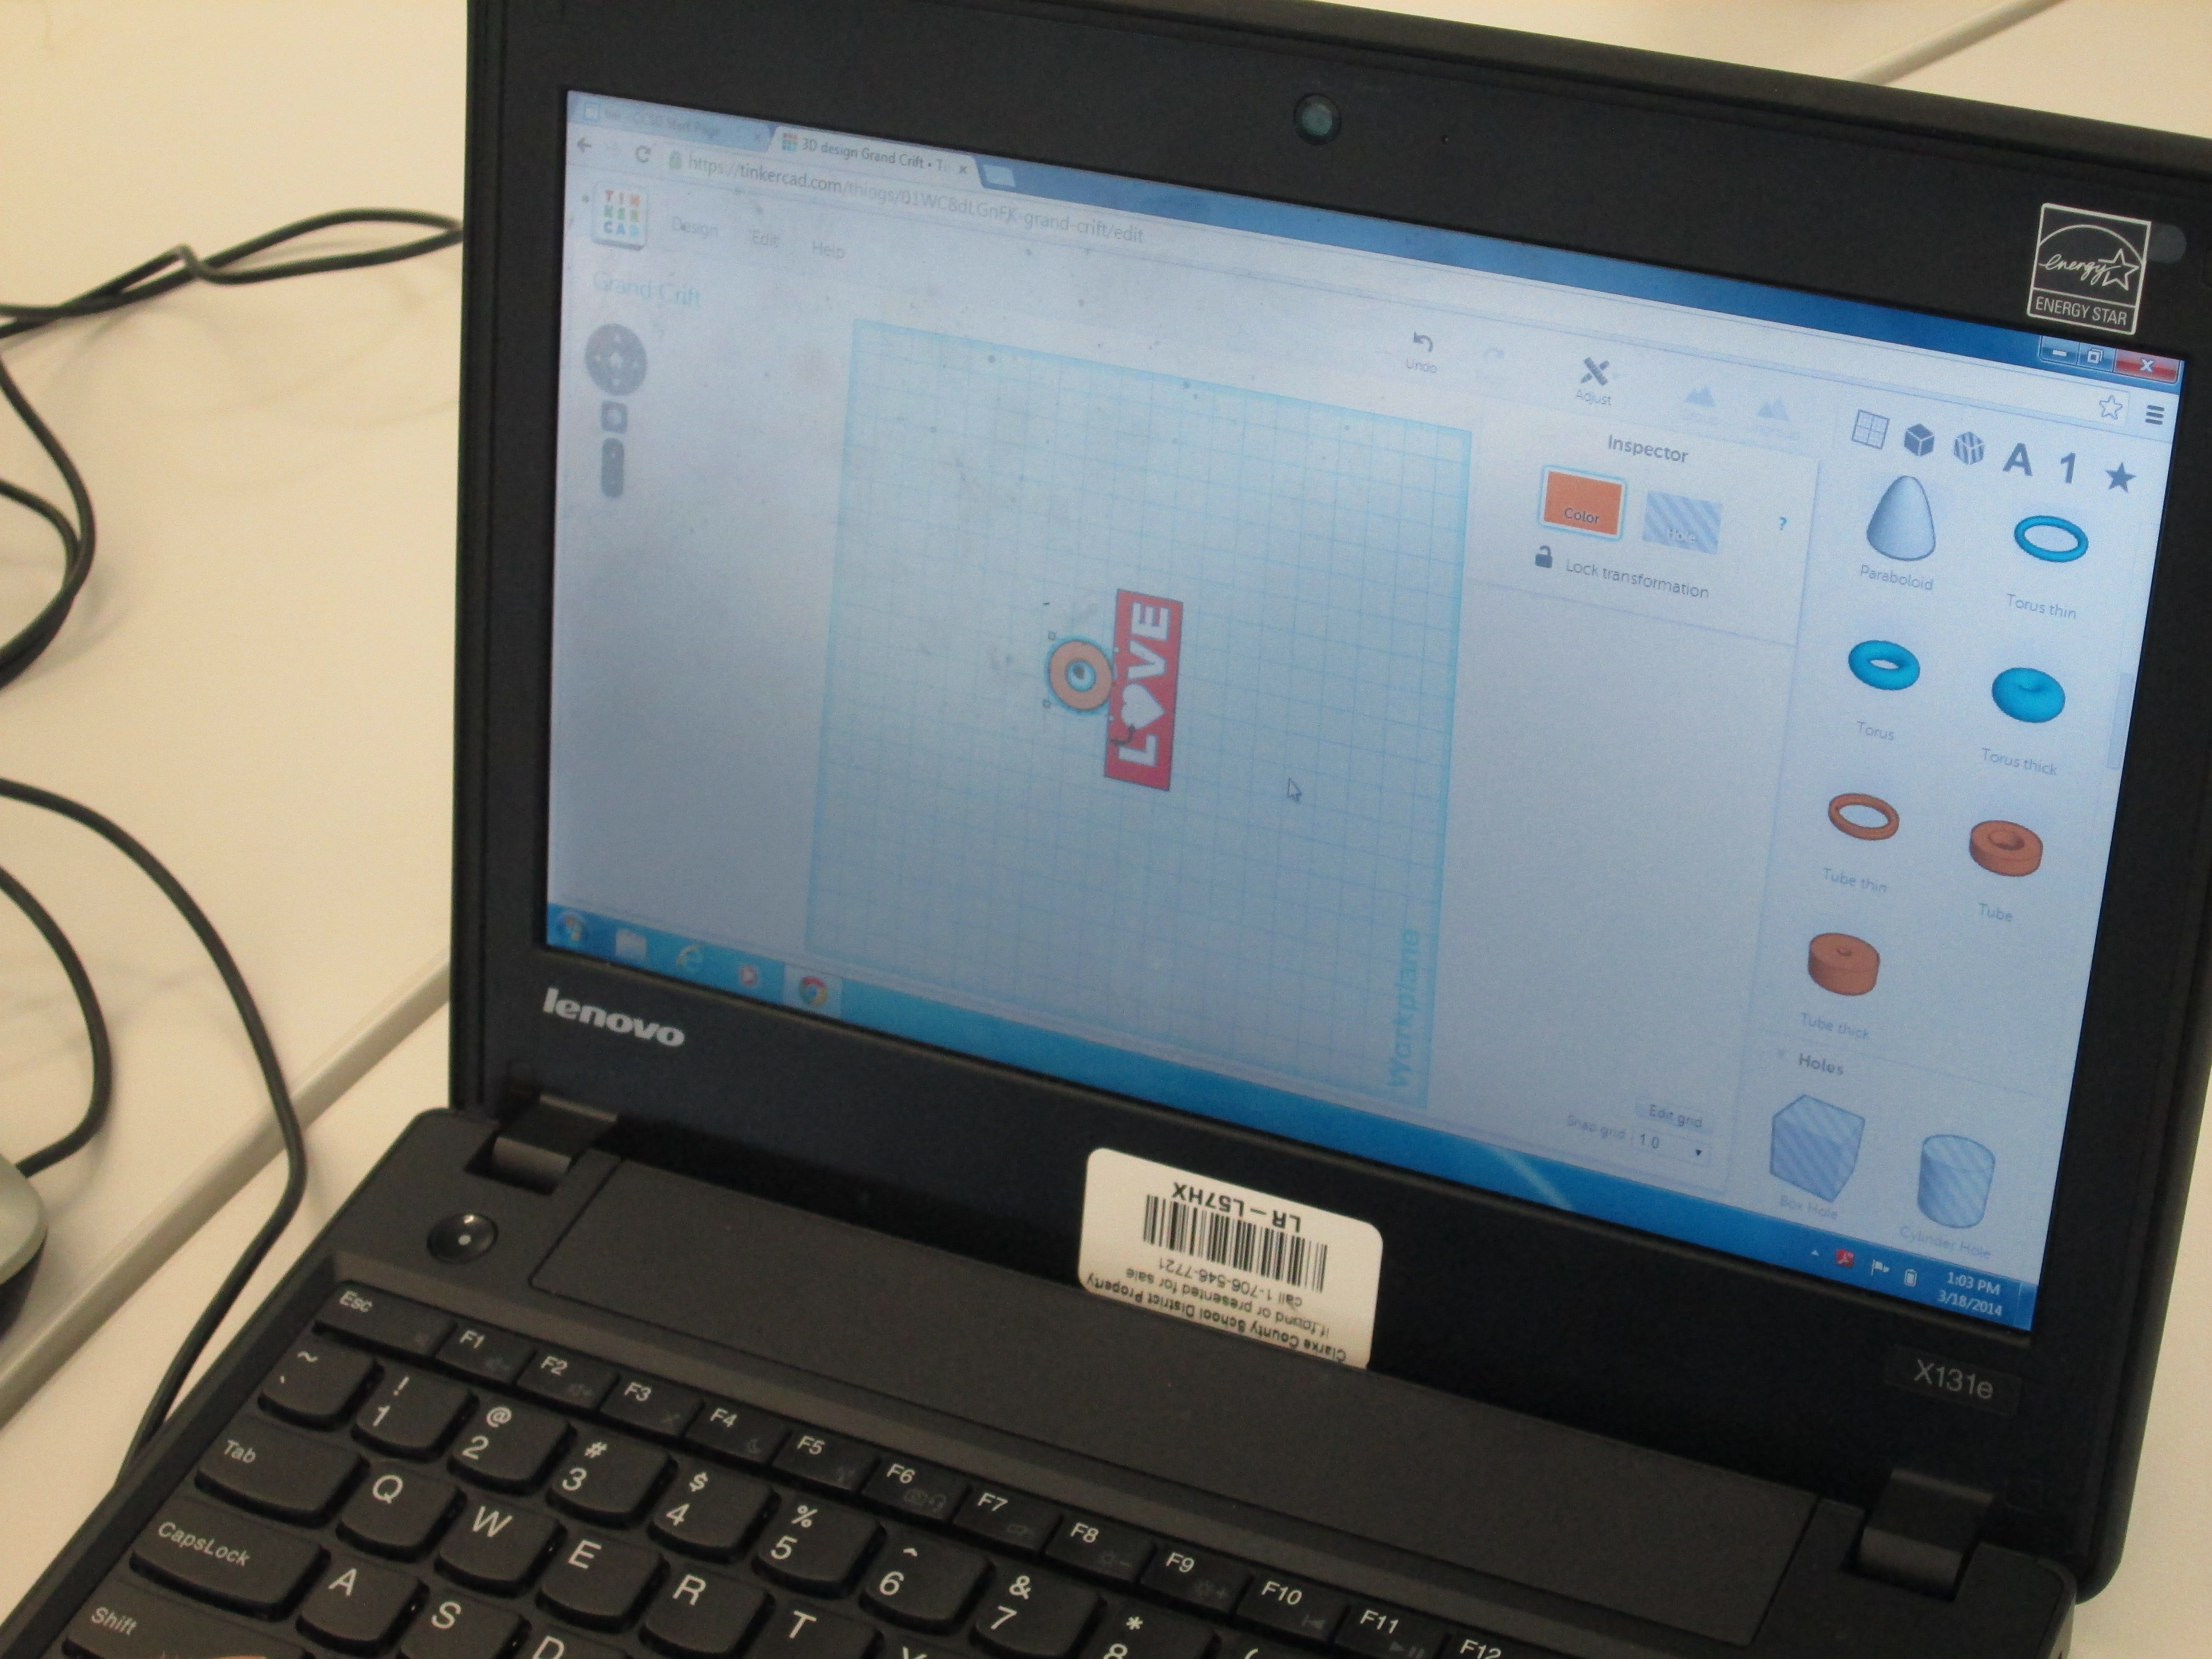
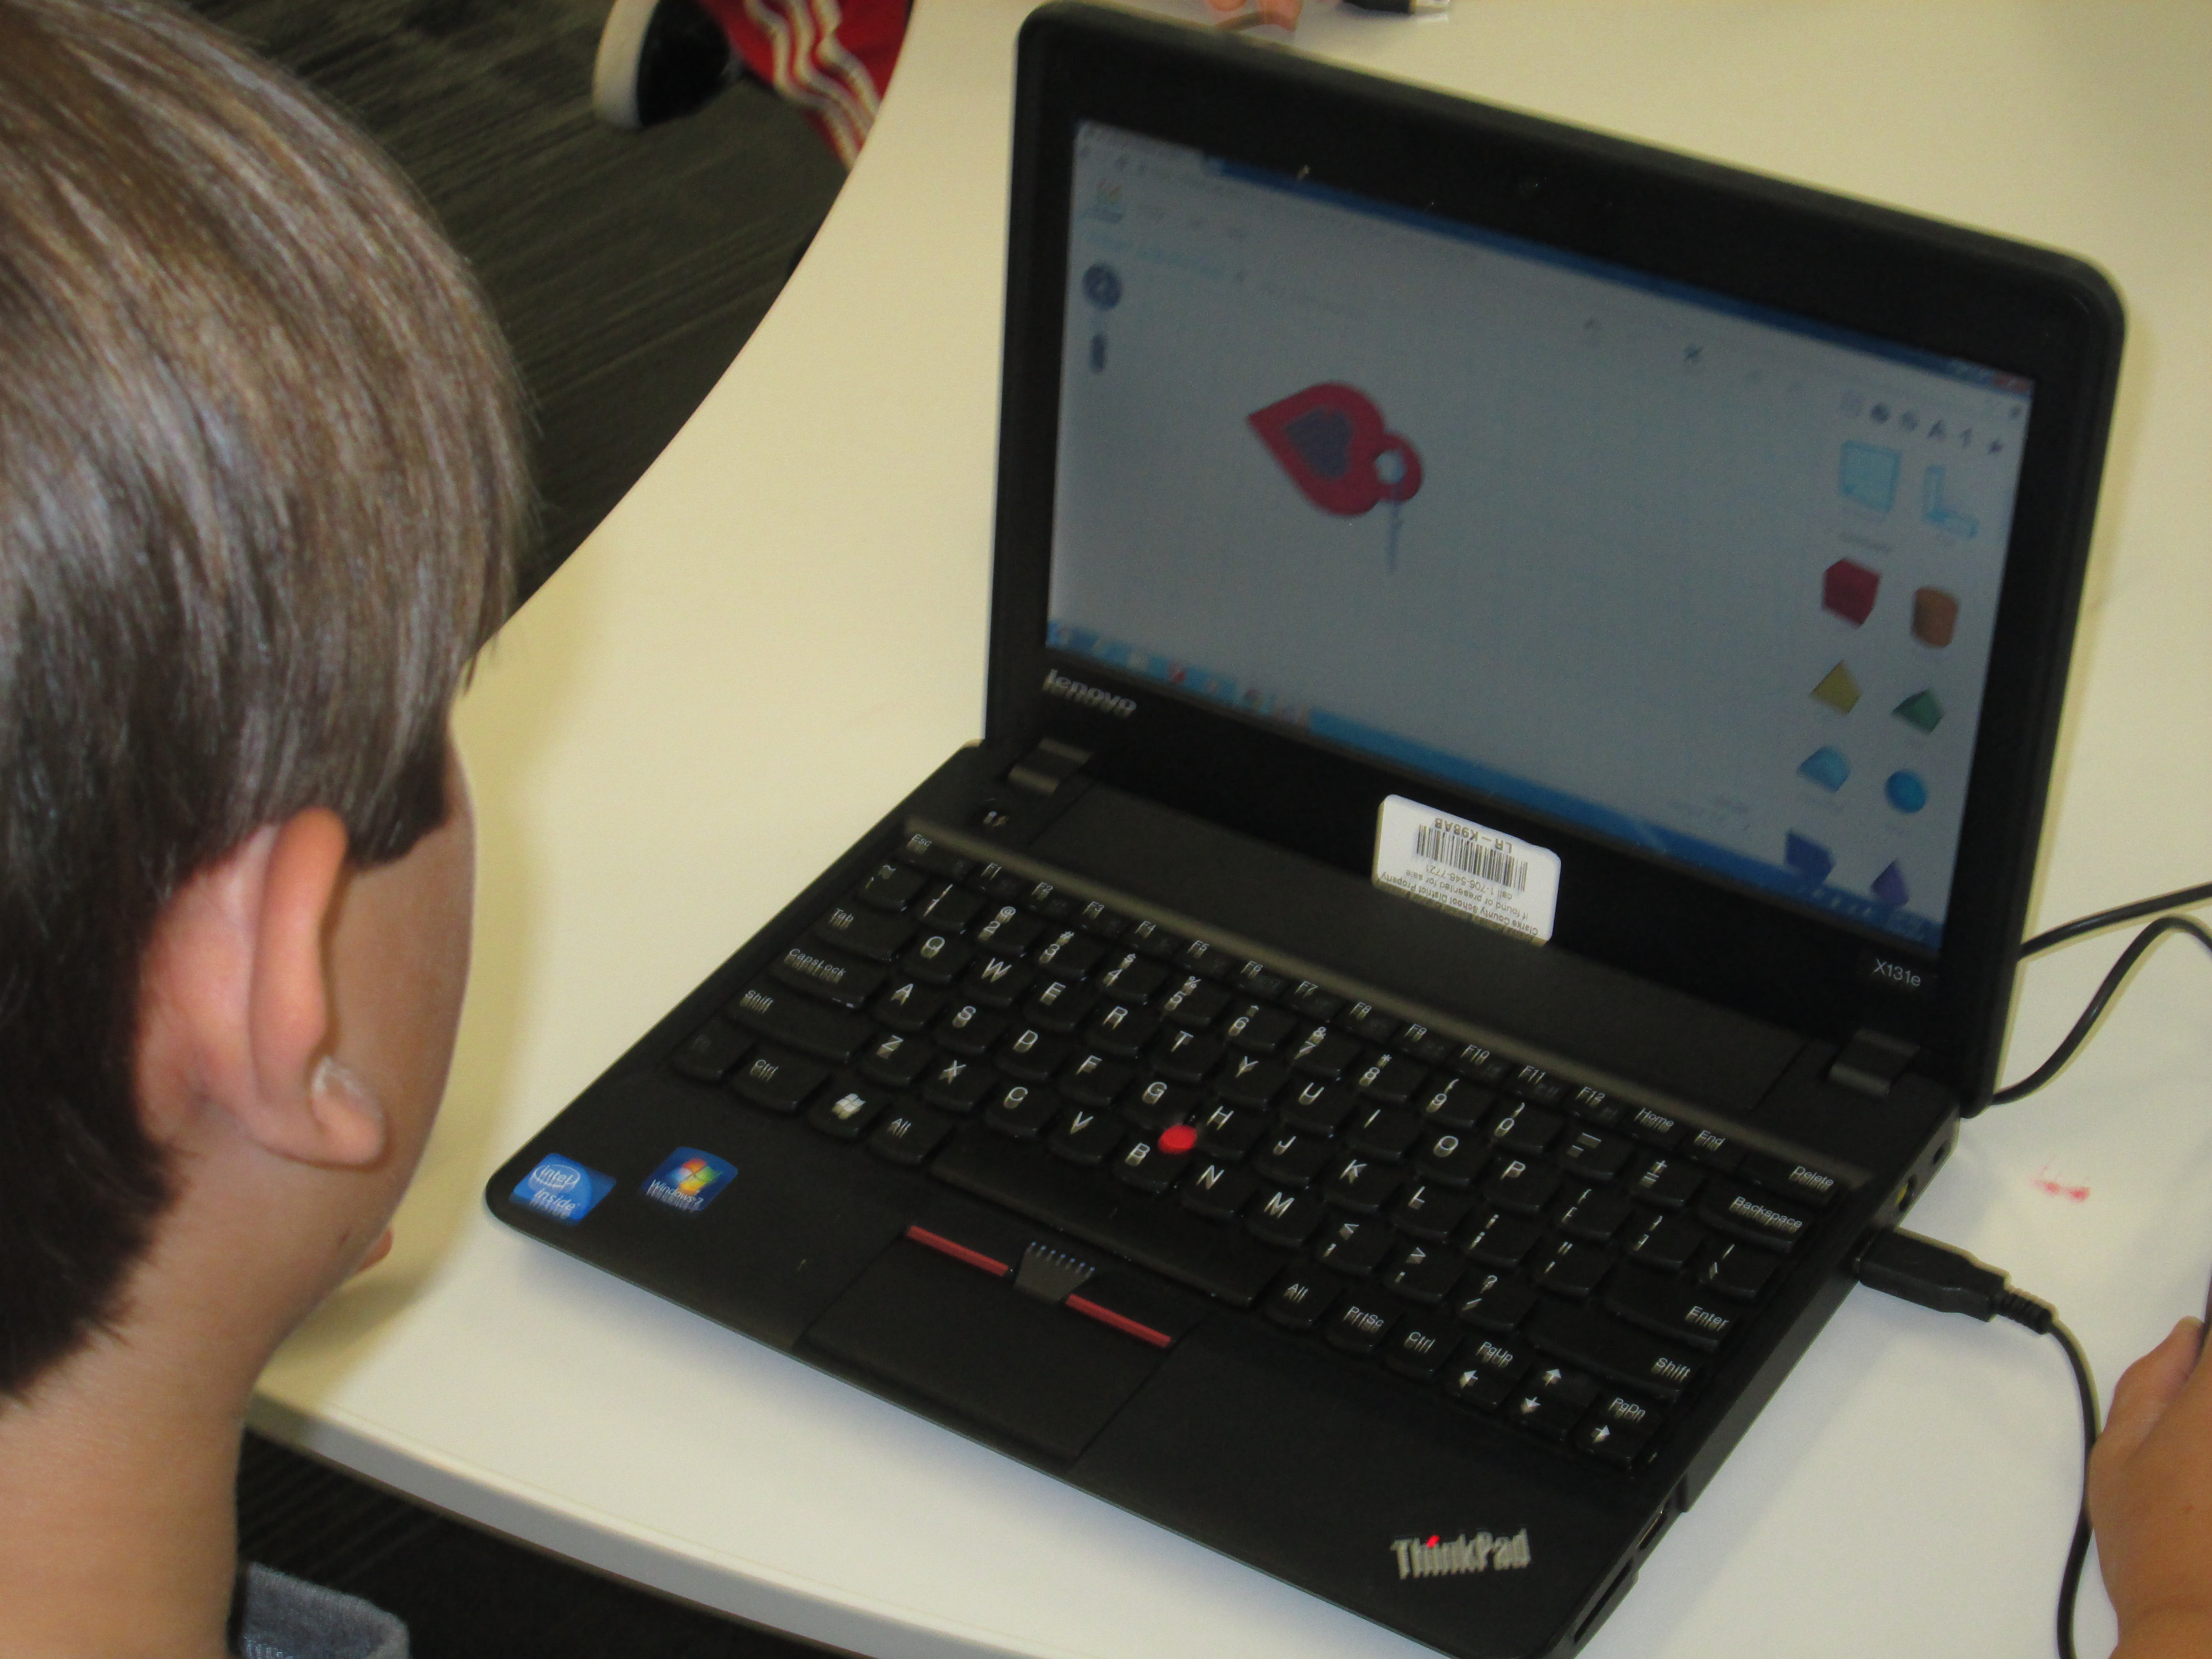
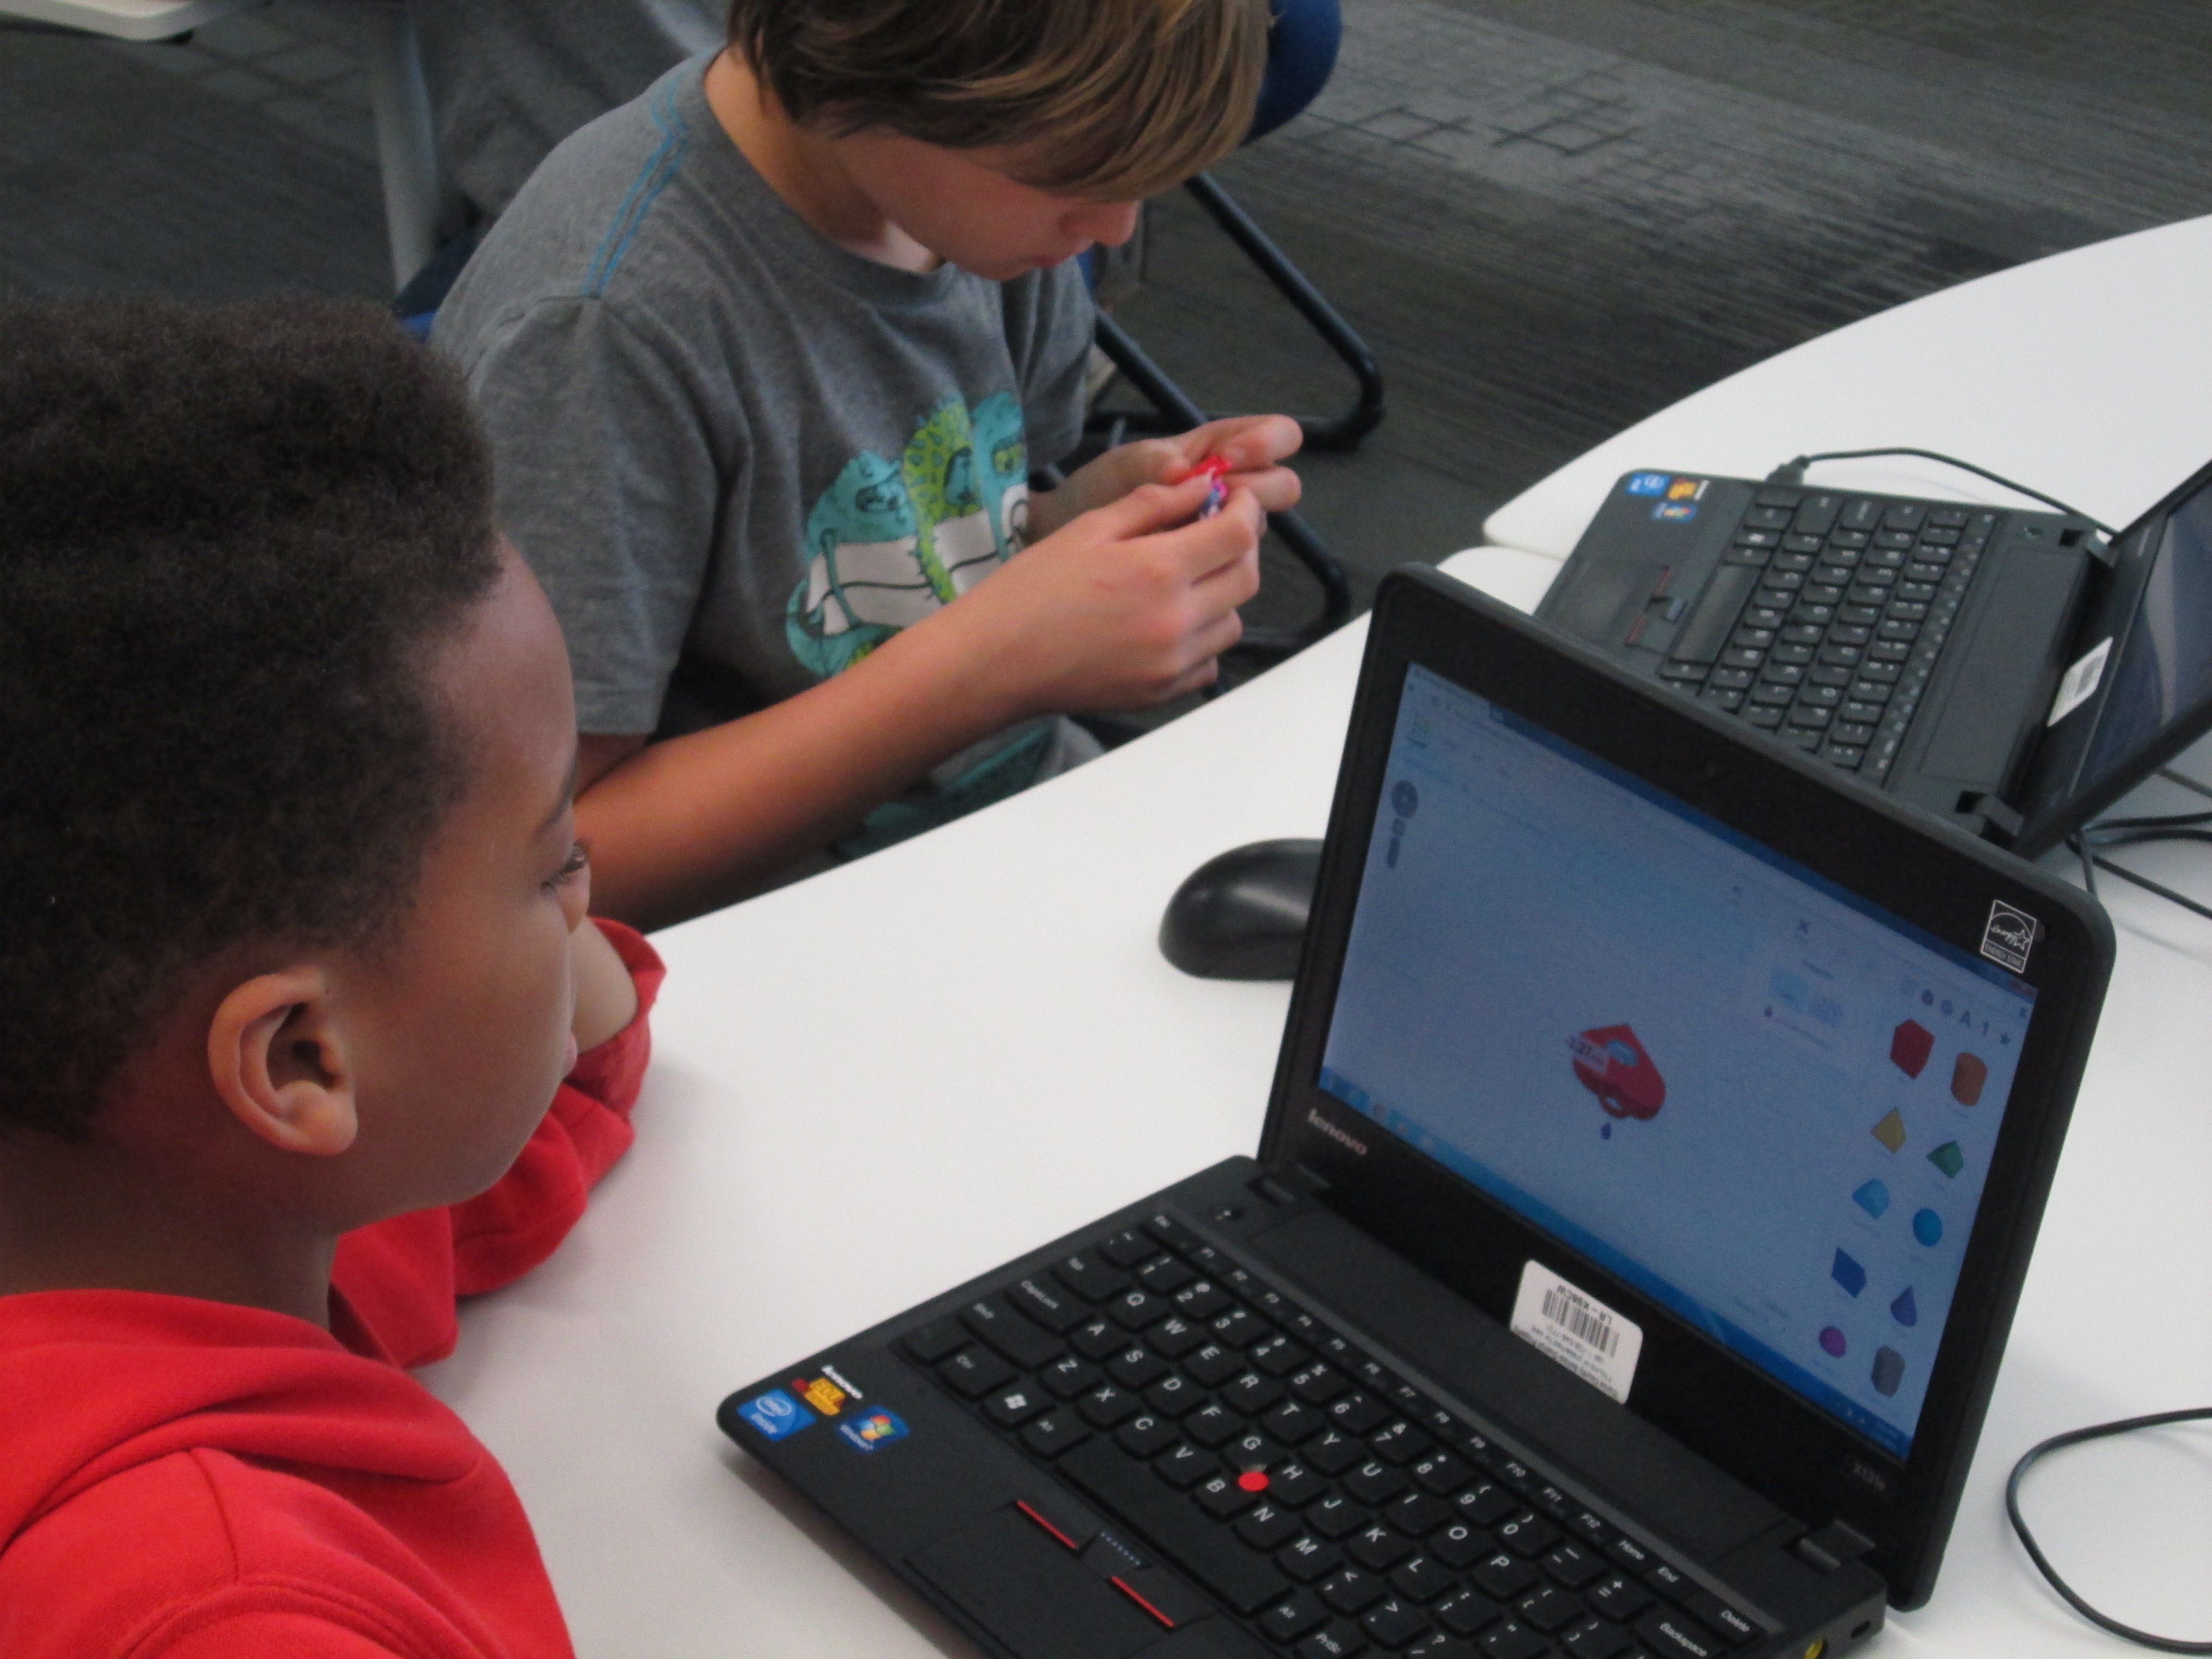
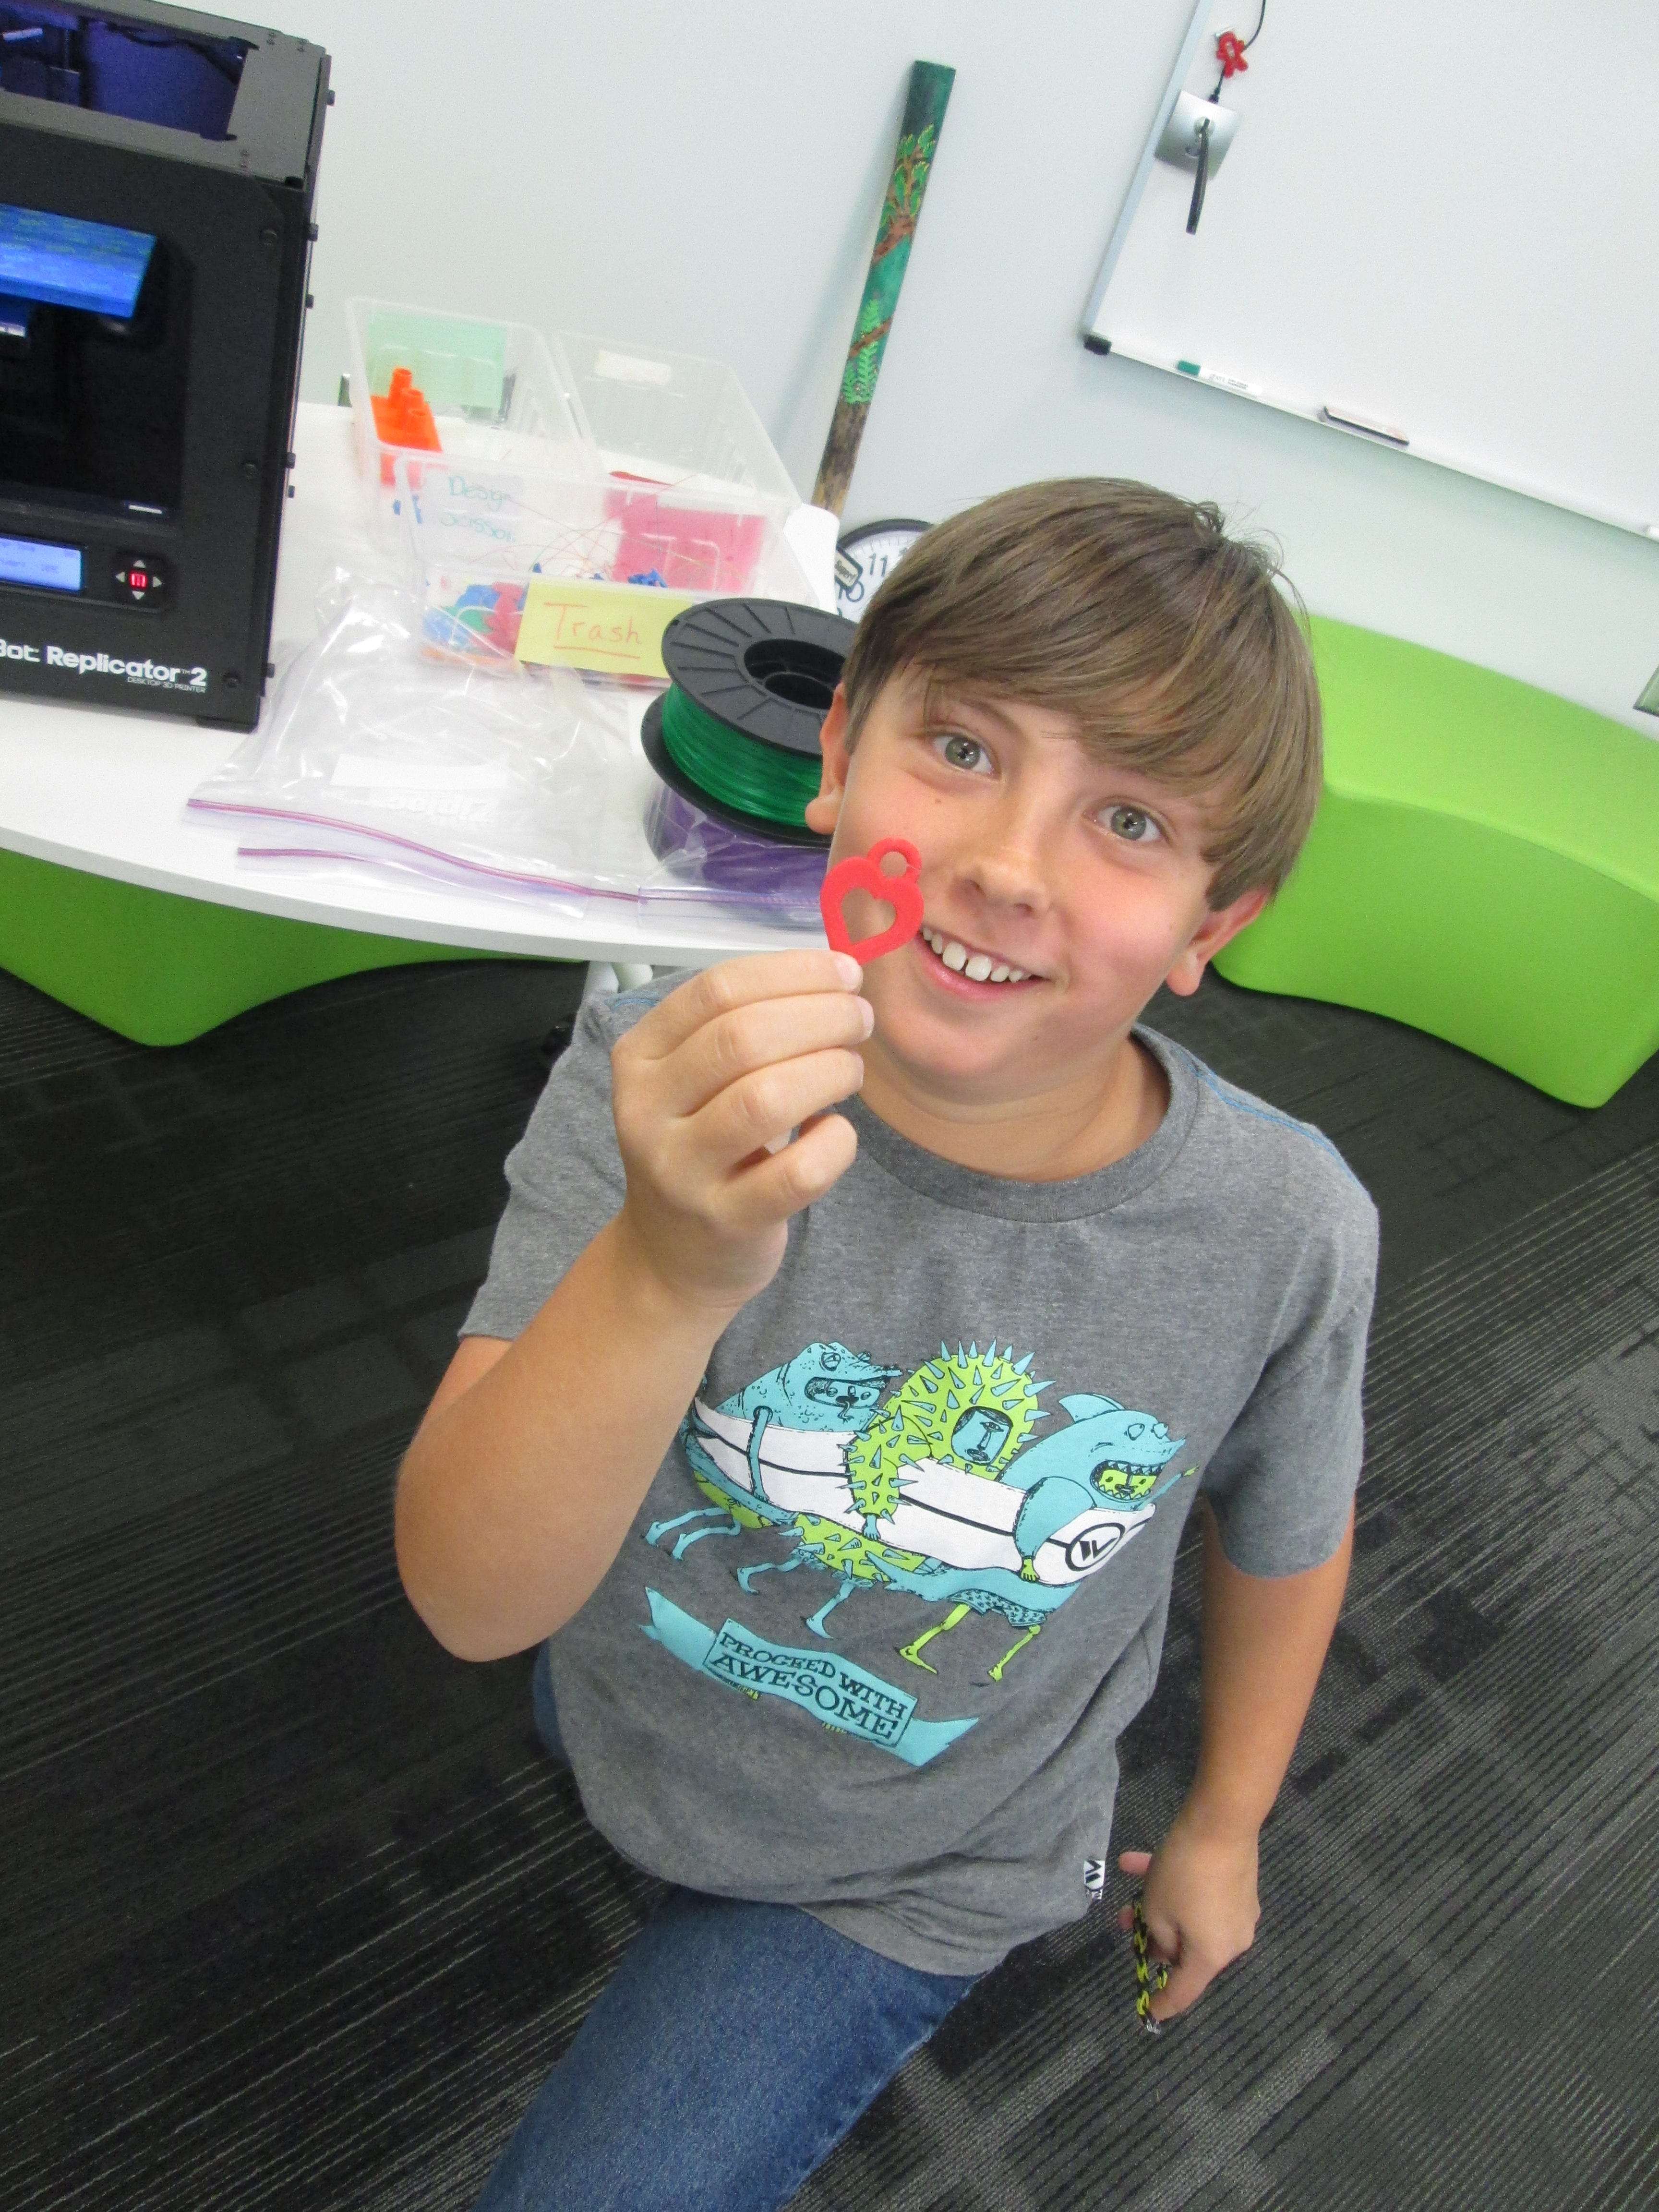
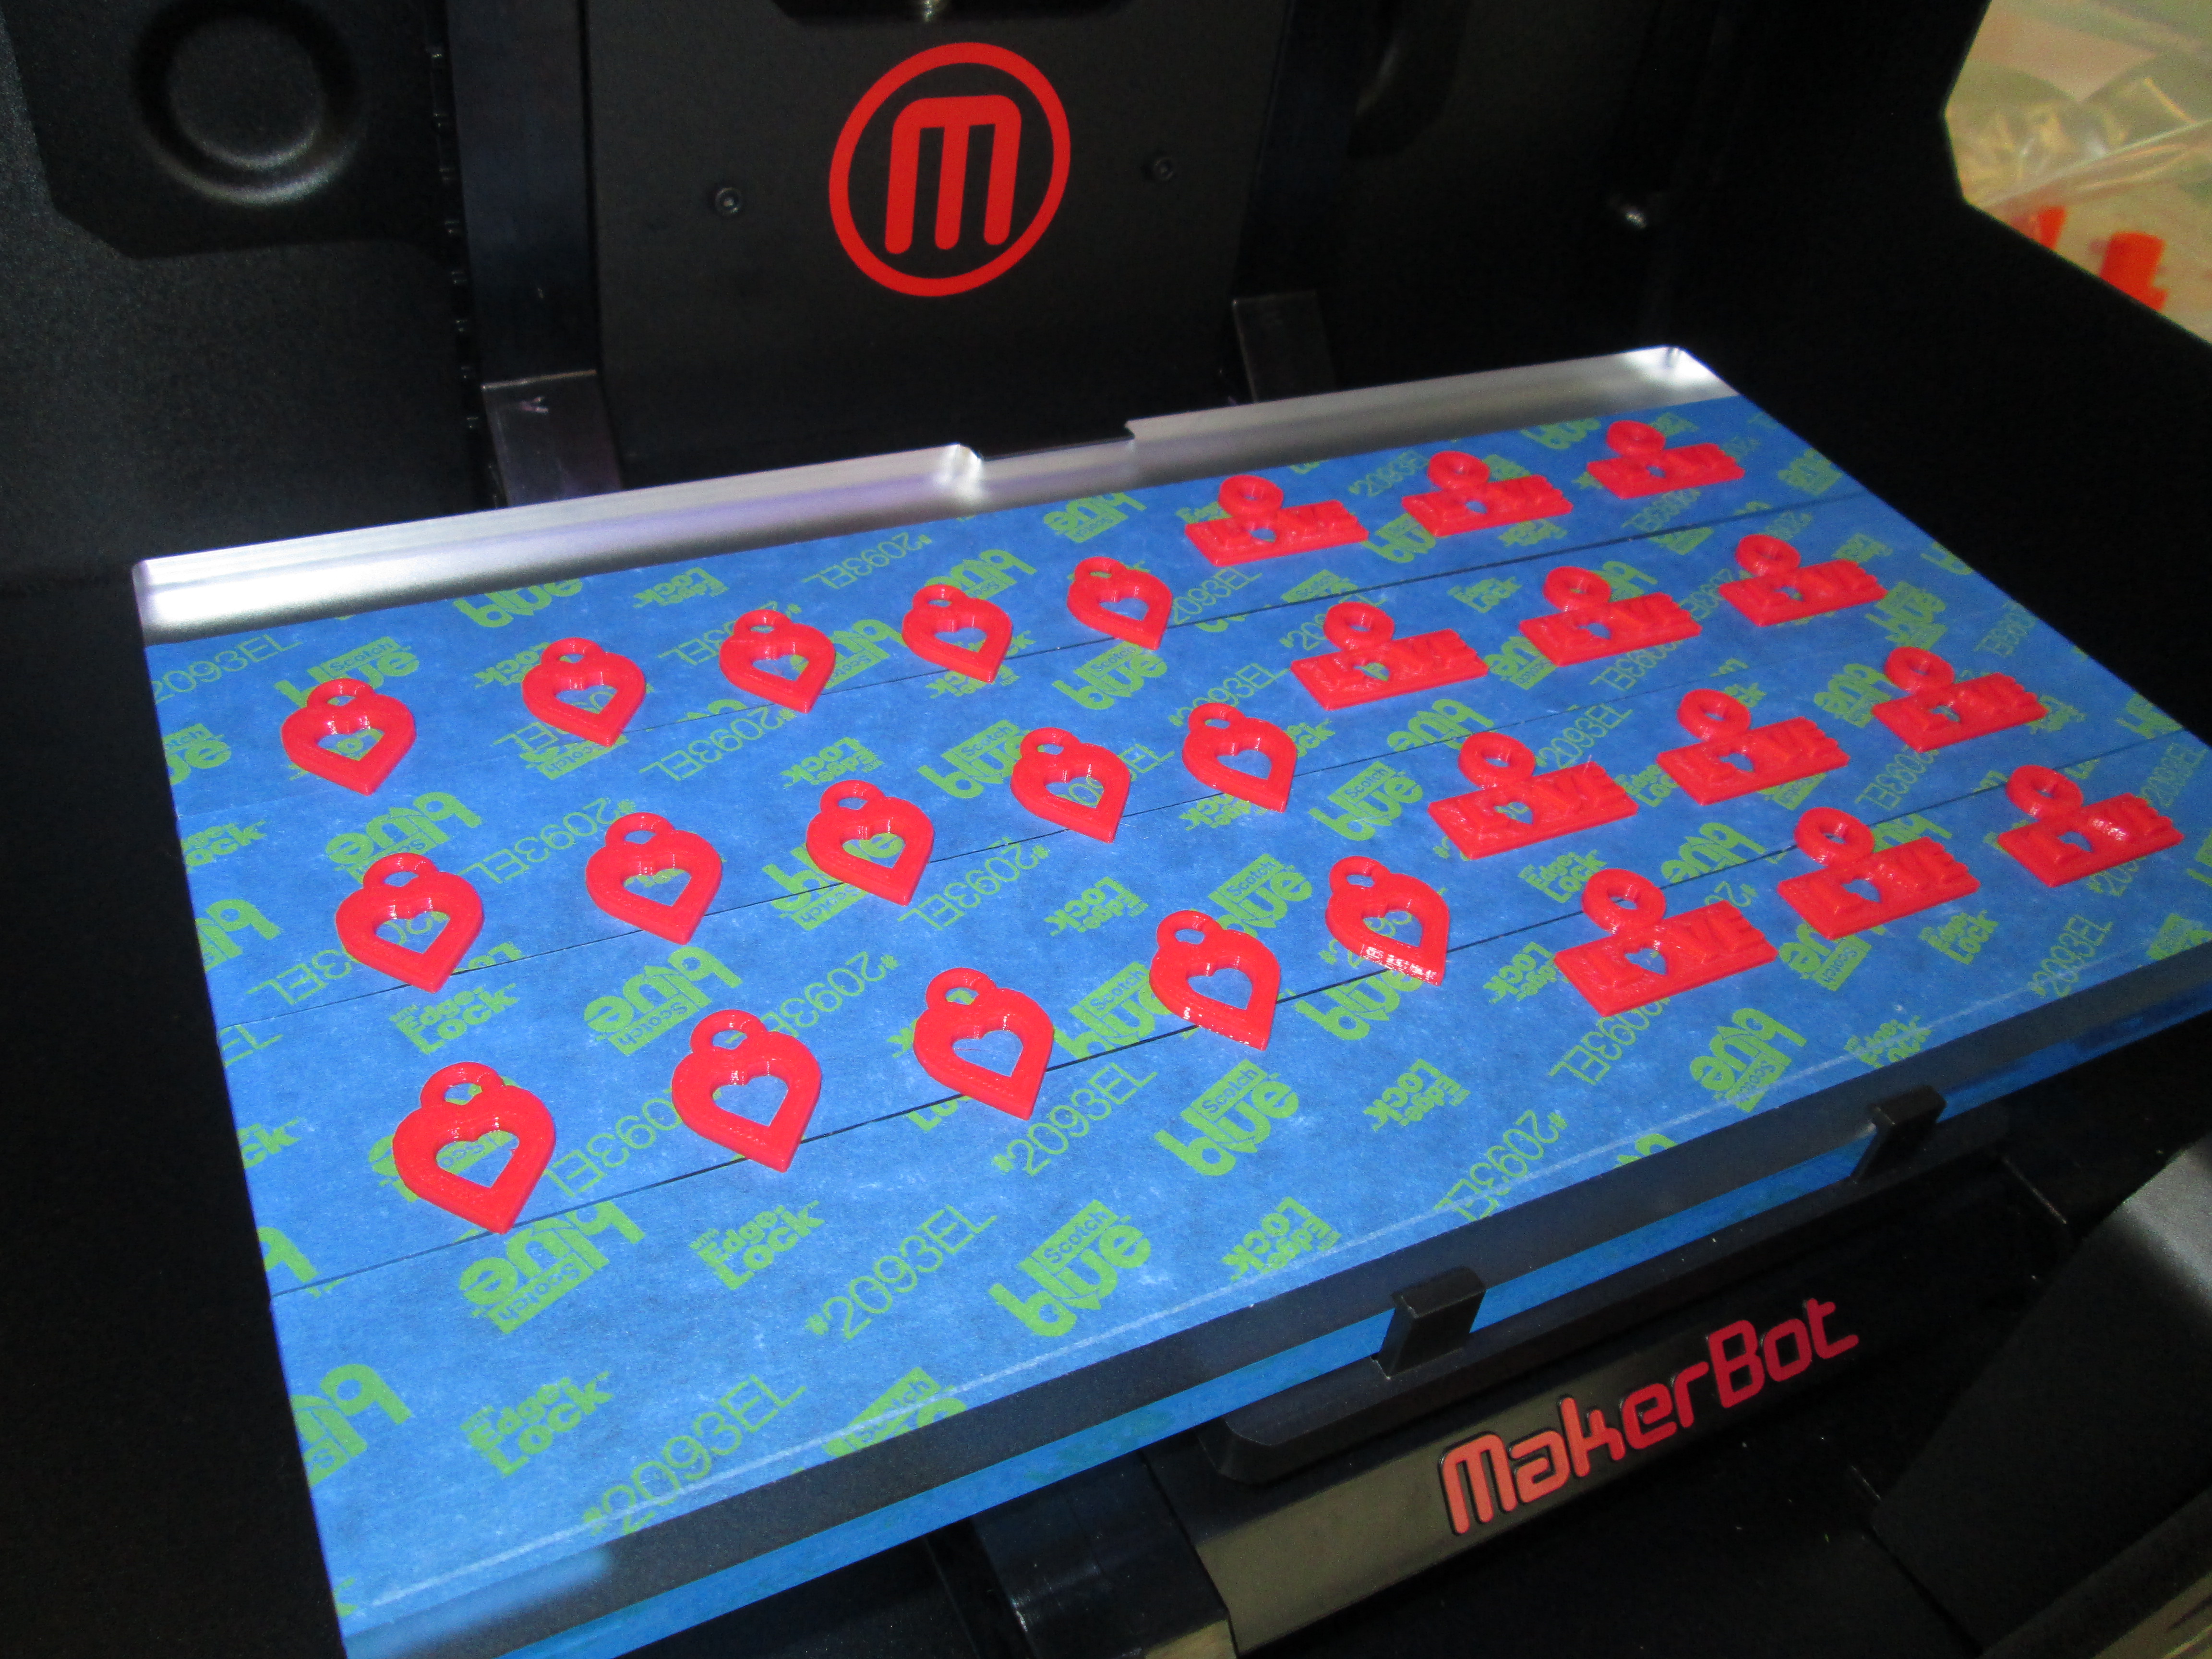
One girl was focusing on food.  She wanted to create a machine that would dispense food as needed.  Since I knew the kids were familiar with our makerspace, I asked her what she knew about 3D printing.  It turns out that her brother is the very student who designed our Barrow Peace Prize medal, so she knew a whole lot!

I followed this discussion by telling her that there are many kinds of 3D printers including ones that print food.  She looked at me in disbelief, so we went to the computer to look for some information.  We came across the Foodini.  We read some information and then we watched a video about how it worked.

After watching the video, the student went back to her design and started drawing her own version of the Foodini.  She thought it would be great if we could take the storage containers of food into space, put them into the printer, and then print food as we needed it.

She was also very curious about whether a Foodini would work in space, so I said “why don’t we ask them?”  I pulled out my phone, opened twitter, and composed a tweet to Natural Machines (@NaturalMachines).  The student helped me write what to ask.

Later that day, we heard back from Foodini.

I thanked them for answering us back.

It was nice to know that there was a company out there willing to answer a question from a Kindergarten student, and it makes me wonder how many other opportunities are out there for our students if we just step up as the connector between the student and the company.  A Kindergarten student shouldn’t have a Twitter account, but the teacher or teacher librarian can harness the power of Twitter to make that connection for her.

I can’t wait to see what this student comes up with in the end, and I look forward to connecting even more students with the resources they need through my access to social media.

Celebrating Thanksgiving Traditions with Balloons Over Broadway and Looking Ahead

Second grade signed up for a rotation through the library as part of their Thanksgiving feast celebration on the day before our holiday break.  Their request was to read the book  Balloons Over Broadway by Melissa Sweet.  If you’ve never read this book, it is amazing!  The illustrations are filled with details that you can search through for hours and it is packed full of information while being very readable as a read aloud.  While I love biographies, sometimes it is hard to read a biography aloud because of the length.  Balloons Over Broadway is just right.

Before we read the book, we looked at information about the Macy’s Thanksgiving Day Parade.  Watching this parade has always been a part of my Thanksgiving tradition.  I was very surprised to see how many students had never watched the parade or even heard of it.  I was reminded of the importance of the picture book and how it brings out conversations that might never have happened without the sharing of a story.  Some of our conversations included perseverance, immigration, failure, and growth mindset along with some other Thanksgiving traditions.

There are numerous resources you can use to share about the parade and the book:

After we read the story, we used on of the pages out of the activity kit to design our own balloons.

www.hmhbooks.com kids resources BalloonsOverBroadway_ActivityKit.pdf

I loved watching what students came up with.  Once they finished, they had the option of sharing their balloon on a Flipgrid.

Students came up to the webcam on the projection board and I helped them click through the Flipgrid menus to take a picture and record.  Then, students came up to type their name.  I normally use the iPad app for Flipgrid, but this was a fast way of doing a lesson closing as students finished their coloring on their own time.


balloons

Click here to see and here about their balloon designs!

The book also made me think ahead.  Last year in 2nd grade, we did a great project with the force and motion standards in science where students investigated Rube Goldberg and made their own inventions.  Balloons Over Broadway was a perfect introduction to the idea of tinkering and using everyday objects and simple machines to take mundane tasks and make them interesting.  I want to revisit the opening pages of the book where Tony Sarg invents a way t feed the chickens when we do the simple machine project later this year.

I also thought about the Hour of Code and how that event brought about so many conversations about failure and perseverance.  This book would be a great example to share ahead of Hour of Code to think about a growth mindset and prep students for the failure that comes with coding and how you handle that failure as a learning experience.

Who knew that so many thoughts would come about from a simple request to read a story.


Banding Together with Rainbow Loom, Makerbot, and Libraries

Back at the beginning of the new year, my friend Shannon Miller in Van Meter, IA told me she was planning to do a research project that involved Rainbow Loom bracelets.  When she started implementing the project in her library, it organically grew into something much larger.  Through connections with In This Together Media , the project developed into “Banding Together”.  You can read the full details of the project here:  https://www.smore.com/n65m

Here are the basics:

  • Students at Van Meter, Barrow, and multiple schools around the country are making Rainbow Loom bracelets.
  • The bracelets will be sent to a school in Mangalore, India
  • Along with the bracelets, we will send poetry written by students, 3D printed charms designed by students, and a disposable camera to take pictures to send back

I announced the project this week on our morning BTV.  I placed a collection box for Rainbow Loom bracelets on our circulation island, and by the end of the day, a few bracelets had already been donated.  Students asked me about the project all day.  By the next day, several kids were bringing bracelets in.  I was so surprised by the generosity and enthusiasm from the students to send their bracelets across the miles.

First Day

Second Day


Next, we started designing charms for 3D printing.  I had already experimented some on my own, and I sent Shannon Miller a file that I made so that her students could print it and learn from the file too.  Her students took my file and modified it or examined it in order to design their own.

Shannon’s students in Iowa being inspired by the file I sent them

I have a group of 5th graders who have been exploring different technology and how they might support other classes trying to use that technology.  They have already been exploring Tinkercad to design objects for 3D printing, so I knew they would catch on fast to the idea of making charms.

charm design (2) charm design (3) charm design (4)

Since the Banding Together project has a lot to do with spreading the joy in our hearts, we have focused our charm design on that theme.  We decided that each charm should have some kind of heart.  Dmitri designed a heart with a heart hole in the center.  Walker designed a charm with the word “love”.  Instead of an “o” he used a heart.  I designed a triple heart to symbolize India and the US uniting together with our shared joy.  We took these first 3 designs and made sure that they printed correctly.  Once we saw how they worked, we started mass production.

charm design (5) charm design (7)

As charms were ready, parent volunteers helped put them on bracelets.  Dmitri and Walker also became quality control and made sure that all of the Rainbow Loom bracelets we were sending had joy-filled quality.  They continued attaching charms.

quality

We are waiting on a few more designs to be completed and we will ship our first batch of bracelets and charms.

Next week, we are adding a new layer onto the project with poetry, so look for an update soon about this exciting development that our 2nd graders will be involved in.

I love how this is a project that students in all grades can be a part of whether they made bracelets, wrote poetry, designed charms, or helped with packaging and quality.  We truly are banding together in more ways than one.

charm design (1)


Our 1st Student-designed Print on Makerbot Replicator 2

1st print (22)Today was a Barrow milestone.  Grant, a 3rd grader, became the 1st student to print his own design on our new Makerbot Replicator 2.  Grant’s class has been studying rocks and minerals.  As a part of the study, they skyped with Aurum Studios, a jewelry store in downtown Athens.  During the Skype, Aurum toured students through the design process of a piece of jewelry.  One piece of designing is to use 3D software to create a model.

Students used a free tool called Sketchup and began to design their own gems with all of the cuts that they would design into a piece of jewelry.  Ashley Maher, Spectrum teacher, worked with these students and gave them space to explore the many functions of Sketchup.  Many of them figured out several functions of the tools within Sketchup by just exploring on their own.  The students started this project before we even knew we were getting a 3D printer, but when we did, they had an ultimate goal of holding their gems in their hands.

Ms. Maher took Grant’s Sketchup gem as an experiment to see if we could print it.  We used this post for guidance.  Basically, a plugin had to be downloaded into Sketchup in order to save the Sketchup files as an STL file.  Next, the STL file was imported into Makerware.  The gem was rotated so that the flattest side was on the build plate.  We set the file to a 15% infill with no raft.  Finally, the file was loaded onto the SD card ready for Grant to print.

Today, I checked in with Grant to see what color he wanted his gem to be.  I had his natural filament loaded and ready when he came to the library for ELT.  He was eager to see what happened.  I reminded him before we started that this was all an experiment.  If it didn’t work, we would look at our mistakes and try again.  We pulled up his file on the Makerbot and he pressed the red M to begin.  The rest of his classmates were in the library working and they frequently came over to visit.  We watched as the 3D printer built layer upon layer perfectly.  It took about 35 minutes for his gem to print.  Along the way, we made some video and Grant talked about his design as he watched it appear.  As the gem neared completion, Grant was bouncing around shouting out the percentage because he knew we were so close to finishing the print without a mistake.  When the build plate lowered and his gem that he designed was sitting their, he was ecstatic.  His classmates rushed over and everyone wanted to hold it.  He passed it around and then took it to show a few adults in the building.

Immediately, all of his classmates began asking when they would get to print.  We probably won’t print any more until January, but now we know that the process works.  After winter break, students will continue designing and printing.  I have a feeling that now that students have seen the final product, they are going to get even more creative with the cuts in their gems.  I’m also excited that we have so many young experts in our building that will be with us for 2 more years.  These students will be leaders in teaching others how to use Sketchup and other modeling tools.  This is only the beginning.  It’s exciting to think about what is to come.  I am so grateful to the donors, Donors Choose, and Makerbot for making 3D printing a reality in our school

New Beginnings

media centerIt’s that time of year.  Time to  begin thinking about a new school year, new students, new families, new amazing ideas, new innovative projects, and more.  However, this year brings another big “new” thing:  a new library!  After 2 years of planning, our new school is almost ready.  Workers are busily putting on the finishing touches and boxes and furniture are arriving daily.

The process for designing the new media center has been incredible.  I have been involved every step of the way.  There have been multiple meetings, emails, feedback sessions, brainstorming, etc. to put together the space that students will see in just a few days.  The word that we carried with us throughout the whole process was “flexible”.  I wanted a space that would be as flexible as possible to allow the space to change and adapt to the kinds of learning that students were involved in.  At no time has it been about the stuff.  You certainly have to consider the stuff all along the way, but what students, teachers, and other learners are doing within the space is what matters most.

In our new library, you’ll find 2 projection areas.  One will be more for story time, discussion, gaming, guest speakers, etc. where students will sit on the floor and the other area will have tables where students can use devices and have a work space while things are shared or demonstrated on the projection board.  Our circulation area will not be a traditional desk but more of an island.  Students will check in their own books, store them on carts beneath the island, and then check out their own books on their way out.  There will be multiple spaces for students to sit, collaborate, read, etc.  This will include tables, chairs, stools, counters, bean bags, and other soft seating.  I hope that this creates a mix of quiet areas for students as well as areas for more noise, conversation, and collaboration.  All of the book shelves will roll so that they can be easily moved to accommodate larger groups or learning needs. The shelves hook together with magnets.  Students will have access to an interactive screen for perusing ebooks.  There will be a studio where we will use iPads to record and macbooks to edit video.  Even this studio is completely mobile and won’t feature the traditional video cameras and multiple wires running across the floor.  I can’t wait to see how the space works and how it evolves.

For now, this is how it looks.  It’s an overwhelming task to take the brainstorming and visioning and turn an empty room into those ideas.  My team of volunteers will be hard at work next week and into the beginning of the school year getting everything ready.  We are still waiting on some center casework to be installed as well as casework at the entrance to the library.  Our space probably won’t be ready on day 1 of school, but I will count on some miraculous things happening in this amazing space later this school year!

New Media Center Coming Soon!

On Friday, I visited our new media center at the new Barrow Elementary that should be done sometime in July.  We are busy packing boxes at our temporary home, and it was very helpful to see the space to consider what to pack and what to leave behind.  I can’t wait to see the innovative projects, ideas, conversations, and stories that take place in this new location.  One of the key features of the space is its flexibility.  Almost every single piece of furniture in the new space moves easily and quickly in order to change the function of the space in a moment’s notice.  Students have long asked for cozy places to sit and read, talk, collaborate, etc. and they will finally get to say goodbye to the big, clunky tables and hard wooden chairs.  Thinking about where every shelf and table is going to go is a bit intimidating  but at least I know that if it doesn’t work, it can quickly be changed.  I’ll do a much better tour on the blog when we actually move in, but here are a few pictures of the space in progress.

This slideshow requires JavaScript.

Media Center Buzz November 18, 2011

As I’m thinking about redesigning the Barrow Media Center for our new school, I’m trying to periodically document through pictures and videos how the media center is currently being used.  I’m trying to think about what is working in our space, what’s not working, and what could be happening.  Here’s a look at the video that I captured today when approximately 100 students were in the media center at the same time.

Media Center Buzz November 18, 2011