Star Wars Day: May the Fourth Be With You

I’ve wanted to hold a Star Wars Day in the library for a long time, but it seems like every year something comes up that prevents me from doing it. However, this year, I put it on the library calendar early and crossed my fingers. By the time May 4th arrived, I had protected five 45-minute slots on the library calendar to host classes.

The signup was open to any classes. Three 5th grade classes, one Kindergarten, and one 2nd grade class signed up. We opened each session with Star Wars music and a reading of Chewie and the Porgs by Kevin Shinick. As students were seated, they selected one of four cards: porgs, jedi, storm troopers, and wookies. This sorted them into 4 groups to move into centers.

I knew our time would disappear quickly, so I wanted helpers at each rotation. I made a signup genius to send out to families, but I also invited 4th and 5th grade students to sign up.

Origami Yoda

This station was inspired by the Origami Yoda series by Tom Angleberger.  Students saw the book series and then followed either a Youtube video (more difficulty) or printed visual instructions (easier) to create their own origami Yoda. The finishing touch was using black marker to add eyes, mouth, and any other details.

For the Kindergarten class, this station adjusted to making a Yoda headband since their fine motor skills aren’t as great for creating origami. They traced Yoda ears on green paper and added them to paper headbands.

Star Wars Name

This station was combined with origami. Students used a formula to create a new name for themselves. For the first name, they used the first 3 letters of their last name combined with the first 2 letters of their last name.  For the last name, they used the first 2 letters of someone’s last name and the first 3 letters of city where they were born. This name was written onto a “hello my name is…” tag and taped on their shirt. I loved to watch the concentration it took to figure out the correct letters and then the laughs as people tried to read one another’s name. It was a great lesson in spelling and phonics.


Tiny Light Sabers

This station was a hit. We used finger lights that I purchased on Amazon and put straws over the LED light. Students cut the straws to the length they wanted and used washi tape and feathers to jazz them up. We loved watching the tiny light saber battles that ensued. I put book at this station that featured light saber duels on the cover.

Chewbacca Puppets

Students used brown paper lunch bags with white & black construction paper to create a Chewie puppet. I didn’t use stencils for this station. I simply made an example and let them cut out teeth, eyes, and a nose in their own style. We did offer the Kindergarten class a few pre-cut objects to choose from.

Star Wars Doodles

At this station, students finished partial Star Wars drawings by adding their own creative details and coloring. I loved the impromptu storytelling that happened as students created their scenes.

Next year, I want to think about how I can expand this opportunity to more classes. I also want to think about more stations that connect with various areas of the curriculum. Each of these stations connected with a book, writing, or storytelling, but I would love to weave in some space science and some math. I’ll think on that, but overall, I loved seeing the enthusiasm of students especially in the Kindergarten and 2nd grade classes.

May the Fourth be with you!


2018 Barrow Maker Fest

In addition to having regular makerspace sessions every Tuesday and Thursday in the spring, students also have the opportunity to work on an individual project to showcase at our annual maker fest.  To participate, students fill out a Google form sharing their possible project topics and whether they will complete the project at home or in our makerspace during school hours.  They also have the option of working alone or having a UGA mentor to help them.

I collaborate with Gretchen Thomas at UGA College of Education. I love seeing the relationships that my students develop with the UGA students, and they thrive knowing that they have a mentor to visit with and work with while they make their creations.  In the spring, she divides part of her UGA students to support our Tuesday/Thursday makerspace sessions while the other part supports students working on individual projects. My maker students don’t always meet with the same UGA student, but they have someone every Tuesday/Thursday who can support their work.

When students begin preparing for Maker Fest, we meet with them individually to see what type of project they are thinking about.

This year, I offered several categories for them to think about:

  • robots
  • cardboard
  • makey makey
  • littlebits invention
  • duct tape creation
  • 3d design
  • Scratch program
  • finger knitting
  • origami
  • strawbees structure
  • stop motion video
  • magic tricks
  • puppet/puppet show
  • magic tricks
  • something else! (This category meant students might explore our many craft books for ideas on projects to create)

Once students decided, we gathered the materials they needed and stored each project on the shelves in our makerspace storage room. This part is hard to manage and it feels a bit chaotic until we have the materials that each student needs.  Each Tuesday/Thursday they come for a 30-minute work session, gather their materials from the shelves, and work with me or a UGA student.  Some students complete their projects at home.

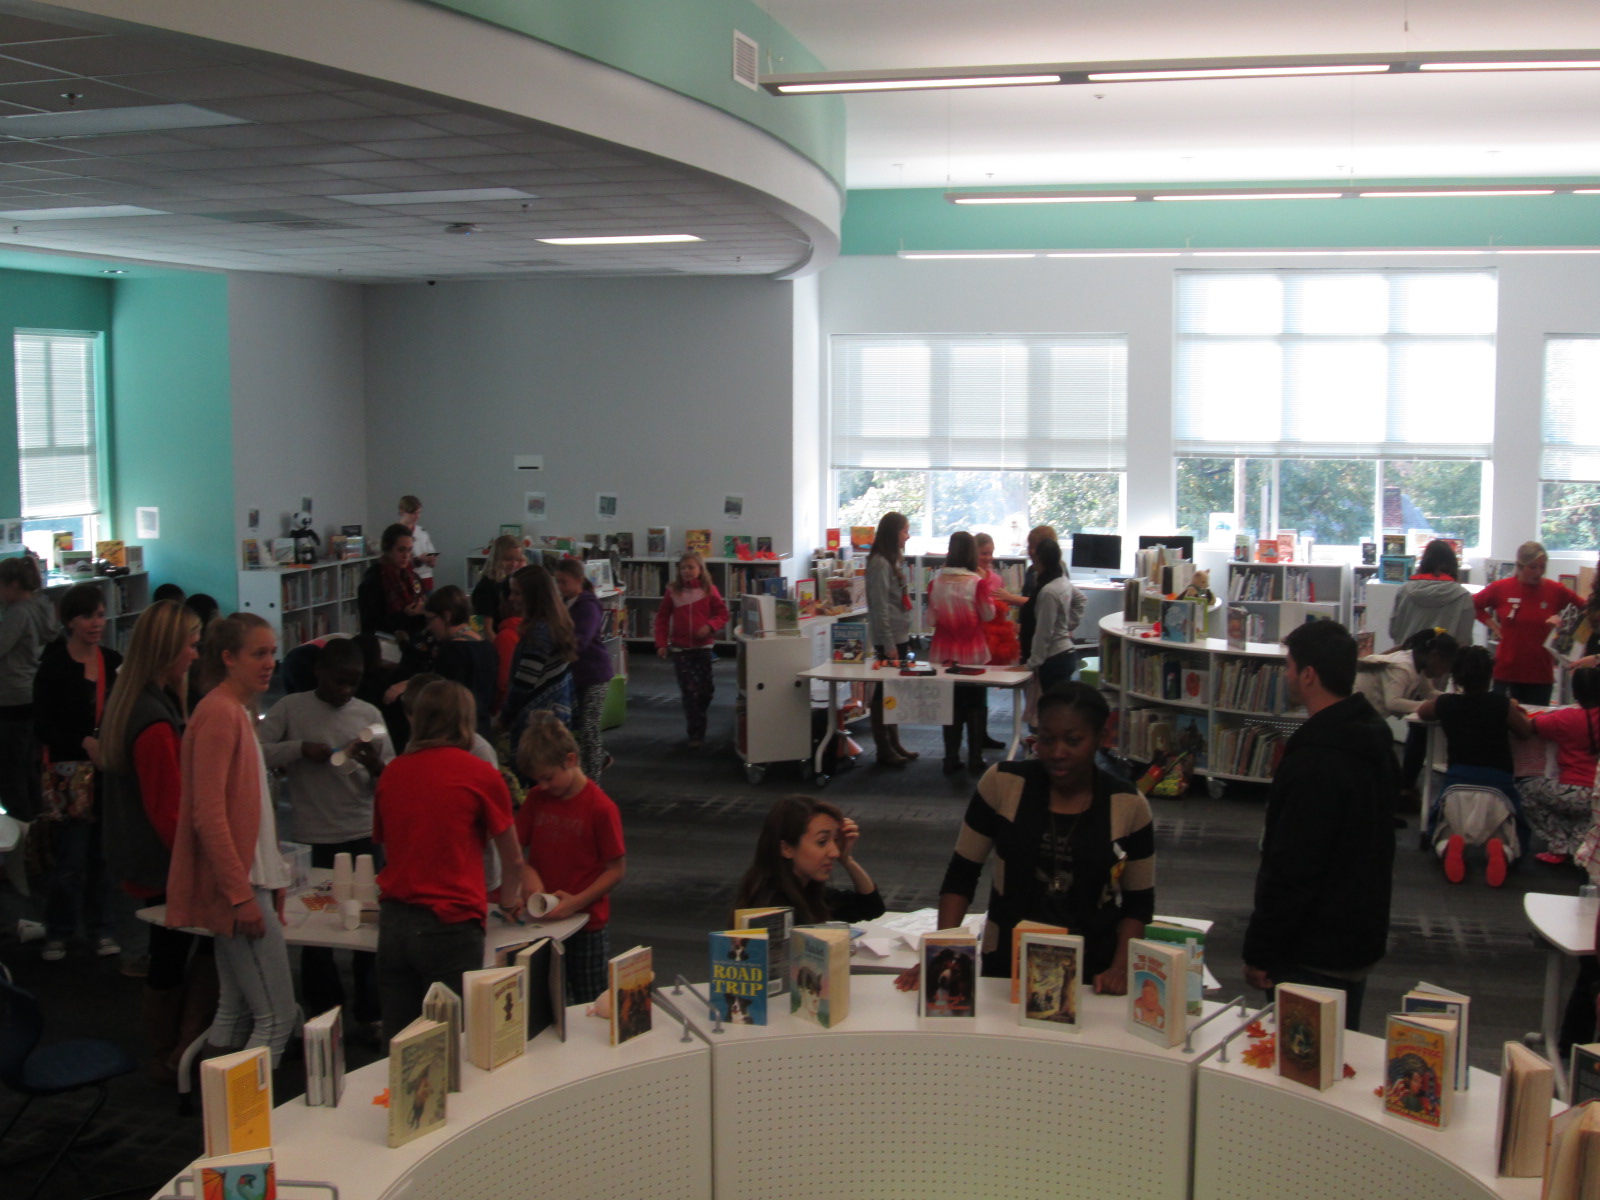
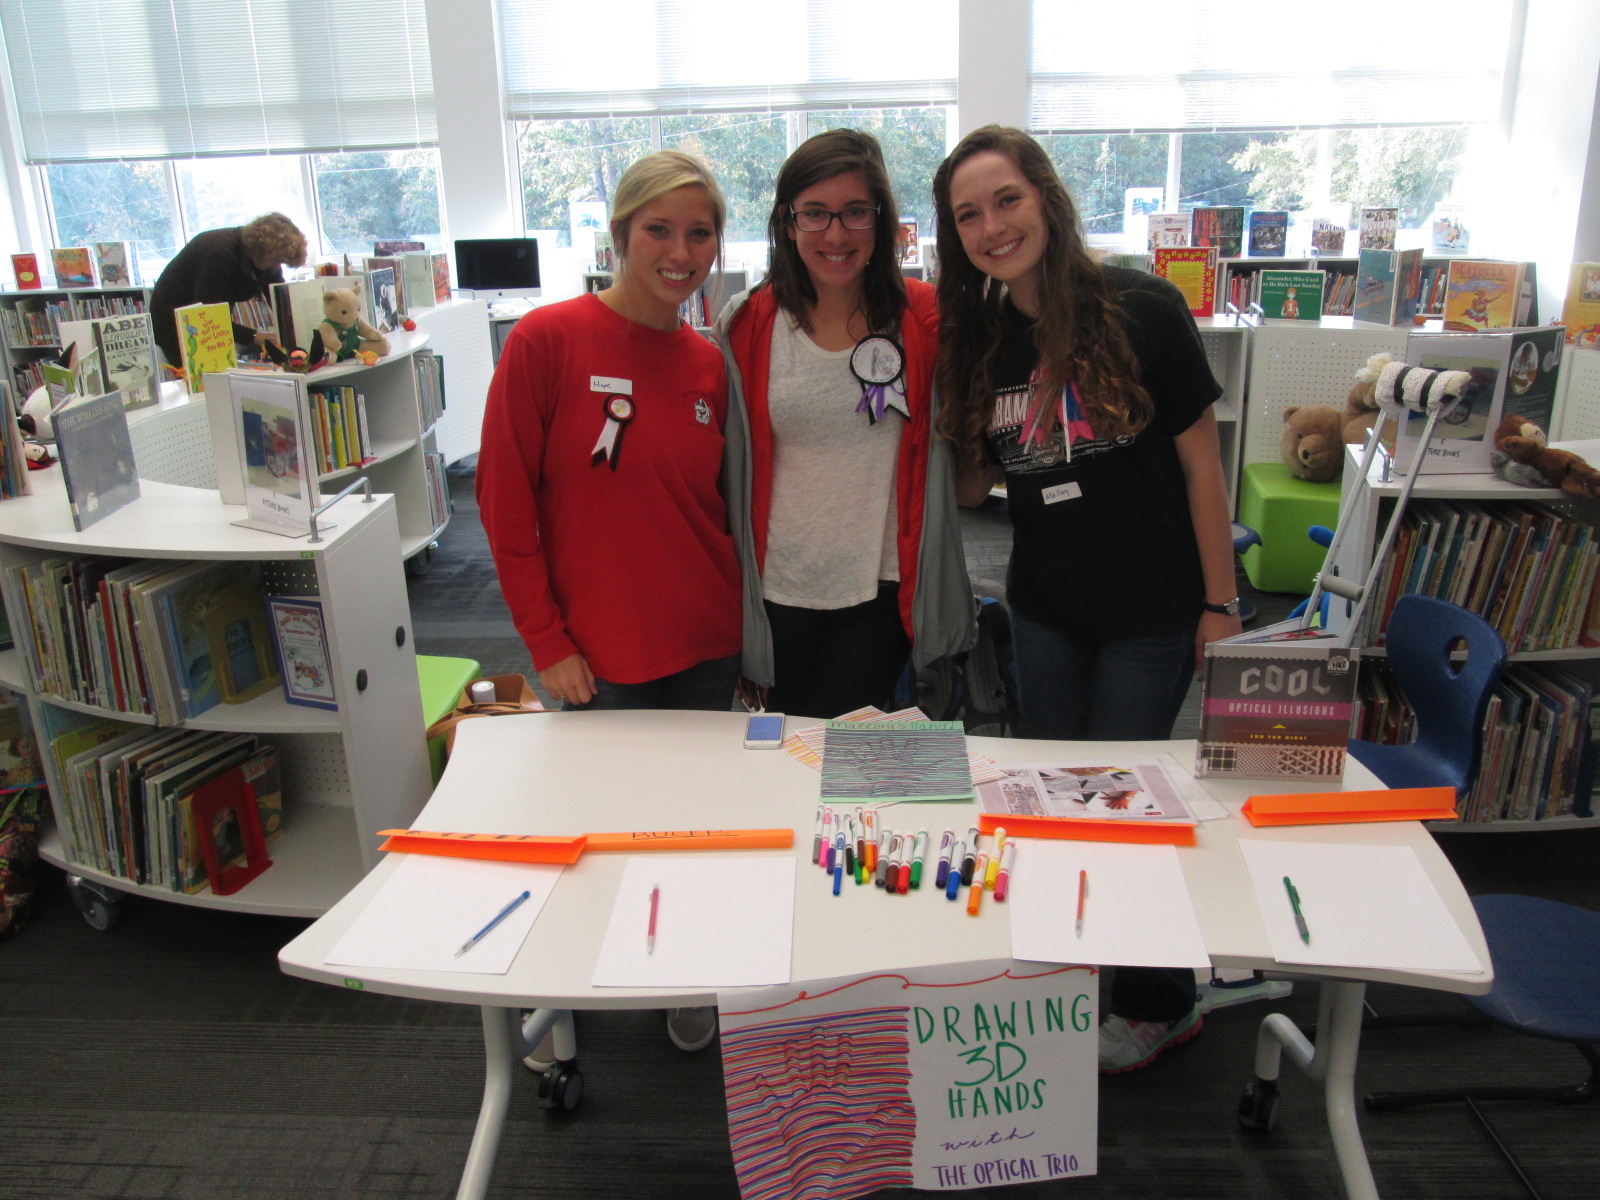
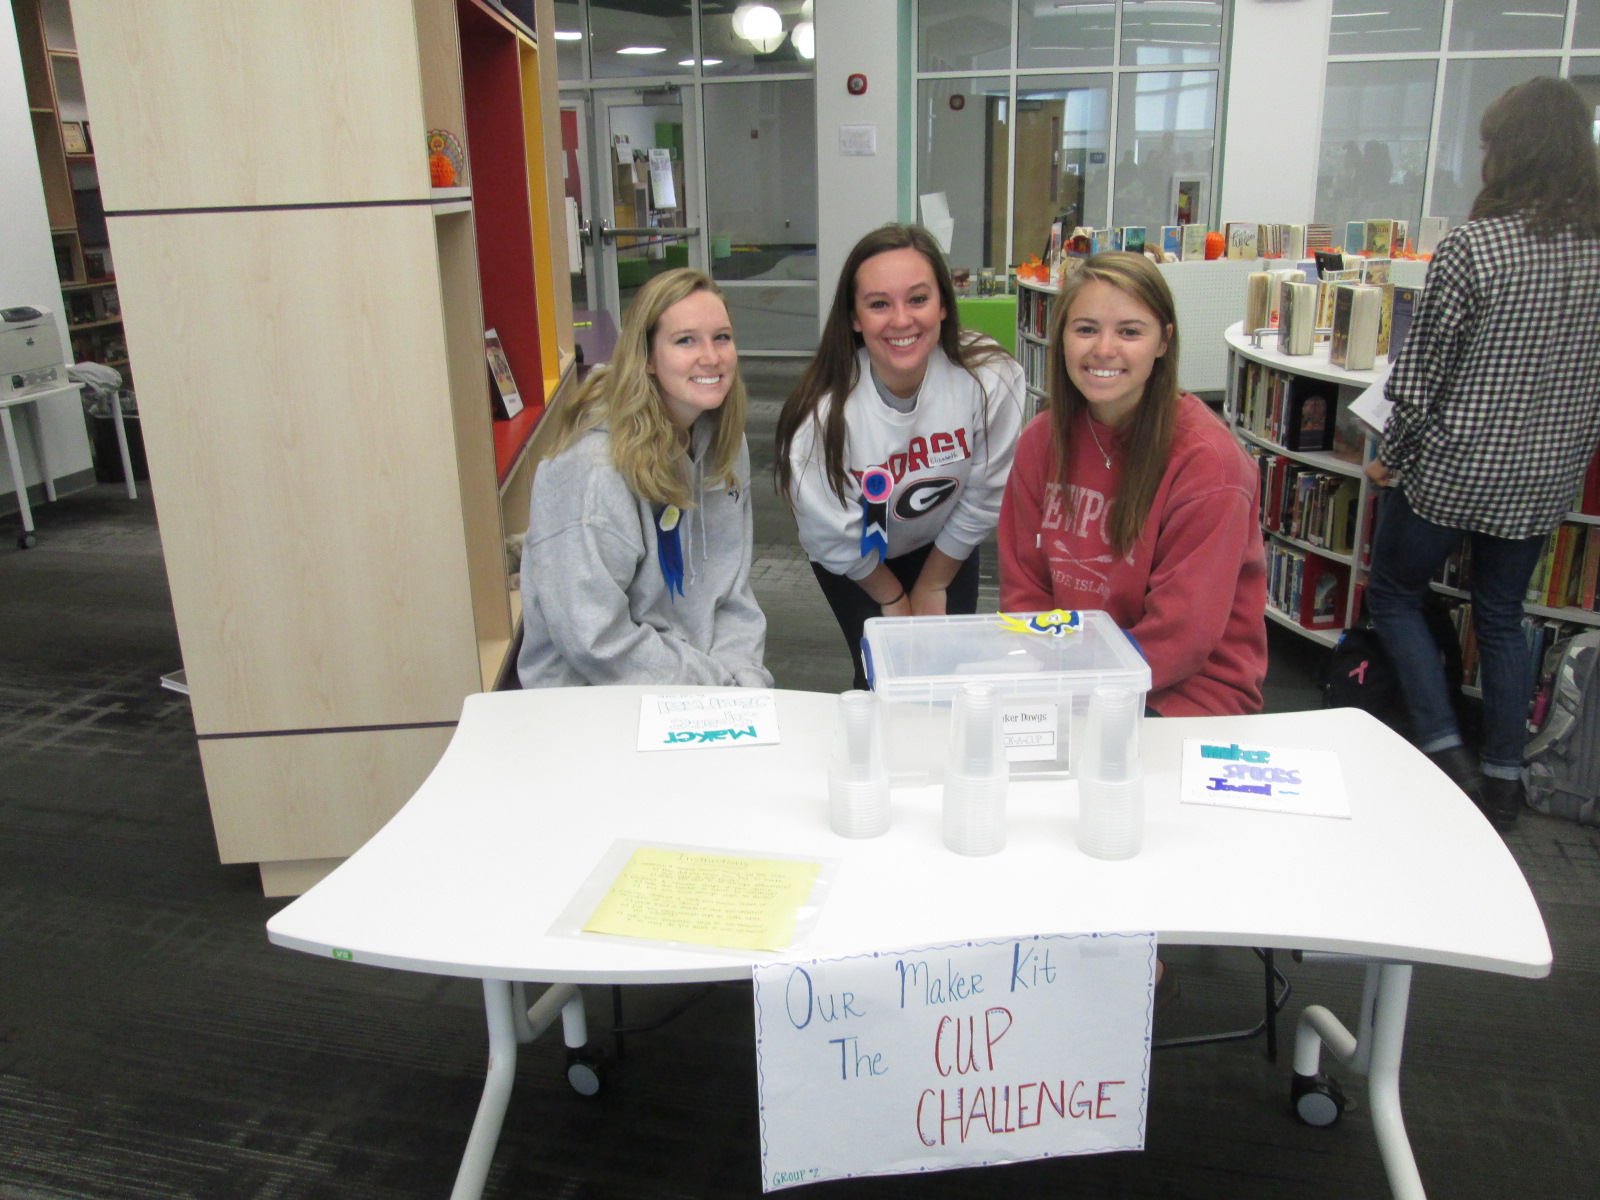
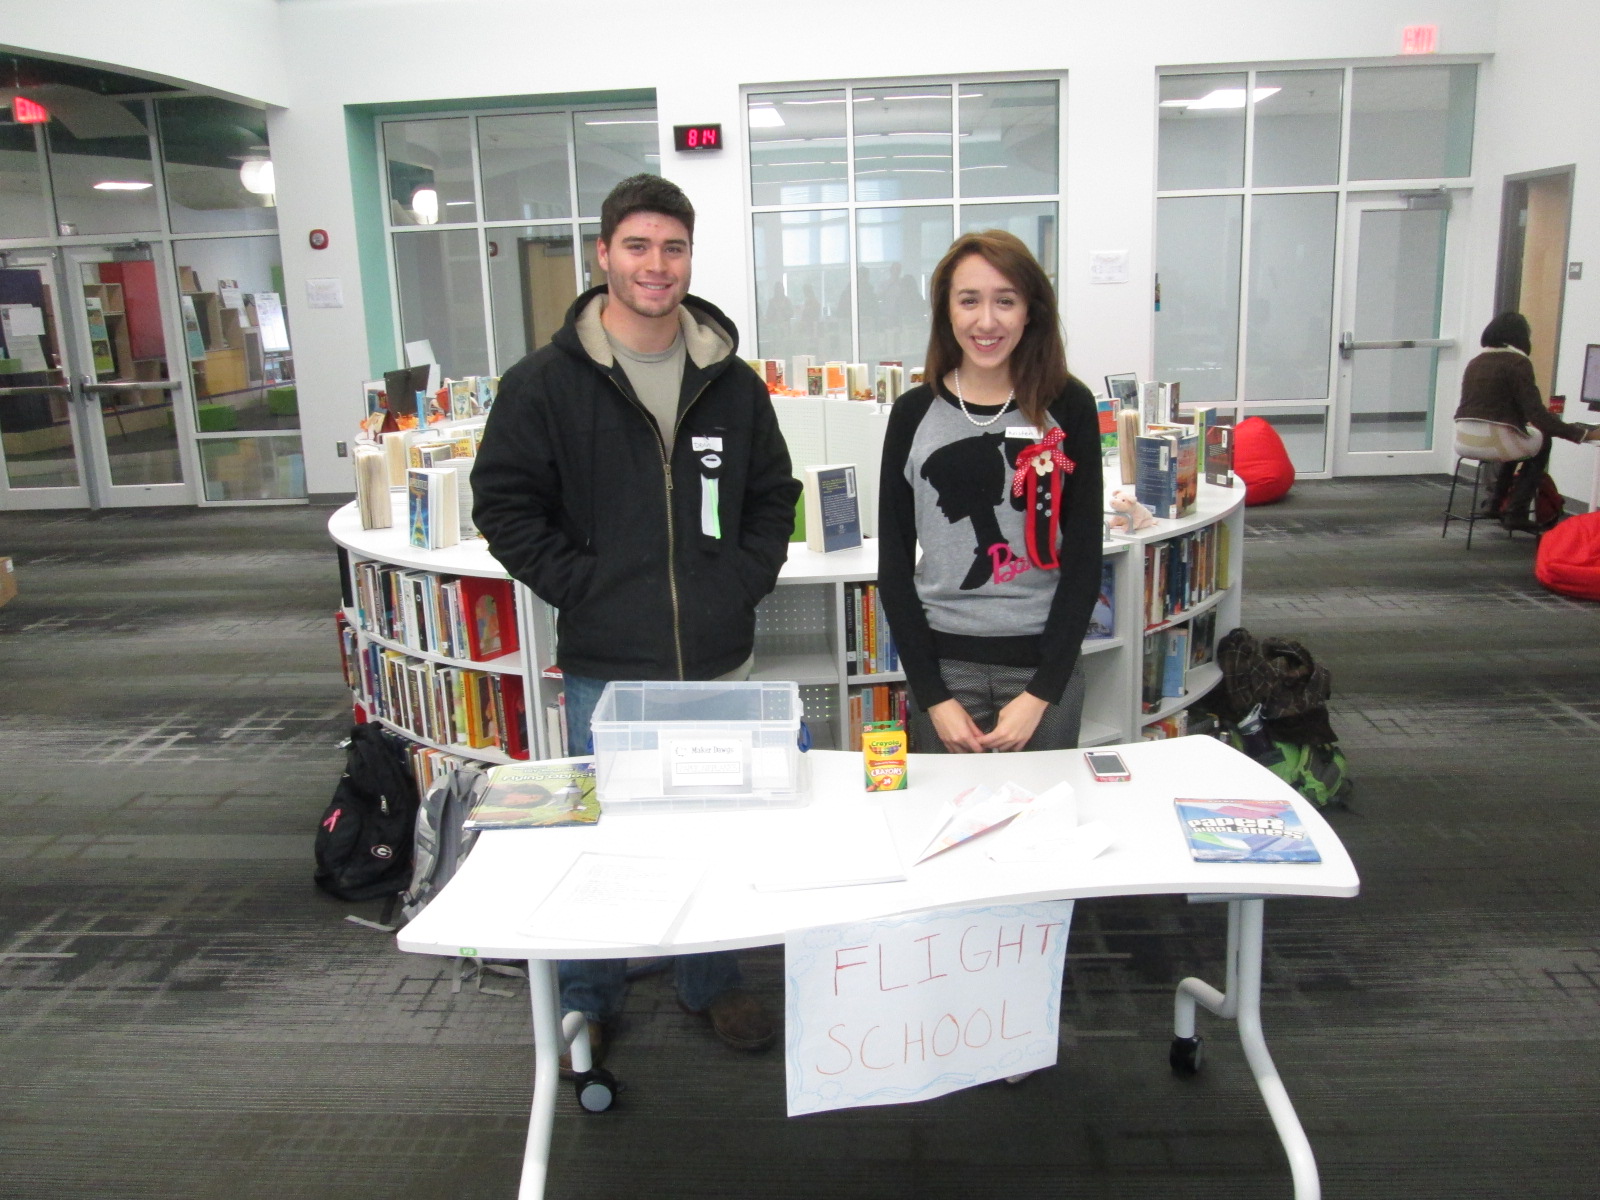
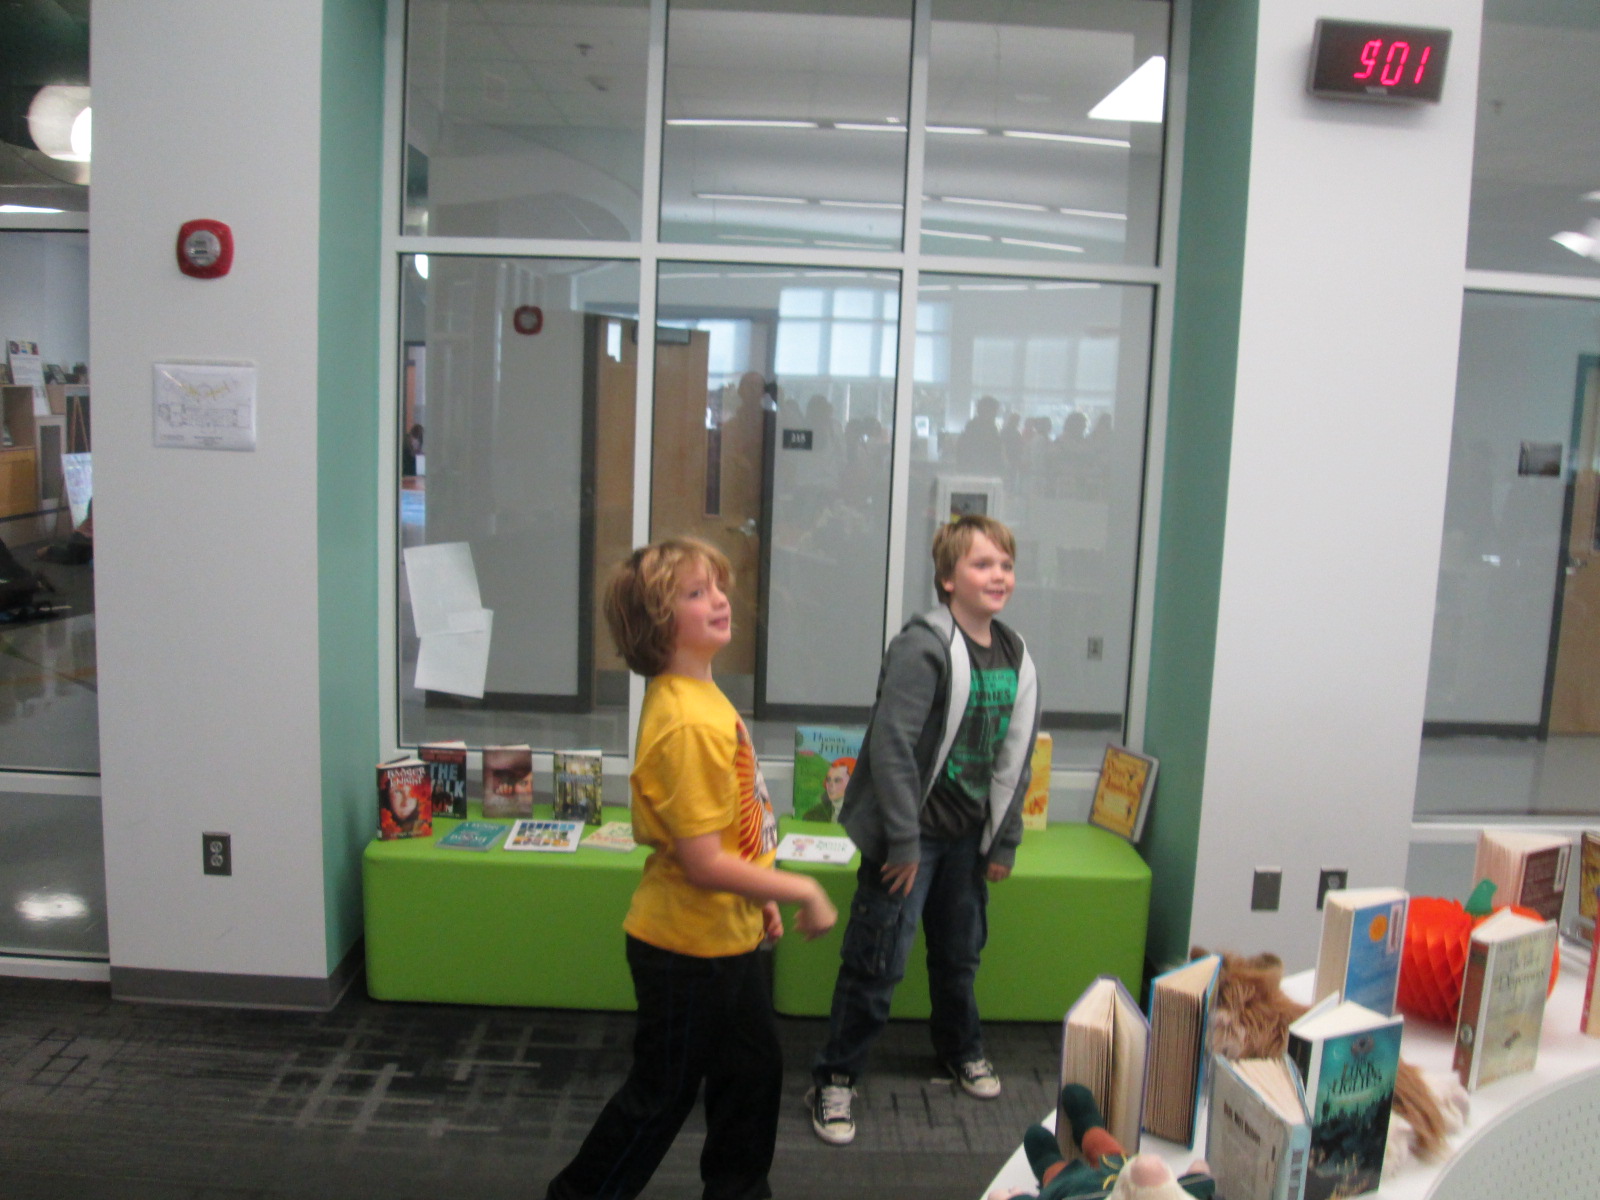
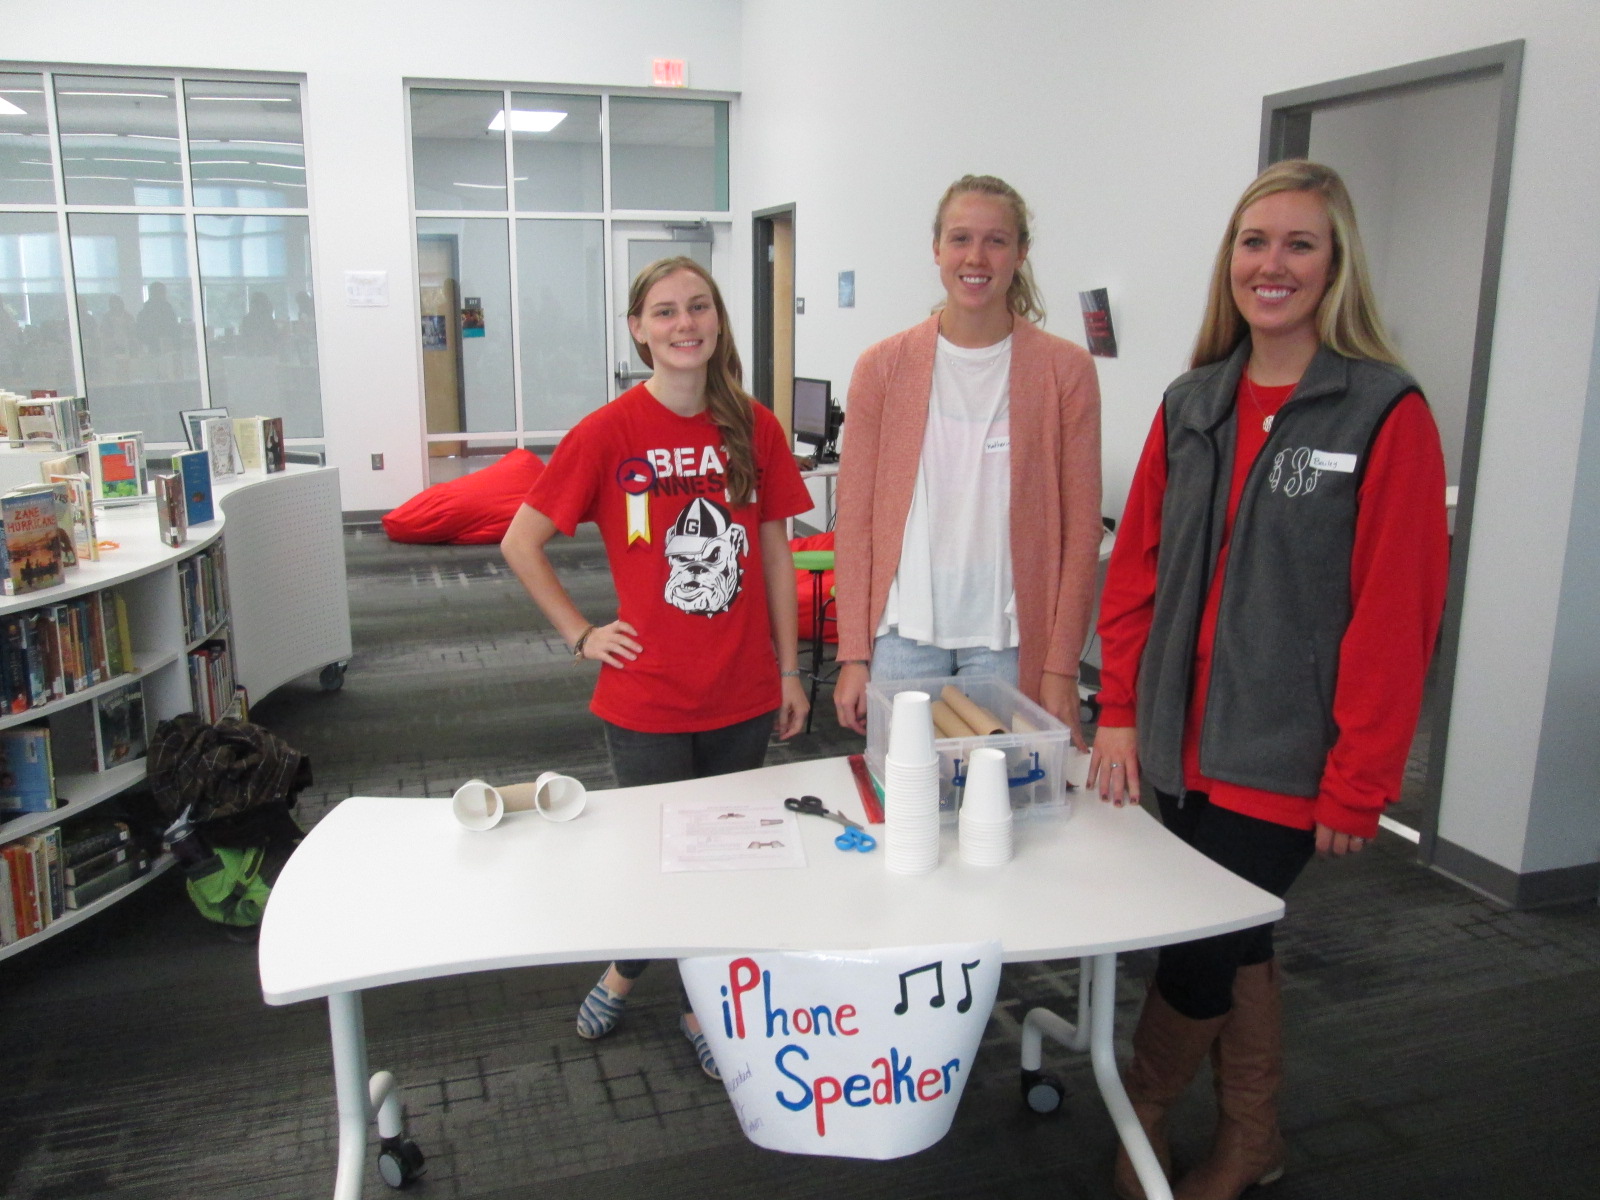
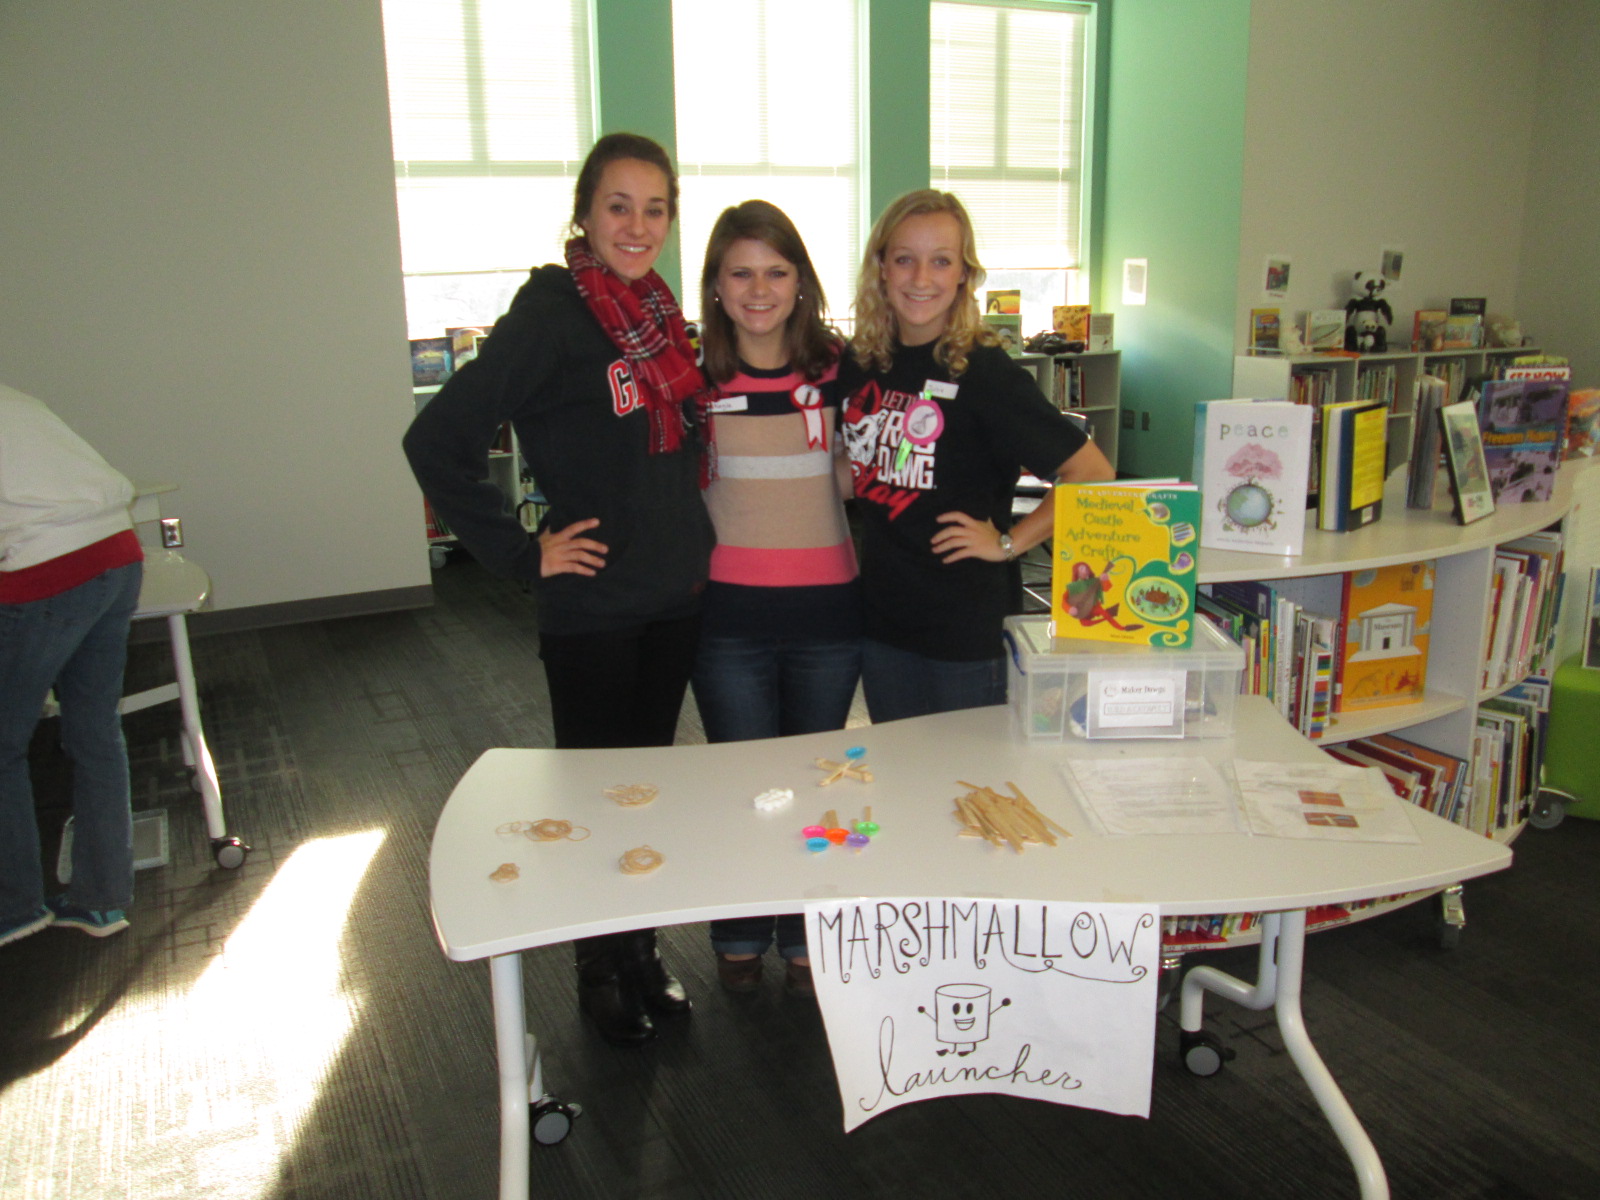
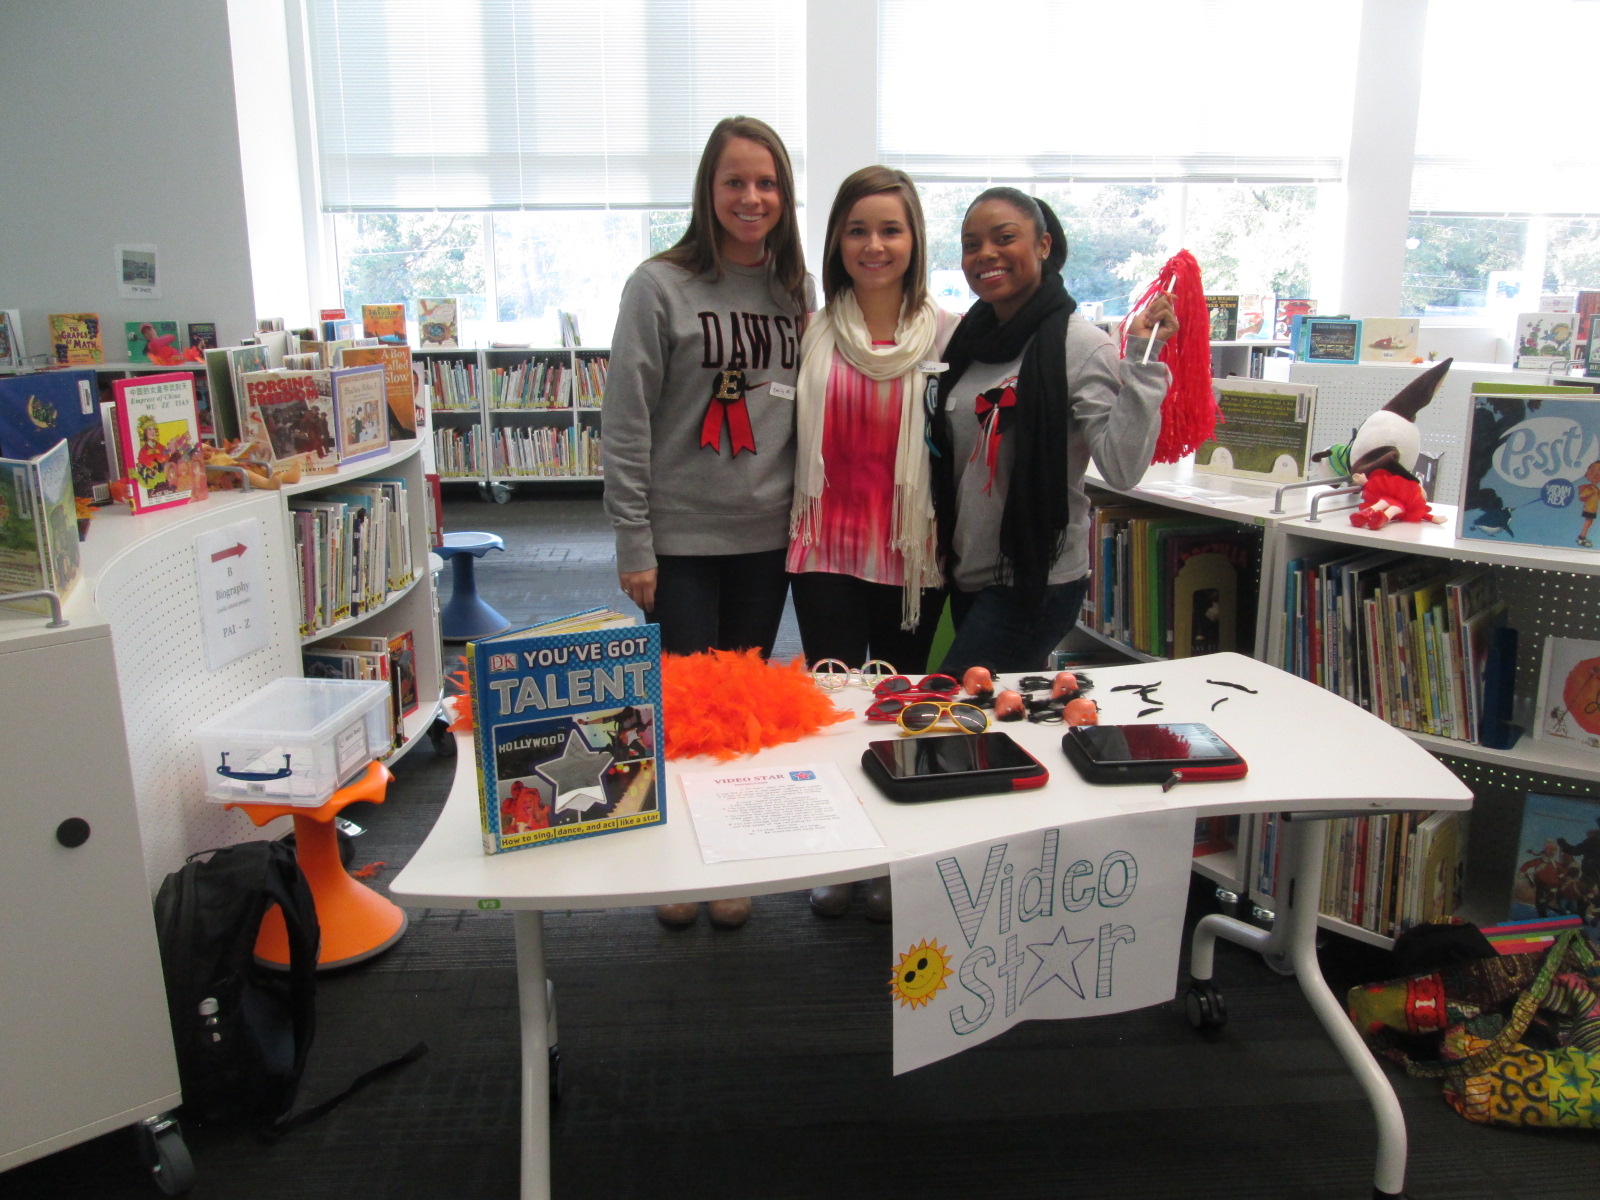
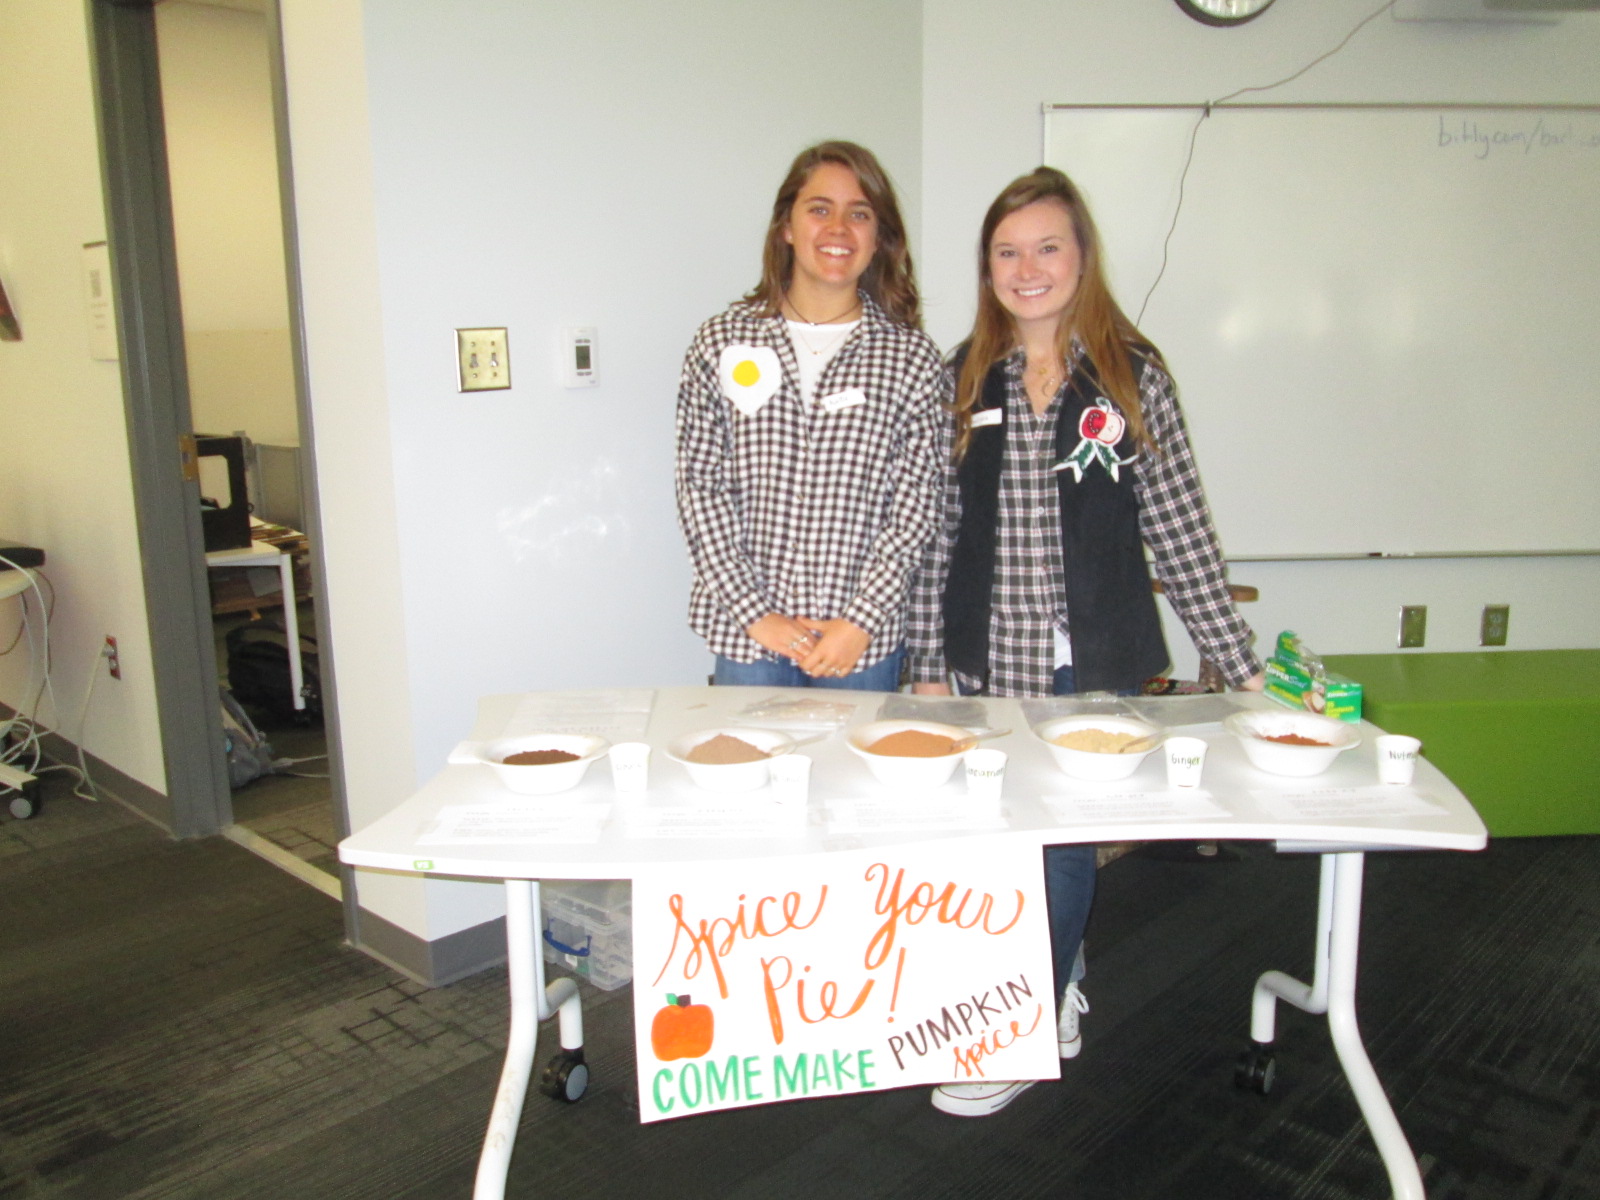
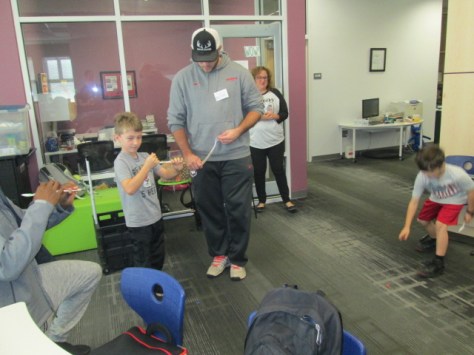
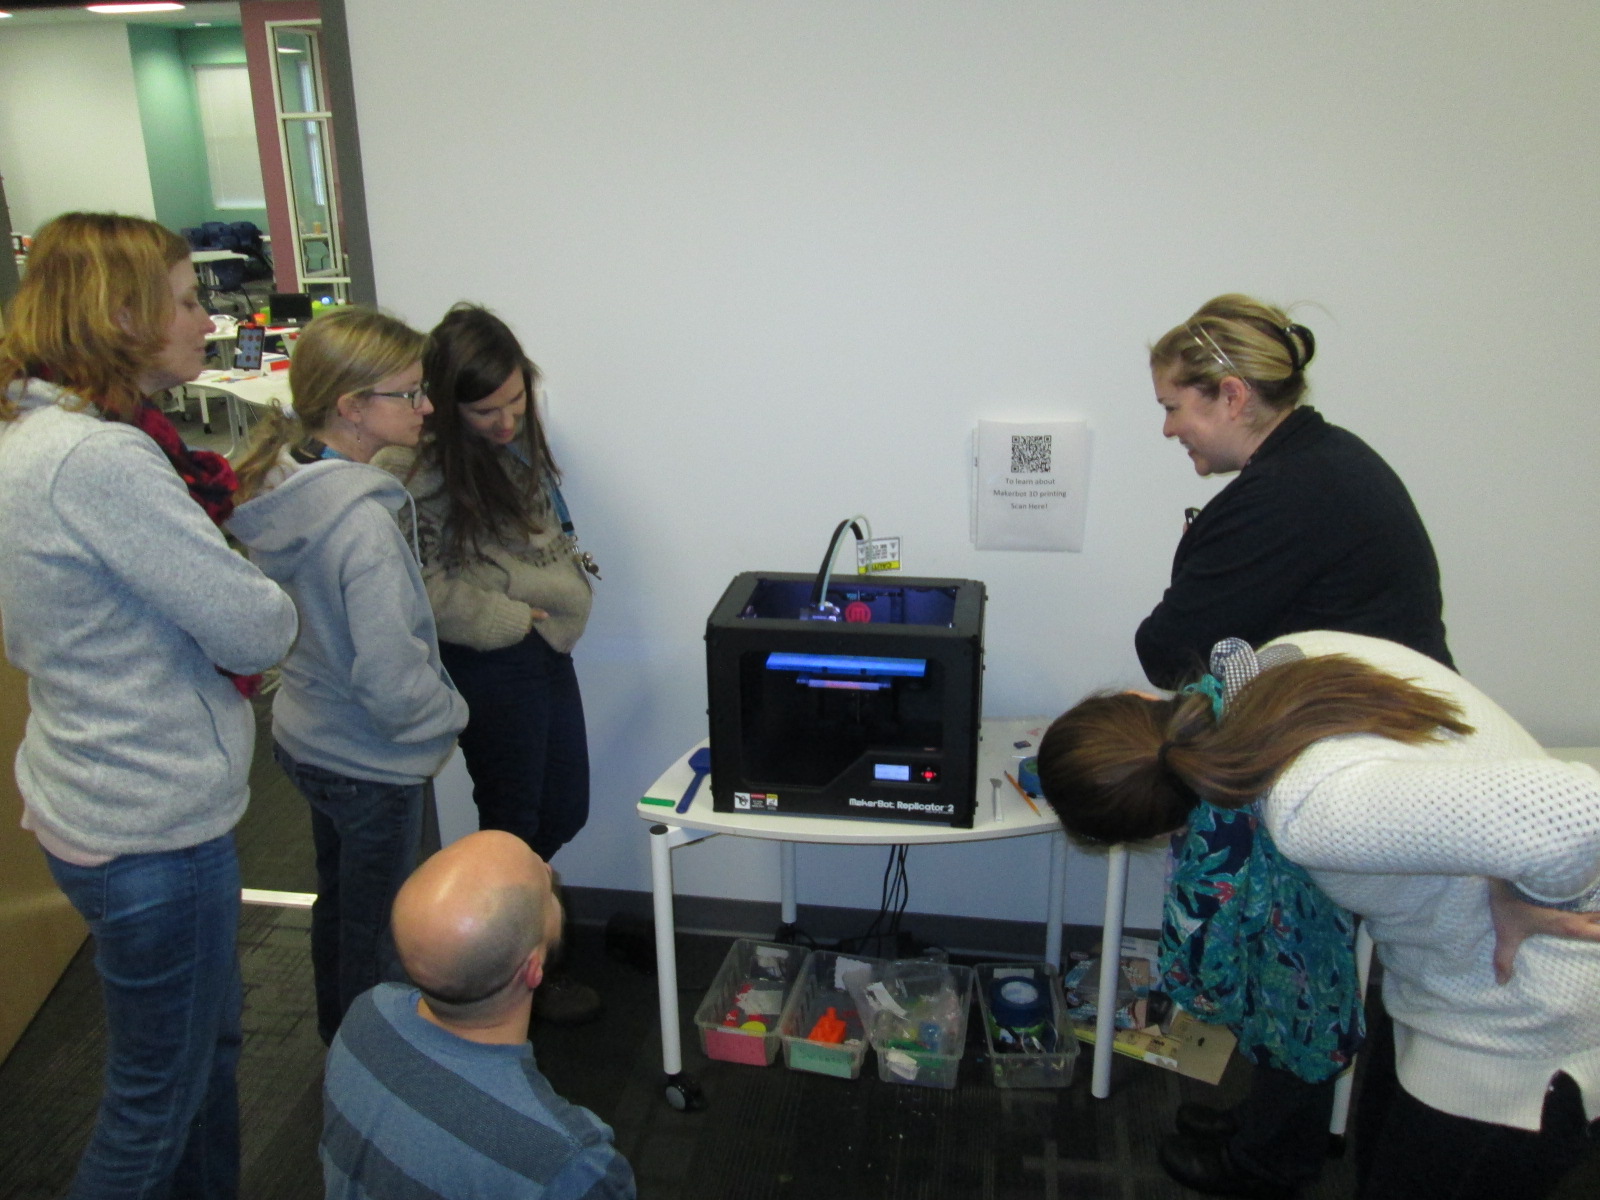
During the actual Barrow Maker Fest, we created a schedule so that every student who made something had two 30-minute windows to showcase their work.  There was also a schedule for classes to sign up and come to view the projects.  The entire UGA class came as well so that they could view the final projects as well as help students at tables.

In the end, 26 students showcased creations on a variety of topics which included:

  • a cardboard Earth robot
  • mason jar lights
  • a robotic arm
  • a cardboard pirate game with secret codes and a spyglass
  • a Python computer program similar to Google Translate which translated English to Pig Latin
  • a shadow puppet theater
  • a Littlebits throwing arm and car
  • Lego scenes and building station
  • 3D slinkies, Rubik’s cube, and Minecraft swords made with 3D pens
  • 3D action figure designed in Tinkercad
  • a cardboard robot suit
  • a cardboard tower
  • a car made from a mail tube
  • a stackable jewelry holder
  • magic tricks
  • Merge cubes
  • Osmo

They were so excited to share their work, have an authentic audience to entertain and ask questions, and see that their work inspired other makers.  Several students who came said they wanted to make something next year.

You can see many of these projects along with projects from other K-12 schools in the Clarke County School District at our CCSD Maker Fest.  It will be Saturday April 14 2-4PM at Clarke Central High School.  It is free and open to the public.  We hope to see you there.


Epic Halloween Makerspace

We returned from fall break this year on Halloween.  The kids were of course pulsing with energy as they awaited a night of trick or treating, so we held a special makerspace session to harness their energy and have some fun.  Gretchen Thomas and I already wanted to try something a little different on Halloween for makerspace.  When her group of UGA students started investigating Halloween and fall themed makerspace activities, they asked if they all could come instead of just one small group.  So…half of her class came at 11:00 and half came at 11:30 and we added extra slots to our signup sheet.  We had anywhere from 25-40 students who signed up for each session.

There were 5 stations for students to choose from and each station had UGA students to support students.

Ghost Rockets

Students made 3-dimensional ghosts out of paper and launched them into the air by putting them onto the end of a straw and blowing. Many students adjusted their ghost design or tried different techniques for launching.

Catapults

Students used Popsicle sticks, spoons, and rubber bands to create catapults that would launch pom pom balls into the air.  A Halloween treat bucket was the target, but students also loved becoming the target themselves.  This was a rowdy but fun center, and once again, we saw students adjust their designs for a better launch or even build catapults that would launch 3 pom poms at a time.

Leaf Chromatography

Students folded coffee filters into triangular shapes and colored them with markers to make a color pattern.  Then, they dipped the filters into water to see how the colors would move across the coffee filter.  This center needed a drying area since each filter was very wet after the activity.

Make a Monster

Students used a variety of supplies to design their own monsters. This included cupcake wrappers, pipe cleaners, eye stickers, pom poms, glue dots, and more.  The thing I loved the most about this center was the character traits that each monster developed. Many students described their monsters in great detail as they worked and developed an impromptu story about each one. Again, students would look at their design and think about what they could add. Some even created parts of their monsters that moved so that they truly came to life.

Haunted House Construction

Students used Strawbees and straws to construct haunted houses. This center evolved as we went, and many students started building other things along the way too.  For example, a student built a bird cage with a perch, but the bird was invisible because it was a ghost.  Another student build a table-length monster and we talked about how he could have added paper onto his Strawbee skeleton to make a complete monster.

There was a lot of energy, noise, and fun during this makerspace, but it was so organized and focused.  Students were engaged the entire time and had many options of what to go to.  I wouldn’t run makerspace like this every time, but it was a great alternative to get more kids into the space and meet a variety of needs.  Thank you Gretchen Thomas and UGA students for an awesome day of learning and fun.

Design Challenge Makerspace

img_7614-1

I’ve said it before, but I’ll say it again. We are so fortunate to have the University of Georgia right next to our school and even more fortunate to have instructors like Gretchen Thomas who collaborate with local schools.  Gretchen and I have been collaborating for about 3 years now, and each year we try some new things.  We’re always looking for ways to improve the makerspace time at our school as well as the opportunities available to students.

Gretchen teaches an undergraduate course at UGA all related to maker education, design thinking, STEAM, and more. Every Tuesday and Thursday, at least 4 of her students come to our library to work with students who sign up for our open makerspace time.

This semester we are once again trying something new. Rather than try to do something new on Tuesday and Thursday, students sign up for a 2-day makerspace that gives them time to work toward finishing a project rather than feeling rushed. In addition, we are thinking about design challenges as well as seeking solutions to authentic problems.

This week, we had our first UGA group of the semester and they offered a chariot building design challenge.  Students had access to Strawbees, popsicle sticks, cups, straws, tape, paper, scissors, and anything else in our maker supply cart.  Students from 1st, 3rd, 4th, and 5th grade came to the sessions.

The UGA group started out my explaining what a chariot is.  Then, they gave students the task.  Design a chariot that can be pulled by a Sphero robot.  Students grouped themselves in groups of 2-4 and brainstormed designs on paper.

Next, students started construction of their chariots.  There was a lot of trial and error during this process.  Designs on paper didn’t always translate to physical designs so adjustments were made.  The UGA students also got out some Spheros so students could check their design to make sure the Sphero fit in the right places.  No driving was done on day 1.

Students left their designs on the table in the makerspace so they were ready for day 2.  On day 2, students finished designs and began testing their work with a Sphero.  Most designs did not work out on the first try, so students brainstormed modifications and got to work. I loved listening to their thought process in deciding what was problematic and how they could fix that aspect of the design.

I also saw students considering the settings of the Sphero to change the driving speed in order to navigate an obstacle course of coffee cans and ramps with their Sphero.

I really loved this two-day model because I saw students able to finish a project and actually take time to redesign.  Students loved coming to makerspace 2 days during the week rather than just one.  We’ll keep considering how this supports students creation and how it might get in the way of opportunities.

I also have a group of students who are wanting to work on individual projects and Gretchen is going to help me pair UGA mentors with these students as a 2nd piece of makerspace.

We’ll see where this goes, but the potential is looking pretty miraculous!

Community Collaboration: Book Making in the Makerspace

book-making-27

I love opportunities to connect with community and bring expertise, talents, and interests to our students.  Recently, a parent contacted me to tell me that her child’s grandmother was traveling to Athens to visit and would love to do book making with some students at our school.  I immediately responded back that we would love to have this opportunity in our makerspace, and the planning began.

Grandmother Kathleen sent me a list of supplies we would need, so I ordered those from Amazon in advance.  She packed everything else on her flight from Texas.

I also communicated with Gretchen Thomas at UGA to let her know that her students could help Kathleen during this makerspace time.  I let teachers know the topic of the makerspace in advance and students signed up to participate across two days (Tuesday and Thursday).

When Kathleen arrived, her enthusiasm for art was contagious.  You could tell that she was an amazing art teacher in Texas.  She had multiple examples of books she had made from instruction found in Making Books that Fly, Fold, Wrap, Hide, Pop Up, Twist, and Turn.


She had a different kinds of book planned for each group who visited the makerspace: 1st & 3rd grade, 5th grade, and 4th grade.

Before each group arrived, she put materials at each chair with the  help of Gretchen’s UGA students.  She gave very clear, step-by-step instructions for each group and me and the UGA students went around assisting students as needed.

Because each project took more than 30-minutes, we reached a stopping point and then stored the projects for Thursday.

Each book had its own purpose and made me and the students think about so many possibilities. One book allowed you to record things from different perspectives. Another book allowed you to write your own Choose Your Own Adventure story with pull out cards.  Another book fanned out like a flower and allowed you to put poems, photographs, and more within the folds.

Each time Kathleen showed us a book, my mind was swirling with connections to each grade level’s curriculum.  Students were focused, productive, and buzzing with excitement about today’s makerspace.  I bet that when students are involved in the process of creating their own published books, they are more likely to fill those books with productive writing.  I know that when I personally made my own book during the final 30-minute session, I really wanted to go home and fill it with writing and photographs.

I was reminded once again about how many interests and talents are hiding within our students, families, extended families, and community.  Alone, I would not have thought much about book making or how to attempt it with groups of students.  However, now that the expertise of a grandparent was shared with me and our students, I’m considering new possibilities with projects.

How many more talents and interests are just waiting for us within our communities?  How do we tap into these resources? This was an opportunity that was given to me, but I know that if I had a way of unearthing and organizing the wealth of talents and interests in our community that more opportunities like this would make its way to our students and teachers.


Fall Semester Makerspace Blowout!

project spark makerspace (28)

The fall semester at UGA is coming to a close, which means that our wonderful support in our makerspace is taking a break.  We will resume our open makerspace times in January when UGA cranks back up for spring semester.  Today, Gretchen Thomas’s entire class from UGA came out to support our young makers.  We pulled out many favorite activities from the semester: green screen, makey makey, littlebits, sphero, morse code bracelets, and safety pin bracelets.  It was noisy and fun.

Having this class come out has exposed our students to so many of the tools in our makerspace and also taught the UGA students what is happening in elementary schools today and just what elementary learners are capable of.  We are already brainstorming what next semester might look like.  I hope to see some more advanced projects come out of what the students know now that they have some familiarity with the tools.  Instead of just snapping littlebits together, I want to see them invent something.  Instead of driving Sphero all over the library, I want to see some programming or a use of Sphero that has a purpose.  Instead of playing a banana piano with makey makey, I want to see students designing their own programs that are controlled with all kinds of things that conduct.  The tinkering piece is important, and I love that so many students now have a level of comfort with the makerspace tools with a lot of room to grow.

We also want to look at how we can take the makerspace on the road by visiting classrooms and showing teachers and students what happens in makerspace, especially for those that are unsure or hesitant.  We started to notice the same kids always coming or teachers not sending kids for various reasons, so there’s  a need to get out into the classrooms.  We’ll also take a look at how to do another makerspace fieldtrip to the UGA campus sometime in the spring.


Popup Makerspace at UGA with the Maker Dawgs and Flipgrid

fixed maker dawg

A few weeks ago, Gretchen Thomas, UGA instructional technology teacher, emailed me about a possible collaboration on the UGA campus. She wanted to bring her Maker Dawgs class to the UGA Tate Center Plaza to host a popup makerspace.  The idea would be to have a variety of maker tools available for UGA students to try on the spot.  She wondered if I had students who might join them.  Without hesitation, I said yes and  we started the logistics.  The more we planned, the bigger the trip got.  The biggest news was that 2 members of the Flipgrid and Vidku team from Minneapolis flew down to do a video in our library.  They wanted to go with us on our trip to see how students were getting their voice into the world and also how we planned to use Flipgrid to reflect on the day.

Our school is about a mile from the UGA Tate Center Plaza and our students have walking field trip forms on file so it was easy for me to create a field trip.  The hard part was working out the logistics for bad weather.  In true fashion, we had plan A, plan B, plan C, and maybe even a plan D.  It was right up to the wire deciding about going to UGA, but the rain held off and we made our trek down to Tate.

Students had a little bit of time to explore the maker tools that Gretchen brought before we prepped all of our supplies for UGA students to explore.

Students connected Spheros to iPads through bluetooth, setup a wireless network with Justin & Greg from Flipgrid, and made a playable piano with Playdoh and MaKey MaKey.

Then, we waited.  Traffic on the UGA campus quickly picked up at around 10:30 when classes changed, but most UGA students had their earbuds in and walked at a fast pace to get to the next class.  The kids were a bit timid at first, but with some encouragement, they began to develop techniques to get UGA students to stop and try out our makerspace stuff.

Several students started driving the Spheros right into the paths of walking college students.  At first, they dodged them, but eventually they started asking questions.  Other students started experimenting with phrases to get the UGA students interested.

IMG_5417

One student even put on silly costumes and made up dances to attract attention to our cause, and so many people loved his techniques!

It was really interesting to see the college students when they stopped.  Most of them wanted the students to demonstrate for them how each piece of technology worked.  They had to be nudged and encouraged to try them.  It made me wonder if there is less of a culture of risk-taking in this age bracket than with our elementary students.

Halfway though our makerspace time, Gretchen’s Maker Dawgs class joined us and helped talk with UGA students, demonstrate tools, and document the day through pictures and Flipgrid.

We used Flipgrid part of the time just to capture some video of what was going on.

Ludwig and Kearn spent a lot of time showing people how MaKey MaKey could control a computer.  They setup a piano and bongos that could be played with Playdoh, and they got several people to stop and try it out.  It was fun to listen them explain the science behind how it works.  When you touch the Playdoh and a piano plays, it seems like magic, but they did an incredible job of talking about circuits as they demonstrated the tool.

Many of our students worked hard to drive the Spheros around and demo them.  I wish that our Sphero students had been able to get some UGA students to try programming the Sphero, but most were just in too big of a hurry.  They mostly showed how you can use the Drive app to control the ball.  Maybe next time, we can be prepared to demo alternate apps.  However, they still had a good many students stop by and actually try out the ball after seeing how it worked.  The kids loved talking about how it worked and being able to teach students who were much older than them.

Another group of our students spent time making some things from duct tape and then teaching UGA students how to make them too.

IMG_5441 IMG_5442

Others had a great time exploring littlebits, connecting blocks, and making friendship bracelets.

As our popup makerspace came to a close, we used Flipgrid to reflect on what we had learned.

Here are links to a few of those responses.

It was truly an amazing day of getting our students out into the world to share their knowledge and pass on their passion for makerspaces.  Gretchen was able to promote her UGA class.  We were able to show what’s happening in K-12 education right now with makerspaces.  Our students were empowered by the chance to be the experts in the room.  Gretchen and I are already brainstorming what this might look like next time.

Many thanks to Greg and Justin from Vidku and Flipgrid for tagging along and helping to document our day.

IMG_5438

Teachers in the Makerspace: An Exploration Experiment

teacher makerspace (2)

Each time I see students using our makerspace tools I see possibilities.  I see the problem solving that goes into each attempt and each failure.  I see the curiosity and energy that students bring with them.  I begin to make connections to the more structured curriculum that students use in their classrooms.  So far, I have been the main person to offer ideas to our teachers on how our makerspace supports the Common Core and the Georgia Performance Standards.  However, I don’t want to be the only one.  Since every lesson that happens in the library is a collaboration between me, the classroom teachers, and other support teachers, I want their wheels to be turning about our makerspace as well.

teacher makerspace (1)

The problem with this has been time.  Most teachers know we have a makerspace, but they haven’t actually had a moment where they could put their hands on the maker tools and experience tinkering and making for themselves.  I recently sent out a survey to see how many people would be interested in holding a teacher makerspace exploration

FireShot Capture - Staff Makerspace Exploration_ - https___docs.google.com_a_clarke.k12

I got an overwhelming response from our teachers that this is an area that they want to explore more.

FireShot Capture - Staff Makerspace Exploration - Google F_ - https___docs.google.com_a_clarke.k12

I met with my principal to talk about some possibilities for days to offer an exploration.  Luckily, we had a district professional learning day that offered some flexibility for school-based professional learning.  After all of us attended district meetings during the first half of the day, we returned to our schools for independent studies and choice offerings.  This was the perfect time for me to offer our first makerspace exploration because it gave us more time and it was on a day where teachers weren’t exhausted from teaching all day.  I offered an open makerspace on Feb 16th from 1:30-3:30PM.  Teachers from our school were encouraged to sign up and teachers from other schools were invited too.  We had 12 teachers from our school sign up, 1 teacher from JJ Harris, and a few drop-ins.

teacher makerspace (4)

I setup multiple areas of the library for exploration.  First, I pulled all of our maker books from the library and professional collection.

Then, I setup area with

  • 5 MaKey Makey kits connected to computers.  Playdoh was available
  • A box of duct tape and books on making from duct tape
  • Two spheros with ramps and iPads
  • Our workshop kit of littleBits
  • Our 3 Osmo kits
  • And our makerspace was open where our 3D printer is kept

I invited Kenneth Linsley from GYSTC to bring his squishy circuits, Spheros, and expertise.  I also invited Gretchen Thomas and her Maker Dawgs.  Two Maker Dawgs were able to come and spent much of their time at our Sphero and MaKey MaKey areas.

teacher makerspace (9)

We all started together at tables, but I wanted to keep my introduction extremely short.  I opened by thanking teachers for signing up to explore.  I invited them to give themselves permission to tinker, dream, create, fail, back up, and try again.  I also invited them to think about their curriculum as they tinkered.  I offered them a Padlet space to capture any brainstorming that they had during the session.

FireShot Capture - Makerspace Curriculum Ideas - http___padlet.com_plemmonsa_makerspace

I also showed them a Symbaloo with some instructional videos to refer to.  I know that some people prefer to look at how something works before they explore and some people prefer to just jump in.

FireShot Capture - Barrow Makerspace - Symbaloo - http___www.symbaloo.com_mix_barrowmakerspace

I finished by telling them to use this time to get their hands on as many things as possible and just give it a go.

teacher makerspace (5)

Teachers jumped right in.  I loved watching them make their first choices.  They really split themselves between every area and a few lingered at the tables to watch some videos.  I felt really good about the differentiation that was offered.

I walked around and offered a few tips when needed, but I was very careful not to take over or do the making for each teacher.  Ms. Olin and I had a great conversation about circuits in 5th grade and how littleBits and MaKey MaKey could be integrated into 5th grade science.  Ms. Hocking was busy brainstorming how the Sphero could be used in her math and writing time.  Ms. Stuckey was eager to get her 1st graders using the makerspace for their unit on inventors.  Brainstorming was definitely happening.

teacher makerspace (10)

This is exactly what I wanted to happen.  My hope was that as teachers used the tools, they would start to think about their students using them.  They would be less intimidated by the space and more open to trying the makerspace within their curriculum.  I don’t think a single person is opposed to using the makerspace.  It’s just hard to visualize how something fits into your curriculum if you’ve never used it yourself.

Our Padlet really wasn’t a success this time. There was just too much to explore to stop and write on a Padlet.  I don’t think it’s a bad idea, though, so I’m going to send the link back out and invite teachers to contribute to it now that they’ve had time to reflect.

teacher makerspace (6)

As we entered into the 2nd hour, Ms. Choate, a kindergarten teacher, walked up and said “I think I have something ready to 3D print”.  Sure enough, she had walked through a Tinkercad tutorial and figured out how to make a copy of the lesson file.  She was almost ready to print.  I worked with her to put her file into Makerware and onto the SD card for 3D printing.  We announced to the group that we were about to print and every person stopped to come and celebrate with Ms. Choate.

teacher makerspace (11)

I love watching people the first time they see something print.  It still amazes me to watch it, but when you see it for the first time, it’s just mind-blowing.  I answered lots of questions about how the printer works and showed some other tools that could be used for 3D design.  Ms. Choate stayed to watch her entire print, but in the meantime, she helped Ms. Li, another Kindergarten teacher, get her own file ready to print.  I loved seeing a teacher already passing on her maker expertise to another teacher.

teacher makerspace (13)

teacher makerspace (14)

There are several other teachers who showed interest in exploring the makerspace who were unable to come, so I want to replicate this experience again.  It would be wonderful to have some of these same teachers return too and build upon what they learned as well as pass on their expertise to new teachers.

teacher makerspace (7)

teacher makerspace (12)

This experience also makes me want to do this with our Barrow families too.  There’s a lot of potential, and once again, I’m just scratching the surface.  We have a lot of work to do in the coming years, and it’s going to be exciting.

teacher makerspace (3)

I’m also excited to share that a new school makerspace book is available.  It’s called Worlds of Making: Best Practices for Establishing a Makerspace for Your School.  It’s by Laura Fleming but has contributions by Shannon Miller, Diana Rendina,and me!

Recent Scenes from Our Makerspace and an Exciting Update!

lego table

Our library makerspace has been a bustling place over the past few weeks.  I’ve still been holding some periodic makerspace recess sessions where students can signup to come and explore the space and what it has to offer.  Several students have been coming on a regular basis on their own.  This started as one or two students asking to come and then those students told some other students.  Before I knew it, I had a good problem on my hands.  I’ve been trying to find a good way to organize the process of students coming to use the space on their own.

At the moment, the process is that students send me an email if they want to start using the space on their own.  I make sure to put an appointment on the library calendar to introduce them to the space and set some parameters of what they can and cannot do.  Once I feel like the student is responsible, he or she can start coming without an appointment but still needs to tell me the plan of which days to come.  So far, this has been working with the exception of clean up and organization.  Often, these students are in a rush because they are using recess time.  Just when they get going with their making, it’s time to leave, so there’s little time to cleanup.  This is on my agenda to figure out, but I will have some help with this very soon.

robot dog

I’m partnering with Gretchen Thomas at the University of Georgia and some of her independent study students.  As their project, these students will be coming each day of the week from 11-12:15.  I will be able to tell students and teachers that they can come any day at that time.  The UGA students will be responsible for creating a sign in sheet so that we can track which students are using the space.  They will also monitor how often each student is coming.  Although I love having kids come and use the space, I think it is still important that they spend some time outside.  The UGA students will ask the students to limit their days so that there is space for others to try as well as time to go outside as well.  The UGA students will also help me establish a routine for keeping the space in some sort of organization.  Most importantly, they will explore alongside these students using the space.  All of this starts next week!

Over the past week or so, some amazing things have been made and tried in the space.  These have happened during our weekly enrichment clusters as well as these exploratory recess times.

A student spent time tinkering with LittleBits during enrichment clusters.  He would try one combination of bits and it didn’t quite do what he wanted.  He didn’t give up, and instead, kept trying different combinations until he made a type of microphone.  His next step is to figure out how to make this something we could actually use without having to lean right into the bit to talk.

Other students tinkered with littleBits in different ways:

There has been a lot of exploration of MaKey MaKey by using existing tools online and controlling those with the alligator clips and playdoh.

A challenge has been getting students to move beyond using the MaKey MaKey with existing tools and stretch their thinking to designing their own programs that can be controlled by the tool.  We finally had a breakthrough this week as some students began designing things in Scratch and controlling it with MaKey MaKey.

IMG_4766

Several students have been bringing in their own maker tools to share with the makerspace and classmates.  One student brought a robotic dog that can be controlled through an app and another student brought his snap circuits.  The Snap Circuits were very popular and students were screaming when they figured out how to snap pieces together to create an AM radio.

IMG_4765

I’m still seeing a lot of tinkering with Sphero.  The students love driving Sphero around and playing the various games, but this is another tool where I want to nudge students to begin programming.  I think they need this experimental stage, but I know they can create amazing things once they get going.

I’ve seen a lot of interest in duct tape.  This is the one area where I’ve seen students read the instructions in our duct tape books as well as watch videos about making things with duct tape in order to design something.  Now, a group of students have branched off to start making their own creations from duct tape.  One student made a flower from tape and then decided to add it to her headband.

So far, I feel like our 3d printing has been very teacher directed.  Because of safety concerns, I’m afraid to let elementary students use the 3D printer alone.  Now, though, I have some students who are really capable of this.  They know how to design something in tinkercad, export to Makerware, slice for 3d printing, save on an SD card, load the SD card, and get the print started.  I was startled one day when I heard the 3d printer start, and when I raced over to see what was going on a student had gone through this whole process alone.  I did remind him that due to safety I really wanted to be around when something was 3d printing, but I was also proud that an elementary student was able to go through all of the steps to print something.  Now, he has passed on that expertise to several other students.  Their designs are very simple at the moment, but I think they will get more complex as they tinker with the tool more and more.

I’m excited that Gretchen Thomas is bringing yet another fun tool for us to try when she comes next week:  Google Cardboard.  It’s sort of silly, but it’s a cardboard viewfinder that you stick your phone inside in order to create your own virtual reality on a budget.  Since Cardboard doesn’t officially support iPhones, we also used our makerspace to print an attachment from Thingiverse that will let us use our iPhones for the cardboard tinkering.

I’m still pushing to weave makerspace into classroom curriculum, and I think a next step is going to be to hold some informal teacher exploration time.  I think if teachers give themselves permission to tinker and explore, they will immediately start to see a use for their classrooms.

It is overwhelming and promising to see how many independent projects there are in our school and that students are coming to the library as a place to work on these projects.  I was amazed when I paused and took a quick look around.

Mini Maker Faire with UGA EDIT 2000

IMG_4327

Today Gretchen Thomas from the University of Georgia brought one of her EDIT 2000 classes to the library for a mini maker faire.  She and I have been brainstorming about how to give students more opportunities to come and use the makerspace in the library for tinkering and exposing students to various types of making.  These conversations have come from my constant requests from students to come and use the makerspace.  I struggle with finding a balance between the standards-based lessons and projects that I offer in the library, weaving in the makerspace into curriculum, and the students’ desire to just mess around with the tools in the space.  Gretchen has been coming to lead maker recess times with me.

Today, her EDIT 2000 students brought multiple maker centers for students to explore.  These UGA students are mostly undergraduate students from a variety of backgrounds.  Some of them plan to be education majors while others have a range of other majors.  I love the range of expertise and interests that live within these classes.  Gretchen’s students designed a center that would explore some aspect of making.

IMG_4290


One center explored optical illusions.  These students displayed a book of optical illusions and helped students create a drawing of their hand that looked like it was lifting off the page.

IMG_4291


Another center was a cup stacking challenge.  These students had multiple clear plastic cups and students spent time stacking the cups into different formations to see how tall they could stack as well as which shapes seemed to hold up better.  I loved seeing all the strategies that students tried in order to stack and unstack the cups.  They were fearless and really demonstrated what it means to tinker, fail, and try again.

IMG_4292


Students loved the paper airplane center.  These UGA students had books about paper airplanes and materials for making planes.  Students spent time making their planes and then testing them out in the library.  I loved watching planes flying around the library and hearing teachers ask “are students supposed to be flying airplanes around?”.

IMG_4329

I saw several students refold their airplane to try something new in their design, so once again there was a strong demonstration of tinkering, failure, and perseverance.

IMG_4293


Some of our stations involved technology or could be incorporated into technology.  One station was space for students to explore how to create speakers for iPods or iPhones using cups and paper towel rolls.  Students were eager to take their creations home and try them with their own devices.

IMG_4294


One of the most lively centers was the marshmallow launcher.  Students used rubber bands and Popsicle sticks to create a tool to launch marshmallows.  They tested their creations and made adjustments to see how they could make their marshmallows launch higher and farther.  Again, it was fun to see marshmallows flying through the air along with the planes.

IMG_4295


Another lively center was Video Star where students got to create their own costumes and form a mini flash mob dance to be recorded in the Video Star app.  These videos will be coming soon, so I hope to add a few to this blog post when they are ready.  It was interesting to see some students show their personality, come out of their shell, and be totally engaged when given an opportunity to make a music video.

IMG_4296

A different take on making was the center that explored spices.  These students had a variety of spices that you might put in fall pies and students spent time examining the spices and creating their own mix.

IMG_4315

I loved hearing what they planned to do with the spices when they get home.  One boy wanted to make a cake for his teacher and even talked about making a new fried chicken recipe.

IMG_4302 IMG_4312 IMG_4297

Three of our centers were facilitated by kids.  Two kids were Gretchen’s own kids and one was a neighbor.  They had centers on Minecraft, Goldieblox, and badge making.  They ran their centers like pros and I was reminded of how powerful it is when we give kids a voice to share their expertise with others.

Our entire 5th grade rotated through this experience across the course of an hour.  Students were able to visit about 3 centers.  After the centers are assessed and used at another school, they will be making their way back to our school for students to use in our makerspace.  I am so thankful to have Gretchen and her students so close to us.  She is willing to give any crazy idea a try and see what happens.  In this case, I think there were many miraculous moments.

As students left, they had smiles on their faces, energy in their bodies, and ideas flowing in their minds.  I invited them to think about how what they discovered fit into what they are doing in their classrooms.  I wish that I had been able to have them express some of these ideas before they left, but perhaps I can capture some of these reflections in another way such as a Flipgrid or Google form.