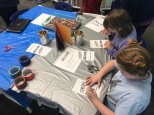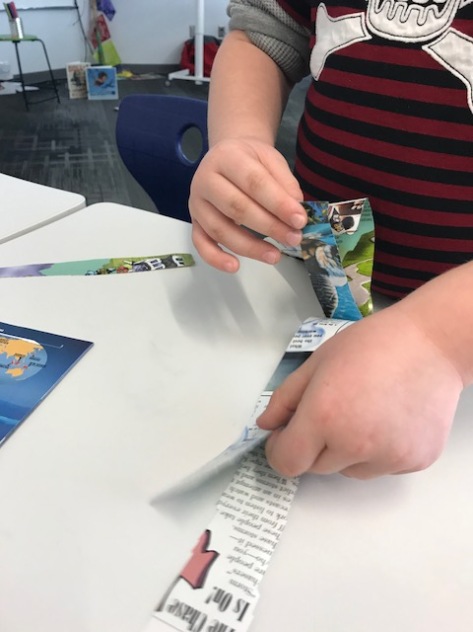
Our open makerspace is taking a short break while our student book budget team works on new books for the library. We wrapped up our final makerspace session by hosting an ornament makerspace. Students signed up for this time with their teachers via a Google doc.
I have lots of old magazines that used to be in circulation but aren’t used anymore. I decided to pull them out and use them for our ornament materials as a way to promote reusing materials rather than throwing them out or putting them in recycling.
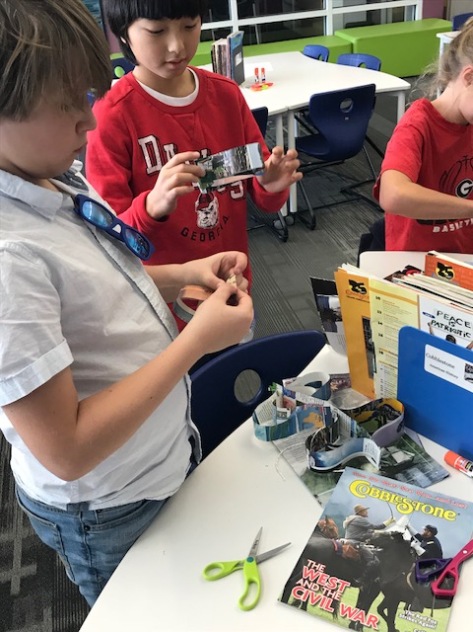
I wanted students to have a mixture of structure and freedom, so I selected 3 options for structured ornaments with a 4th option of designing your own.
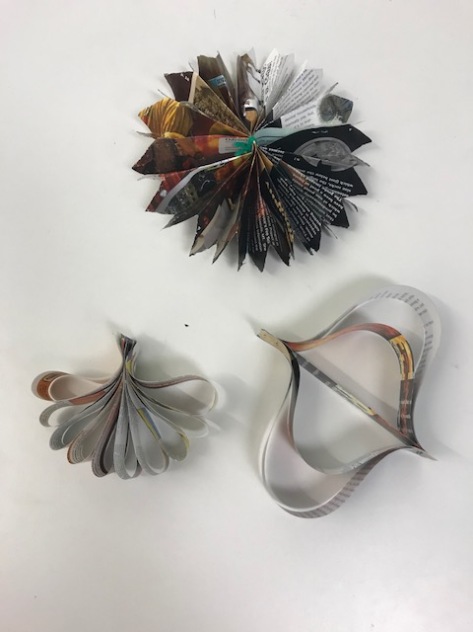
Instructions for these 3 ornaments are found below.
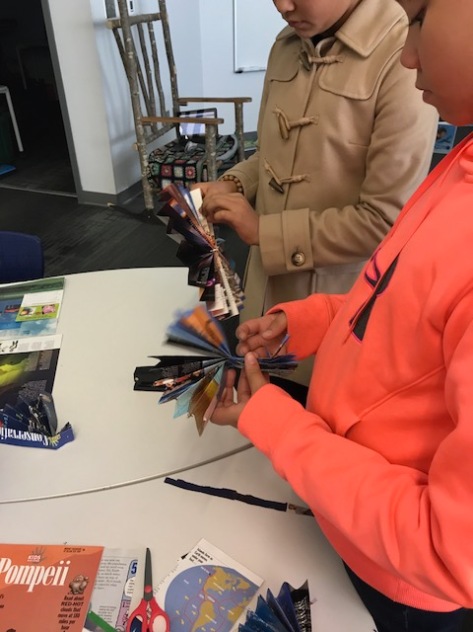
Ornament 1 (top center):
- Cut 2 pages from a magazine and fan fold each page.
- Stack the 2 fan folds on top of one another and tie in the middle.
- If you want, trim the ends of the fan into a fancy design with craft scissors or regular scissors.
- Fan out each side and connect together to make a circle. Staple if low on time. Glue if you have time for drying.
- Use a hole punch to make a hole and tie a string.
Ornament 2 (bottom left):
- Cut multiple strips of the same length from a magazine page.
- Bring the ends of each strip together to form a loop.
- Repeat the process of bringing ends of strips together and begin adding the loops together.
- You might want to use a gem clip to hold the loops together if you have trouble holding them in your hand and folding paper at the same time.
- Staple the loops together at the top.
- Use a hole punch to create a hole and tie a string. (If you have added a lot of strips, it may be difficult to punch a hole)
Ornament 3 (bottom right):
- Cut 5 strips from a magazine page. 2 long, 2 medium, 1 short.
- Arrange the strips in this order: long, medium, short, medium, long.
- At one end of your stack, make sure the ends of the strips are even and staple them together.
- Starting in the center with the short strip, connect the two medium strips to the top of the short strip.
- Next, connect the two long strips to the short strip. Staple together.
- Use a hole punch to create a hole and tie a string.
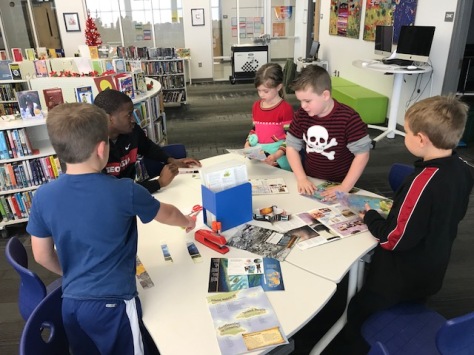
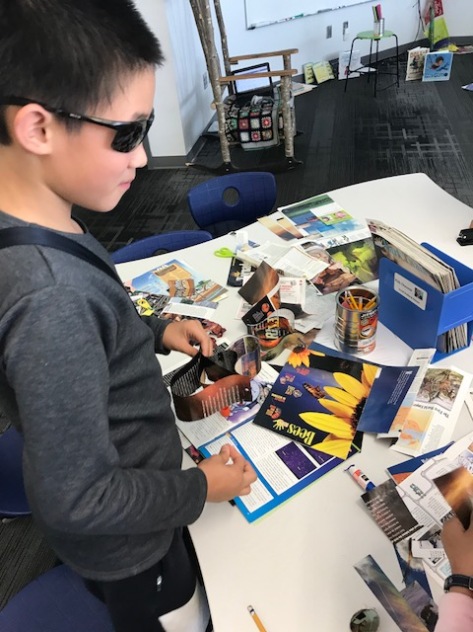
When students came to the makerspace session, I quickly showed them the 3 options which were all at their own table. Then, I showed them a 4th table where they could design their own. Since a UGA class collaborates with us in makerspace, there was a UGA student at each table to assist students as needed with the directions. I also had a UGA student help with hole punching and string tying.
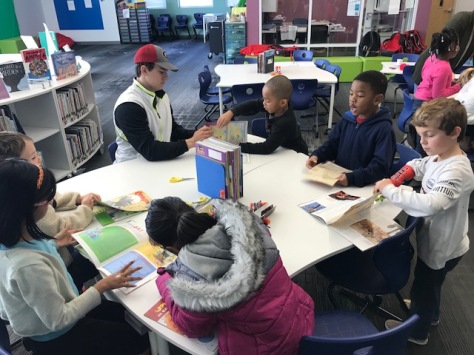
Students were welcome to make as many ornaments as they wanted. They could take them all with them, but they were also welcome to add them to our holiday area of the library. At the front of the library, I have pulled out all of our November/December holiday books and created displays to highlight those holidays such as Diwali, Thanksgiving, Hanukkah, Kwanzaa, Christmas, and New Year.
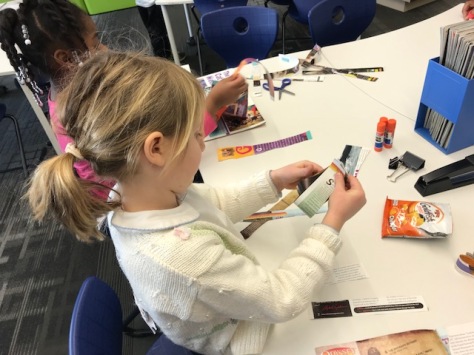
As with every makerspace time, I loved seeing how students took structured ideas and put their own creative spins on them. I also loved seeing what unique ideas students came up with on their own too. It’s always hard to decide how to balance structure with open-ended projects, but I think it’s important to offer both. We all learn in different ways. I’ve seen that some learners have high anxiety when given no structure and others have high anxiety when they have structure and think that their creation has to look exactly like the picture.

Several students did decide to add at least one of their creations to our tree in the library. It’s one more way that we can share ownership of our library.


