Polar Express 2018

Our Polar Express tradition continued this year in the library. Every year we host a Polar Express Day where every class comes to the library to enjoy hearing the story read aloud. Students and teachers get to wear their pajamas to school.

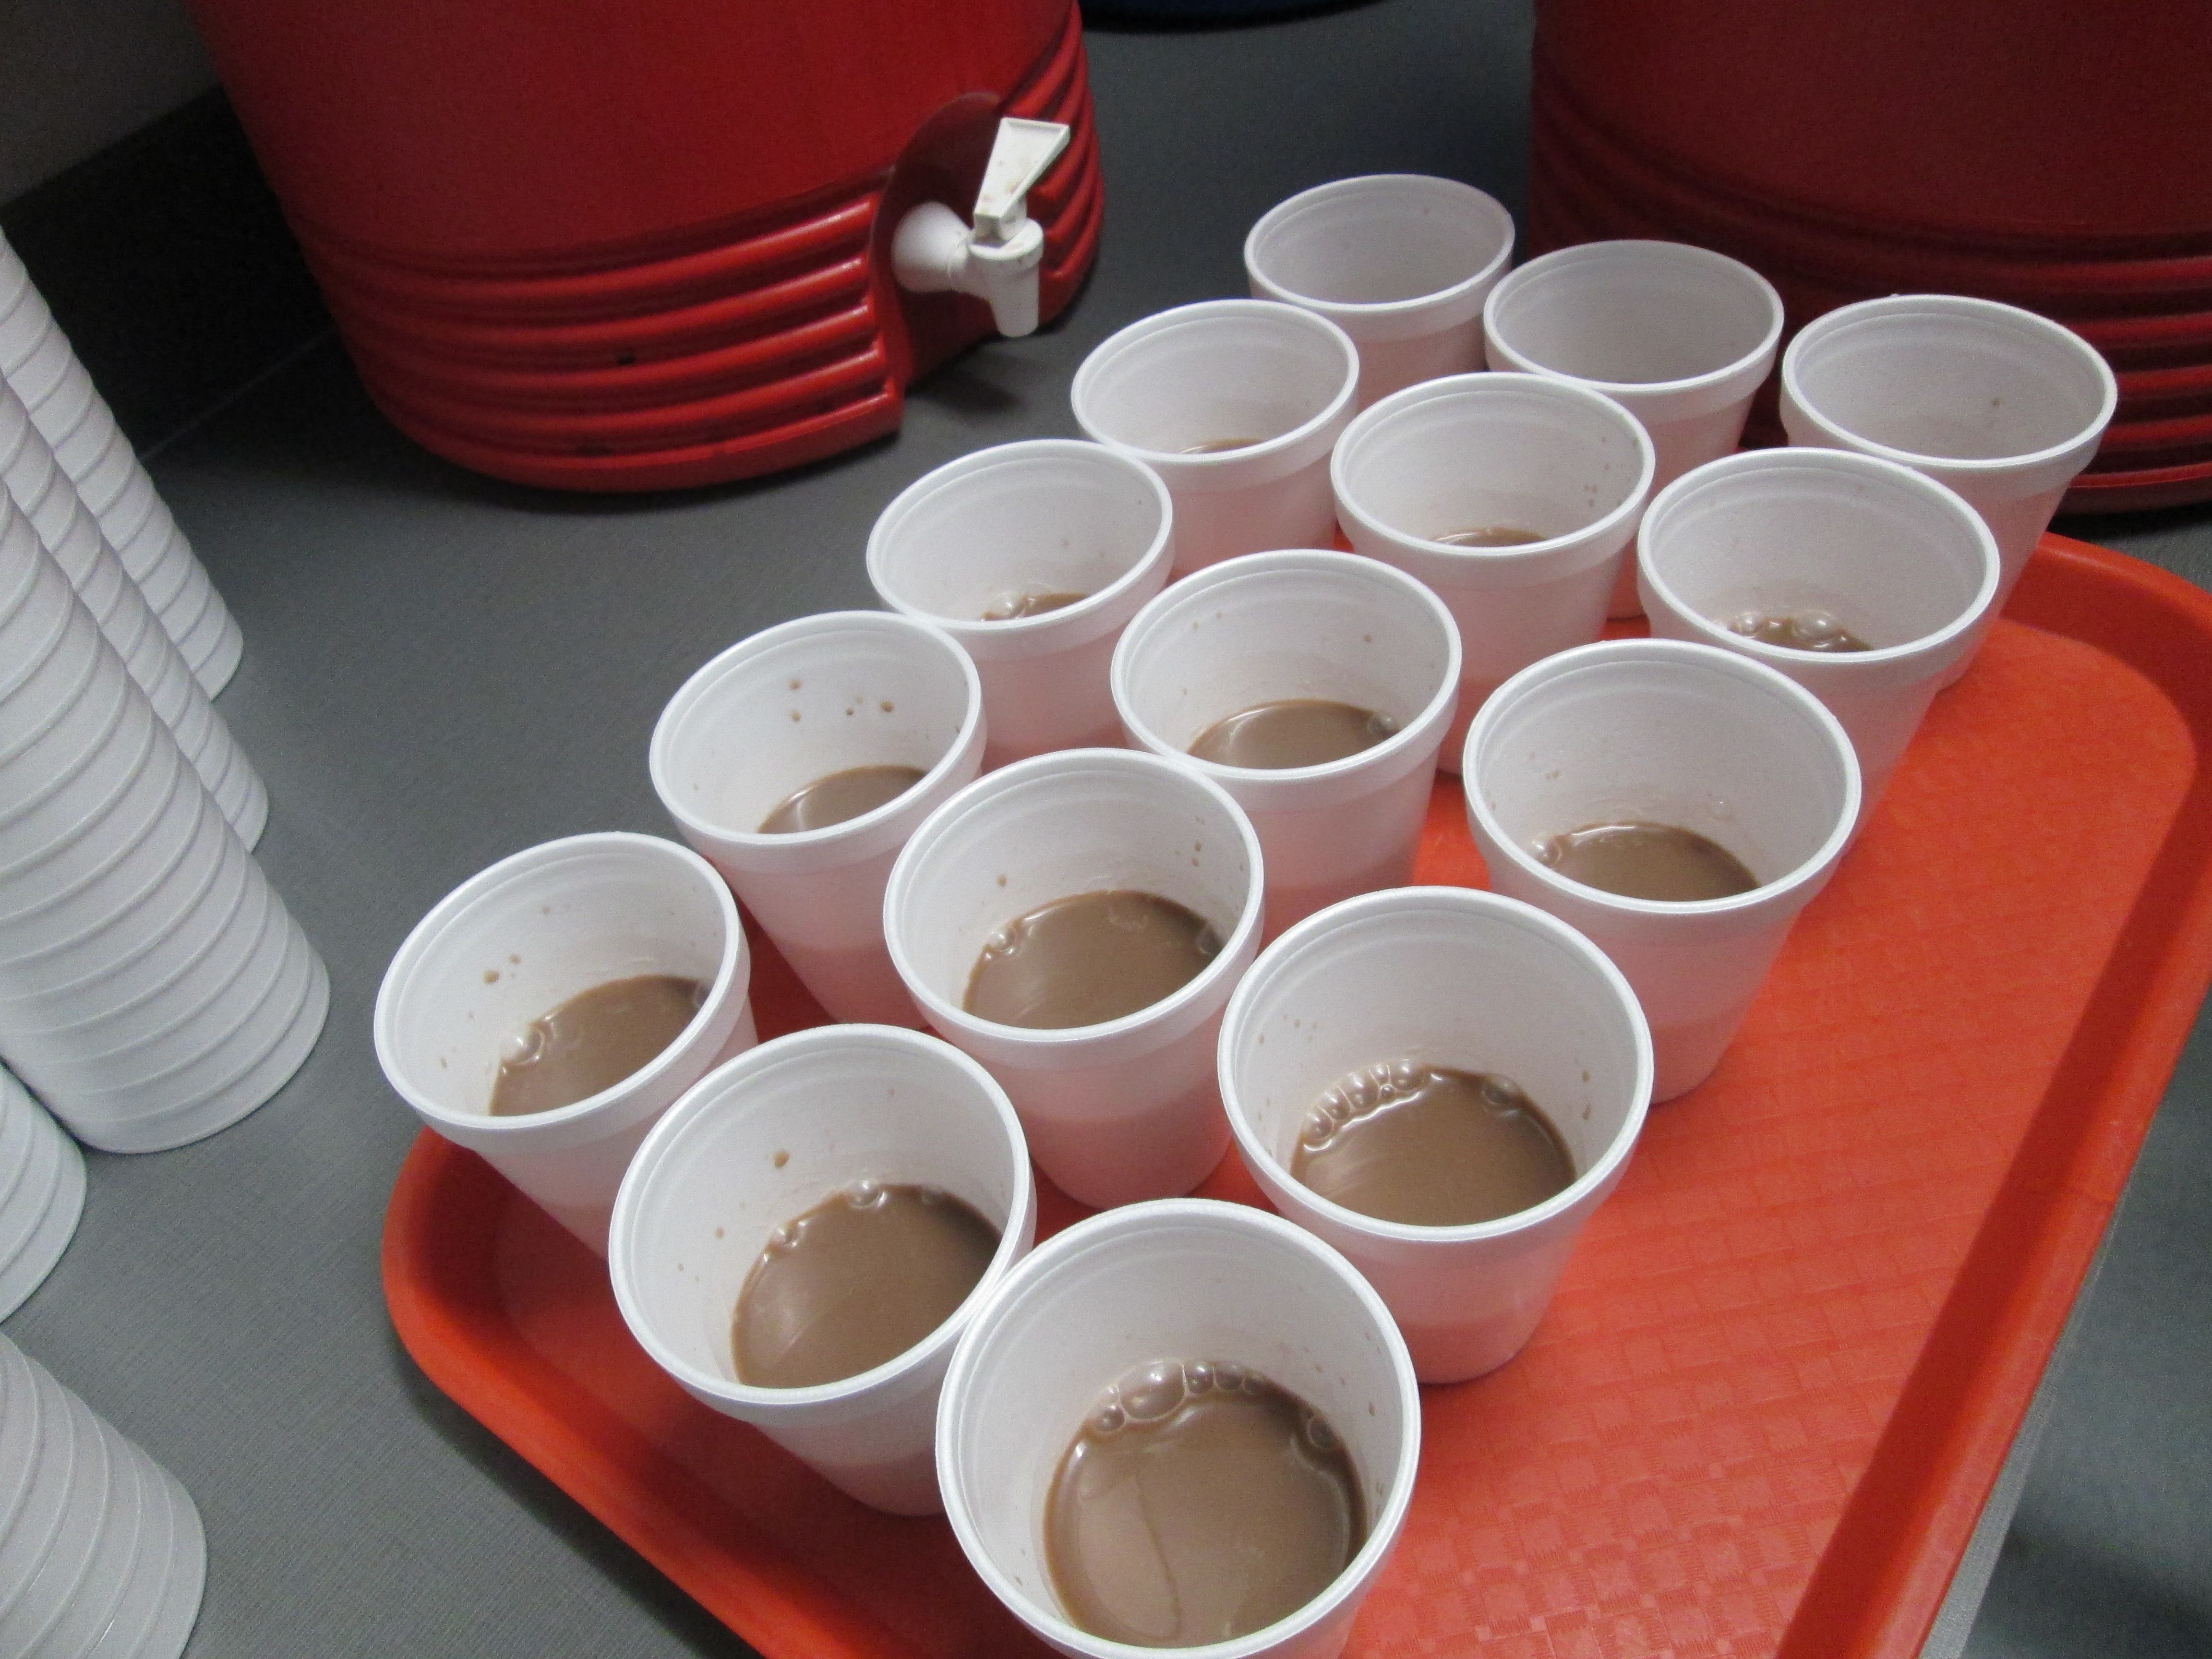
When they enter the library, they find hallways that have been transformed with special decorations thanks to a special team of elves (teachers) who come back to school at night to create some magic. In the library, the lights are turned off and our tables have been flipped on their sides to form a train that students board. The hot chocolate song comes on and a team of servers (parent volunteers) bring out hot chocolate for all.

A conductor (teacher) holds up the book while we listen to a recording of the story. At the close of the story, our parent volunteers come out and place a bell around each student’s neck and whisper “always believe” into their ears. Students receive a candy cane as they exit.

Many classes take a class photo together by the Barrow tree or with the new backdrop that Ms. Vaughn magically discovered.

This is a special day that takes so many people to pull off. It ends up being one of the many memories that students come back to again and again when they think about what they love about our school. We are so happy to continue this special tradition.

Thank you to:

  • Kim Ness, parent, who purchased bells, string, cups, marshmallows, hot chocolate, and candy canes. Thank you for also organizing our volunteers for the day and for organizing volunteers to prepare bells.
  • Families who donated their time to help the serve hot chocolate, punch tickets, and hand out bells.

  • Renee Williams, lunchroom manager, and the lunchroom superheroes who prepared our hot chocolate and let us borrow carts and trays.
  • Ellen Sabatini, principal, who created our schedule for the day.
  • Sarah Britton Vaughn, Phyllis Childs, Allyson Griffith, and everyone else who helped transform our halls
  • The team of parent volunteers who donated a morning to string over 600 bells.
  • Teachers for being on time, preparing students, turning pages, cleaning up spills, throwing away trash, and sharing your love with our students and families.
  • Katherine Byrne (family engagement specialist) & Lauren McElhannon (counselor) for organizing pajamas for students who didn’t have a pair to wear to school.
  • Our wonderful PTA for providing funds to purchase all of our supplies.
  • Anyone else I may have forgotten. If your name or job isn’t listed, it’s not intentional. This day takes so many hands. Please remind me and I’ll edit this post to include you.

Magazine Ornament Makerspace

Our open makerspace is taking a short break while our student book budget team works on new books for the library. We wrapped up our final makerspace session by hosting an ornament makerspace. Students signed up for this time with their teachers via a Google doc.

I have lots of old magazines that used to be in circulation but aren’t used anymore. I decided to pull them out and use them for our ornament materials as a way to promote reusing materials rather than throwing them out or putting them in recycling.

I wanted students to have a mixture of structure and freedom, so I selected 3 options for structured ornaments with a 4th option of designing your own.

Instructions for these 3 ornaments are found below.

Ornament 1 (top center):

  1. Cut 2 pages from a magazine and fan fold each page.
  2. Stack the 2 fan folds on top of one another and tie in the middle.
  3. If you want, trim the ends of the fan into a fancy design with craft scissors or regular scissors.
  4. Fan out each side and connect together to make a circle. Staple if low on time. Glue if you have time for drying.
  5. Use a hole punch to make a hole and tie a string.

Ornament 2 (bottom left):

  1. Cut multiple strips of the same length from a magazine page.
  2. Bring the ends of each strip together to form a loop.
  3. Repeat the process of bringing ends of strips together and begin adding the loops together.
  4. You might want to use a gem clip to hold the loops together if you have trouble holding them in your hand and folding paper at the same time.
  5. Staple the loops together at the top.
  6. Use a hole punch to create a hole and tie a string. (If you have added a lot of strips, it may be difficult to punch a hole)

Ornament 3 (bottom right):

  1. Cut 5 strips from a magazine page. 2 long, 2 medium, 1 short.
  2. Arrange the strips in this order: long, medium, short, medium, long.
  3. At one end of your stack, make sure the ends of the strips are even and staple them together.
  4. Starting in the center with the short strip, connect the two medium strips to the top of the short strip.
  5. Next, connect the two long strips to the short strip. Staple together.
  6. Use a hole punch to create a hole and tie a string.

When students came to the makerspace session, I quickly showed them the 3 options which were all at their own table.  Then, I showed them a 4th table where they could design their own. Since a UGA class collaborates with us in makerspace, there was a UGA student at each table to assist students as needed with the directions. I also had a UGA student help with hole punching and string tying.

Students were welcome to make as many ornaments as they wanted. They could take them all with them, but they were also welcome to add them to our holiday area of the library. At the front of the library, I have pulled out all of our November/December holiday books and created displays to highlight those holidays such as Diwali, Thanksgiving, Hanukkah, Kwanzaa, Christmas, and New Year.

As with every makerspace time, I loved seeing how students took structured ideas and put their own creative spins on them. I also loved seeing what unique ideas students came up with on their own too. It’s always hard to decide how to balance structure with open-ended projects, but I think it’s important to offer both. We all learn in different ways. I’ve seen that some learners have high anxiety when given no structure and others have high anxiety when they have structure and think that their creation has to look exactly like the picture.

Several students did decide to add at least one of their creations to our tree in the library. It’s one more way that we can share ownership of our library.


Winter Design Challenge Using Blokify and 3D Printing

Blokify Design Challenge (5)Our open makerspace on Tuesdays and Thursdays is taking a break while UGA is having finals and winter break.  However, the demand to use the makerspace doesn’t disappear just because UGA is on break.  I decided to have a design challenge makerspace on two days and feature the Blokify app and our 3D printers. Since 3D printing takes a long time to complete, I decided to create some rules to help us out with the number of pieces we would need to print in a short amount of time.

Blokify Design Challenge (12) Blokify Design Challenge (11) Blokify Design Challenge (8)

Rules:

  1. Design a winter symbol.  Any winter holidays or winter objects could serve as inspiration
  2. Design in 1 layer.  The more layers we have, the longer it takes, so we want our designs to be 1 layer only.
  3. Use Blokify to design and don’t worry about the colors of the blocks since your print will be whatever filament color we use.
  4. All blocks need to be connected so that your design prints in 1 piece.

Since Blokify uses blocks to design in 3D, I found some 8-bit winter designs to serve as inspiration for student winter designs.  I blocked off six 30-minute time slots on the library calendar and made a Google doc for teachers to sign students up.  I shared it with all teachers and encourage them to let any interested students come.  There were 8 slots in each time block.  It didn’t take long for the slots to fill with Kindergarten, 1st, 3rd, 4th, and 5th graders.

During each session, I gave a very quick intro to Blokify and shared the 8-bit winter designs to consider.  I went over the rules as well, and students jumped onto the iPads to work.  It was a short amount of time to design something, so I told students not to panic if they didn’t finish a design.  As usual, students began looking at one another’s work for inspiration and helped one another with Blokify tips such as how to zoom in, delete blocks, or change the view.

It was fun to see what some of the students came up with and which students naturally gravitated toward this type of design because of their previous experience with block tools such as Minecraft.  We had Santas, a menorah, Christmas trees, snowflakes, reindeer, presents, crosses, and a few randomly shaped symbols too.

A few students did get frustrated, but most of them persevered through their frustration to complete a design.

Once designs were done, we had a process for getting them to me for 3D printing.  I created a separate email account just for 3D files.  Students went to “3D print” on Blokify and selected “Email to me”.  They emailed the .stl file to the 3D printing email account.  In the subject of the email, they changed the “untitled” file to their first name and teacher’s name.  This would help me in getting the printed file back to students.

At the end of the day, I sat down, logged into the email account, and started putting the .stl files into Makerware and Cubify.  Makerware works with our Makerbot and Cubify works with our Cube 3D printer.  For Makerware, I put up to 3 student files in a row on the build plate.  On a separate piece of paper, I wrote down the main file name and then wrote the student/teacher name in the correct sequence that the files would print on the plate.  For Cubify, I could only put on design on the build plate at a time, so I named each of those files with the student/teacher name.

cubify

Once all of the files were complete, I loaded them on a USB stick for the Cube and an SD card for the Makerbot.  Each day, I come in and crank up both printers right away and start printing the files.

I write the student/teacher name on a Ziploc bag and lay them out in the right order of the floor to await the finished print.  When a print finishes, I remove and bag them.  Then, I immediately start a new print.  I’m making good progress and hope to have all of the designs printed by Friday.  It takes a lot of organization to get this moving efficiently, but I finally have a process that is working faster than how I originally started.

Even with the speed I’m working at, the kids are still dropping by to ask if their design is done.

I loved the experience of having a design challenge and hope that the students did too.  I think if I offer these types of experiences more often, the students will start to develop their own ideas for 3D designs.  They will also get more comfortable with the 3D design tools.  We will try others in future design challenges along with Blokify.

Polar Express Day 2013

Polar Express (14)A favorite day for Barrow students is our annual Polar Express Day.  This year was our first year back in our new building, so of course, this day brought new surprises for students.  All of the favorite traditions were there, too:

  • All students wore pajamas.  Our counselor, family engagement specialist, and PTA made sure that all students had pajamas.
  • Every class came to the library to listen to the Polar Express read by William Hurt
  • Students were served hot chocolate with marshmallows by several fantastic volunteers.
  • Each student received a bell placed around their neck with the word “Always Believe” whispered in their ear.
  • Each student received a candy cane as they left the library.

Some new surprises this year:

  • Kevin O’Neil, Barrow Dad, dressed up as a waiter to serve the 1st 2 groups hot chocolate
  • Our school was decorated in several collaborative spaces for multiple holidays, not just Christmas
  • 3 sets of train tracks brought kids to the library
  • Our display wall outside the library was transformed into a train.  The tv screens all displayed images from Polar Express
  • Holiday music was played throughout the halls
  • The projectors in the collaborative space played a crackling fire
  • The projector in the library played falling snow
  • This year our hot chocolate pouring and bell prep was in a separate room so it wasn’t as distracting to the kids
  • The train schedule of classes was posted outside the library

Polar Express (23)This is truly a magical day.  It takes a huge team effort to pull this off.  There are so many hands in this day that it’s hard to list them all.  Many thanks to:

  • Our lunchroom staff for fixing chocolate for 500 on top of fixing breakfast and lunch
  • Our principal for organizing volunteers through Signup Genius, creating a schedule, and making sure supplies were bought
  • Volunteers who went out to search the stores for bells, string, hot chocolate, cups, napkins, and candy canes.  It was quite a big search!
  • Our PTA for helping string 500+ bells
  • Sarah Britton Vaughn, Mimi Elliott-Gower, Allision Griffith, and several others who stayed late Tuesday night to put up some extra magic in the hallways
  • Multiple volunteers who poured hot chocolate, put bells around necks, and cleaned up spills
  • Todd Hollett for working long hours to figure out our hallway technology

Polar Express (22) Polar Express (29) Polar Express (16)