3D Jewelry Artists in 1st Grade Using Blokify

art jewelry

In my latest collaboration with our superstar art teacher, Rita Foretich, we are crafting with 1st graders.  One of her art standards has to do with students creating a craft, which is defined as an art creation that serves a purpose.  Rita is always pushing herself as a teacher to try new things and stretch the boundaries of what kids have experiences with. Along with this standard she wanted students to work with technology and to design in 3D.  What resulted was an art project where 1st graders are designing pendants in a 3D design tool called Blokify, 3D printing those pendants, and then using them in art to create a functional necklace.

When Rita first told me about her ideas for this project, my first reaction was whether or not Blokify was the right tool.  I had made pendants and charms in other tools like Tinkercad, but I knew that Tinkercad would be very tricky to do with a 1st grade class in the time frame we had.  Blokify is very user-friendly for very early learners, but I had trouble envisioning a pendant.  I even tweeted out to ask other people what they thought.

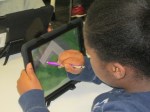
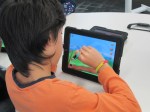
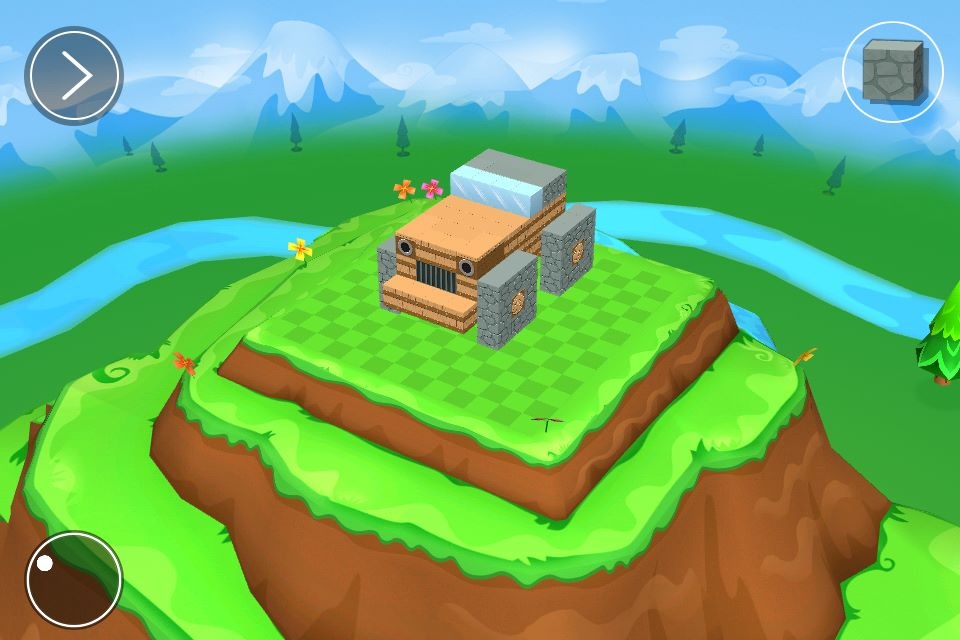
What helped me in the end?  Tinkering.  During our book fair, I pulled out an iPad and just tinkered at making a charm.  I can’t say that I came up with anything brilliant, but I did come up with some examples to help students see. The most helpful thing was for them to be able to visualize what the hole for the string might look like.

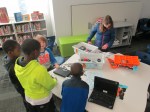
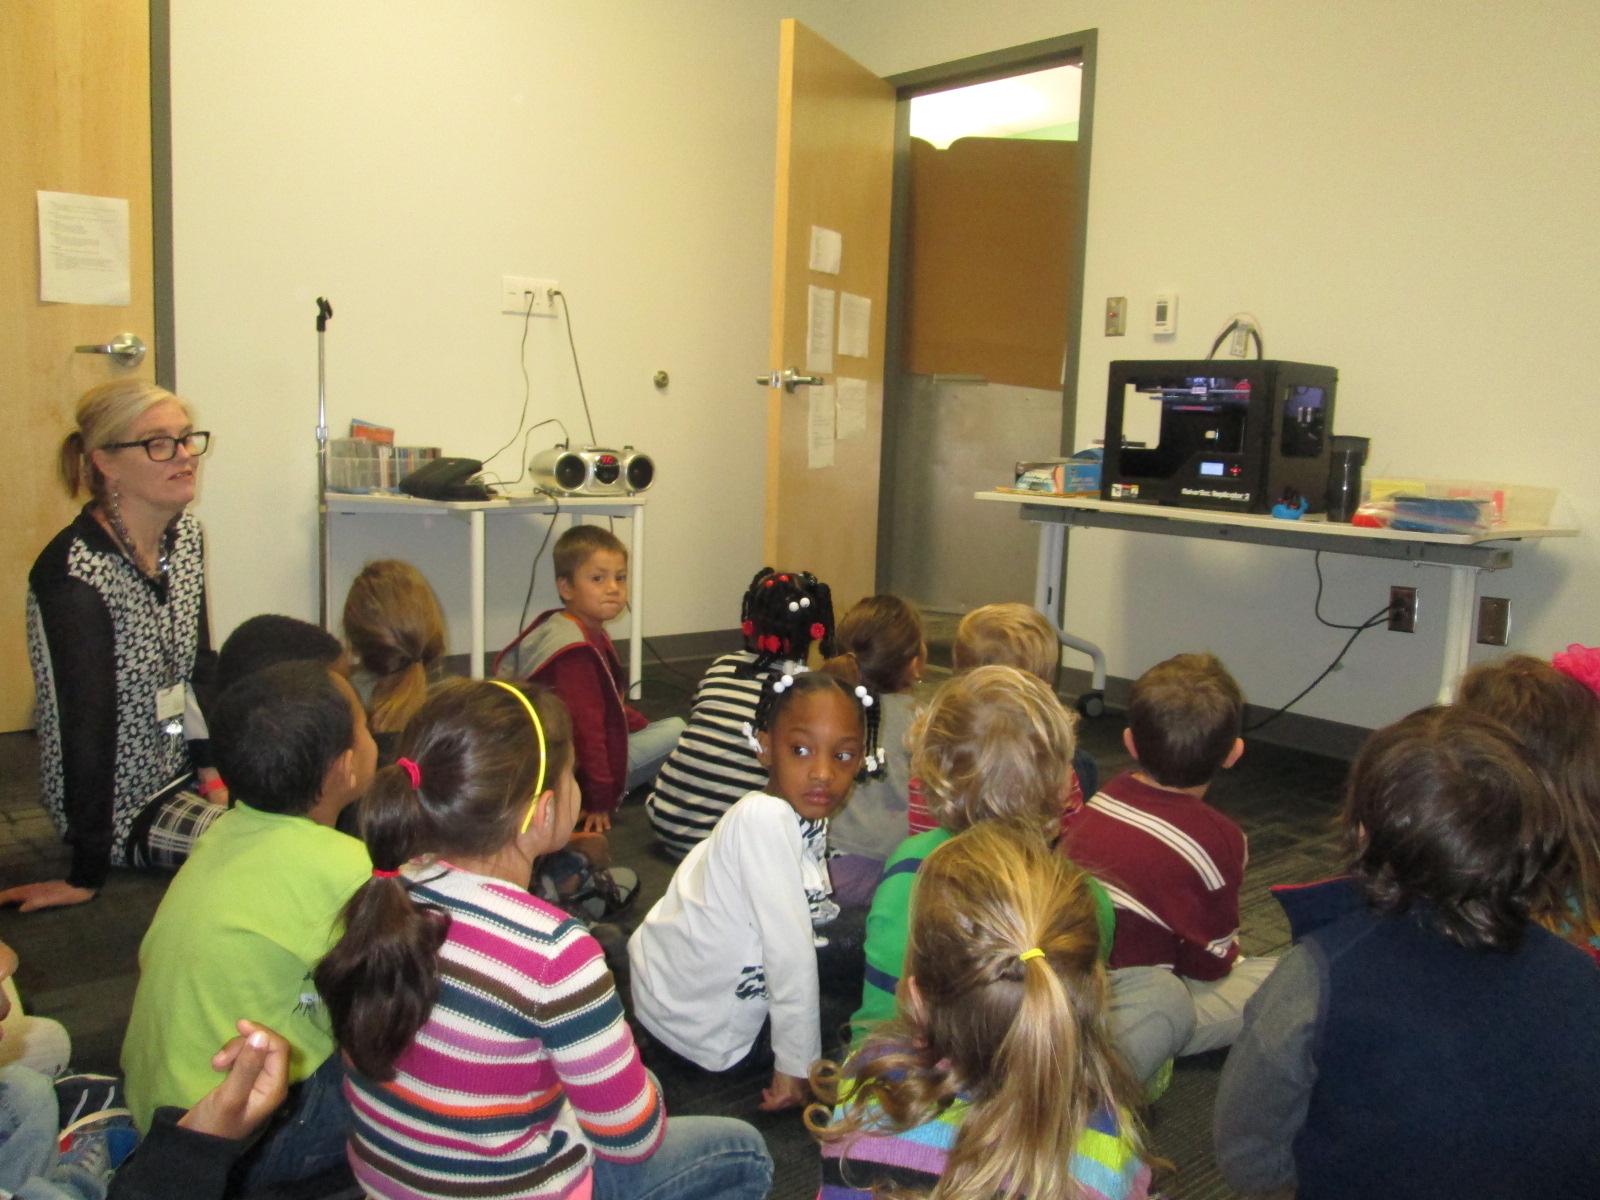
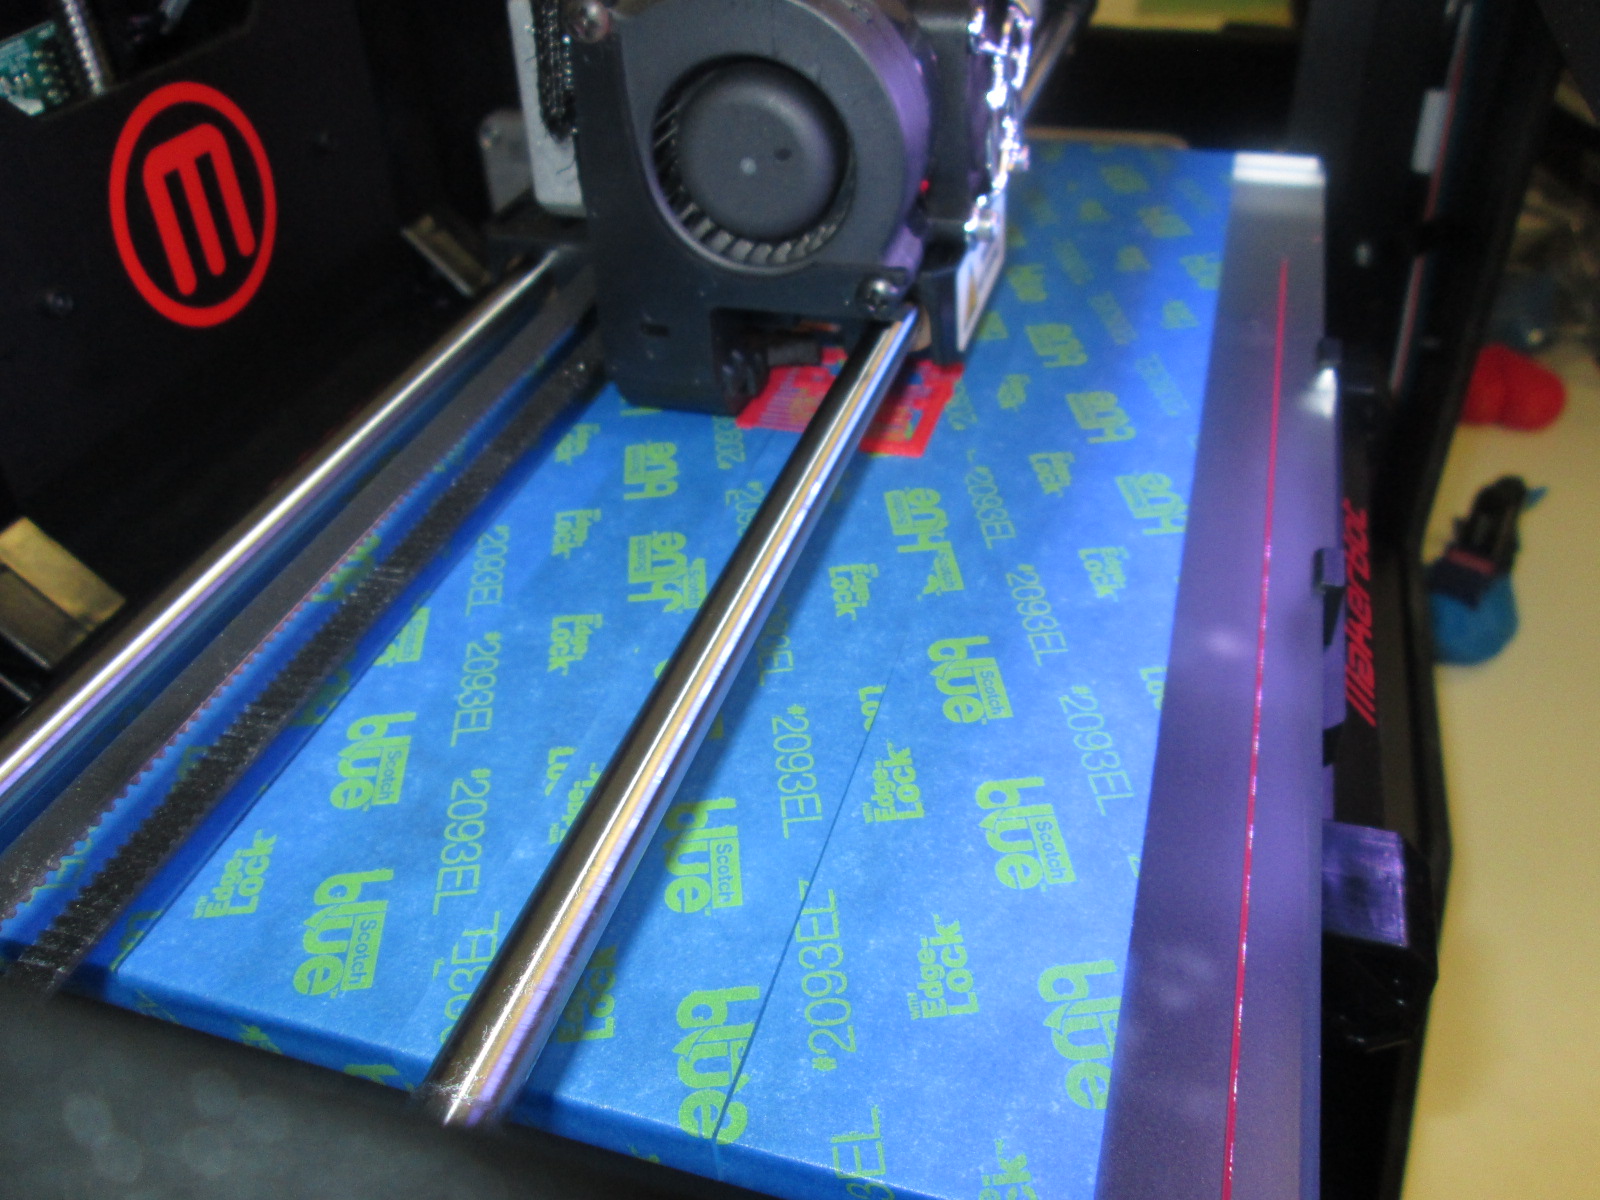
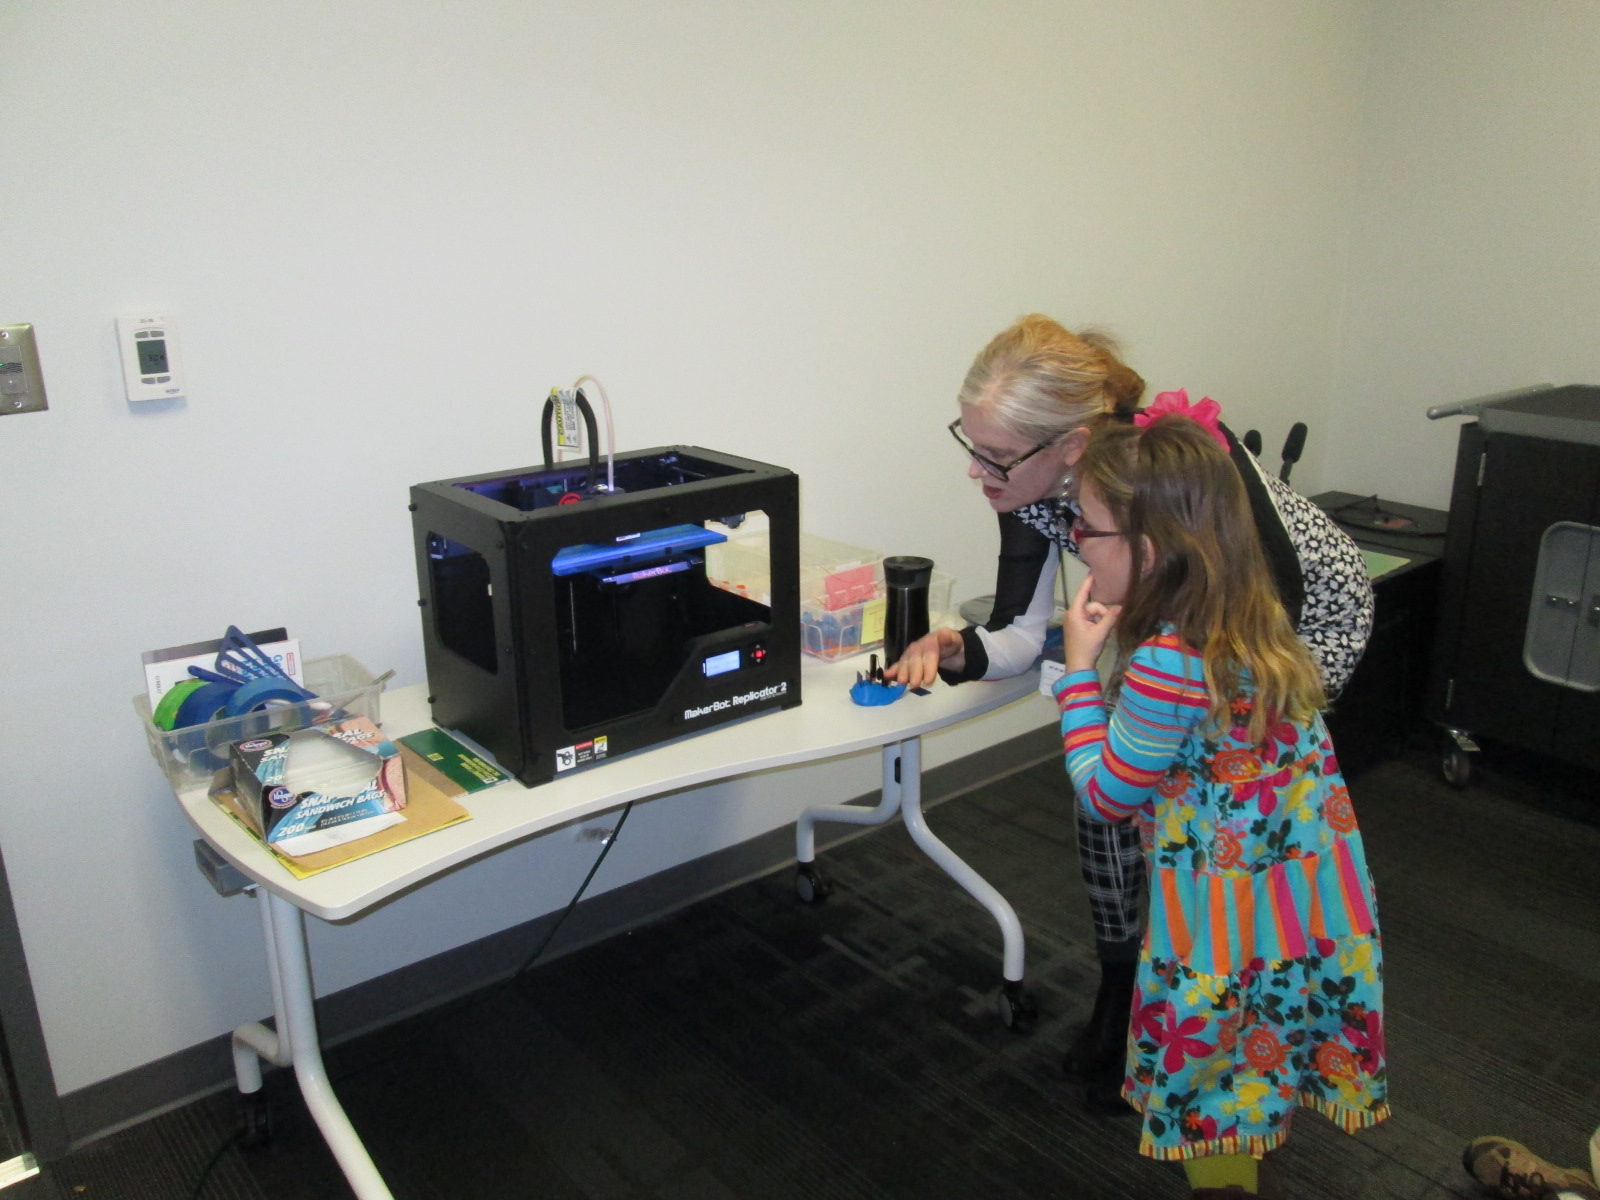
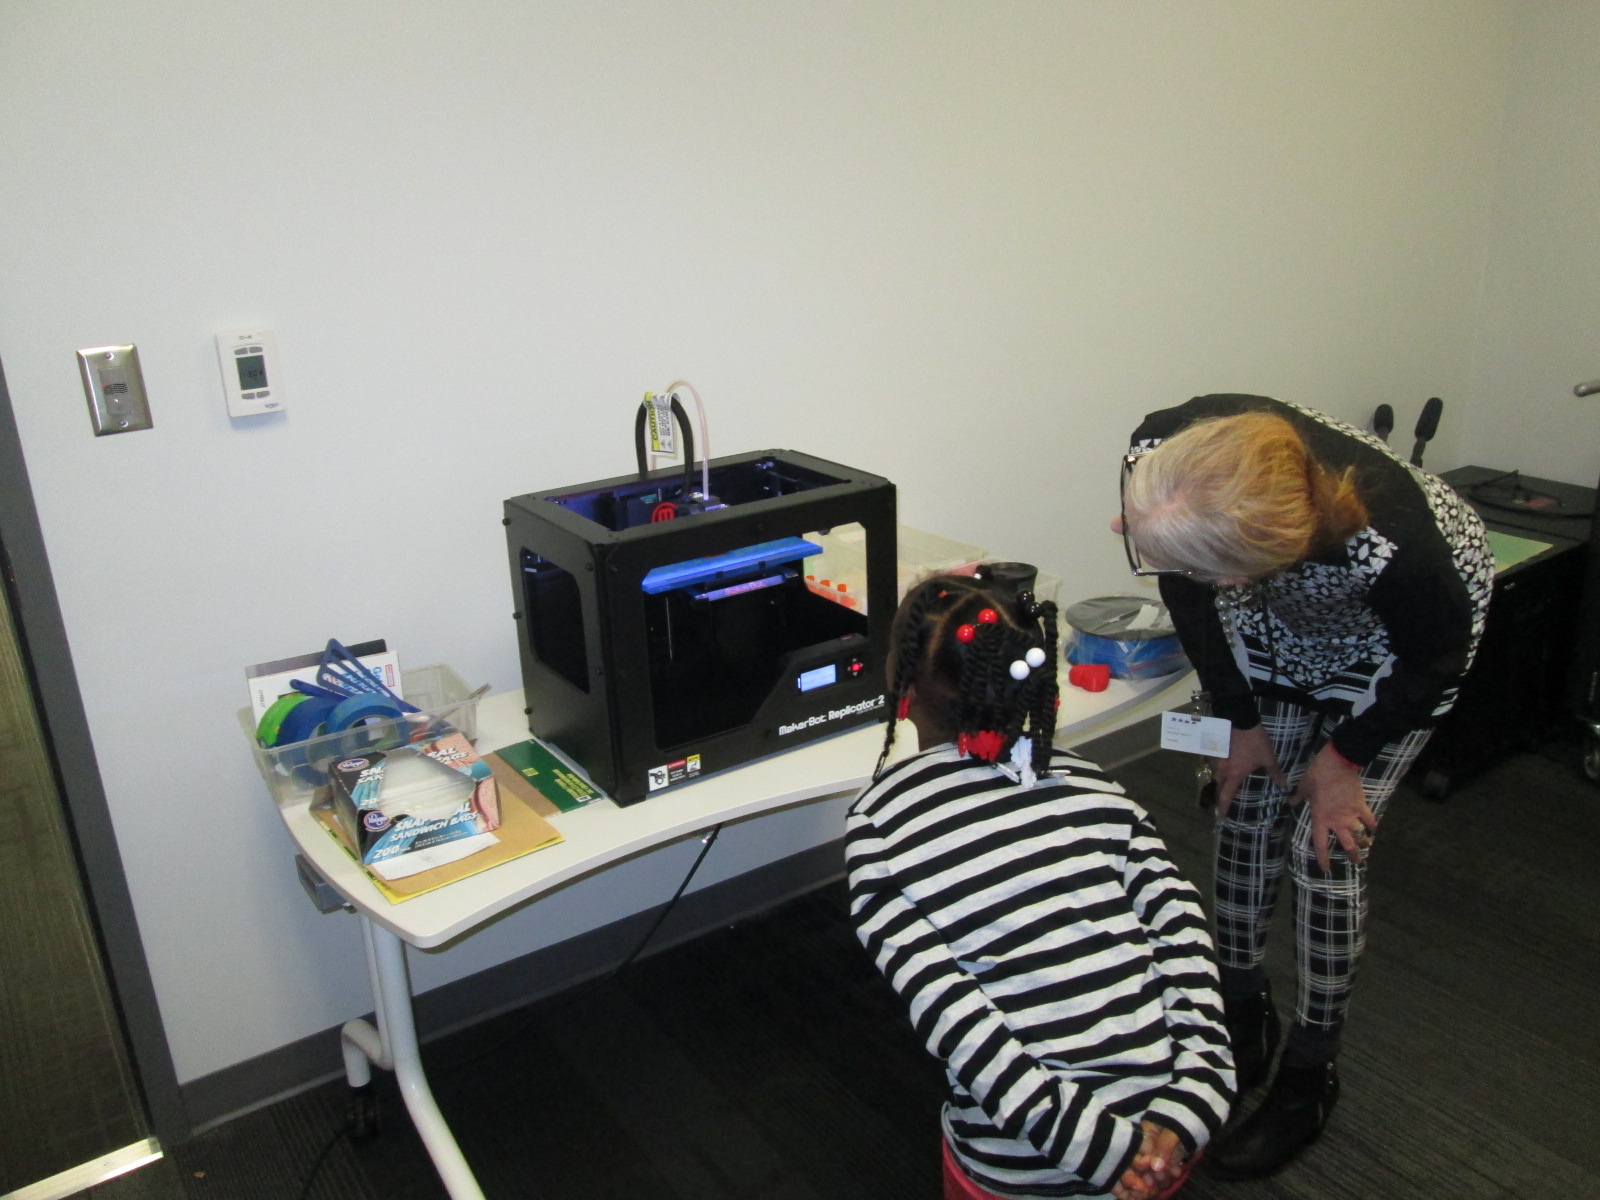
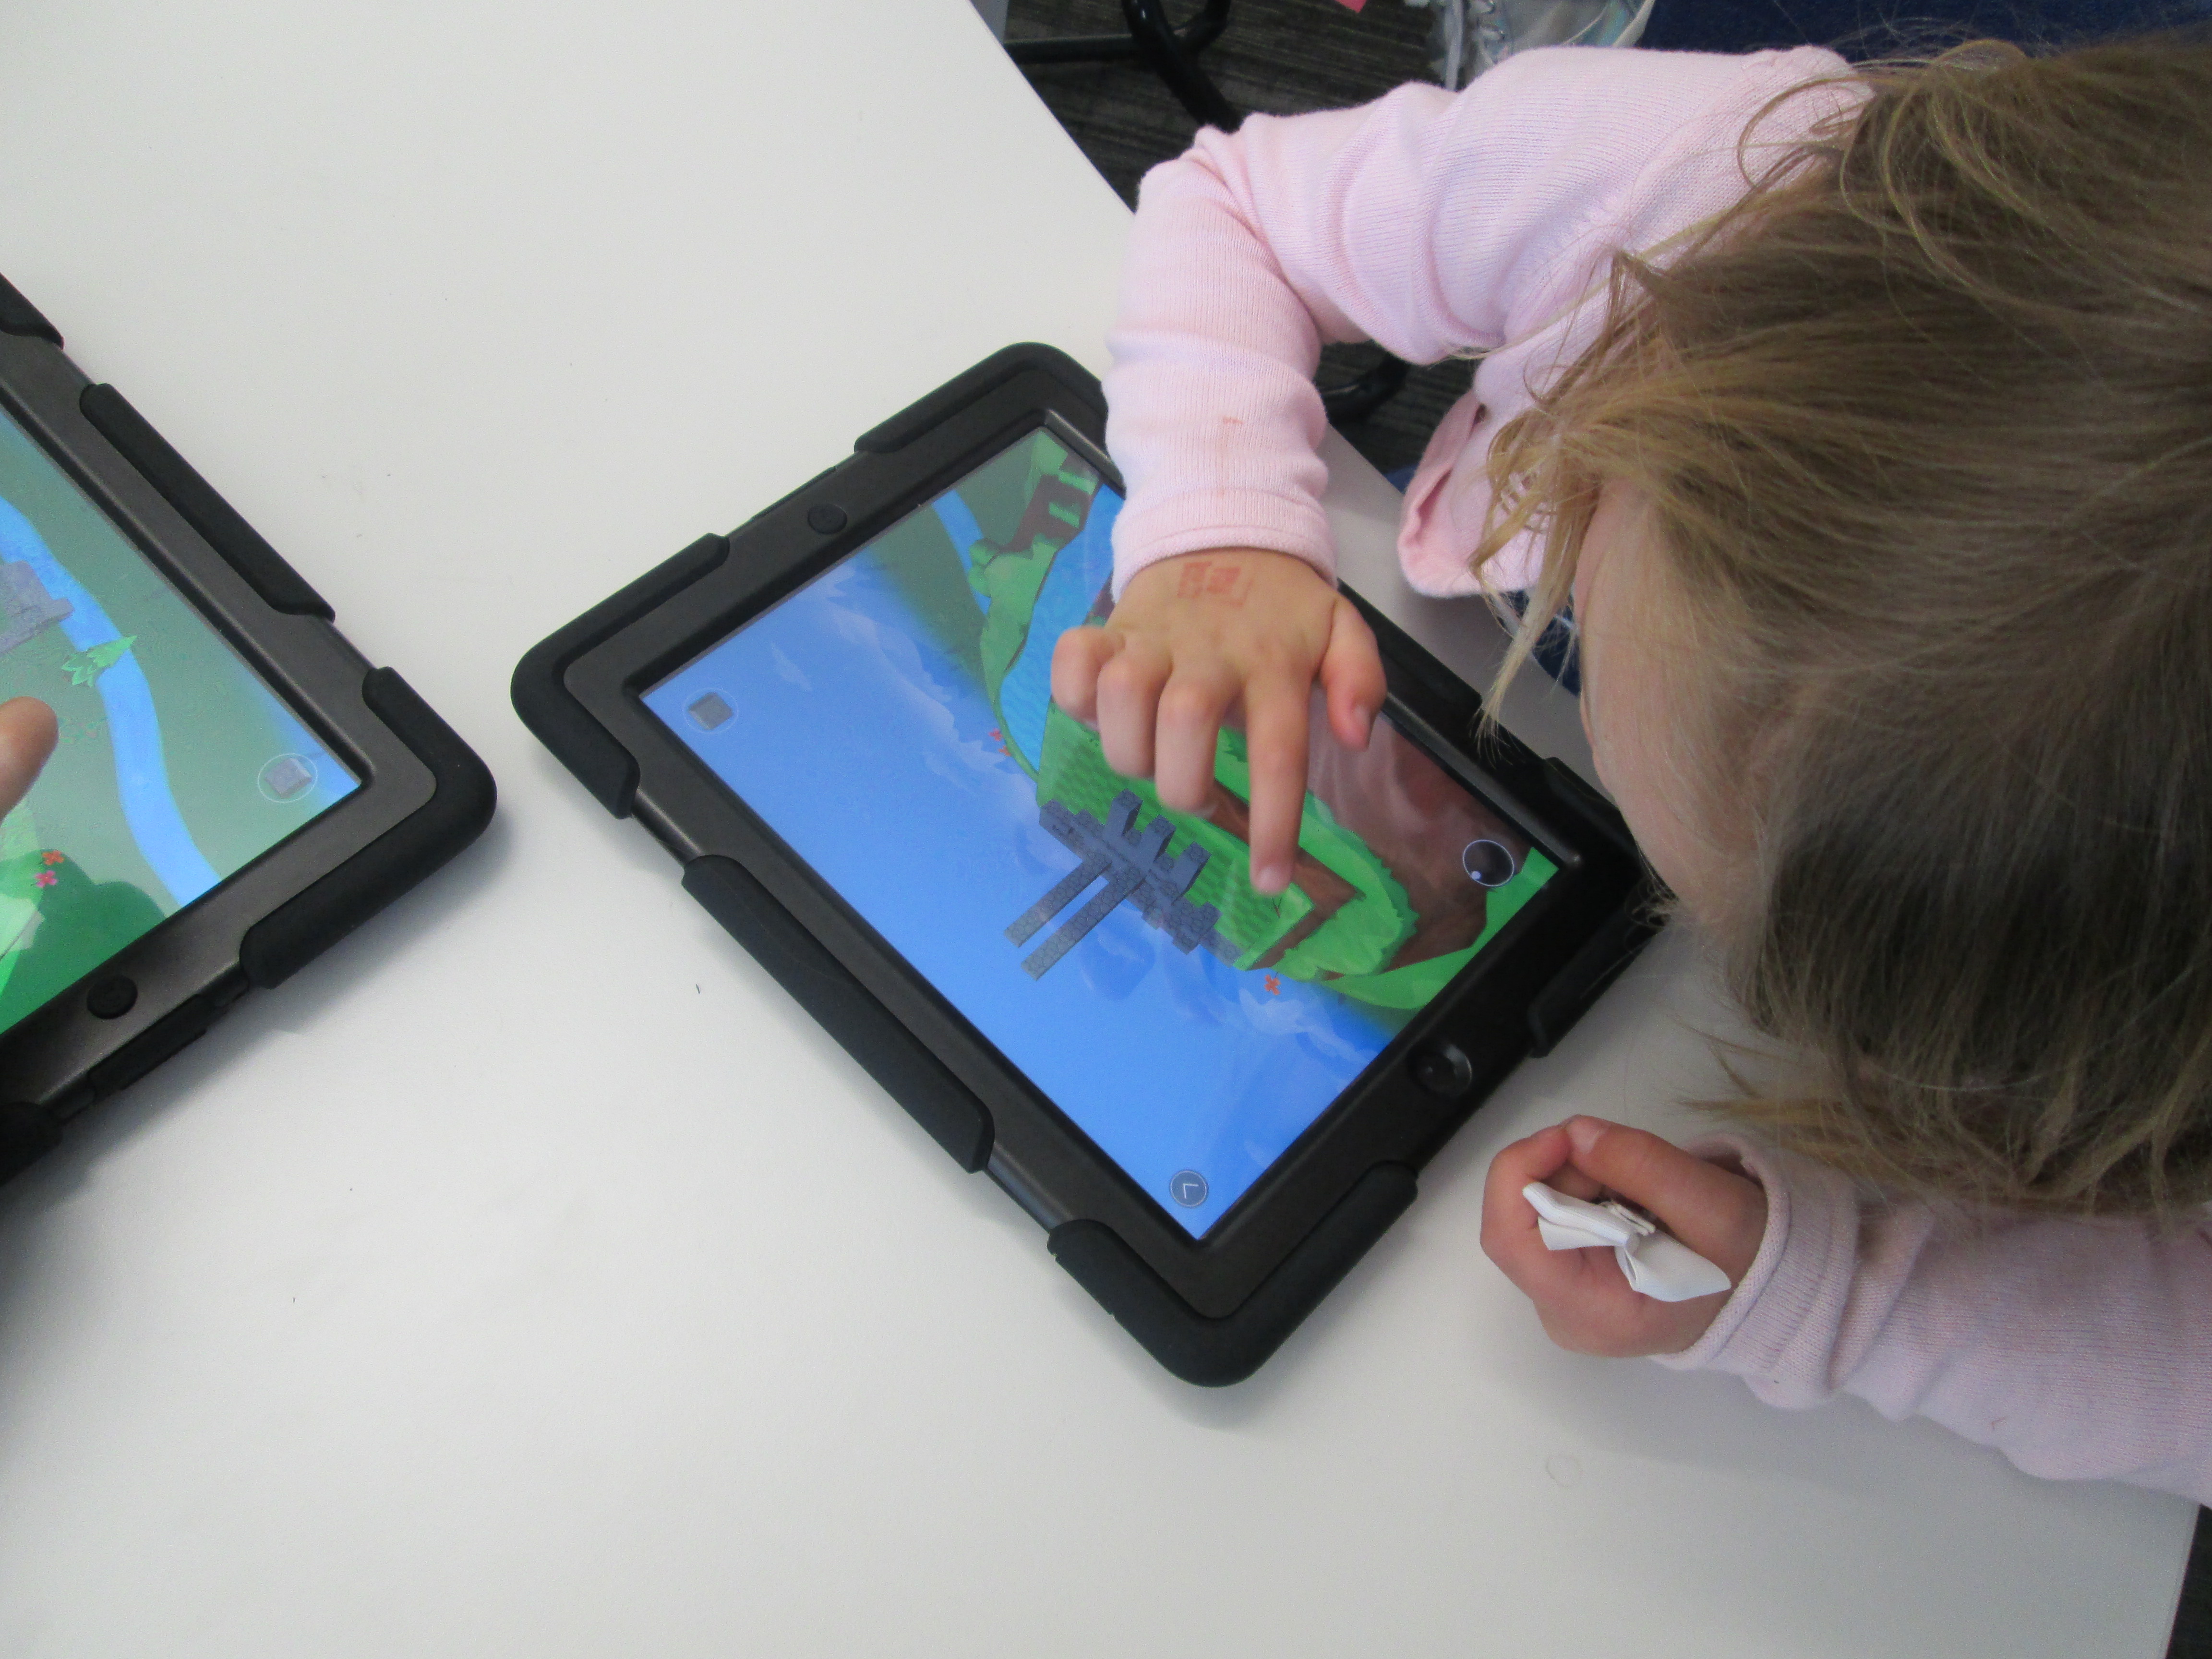
Each 1st grade class came to the library during their art time.  Ms. Foretich started the lesson with a quick video of a Makerbot in action.

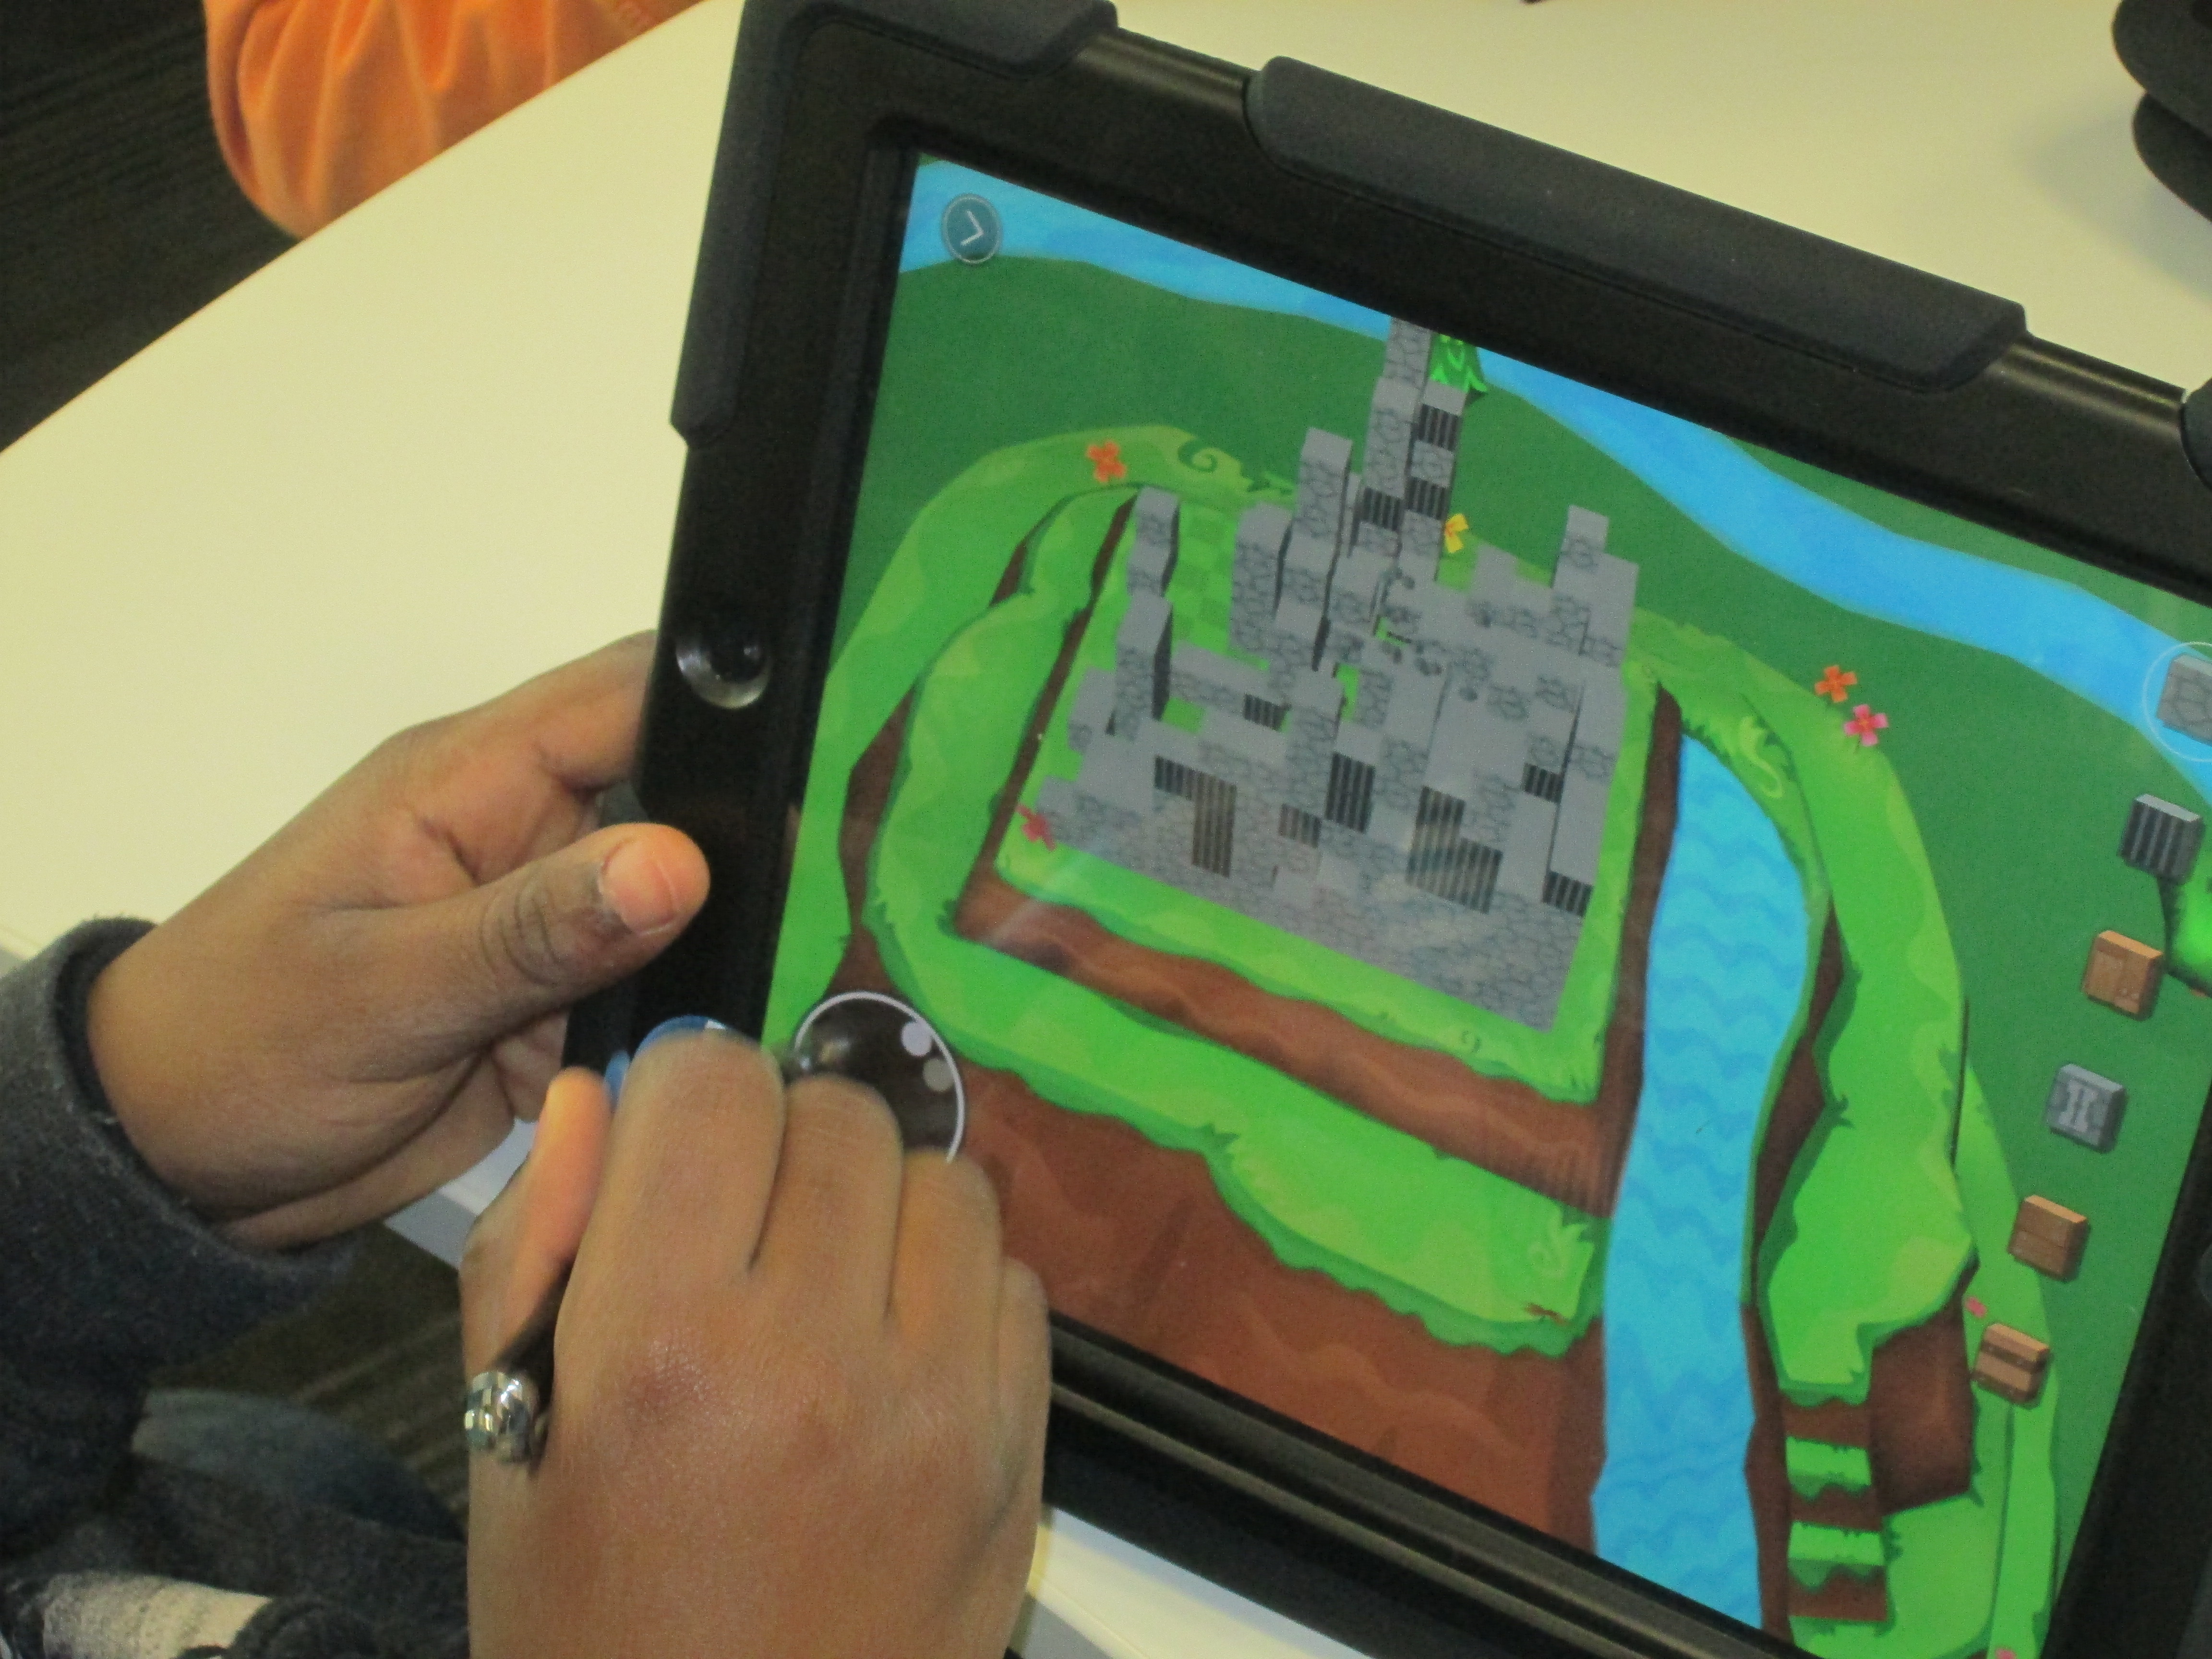
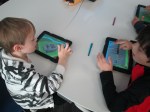
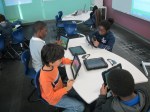
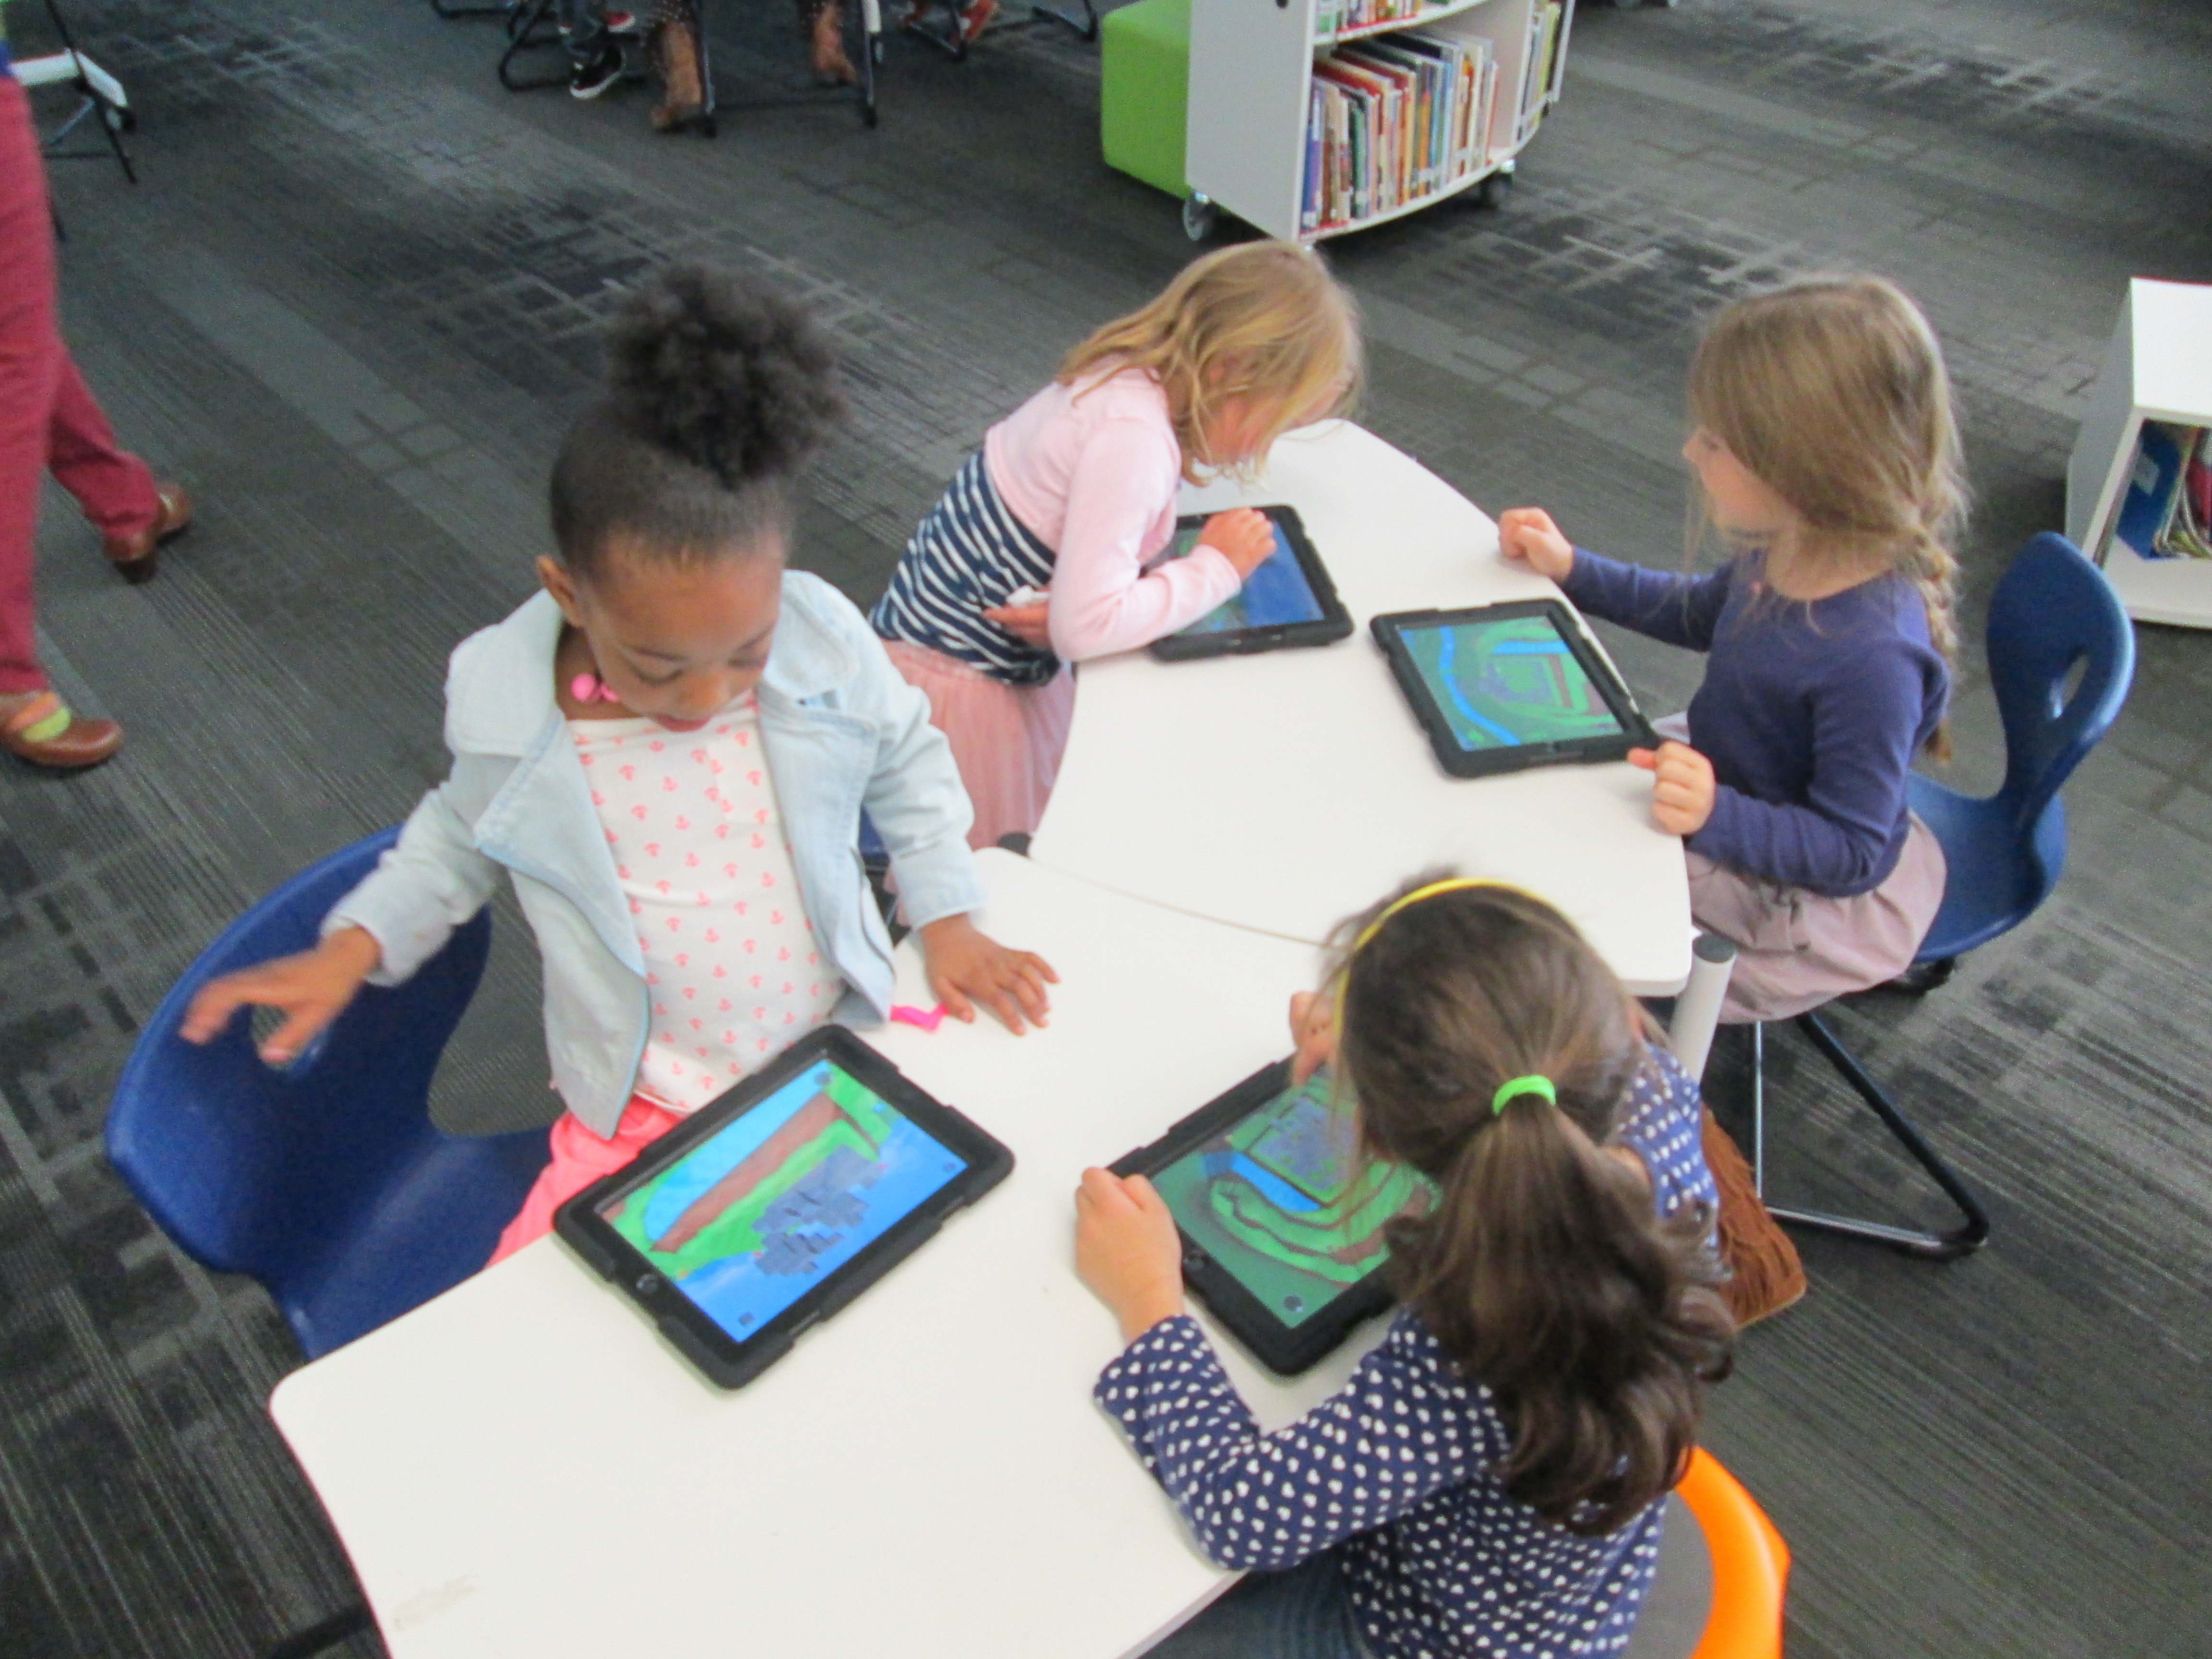
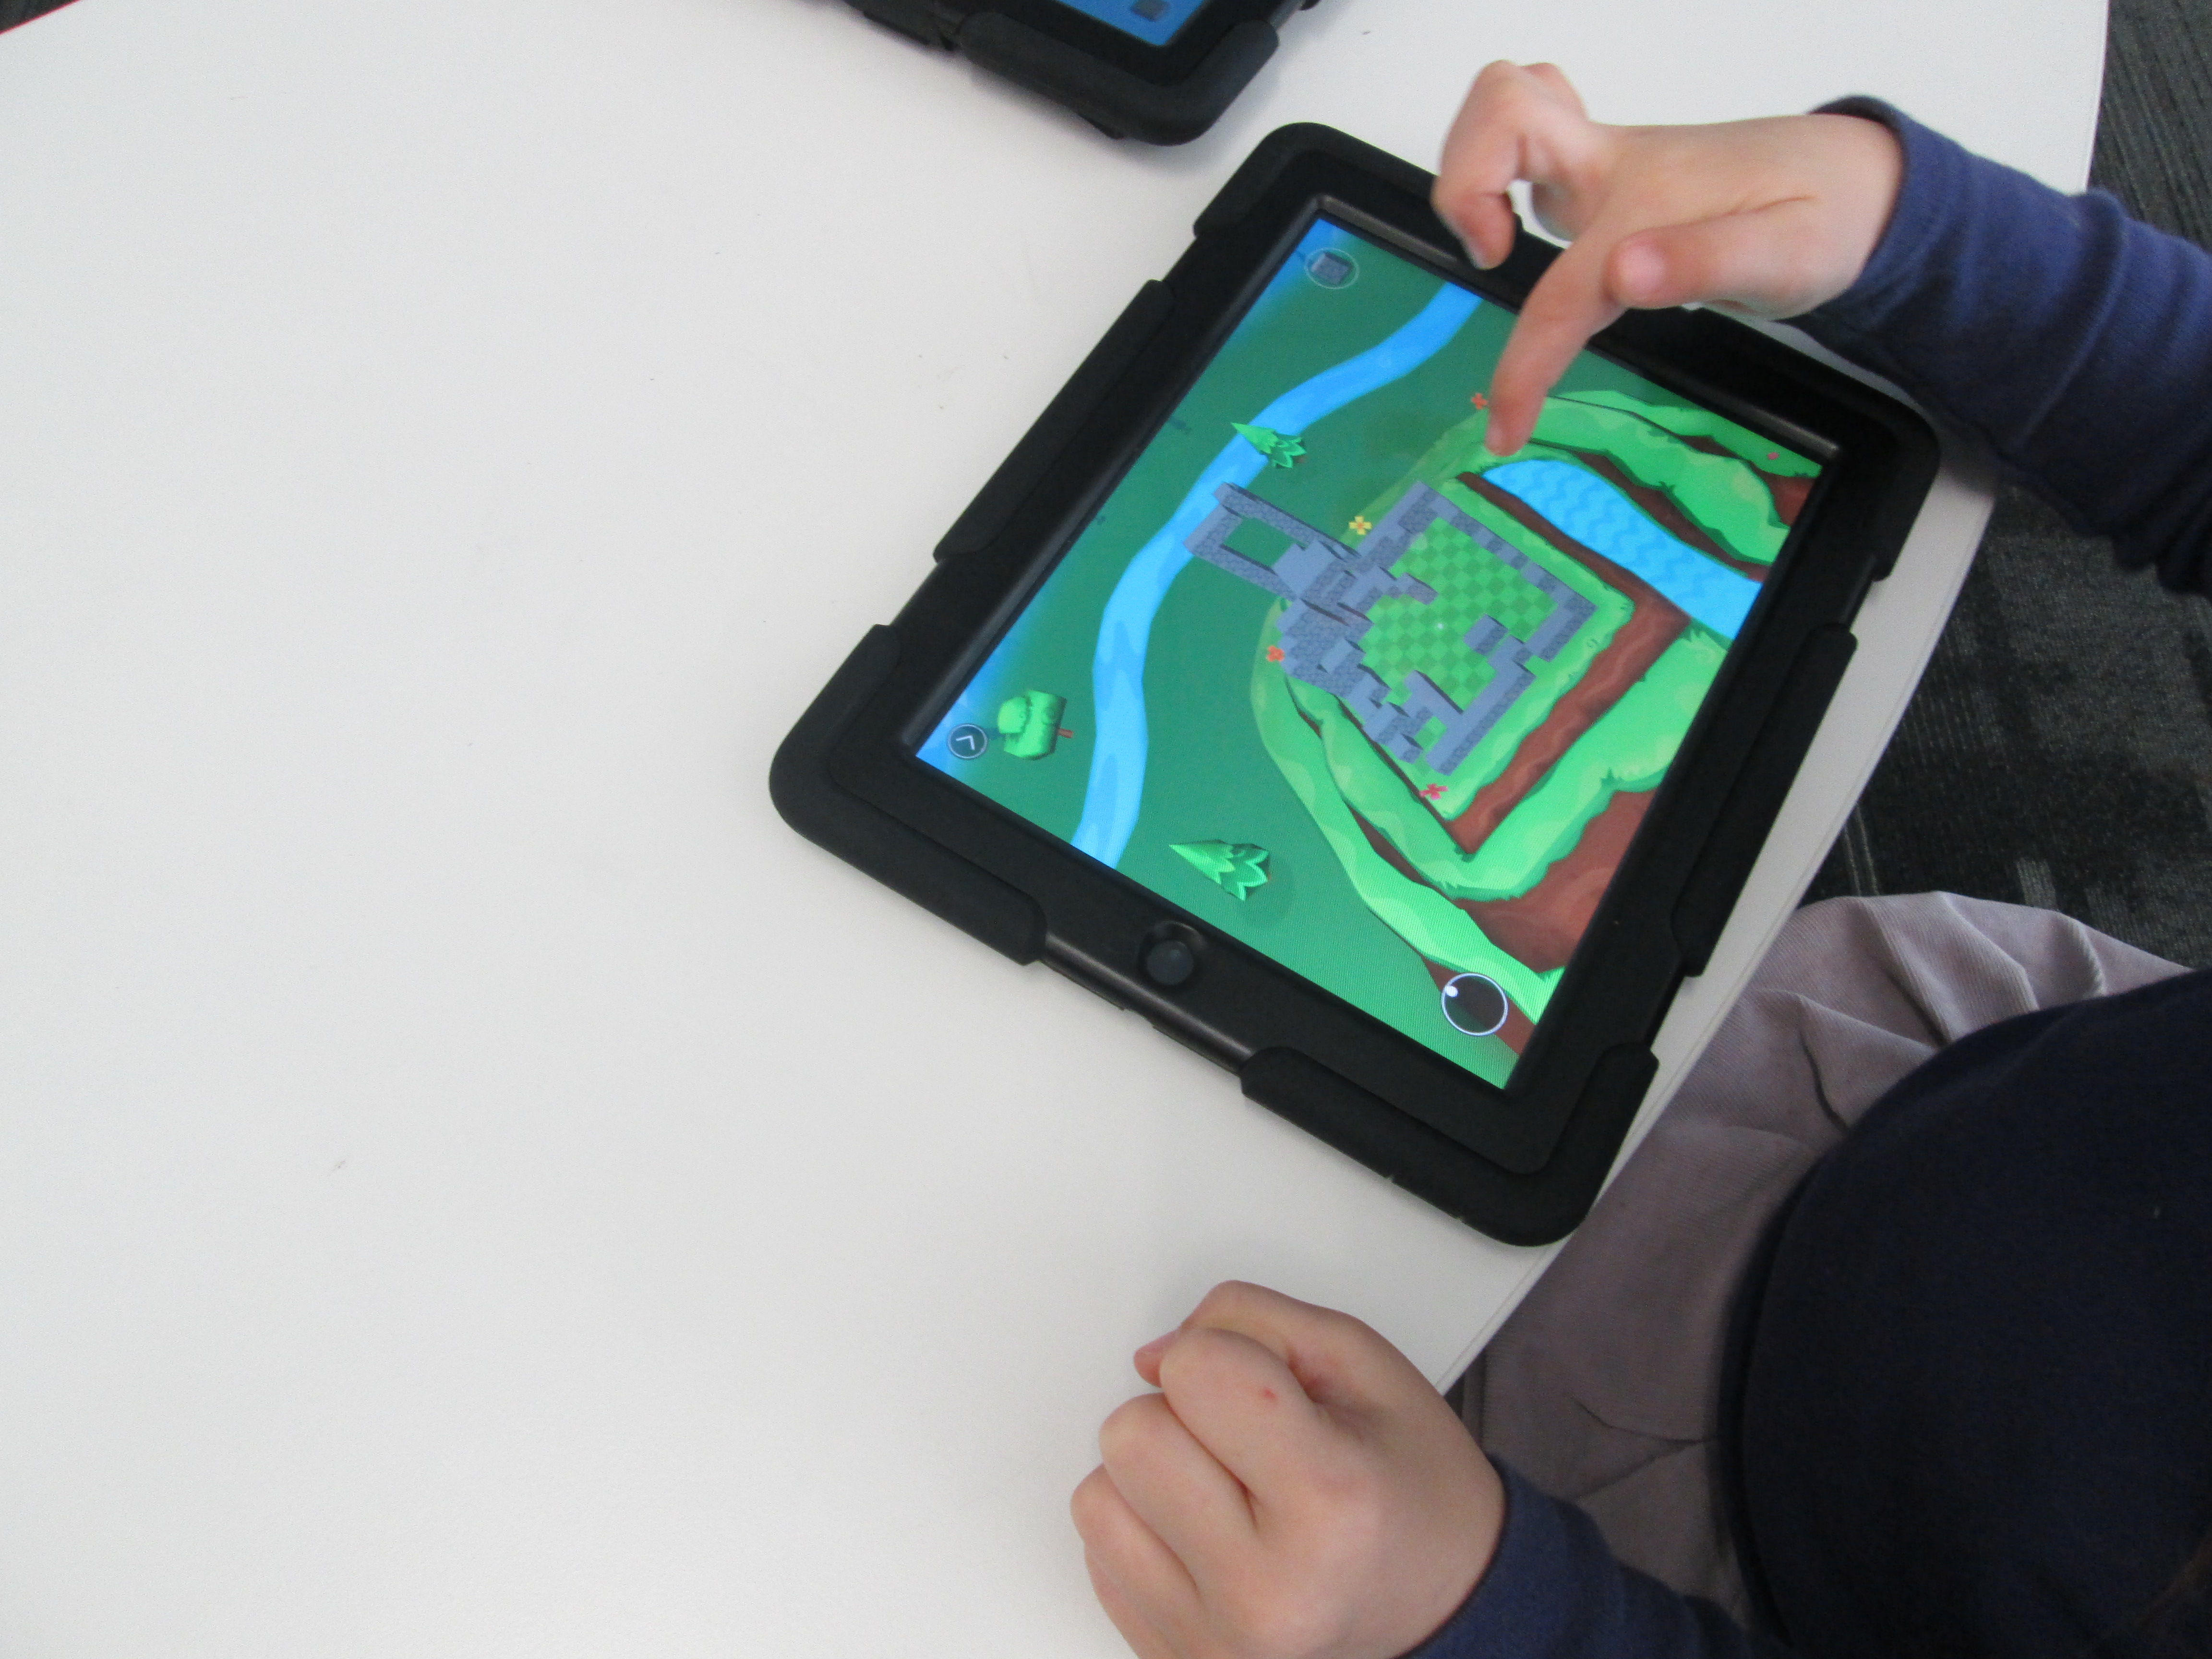
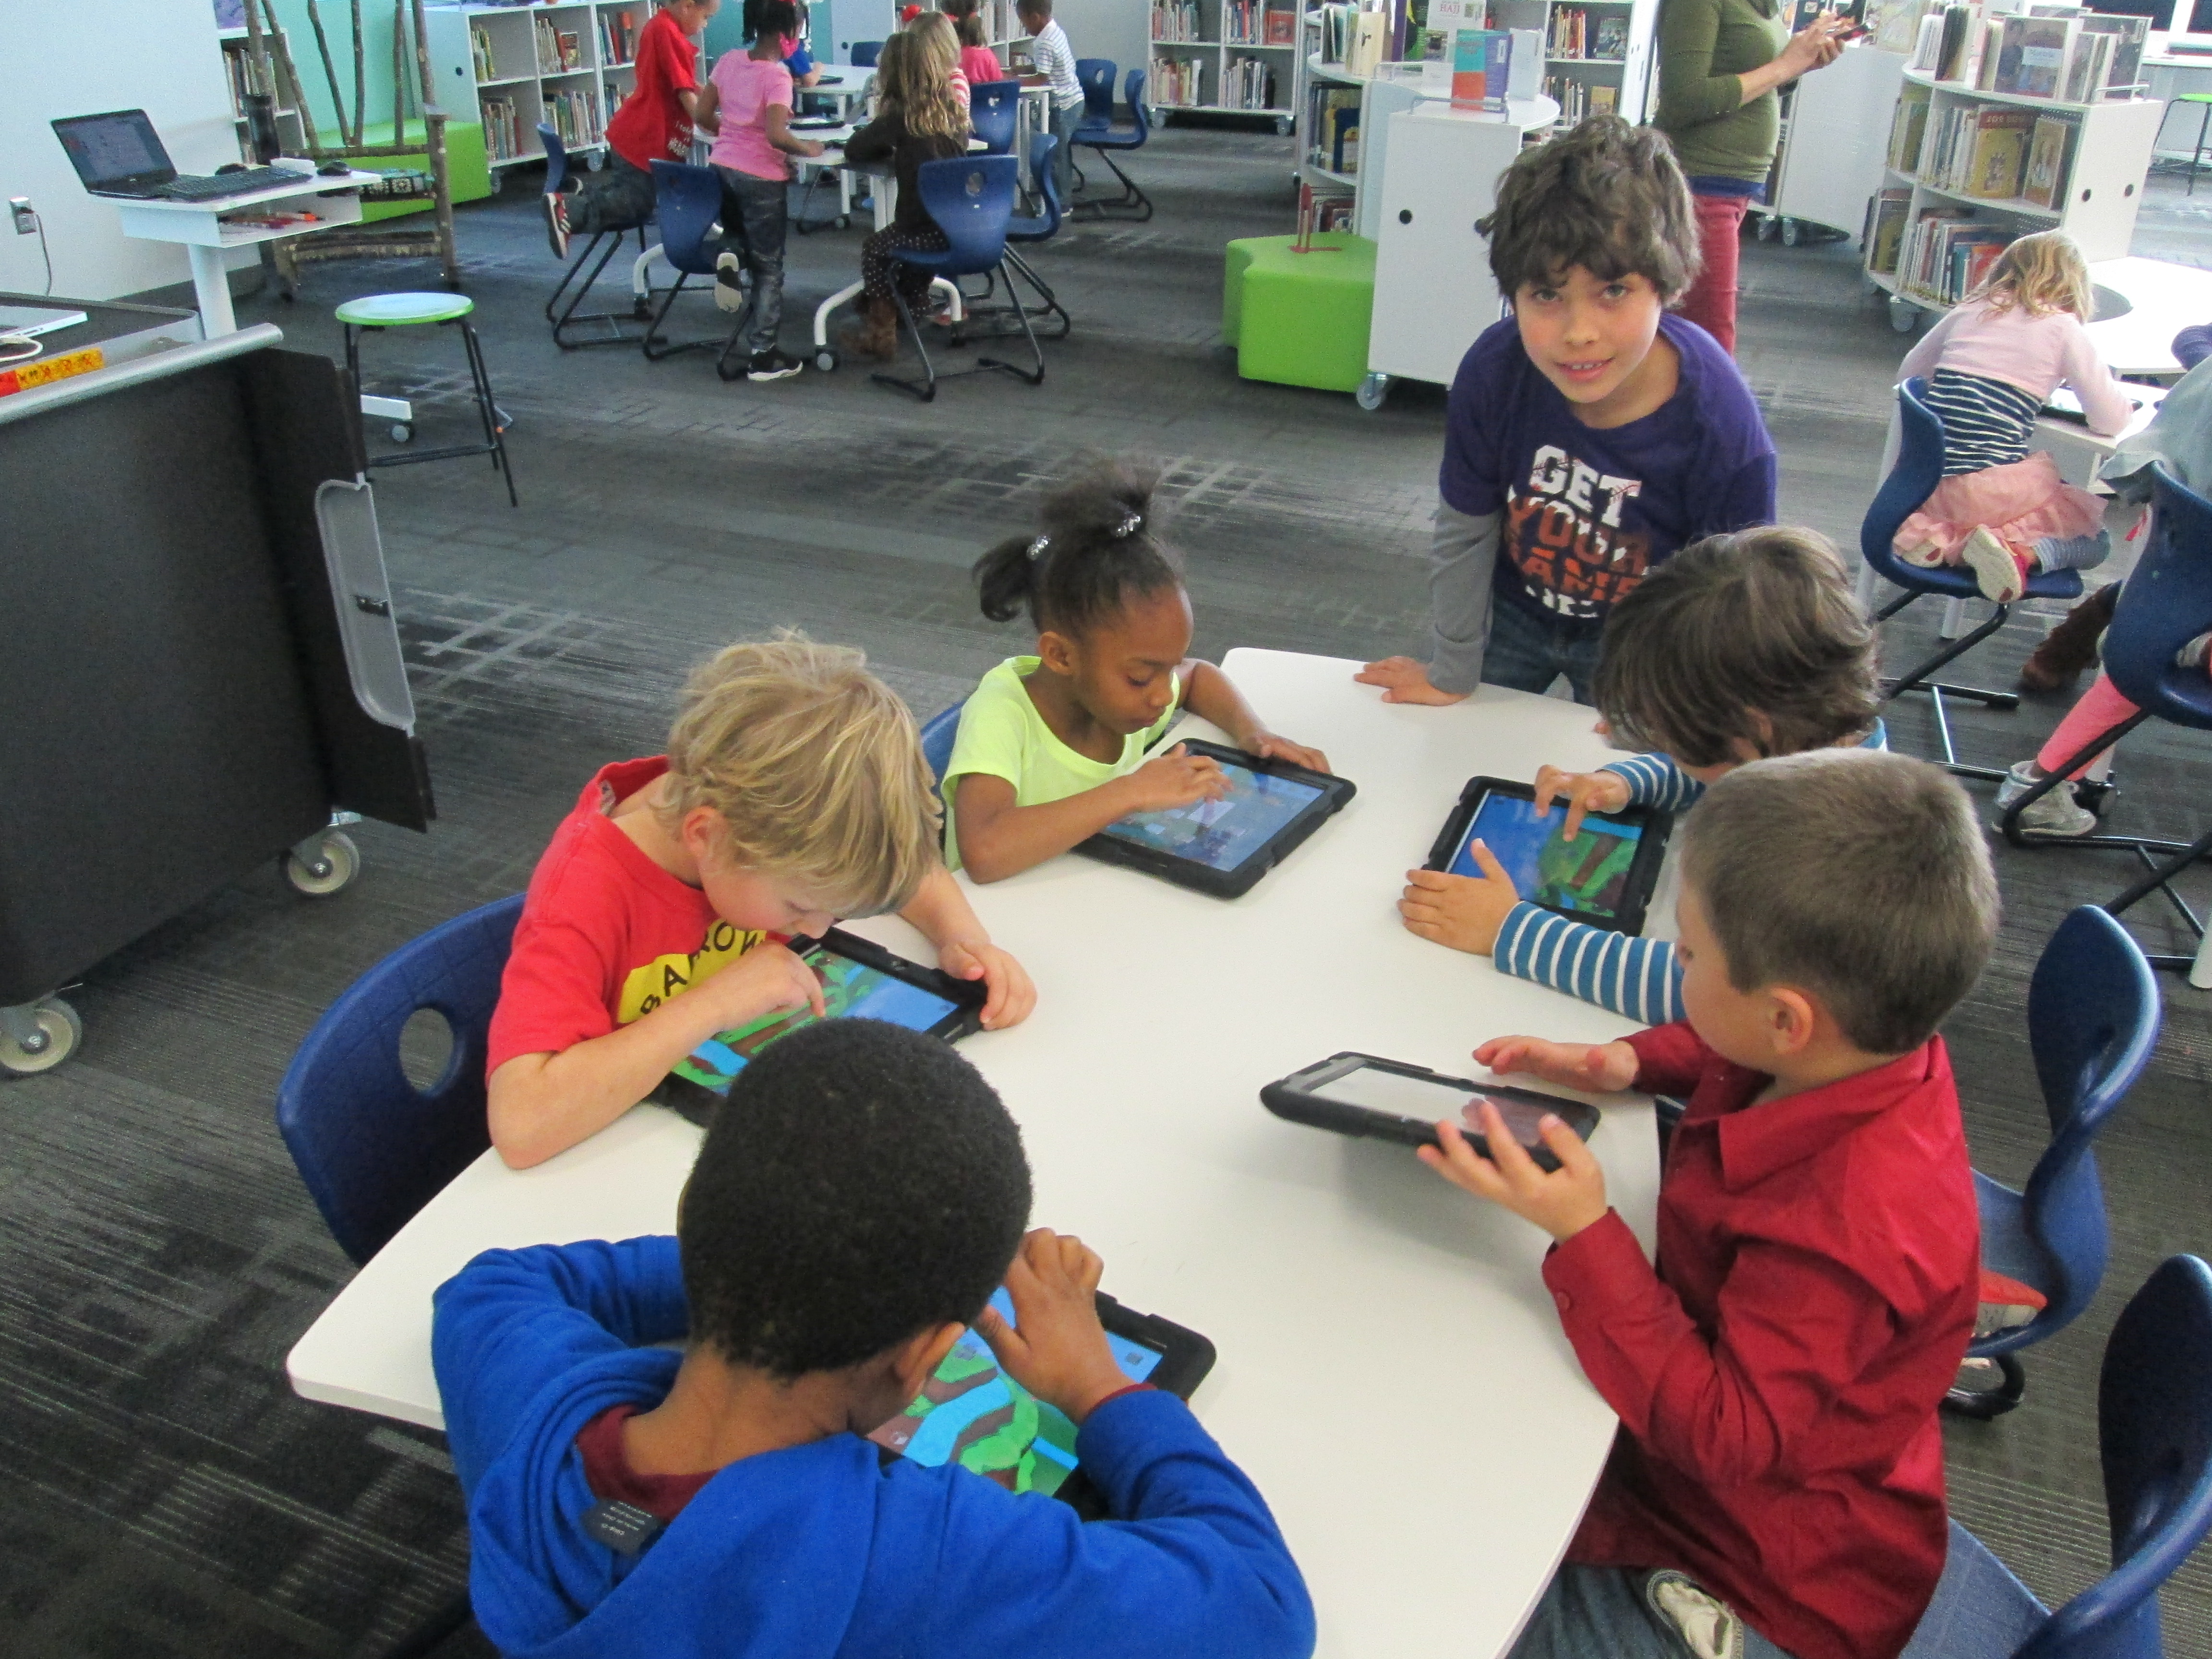
It was fun to hear students talk about what was happening in the video because at this point many of them knew that it was a 3D printer, which would not have been the case a few years ago. Then, we showed the students the Blokify program. I really didn’t go into a lot of detail, but I showed them how to zoom in and out, how to add a block, and how to change blocks.  Then, students had time to tinker at tables and get familiar with the Blokify program.

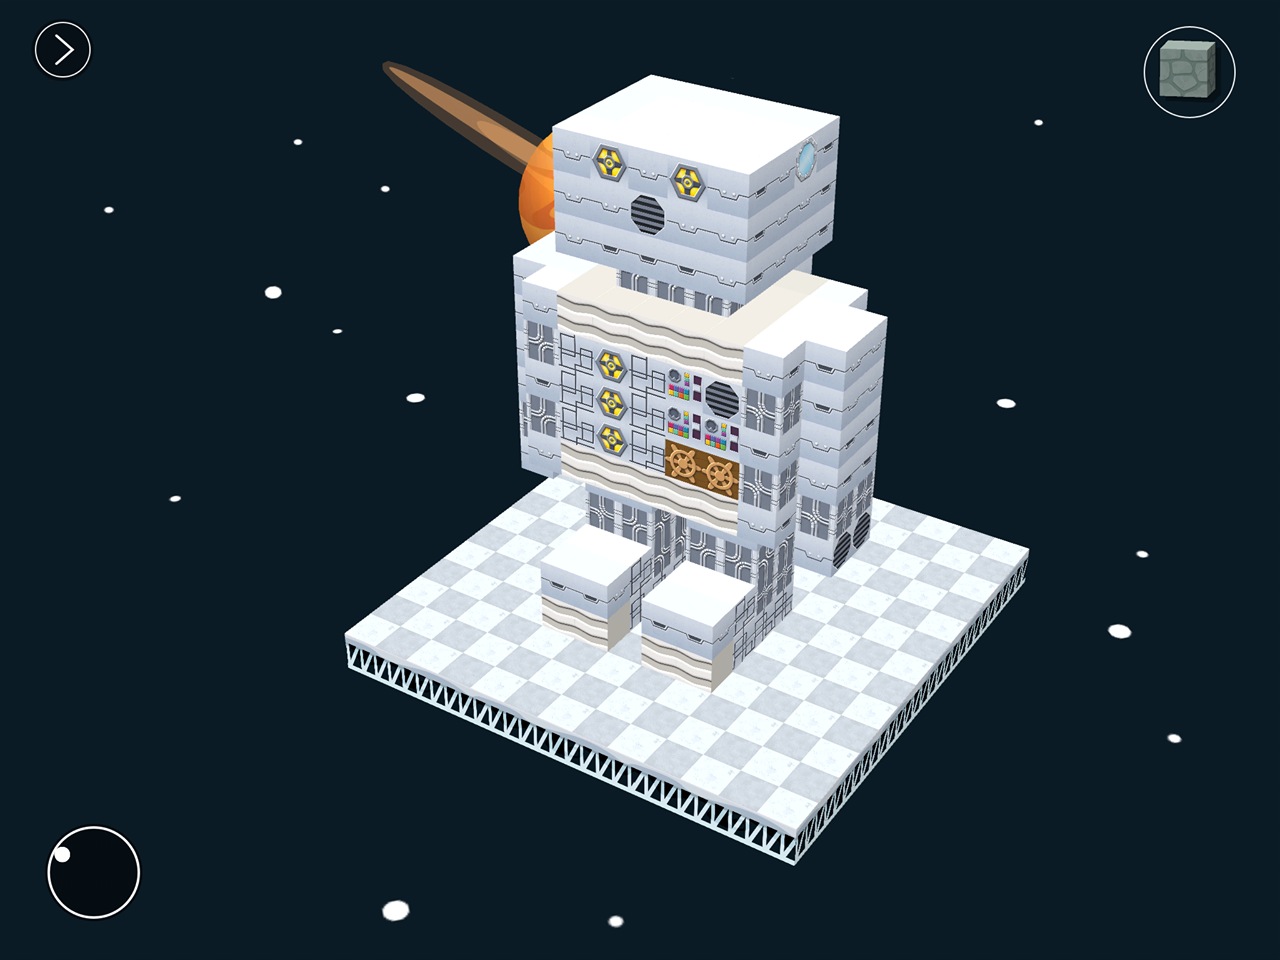
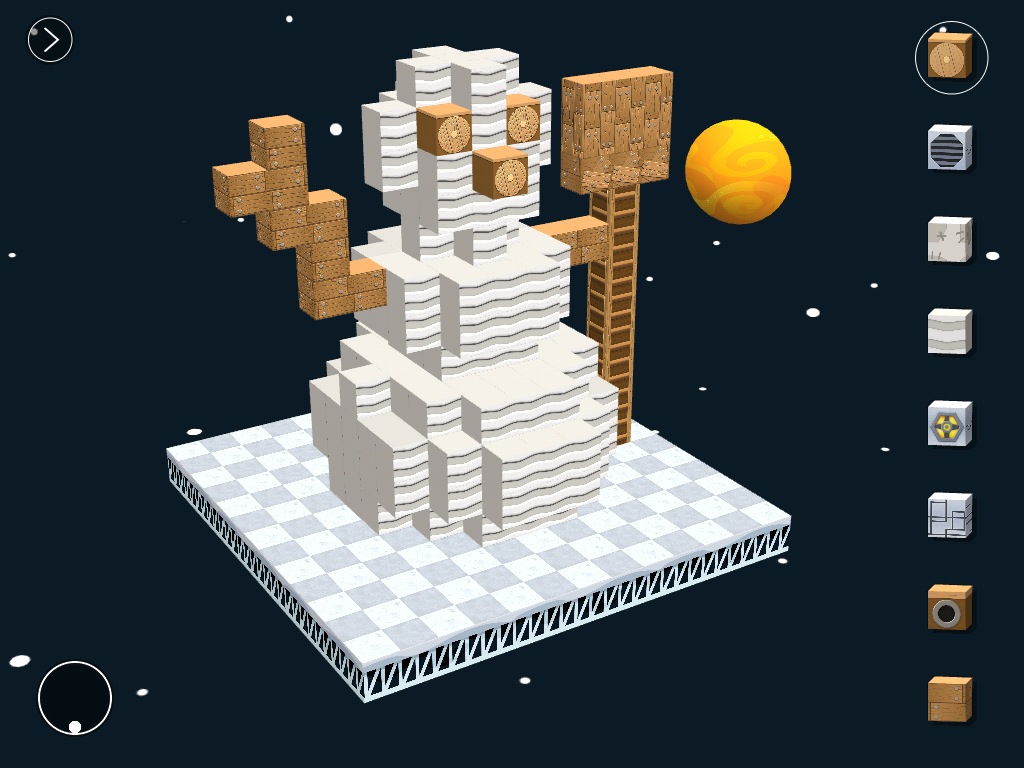
Ms. Foretich and I walked around to assist students who were getting frustrated as well as encourage students to try various parts of Blokify such as adding a row, deleting blocks, switching worlds, and switching blocks.  Tinkering looked very different this year than it has in previous years, and my hunch is that students have more experience with Minecraft now, so they make the connection to this very similar program. I saw students being much more intentional about block placement even in tinkering instead of just tapping all over the screen.

We invited students back to the carpet after their tinkering sessions and gave them the specific task of the day: to design a one-layer pendant. We showed the examples that I had made as well as samples from other classes that had already printed.

Then, students went back to iPads and started a fresh design.  They only had a short amount of work time to create their designs, and I was so impressed with what some of them came up with.  They were so much more creative than my own designs!  As each student finished we had to email the files to a central email.  I had the email account pulled up on the board so that we could see if the emails came through.  Many of them didn’t, so we were slowed down by errors.  We had to go into the outbox of the email on the iPad and resend most of the emails.  For students that we couldn’t email in time, we put post-its on the iPads so that we could email the files after they left.

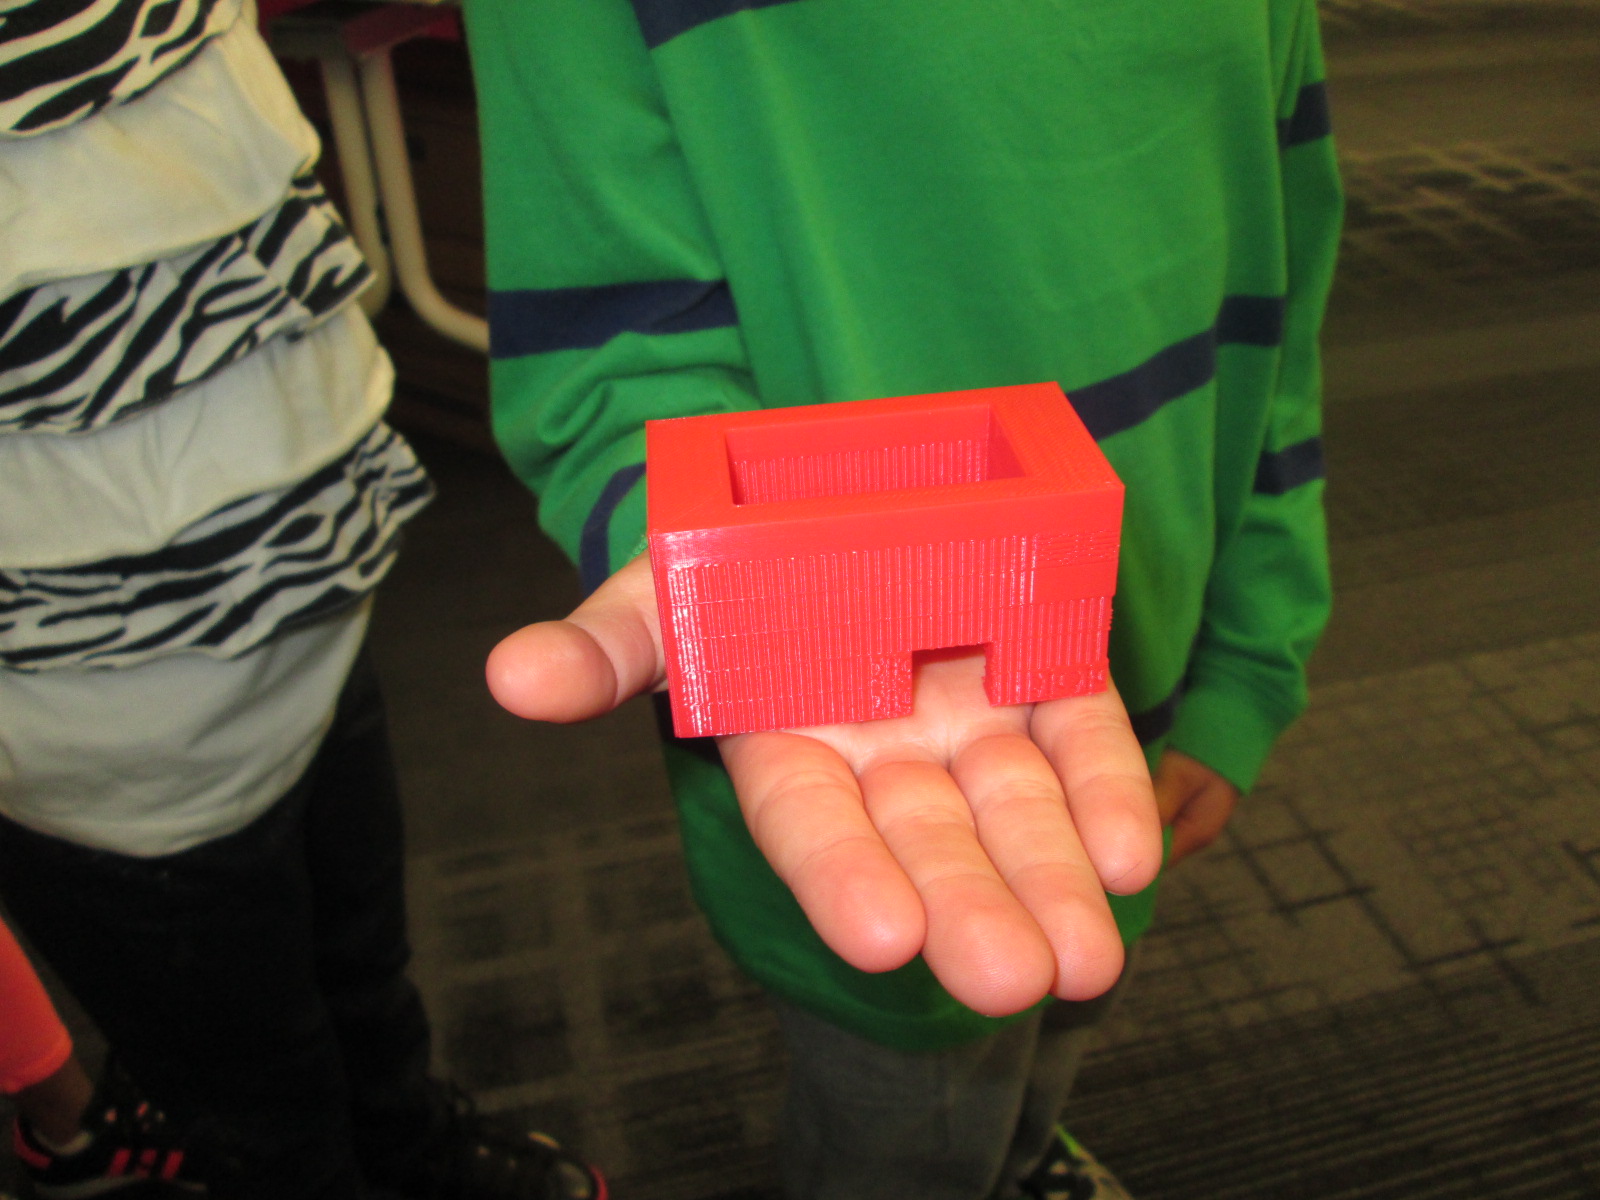
On the library calendar, I blocked off time slots for me to specifically work on prepping all of the files for 3d printing.  When you are working with over 100 .stl files to print, it’s time consuming.  I was able to put about 8 pendants on each print plate.  Each plate takes anywhere from 2-4 hours depending on how large I make the pendants.  I name each file “Pendant 1”, “Pendant 2”, etc.  Then, on a sheet of paper I write out the name and teacher of each individual pendant on the plate.  These names are also written onto Ziploc bags so that finished prints can go into the bags ready for the art teacher.

I can’t wait to see how the final necklaces turn out once they return to art class.  This has been an adventurous collaboration full of challenges, but there have been many rewards along the way too.  It was especially rewarding to see some students shine at using Blokify even when they might struggle in other subject areas.

Winter Design Challenge Using Blokify and 3D Printing

Blokify Design Challenge (5)Our open makerspace on Tuesdays and Thursdays is taking a break while UGA is having finals and winter break.  However, the demand to use the makerspace doesn’t disappear just because UGA is on break.  I decided to have a design challenge makerspace on two days and feature the Blokify app and our 3D printers. Since 3D printing takes a long time to complete, I decided to create some rules to help us out with the number of pieces we would need to print in a short amount of time.

Blokify Design Challenge (12) Blokify Design Challenge (11) Blokify Design Challenge (8)

Rules:

  1. Design a winter symbol.  Any winter holidays or winter objects could serve as inspiration
  2. Design in 1 layer.  The more layers we have, the longer it takes, so we want our designs to be 1 layer only.
  3. Use Blokify to design and don’t worry about the colors of the blocks since your print will be whatever filament color we use.
  4. All blocks need to be connected so that your design prints in 1 piece.

Since Blokify uses blocks to design in 3D, I found some 8-bit winter designs to serve as inspiration for student winter designs.  I blocked off six 30-minute time slots on the library calendar and made a Google doc for teachers to sign students up.  I shared it with all teachers and encourage them to let any interested students come.  There were 8 slots in each time block.  It didn’t take long for the slots to fill with Kindergarten, 1st, 3rd, 4th, and 5th graders.

During each session, I gave a very quick intro to Blokify and shared the 8-bit winter designs to consider.  I went over the rules as well, and students jumped onto the iPads to work.  It was a short amount of time to design something, so I told students not to panic if they didn’t finish a design.  As usual, students began looking at one another’s work for inspiration and helped one another with Blokify tips such as how to zoom in, delete blocks, or change the view.

It was fun to see what some of the students came up with and which students naturally gravitated toward this type of design because of their previous experience with block tools such as Minecraft.  We had Santas, a menorah, Christmas trees, snowflakes, reindeer, presents, crosses, and a few randomly shaped symbols too.

A few students did get frustrated, but most of them persevered through their frustration to complete a design.

Once designs were done, we had a process for getting them to me for 3D printing.  I created a separate email account just for 3D files.  Students went to “3D print” on Blokify and selected “Email to me”.  They emailed the .stl file to the 3D printing email account.  In the subject of the email, they changed the “untitled” file to their first name and teacher’s name.  This would help me in getting the printed file back to students.

At the end of the day, I sat down, logged into the email account, and started putting the .stl files into Makerware and Cubify.  Makerware works with our Makerbot and Cubify works with our Cube 3D printer.  For Makerware, I put up to 3 student files in a row on the build plate.  On a separate piece of paper, I wrote down the main file name and then wrote the student/teacher name in the correct sequence that the files would print on the plate.  For Cubify, I could only put on design on the build plate at a time, so I named each of those files with the student/teacher name.

cubify

Once all of the files were complete, I loaded them on a USB stick for the Cube and an SD card for the Makerbot.  Each day, I come in and crank up both printers right away and start printing the files.

I write the student/teacher name on a Ziploc bag and lay them out in the right order of the floor to await the finished print.  When a print finishes, I remove and bag them.  Then, I immediately start a new print.  I’m making good progress and hope to have all of the designs printed by Friday.  It takes a lot of organization to get this moving efficiently, but I finally have a process that is working faster than how I originally started.

Even with the speed I’m working at, the kids are still dropping by to ask if their design is done.

I loved the experience of having a design challenge and hope that the students did too.  I think if I offer these types of experiences more often, the students will start to develop their own ideas for 3D designs.  They will also get more comfortable with the 3D design tools.  We will try others in future design challenges along with Blokify.

Kindergarten Blokify Creations Becoming Reality with Makerbot

blokify printing (1)Today, Mrs. Kelly Hocking brought her Kindergarten class to the library to begin 3D printing their creations that they made with the Blokify app on iPad.  It has been a few weeks since they made their creations.  After they left the creating session, 5th graders helped email all of the files to me.  We put them into Makerware, made them smaller, and sliced the files for 3D printing.  All of the files went onto the SD card to be ready to print.

blokify printing (4)

Today, they all sat in front of the 3D printer.  We spent some time talking about what a 3D printer is and looked at some of the creations it had made.  We also talked about the safety of not touching the printer while it is printing due to the heat and the fact that bumping the printer could mess up the print.

blokify printing (3) blokify printing (2)

Finally, we cued up a file on the screen and the student came up to press the M to start the print.

They loved watching the build plate raise to the top.  There were even oohs and ahhhs as the printer was heating.  Once the printing started, we let one student at a time come up to peek inside and see what 3D printing looks like.  They were all amazed.

Mrs. Hocking is working with all of these students to stretch their imaginations.  They are going on a virtual field trip to Boston over the next few weeks and along the way they are virtually stopping in each state and learning something about that state along the way.  For example, next week we will read the book Suryia and Roscoe: The True Story of an Unlikely Friendship and visit the sanctuary where they live in Myrtle Beach South Carolina.  Mrs. Hocking is having the class imagine packing a virtual suitcase that they can put anything in.  Today, they want to add the Makerbot to their suitcase.

These students are also planning out imaginary gardens in their minds.  Their Blokify creations will eventually find a spot in those imaginary gardens and students will imagine what it’s like to go inside of their Blokify creations.  They will create art and stories to accompany these 3D printed sculptures in their imaginary gardens.  I always love the imagination and creativity that Mrs. Hocking brings to life in her classroom.

blokify printing (6)

Over the next few days, the Blokify creations will continue to be printed until all 21 are done.  Then, the imagination and creating of stories will begin.


Letting Kindergarten Imagination Soar with Blokify and Makerbot

blokify (4)Mrs. Kelly Hocking’s Kindergarten class just started a collaborative project with the art teacher and the media center.  Her class has been very inquisitive about structures and sculptures and what it’s like to be inside of those structures.  For example, they’ve looked closely at the Statue of Liberty and they are fascinated with the idea of going inside and looking out from the crown.  In art, Mrs. Foretich is introducing maquette sculpture which is a small scale model of a rough draft or unfinished work.  It allows them to test how different shapes are put together without making a full sculpture.

blokify (10)

These 2 ideas started coming together in a project.  Mrs. Hocking started exploring Minecraft at home and thinking about how worlds and structures were created in the virtual world.  Then she started wondering how this might flow into the discussions her class was already having about imagining and going inside of structures.  This is when we started talking about Blokify as a tool for putting together blocks to create a larger structure.

Mrs. Kelly, the art teacher, and I all met to brainstorm.  Students will eventually build a larger sculpture out of shapes in art.  Their art standard is:

GPS: Demonstrates that shapes can be put together to make new shapes or forms.

Their essential question is:

How do artists build Sculptures?

We decided that we would start our journey with Blokify.  Blokify is a free iPad app that allows students to put a variety of blocks together to build pretty much anything and then 3D print that shape.  The files can be emailed for download into your own software for 3D printing conversion.

We decided that Blokify would be the kickoff to this larger project.  In the library, Mrs. Foretich, our art teacher, showed students some examples of maquettes and talked about how artists might make a rough draft of a larger sculpture to test some things out before making a larger sculpture.  Then, we showed students some images from Blokify’s facebook page to give students the idea that you don’t just have to make a box in Blokify.

photo 1 photo 2 photo 3


After that, students went straight to iPads and jumped in.  We didn’t spend a lot of time “teaching” them how to use the app.  Instead, we let them explore.  We also didn’t tell them what to build because we wanted them to have permission to imagine and dream as they built.  Mrs. Foretch and I walked around to tables and showed students some tips as they worked.  For example, if you hold your finger on a block it will disappear.  If you pinch the screen, you can zoom in and out.

Two of my enrichment cluster students came to support students as they worked, too.  Monica, 5th grader, and Grant, 3rd grader, were naturals at nudging Kindergarten students along without doing the work for them.  We were almost able to have a helper at every table because of them.  I was so glad that their teachers allowed them to come and share their expertise with Kindergarten.

Some students started really being strategic about where their blocks went in their structures while others liked tapping all over the screen and seeing how it turned out.  We did question a bit if we didn’t give student enough guidance, but we ultimately decided that they really needed this time to explore.  If our prints don’t quite turn out like they hoped, then it will be a learning experience about how they might rethink their own approach to designing.

blokify (13)

As always, there were some wonderful moments that happened.  One moment was when  a student who we’ve all been trying to find the right learning method was thoroughly engaged.  He was so proud of the work he did, and he showed us a way to connect with him as a learner.  I  hope that this new discovery will lead to other projects and learning experiences for him in his classroom.

blokify (6)

After students left, I had a group of 5th grade helpers email me all of the files from the iPads.  I put each file into Makerware, resized it, and saved it onto an SD card for printing.  We will print our designs after spring break.

blokify (3)

Once designs are printed, Mrs. Hocking wants students to put their structures on a piece of paper and draw the rest of the setting around the structure.  From there, students will think about the inside of their structure as well as the surroundings and begin to tell a story about their creations.  We aren’t sure yet how that piece will be captured, but I’m excited about the possibility.

In art, Mrs. Foretich will continue to explore this standard by expanding what students are building.


Maker Maniacs Enrichment Cluster Update: 3D Printing and Robotics

blokify (5)We are a little over halfway done with our enrichment clusters this year.  Every Friday, students across the school go to an interest-based cluster of their choosing for one hour.  During this time, students explore a topic and develop products or services related to their topic.  My cluster is called Makerspace Maniacs.  So far this year, we have explored making with duct tape, building with cardboard, lego robotics, and 3D printing.  After lots of explorations, students  are making decisions about where they want to focus.

A small group of students is focused on lego robotics.  Monica and Omarion are both committed to building a robot and programming it.  They both have varying levels of expertise.  Today, I asked another student, Ludwig, to come and work with them.  Ludwig has a lot of experience with Lego Mindstorms.  During clusters today, he worked with them to build a robot and program it.  Although they didn’t get far with the programming, he was able to show the students some tips and tricks to get the robots to work the way they wanted to.  I love using students as experts.  They hold so much knowledge that we don’t even know about.  Ludwig just happened to talk to me one day about Lego Mindstorms because he knew that I bought some.  He used Lego WeDo and Lego Mindstorms in other settings and told me he was willing to help me any way he could with them.  How exciting that a student offered his expertise without even being asked!

Other students in the cluster have decided to work on 3D printing.  Over the past 2 weeks, they have used a new iPad app called Blokify.  This app uses blocks to build a 3D object.  It is very user-friendly to build a 3D object in very little time.  Once built, the object can be ordered or emailed for 3D printing on your own device.  Today, students really focused on coming up with an idea and using the blocks to build.  While they were using the app, I started a Google Doc, which I will share with them, to collect what we love, wonder, and want to change about the app.  One service they will offer as a part of the cluster is to share this info with Blokify.


Today, we were also tweeting with Blokify and students were able to respond to their tweets.  Such fun!

Twitter   blokify   plemmonsa What they like most ...

Students prepared several files that they emailed to me.  I have them ready to go for 3D printing next week.  We’ll be printing a pirate ship, a Trojan pig, and a castle among other things.  As we progress, these students will also think about how they see this app fitting into what they are already doing in class.  We’ll come up with some lesson ideas for teachers to consider.

We only have a few weeks to go, but our speed is picking up and our focus is narrowed.  I know incredible things are going to happen with these students.