Exploring Georgia Habitats with Third Grade

Our 3rd grade is currently learning about the plants, animals, and habitats in the 5 regions of Georgia. The teachers wanted students to have an opportunity to gather some background knowledge prior to their lessons in the classroom, so I worked on a series of centers for students to rotate through and experience these standards in a variety of formats.

S3L1. Obtain, evaluate, and communicate information about the similarities and differences between plants, animals, and habitats found within geographic regions (Blue Ridge Mountains, Piedmont, Coastal Plains, Valley and Ridge, and Appalachian Plateau) of Georgia.

  • a. Ask questions to differentiate between plants, animals, and habitats found within Georgia’s geographic regions.
  • b. Construct an explanation of how external features and adaptations (camouflage, hibernation, migration, mimicry) of animals allow them to survive in their habitat.
  • c. Use evidence to construct an explanation of why some organisms can thrive in one habitat and not in another.

S3E2. Obtain, evaluate, and communicate information on how fossils provide evidence of past organisms.

  • a. Construct an argument from observations of fossils (authentic or reproductions) to communicate how they serve as evidence of past organisms and  the environments in which they lived.
  • b. Develop a model to describe the sequence and conditions required for an organism to become fossilized. (Clarification statement: Types of fossils  (cast, mold, trace, and true) are not addressed in this standard.)

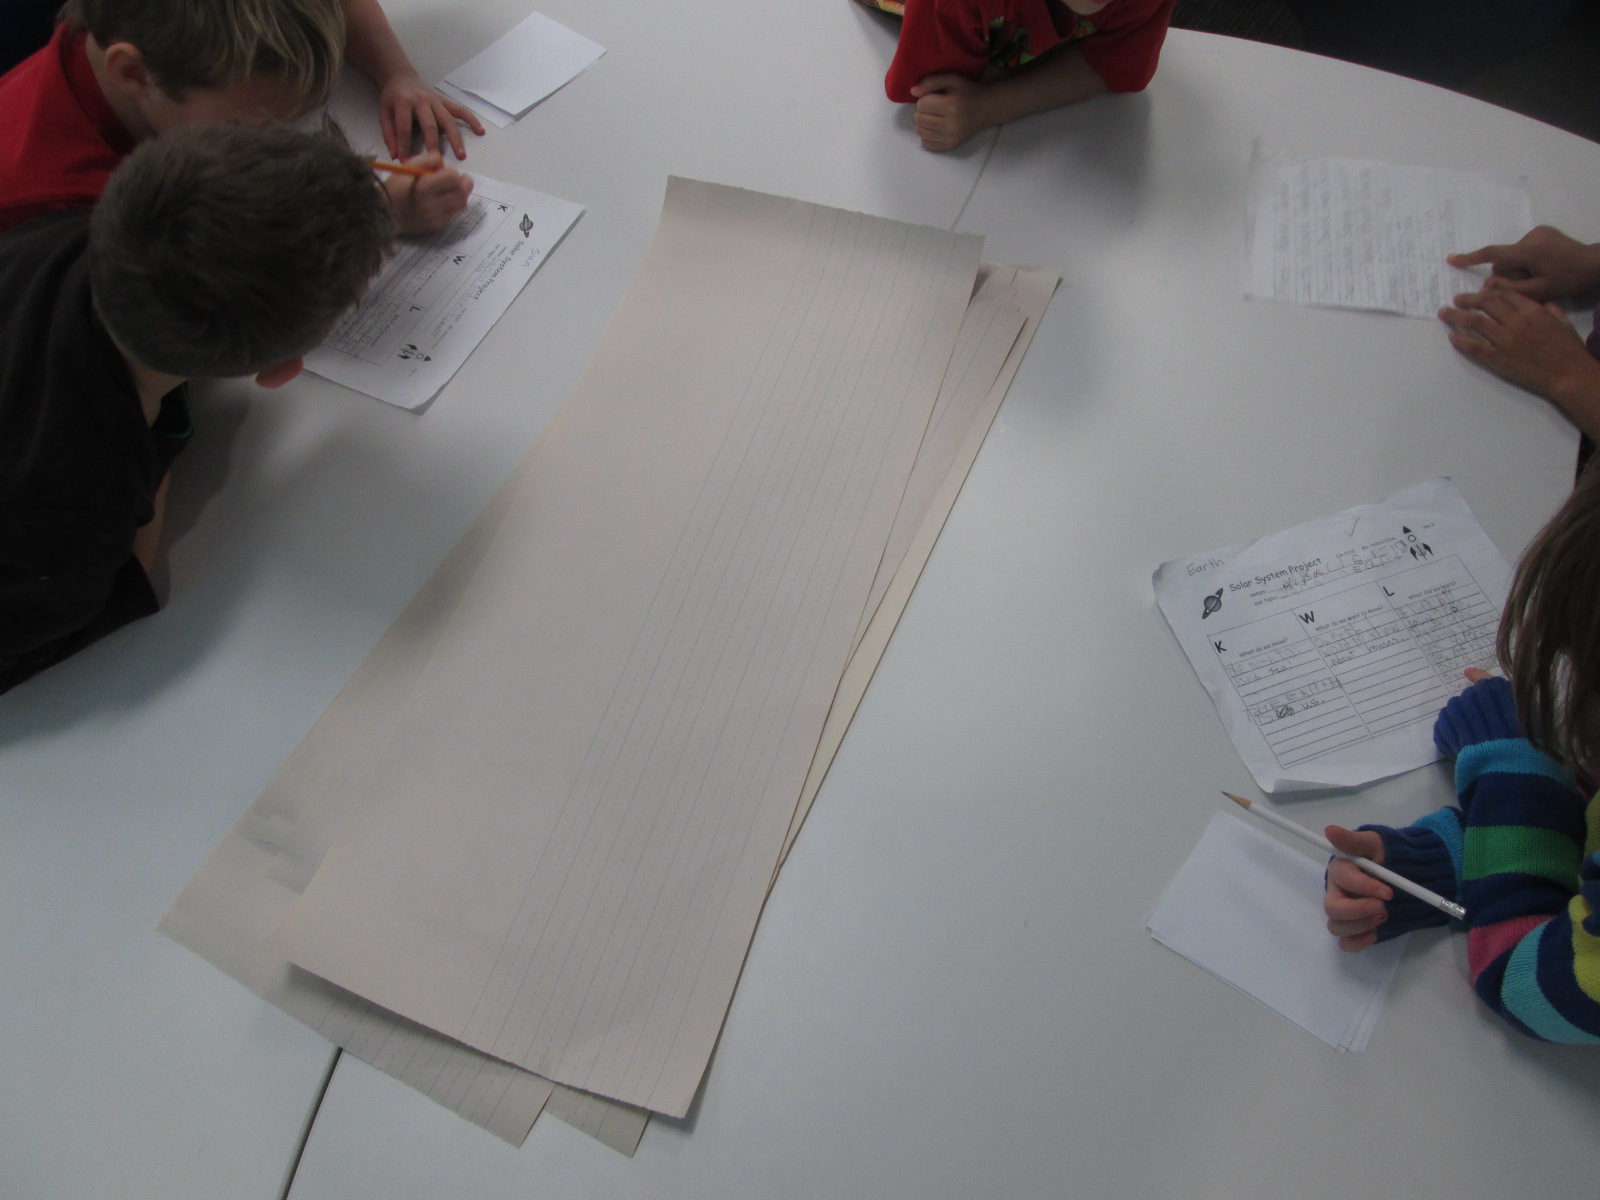
To make instructions easy to access, I put everything on a Google doc with a short link. As each class arrived to the library, I split the class into groups of 3-4 students by having them sit on color dots on the floor. We briefly talked about the main goal of the standards being to compare and contrast the plants, animals, and habitats of the 5 regions of Georgia, and then I sent color dot groups to centers. I kept a timer on my phone for 8-10 minutes per center and students rotated to the next center in number sequence.

Center 1

Georgia Public Broadcasting has an amazing set of virtual tours on a whole range of science and social studies standards. For this center, students explored the physical features of Georgia including the Okefenokee Swamp, fall line, various mountains, Providence Canyon, and the Barrier Islands.  The purpose of this center was for students to explore the physical features through pictures, maps, text, and video and think about what adaptations plants and animals might need in order to live in these areas of Georgia.

Center 2

In addition to regions, students learn about fossils and how those fossils tell us about the past. At this station, I wanted students to see that fossils aren’t just about dinosaurs and that we have fossil discoveries right her in Georgia. Students visited a Georgia fossil site which includes a map of where fossils have been found and what time period they are from.

The site also included lots of text to skim and scan for details about what was learned from the fossils. Students also had access to several books from our library about fossils and how they teach us about the past.

Center 3

This center featured another GPB virtual tour. This one focused on the 5 regions of Georgia. Students could visit as many regions as time allowed and read the text, look at pictures, and watch videos to identify animals and plants that live in each region.  Students could also look at the land and see the possible habitats in each region.


Center 4

Since a piece of the standard is about comparing and contrasting, this book featured print books about the regions and habitats of Georgia. Students chose 2 books, which were about 2 different areas of Georgia.

As they read and looked at photographs, they thought about what was the same and different about the 2 regions.

Center 5

This center had the most pieces but the most popular part of this center was looking at various posters that featured groups of animals in Georgia.  There was a poster for bats, snakes, salamanders, dragonflies, lizards, and butterflies as well as a poster of plants.

On the back of the poster, students could see a highlighted map for each plant or animal that showed where it could be found in Georgia. Students identified plants and animals found in specific regions as well as ones that could be found in all regions. If students found a particular animal they were interested, they could use the computer to research more info on that animal. I included links for various animal groups to get them started.

    1. Butterflies/Moths https://www.butterfliesandmoths.org
    2. Dragonflies https://www.insectidentification.org/
    3. Lizards https://srelherp.uga.edu/lizards/index.htm
    4. Salamanders https://srelherp.uga.edu/salamanders/index.htm
    5. Snakes https://georgiawildlife.com/georgiasnakes

I also included some books about animal adaptations such as camouflage, hibernation, and migration.


Teacher Role

In each session, the teachers and I rotated around to all the centers to have conversations with individuals or groups of students. We helped students focus on the question of each center and asked follow up questions as needed. I loved seeing what each student was discovering and having me plus a couple of teachers helped us have many conversations. This format had structure, but it also gave students freedom to choose what interested them at each center to spend the most time on. The timing was also fast-paced so there was no time to be bored or be “done”.

When students finished visiting all 5 centers, we came back together on the carpet and students had a chance to share some of the most interesting things that they discovered. Overall, this format served its purpose of gathering background information and it held closely to the wording of the standards. I loved that students were able to explore the standards in a variety of formats and there was variety from one center to the next. This is something I would definitely repeat, but I do wonder about what might be added to help students remember some of the interesting nuggets of information they learned along the way. I wouldn’t want to add too much writing because that slows down the gathering of background knowledge, but it would be nice to have some means for remembering a few facts.

If you have ideas or you try this and add something new, please leave a comment.

Who Will Win?: A Research Lesson with 5th Grade

Killer Whale vs. Great White Shark. T-Rex vs. Velociraptor. Scorpion vs. Centipede.  These topics grab the attention of so many readers in our library.

When the 5th grade language arts teachers, Ms. Freeman & Ms. Hinkle, asked me to brainstorm some lessons ideas about the following standard, my mind immediately jumped to these popular books.

ELAGSE5RI8: EXPLAIN how an author uses reasons and evidence to support particular points in a text, IDENTIFYing which reasons and evidence supports which point(s).

I began to think about how students might create their own quick versions of these stories using books from our informational section.  Ms. Hinkle and Ms. Freeman scheduled each of their language arts classes to come to the library for 45 minutes.

We began our time together on the floor and took time to look at a selection of books from the Bug Wars, Dinosaur Wars, and Who Would Win series. I asked students how an author might go about comparing two animals who might not actually meet in real life. We brainstormed a list of categories that an author might use to compare animals: size, speed, abilities, classification, etc.

Next, we took a look at an interactive ebook from Capstone called Tyrannosaurus Rex Vs. Velociraptor from the Dinosaur Wars series. We looked at the structure of the book and how the author used size, speed/agility, weapons, and attack style to compare the two dinosaurs. In addition to the summaries at the top of the page, we saw how the author gave several pieces of evidence to backup the point of which dinosaur was superior to the other in a particular category.

This set us up for our work session. Ahead of time, I pulled multiple animals books from our library as well as a few other things that could be compared like weather events and landforms. When I pulled the books I considered which animals I might pair together if I was choosing, but I wanted students to have the choice of whichever pairings they wished to have.

With a partner, students selected two “things” to compare. This was a bit of a frenzy as students tried to quickly pair two animals or other things together before resources started to disappear to other partners.

Then, they used a brief graphic organizer to decide on 4 categories to compare the two things. I encouraged them to look at the index in the books to help them think about comparisons they might make.

Their goal was to find evidence for each thing in each category and then decide on a winner for that category based on the evidence.

After looking at the evidence for all 4 categories, students decided on the overall winner. Sometimes students couldn’t decide an overall winner, so I encouraged them to create some “what if” scenarios that might help them think about when one of the particular animals or things might come out on top. If time allowed, students could create a Flipgrid video explaining their comparisons.

The teachers and I circulated between the pairs of students and conferenced with them on their categories and pushed them to look for evidence. What we saw as we conferenced was that most students were excited and engaged.

They were really searching for information and putting books side by side to make comparisons. They were having critical conversations to determine which animal would actually win in each category based on the evidence they found.  They were even asking to see additional resources like websites and other books because they weren’t finding the info that they were looking for.

This project gave me lots to think about. The concept of competition between “things” was motivating for students. I didn’t give them a detailed graphic organizer with a bunch of pre-written questions they had to find answers to. They determined the categories and looked for the answers. I was surprised by how many students started asking for additional resources because they wanted to find the answer they were looking for rather than trying to make one resource work for everything as I’ve seen in other research projects.

Of course, everything wasn’t perfect and some students didn’t stay focused the entire time. However, I saw an engagement that I don’t always see. I saw students excited about diving into books without too many complaints that we weren’t researching on the computer. We also didn’t really have enough time for most students to record. The teachers are going to try to give time back in class to finish recordings.

I want to unpack this a bit more in my mind and think about implications for future projects. I definitely think that this project could be expanded to something much bigger. It was obtainable in a day, but it could be so much better with a little more time.

The students who were able to record so far would love for you to take a moment to watch their videos. If you decide to try this out with your students, I would love to hear how it goes and what modifications you made.


Kindergarten Researchers in Action

Planet Research (4)Ms. Kelly Hocking’s Kindergarten class is hard at work again.  They were so excited by what they discovered using the Storykit app, that they decided to continue their work by making their own nonfiction book.  Their last adventure was about creating their own versions of folktales.

You can read and listen to their folktales online:

Ms. Kelly’s class has been very curious about space, so they decided as a class that they would work on creating informational books about the planets and solar system.  Ms. Kelly put the students into groups of 2-3 and each group chose a planet or part of the solar system to research.

Planet Research (11) Planet Research (5)

In the library, I pulled our books about space as well as checked out some books from the public library.  I also setup 2 computer areas.  One area was focused on PebbleGo and the other area focused on TrueFlix.  Even though the content of TrueFlix is written for older students, I felt like the read aloud function would support Kindergarten researchers.

Planet Research (3)

In class, students filled out a KWL chart to bring to the library.  When they came to the library with their questions, Ms. Kelly and I did a quick intro to the 3 areas available to them.  I loved how Ms. Kelly set a realistic goal for students in this big venture.  She said, “I want you to have at least one fact written down before you leave today”.  Of course, most groups wrote more than 1 fact, but every group left the library with a successful experience of meeting their expected goal.  To support students in their research, Ms. Kelly, a parent volunteer, and I rotated among the groups to help students with navigating the information in front of them.  Students continued this research for the next week in class.

Planet Research (8) Planet Research (6) Planet Research (1)

Next, the students came back to the library to work on prep for their book production.  Their KWL charts were filled with facts that they had discovered.  Ms. Kelly even shared that some groups had conflicting information about the order of the planets, so they had done some fact checking as a class before they came.  During this 2nd library session, we started in the floor again to establish our expectations for the day.  Every group had small squares of white paper, a long sheet of lined paper with room for illustrations, and a pencil.

Planet Research (9)

The task was to sort through the KWL chart and identify the facts that would go into the finished book.  One fact was written onto each piece of white paper.  The whole group worked on this part.  Ms. Kelly, the paraprofessional, and I circulated among the groups to assist with reading the KWL charts, correcting spelling, and searching for additional facts if needed.

Once 4-5 facts were identified, students sequenced the facts into an order that made sense.  Again, the adults helped students read aloud the facts that they identified and facilitated sorting the facts into different orders until a final order was chosen.  Then, the adults taped the papers to the larger lined paper.

Planet Research (9) Planet Research (10) Planet Research (2)

If students had time, they thought about what they could use in the school to photograph for each fact on the sheet.  They made notes or drew a picture to remind themselves what they talked about.  Ms. Kelly ad I encouraged students to stretch their brains to think about what they could creatively use to take a picture.  One group had a fact about the crust of their planet.  They decided they would take a picture of a piece of pizza in the cafeteria and draw an arrow to the crust.

Students will continue this process in class throughout this week.  Next week, they are checking out iPads to photograph things around the school as well as type their text into Storykit and publish their own ebooks.  I can’t wait to see how their work turns out.  I will most likely push into their class at some point next week to help, or they may schedule a time to come work with me again in the library as they finish their books.

Projects like this show me that it is completely possible for our youngest students to create amazing work that is based in real facts.  They can explore technology that no other class has attempted.  Some of the key factors in a successful project are plenty of time, realistic expectations, adult and peer support, and lots of encouragement.  I love how Ms. Kelly doesn’t rush a project of this size.  She understands that for quality work to be produced, we must give students the space, the support, and the time to make the work happen.