A Little Augmented Reality and Zombie Math with 1st Grade

IMG_1842A few weeks ago, Em Smith Headley, 1st grade teacher, asked if I could help with their math standards using the iPads.  They have been working on using a variety of strategies to solve basic addition and subtraction problems.

I pulled together just a few iPad apps for our time together that addressed basic addition and subtraction facts.  I decided to use:

  • Fetch Lunch Rush: an augmented reality app that combines basic addition/subtraction, missing addends, racing, and augmented reality!
  • Math Zombies:  a racing app that gives basic addition/subtraction problems along with double digit math to race against the ever-approaching zombies.  Correct answers knock them out of the way.
  • Candy Count:  a sorting app that allows kids to sort candy by color and then asks several math questions about the candy in each bag.
  • iXL: an app with multiple grade levels which gives standard problems and allows kids to type an answer.

IMG_1846

I had student helpers make a 1st grade math folder on the iPads so that students could easily get to the apps.  We looked at the standard and students brainstormed several strategies that they currently use for solving math problems.  Things such as:

  • number lines
  • draw a picture
  • count up or count back
  • manipulatives
  • etc.

I reminded them that these same strategies come into play when we do math digitally and sometimes the app even provides some strategies for you with hints.  I did not tell students how to play every app because they were perfectly capable of figuring that out on their own.  I spent my time helping students think about strategy and encouraging students to help one another figure out the technical details of how the games worked.  Of course, I helped students who had technical questions, too, but that wasn’t my main focus as the teacher.

Students were bursting with energy during this.  Whether we worked for 25 minutes or 40 minutes, they were extremely focused.  They were free to move in and out of the apps as needed.  We were also able to differentiate for students who needed problems that were more challenging or problems with more basic  features.

At the close, students gave some feedback on what they liked about each app.  Math Zombies and Fetch Lunch Rush was by far the favorite, and they begged to get to do this again in their classroom or the library.


Our Miraculous Start to 2014 with Flipgrid

miraculous flipgridIn the new year, I wrote a post about expecting the miraculous in 2014.  I can honestly say that the expression “Expect the Miraculous” has taken on a life of its own in our school.  Let me tell you how it happened.

To kickoff the second half of the year, we held a schoolwide assembly.  The purpose of the assembly was to review goal setting, celebrate our unique talents, and to give ourselves permission to have dreams.  It really was an amazing assembly.  We had student performances, a teacher who played her violin, a youtube video from Kid President, and Martin Luther King Jr contest winners.  The assembly was also a space for me to talk about expecting the miraculous.  I read the excerpt from Flora & Ulysses: The Illuminated Adventures.

“All things are possible,” said Dr. Meescham.  ”When I was a girl in Blundermeecen, the miraculous happened every day.  Or every third day.  Actually, sometimes it did not happen at all, even on the third day.  But still, we expected it.  You see what I’m saying?  Even when it didn’t happen, we were expecting it.  We knew the miraculous would come.” ~Kate DiCamillo

I also shared synonyms for the word “miraculous” such as “extraordinary”.  Finally, I told my own story of expecting the miraculous.  My story involved our new 3D printer.  From the day I heard about 3D printers, I expected that one day our library would have one.  I wasn’t sure how or when, but I felt in my heart that this incredible piece of technology was something our students should have access to in school.  About a year ago, our district considered purchasing a 3D printer for our school.  It was all the way down to the ordering process, but something happened over the summer and it didn’t get order.  Still…..I expected the miraculous.  I wrote grants and began advertising the idea of purchasing a 3D printer.  I publicized that a portion of our book fair profits would go toward 3D printing.  However, this was a slow process and I knew it would take time to raise almost $3000 for a printer and supplies.  Still….I expected the miraculous.  Then, in October, Makerbot announced their partnership with Donors Choose.  I immediately submitted my project and hoped for the best knowing that much of the available funding would most likely go to Brooklyn schools.  Still…I expected the miraculous.  Miraculously, our printer was funded overnight!

This is the story that students heard.  I followed this with an invitation for them all to “Expect the Miraculous” with me.  To capture our goals, dreams, wishes, and expectations for 2014, I created a Flipgrid.  I gave them a quick tutorial on how to record a video into the Flipgrid by walking them through screenshots of the process.  Then, I setup a Flipgrid recording station in the library.

Flipgrid station Over the past 2 weeks, students have written about their hopes and dreams in class and visited the library to record.  It has been an amazing process to watch.  Goals have ranged from reading goals to behavior goals and from school-related to extra curricular related.  I encourage you to spend some time listening to their miraculous expectations and feel free to click the + and add your own.  Students have enjoyed coming into the library and listening the the videos on our touchscreen computer at the front of the library.  I can put the Flipgrid on slideshow and it flips through each video throughout the day.

IMG_1810[1]

I’ve heard so many kids, families, and teachers using the word “miraculous” in conversations.  Some students have even recorded their videos at home with their family.  Our school embraced the phrase so much that we even put it outside on our sign.

miraculous

One more miraculous thing happened.  Kate DiCamillo posted an opportunity on her facebook page to ask questions about her books.  I asked, “What miraculous things have you expected that actually happened and what miraculous things are you still expecting?”  Here’s her reply!

Miraculous

Chatterpix Book Talks with 2nd Grade

A few weeks ago, Okle Miller, a librarian near Tampa FL, shared a great iPad app with me that she had discovered on Richard Byrne’s site iPad Apps for School.   Chatterpix allows you to take a photograph with your iPad, draw a mouth on that photo, and record up to 30 seconds of dialogue for the photo.  The mouth moves in sync with your voice.  This app could have many implications for short classroom projects from historical figures to summarizing strategies to book talks and more.

I recently sent out an email to teachers with some ideas for technology projects that we might do together.  Each of the ideas was based in the subjects and standards that classrooms are working on with some suggestions of technology tools that might support those standards.  Many of the classrooms are currently working on opinion writing about books along with persuasive techniques.  I suggested Chatterpix as an option for students to quickly tell about a book, give an opinion, and try to persuade a reader in less that 30 seconds.

Second grade had already worked with me on writing book reviews for their blogs, so Caitlin Ramseyer, 2nd grade teacher, decided to incorporate Chatterpix into this mix.  Her students each chose a book, read the book, and used an index card to write a script that they could finish reading in less than 30 seconds.

Today, they came to the library so that Caitlin and I could work with them on using the iPads.  Students brought their index cards and books with them.  First, we watched this video.

Then, we looked at my Chatterpix example.

http://www.youtube.com/watch?v=p-3mJG67Vlg

Next, students dispersed throughout the library to use the iPads.  Caitlin and I walked around and helped as needed, but the students were very capable of figuring things out and helping one another.

chatterpix (3)


One student didn’t have her book, so she pulled up the book in Destiny on the computer and took a picture of the screen.  Other students had very tiny people on their covers, so they put the iPad close to the cover in order to take a closeup picture of the character.  There was a lot of problem solving going on as students tried to figure out how to create the best video.  Many of them quickly figured out the different filters that they could use on their picture, but most chose not to explore the stickers (this time!).

chatterpix (6)Once they were finished, they saved the video to the camera roll on the iPad and brought it to me.  At first, I was trying to login to each iPad and upload to Youtube, but it was taking too long.  Instead, I plugged a cord into my laptop and imported the video straight into Youtube.  Caitlin helped them make sure their video was exported to the camera roll and I uploaded to Youtube.

chatterpix (1)

Finally, we gathered on the carpet to view our videos.  During this time, we paused a lot and students gave tips for future use of Chatterpix.  They suggested things like:

  • Since Chatterpix reverses words, try to take a picture of a character on the cover and avoid the text
  • Have your script written down
  • If you finish before 30 seconds, don’t forget to press stop
  • Rustling your paper makes the character’s mouth move, so be still
  • If you have trouble drawing the mouth with your finger, use a stylus
  • Hold the iPad in portrait view rather than landscape

We reminded them that they had developed some expertise with this app and that we might call on them sometime to help others.  Even this list of tips is a way for them to pass on their expertise.  Now that we worked out some logistics with how this type of lesson can flow, I think Chatterpix will be an app we will revisit many times.

Here are their book talks:

http://www.youtube.com/watch?v=vmBI1kNROQw

http://www.youtube.com/watch?v=cjb4bEFJrR0

http://www.youtube.com/watch?v=ldj3LtOKStg

http://www.youtube.com/watch?v=C5HiyxlF-6M

http://www.youtube.com/watch?v=50XLHAHRl6o

http://www.youtube.com/watch?v=c3F7R6SyAmE

http://www.youtube.com/watch?v=hDNGwdpL9qI

http://www.youtube.com/watch?v=iSkvp1mRHD8

http://www.youtube.com/watch?v=k3of26fu9sE

http://www.youtube.com/watch?v=cuA_8bznAXo

http://www.youtube.com/watch?v=zzNEBb6sN8I


Book Trailers with 4th Grade

book trailer 4th (2)Today Mrs. Rogers and her 4th grade ELT group came to the library to explore book trailers.  They are currently reading a novel together and had the idea to create book trailers for each chapter of the book.  I guess we should really call these chapter trailers.  For our lesson, we looked at three trailers:


http://www.youtube.com/watch?feature=player_embedded&v=fgB7_KpBDss

Our purpose in watching these three trailers was to think about how different each trailer could be.   Students talked about what they noticed about each trailer after watching it.

For Carnivores, students noticed that:

  • 1 actor was used 🙂
  • music was used throughout
  • text was used at the beginning to set the scene
  • there were lots of clips put together
  • the funny tone of the book came through in the trailer
  • the trailer didn’t give away all the details of the book

For Boy + Bot, students noticed that:

  • questions were posed for the reader to consider
  • images from the book were used in between the questions
  • music was used throughout
  • the trailer was very short

For Wonder, students noticed that:

  • there were multiple actors
  • there were multiple shots that needed a lot of direction
  • there was text, live action, and music
  • the character’s face was never shown

Students even spent time thinking about the difficulty level of these 3 trailers and what they were each willing to commit to for their own project.  They also thought about why each type of trailer might have been picked for each book.  We talked a lot about purpose.

After this great discussion, students spent time exploring iMovie on the iPads.  This is the tool they will most likely use for their trailers.  Most had no experience with iMovie, so I invited them to spend about 20-25 minutes messing around and figuring out some of the features.  I encouraged them to share what they learned with each other, and it didn’t take long for collaboration to begin.  As soon as students figured something out, they were eager to show and help others.

Ludwig, a 4th grader,  really jumped into the trailer part of imovie.  He began planning out a quick trailer and sprang into action filming it.  He didn’t make it all the way through, but you can see what he figured out here:

http://www.youtube.com/watch?v=u3NLoE-Zhtg

Reid, another 4th grader, explored the movie part of iMovie.  He put together a little idea and started filming clips to put a quick sequence together.

http://www.youtube.com/watch?v=rdQhWhyuksg

We closed our time together by showing these videos and setting the stage for students to begin planning their own trailers. Once again, I was amazed  by what kids could figure out and share when given the space to explore.  I reminded them to continue to share their expertise with one another as they progress through the project.  They will continue work in their classroom, but I will also collaborate with them at various stages of the project.

Flipgrid Book Talks with 5th Grade

Flipgrid. Relax and discuss.A few weeks ago 5th grade reading teacher, Melissa Freeman, asked if her students could have some time in the library reading picture books and informational books related to the Civil War and Civil Rights Movement.  I quickly began pulling a big stack of books for them to read.  We wanted some way of capturing this experience to refer back to during Social Studies time, so I’m so glad that I discovered Flipgrid!

flipgrid civil war & rights (11)Each 5th grade class came to the library today.  I had the books spread out on tables.  We started in the floor for an overview.  I shared our purpose of reading books connected with our social studies content.  The teacher and I both stressed that our main goal was to spend quality time reading the books and preparing to do a book talk.  Flipgrid was going to be our tool to capture these book talks, but Flipgrid was not our focus.  We also talked about why Flipgrid was the chosen tool.  We brainstormed ideas such as the ability to go back to these book talks during social studies to find books that matched standards.  Students also thought that others in the school could visit the grid to learn about some books that they might not check out on their on.

With our purpose established, I showed students an example of what a book talk video might look like.  I also quickly walked through the Flipgrid screens to show what each one looked like in order to record a video.  This overview took us about 15-20 minutes.

Students each went to the tables, chose their book, and found a cozy spot to read.  As students finished their reading, they got index cards and pencils to write down a few notes to help them with their book talks.  Finally, they got an iPad, typed in the flipgrid code, and found a quiet spot to record.

flipgrid civil war & rights (8)The student response to this tool in 5th grade was very positive, but they did have some suggestions for improvement:

  • When they held the books up to show them on the video, the words on the books were flipped backward.  We did not figure out how to fix this in the recording screens.
  • When students submitted their video, sometimes it put the video up to 8 times on the grid.  I had to manually go in and delete the extras.  We are not sure why this happened to some students and not others.
  • Some students received a timeout error message when uploading their videos.  They had to repeatedly submit the video until they got the successful upload message.

I typed all of these comments in an email and sent it to Flipgrid support.  We hope that we hear some answers to these issues or see Flipgrid continue to improve.  Even with the technical problems, the students all hope that their teacher and I will continue to use this tool.

Listen to their book talks here.  Students will continue to add videos to grid during their reading class with Mrs. Freeman.

Using KidBlog with 2nd Grade

kidblog (8)

Last year our 2nd grade teachers collaborated with me on a blogging project using KidBlog.  Our blog was  a way to connect our students with students in Van Meter, Iowa while at the same time showcasing different kinds of writing.  This year, the teachers wanted to start blogging much earlier in the year.

kidblog (3)Each teacher setup her students on KidBlog by uploading a simple excel spreadsheet with names and passwords.  In class, students wrote out their first “post”.  This post was very simple.  Students have been studying important people from Georgia’s history so each student wrote one sentence about one of these Georgians on an index card.  They brought these cards with them to the library to learn about blogging and do their first post.

During our mini lesson, I asked students how many had heard of a blog, and all hands went up.  Then, I ask them who could define what a blog is, and almost all hands went down.  Our first question of exploration was “What is a blog?”  We watched a common craft video on blogging.  I paused along the way and asked students what news they might report on as a 2nd graders.  They mentioned things like:

  • what we do in our classroom
  • math problems that people could solve
  • what we did on vacation
  • books that we are reading
  • and more

Next, I showed them the media center blog.  We looked at the map of readers, tags, how posts are from most recent to oldest, and talked about my audience.

Finally, I showed them Kidblog and how they would login to do their posts.  I stressed the idea that once you click “publish”, your work is instantly connected with an audience.  Students brainstormed what they might need to do before clicking publish.  They said things like:

  • triple check your work
  • check spelling
  • revise and edit
  • read for understanding
  • ask an adult to check your work
  • make sure you said things the way you wanted to say them
  • check that it’s appropriate

Students dispersed to iPads and laptops and began logging in.  Adults circulated and helped students as needed, but students also helped one another to find buttons, login, and any other technical questions they had.  In about an hour, most students were able to learn about blogs & their purpose, make their first post, and go back to class very eager to write more.  The report back from the teachers was that these students are already asking when they will be able to post again.

You can see the beginnings of their work at the following links:

http://kidblog.org/MrsYawnsClassBlog/

http://kidblog.org/MrsRamseyersClassBlog/

http://kidblog.org/MrsWrightsClassBlog/

http://kidblog.org/MrsBrinksClassBlog/

Studying Illustrations with Jerry Pinkey

Pinkey art (8)Third grade is beginning a folktale project that is a collaboration between classroom teachers, the art teacher, and the media center.  This week, we kicked the project off with a lesson in the media center to explore the artwork of Jerry Pinkney, who writes and illustrates many folktales.

Students came to the library during art.  The purpose of this time was to get familiar with Pinkney’s illustrations before students take a field trip to the High Museum of Art  in Atlanta to see an exhibit of Jerry Pinkney’s art.  We wanted students to think about 2 questions.

  • What clues does the illustrator give us about the setting of the story?
  • What clues does the illustrator give us about what the characters are doing in the story?

We started with this video of Jerry Pinkney discussing The Lion and the Mouse.

After the video, I asked the students how Jerry Pinkney started working on the book and what he realized once he made those first steps.  This took our conversation to focus on the importance of illustrations and how they can tell the whole story or how they can work with the text to tell the story.

Next, we looked at this slideshare that showed Caldecott honor and medal winners along with the criteria used to decide the winners.

The purpose of this part was to highlight the many ways you can look at an illustration and how it interacts with the text or tells the story.  Jerry Pinkney has received several Caldecott Honor Awards along with the Caldecott Medal.

Pinkey art (10)Finally, we modeled how someone might study one illustration in a book very carefully and consider our 2 focusing questions.  I used We Give Books to display the book Big Red Lollipop.  Students in each class noticed things such as the red cross as a symbol for a hospital, an envelope on the side of a building to show a post office, the number of buildings close together to show a town, etc.  They also noticed how the character’s hair was blowing in the wind and how her leg was lifted high to show that she was running.  They noticed how she was carrying a letter and smiling to indicate that she was probably going home to show her family something she was excited about.

For the last part of the lesson, students split into groups of 4-5 students.  Each group received 4-5 books by Jerry Pinkney to examine.  Their job was to study the illustrations using the 2 questions just like we did in our model illustration.  As groups talked, the art teacher, art student teacher, and I walked around and chatted with students about what they saw in the illustrations.  We then asked groups to choose one illustration that they wanted to show to another group and discuss.  They used iPads to take a photograph of the illustration.  When they shared with another group, they could zoom in and out of the illustration on the iPads to show the fine details.

In art, students will now have a lesson on museum etiquette  where they will practice the skills it will take to visit a fine art museum.

On the trip to the High on October 23, we will tweet our observations using the hashtag #barrowbuddies.

Next steps will include:

  • Learning elements of folktales.
  • Reading multiple folktales and using a Google form to track the most common elements.
  • Choosing a folktale to read in class without seeing the illustrations.
  • In Art, developing illustrations for that folktale.
  • In the media center, put the illustrations and folktale version together with technology.
  • Share the new creation with the world

We can’t wait to see how this project develops and how Jerry Pinkney’s art inspires what the students create.

Explorers and Native Americans: Perspective & Transliteracy with 4th grade

explorers & native americans (9)

Update:  This post is featured on Jane Yolen’s page for Encounter. 

Our 4th grade is studying Native Americans and Explorers.  When I met with the 4th grade team to plan, one of the main topics of our conversation was how we wanted our students to really think about perspective.  We didn’t want them to come away looking at the explorers as only a group of heroes, but instead to question what the costs were of their exploration.  We wanted them to think from the Native Americans’ perspective and consider how they felt about the explorers coming into their land.  We decided to approach this in a few ways.  The teachers planned regular social studies instruction in their classrooms.  They made Google presentations that were shared with the kids.  They also created graphic organizers for students to use to collect info.  Some students chose to have paper print outs of their organizers while others chose to fill out the organizer digitally.

Our guiding standards included:

SS4H1 The student will describe how early Native American cultures developed in
North America.
a. Locate where Native Americans settled with emphasis on the Arctic (Inuit),
Northwest (Kwakiutl), Plateau (Nez Perce), Southwest (Hopi), Plains (Pawnee),
and Southeast (Seminole).
b. Describe how Native Americans used their environment to obtain food, clothing,
and shelter.
SS4H2 The student will describe European exploration in North America.
a. Describe the reasons for, obstacles to, and accomplishments of the Spanish,
French, and English explorations of John Cabot, Vasco Núñez de Balboa, Juan
Ponce de León, Christopher Columbus, Henry Hudson, and Jacques Cartier.
b. Describe examples of cooperation and conflict between Europeans and Native
Americans

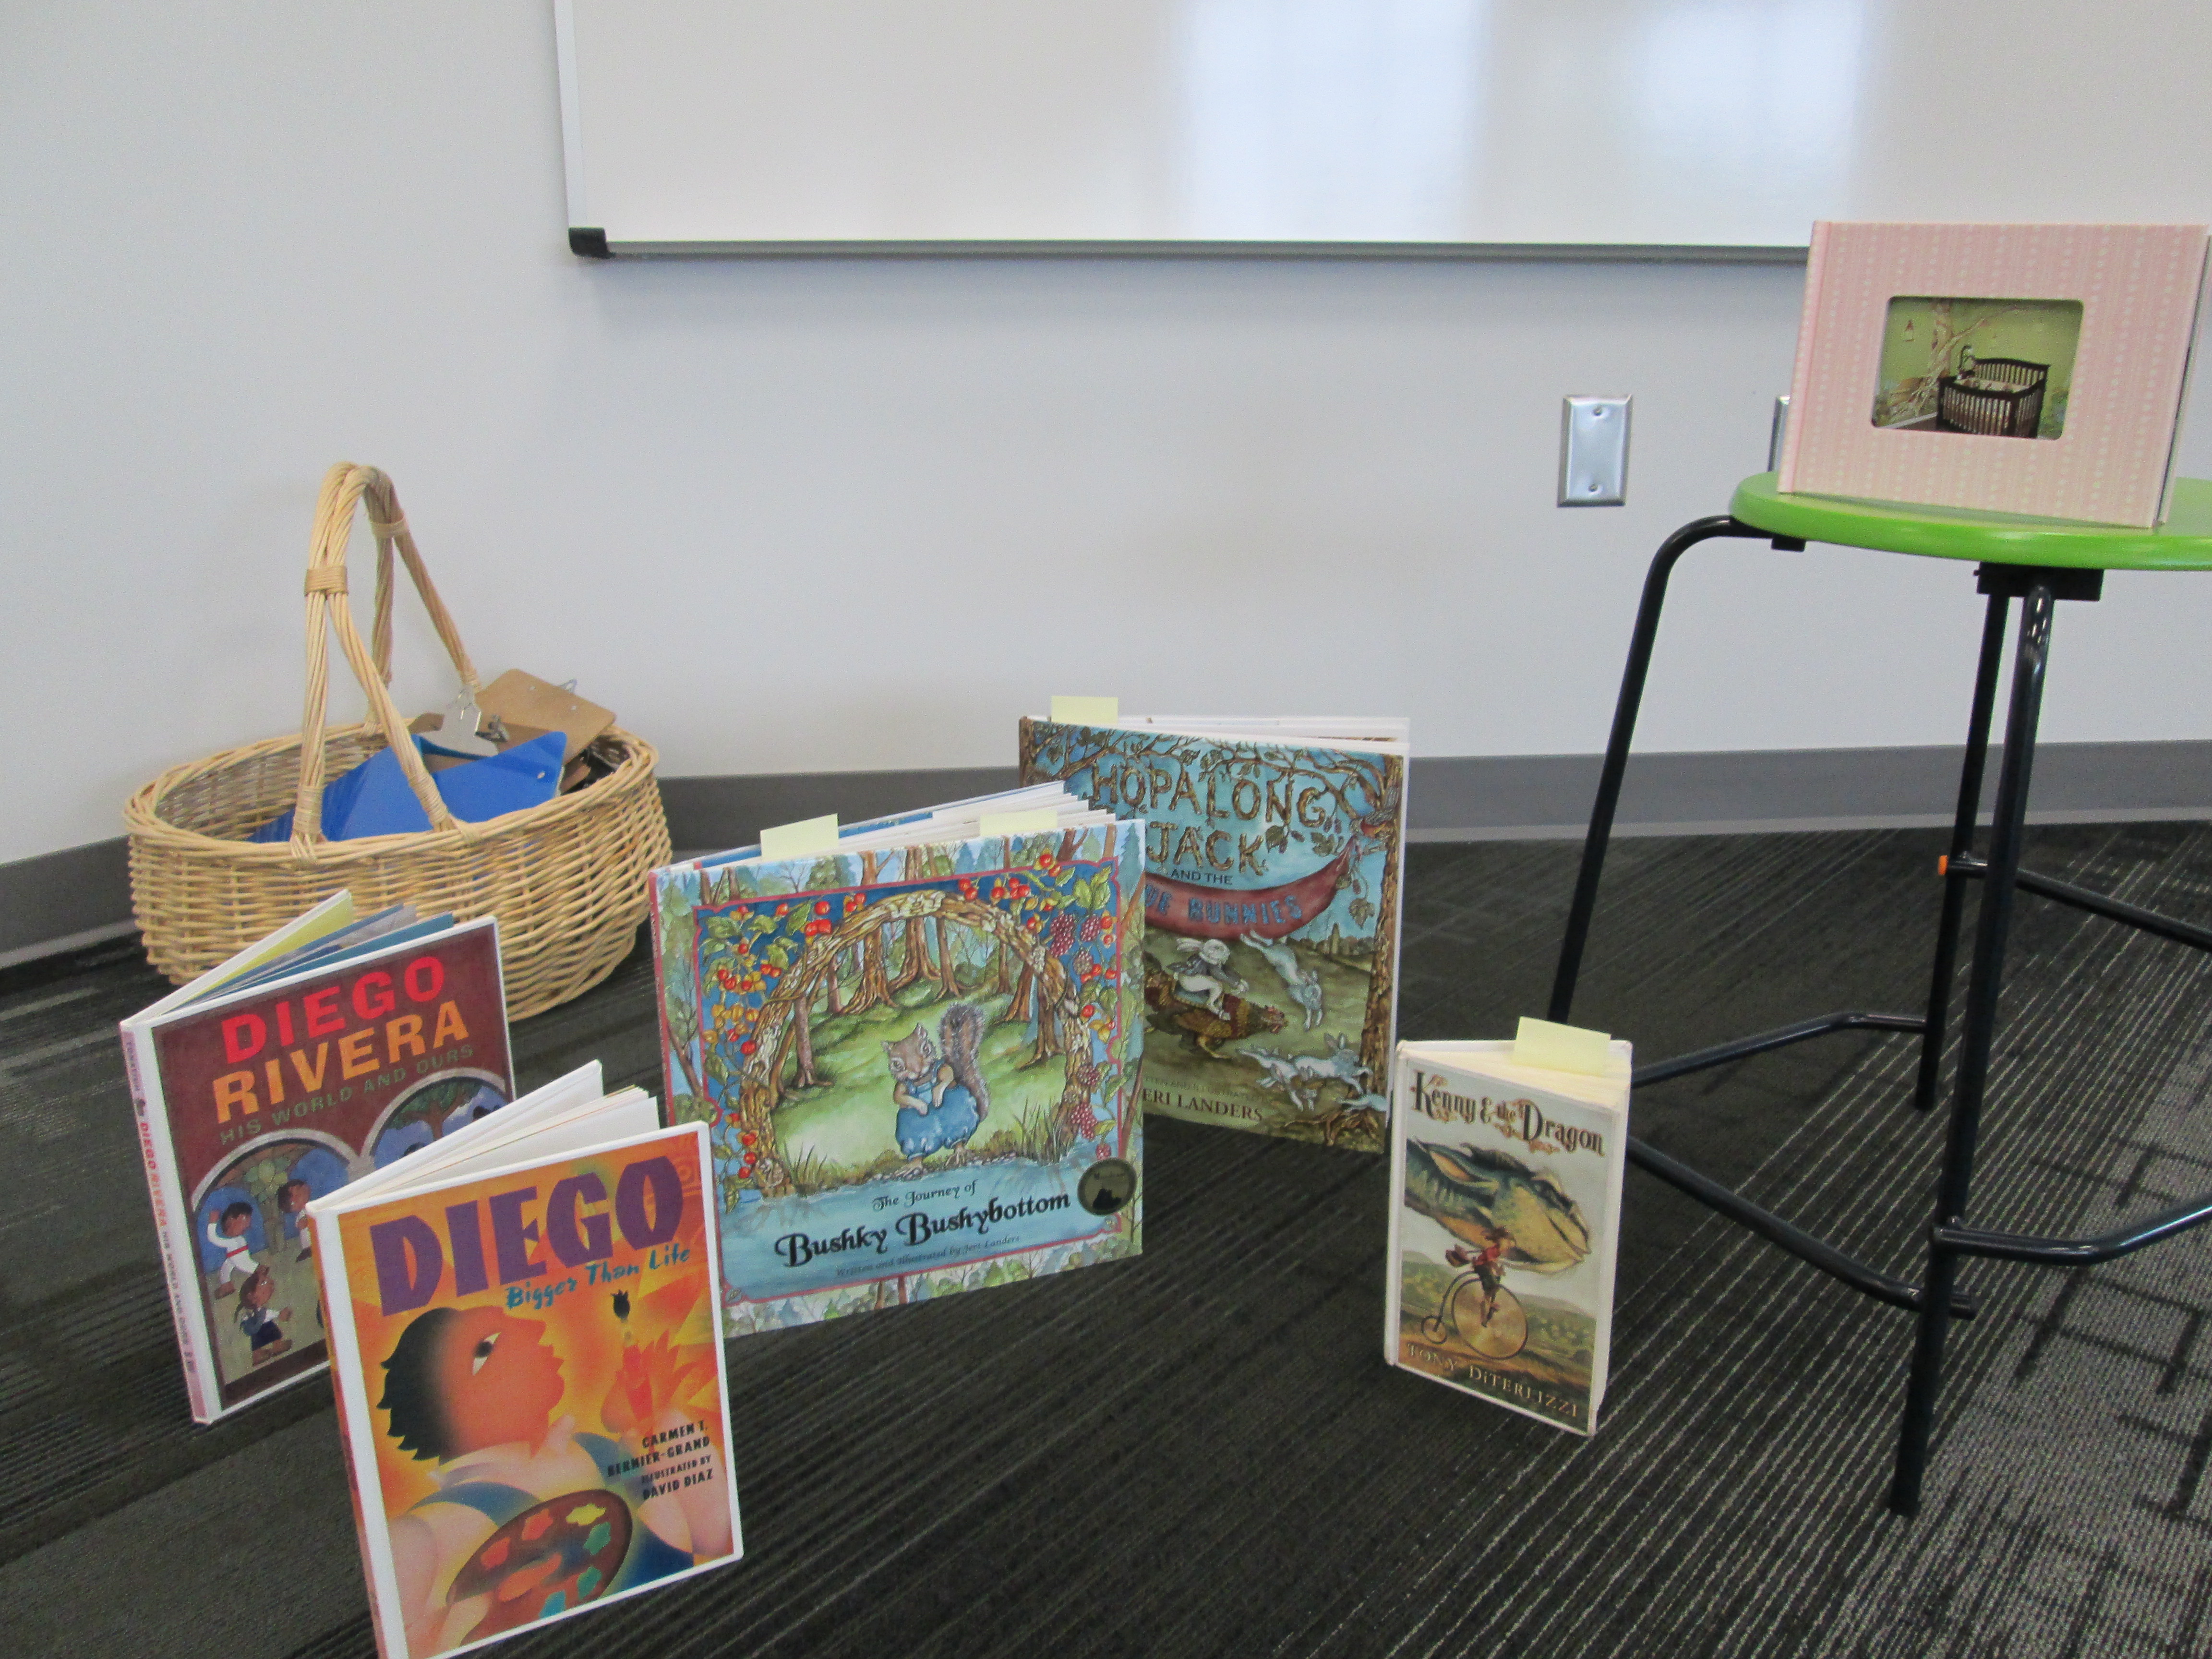
In the media center, I pulled multiple folktales from each of the Native American tribes.  During 2 separate sessions, we looked at Google Earth to see where the tribes were located originally.  Then as we read the folktales, we considered how location impacted the food, shelter, and clothing of the tribes by citing evidence from the tales.

The teachers wanted students to have access to multiple kinds of resources for their research portion of the unit.  We talked about classes coming individually to the library, but we ultimately decided that it would be nice for students to all be together in one location with multiple resources.  We scheduled 3 hour-long sessions.  I pulled together folktales, books about explorers, books about Native Americans, a pathfinder about Native Americans, and a pathfinder about Explorers.

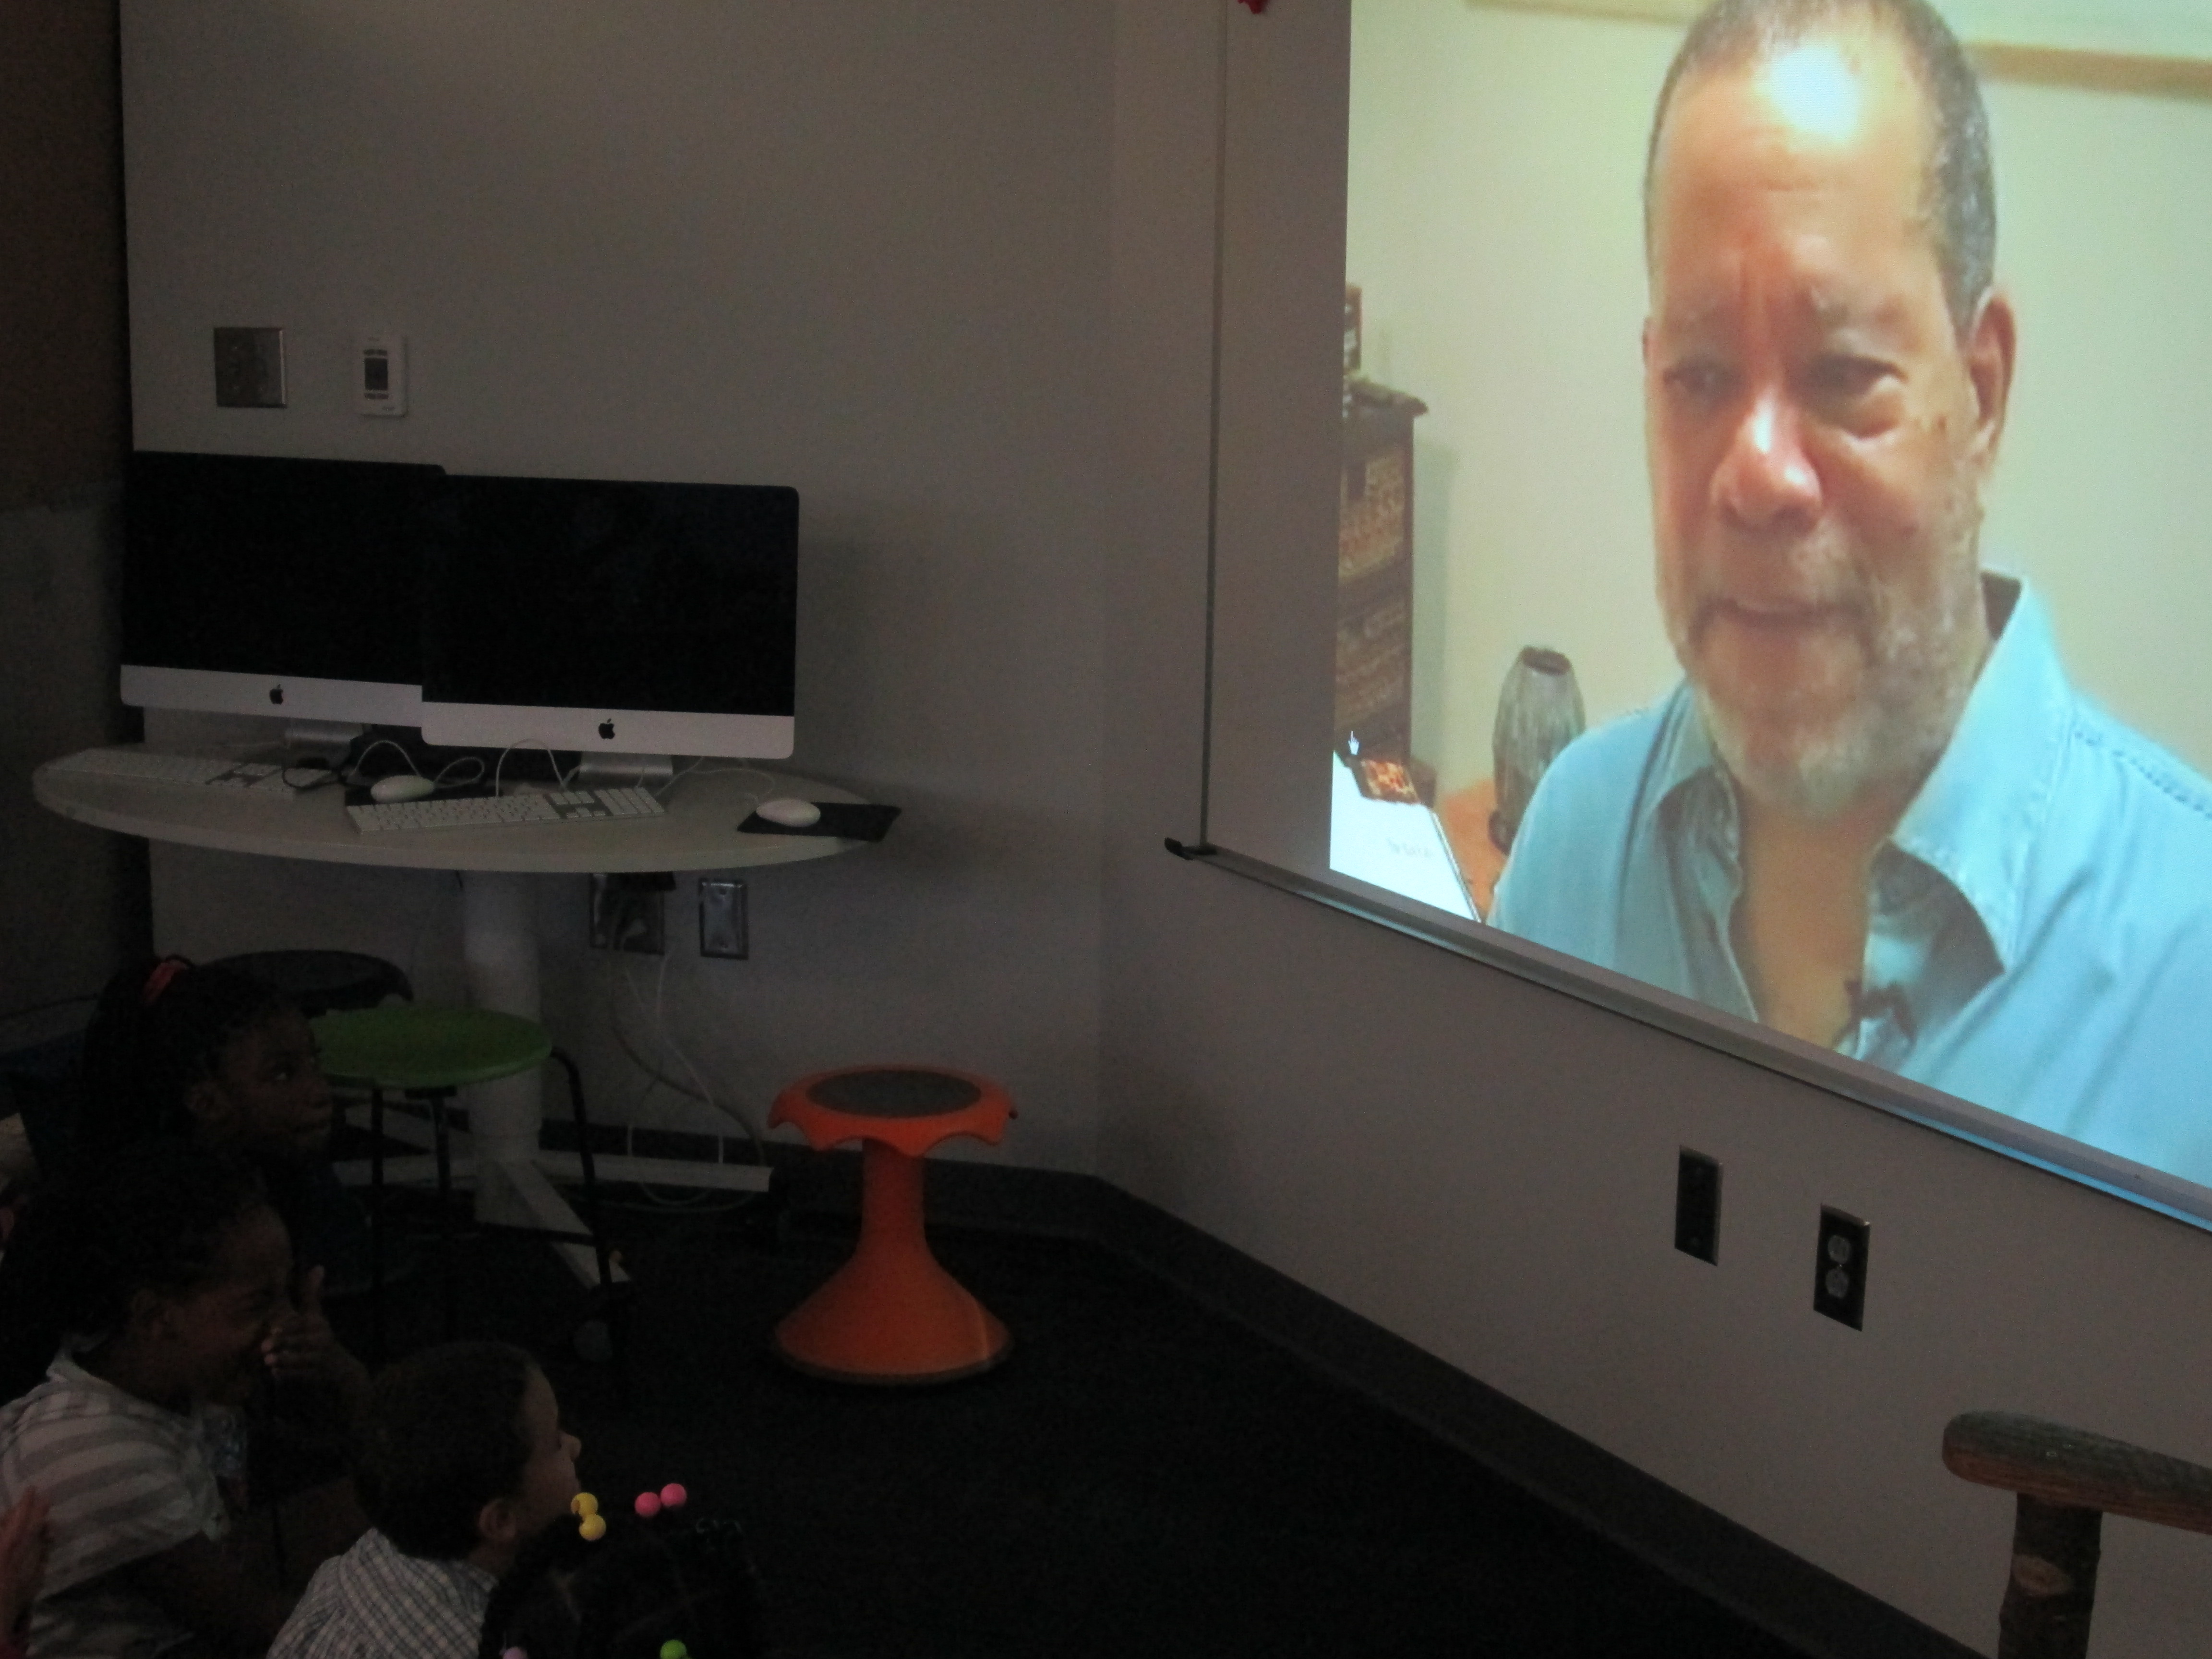
During session 1, we met as a whole group.  I showed students a video of Christopher Columbus from National Geographic.  After the video, I asked students to think about how they would describe Columbus.  After talking with partners, I put as many words into a Tagxedo as possible.

These words were how students described Christopher Columbus after watching a video about Columbus.

These words were how students described Christopher Columbus after watching a video about Columbus.

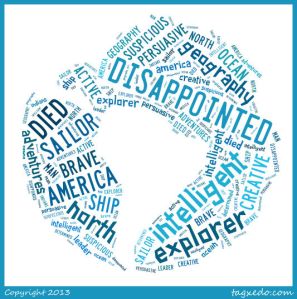
Then, we read the book Encounter by Jane Yolen, which is the Columbus story told from the Native American perspective.  After the story, I asked the students to once again describe Columbus.  Their words made a big shift.

These words are how students described Christopher Columbus after reading Encounter by Jane Yolen.

These words are how students described Christopher Columbus after reading Encounter by Jane Yolen.

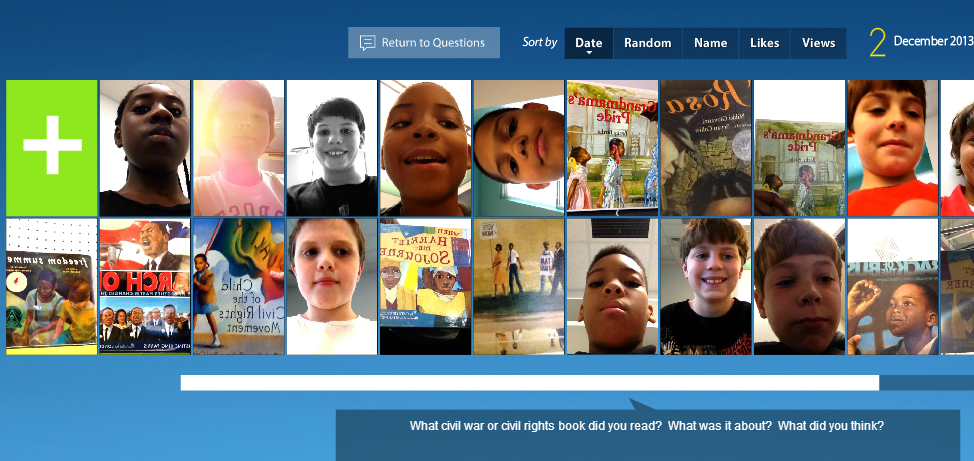
I followed up by talking about perspective, and how so many stories in history are silenced until the perspective of that group of people is brought forward.  I cited authors such as Phillip Hoose and Tanya Lee Stone who have written multiple texts about stories from history that have been untold.  I encouraged students as they did their research for this project to strongly consider perspective.  I did not want to tell them what to believe, but I asked them to be critical of the information they read and form their own opinions of history.

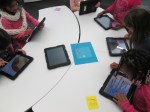
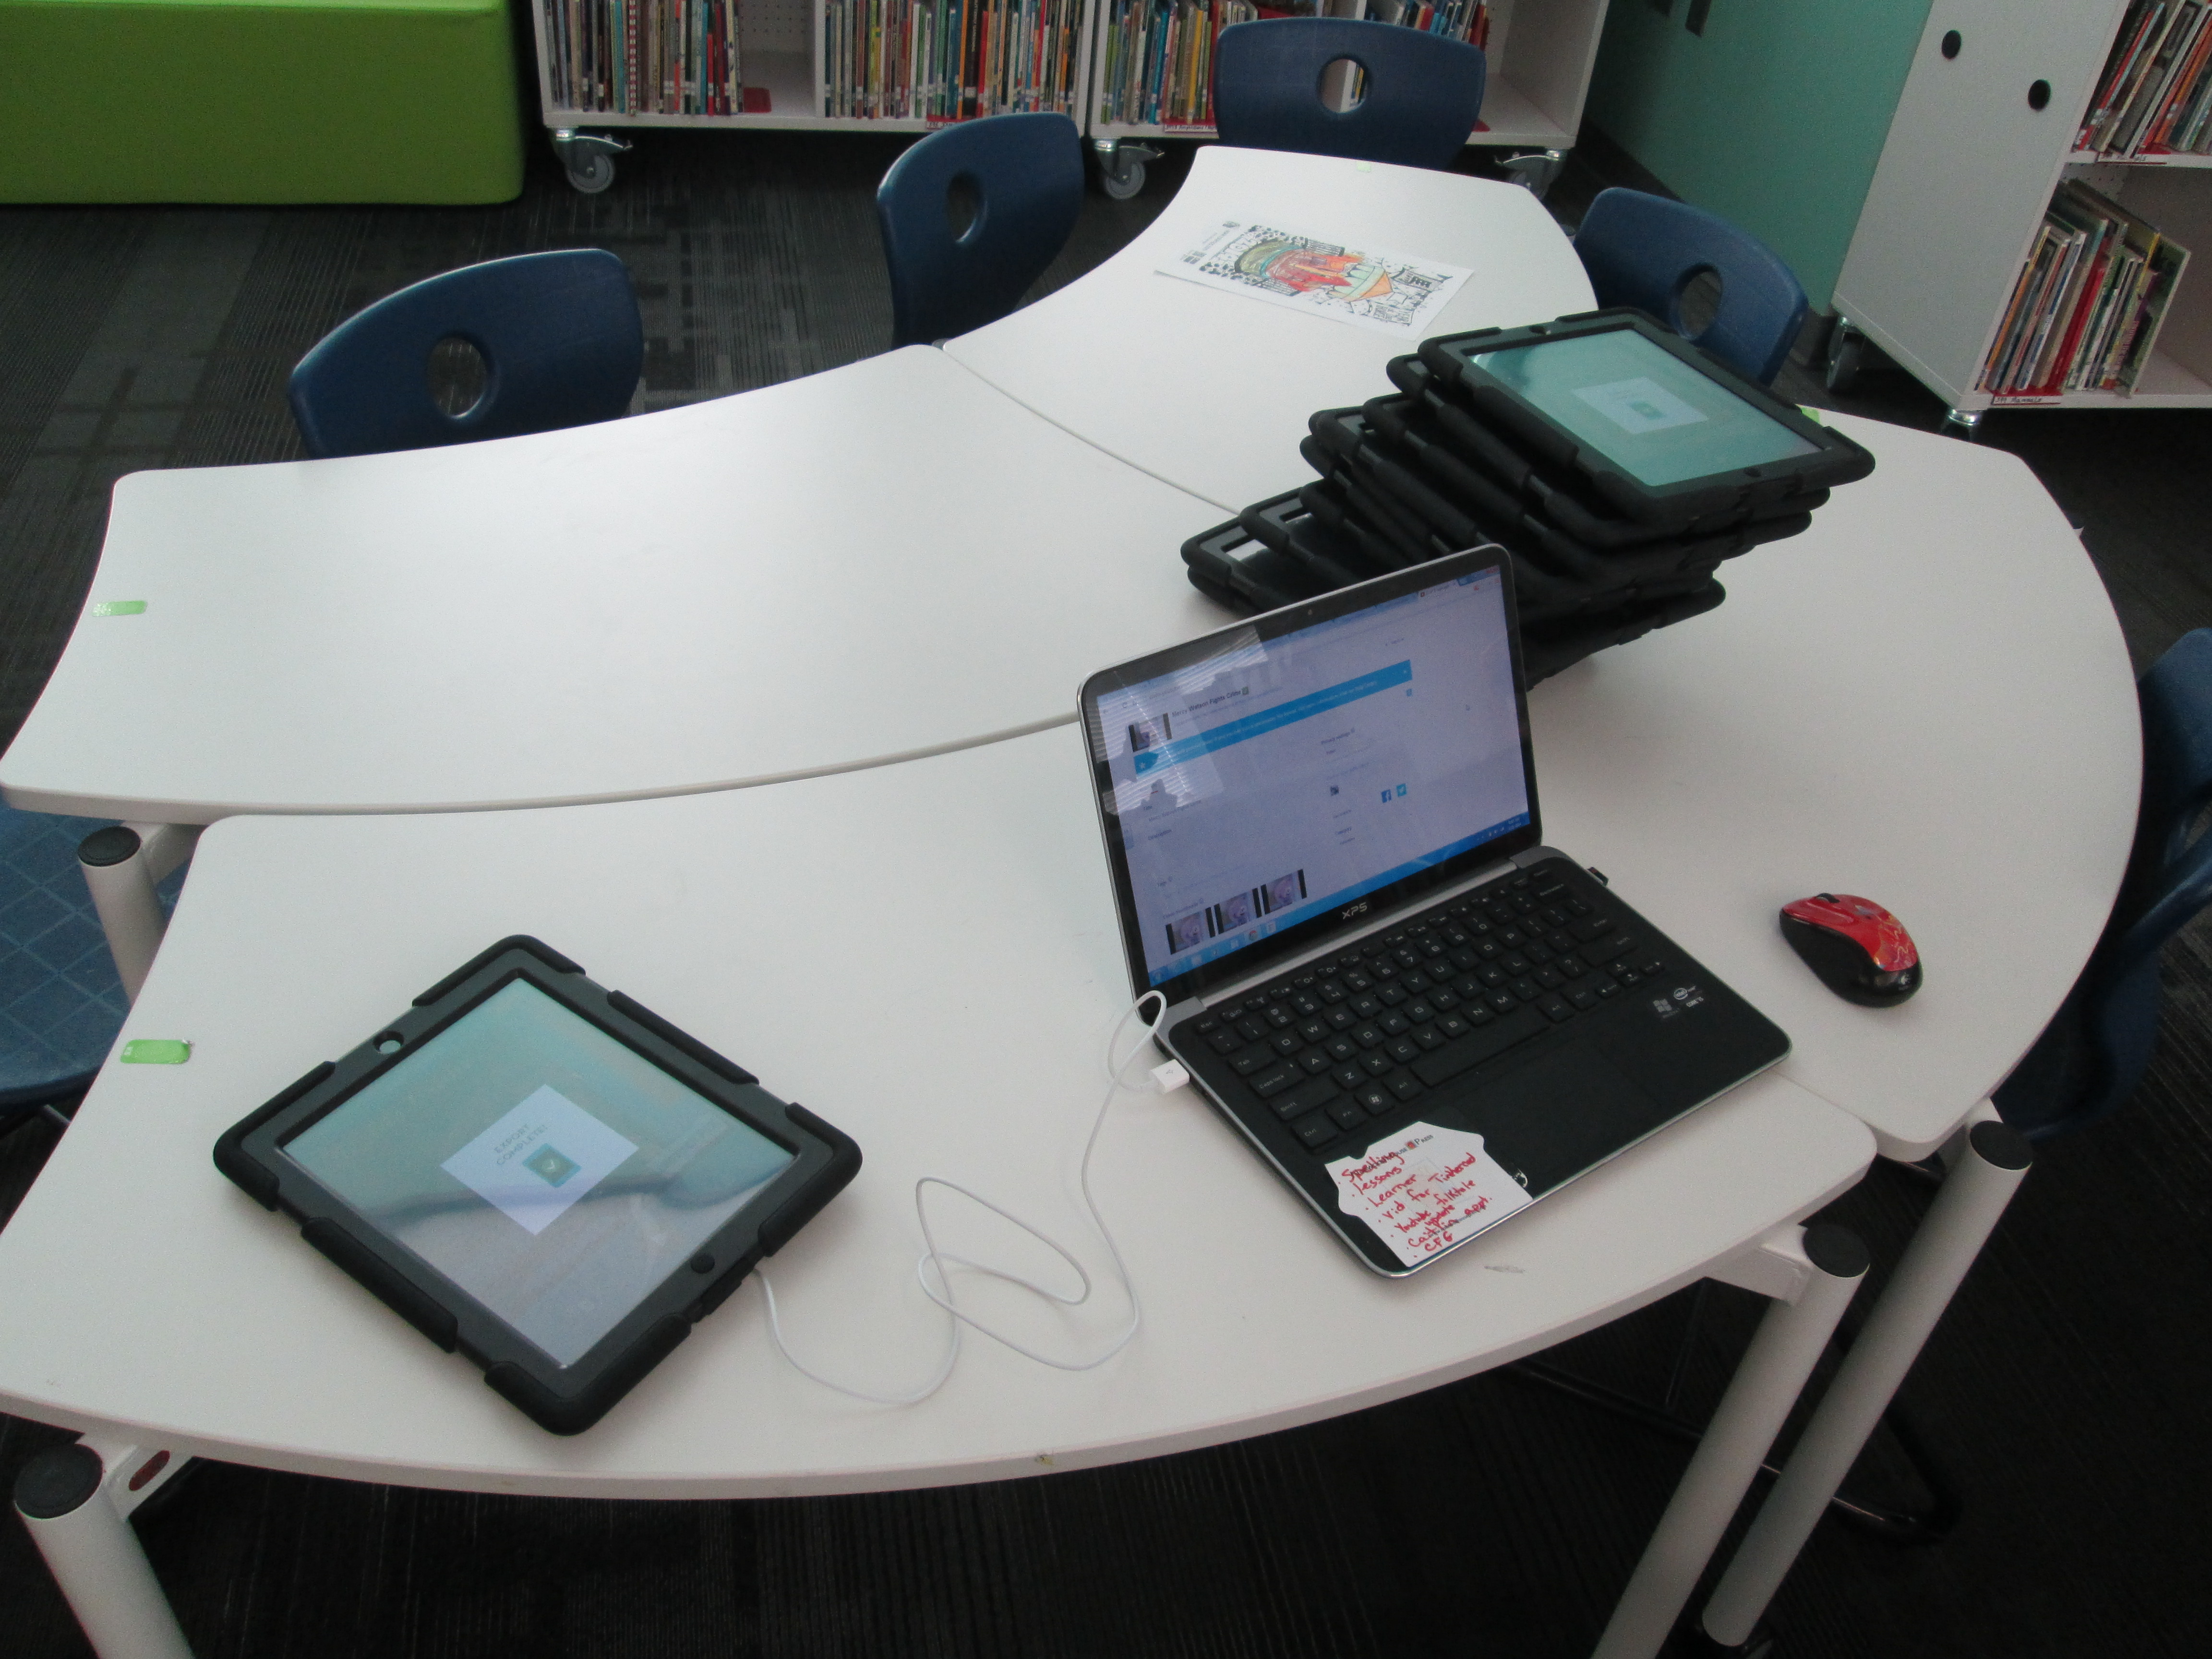
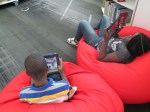
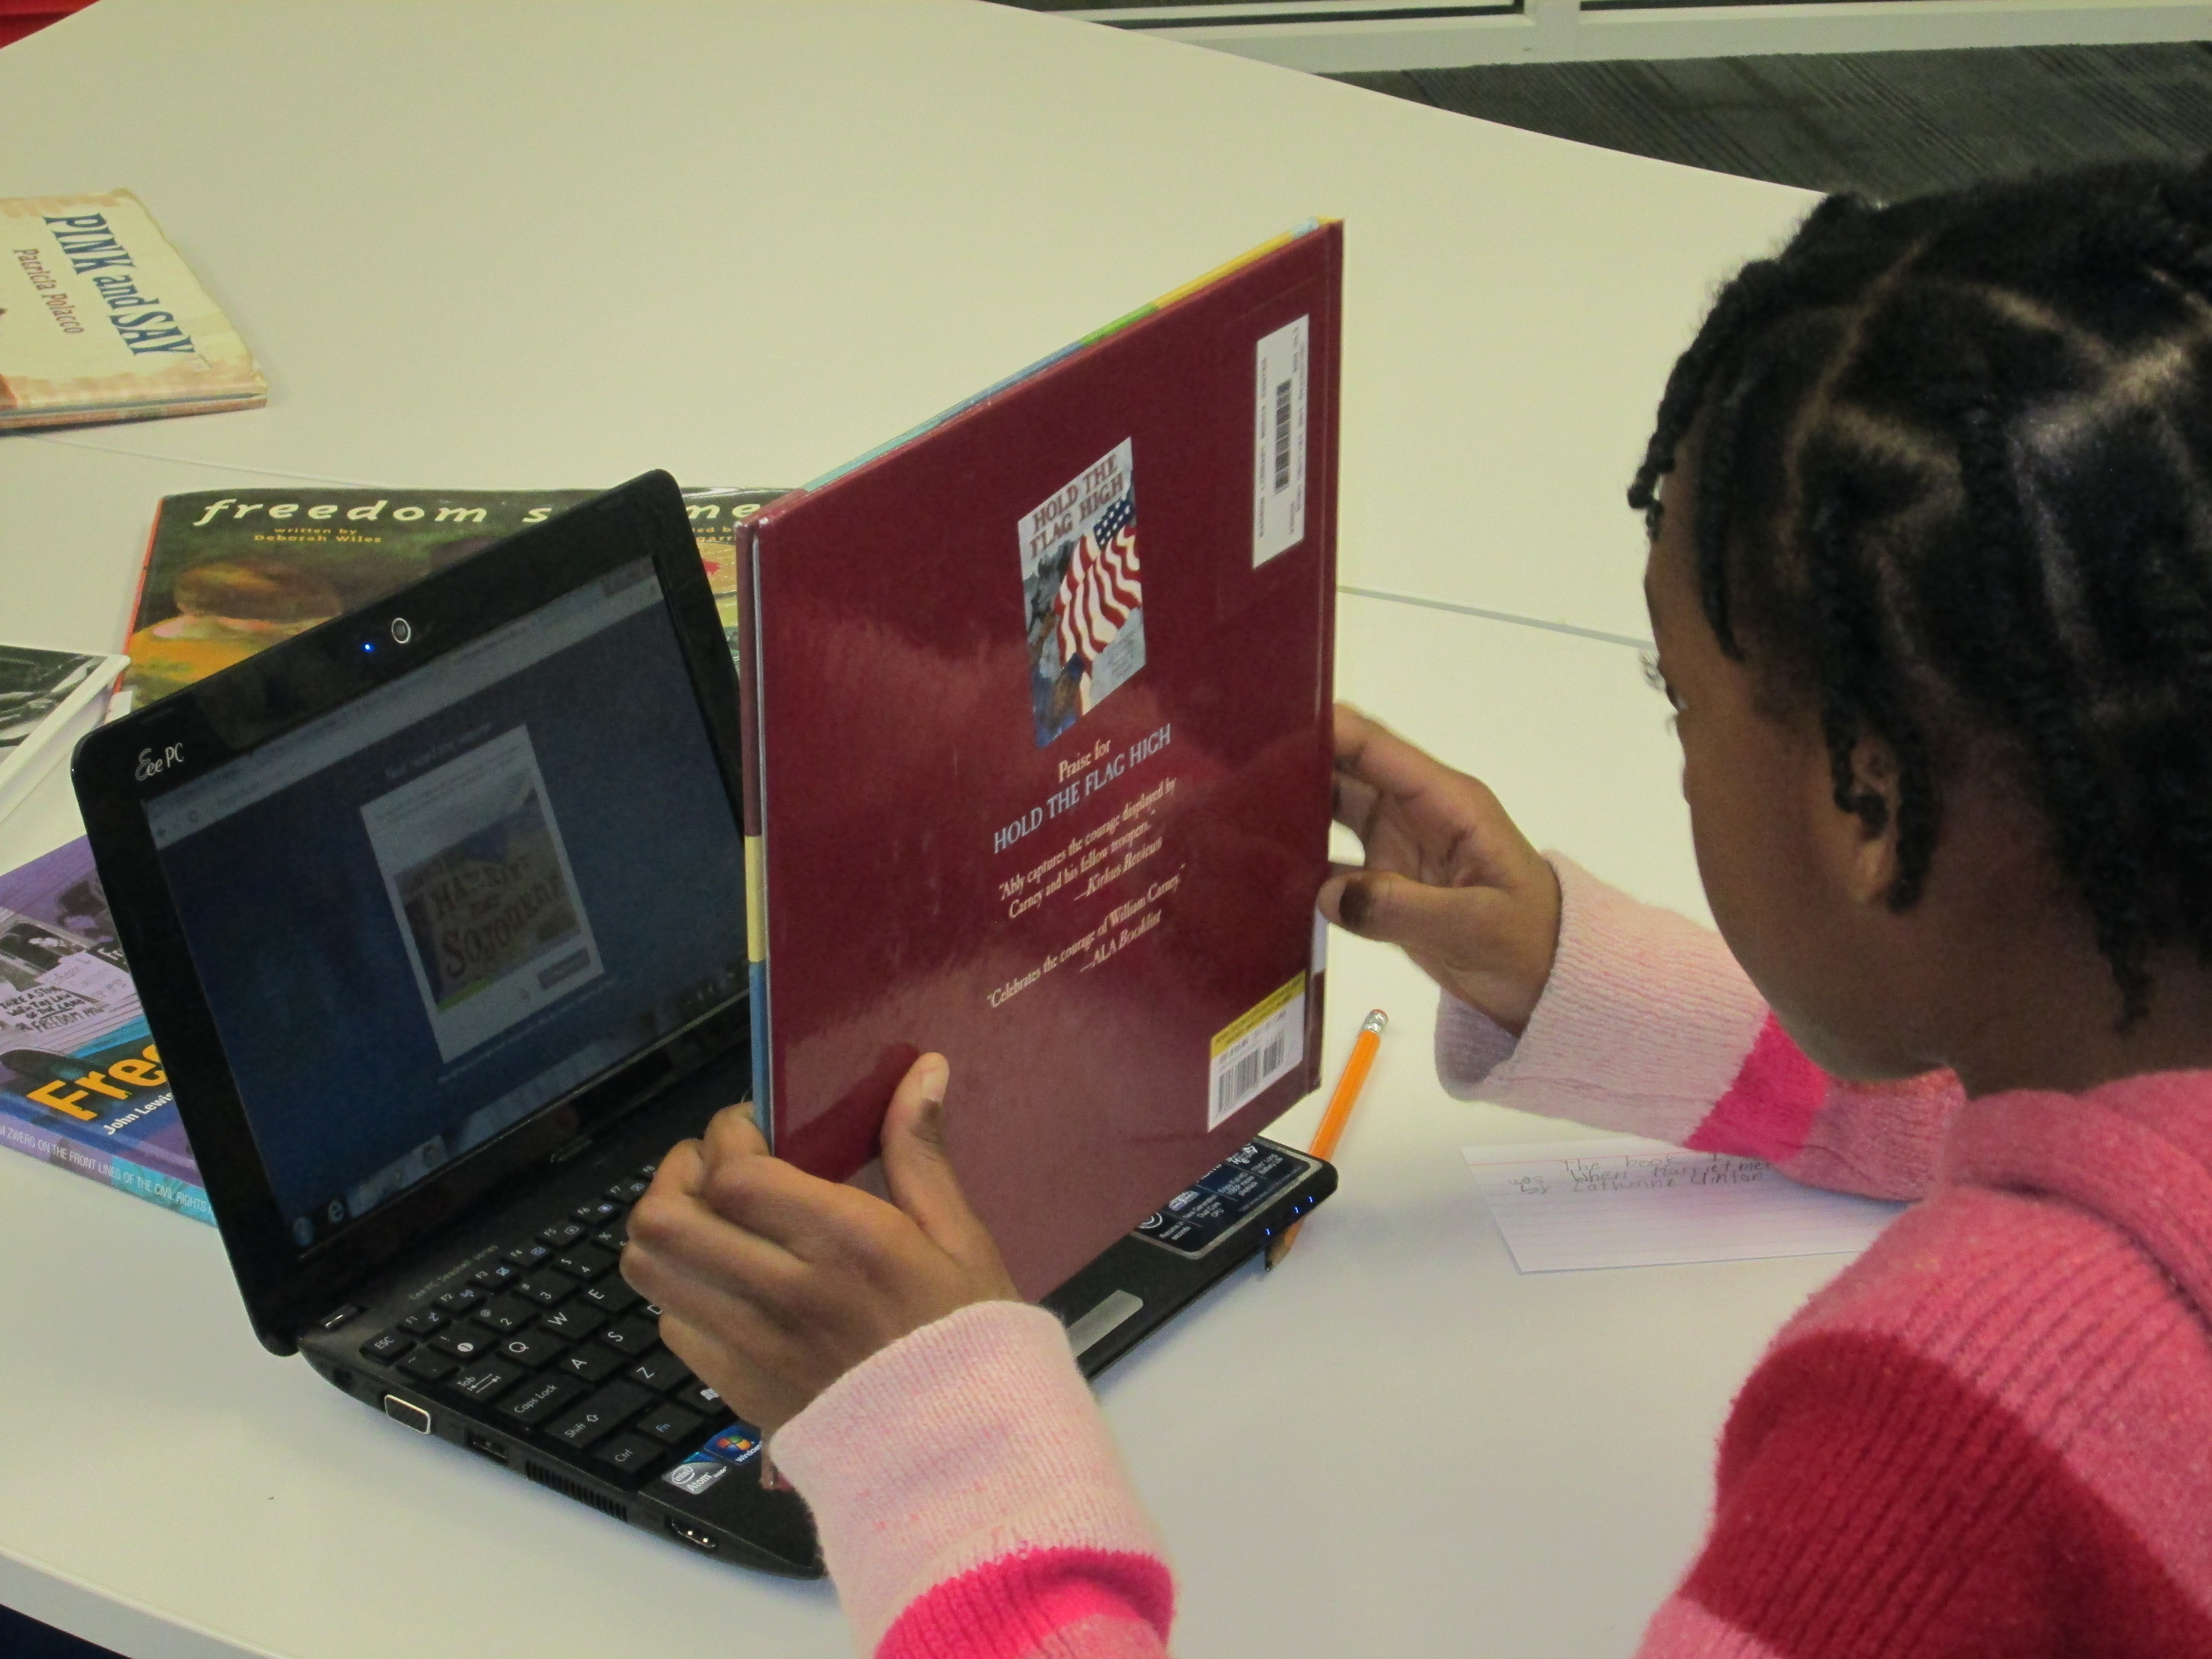
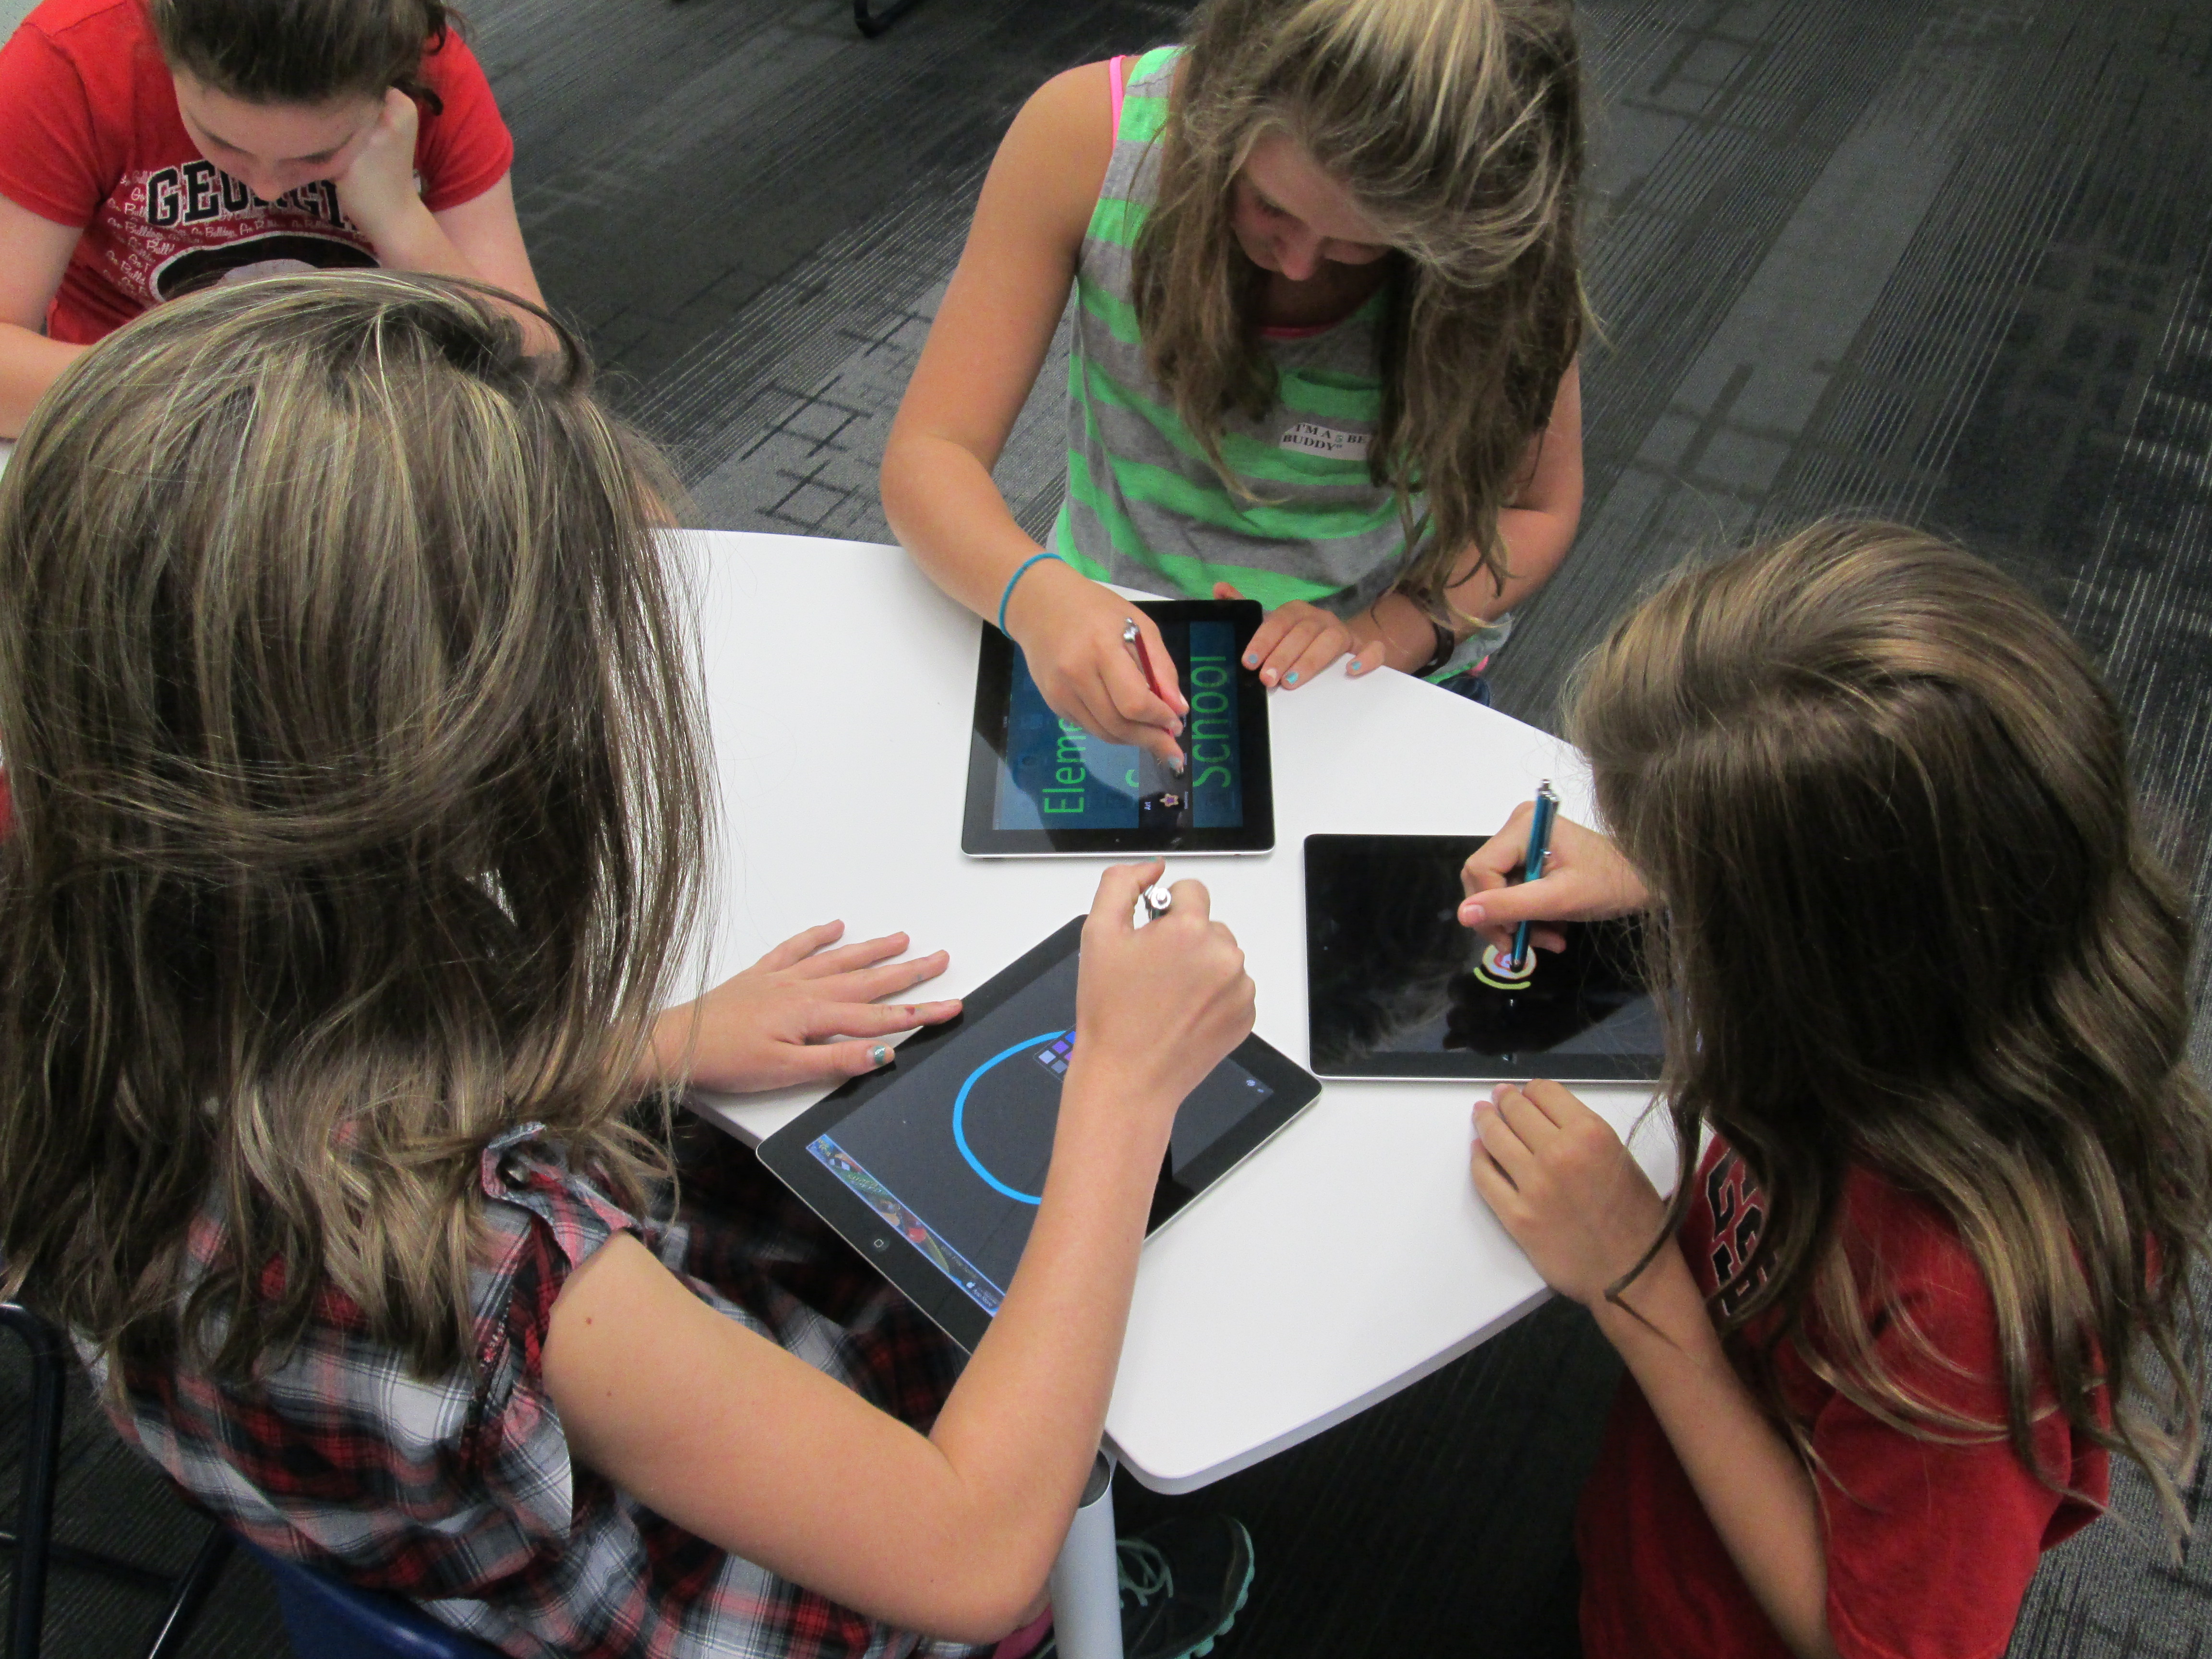
During sessions 2 & 3, all classes came back to the media center.  On one projection board, I posted the Native American pathfinder.  On the other projection board, I posted the Explorers pathfinder.  In addition, I made QR codes for each pathfinder and pulled out our cart of iPads.  I separated the books into 3 separate areas:  folktales, Native Americans, and explorers.  All students brought their netbooks, but they had the option to use the iPad if it fit their learning needs better than the netbook.  After  a quick reminder about our focus and where things were located, students freely moved around the media center.  About 75 students simultaneously made choices about which resources to start with, where to work, whether to work with a partner or small group or alone, and what technology supported their needs the most.  All 3 classroom teachers, a teacher candidate (student teacher), a gifted teacher, and I walked around and checked in with students.  Sometimes we were troubleshooting technology or redirecting, but often we were able to have individual conversations with students about the information that students were collecting.  Teachers worked with all students regardless if they were in their class or not.

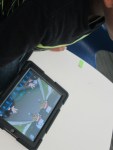
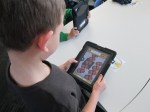
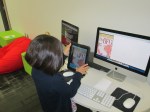
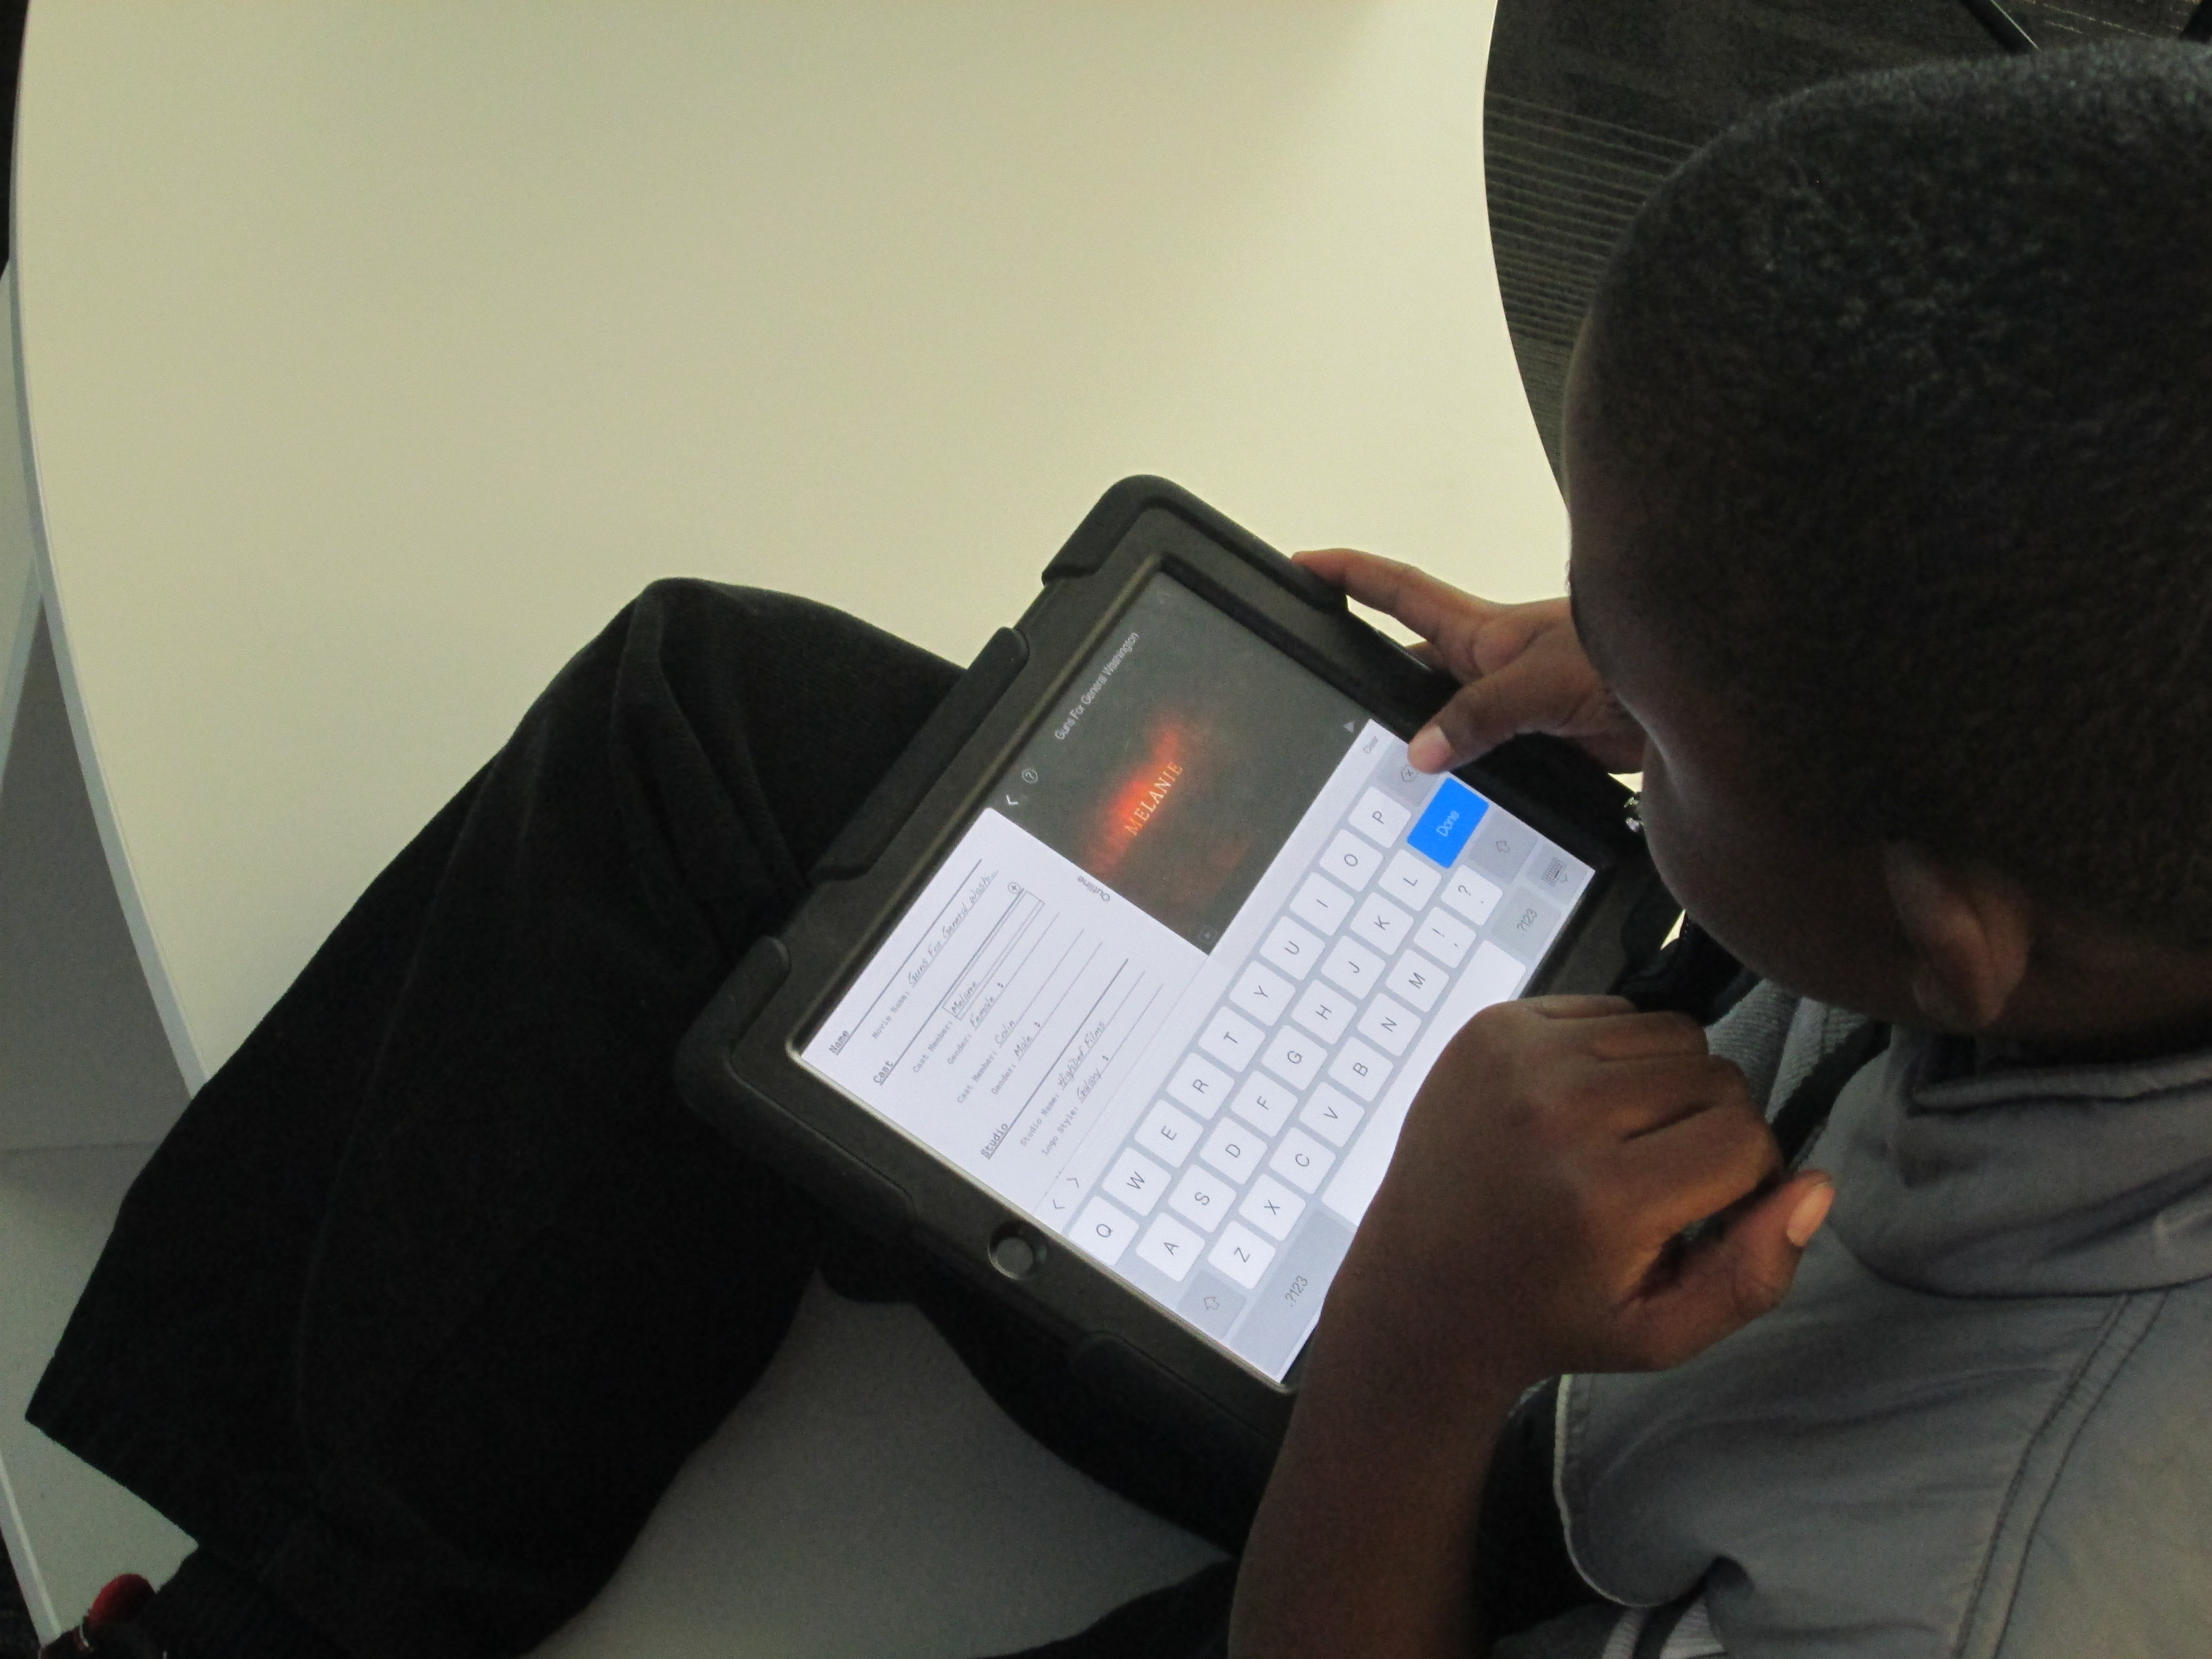
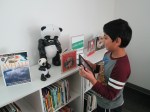
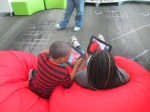
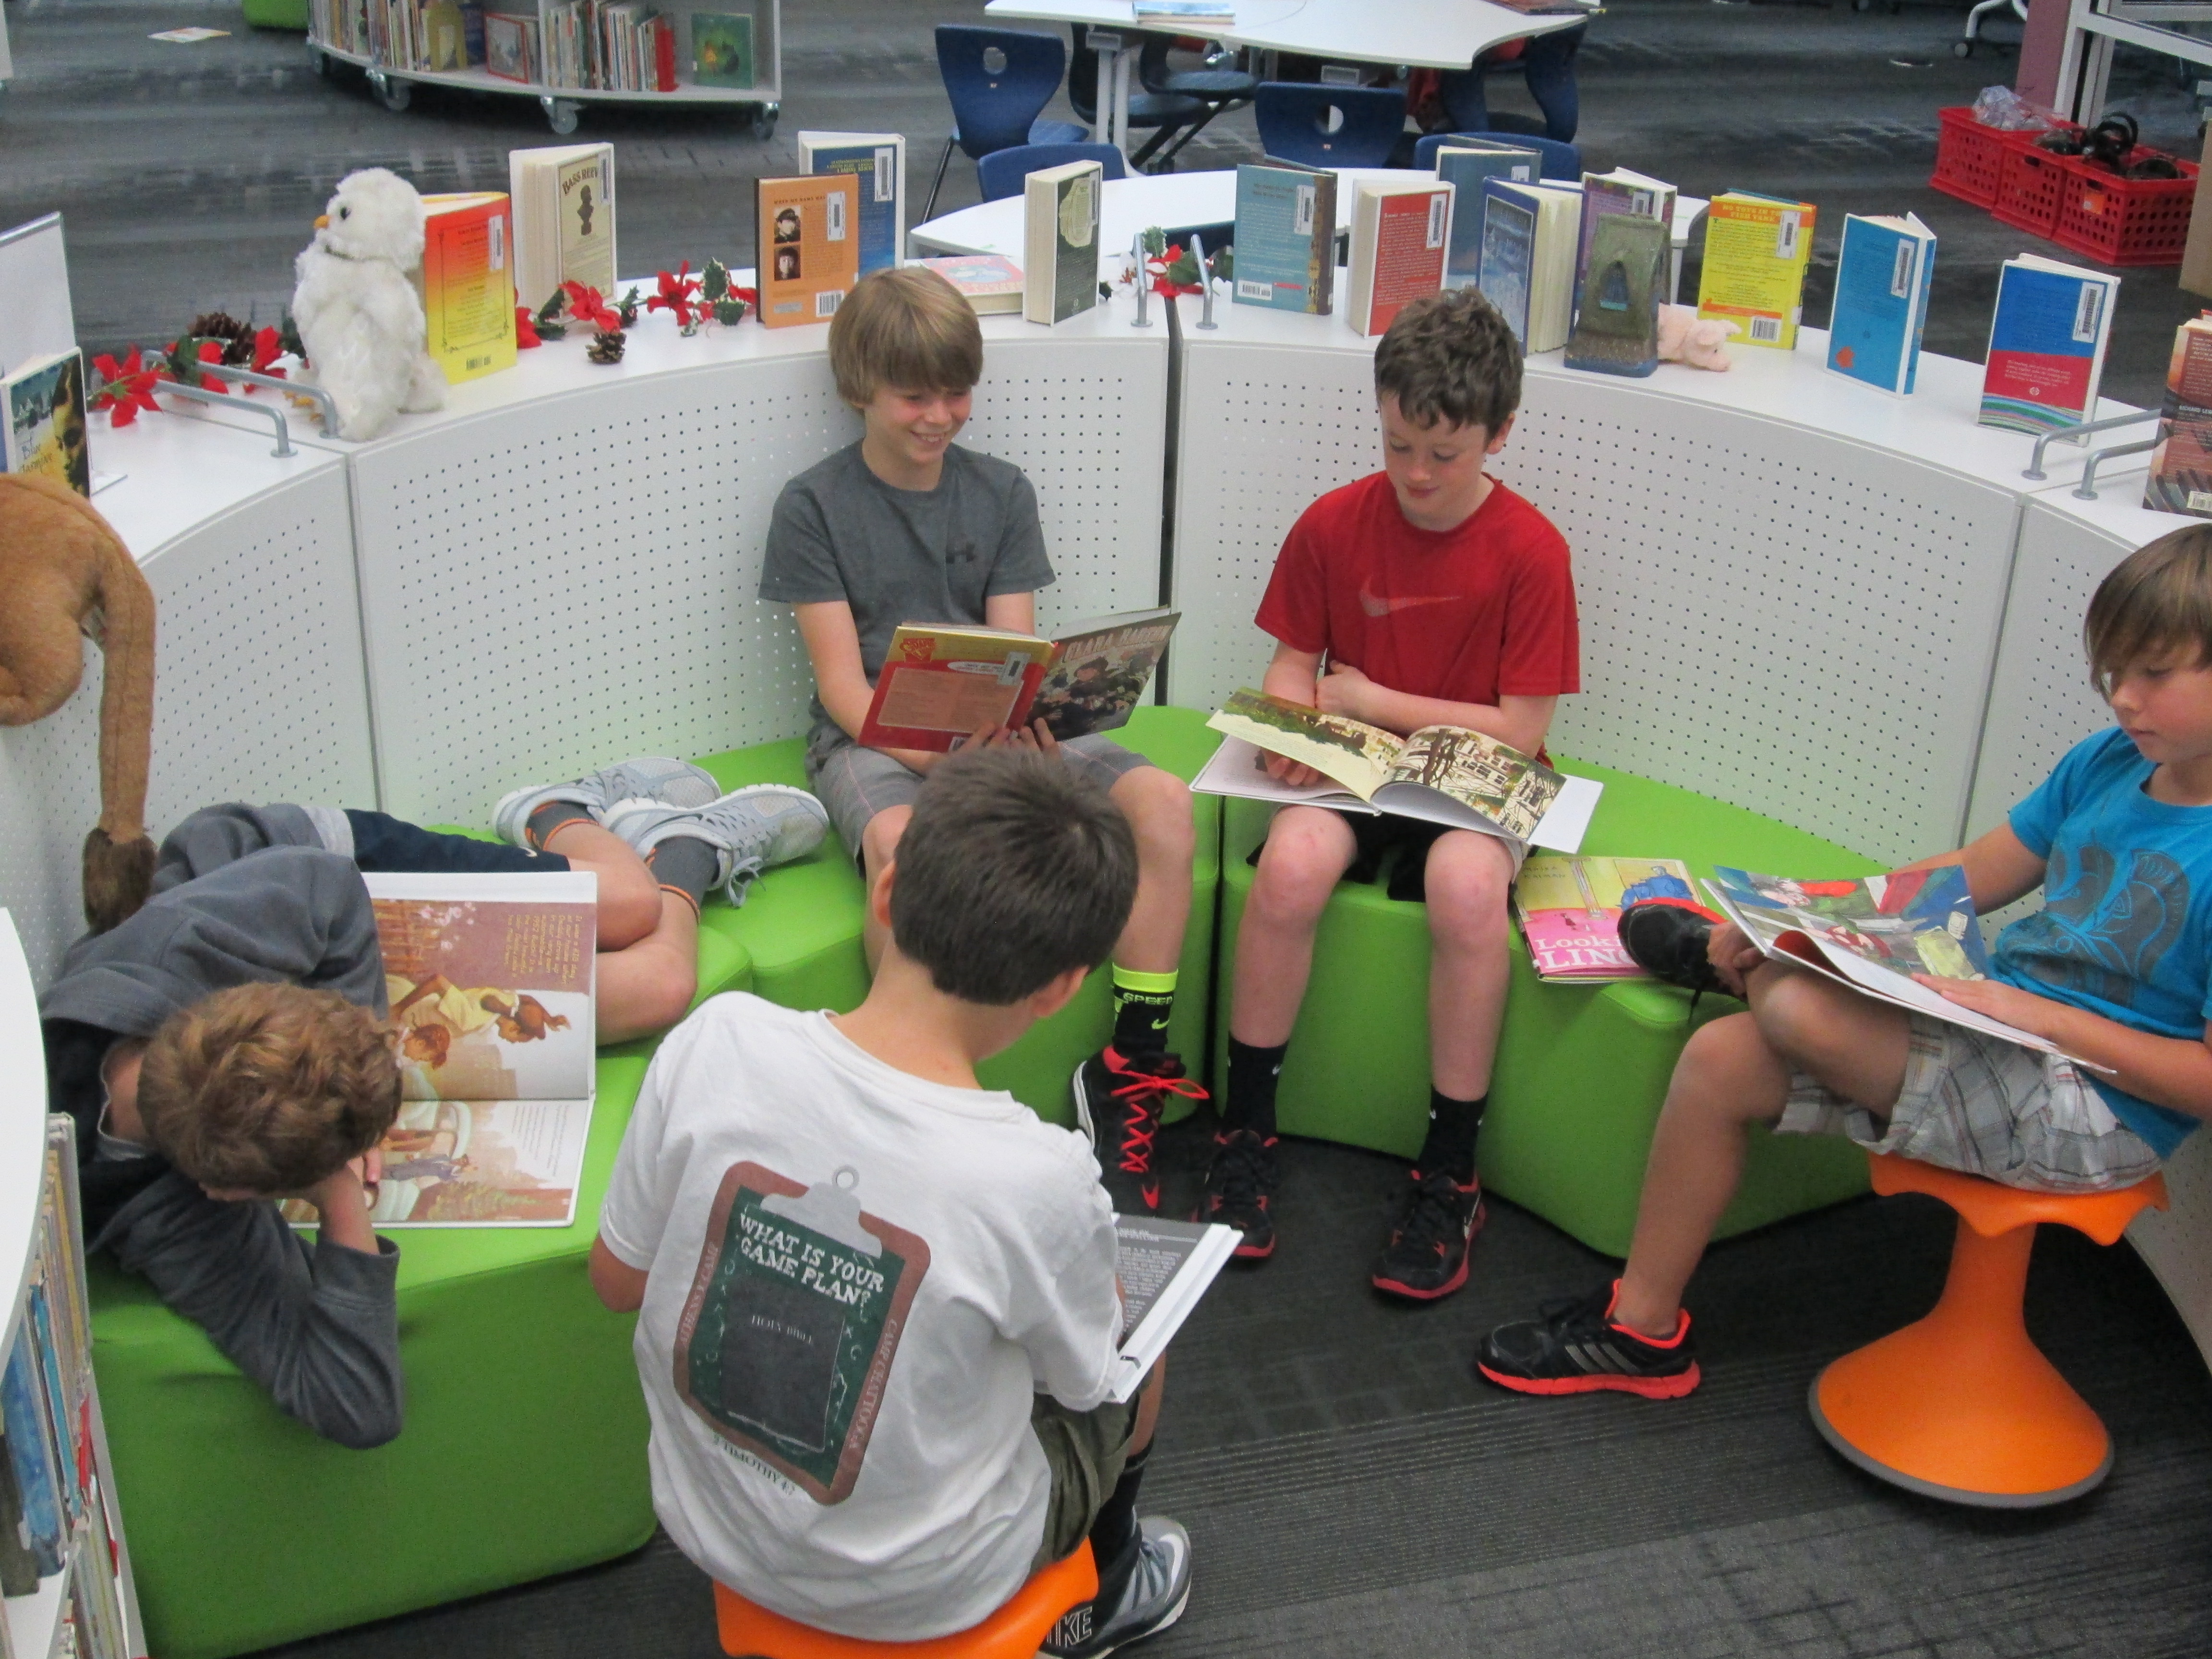
What amazed me the most were the decisions that students made about their learning.  I saw transliteracy in action.  As I walked around, I saw students with pencils, papers, iPads, netbooks, and books all spread out around them.  They were simultaneously moving from one device or tool to the next.  Some students sat at tables while others sat inside bookshelves.  Some students tucked away by themselves while others worked in a large group.  Some students worked with very few resources at a time such as 1 book while others had every possible resource in front of them at once.  After months of wondering about how our space would support the kinds of learning I hope to see in our library, I was finally able to truly see it today.  I saw every piece of furniture in use.  I saw students combine pieces of furniture to make themselves comfortable for learning.  An entire grade level descended upon the library and remained productive while groups of kids were still coming into the library to checkout books.explorers & native americans (15)

It was loud, energetic, productive, and fun.  It’s a model I hope to replicate with other groups and a model that I hope carries into our classrooms, which can now accommodate some of these sames types of opportunities.
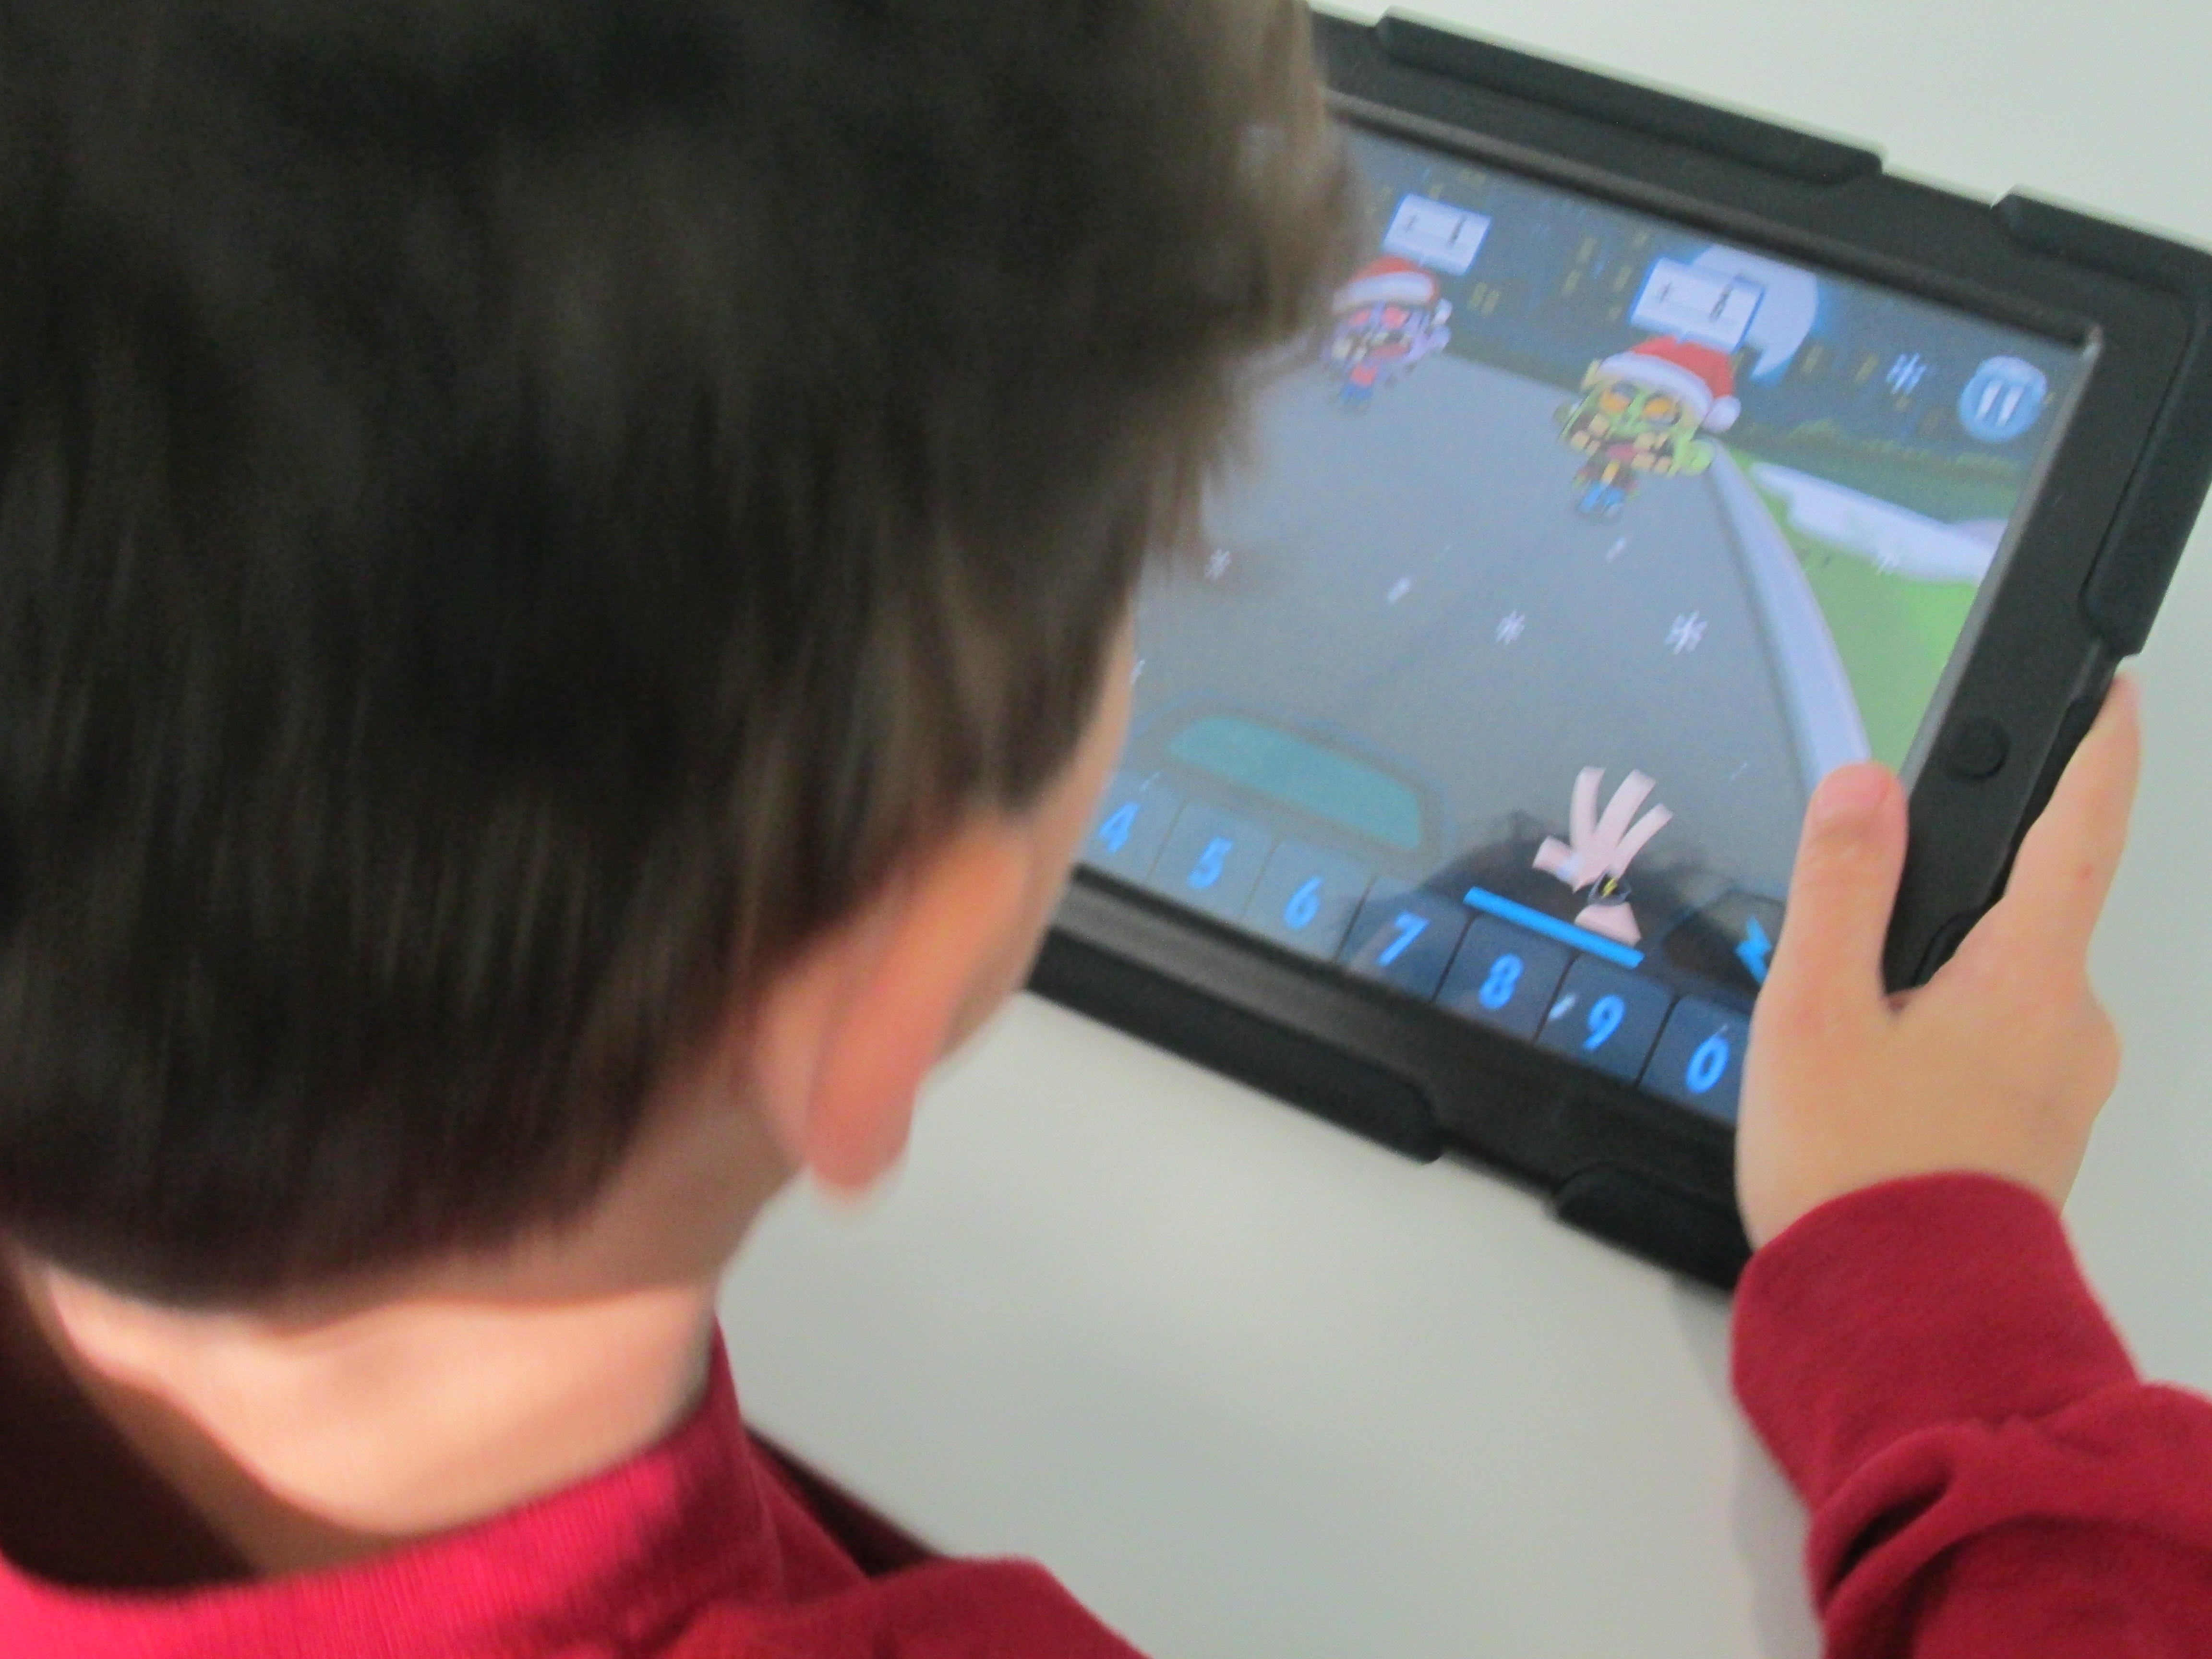
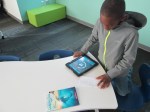
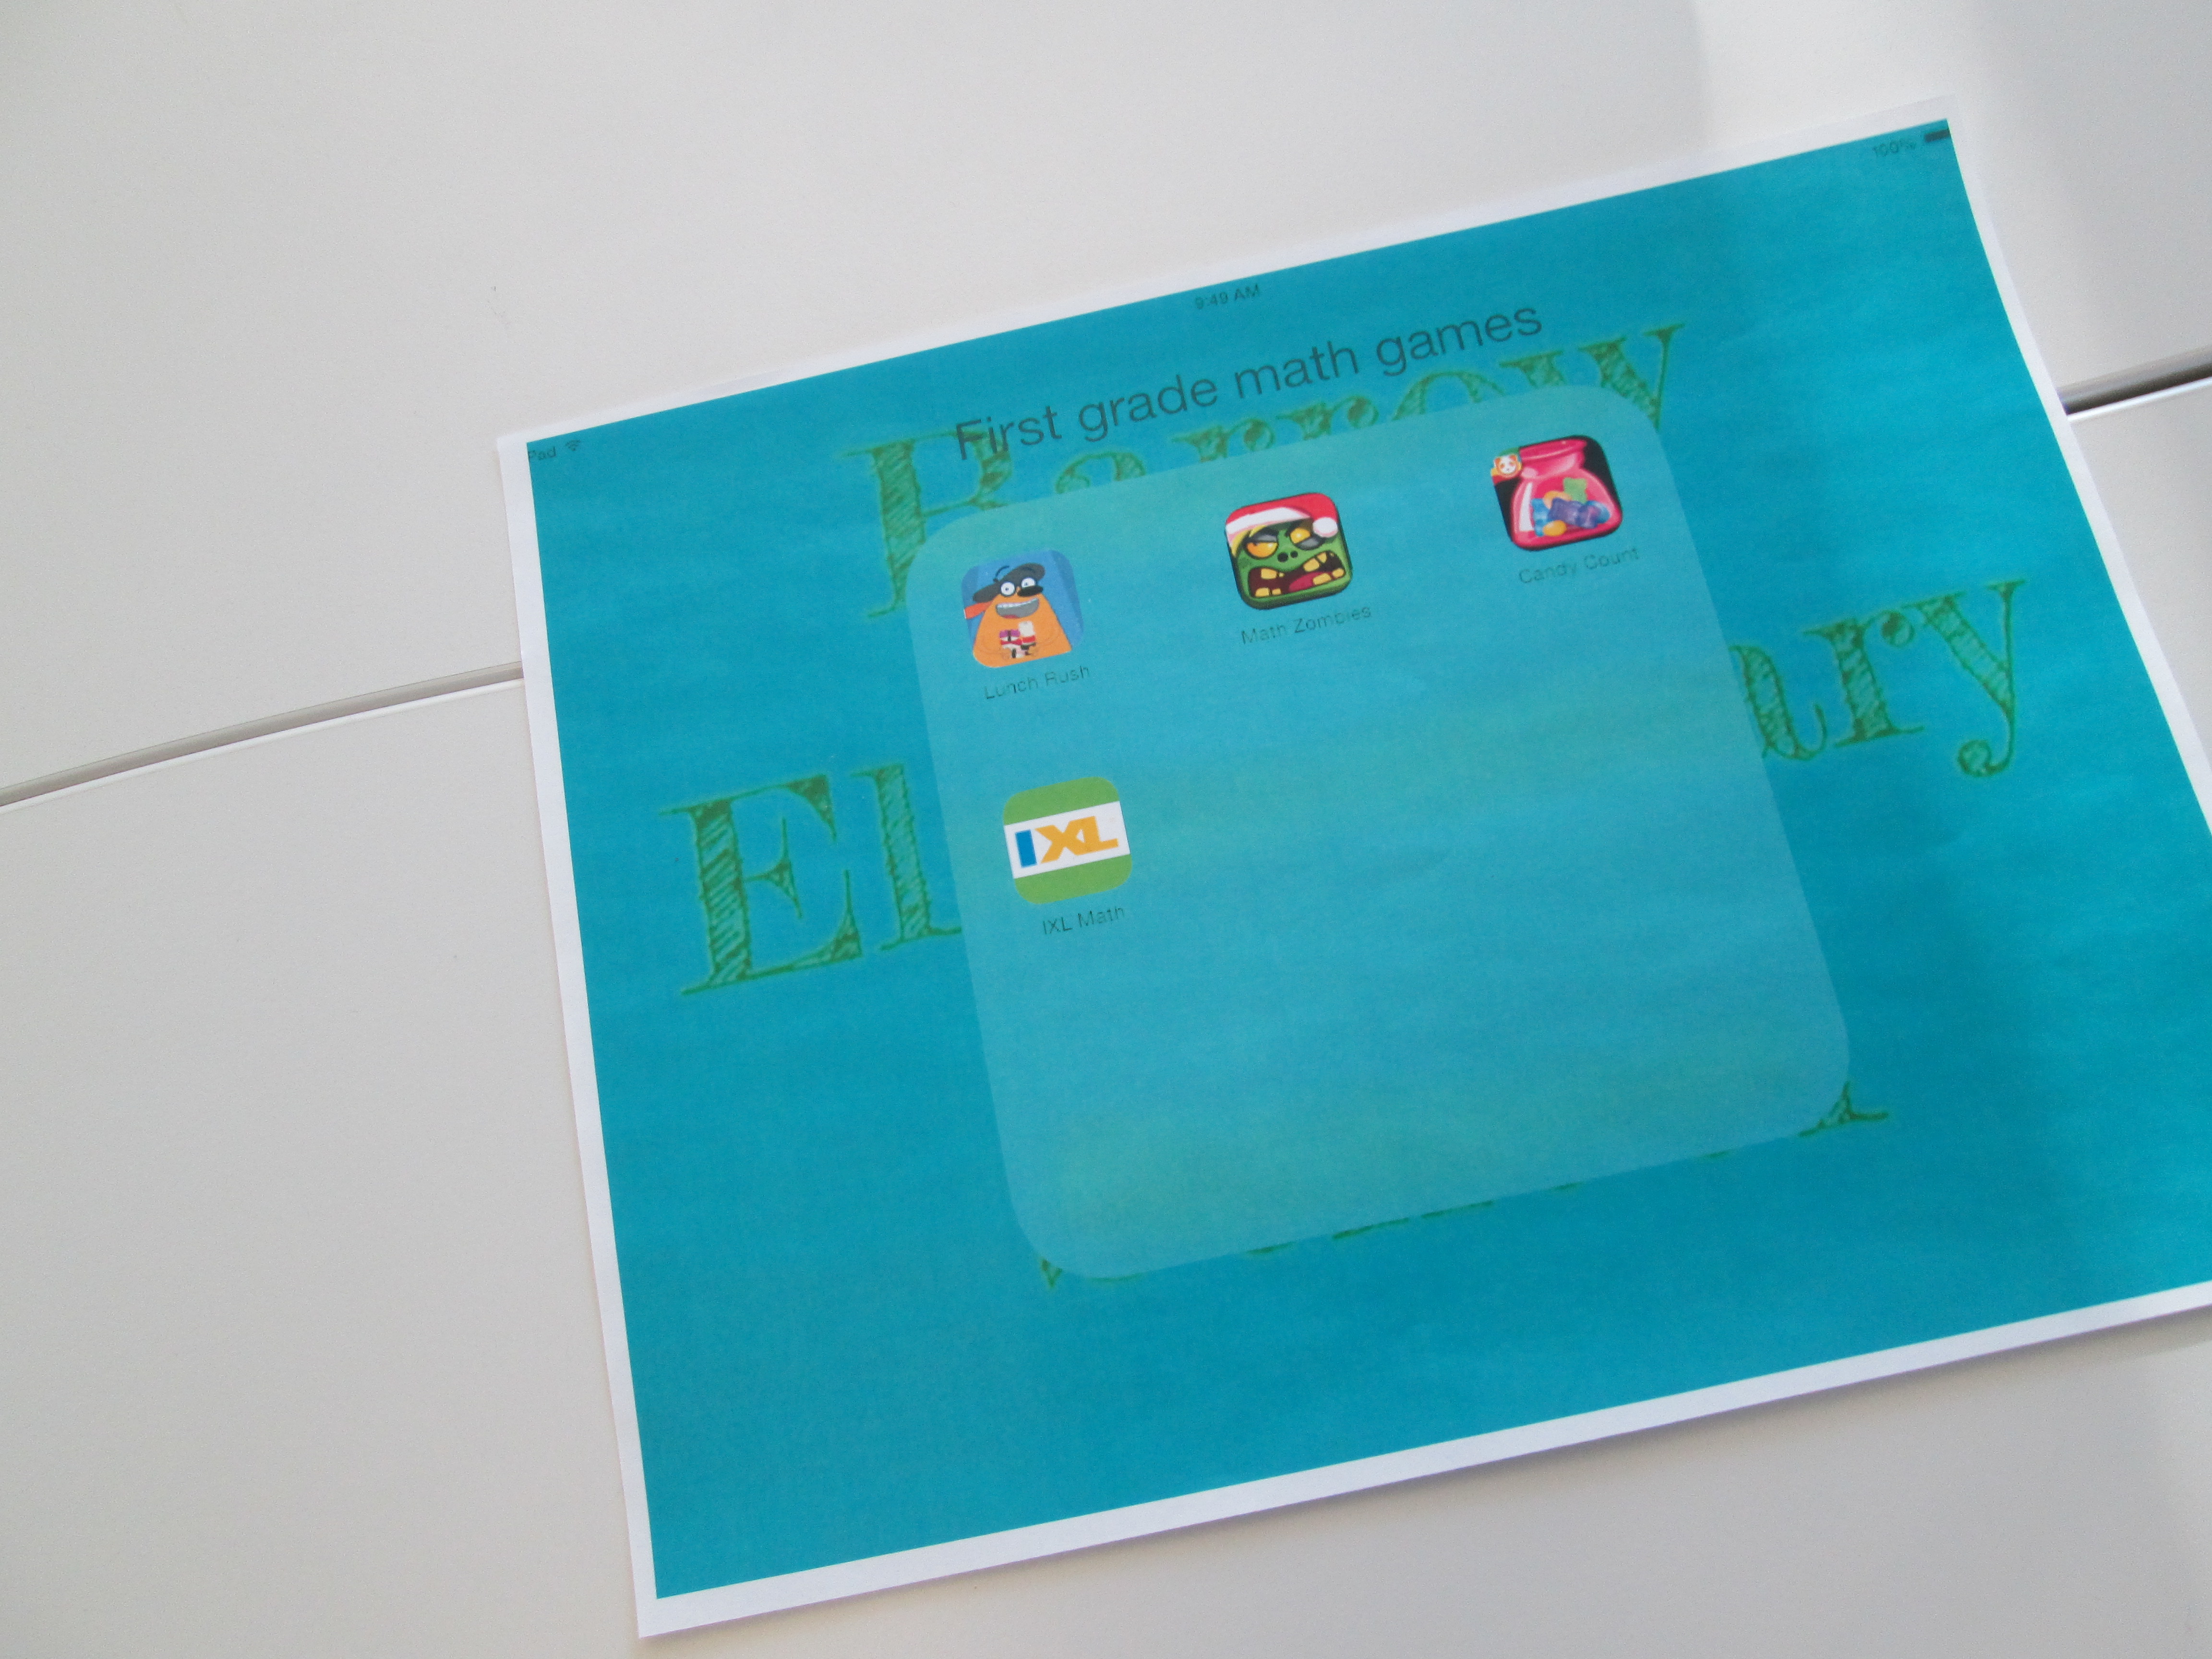
Dot Day Fun with colAR Mix App

Every year, I enjoy celebrating International Dot Day, and it seems that every year we discover new ways to celebrate.  This year, I was excited to discover colAR Mix 3D coloring book.  I discovered the app while reading Fablevision’s posts about Dot Day.  colAR Mix is an augmented reality app that takes 2D coloring pages and brings them to life.  You can see the amazing video here:

For Dot Day, they made a special free page that allows students to design their own dots and turn them into rotating discs, falling balls, rotating solar systems, and revolving globes.  The app has a built in camera so you can take pictures of your creation, pretend that you are holding your creation in your hand, or even work with a partner to take your picture with your creation.

The students have been blown away by the coolness of this app.  Every adult that has seen it has immediately downloaded it on their phones and iPads to try it out for themselves.  Other than the coolness, I could really see this being used for multiple purposes.  When you study maps, you often have to think about something that is 3D in a flat format.  This app allows students to design something flat and see what it looks like in 3D.  Perhaps by working through this several times students would gain some understanding about how our flat maps of the world actually translate into the actual 3D world we live in.  It would be interesting to connect this with the upcoming explorers study that I am doing with 4th grade.  I would love to hear others’ ideas of how it might be used beyond dot day.


International Dot Day: First Steps

dot day (14)Today, the very first classes came to participate in International Dot Day lessons.  Ms. Olin’s 5th grade class read The Dot by Peter Reynolds.  We talked about what it means to make your mark on the world.  I loved hearing their ideas because they really had a sense of how they could make a difference.  I had 2 separate areas setup for them.  One area had coffee filters, a variety of coloring supplies, a water bottle, and tables covered in black butcher paper.  They could use the materials in any way they wanted to be creative making a dot.  The other area had iPads loaded with Glow Coloring and Drawcast.  Students who chose iPads used a stylus to draw a dot and save it to the camera roll on the device.

Students chose where they went.  I made no requirements about doing a dot at both locations.  Some students chose to make several coffee filters dots by trying different techniques of using markers, crayons, color pencils, and water.  Others chose to make multiple iPad dots.  A few chose to do both.  Once students’ dots dried, I started making our dot gallery on the windows of the library.dot day (15)

dot day (16)Later in the day, Mrs. Kelly Hocking’s Kindergarten class came to begin a dot project.  They are going to be studying several artists and learning how they can express themselves through art.  One of the artists they will learn about is Chuck Close.  This is a perfect tie-in to Dot Day since Chuck Close creates paintings that are made of numerous dots that come together to make a larger picture.  I had already read Sky Color to her class and they became very interested in painting murals.  Today, I showed them pictures of a mural in my daughter and son’s room and how the idea for the mural came from several children’s books.  Then, we read Diego Rivera His World and Ours.  The book details how Rivera traveled Mexico to get ideas for his murals.  It also raises the question about what Rivera would paint if he were alive today.  I love that the book ends by saying, “Today Diego is not around to make this happen.  So it is up to us to make our own murals and bring them to life.”  This was Mrs. Kelly’s lead-in to the mural that they will now create using dots in their classroom.  The mural will be displayed in the library, and we will probably have some more lessons before it is done.

dot day (17)I also discovered a great new iPad app after reading about it on Fablevision.  colAR Mix is an augmented reality app that brings coloring pages to life in 3D.  They have made a special coloring page just for dot day.  I made a practice dot, and it was so much fun seeing it pop off the page on the iPad.  You can take a picture of your 3D dot and save it to the camera roll.  I’m sure several classes will try this one out.dot day