Storybook Celebration 2014


IMG_4226 (2)

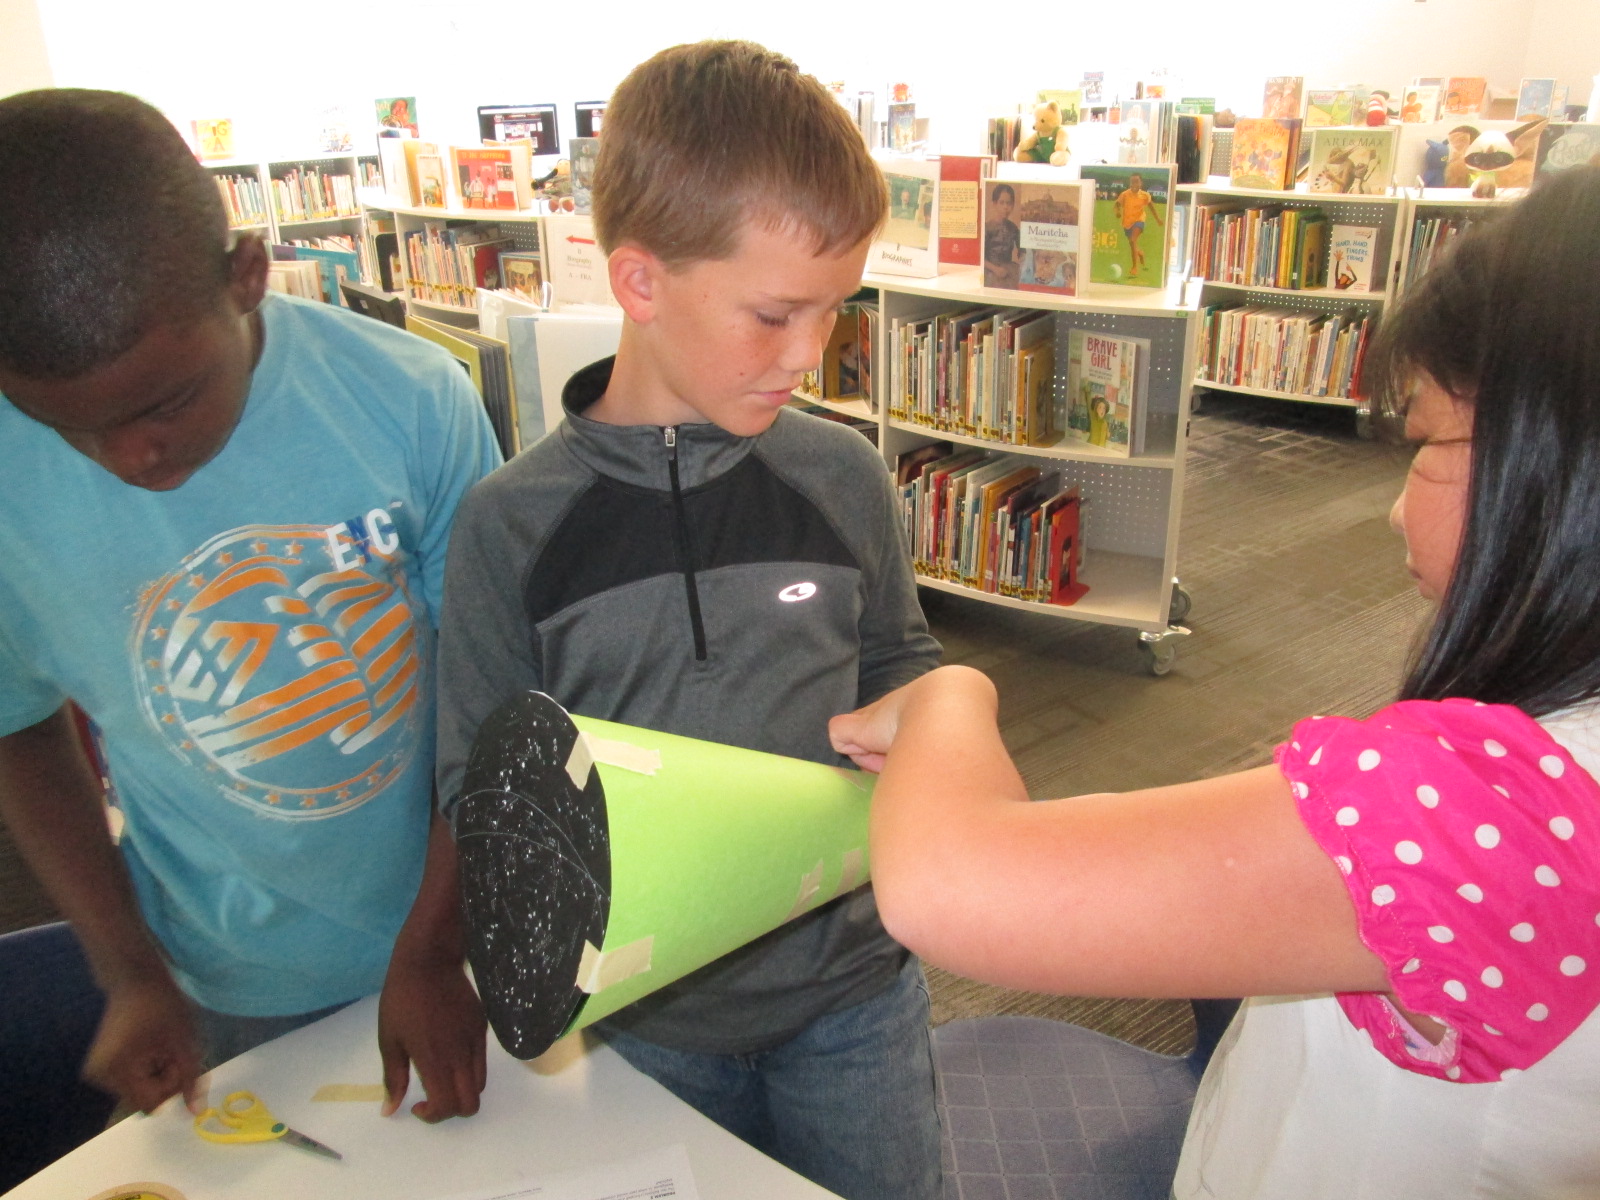
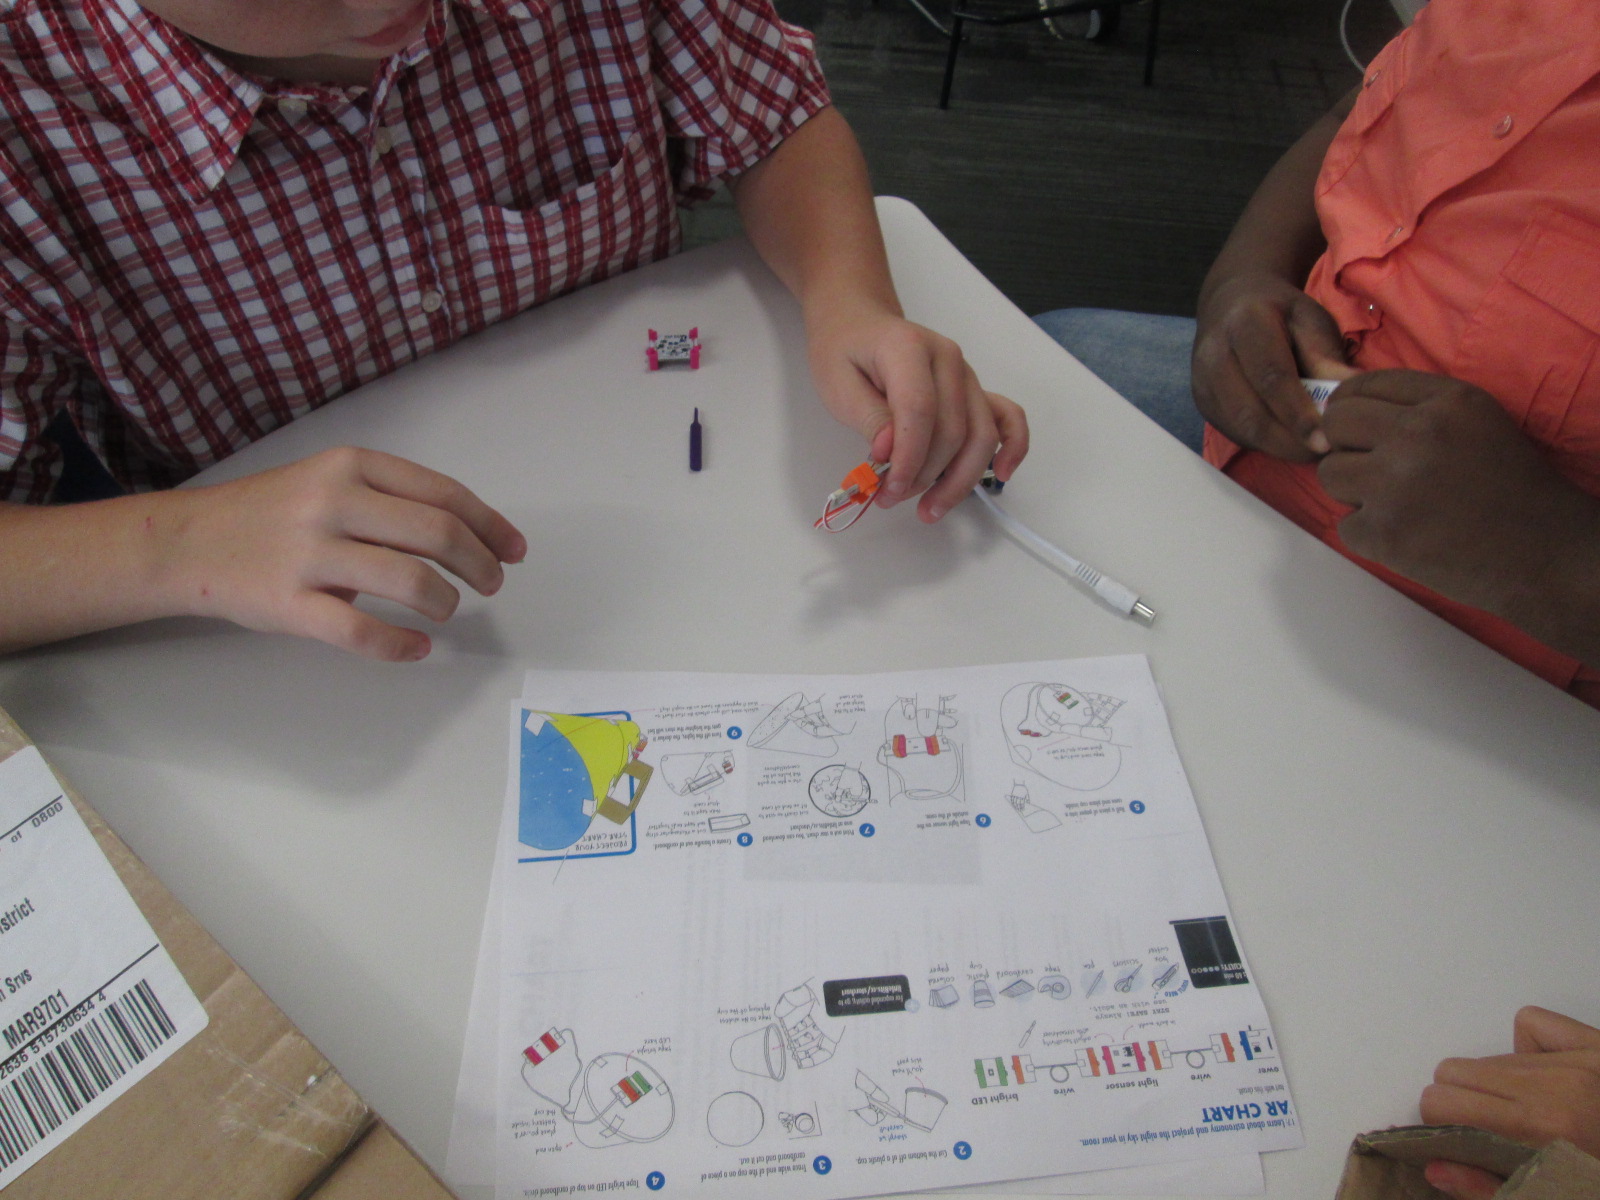
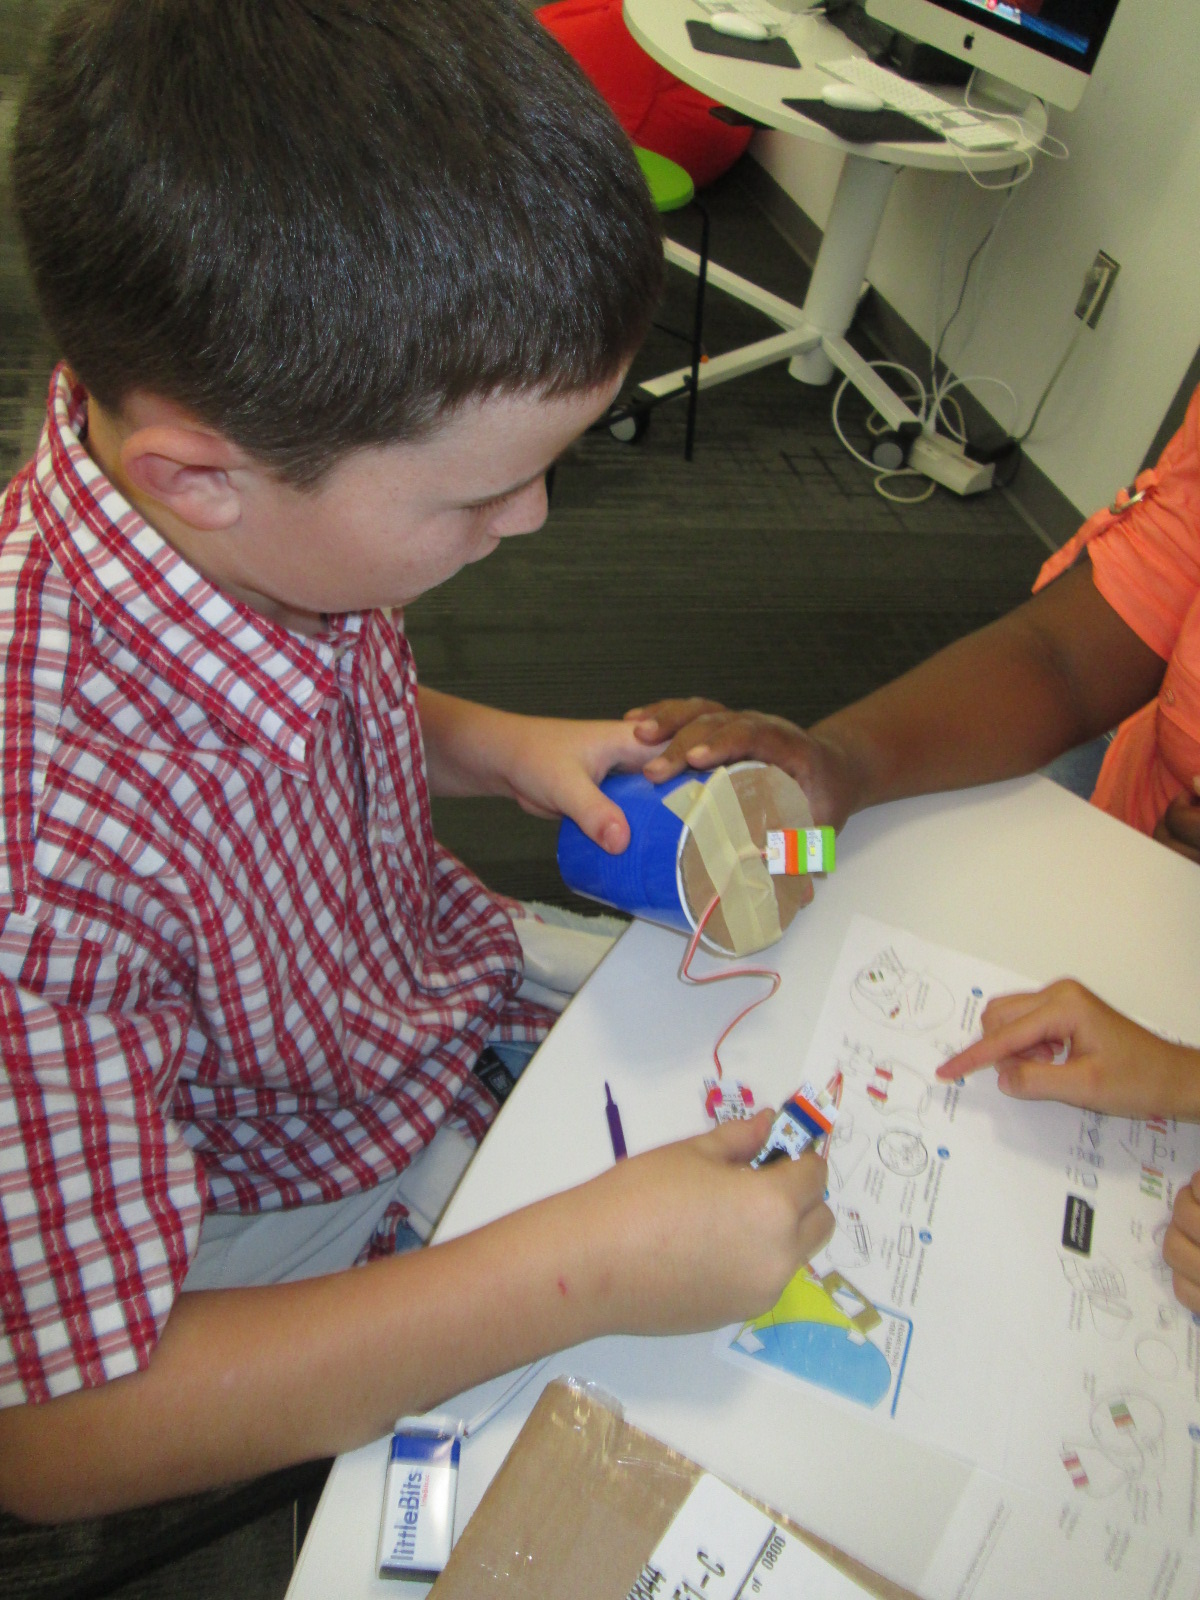
Our annual storybook celebration was another huge success.  I often get questions about how our storybook celebration is organized and what we do throughout the day.

Planning for this day begins in early October.  It takes multiple steps and multiple people for this day to be successful.

Storybook celebration begins with guest readers in every classroom.  To organize readers, we create a Signup Genius to easily share the signup as well as send out updates and reminders to those who have signed up.  My volunteer coordinator, Courtney Tobin, from PTA helped with this.  She created the signup and she and I began sharing it.  She contacted parent representatives at each grade level to also send out the link to families.

Barrow Media Center  Storybook Celebration Guest Readers

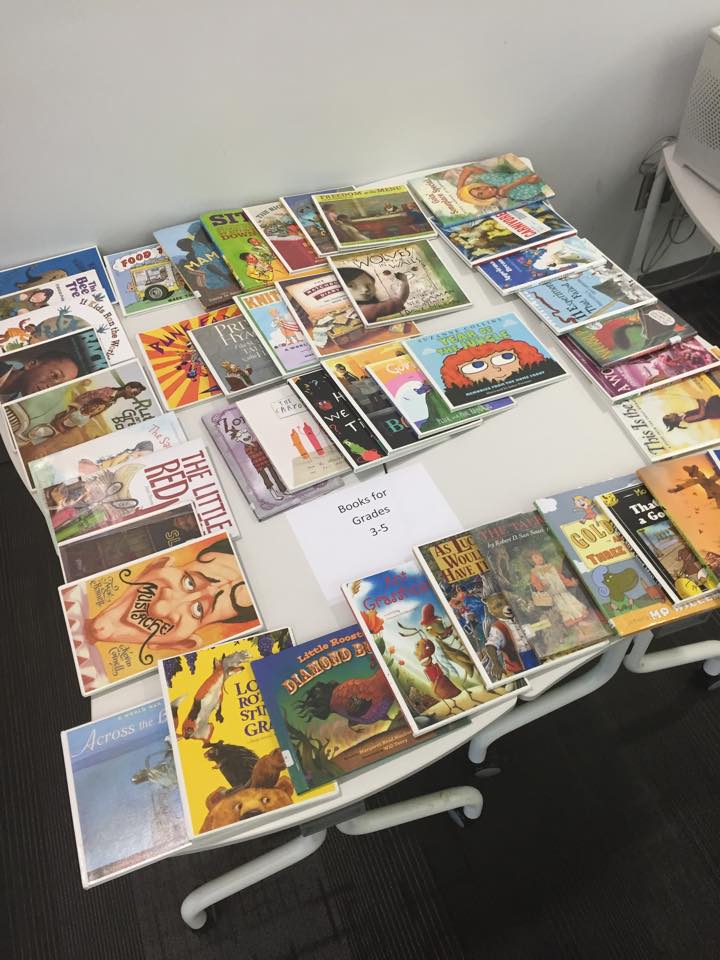
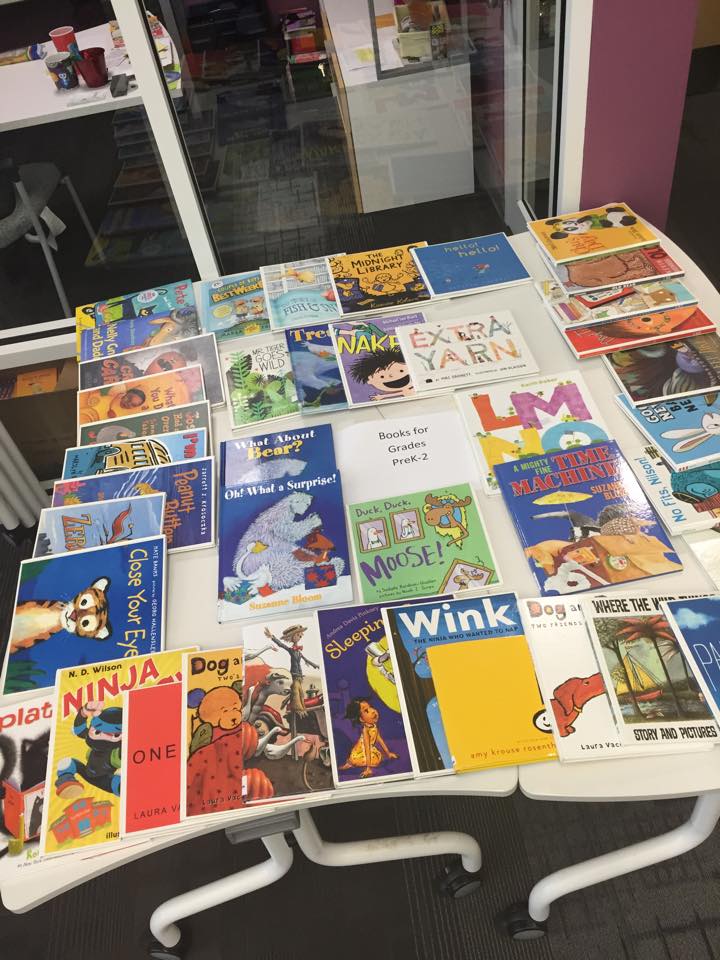
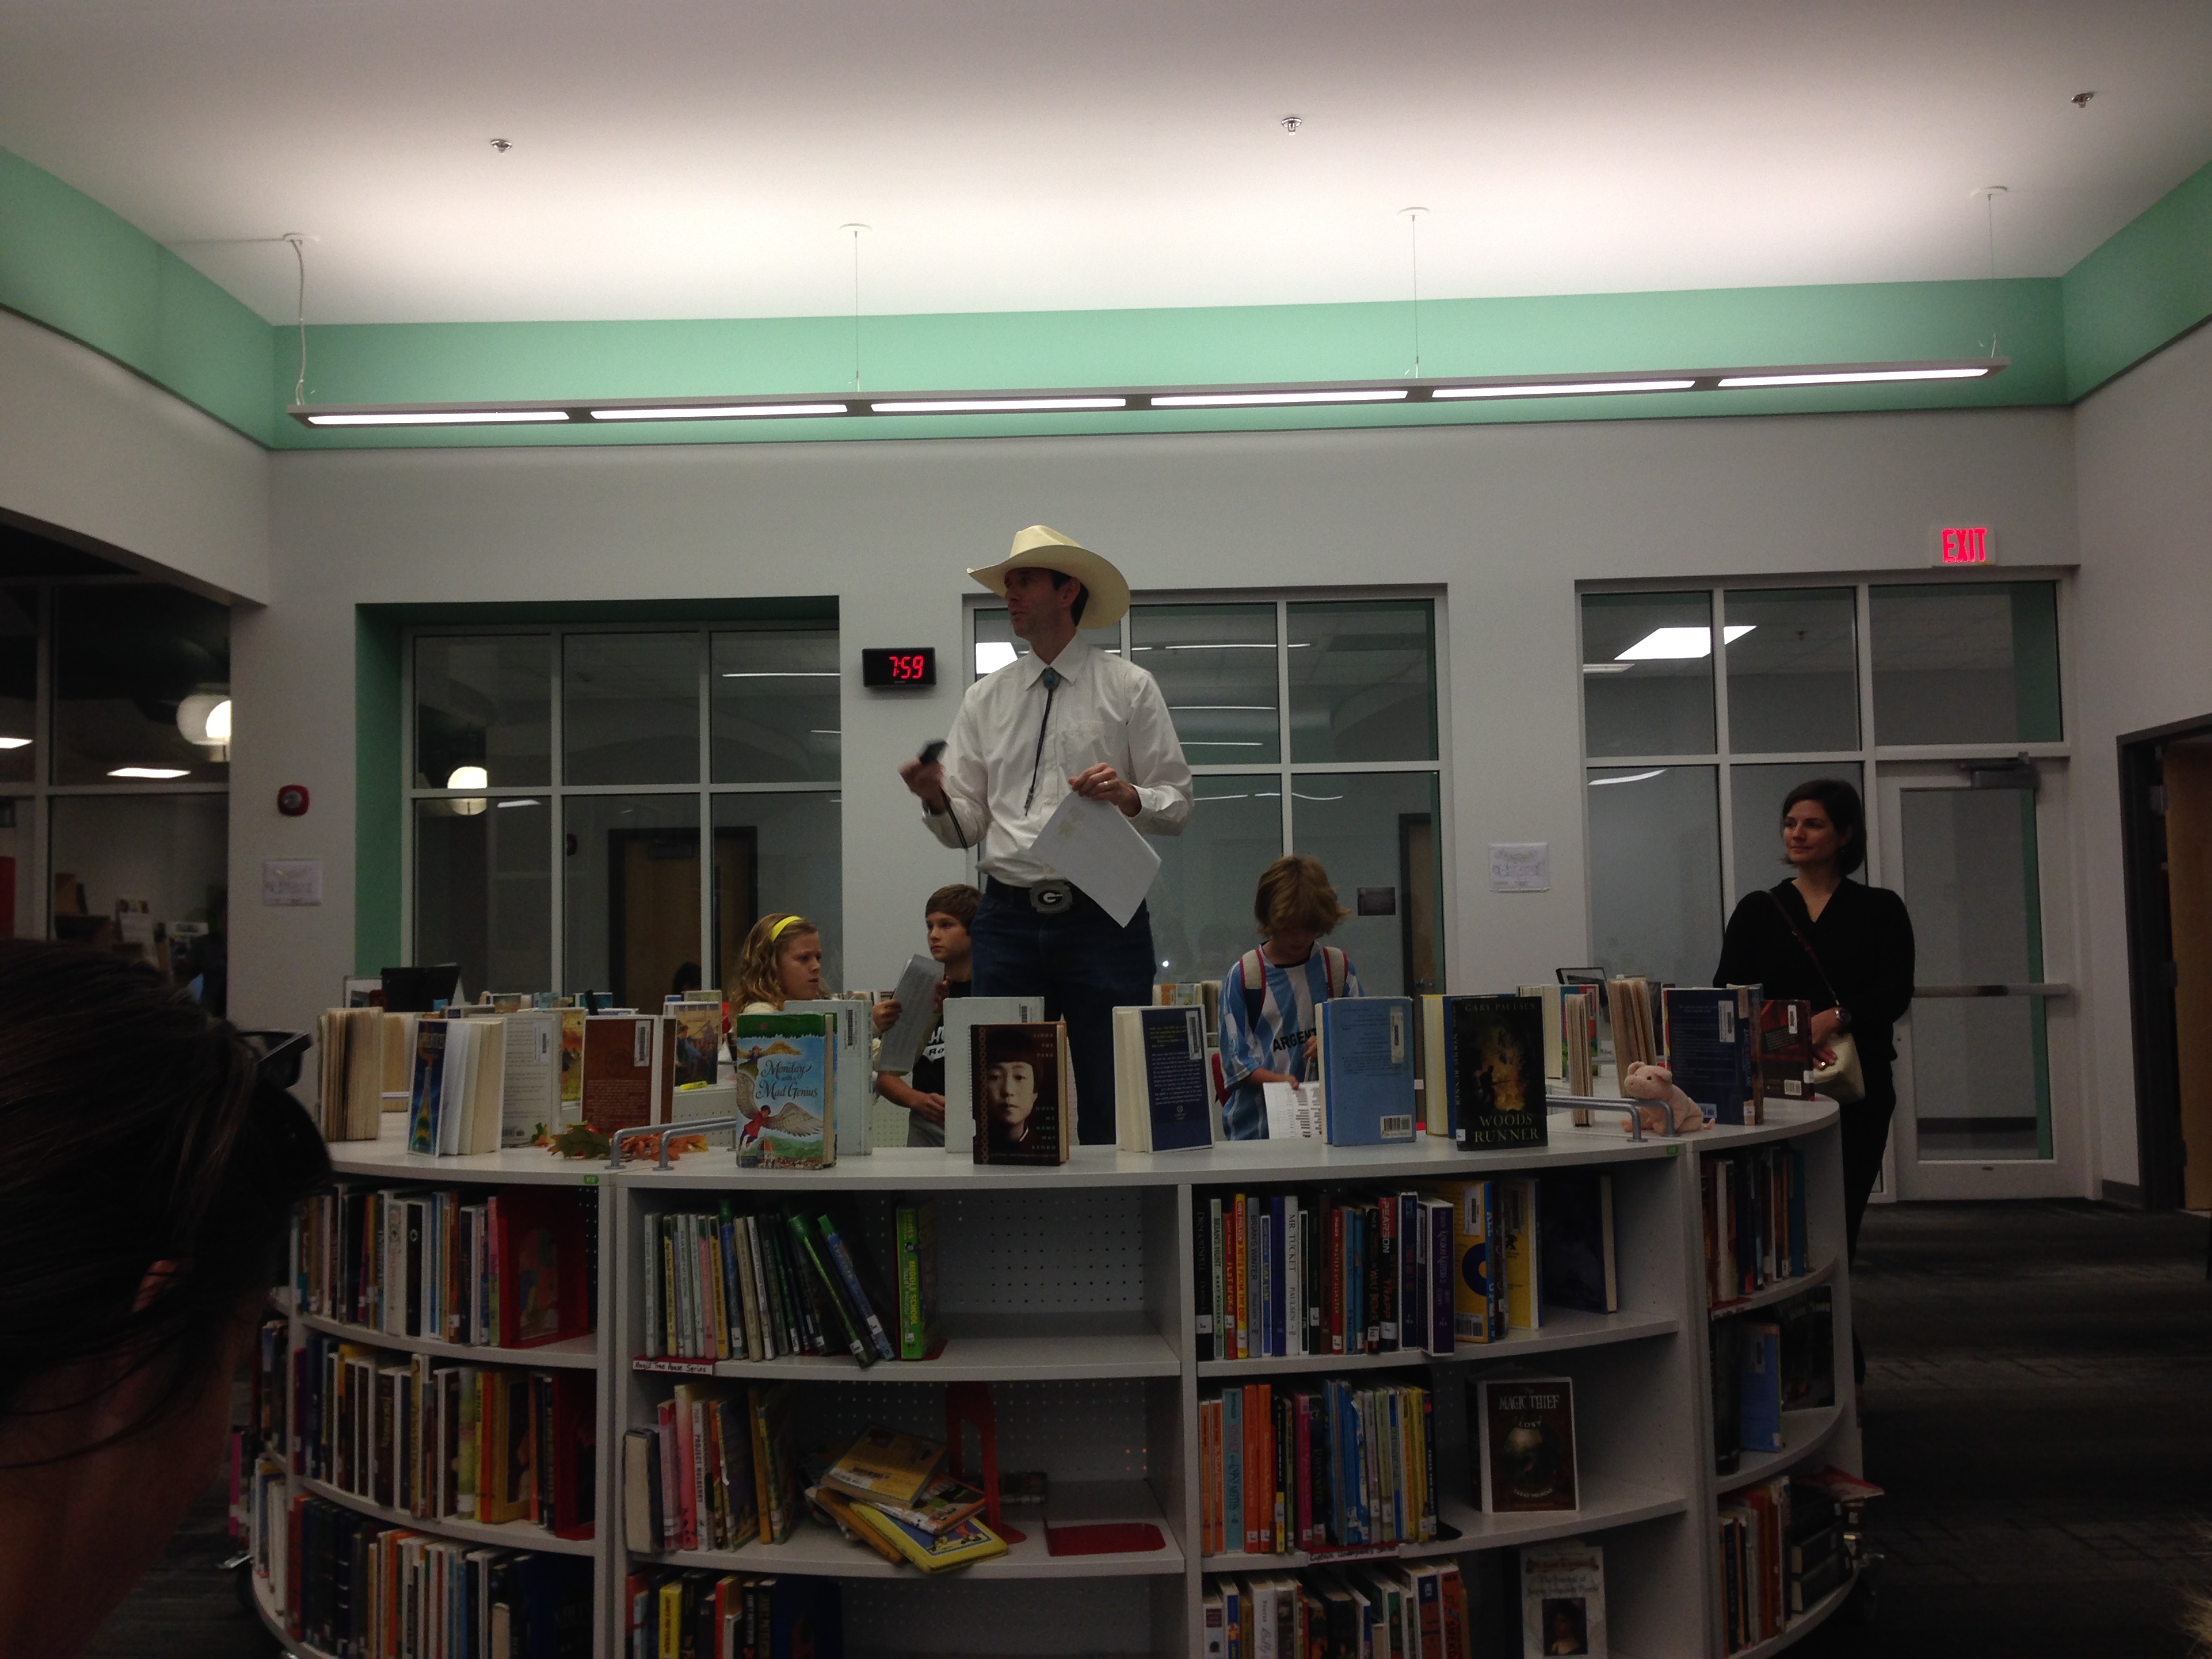
On the morning of storybook celebration, guest readers arrive in the library between 7:30-7:50.  They sign in at the counter and select a book from 2 tables that are organized by books for PreK-2 and 3-5.  All of these books are pulled by me ahead of time.  Some readers bring their own book.

1146483_10152737449140831_1105889446878726907_n 10419003_10152737449160831_686788221405341609_n

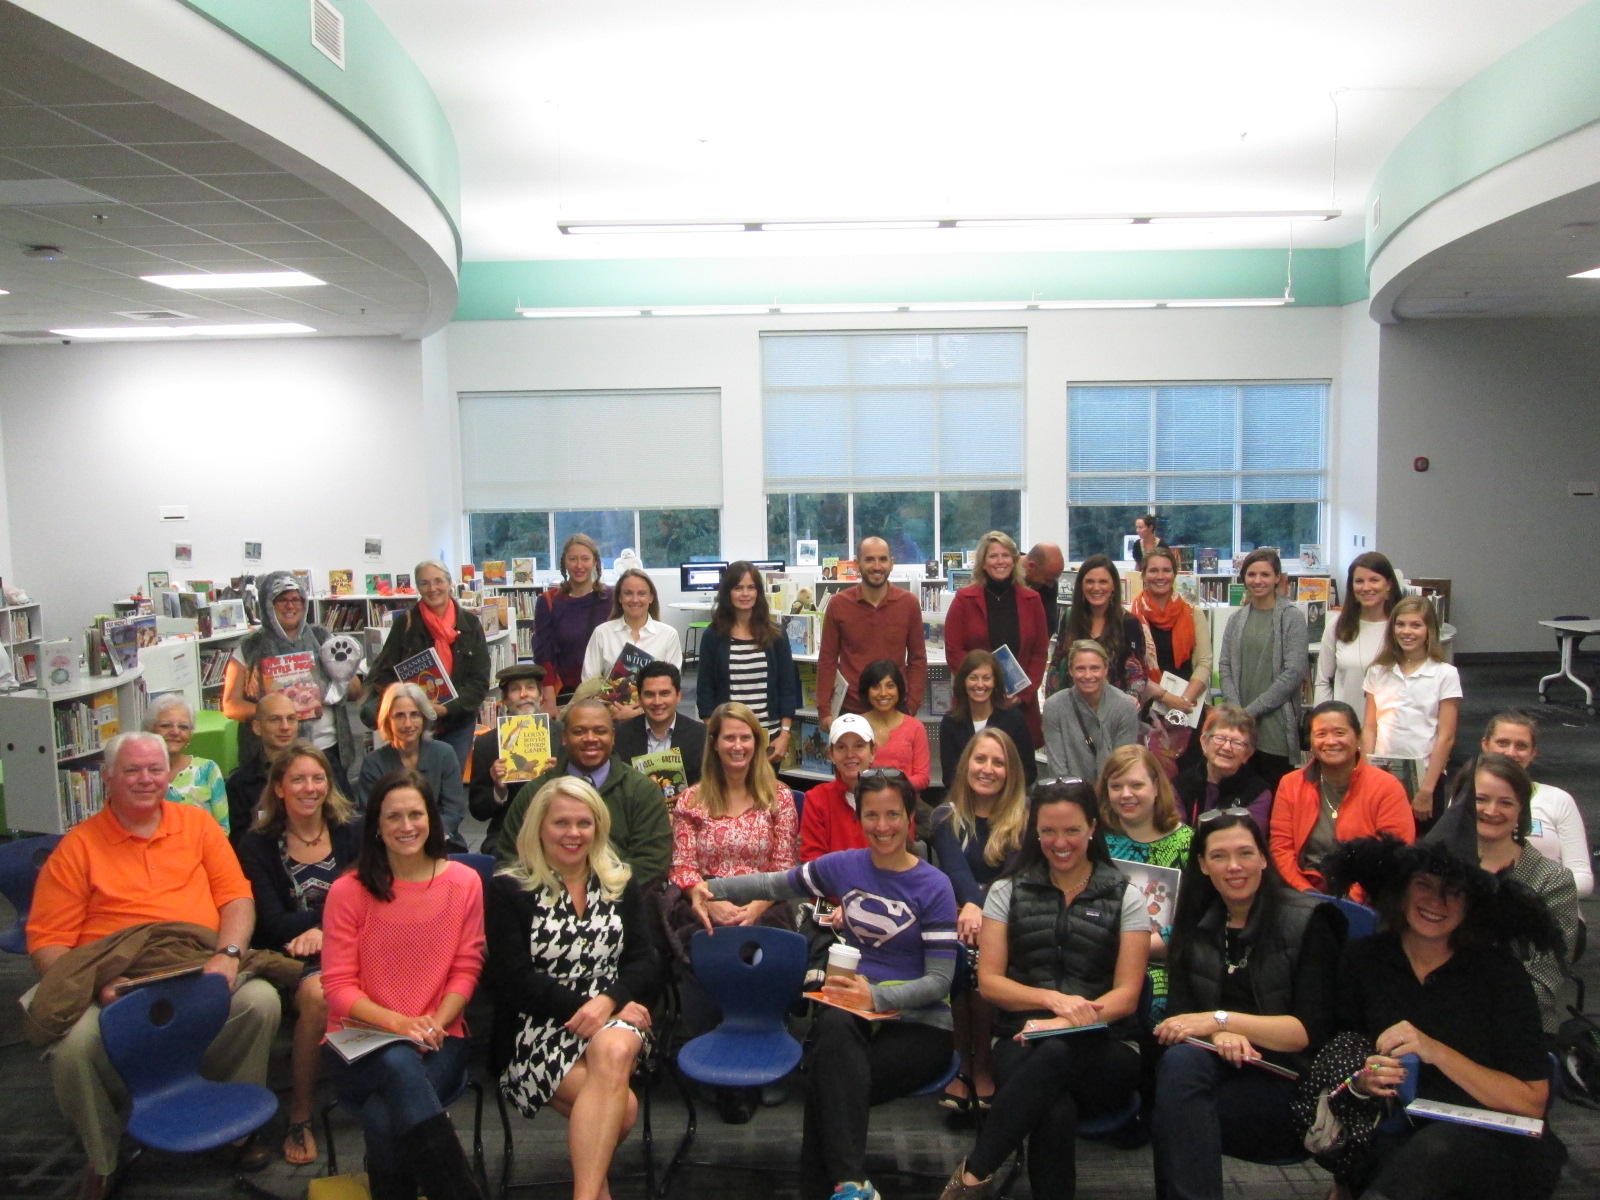
While readers wait to go to classes, they mingle, pre-read their books, and find a place to sit in the chairs that are ready for a group photo.

IMG_4219 - Copy

At 7:55, we all gather and I give a quick welcome.

IMG_5870 (1)

Then we take a group photo.

IMG_4187 - Copy

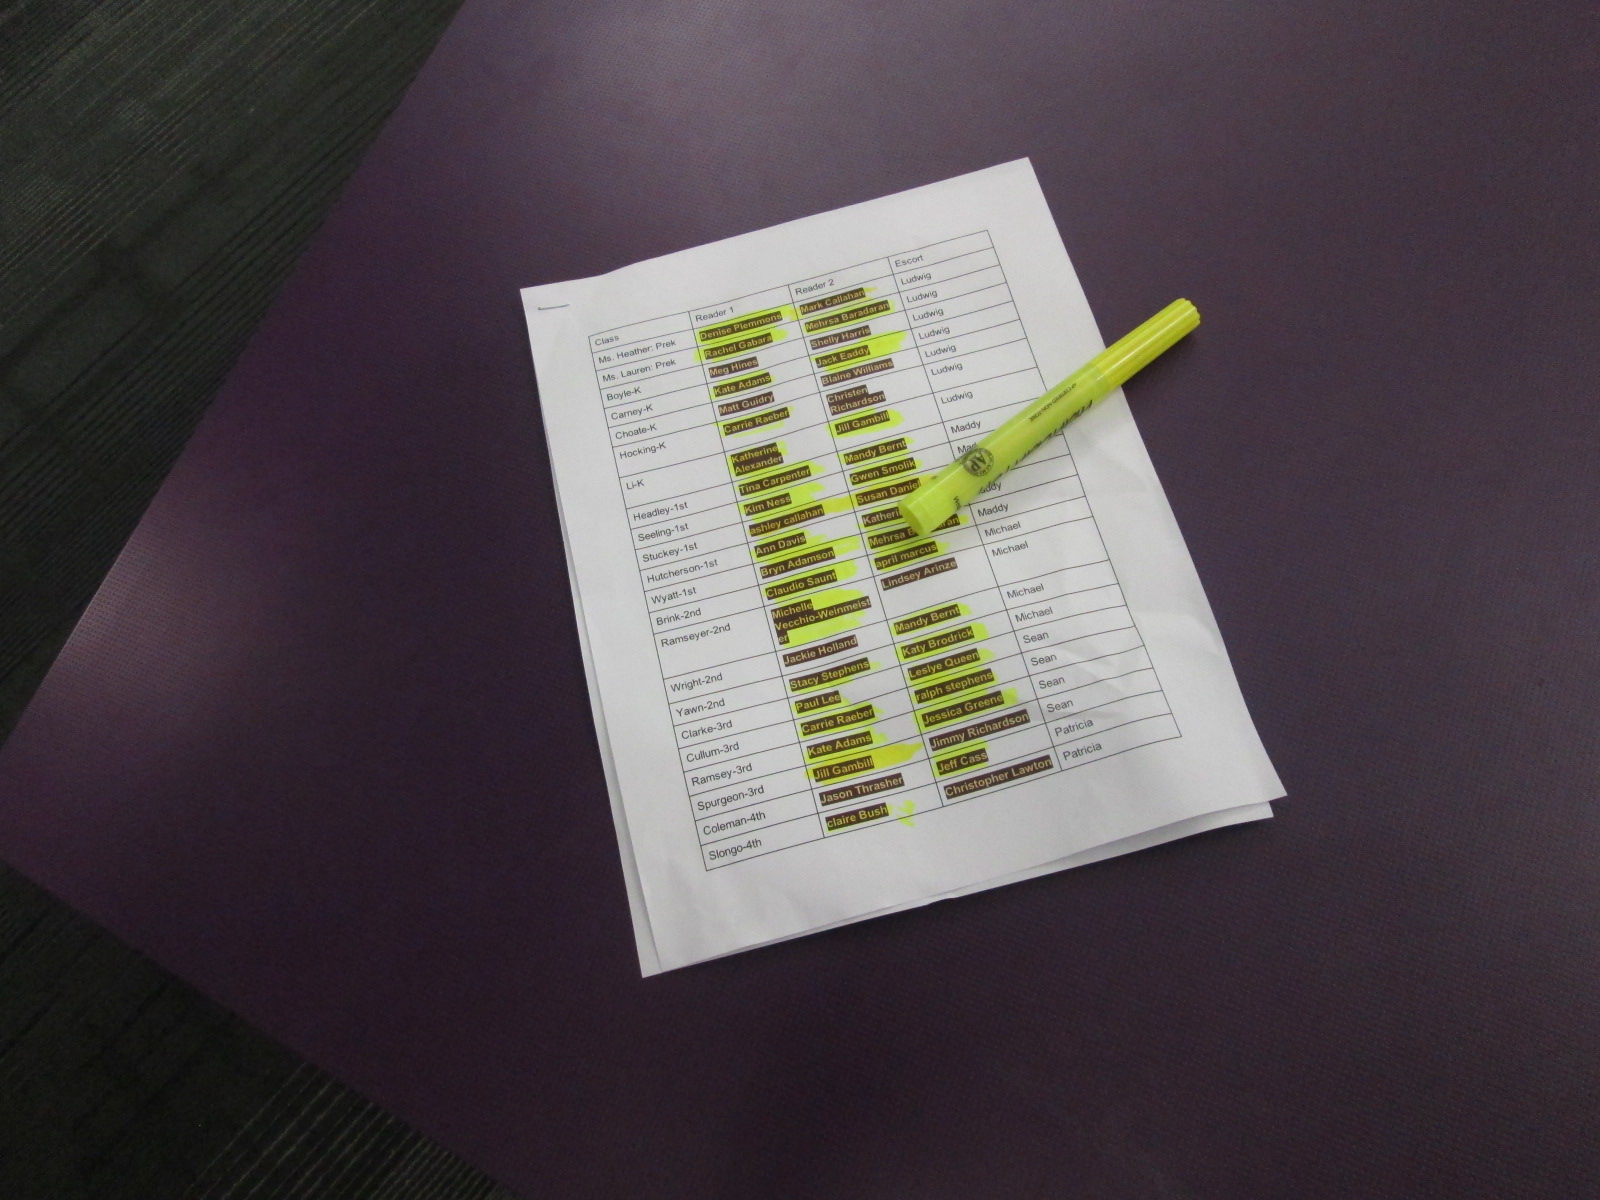
My morning BTV crew escorts readers to classrooms by grade level, so I have a sheet with all of the readers and their assigned classes that I give to each crew member.

IMG_4218 - Copy

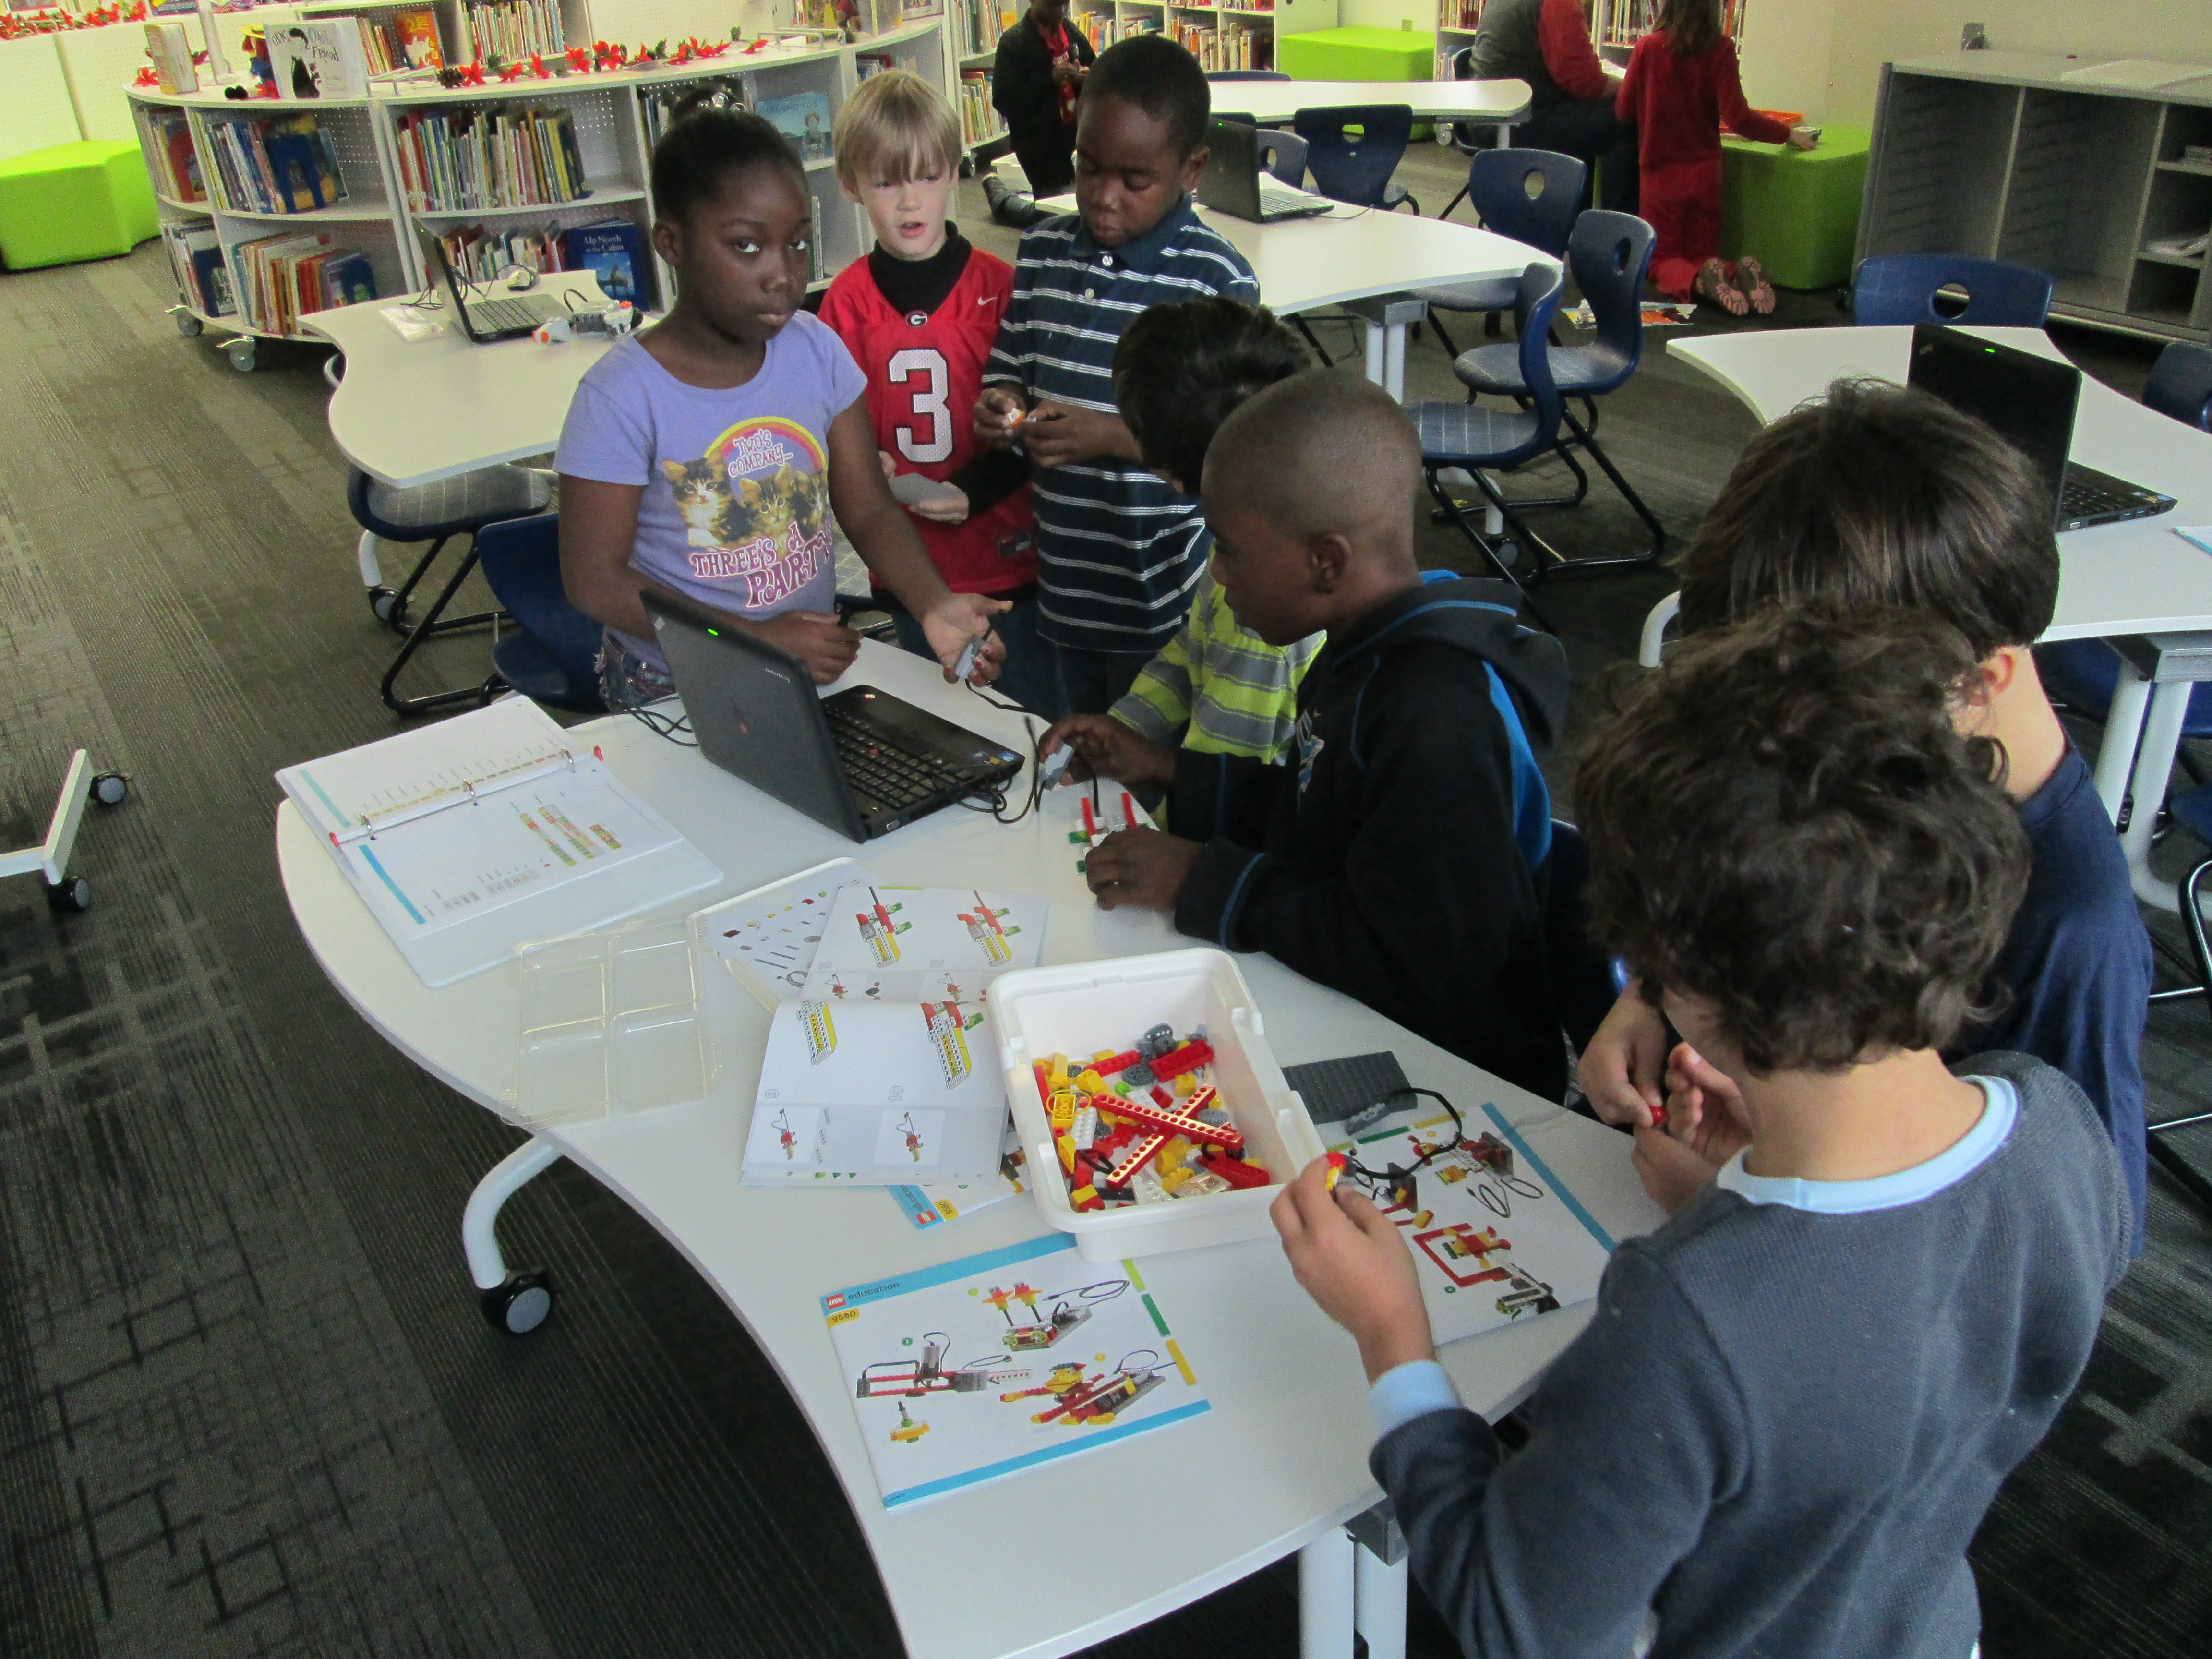
Once all readers make it to their rooms, I race around the school to take pictures of as many readers as I can.  There are about 2 readers for every classroom.  They read and talk with the kids about their book.  Some even leave the book in the room so that kids can keep enjoying it during the day, but most bring the book back to the library.

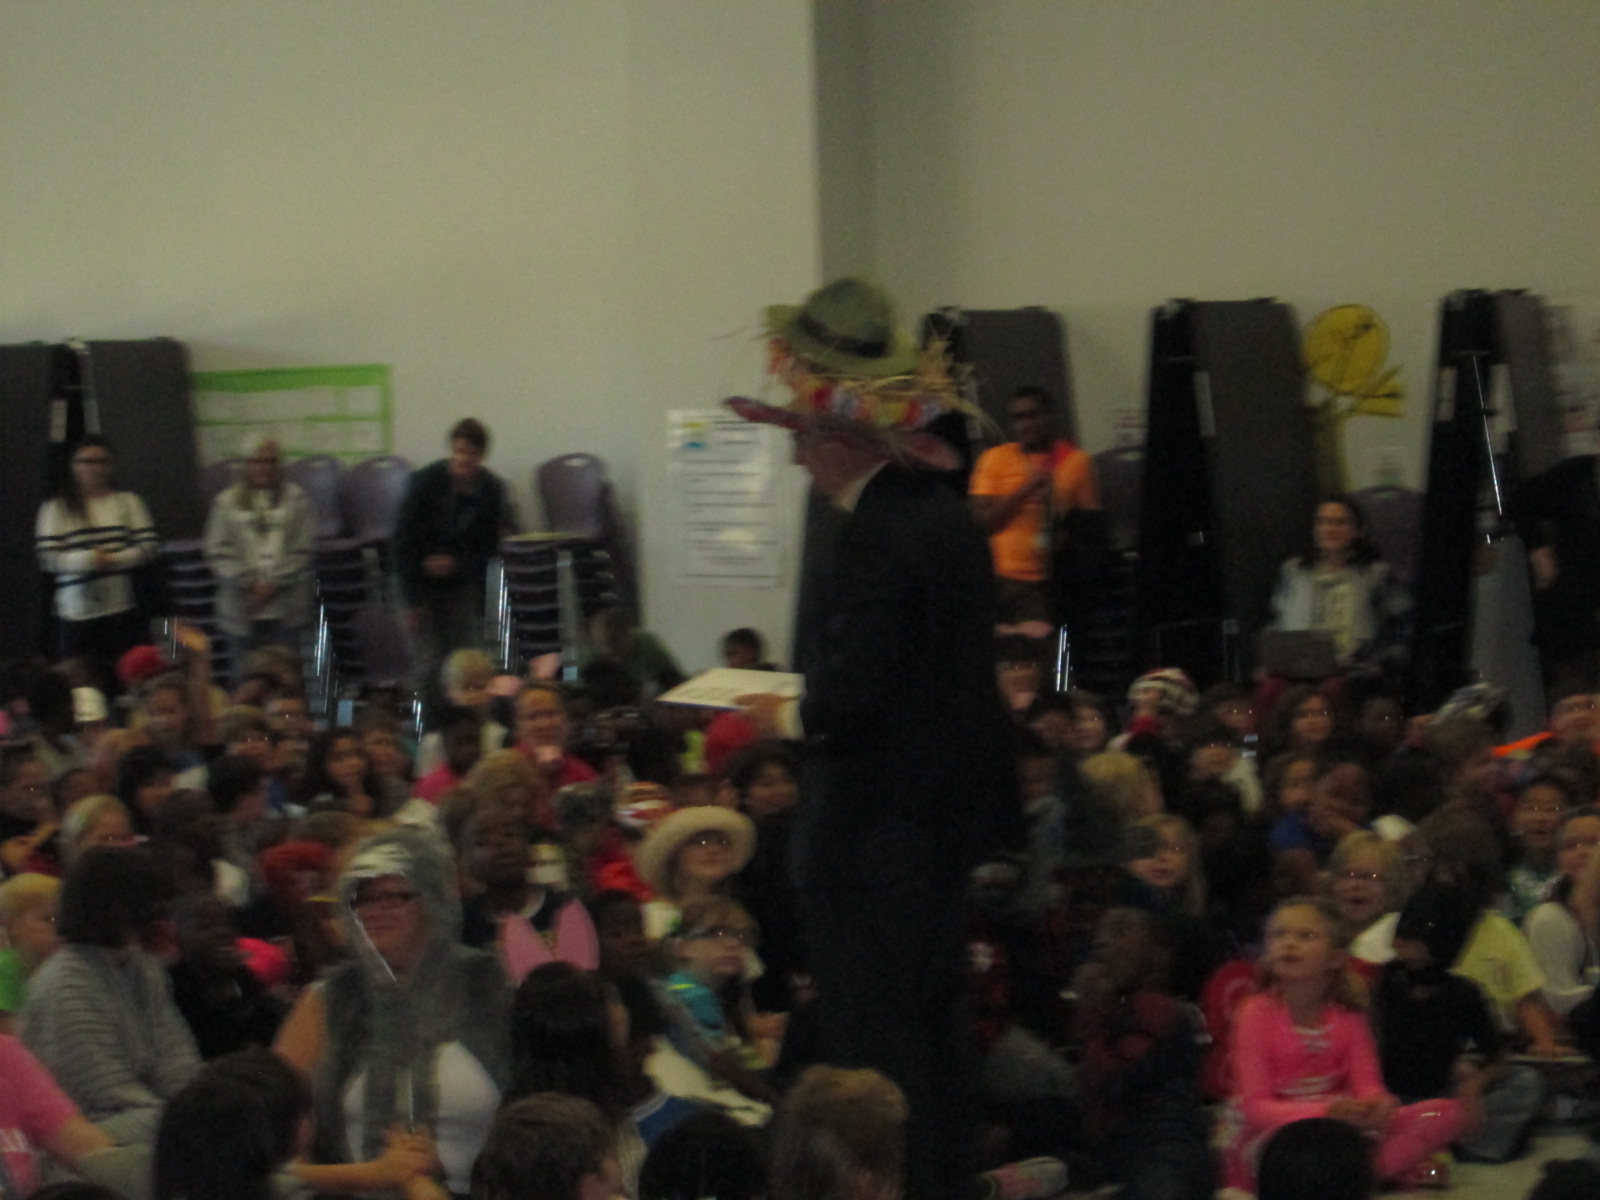
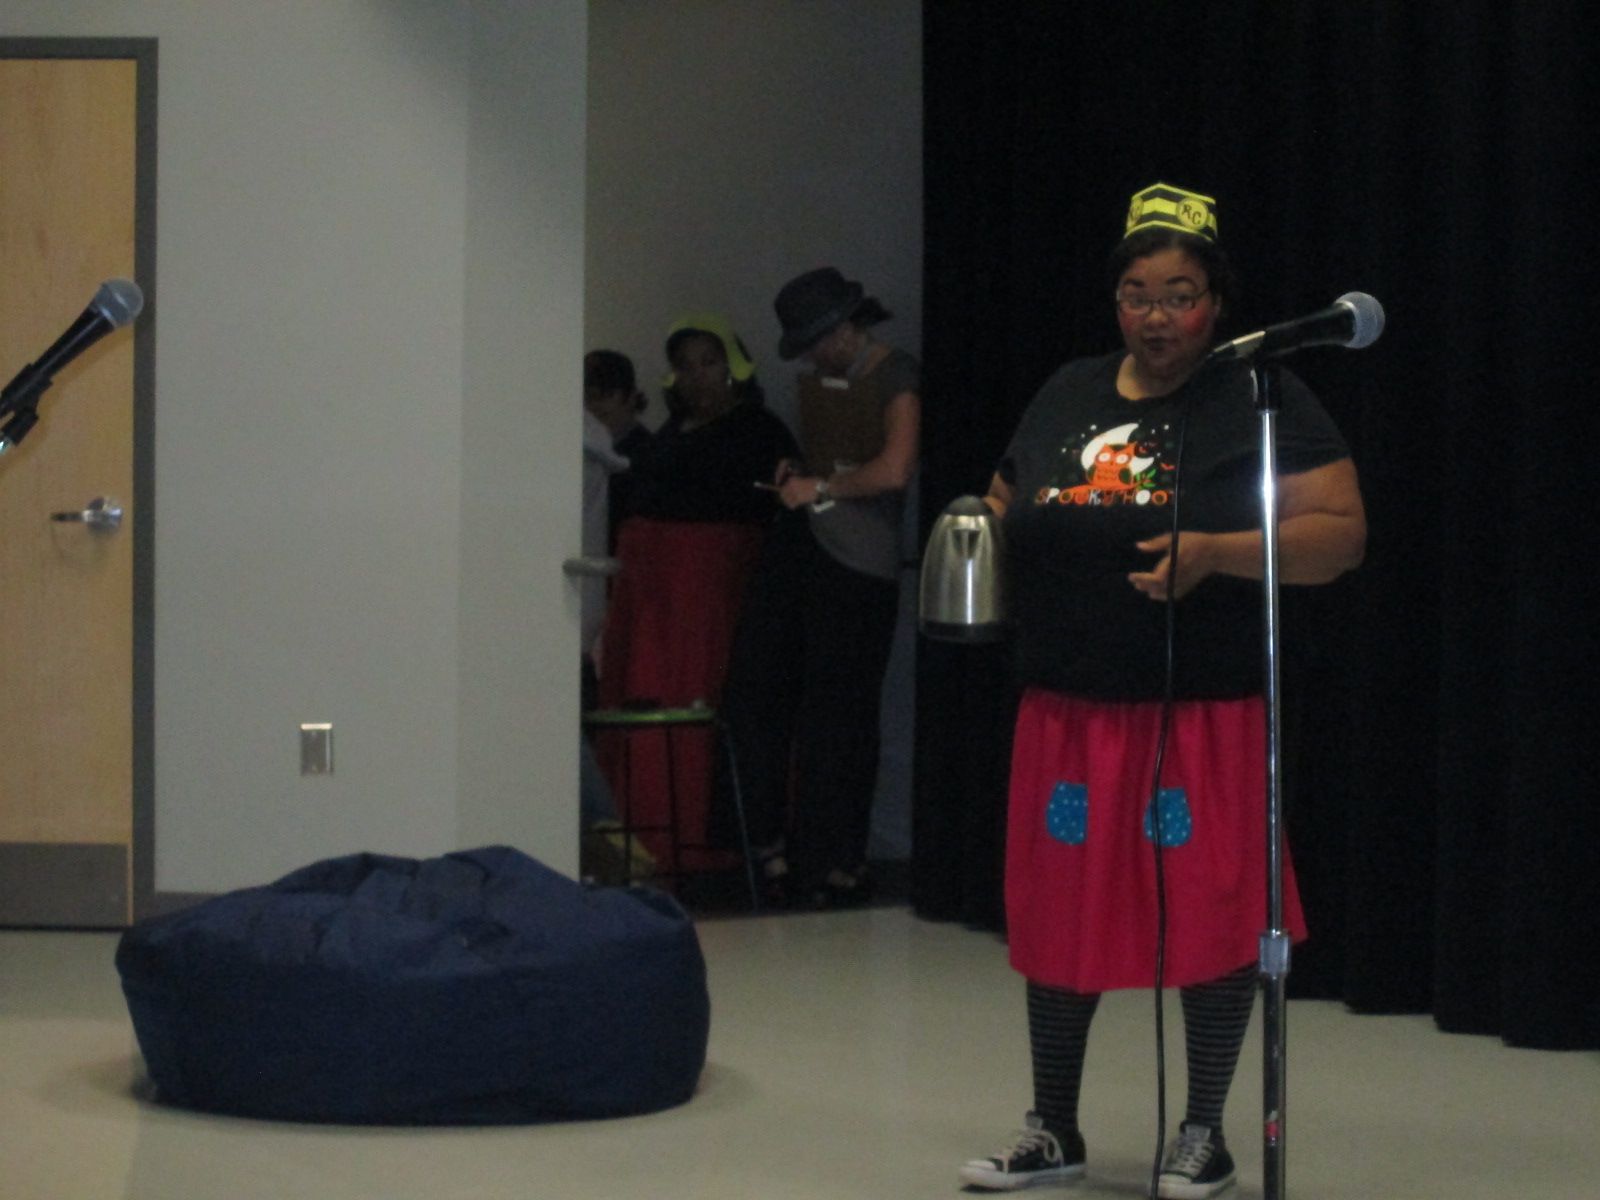
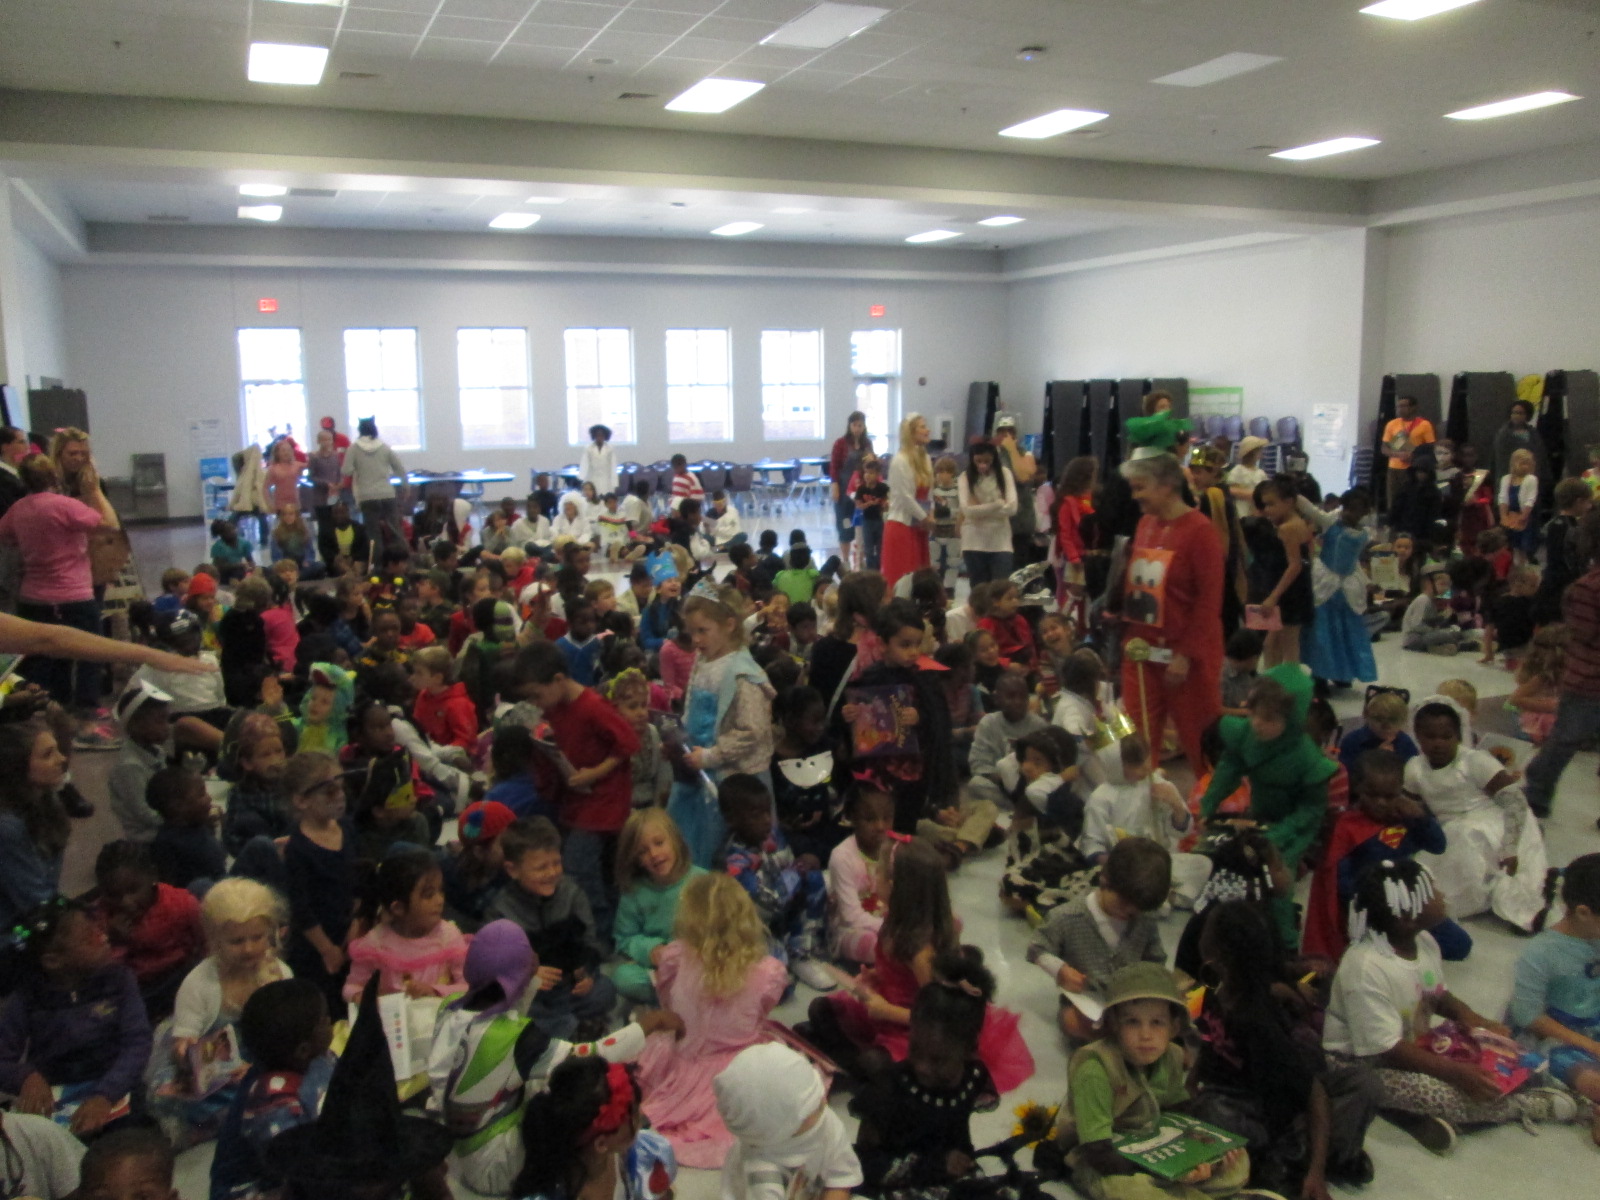
At 9:00, we gather in the cafeteria for the assembly.  This year, we tried some new things in the assembly, which required some organization in advance.  We had an assembly guest reader.  Our family engagement specialist helped a lot with the assembly.  She contacted and organized Dan Coenen, a UGA professor and community member.  He read The Book with No Pictures and had the kids laughing and engaged.

IMG_4227 - Copy IMG_4226 - Copy


https://www.youtube.com/watch?v=o96URoQlp0s

We also had a skit performed by teachers.  It was written by the teachers and reviewed many of the Daily 5 strategies that kids use in class.  One again, Mimi Elliott-Gower, our family engagement specialist, got this organized along with Carrie Yawn, 2nd grade teacher.

IMG_4228 - Copy

In the past, all students have walked across the stage to show off their costume.  This has been very time consuming, so this year we tried something new.  Each row of students stood, twirled, and sat down facing the back of the cafeteria.  We did this until every student was facing the back.

IMG_4220 - Copy

Then we were ready for a parade!  The parade is outside on the sidewalks of our community.  I send out the parade route to families in my newsletter and via facebook.  Our principal emails UGA and lets them know so that they can come out of their buildngs and wave.

storybook parade option 1

Taking almost 600 kids on a walk is a big task, and safety is one our biggest concerns.  I drive around to make sure that the route we plan to take is all clear before we decide the way to go.  Our family engagement specialist contacts the police and they help us cross streets and watch for unsafe drivers to pull over.  We talk to the kids about staying away from the road while they are on the sidewalk and we want them to walk in a single line.

I lead the parade so that we make the right turns, but I communicate the route to all of the teachers as well so that they know where we are going.

IMG_20141030_094729 IMG_20141030_094719

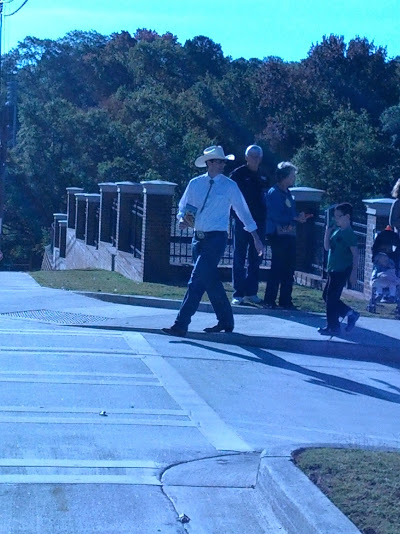
The kids chant “Read more books!” as we go down the sidewalks and we usually get lots of waves and honks as we walk.

Our 5th graders break off of the parade route and stop at the GA Center for hot chocolate while the rest of the parade returns to Barrow.  Once again, several people help with buying, prepping, and pouring the hot chocolate.  This is a special treat for our 5th graders’ final storybook parade.

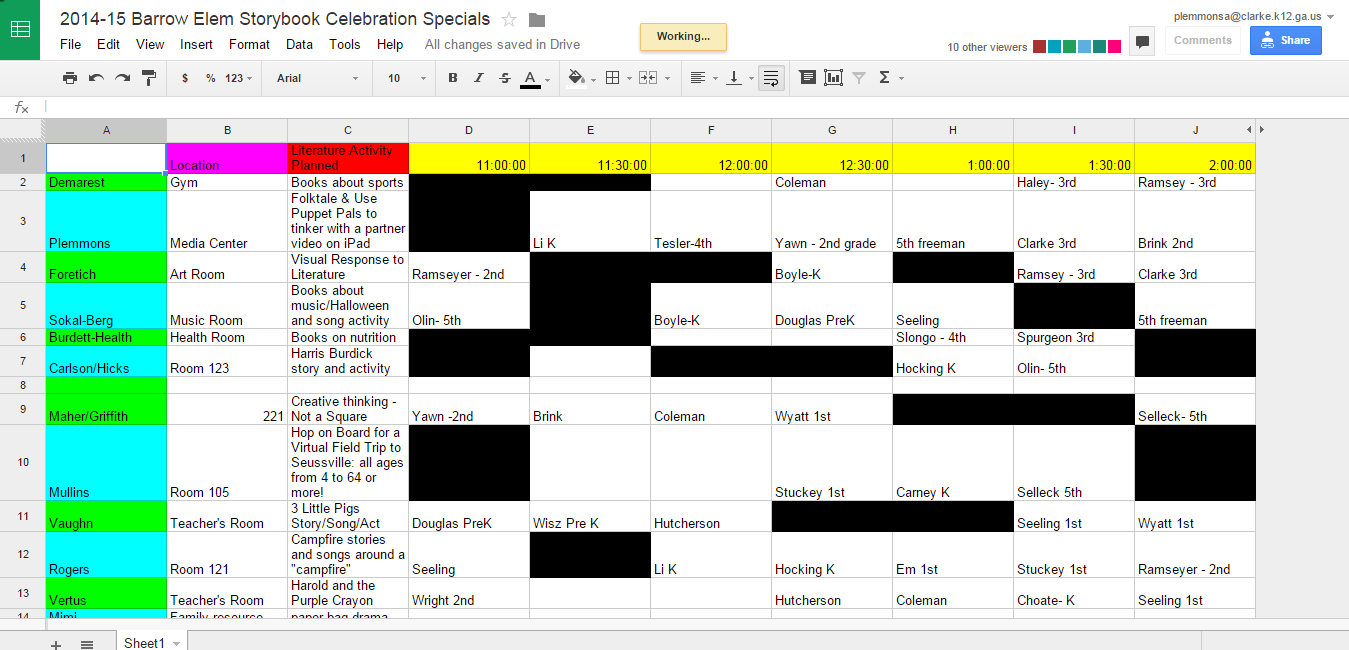
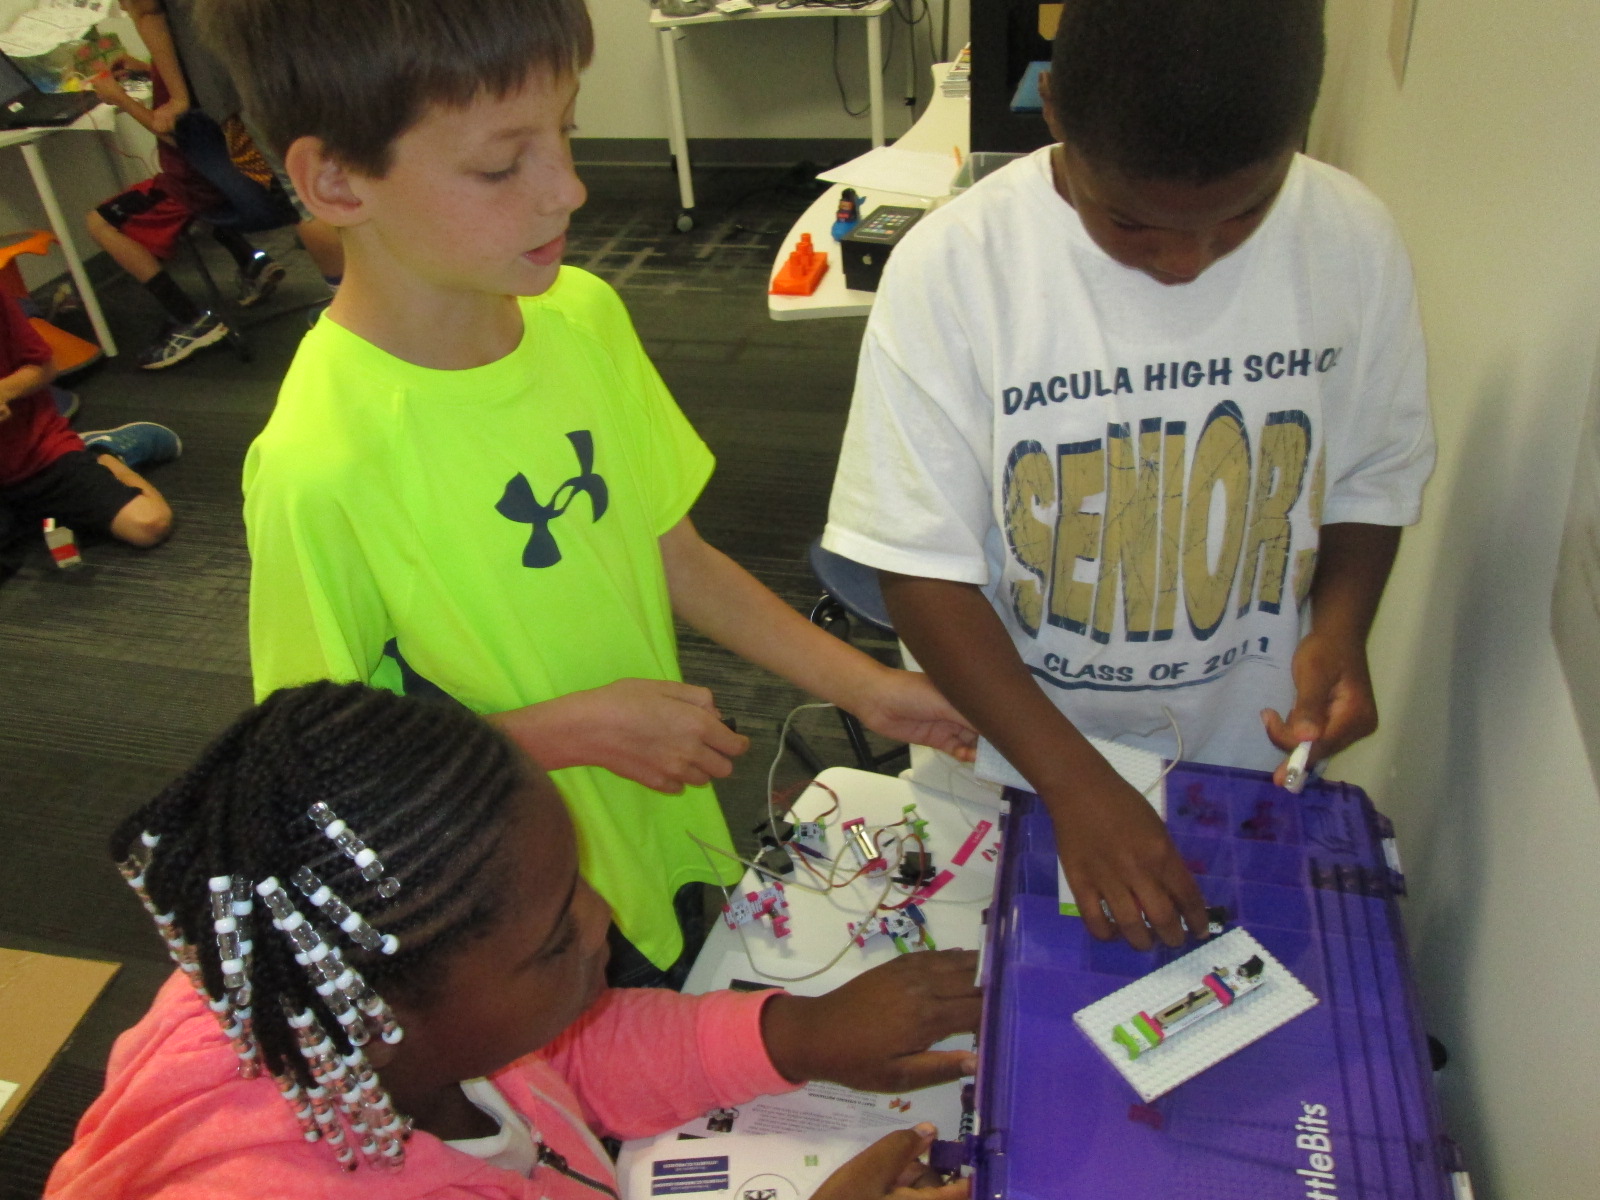
Once we are all back at school, classes carry on with their normal lunch schedule and literature activities in their classrooms.  We also have a specials schedule that teachers sign up for.  Because teachers miss their planning period, we create some 30-minute segments that they sign up for.  Art, music, PE, resource teachers, and I all offer literature-based activities.  I create a Google spreadsheet with times and each teacher posts what he/she will be offering.  This is done a few weeks before storybook celebration.  The week before, I send out the schedule for people to signup.

2014 15 Barrow Elem Storybook Celebration Specials

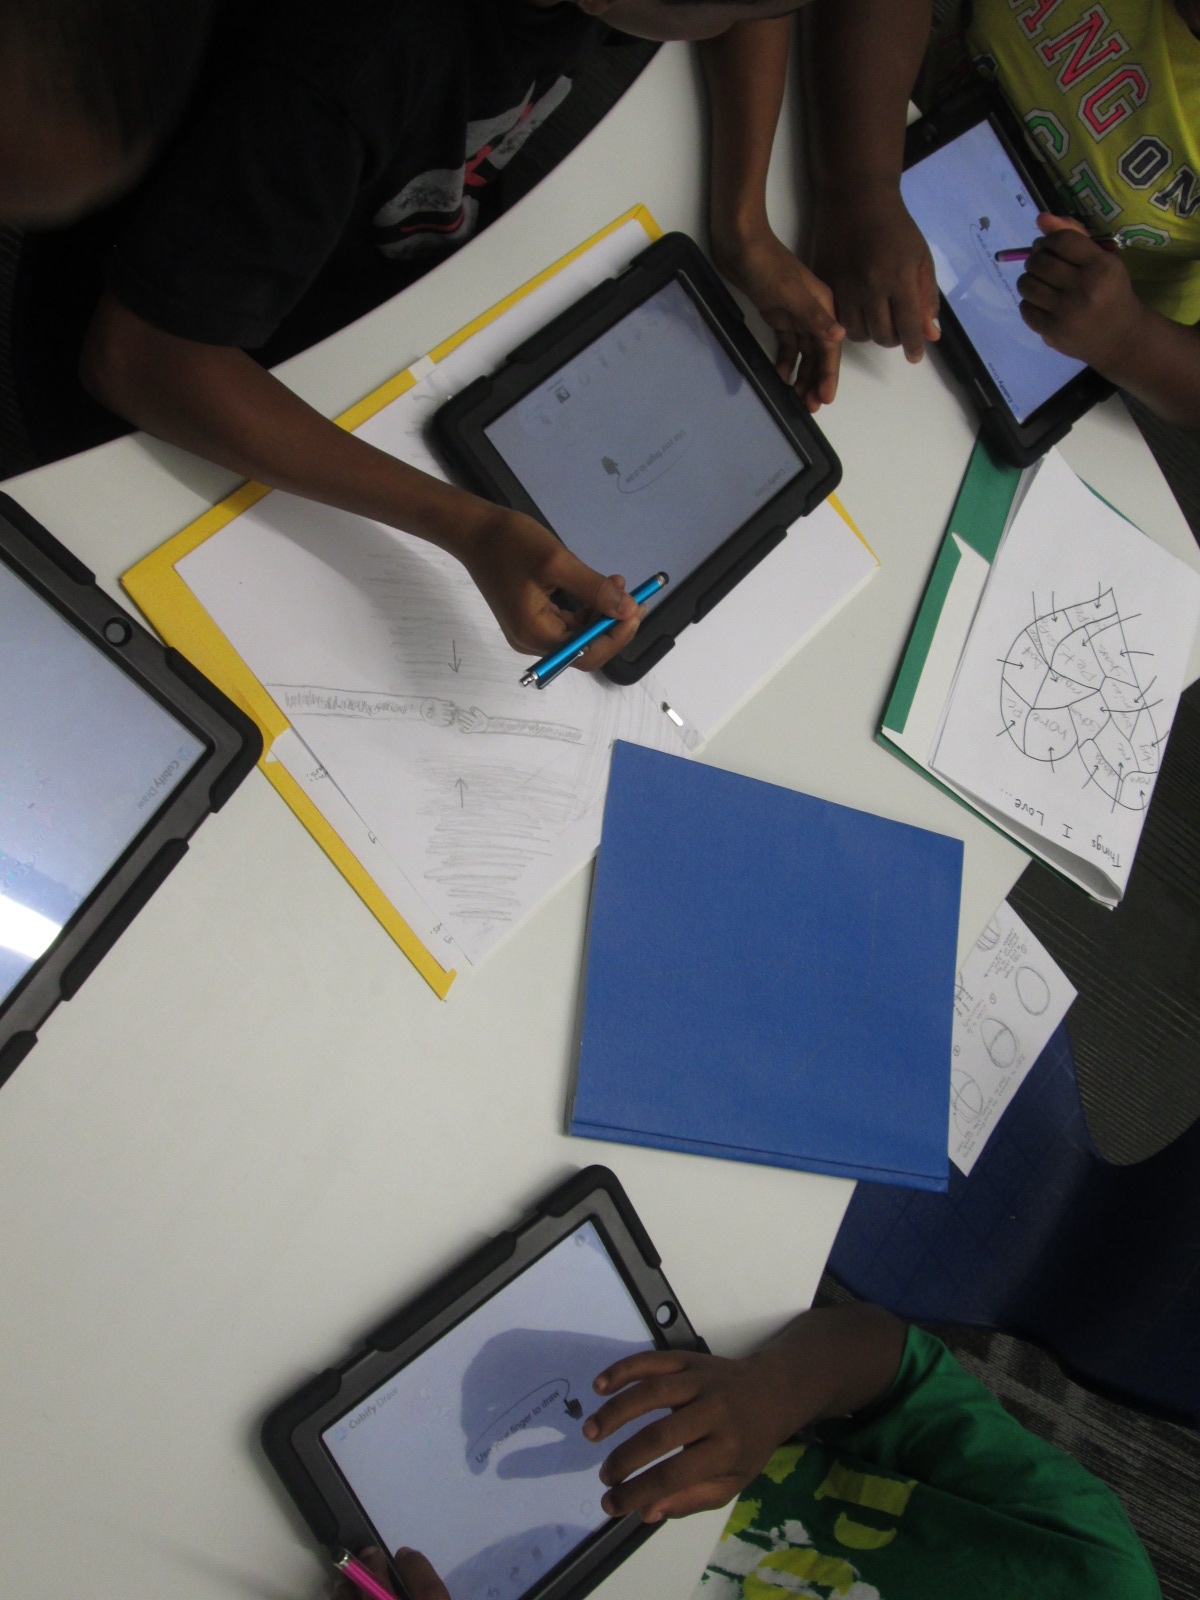
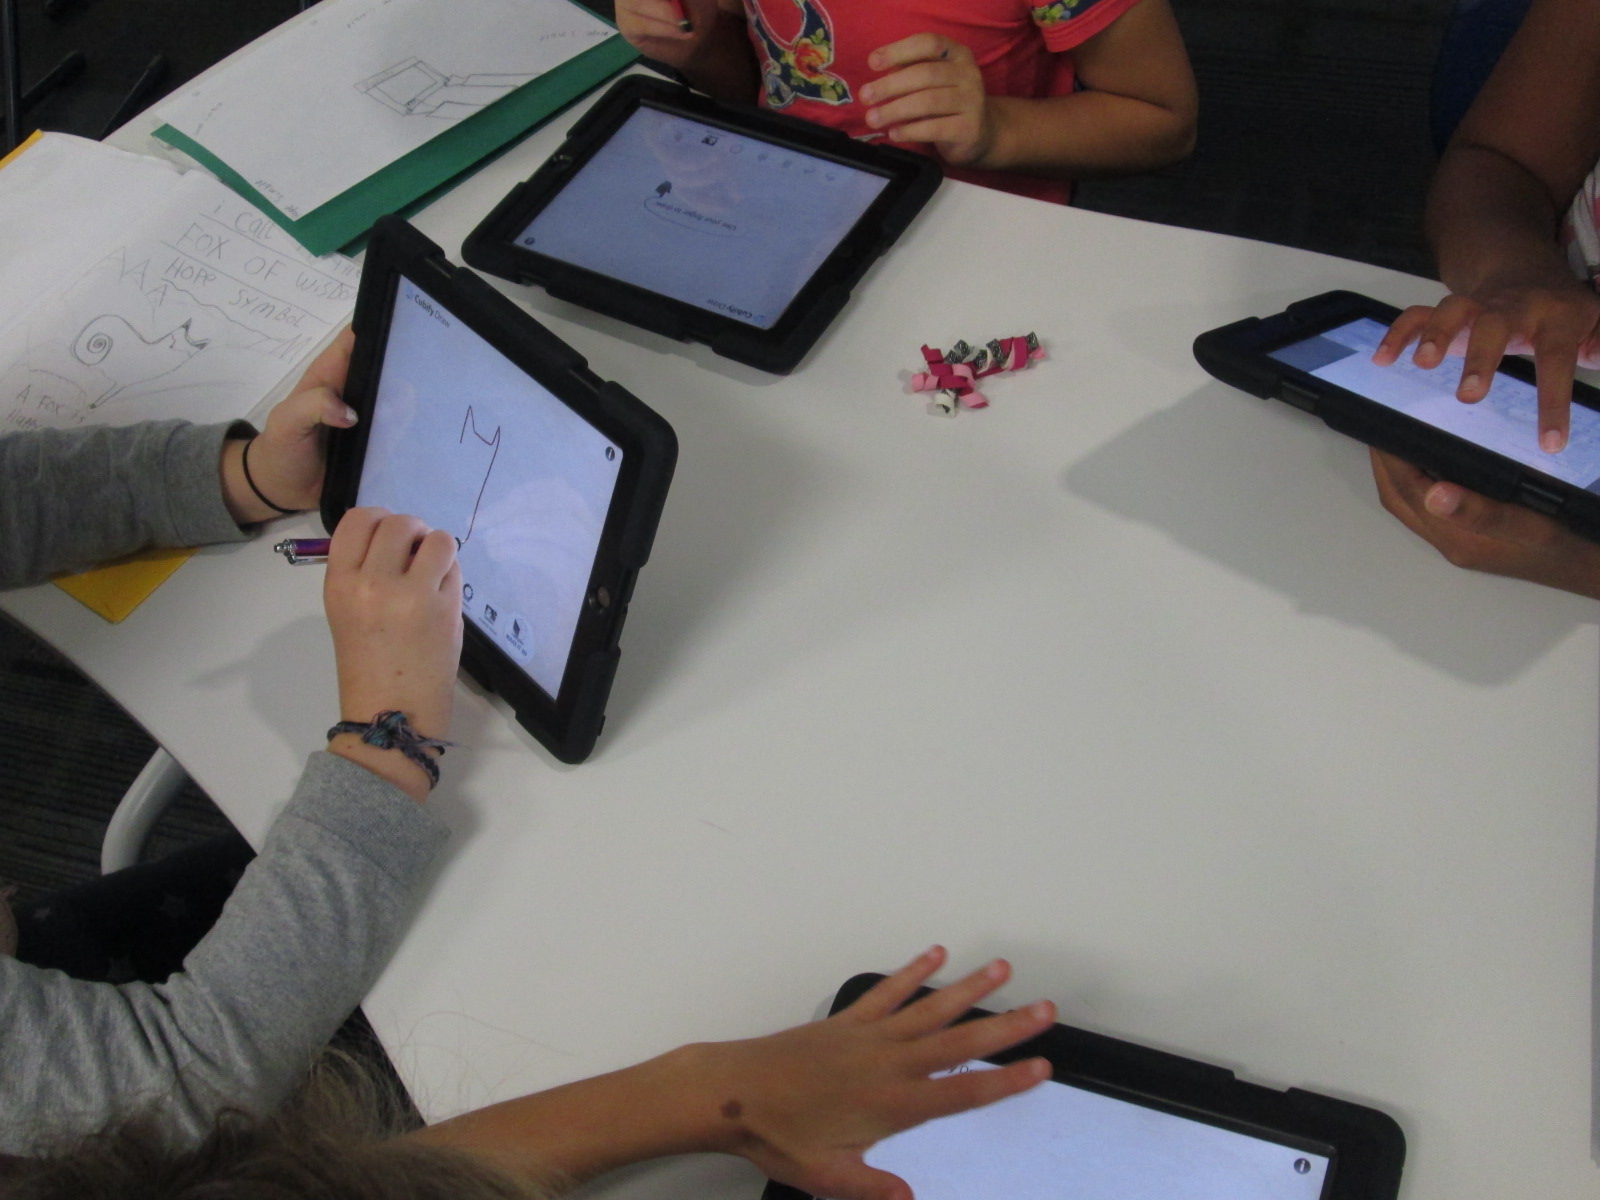
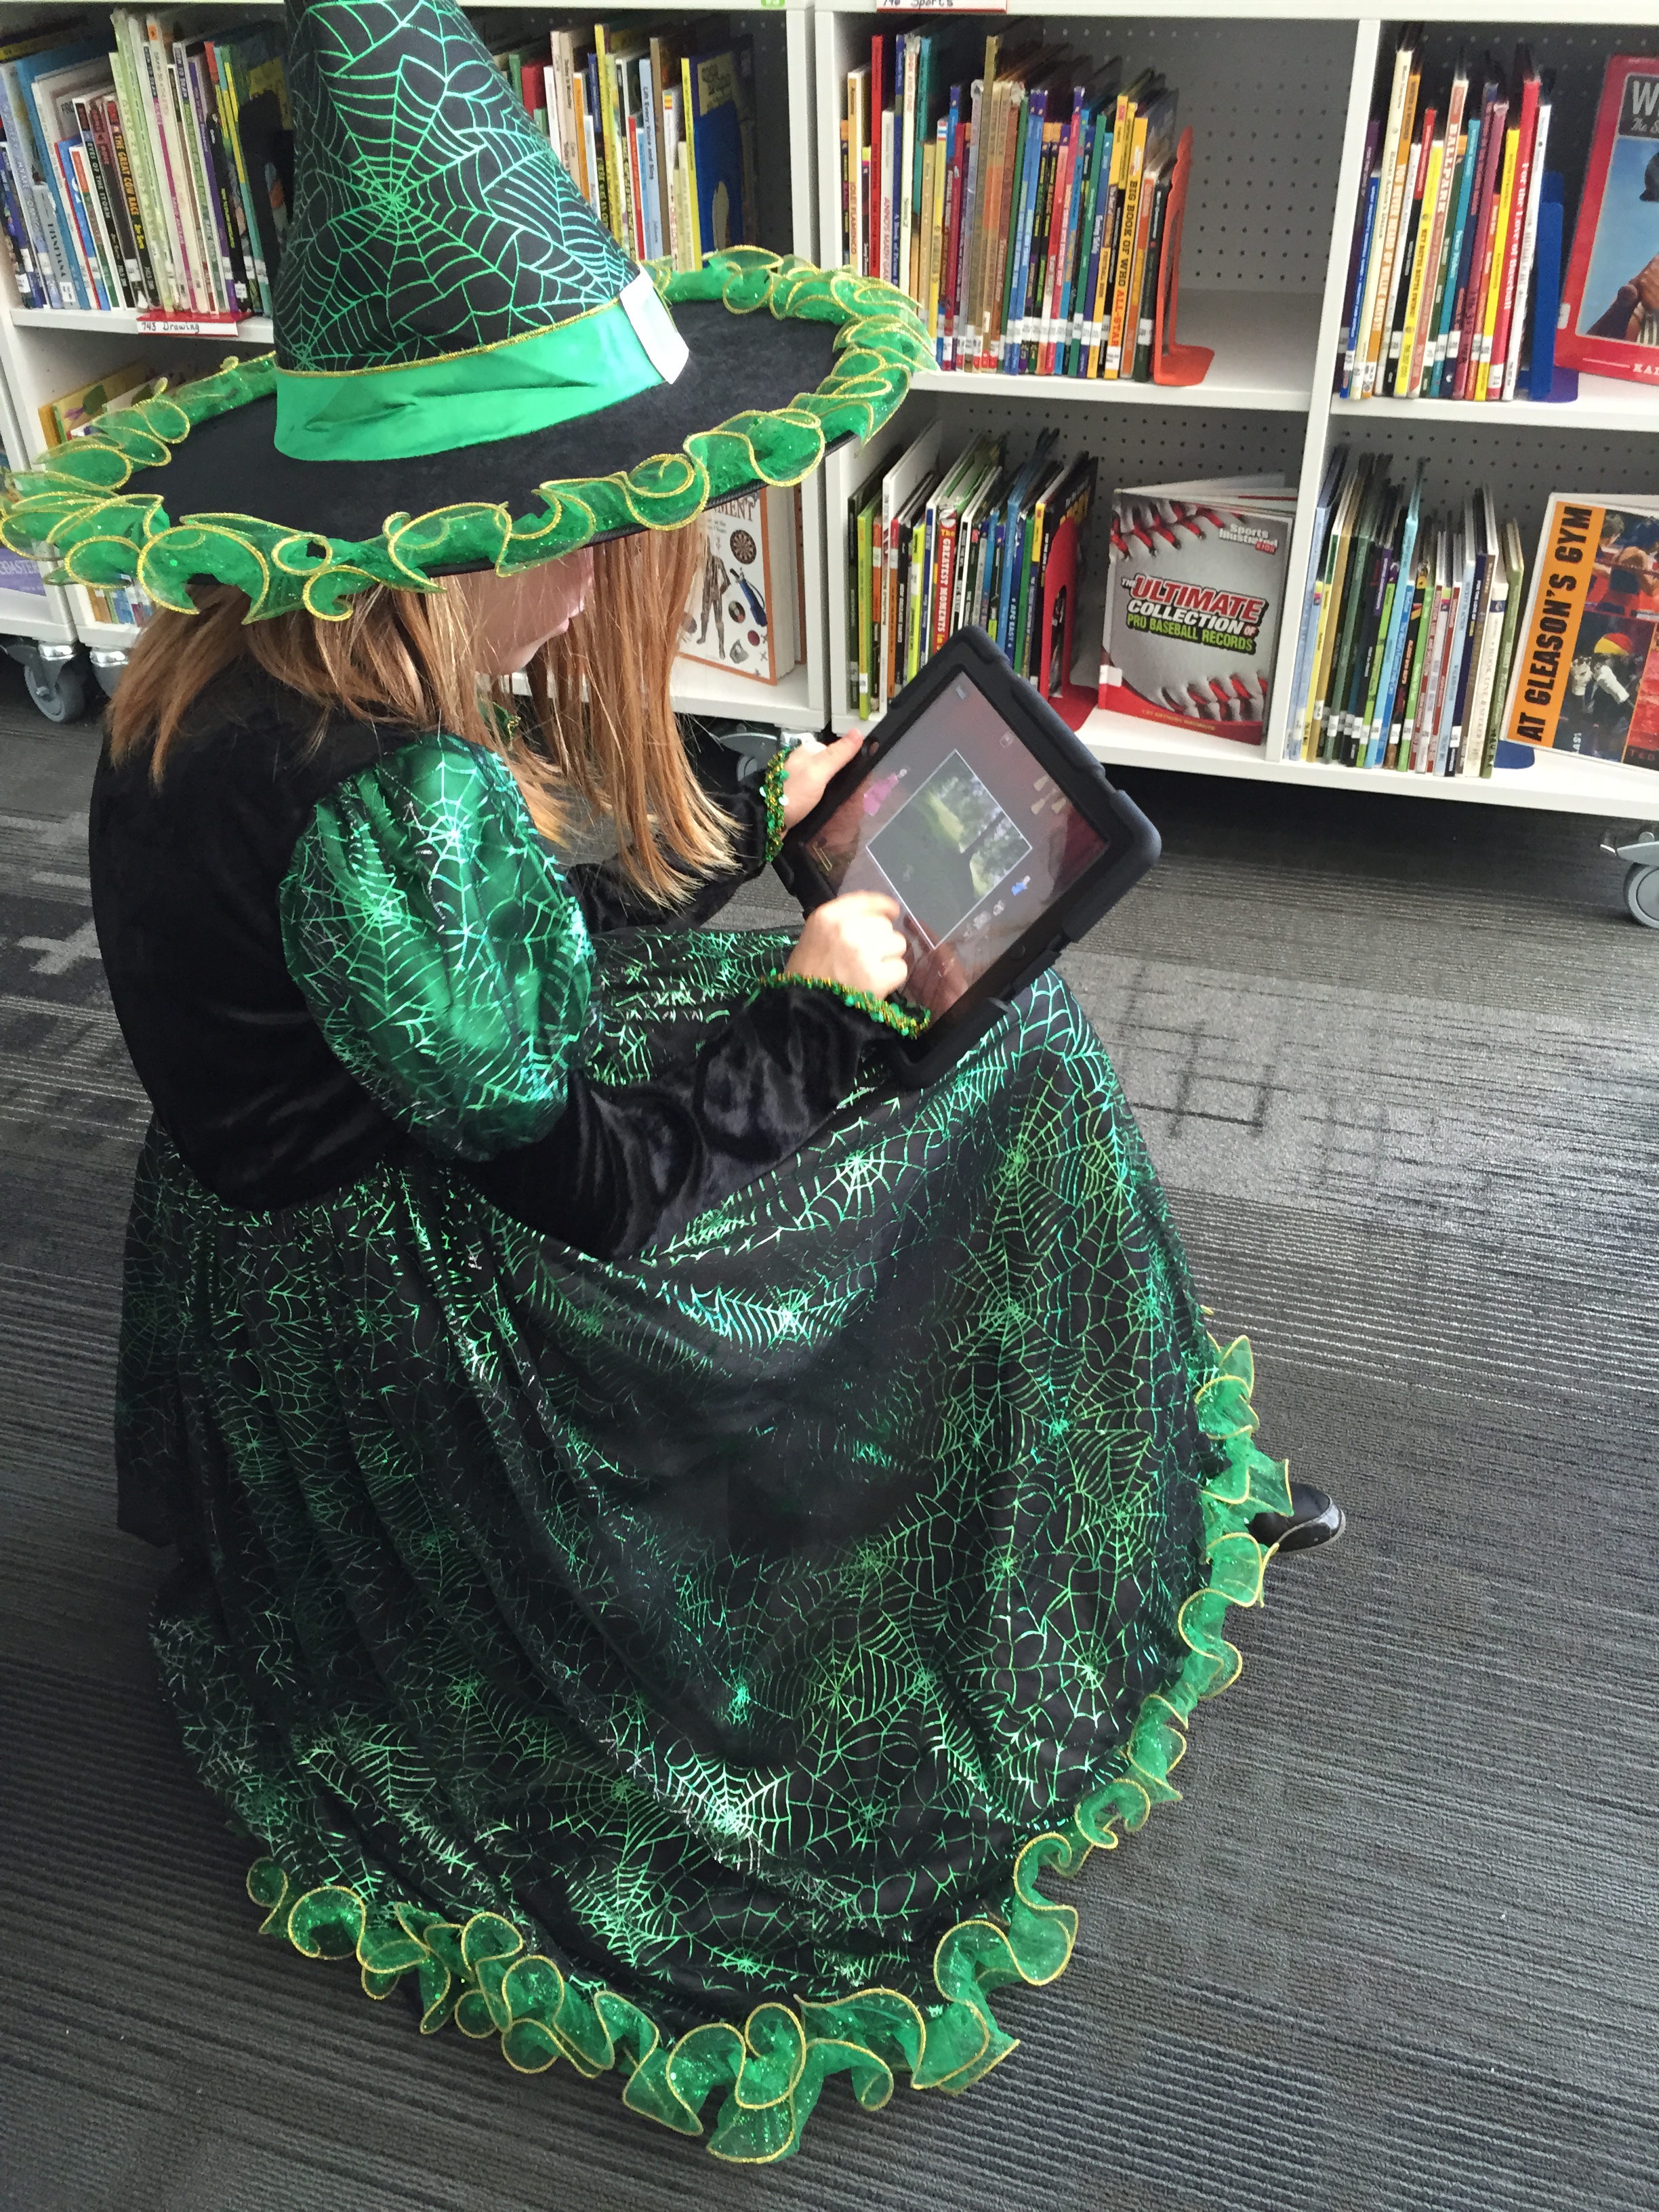
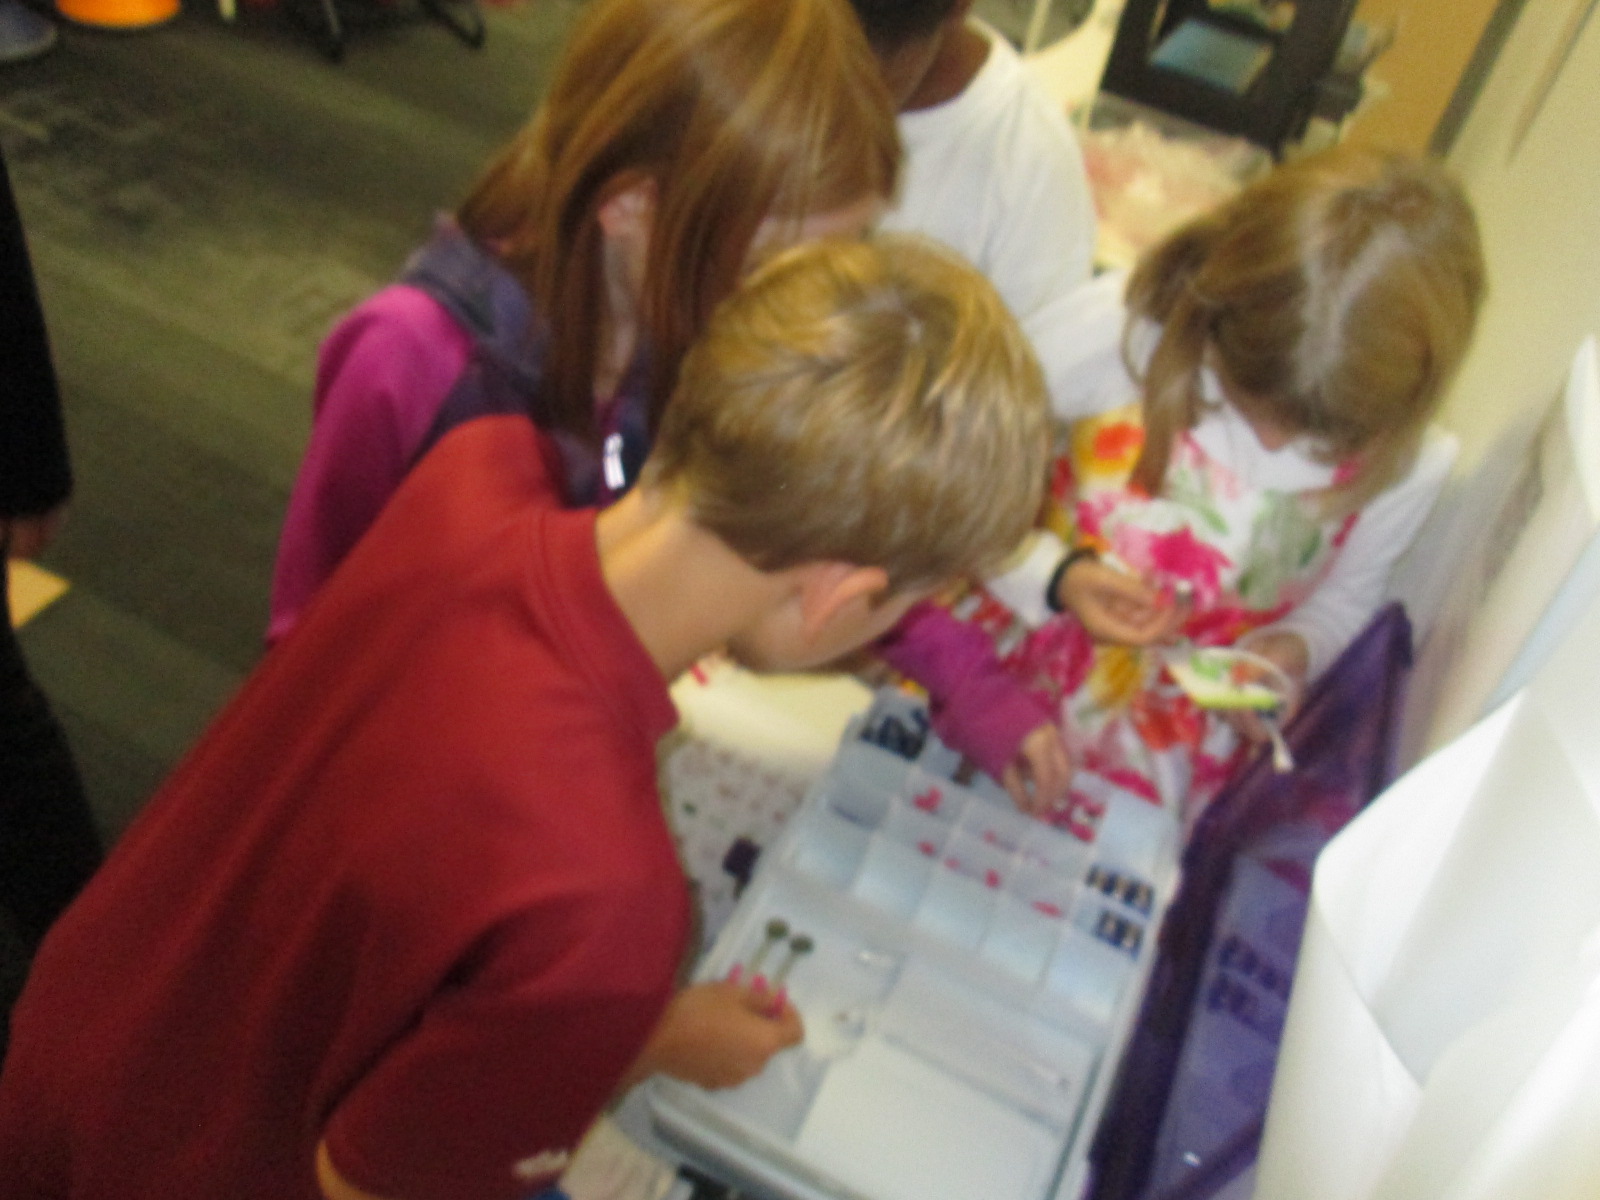
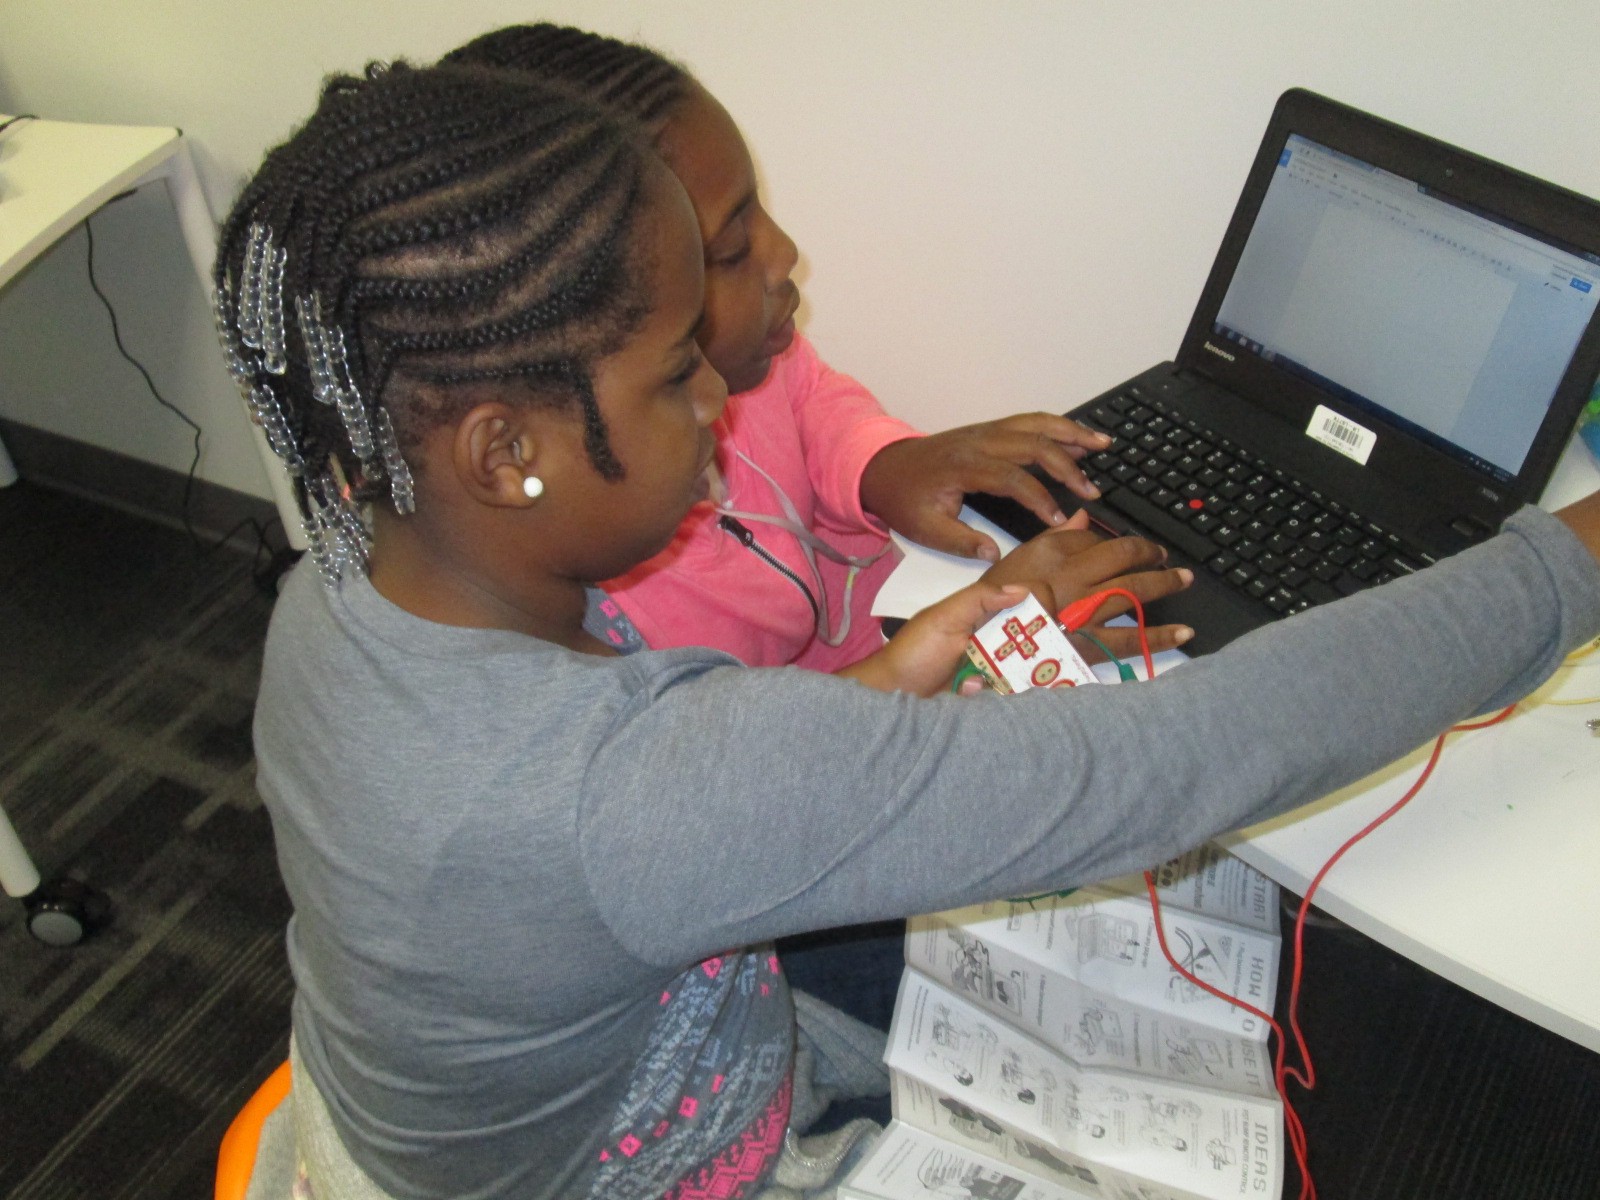
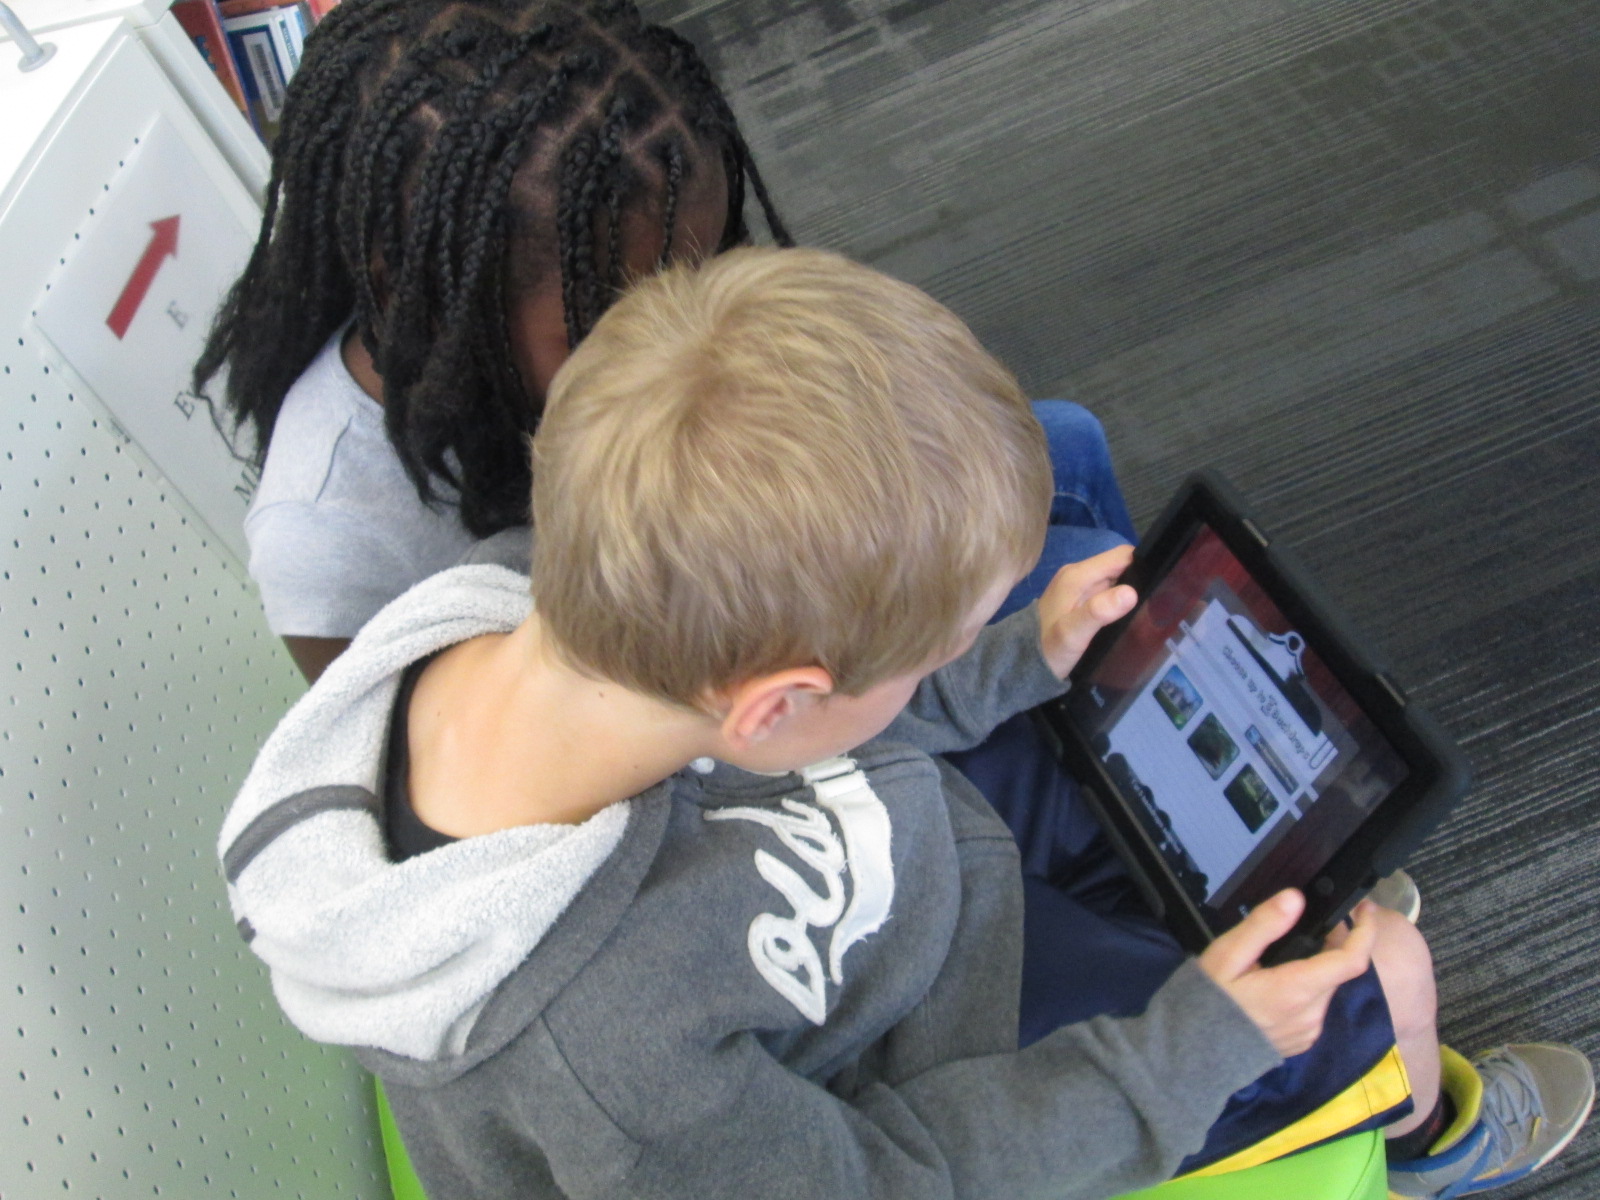
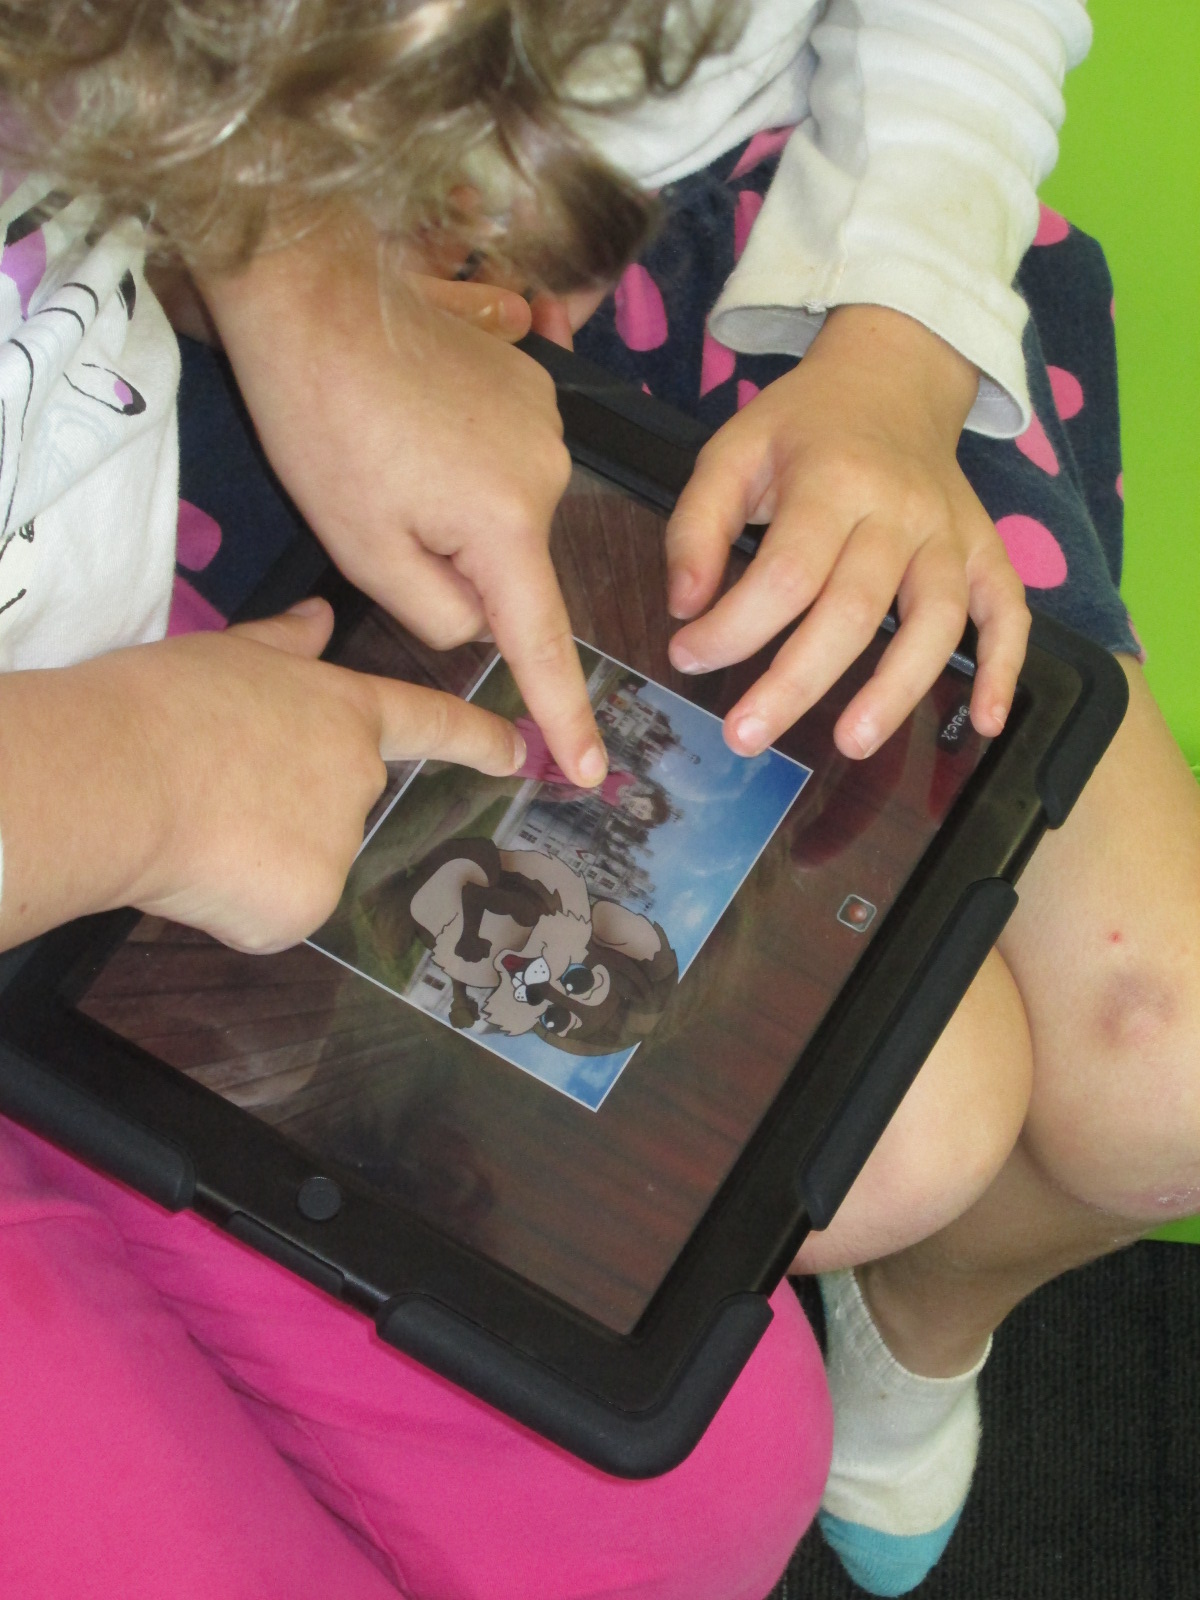
This year I read the book Ol’ Clip Clop to some classes and Precious and the Boo Hag to other classes.  Then, we used the Puppet Pals app on the iPad to create our own stories.

IMG_4233 (2) - Copy

Days like these are filled with learning opportunities, collaboration, tinkering, dreaming, and community.  It is a difficult kind of event to pull off by yourself.  It can be done, but I’m very thankful to have the support that I do to create days like these for our students.


Exploring Makerspace through Alternative Recess

makerspace recess (7)Since the beginning of the year, students have been itching to get into our library makerspace to use the many tools housed there.  As the librarian, I try to weave as many of these maker tools into curriculum as I can, but the truth is that it’s just not fast enough for our students.  Telling them, “I’m waiting to find the right piece of the curriculum to use the littlebits with”, is not acceptable.  They want to tinker and explore and see how things work.

makerspace recess (6)

Recognizing this, I had to find a way to give them more access.  I can’t say that I’ve found the perfect solution, but I’m working on it.  I’m blessed to have the University of Georgia right next to our school.  I’m even more blessed that the College of Education is within walking distance and Gretchen Thomas teaches in the instructional technology department.  Gretchen is an educator who truly gets the realities and challenges of school.  She wants her students to have experiences with what instructional technology really looks like in a school rather than guess about it in the college setting.  She and I have been brainstorming about challenges that I face in the library and the makerspace has come up a lot in our conversations.  We’re trying to create a plan to have adult support in the makerspace on a regular basis for students to explore during their recess time.  This alternative to going outside isn’t the only solution, but it’s one that many of our students are willing to do in order to get their hands on the makerspace tools.

Even though we don’t have details worked out for Gretchen’s students to be in the makerspace, she has volunteered her own time once per week to come in and help.  For the past 3 weeks, we have offered makerspace recess to our 4th graders.  A whole range of students have shown up.  I was very excited to see such a mix of boys and girls as well as several other kinds of diversity within the group as well.

makerspace recess (5) makerspace recess (8)

During the 1st recess, Gretchen and I quickly showed the tools in the space: Sphero, littlebits, and MaKey MaKey.  Students chose a starting place and jumped in.  It didn’t take long until the Sphero was being driven around the library, being programmed to drive and jump over a ramp of books, and a maze of books, shoes, and legs was being created on the floor.

makerspace recess (4)

Students used the littlebits cards to snap together several suggested circuits, but it didn’t take long for students to start snapping random bits together to see what would happen.

makerspace recess (9)

Students at the MaKey MaKey got out balls of Playdoh and started plugging in alligator clips.  Gretchen showed them how they could type using the balls of Playdoh, and they also explored how to play the piano on the MaKey MaKey site.

This alternative recess is certainly supporting my library goal of allowing students to dream, tinker, create, and share.  This free time to dream and tinker will only strengthen the curriculum work we do within the makerspace in grade level projects.

At some point, I’m sure we’ll create some structure to our alternative recess, but for now it just seems right to explore.

Allen Say’s Kamishibai Man and Tinkering with Puppet Pals

IMG_4164

Third grade has been working on an Allen Say author study.  In class, they have read multiple books, compared and contrasted, and started identifying what marks a book as Allen Say’s work.  In the library, we also read a book by Allen Say to fold into this class conversation, but we used the library lesson for another purpose, too:  tinkering.

Our read aloud was Kamishibai Man, which tells the story of an old man who has retired from his work of traveling into the city to sell candy and tell stories.  A kamishibai uses a wooden box mounted on a bicycle to display beautiful paintings which inspire oral stories.  The stories are told in a series so that audience members want to come again and again.  At each storytelling session, the kamishibai man would sell homemade candies which was how he made his living.  During the story, we had great discussions about how technology has impacted our lives in positive and negative ways because in the story the kamishibai man has to quit his job because people would rather watch tv.

IMG_4158 IMG_4163

Following the story, we practiced our own way of oral storytelling using puppet stages, characters, and backdrops in an iPad app called Puppet Pals.  This app allows you to select up to 8 characters and 5 scenes.  You can upload your own images for the characters and scenes or choose from the library of options.  Users can move their scenes and characters off stage when they are not in use.  With a record button, every movement and voice is recorded as long as it takes place in front of the backdrop.  Puppet Pals lets you record up to 2 minutes of audio which sets it apart from some other apps that only let you record for 30 seconds.

We did a quick demo on the board by having 2 students come up and make a quick story in the moment.  Then, students split into groups of 2 or 3 with an iPad and spread out throughout the library.  They quickly got to work figuring out how puppet pals worked.  Most groups made multiple stories because they would think about something else they wanted to try once they finished one story.  It was fun to step back and listen to all of the voices that students were creating for characters as well as how they were moving characters in and out of the set and making them larger and smaller on the screen.  The students were trying this app without fear of failure, and they were learning so much about how the app functioned.  Some of them even created some pretty decent videos in the short time that they had to tinker.

Our closing time was once of my favorite times.  I asked students to think for a moment about what they might want to do if they made a longer video and had a longer time to work on it.  They listed out several things that probably would have come from a teacher checklist or instructions, but the difference was that they came to the realization of why these checklist items were needed because of their tinkering.  It wasn’t just something the teacher or I was asking them to do.  Instead, the checklist served to improve their work and organize their product.  They named things like:

  • Write a script for the characters.
  • Include instructions about when to change the backdrop
  • Write notes about when to shrink or enlarge a character.
  • Pause the recording in order to switch out characters or scenes. Put this in the script too.
  • Practice before recording.
  • and much more.

https://www.youtube.com/watch?v=y8TZV98db8M

https://www.youtube.com/watch?v=aN4CkP4ClCA

Third grade is about to launch into a study of folktales.  I think Puppet Pals has great potential to be a part of this project, so I intentionally used this tool as part of our Allen Say project to have a purpose for tinkering but also to make sure that tinkering happened before we asked students to create a more polished product.  Now, I feel like the stage is set for all 3rd grade classes to create a folktale Puppet Pal project if they want to.  I want to think more about how tinkering opportunities can be built naturally into lessons prior to larger projects beginning.  This type of model takes knowledge of the upcoming curriculum and early conversations about the kinds of collaborative projects that will be taking place each quarter.  I love this new thinking that has potential for future planning with teachers and students.


Creating Star Charts with LittleBits

Star Charts (13)

Last week, Mr. Coleman, 4th grade teacher, asked me if I had any extension lessons to support 4th grade’s study of stars and constellations.  Specifically, their standard is:

S4E1. Students will compare and contrast the physical attributes of stars, star patterns, and
planets.

I suddenly remembered that a part of he littleBits workshop kit that I purchased this summer was a free space module.  As I flipped through the book, I saw that you could use littleBits to make a start chart.  This was the perfect opportunity for students to explore littleBits in a standards-based lesson with enough structure to give them a goal but still have an opportunity to do a bit of tinkering.

Star Charts (1)

Because some of the steps involved using a box cutter to cut holes in a cup and a cardboard circle, I did a few steps ahead of time for them.  On a large piece of cardboard, I gathered materials for each group:

  • a ziploc bag of the littleBits needed, including the battery
  • a littleBits screwdriver
  • scissors
  • tape
  • a toothpick
  • a pen
  • a cone made out of construction paper (many thanks to Gretchen Thomas for helping me figure out how to make a cone!)
  • a plastic cup with the bottom cut out
  • a cardboard circle the size of the mouth of the cup
  • a strip of cardboard
  • a set of instructions
  • a copy of a star chart

We started the lesson together on the carpet.  We watched a short intro video:

I told them that our goal was to make a device that lit up when it was in a dark room and projected stars onto the ceiling.

Star Charts (6)

We talked about failure.  I emphasized that this class was the first class in the school to use littleBits.  We talked about failing, taking a deep breath, backing up, and trying again when something didn’t work.  I also talked about teamwork and time management.  This was to emphasize that the more they worked together and didn’t give up the more likely they were to be successful in making their chart.

I also made suggestions about how teams might think about dividing up the work load.  For example,

  • 1 person might try step #7 and prepare the star chart
  • 1 or 2 people might try step #1 to assemble the bits
  • 1 or 2 people might try steps #3, 5, and 8 to create the cone
  • 1 or 2 people might try step #4 & 6 to attach the bits and test the device

This was only a suggestions.  Teams were welcome to do every step together or divide the work up in other ways.

Notice that I didn’t say anything about explaining littleBits, what each bit was called, what their function was, or how to put them together.  I knew that the kids were perfectly capable of figuring this out on their own, and they proved me right.

Mr. Coleman helped divide the students into groups and they got right to work.  I was amazed by how the groups took time in the beginning to assign roles before working.  It was a rare moment to look at a table and not see someone working on some aspect of the star chart.

Star Charts (8)

Mr. Coleman and I walked around and encouraged groups to read directions, try new things, work together, and gave a few helpful nudges as needed.  However, we did not create the star charts for any group because we wanted students to experience tinkering, failure, and the power of reading and following directions.

Star Charts (7)

There was a definite energy in the room and it was by no means quiet.  Each time something started working, the energy level increased.  Groups started taking their devices into our makerspace and equipment room so that they could turn off the light and test their invention.  As pieces worked, they screamed with excitement, but as they failed they hurried out, disassemble their work, and started over.

Star Charts (17)

Once again, I was amazed by how no students stopped working and no students reached a point of frustration where they shut down.

We even had a group who were still working when we were debriefing the whole experience because they wanted to make their star chart work.  They didn’t give up for a second.

Star Charts (11) Star Charts (12)

When the charts worked, students spent a bit of time looking at their constellations on the wall and ceiling.

During our debrief, we talked about what we learned about littleBits as well as what next steps students might take to learn about constellations.  I encouraged them to learn some of the stories of the constellations and to actually look for them in the night sky.

For the littleBits, students figured out that you could adjust the sensitivity of the light sensor to come on when it was light or dark.  This was a point of failure for some groups.  Others talked about reading the words on the bit including the power bit that says “on” or “off”.  Missing that one simple word “on” could be the difference between failure and success, and many groups forgot to turn their power on before testing their device.

Before students left, I told them that this was only a small taste of what littleBits can do, and I encouraged them to think about other inventions they might create during the year and to come and explore the other bits and their possibilities.

Empowering Student Voice through our Makerspace

3empower


At our “Meet the Teacher” night back in August, several students raced into the library to tell me about project ideas that they dreamed up over the summer.  As soon as I heard their enthusiasm, I knew that one of my library goals, “To empower student voice”, was going to be an important one for this school year.  One student shared about his idea to design his own Skylanders and 3D print them.  Another wanted to create a set of model trains on the 3D printer.  Another wanted to explore the MaKey MaKey. and program things.  I told them all that we would figure out how to make this happen this year, but I needed some time to get the library going.

As usual, the start of the school year has been busy getting projects, lessons, and technology off the ground, so I had not gotten back to these students.  I just love when students feel comfortable to raise their voices.  I received an email a few days ago from two students that went something like this:

Dear, MR Plemmons

We would like to come to the makerspace once a week during recess if possible. We would love to use the makey makey to possibly control Sphero. If this is possible please email back.
I knew I needed to make this happen fast because I had already waited too long to let these guys start tinkering, so I responded back:
When is your recess and what day are you thinking of?  I want to make this happen for both of you.
And then they responded back with the day, time, and:
Thank you for giving us this opportunity.
The first day of tinkering was just awesome.  Within a matter of minutes, Kearn had the MaKey MaKey connected to Play Doh and was controlling a train simulator on the computer.  Ludwig controlled the horn and Kearn drove the train.  Kearn wanted to make a video to show what he had done, so we pulled out an iPad and made an impromptu video which he wanted to add to his Youtube channel.  He also started following my blog and even left a comment about how much he loves the makerspace.  Both students were completely independent and were perfectly capable of dreaming, tinkering, and making on their own.  I was available for support as needed, but they really just wanted a space to explore.  As they continue, I want to connect them with some experts that might mentor their ideas and curiosities, but for now, they just need to tinker.

This is what I’m talking about when I say “empower student voice”.  These two guys are full of energy and passion about making.  I am sure that they will figure out so many things that I couldn’t even imagine myself during the course of this year.  They willingly share their knowlege and expertise, and I’m sure that their tinnkering, failures, and successes will inspire and support many other student projects during the year.  When I see two students get so excited about learning like this, I can’t help but think about what other opportunties students need to spark their own passions for learning.  I hope that our makerspace is just one space that ignites students’ curiosities this year.

Our 1st #3dprinting Project of 2014-15: Native American Hopes and Dreams stamps

native american stamps (15)

Fourth grade has launched into an incredible project for the 1st quarter of the year.  I’m so excited to be a small part of the project in the library.  In social studies, they are studying Native Americans.  Their standards include:

SS4H1 The student will describe how early Native American cultures developed in
North America.
a. Locate where Native Americans settled with emphasis on the Arctic (Inuit),
Northwest (Kwakiutl), Plateau (Nez Perce), Southwest (Hopi), Plains (Pawnee),
and Southeast (Seminole).
b. Describe how Native Americans used their environment to obtain food, clothing,
and shelter.

During this study, they are exploring the folklore of Native Americans through several folktales.  The brought them to the idea of a grade level dream catcher.  The beginning of the school year is a time full of hope.  It’s a time where students, teachers, and families set goals for what they hope to accomplish throughout the year, and many spend time writing about hopes and dreams.  The teachers in collaboration with the art teacher decided to design a project to capture the hopes of dreams of students in the form of meaningful symbols on a dream catcher.

native american stamps (1)

Working together, students will creative a massive dream catcher.  In art, they are designing symbols that represent their hopes for the year.  They are designing shapes that can be drawn in one continuous line.

native american stamps (2)


With me, students are using an iPad app called Cubify Draw which is designed by 3D Systems.  The app is very simple to use.  With your finger or a stylus, you draw one continuous line to create pretty much anything you can dream up.  You can adjust the thickness of the line and then touch “make 3d”.  The shape automatically turns 3D and you can adjust the height and thickness.  Once your design is ready, you can email the file to a central location to prep for 3D printing.

native american stamps (10)

For the lesson in the library, I gave a very brief intro to the app and shared some tips that I discovered through my own tinkering.  Big open swirls seem to print better than lines that are close together.  The shortest height and thickest line tends to print best.

native american stamps (4)

Mrs. Foretich, our art teacher, passed out the paper designs students made in art and gave students another opportunity to make adjustments to their designs and practice tracing the design with their finger.  I passed out iPads and the tinkering began.  Most students made several designs until they got the design just the way they wanted it.  Mrs. Foretich and I walked around and conferenced with students about adjustments they might need to make to their designs as well as helped troubleshoot problems.  Students emailed their designs to me with their teacher name and first name in the subject line.

native american stamps (5)

We are doing this lesson with the entire 4th grade, so that makes for roughly 60 designs.  Each design has to be imported into Makerware, reduced in size, and exported as a file for our Makerbot Replicator.  These files are being placed onto SD cards.  To speed up the file prep progress I used multiple computers and multiple SD cards.

native american stamps (12) native american stamps (11)

Then, the printing began.  Print after print is now running in the library.  It took about a day and half to print the first class batch.  Now I have 2 more to go.  Each student print is being placed in a ziploc bag with the student and teacher name on the bag for easy distribution.

native american stamps (14) native american stamps (13)

The next step will be for students to create a vessel out of clay in art.  They will use their 3d stamp to press designs into their vessel.  All of the vessels will hang from  the grade level dream catcher, including vessels designed by all of the teachers involved in the project.  This will serve as a symbol for the year to represent our connectedness and our common goal of working together to achieve many hopes and dreams this school year.  Our vessels and dream catcher will hold these safe throughout the year.

Thank you Mrs. Foretich and the 4th grade team for an incredible project for our students that allows them to dream, tinker, create, and share.


Makerspace Maniacs Enrichment Cluster

first robots (10)For about 4 weeks, a group of 2nd-5th graders have been meeting with me on Fridays from 8:15-9:15AM.  This time is called enrichment clusters at our school which basically means that kids select a group based on their interest and spend a period of time learning and creating around that topic.  Our cluster is called Makerspace Maniacs.  Our first sessions have been about exploring the world of making.

first robots (3)

So far we have:

  • Watched Caine’s Arcade and explored the idea of making interactive creations with cardboard.
  • Watched Sylvia Super Awesome Maker Show and explored how we can take our creations and create instructional videos about them.
  • Watched Landfill Harmonic and explored how makers take other people’s trash or unwanted items and turn them into functional creations.
  • Watched how a 3D printer works and imagined what we would create on it.

http://www.youtube.com/watch?v=AKTSdW7-H3Q

  • Tinkered with Lego robotics and programming.
  • Explored making things out of duct tape.

Now, students are beginning to think about what they are interested in spending more time with.  Right now, we have a lot of interest in robotics.  Today, one student spent time exploring the directions to build a mindstorm NXT robot and began the building process.  Another group of students looked at the Lego WeDo kit and followed instructions to build an alligator.  Other students spent time, exploring how the various lego pieces fit together.  Since their interests are so drawn to robotics, Christa Deissler from UGA will be helping me coordinate a guest speaker to talk to students and demonstrate programming of robots.

first robots (9)Seeing something tangible really inspires the students.  Today a student figured out how to use the WeDo software to make the alligator open and close its mouth.  When students saw this happen, they immediately wanted their creations to do something too.  Once we get past the exploration stage, I think students are going to want to get into the workings of the programming software and figure things out.

http://youtu.be/URUDWSq6CBw

In other news, our Donors Choose project to get a 3D printer is fully funded!  This will give these students access to even more tools for making.  Two other classes already have ideas for how the printer might be used in their own projects.  Once it’s here, I’m sure that there will be lots of exploring, learning, and sharing between classes to figure out how this tool can support the learning in classrooms.

first robots (7) first robots (5) first robots (2) first robots (1)