Our 1st Student-designed Print on Makerbot Replicator 2

1st print (22)
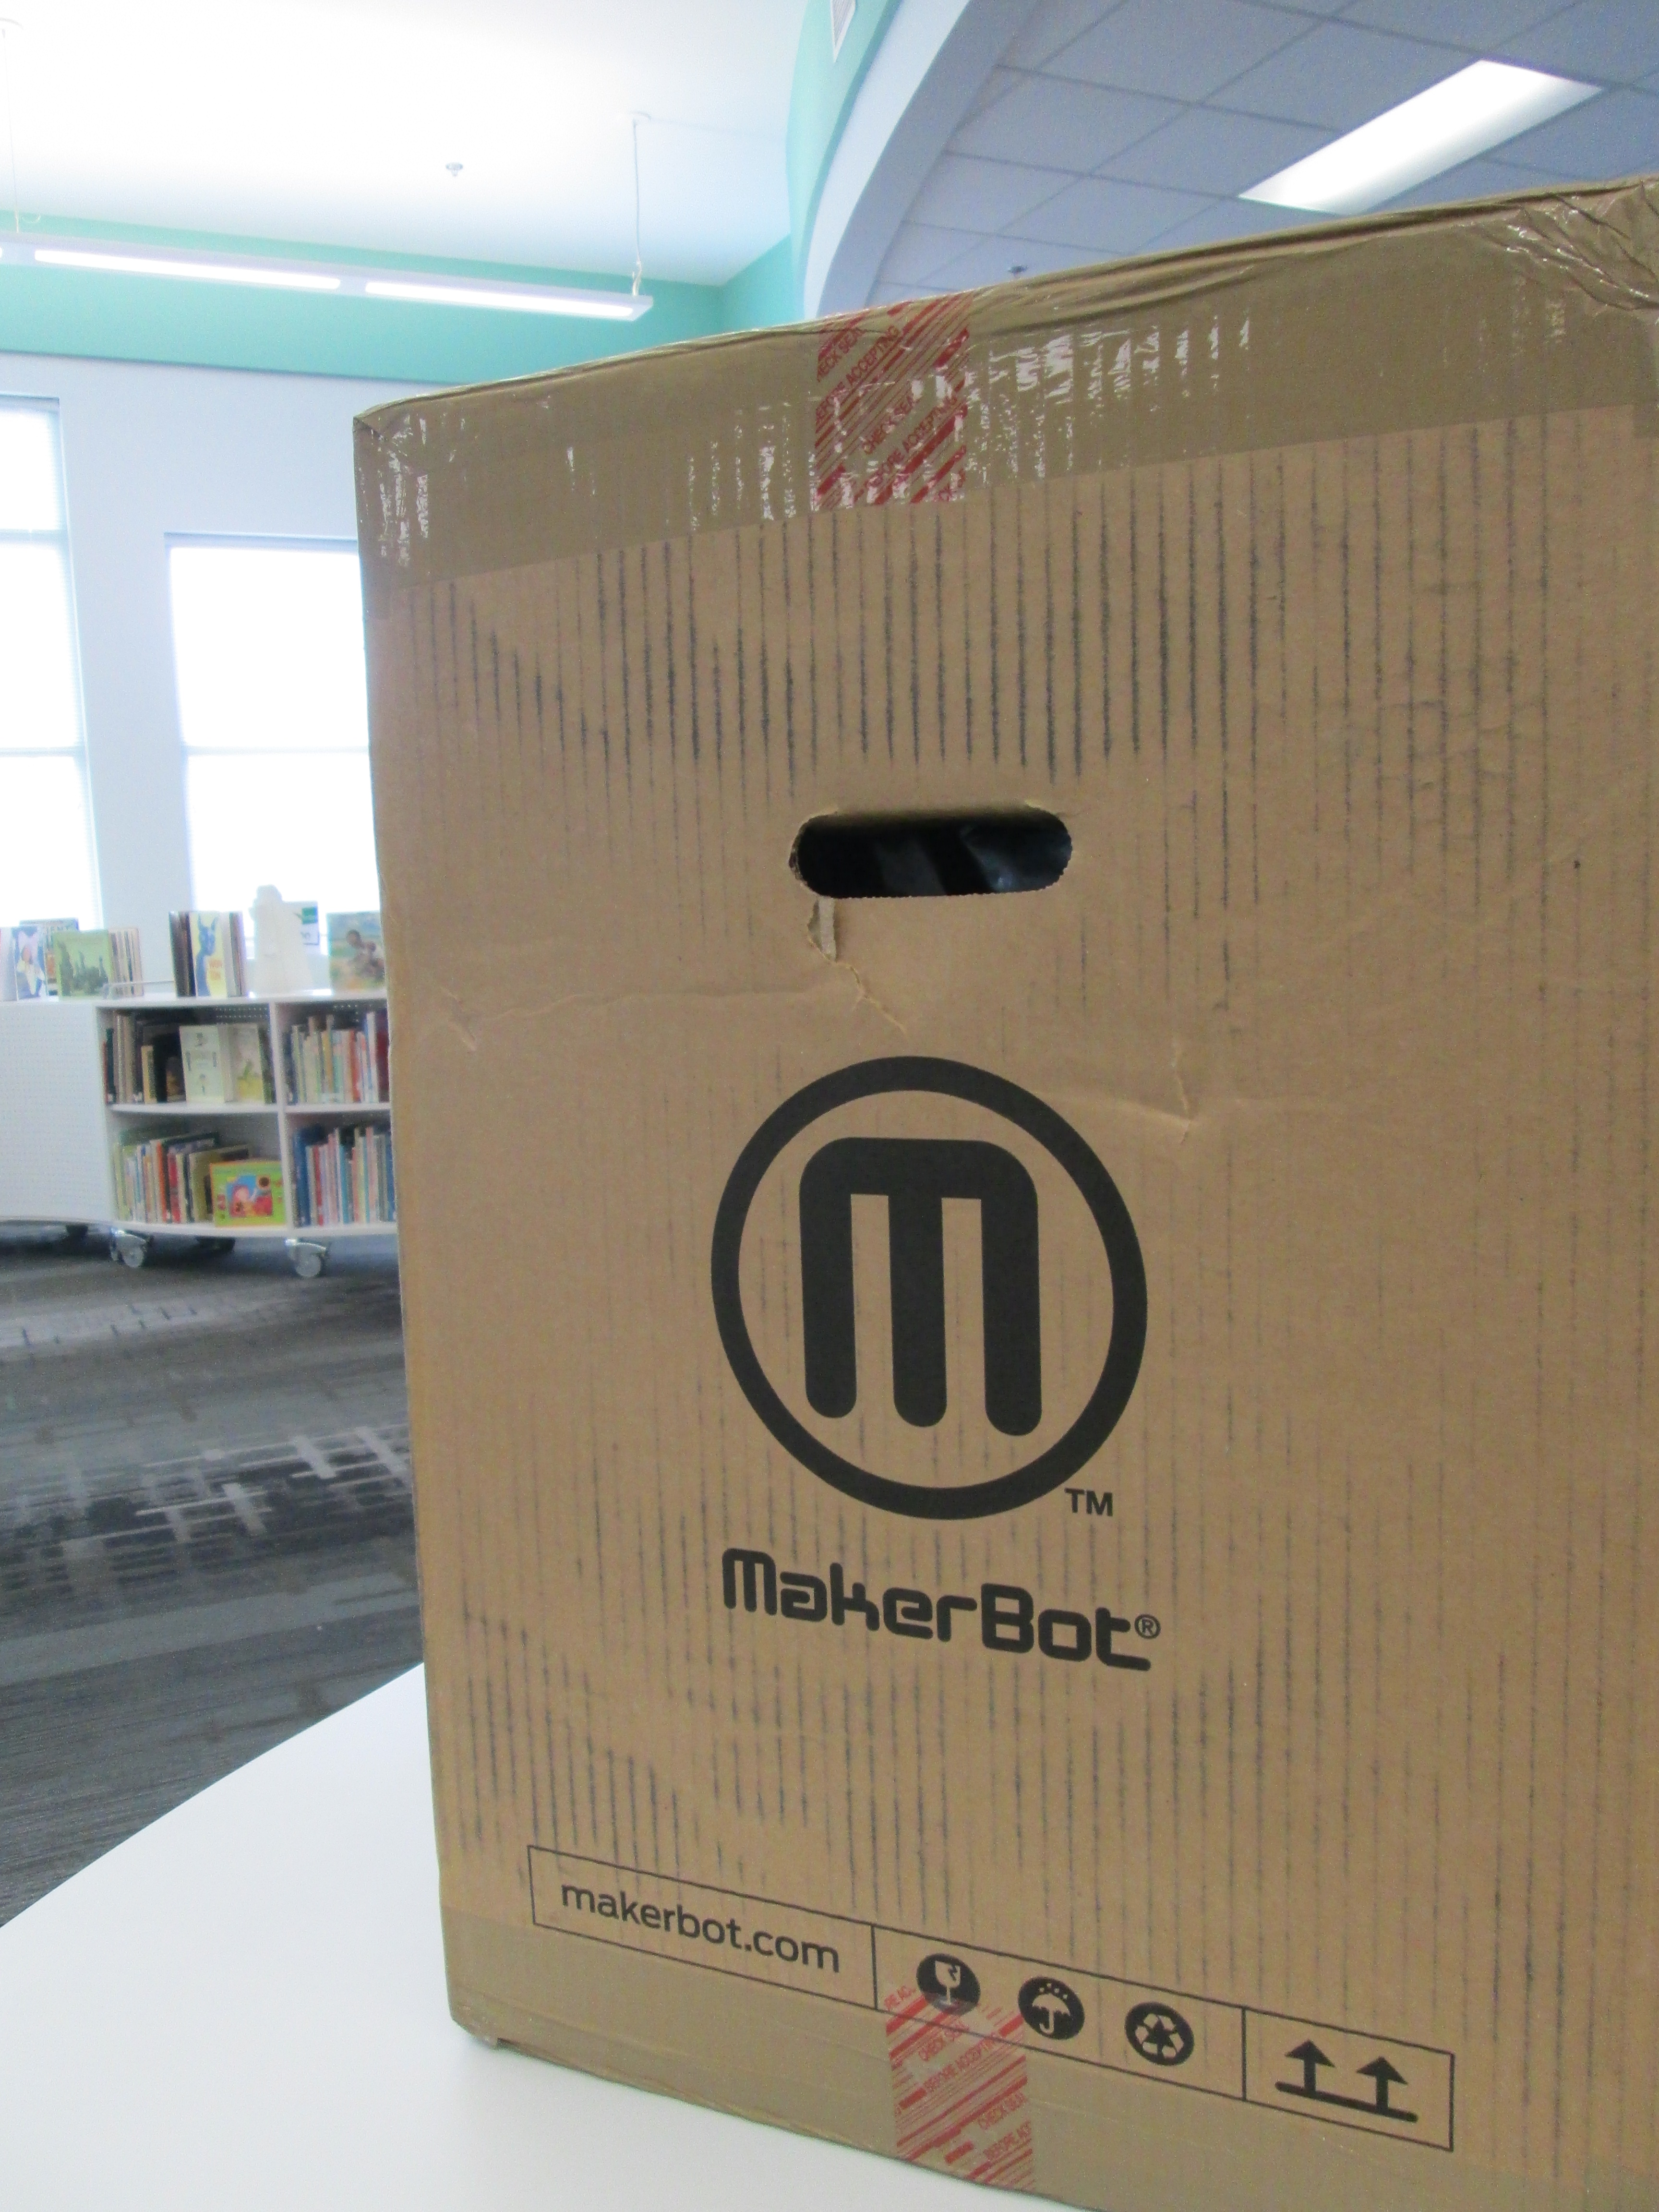
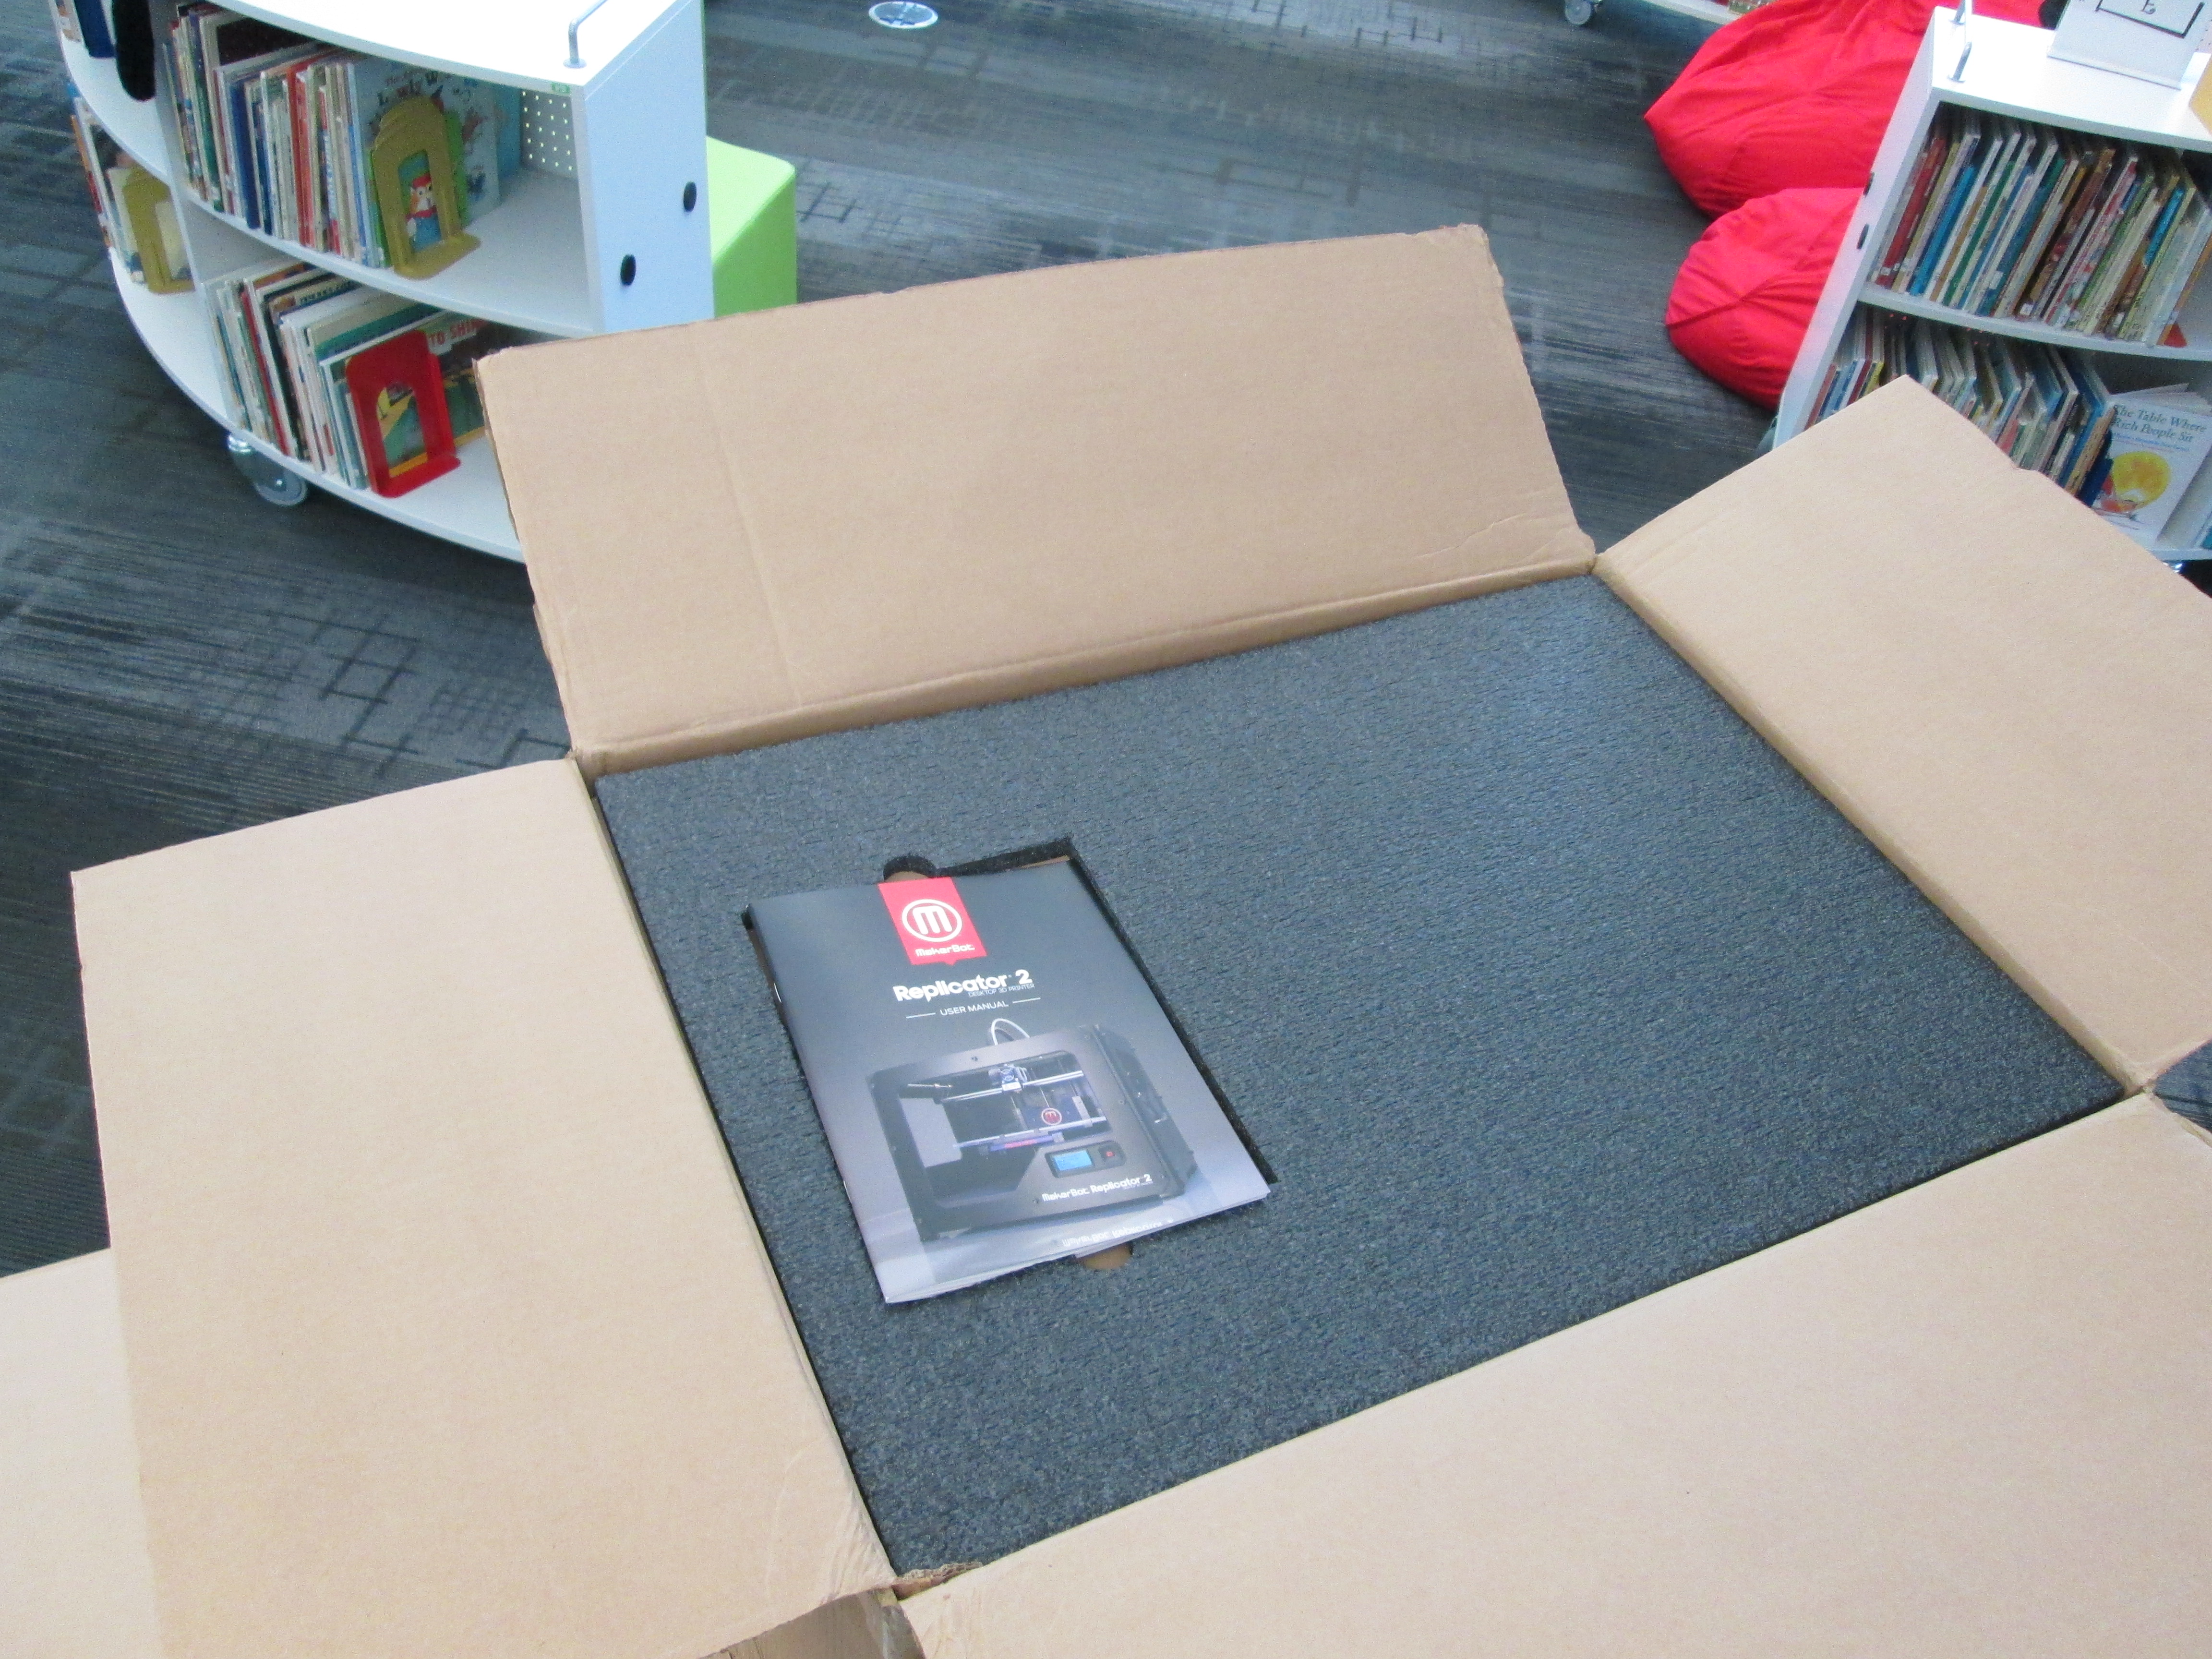
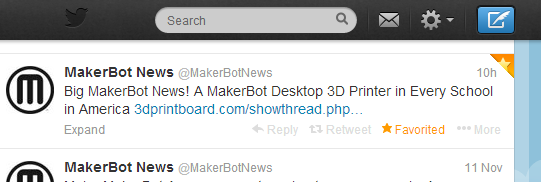
Today was a Barrow milestone.  Grant, a 3rd grader, became the 1st student to print his own design on our new Makerbot Replicator 2.  Grant’s class has been studying rocks and minerals.  As a part of the study, they skyped with Aurum Studios, a jewelry store in downtown Athens.  During the Skype, Aurum toured students through the design process of a piece of jewelry.  One piece of designing is to use 3D software to create a model.

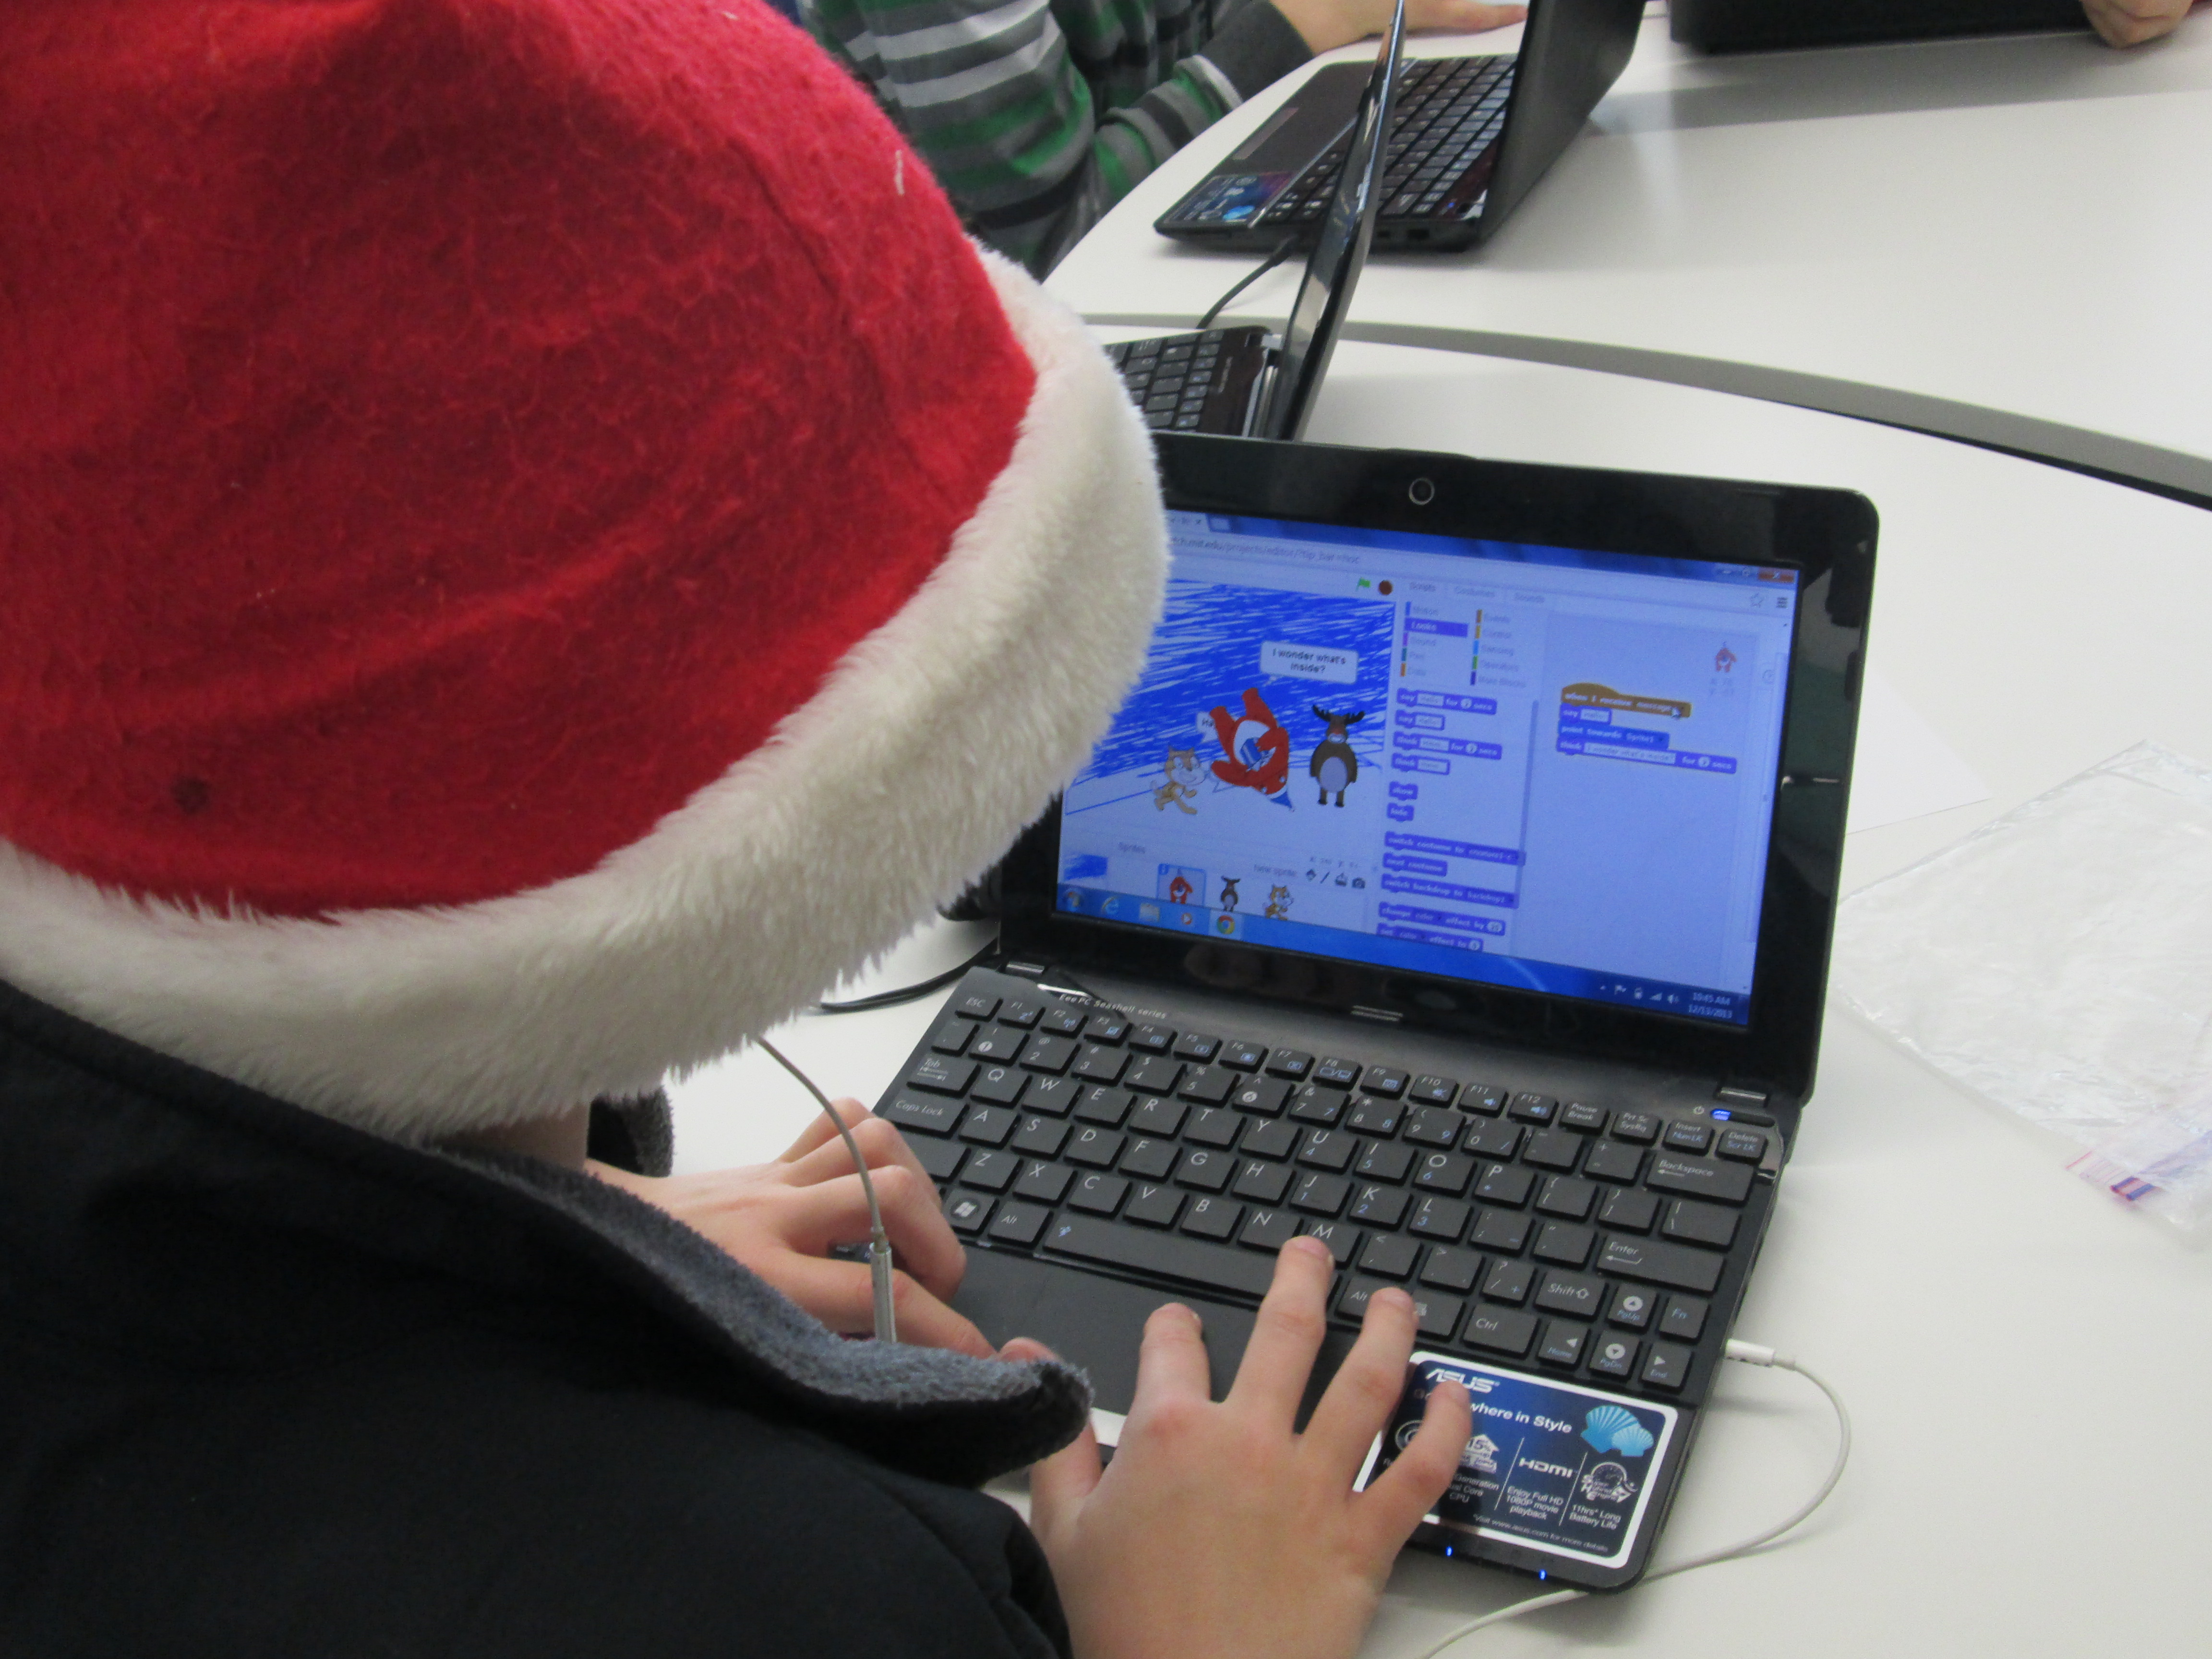
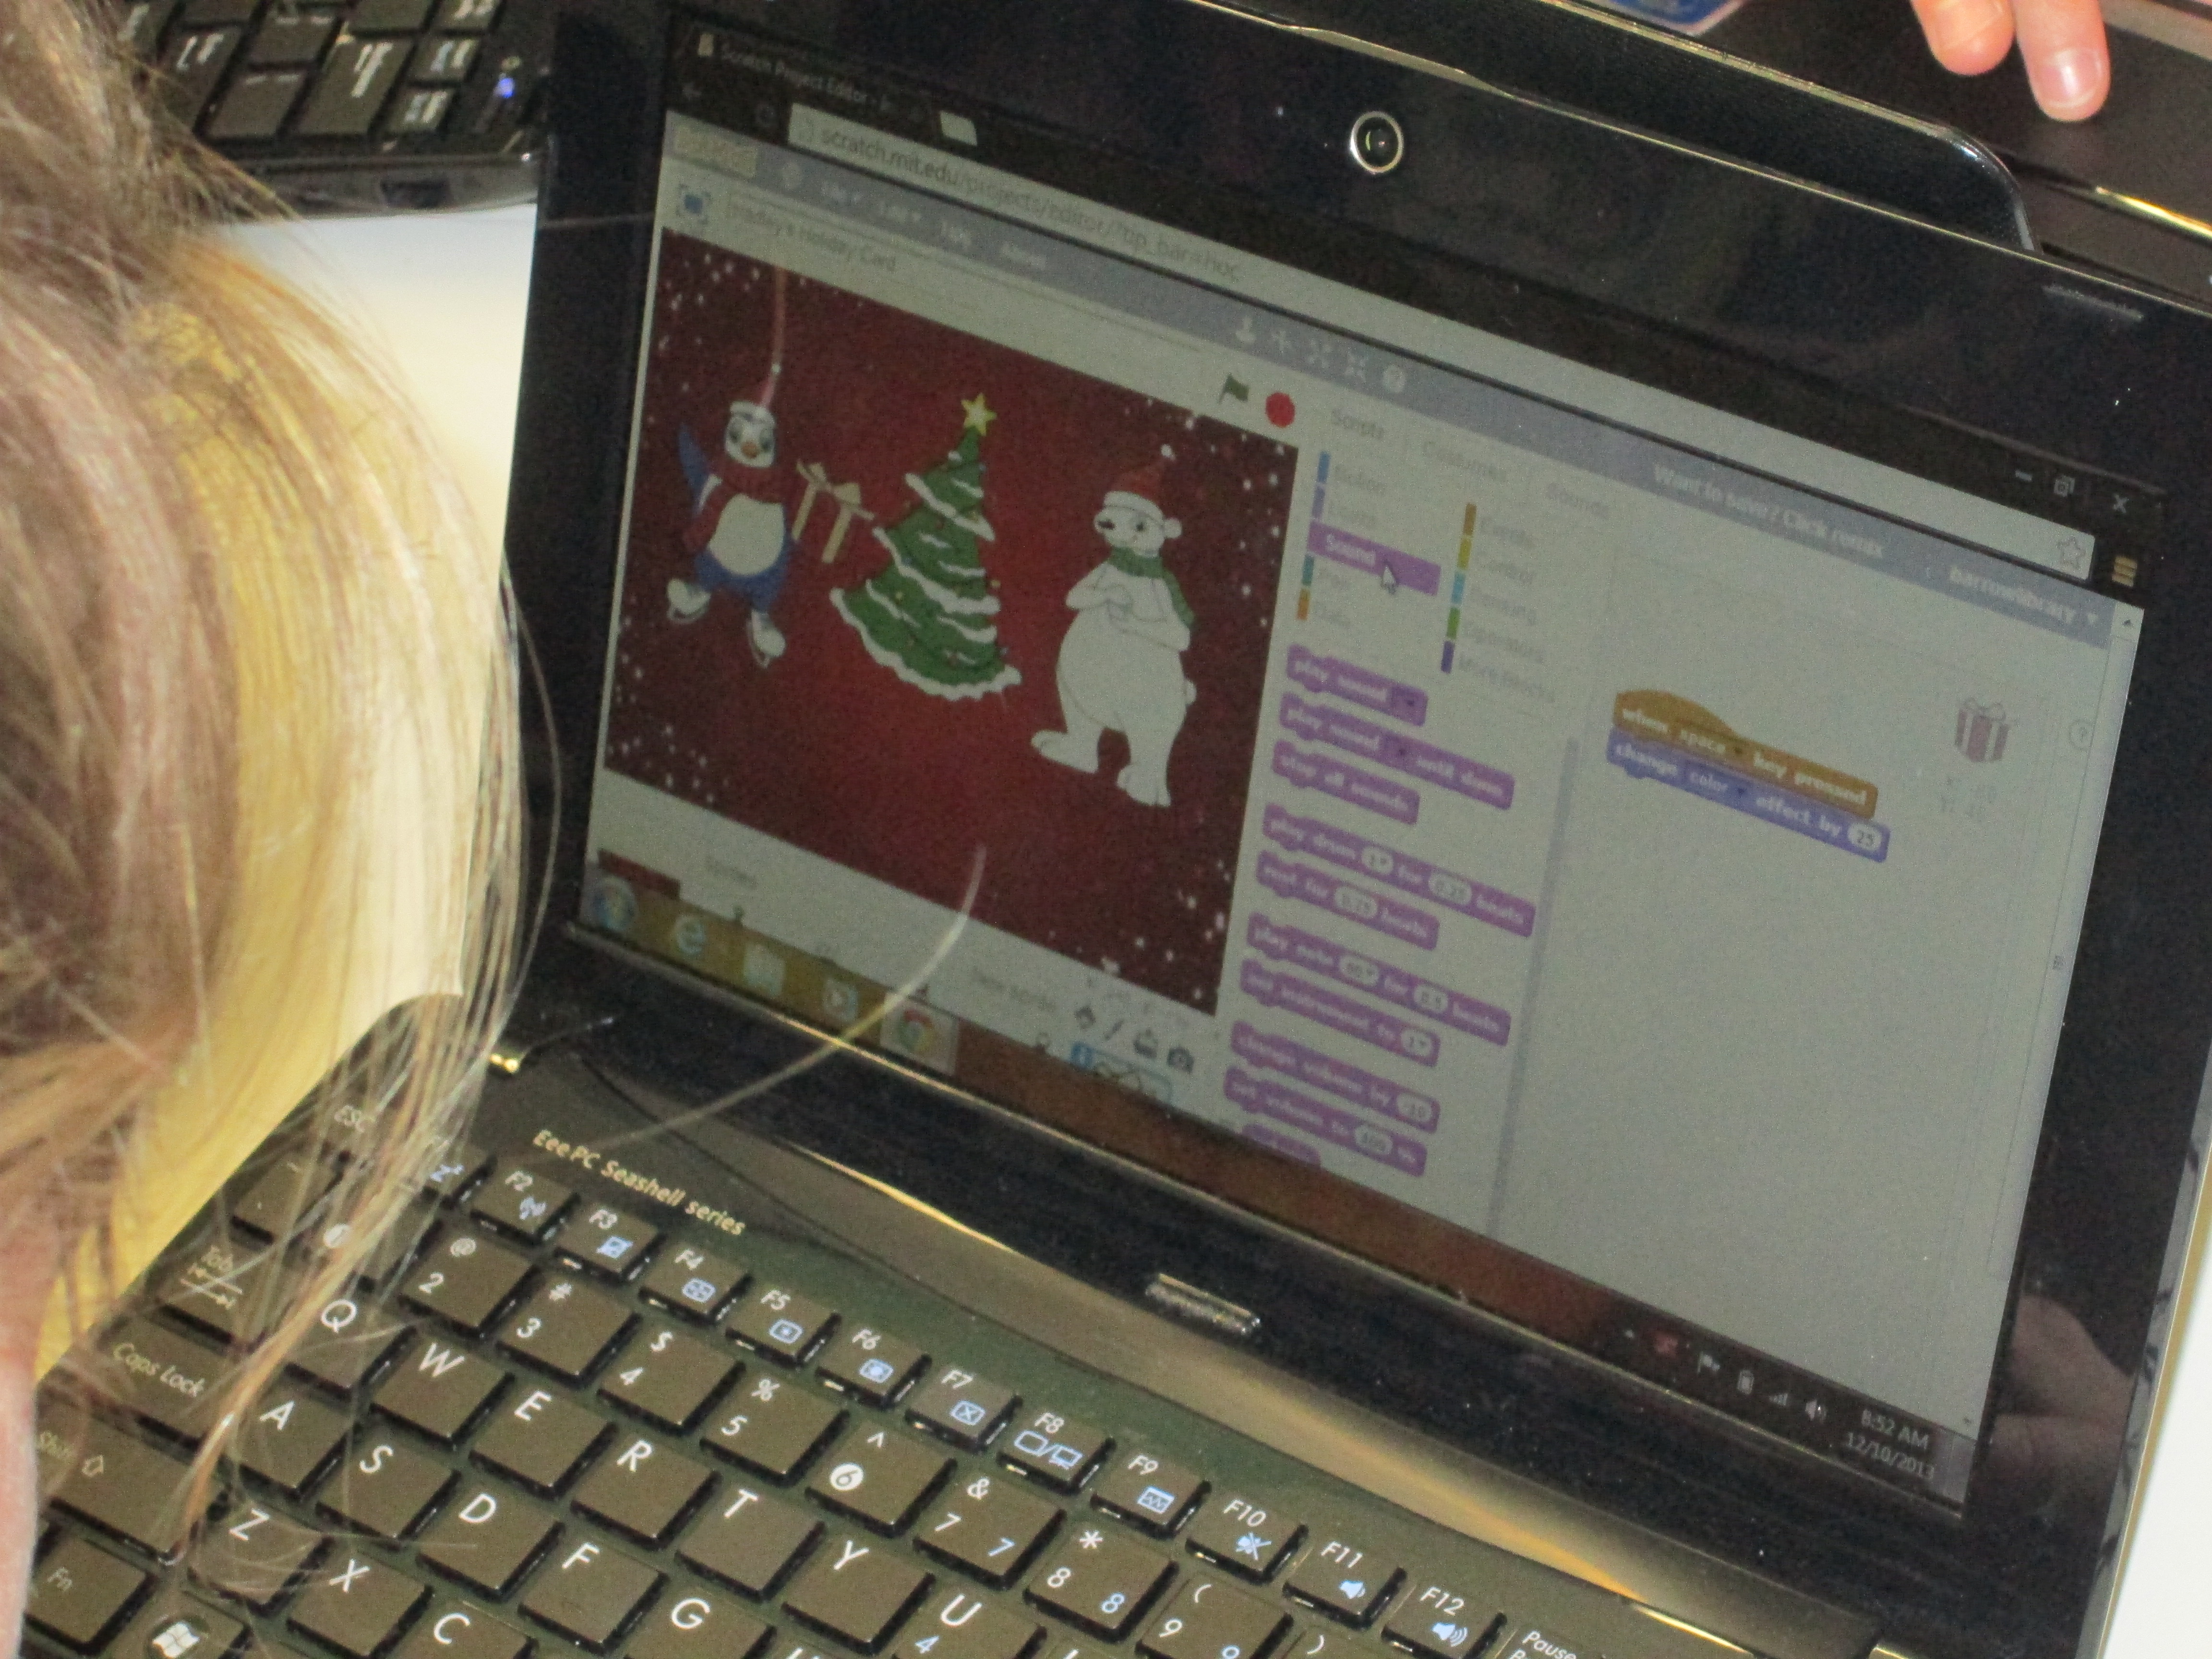
Students used a free tool called Sketchup and began to design their own gems with all of the cuts that they would design into a piece of jewelry.  Ashley Maher, Spectrum teacher, worked with these students and gave them space to explore the many functions of Sketchup.  Many of them figured out several functions of the tools within Sketchup by just exploring on their own.  The students started this project before we even knew we were getting a 3D printer, but when we did, they had an ultimate goal of holding their gems in their hands.

Ms. Maher took Grant’s Sketchup gem as an experiment to see if we could print it.  We used this post for guidance.  Basically, a plugin had to be downloaded into Sketchup in order to save the Sketchup files as an STL file.  Next, the STL file was imported into Makerware.  The gem was rotated so that the flattest side was on the build plate.  We set the file to a 15% infill with no raft.  Finally, the file was loaded onto the SD card ready for Grant to print.

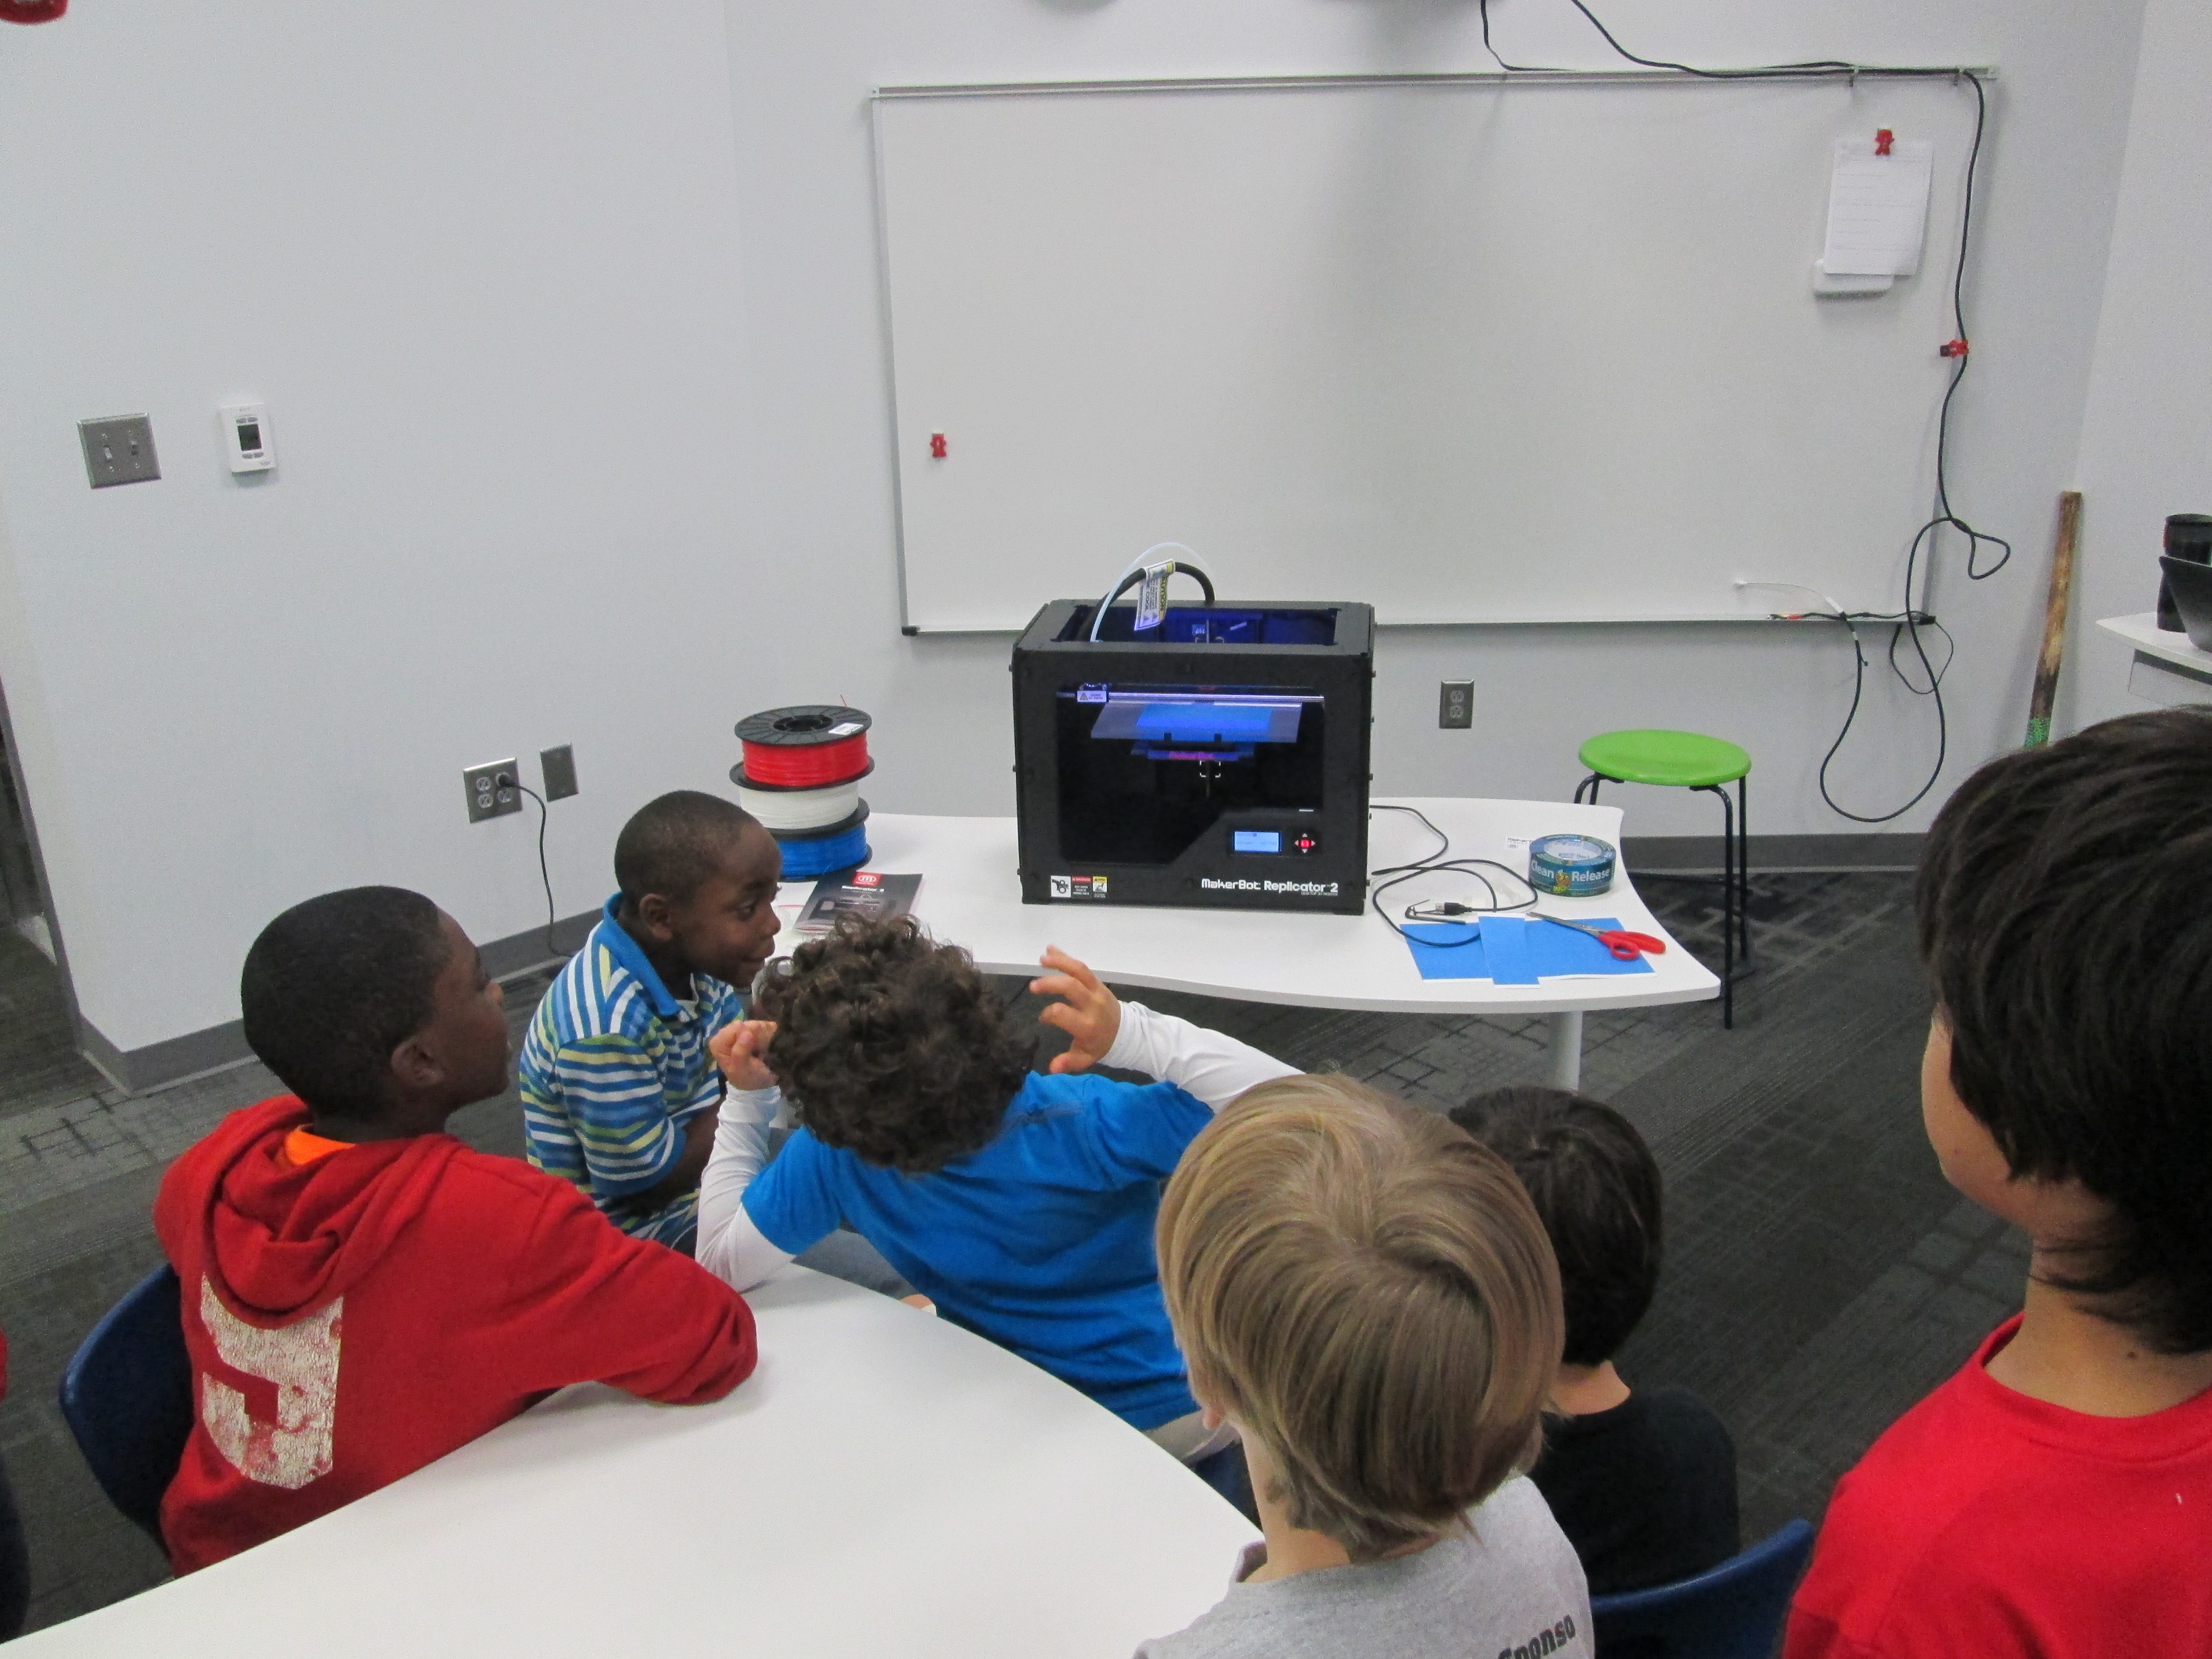
Today, I checked in with Grant to see what color he wanted his gem to be.  I had his natural filament loaded and ready when he came to the library for ELT.  He was eager to see what happened.  I reminded him before we started that this was all an experiment.  If it didn’t work, we would look at our mistakes and try again.  We pulled up his file on the Makerbot and he pressed the red M to begin.  The rest of his classmates were in the library working and they frequently came over to visit.  We watched as the 3D printer built layer upon layer perfectly.  It took about 35 minutes for his gem to print.  Along the way, we made some video and Grant talked about his design as he watched it appear.  As the gem neared completion, Grant was bouncing around shouting out the percentage because he knew we were so close to finishing the print without a mistake.  When the build plate lowered and his gem that he designed was sitting their, he was ecstatic.  His classmates rushed over and everyone wanted to hold it.  He passed it around and then took it to show a few adults in the building.

http://www.youtube.com/watch?v=MECvE__EN3E

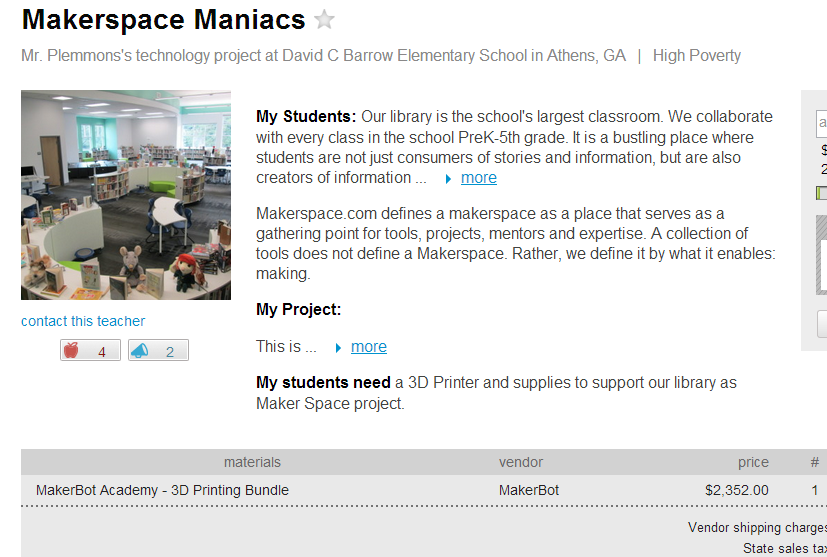
Immediately, all of his classmates began asking when they would get to print.  We probably won’t print any more until January, but now we know that the process works.  After winter break, students will continue designing and printing.  I have a feeling that now that students have seen the final product, they are going to get even more creative with the cuts in their gems.  I’m also excited that we have so many young experts in our building that will be with us for 2 more years.  These students will be leaders in teaching others how to use Sketchup and other modeling tools.  This is only the beginning.  It’s exciting to think about what is to come.  I am so grateful to the donors, Donors Choose, and Makerbot for making 3D printing a reality in our school

Hour of Code Days 3-5

Day 5 (3)This week has just been incredible.  It’s hard to believe that just a couple of weeks ago the planning for this week began.

Even with lots of benchmark tests and wrapping up the end of the quarter, our Barrow teachers found time to bring students to the library to participate in Hour of Code.

No matter which class came, I saw similar results:  engaged students, problem solving, collaboration, suspension of time, perseverance.  Exposing students to coding has opened up a new world for them.  I loved having a conversation with students during every session about the importance of coding knowledge in their future.  Who knows what jobs will be out there when these students join the workforce, but coding is very likely going to be a part of it.

During the week, our internet has  been extremely slow, which has given us lots of problems.  It hasn’t stopped us though.  We did have to abandon some of the computer programs like Tynker because they just wouldn’t load on our machines.

Kindergarten and 1st grade continued to explore Kodable.  Second grade started exploring Light-bot on the iPad instead of Tynker.  An interesting thing started to happen with these students because they got up out of their seats and acted out the moves that their robot needed to make in order to visualize the code they needed to put in.  I loved watching the strategies that students developed to figure out the code they needed.

Students have recorded some of their thinking using a Fligrid this week, which was yet another new tool to many students.  They loved making these short videos about their learning.

Day 2 (11)A group of third graders along with the whole 4th and 5th grade explored Scratch to make an interactive holiday card.  The 4th and 5th grade groups were huge because the entire grade level came together.  I kept our whole group time very short.  I stressed the importance of not giving up, messing around to see how things work, using tutorials, and collaborating.  It was amazing to watch a group of 75+ students disperse, find their own work spaces, and get to work.  When they figured things out, they shared.  For the 4th grade group, we did a Google Hangout on Air with Sherry Gick (@LibraryFanatic) and her students who were using Blockly.  During the hangout, we each setup a computer and headset and students were able to talk to one another about what they were doing.  I picked up our laptop and walked around our library to show her students what my students were doing.  Sherry got on the microphone several times and helped some of my students with their questions too.  It was a great experiment that I definitely want to try again because it opened up our walls to student-to-student collaboration across states.  I wanted to try the idea of coders on call, and this was a step toward that for the future.  You can see how the conversations turned out in this video:

Next week, we hope to connect students again with Sherry Gick’s students in Indiana and Shannon Miller’s students in Iowa to share some of their learning and creations.  This week has sparked interest in coding, and I’m sure that coding will make its way into many of the collaborative projects during the year.  Thank you Code.org and Computer Science Education Week for putting together such a great program, inspiring videos, and helpful tutorials.  The word is out that coding is a critical skill needed by our students.

Here’s a glimpse of what happened at Barrow this week:

http://www.youtube.com/watch?v=p9t5MVRz0I4

Hour of Code Day 1 and 2

The entire 5th grade came together to code using Scratch.

The entire 5th grade came together to code using Scratch.

I am so energized by the excitement I saw from Kindergarten, 1st grade, 2nd grade, and 5th grade students yesterday and today during our Hour of Code.  Here’s what each session looked like:

1.  I asked them how many of them liked to play video games, iPad apps, computer programs, or knew someone who used Facebook.  Pretty much every hand shot up.  Then, I asked them how many of them knew how those programs were made and their hands shot down.  However, when  I asked how many of them would like to explore how computers and games are programmed, pretty much every hand went up again.

2.  We watched 1 or 2 videos like these:

3.  I briefly introduced the tool that students would use and gave them the short link.

4.  I gave some ground rules:

  • Coders don’t give up.  They try, make mistakes, and learn from those mistakes.
  • Coders collaborate.  Ask 3 other students for ideas or help before asking me.
  • Have fun!

Kindergarten and 1st grade students worked with Kodable to program a rolling fuzz ball to move through a maze collecting coins.  Our 2nd graders used Tynker to program a puppy dog to perform various commands.  Our 5th graders used Scratch to design an interactive holiday card.

At tables, I watched students leap into coding.  They hit speed bumps right away.  Many began asking one another, but there was still a tendency to ask me.  I helped at times but facilitated students talking to one another most of the time.  Since I had seen all of the tables, I knew which students had figured out some of the coding tricks.  I used this knowledge to nudge students toward one another.  Many of them really stepped up to help their peers and students who weren’t always looked to as an expert suddenly found themselves being the go-to person.  It was empowering!

holiday on ScratchAnother amazing thing was having the entire 5th grade working together in the library.  They were eager to jump in and use Scratch, which most of them had never seen or heard of.  For the most part, they quickly settled in around the library in groups or by themselves and got to work.  As they figured out things, they shared.  Some of them left having a complete card made.  Others left with a start.  All of them left with a better understanding of how to use Scratch and an excitement for coding.  There is great potential in this energy that has been generated.

Day 1 (21)Our days were not without problems.  Our school internet seemed particularly slow.  The Hour of Code sites were also swamped with visitors, so these two combinations made some of the tools impossible to load.  We had to completely change our 2nd grade Tynker lesson on day 1 because it wouldn’t load.  Instead, students used blockly and Kodable.  Kodable was our reliable app of the day.  When students all tried to login to Scratch, they kept getting bumped out.  Also, they had trouble signing in, so several left without a chance to save their work.  All of these glitches didn’t dampen the excitement for coding.

Throughout the days, students added some reflections about what they learned to a Flipgrid.  This grid was also shared on Twitter so that students in other schools could add as well.  We have several more lessons planned across Wednesday-Friday and next week students will participate in a coding smackdown in Google Hangouts.  They will have a chance to share their learning and creations with others around the country.

Hour of Code is Coming This Week!

We are very excited about the opportunities planned for our students in the library this week.  It’s Computer Science Education Week and to celebrate several classes in grades K-5 will participate in Hour of Code, which gives kids hour-long experiences in a variety of kid-friendly coding tools.  The hour of code site has multiple step by step tutorials to help kids learn some basics of each coding tool, while allowing them the freedom to be creative.  Theres’s something for every age from 5-106 🙂

Computer Science Education Week (CSEdWeek) is an annual program dedicated to showing K-12 students the importance of computer science education.

Organized by the Computing in the Core coalition and Code.org, CSEdWeek is held in recognition of the birthday of computing pioneer Admiral Grace Murray Hopper (December 9, 1906).

Why would we want our students to learn computer coding?  Take a look at some of these statistics.

more-jobs-than-students

job-student-gap

2012-hs-ap-enrollment

Some of our Kindergarten and first grade students will use an iPad app called Kodable.

kodable

Second and Third grades will be exploring both Blockly and Tynker.  Some first graders will also try Tynker.

https://i0.wp.com/www.tynker.com/image/hp/course-intro-to-programming-videotutorial.jpg

Tynker Intro

Fourth and Fifth graders (and perhaps a few other students too) will make holiday cards with Scratch.

During the week, we plan to make connections with other schools around the country who are also participating in Hour of Code in order to allow our students to share, brainstorm, and problem solve across the miles through Skype and Google Hangouts.  On December 17, we will participate in a live Google Hangout On Air where students will share their coding creations and learning with students in multiple states simultaneously.

The intention of Hour of Code is to give as many students as possible experience with coding, which will hopefully lead to both individual exploration or class projects in the future.  I’m prepared to be amazed this week by what students discover.  Look for posts throughout this week to share our progress.


Makerbot Replicator 3D Printer First Prints!

IMG_1471Today my Makerspace Maniacs group met for enrichment clusters.  This group is made up of 9 students in grades 2-5.  They had already heard that the 3D printer had arrived and they were eager to give it a try.  For demonstration purposes, we used the files that were pre-loaded on the SD card that came with the Makerbot in order to print.  They voted on what to print and chose Mr. Jaws, a shark that can serve as a paper holder.  We went through the menu screens and selected our print and pressed the red M button.  We were ready to be amazed, but our print failed!  So what happened?  It seemed that the filament began to ooze out of the extruder before moving onto the build plate.  This caused some buildup that interfered with the actual print file sticking to the build plate.  Instead, it got tangled up in itself and made a ball of filament on the plate instead of a shark.  Did we give up?  Of course not.  We used a Rachel Ray silicone spatula to catch the filament oozing out before it moved onto the build plate, and our shark printed great.  In the process, we had a great conversation about how makers don’t give up.  They learn from mistakes, and they expect that things rarely go right on the first try.

The students were amazed by what the printer could do, and they already starting talking about what they wanted to design.  We really have our work cut off for us because we know the process is going to be filled with learning curves.  Today, the Athens Banner Herald also came and interviewed me and the students.  They were eager to tell the paper their stories of how they plan to use the printer.  I hope some of their stories come across in the article.

IMG_1477Today, throughout the day I’ve printed the nut & bolt, the chain links, and another stretchy bracelet.  I wanted to practice changing filament, so I switched to red for the bracelet.  I was surprised at how easy it is to change the filament, and I loved that the Makerbot walks you through each step on the menu screens as well as in the printed manual.  I also experimented with how to remove items from the build plate.  The painters tape really does help, and so far, I like the flexible Rachel Ray spatulas that I’m using.  It was also suggested to me by TimeOutDad to use this Cricut tool from Amazon.

Throughout the day, several students and teachers have stopped by to watch the printer print and to talk with me about how we might use it this year.  I called Makerbot and got a quote for 12 more rolls of filament as well.  Ideas are brewing.  We’re already learning lots, and we’re almost ready to venture out into the waters of the unknown.

Flipgrid Book Talks with 5th Grade

Flipgrid. Relax and discuss.A few weeks ago 5th grade reading teacher, Melissa Freeman, asked if her students could have some time in the library reading picture books and informational books related to the Civil War and Civil Rights Movement.  I quickly began pulling a big stack of books for them to read.  We wanted some way of capturing this experience to refer back to during Social Studies time, so I’m so glad that I discovered Flipgrid!

flipgrid civil war & rights (11)Each 5th grade class came to the library today.  I had the books spread out on tables.  We started in the floor for an overview.  I shared our purpose of reading books connected with our social studies content.  The teacher and I both stressed that our main goal was to spend quality time reading the books and preparing to do a book talk.  Flipgrid was going to be our tool to capture these book talks, but Flipgrid was not our focus.  We also talked about why Flipgrid was the chosen tool.  We brainstormed ideas such as the ability to go back to these book talks during social studies to find books that matched standards.  Students also thought that others in the school could visit the grid to learn about some books that they might not check out on their on.

With our purpose established, I showed students an example of what a book talk video might look like.  I also quickly walked through the Flipgrid screens to show what each one looked like in order to record a video.  This overview took us about 15-20 minutes.

Students each went to the tables, chose their book, and found a cozy spot to read.  As students finished their reading, they got index cards and pencils to write down a few notes to help them with their book talks.  Finally, they got an iPad, typed in the flipgrid code, and found a quiet spot to record.

flipgrid civil war & rights (8)The student response to this tool in 5th grade was very positive, but they did have some suggestions for improvement:

  • When they held the books up to show them on the video, the words on the books were flipped backward.  We did not figure out how to fix this in the recording screens.
  • When students submitted their video, sometimes it put the video up to 8 times on the grid.  I had to manually go in and delete the extras.  We are not sure why this happened to some students and not others.
  • Some students received a timeout error message when uploading their videos.  They had to repeatedly submit the video until they got the successful upload message.

I typed all of these comments in an email and sent it to Flipgrid support.  We hope that we hear some answers to these issues or see Flipgrid continue to improve.  Even with the technical problems, the students all hope that their teacher and I will continue to use this tool.

Listen to their book talks here.  Students will continue to add videos to grid during their reading class with Mrs. Freeman.

Flipgrid Book Reviews with 2nd Grade

Flipgrid. Relax and discuss. 2I have a new favorite tool:  Flipgrid.  This tools allows you to setup a grid with multiple questions and students can use webcams on computers or a free iPad app to record up to 90 second responses to the questions.

Our 2nd grade is currently working on response to literature writing.  They want to create book reviews to post onto their KidBlogs.  To kickoff the writing of book reviews, we looked at a book review written a few years ago by Kindergarten teacher, Kelly Hocking.  We decided after reading the review that it was made up of 4 parts:  A hook, a short & sweet summary, connections & opinions, and recommendations.

Flipgrid. Relax and discuss.Next, I read the book Carnivores by Aaron Reynolds and illustrated by Dan Santat.  I wanted students to have a chance to practice writing the parts of a book review, but rather than do it whole group, we used FlipGrid.  I created a grid with 3 questions:

  1. What would be a good hook for your book?
  2. What connections do you have for your book?
  3. What are your recommendations for your book?

Each question has a code for flipgrid.  I downloaded the app onto all of our iPads.  For the app, students just have to type in the code to access the question.  I printed each question with its corresponding code on paper to give to groups.  Students divided into groups of 4 and were assigned one of the 3 questions.  After doing this lesson with 2 different groups, I learned that for 2nd grade it was really important to write down what they were going to say, so students first wrote out their response to their question on an index card.  Then, they practiced reading the card and deciding who would say each part on the recording.  To record, students:

  • opened the app
  • typed in their code.
  • touched the plus sign
  • accepted terms
  • took a photo
  • recorded their response
  • uploaded their video by typing a name and email

The videos were all sent to our grid.  We gathered back on the floor to listen to some examples of hooks, connections, and recommendations.  I also sent the link to the teachers so that they can refer back to the hooks, connections, and recommendations that were made as they begin to write their own book reviews.  I imagine that these videos could become parts of mini-lessons about what makes a strong hook or how to write a stronger recommendation.

You can listen to their responses by visiting the grid.

I’m proud of these 2nd graders and their teachers for diving into an unknown tool.  They learned about writing book reviews, but they also learned from their failures in using a new tool and passed on their learning to the groups that come after them.  We had some great discussions about what we will remember the next time we use Flipgrid, and I know that the process will get smoother each time.   I think Flipgrid will be a tool I will come back to again and again.  In fact, I’m using it tomorrow with 4th graders to create a grid of book talks about civil rights leaders.

Our Makerbot Replicator 3D Printer is Here!

IMG_1428It’s here!  A lot has happened since our project was funded through Donors Choose.  I attended the American Association of School Librarians Conference in Hartford, CT.  While there, I attended several sessions on Makerspaces.  During one of my conversations, I had the pleasure of connecting with Shelley Diaz at School Library Journal.  She was very interested in our 3D Printer project and wanted to interview me about it.  You can read the article here.

Our local newspaper, the Athens Banner Herald is also in the process of writing an article about our 3D printer adventure.  In addition, Stroud Elementary and Hilsman Middle here in Clarke County are both getting 3D printers thanks to Donors Choose projects posted by their school library media specialists, Shannon Thompson and Leslie Gonzalez.

IMG_1429When the boxes arrived today, I was extremely excited but extremely nervous to leap into something new.  I reminded myself of how I always tell the kids to take risks, so I modeled my own philosophy.  However, I carefully read the instructions along the way.  The instructions were fairly easy to follow with photographs, clear descriptions, and on-screen instructions.

I loaded our first spool of clear filament and used the SD card to print a stretchy bracelet.  With each pass of the extruder, the bracelet magically appeared on the print plate.  The hardest part was getting the bracelet off of the build plate.  With some carefully prying and pulling, we were able to break it loose.  My second print, a comb, broke when we tried to remove it.  Later, I learned that it really is helpful if you use blue painters tape on the build plate.  I reprinted the comb and removed it fairly easily from the plate.    I’m sure there are some other tips and tricks that I will learn, but getting the print off the plate is definitely tricky.

Excitement was in the air as students and teachers came into the library to watch the printer go.  Even though it was printing pre-loaded items, it was extremely cool to watch and imagine possibilities.  A group of third graders is eagerly awaiting their chance to print their gems that they are designing.

I could see the wheels turning for several students and teachers, and I’m sure we will be printing all sorts of things before the year is over.

Makerspace Maniacs Enrichment Cluster

first robots (10)For about 4 weeks, a group of 2nd-5th graders have been meeting with me on Fridays from 8:15-9:15AM.  This time is called enrichment clusters at our school which basically means that kids select a group based on their interest and spend a period of time learning and creating around that topic.  Our cluster is called Makerspace Maniacs.  Our first sessions have been about exploring the world of making.

first robots (3)

So far we have:

  • Watched Caine’s Arcade and explored the idea of making interactive creations with cardboard.
  • Watched Sylvia Super Awesome Maker Show and explored how we can take our creations and create instructional videos about them.
  • Watched Landfill Harmonic and explored how makers take other people’s trash or unwanted items and turn them into functional creations.
  • Watched how a 3D printer works and imagined what we would create on it.

http://www.youtube.com/watch?v=AKTSdW7-H3Q

  • Tinkered with Lego robotics and programming.
  • Explored making things out of duct tape.

Now, students are beginning to think about what they are interested in spending more time with.  Right now, we have a lot of interest in robotics.  Today, one student spent time exploring the directions to build a mindstorm NXT robot and began the building process.  Another group of students looked at the Lego WeDo kit and followed instructions to build an alligator.  Other students spent time, exploring how the various lego pieces fit together.  Since their interests are so drawn to robotics, Christa Deissler from UGA will be helping me coordinate a guest speaker to talk to students and demonstrate programming of robots.

first robots (9)Seeing something tangible really inspires the students.  Today a student figured out how to use the WeDo software to make the alligator open and close its mouth.  When students saw this happen, they immediately wanted their creations to do something too.  Once we get past the exploration stage, I think students are going to want to get into the workings of the programming software and figure things out.

http://youtu.be/URUDWSq6CBw

In other news, our Donors Choose project to get a 3D printer is fully funded!  This will give these students access to even more tools for making.  Two other classes already have ideas for how the printer might be used in their own projects.  Once it’s here, I’m sure that there will be lots of exploring, learning, and sharing between classes to figure out how this tool can support the learning in classrooms.

first robots (7) first robots (5) first robots (2) first robots (1)

3D Printing: A Huge Opportunity from Donors Choose and Makerbot

MakerBot News (MakerBotNews) on TwitterThose of you who know me know that I’ve been wanting a 3D printer in our library for awhile.  It seems that just when I think we’re about to get one, something happens that puts a barrier in our way.  This isn’t just about having cutting edge technology.  This is about allowing kids to experience another level of creating.  It’s about allowing kids to explore a technology that is possibly a piece of technology that we will all eventually have in our homes.  It’s about giving kids the power to dream something up, design it, print it, and  hold it in their hands.  It’s about bringing STEAM education to life for our students.  For these reasons, I haven’t given up hope that we will have a 3D printer in our library.  Recently, we started a conversation with UGA to partner with them and use the 3D printers that they have.  We are very grateful for this opportunity, but we know that if we truly want to have a 3D printer as a part of our daily resources available to students, then we need to have one in our building all the time.

Today, Makerbot announced a partnership with Donors Choose to put a 3D printer in every classroom.  This is a bold claim, but it is a step toward thinking that 3D printers aren’t just for colleges, public libraries, or industry.  Each time I’ve mentioned putting a 3D printer in an elementary library, I’ve been met with the “why” questions.  I’ve also been met by the “I can’t see elementary students doing that…” statements.  My philosophy that I have embraced since reading Flora and Ulysses by Kate DiCamillo is to “Expect the Miraculous”.  I have faith that if students have access to a cutting edge tool such as a 3D printer paired with expertise from mentors over Skype & Google Hangouts paired with expertise from our community who already use 3D printers, then miraculous things will happen for students.  I don’t have all of the answers of what this should look like in an elementary school, but someone has to be willing to step up and walk into the unknown and trust that students and multiple experts will learn together, figure things out, and shape how this technology can support what we do and hope to do in schools.

As soon as I saw the Donors Choose opportunity, I submitted a project.  By the end of the day, our project was approved and we already had a matching grant.  This match brought our project down to approximately $1500.  If what Makerbot says is true, as more donors donate to the project, other business and private donor contributions will fulfill this project.  Once again, I’m taking a leap of faith that this project will be filled for our school and we can begin exploring and leading the way for 3D printing in schools.   

Two donors have already contributed to our project along with our matching donation.  I invite you all to take a look at our project, consider donating, or at the very least, consider sharing our project with your circles.  Giving kids the opportunity to create, share, and contribute to the current conversation on 3D printing in education is a great gift to give, especially this time of year.

Makerspace Maniacs