I love it when a small seed of an idea turns into something much more. A few weeks ago, I approached PreK about using our Sphero to practice writing letters. I knew that PreK was working on forming the letters of the alphabet and I thought that the Sphero Draw and Drive app would be a perfect way to merge letter practice with some programming. I originally thought that small groups might come to the library and use the Sphero with me, but further brainstorming with Ms. Heather resulted in us deciding to do 5 centers that students would rotate through in order to experience many technology, math, and literacy experiences.
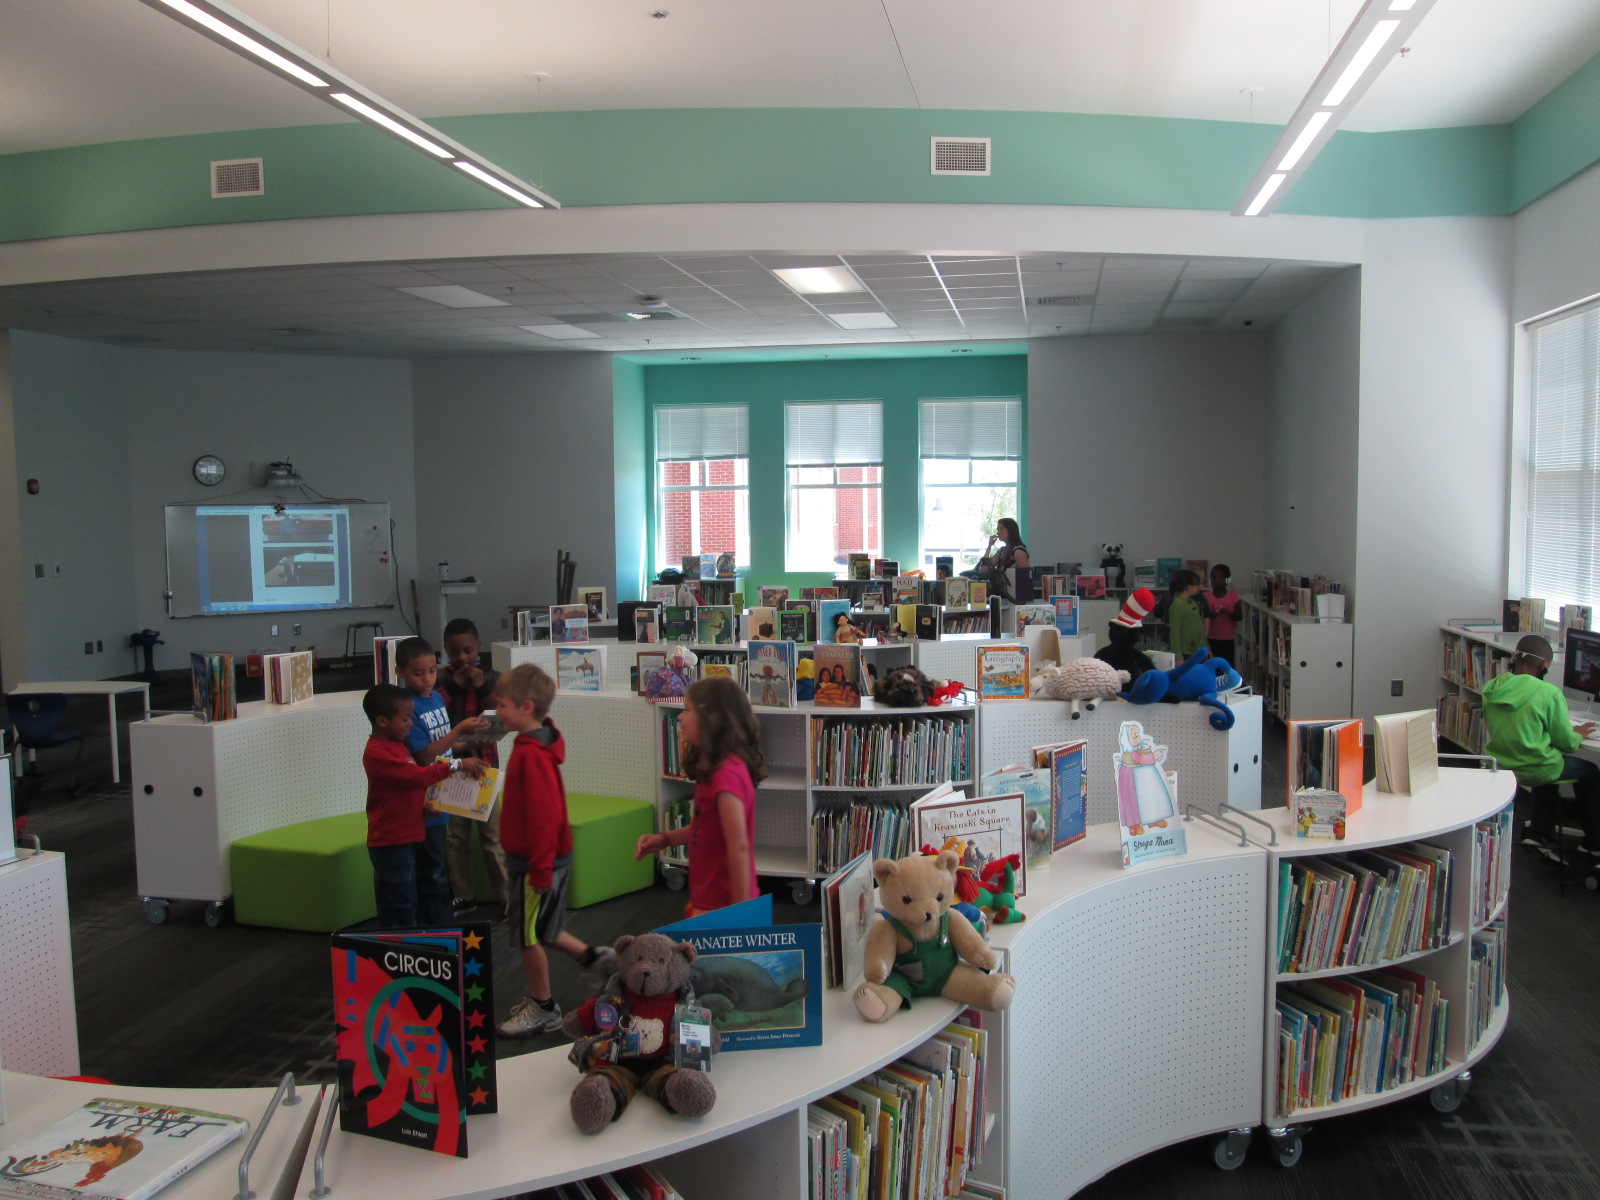
Ms. Heather’s class has been bubbling with excitement about coming to the library to try out all of these centers. Ms. Heather split the class up into 5 groups which was 4-5 students per group. Ms. Heather, Ms. Melissa (parapro), Ms. Callahan (parent), and I all led a center and one center was independent. Each center lasted about 10 minutes and took up about an hour with transitions. Here’s what they did.
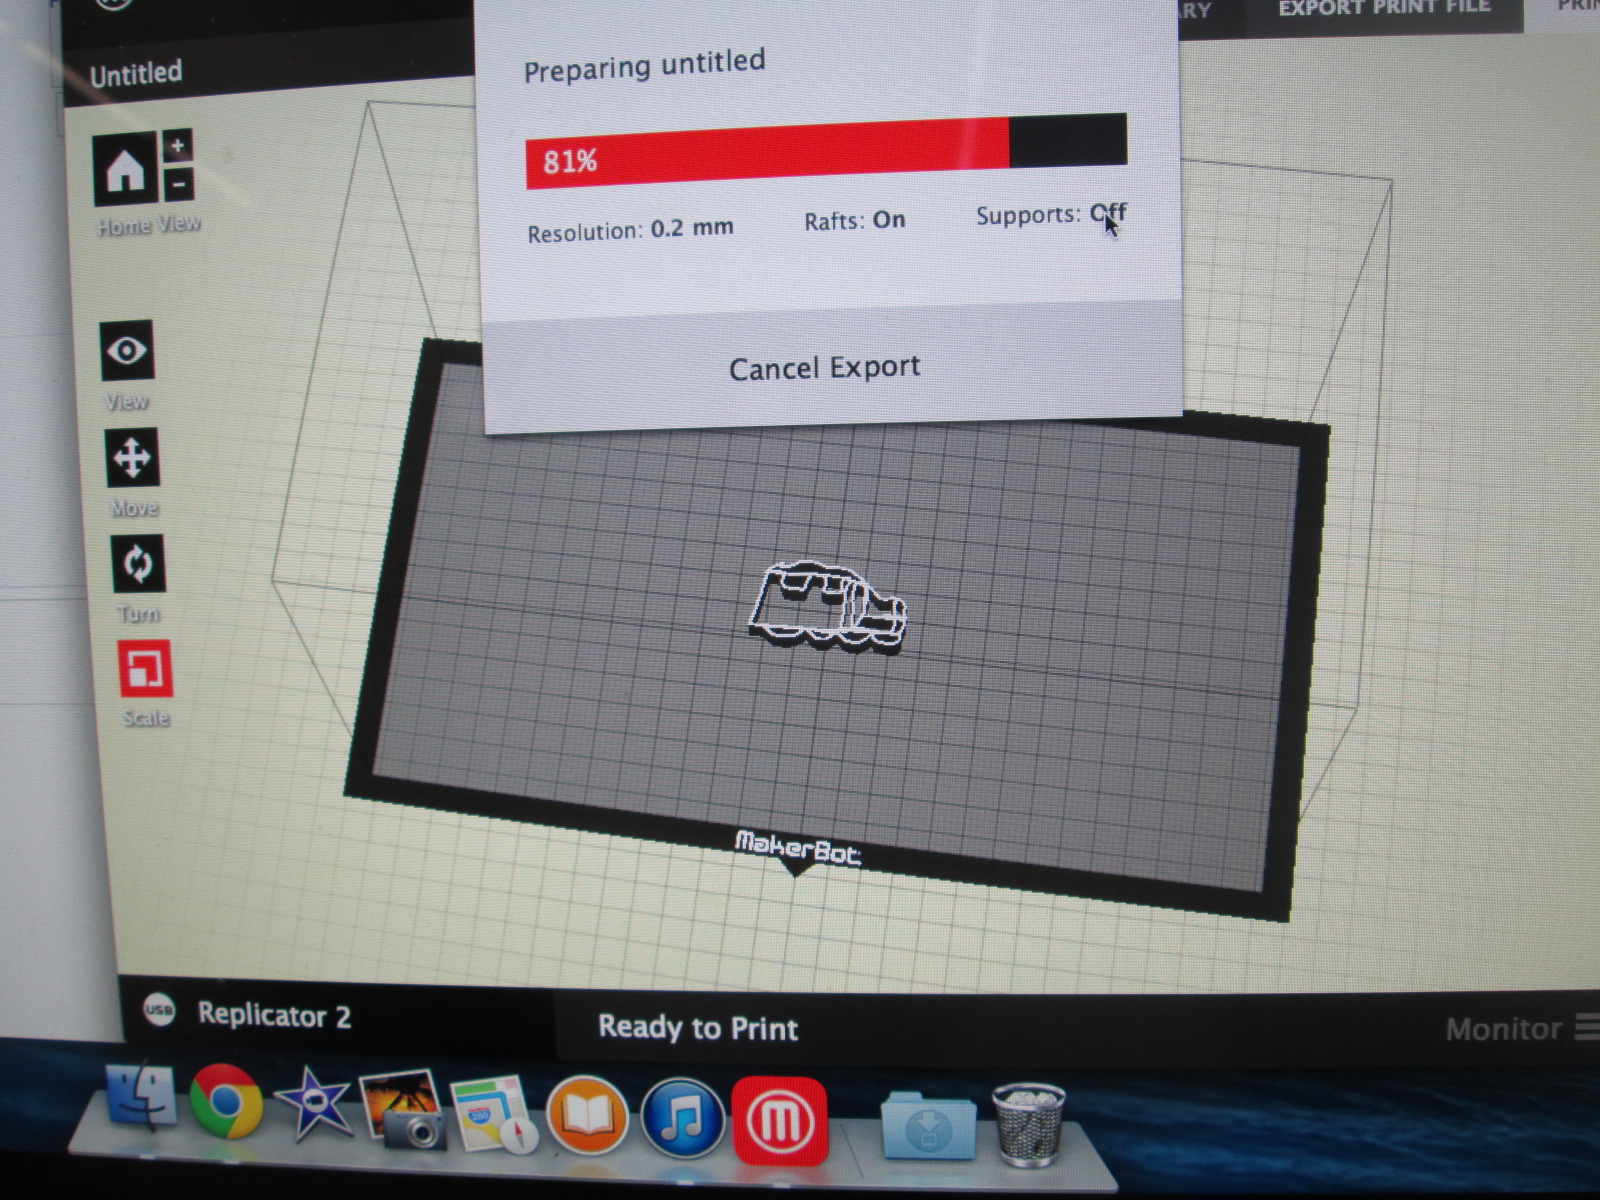
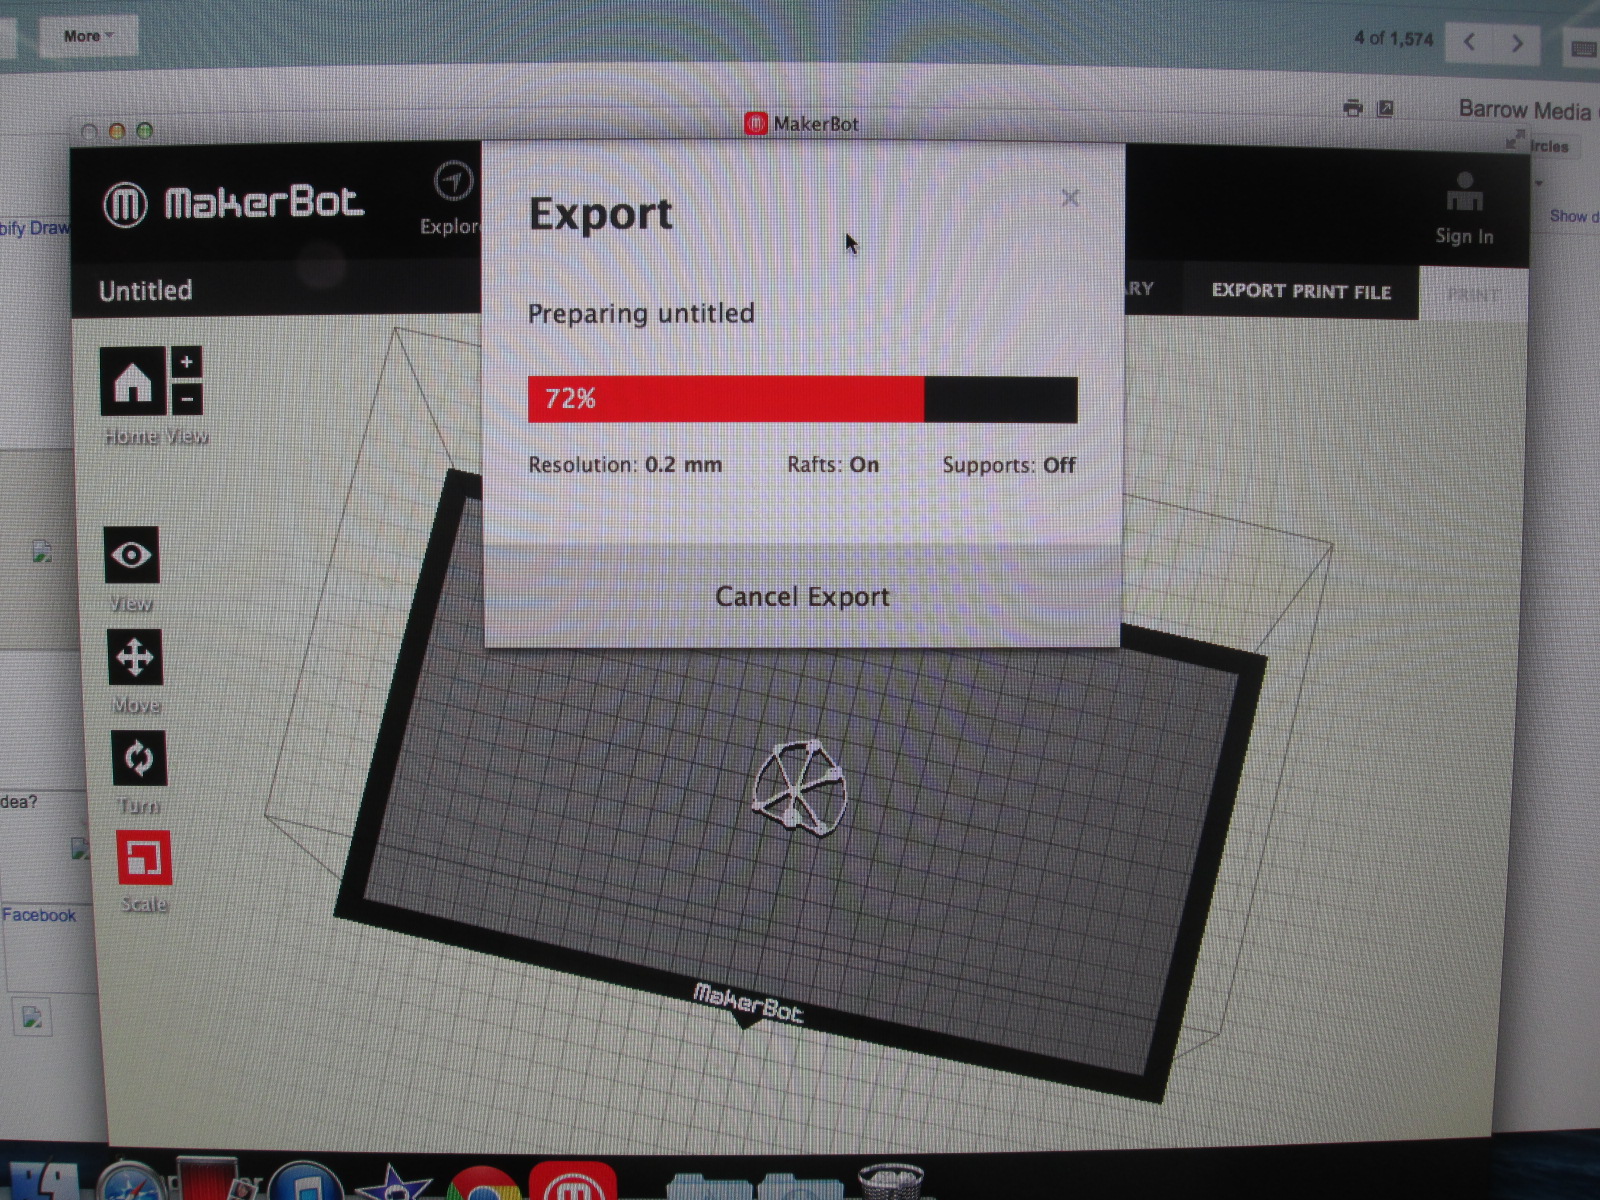
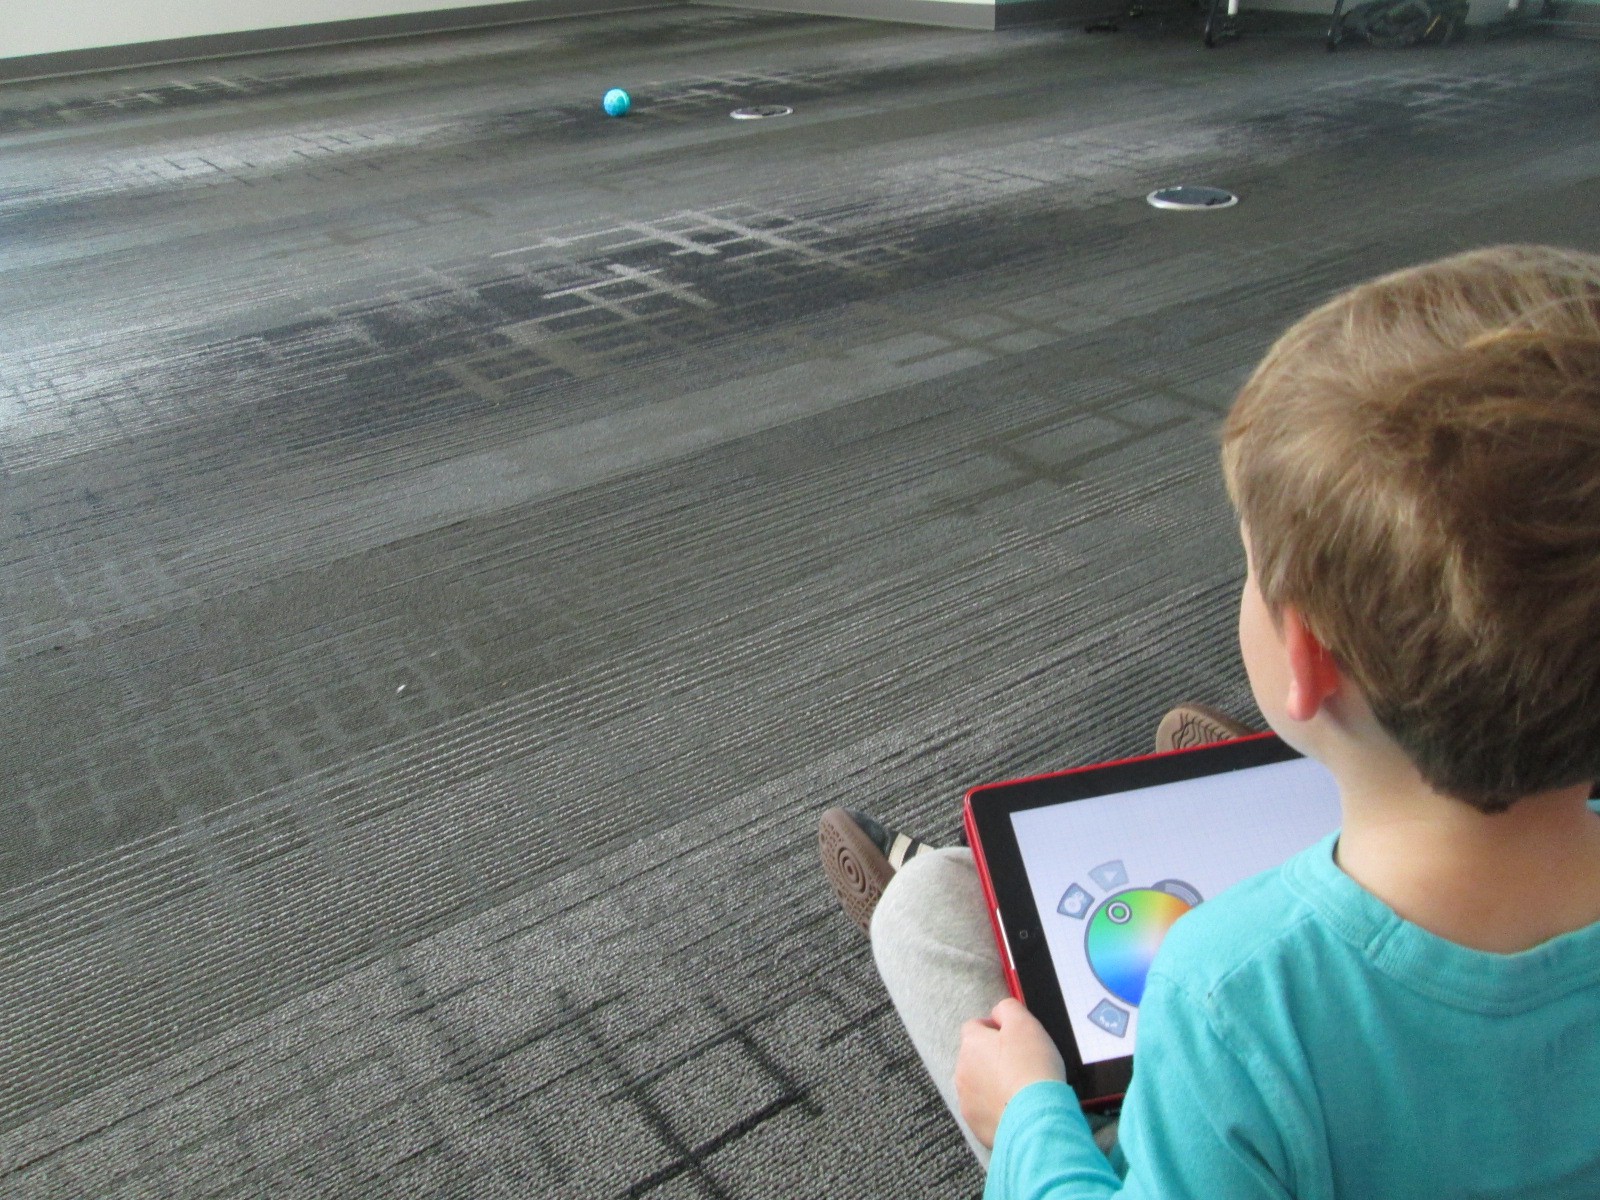
Center 1: Hour of Code programming with Sphero
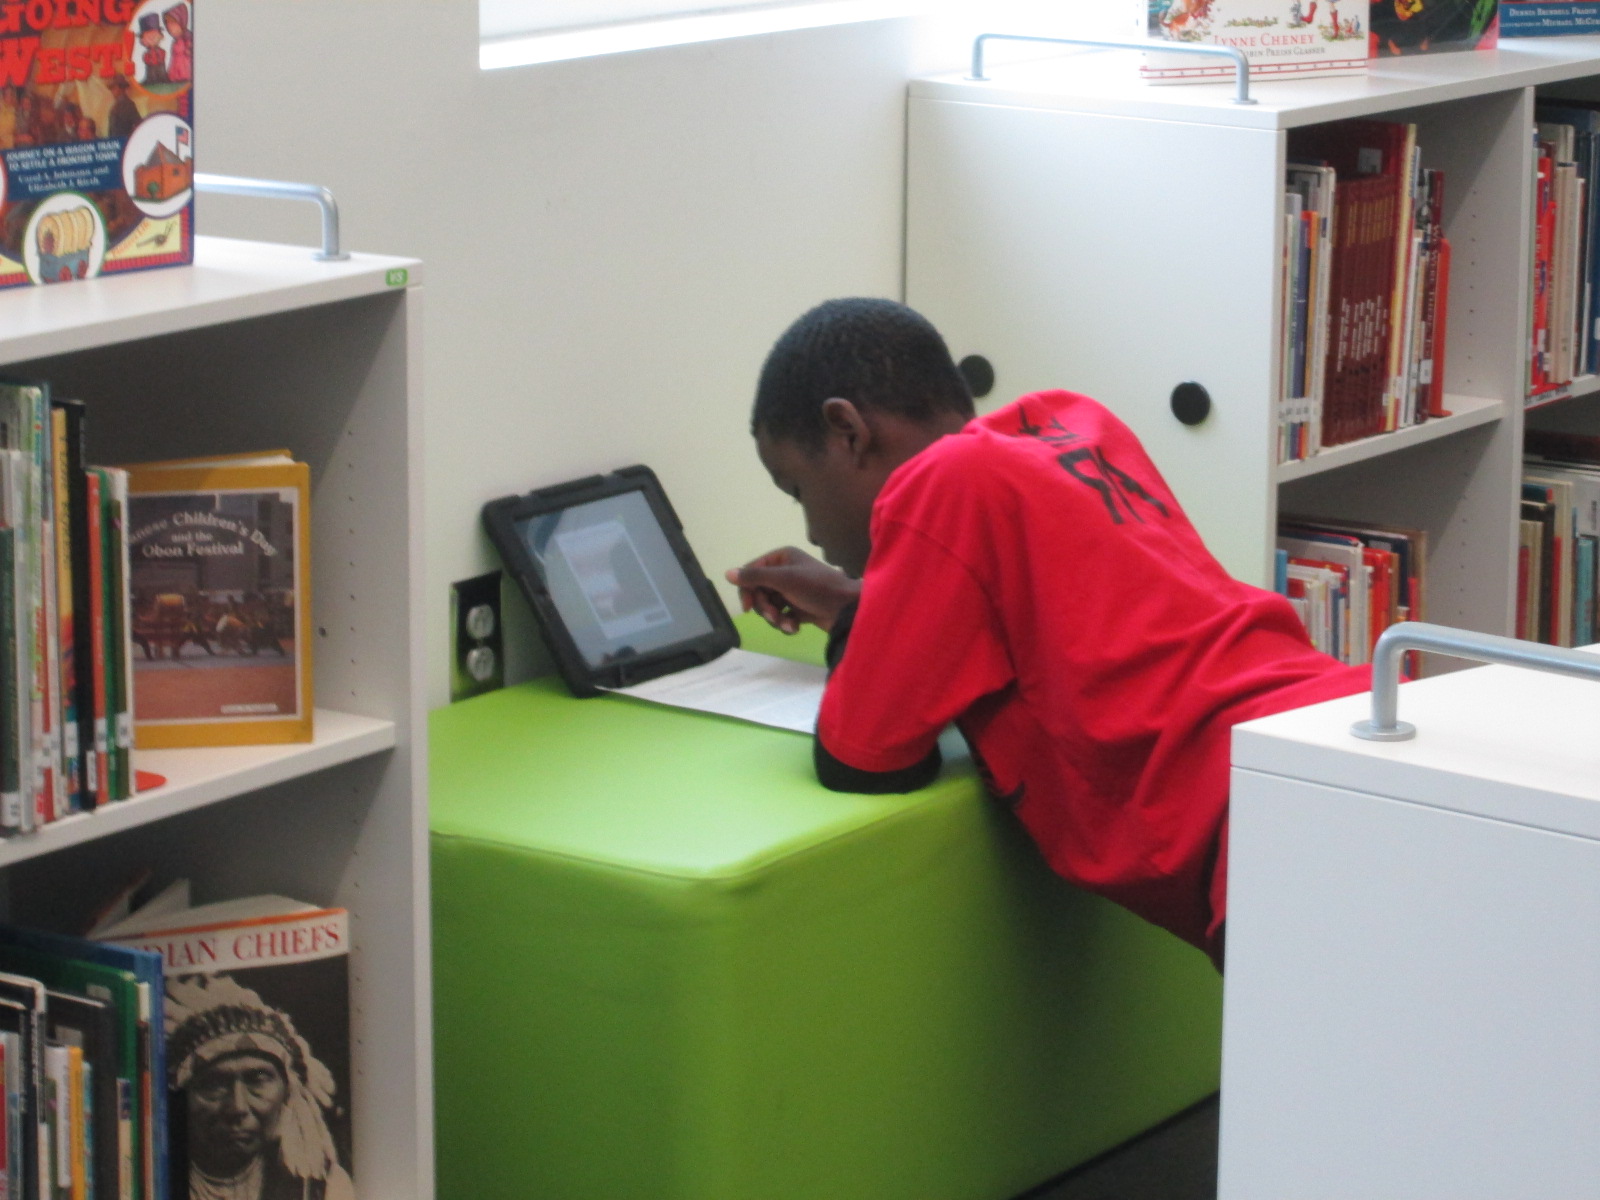
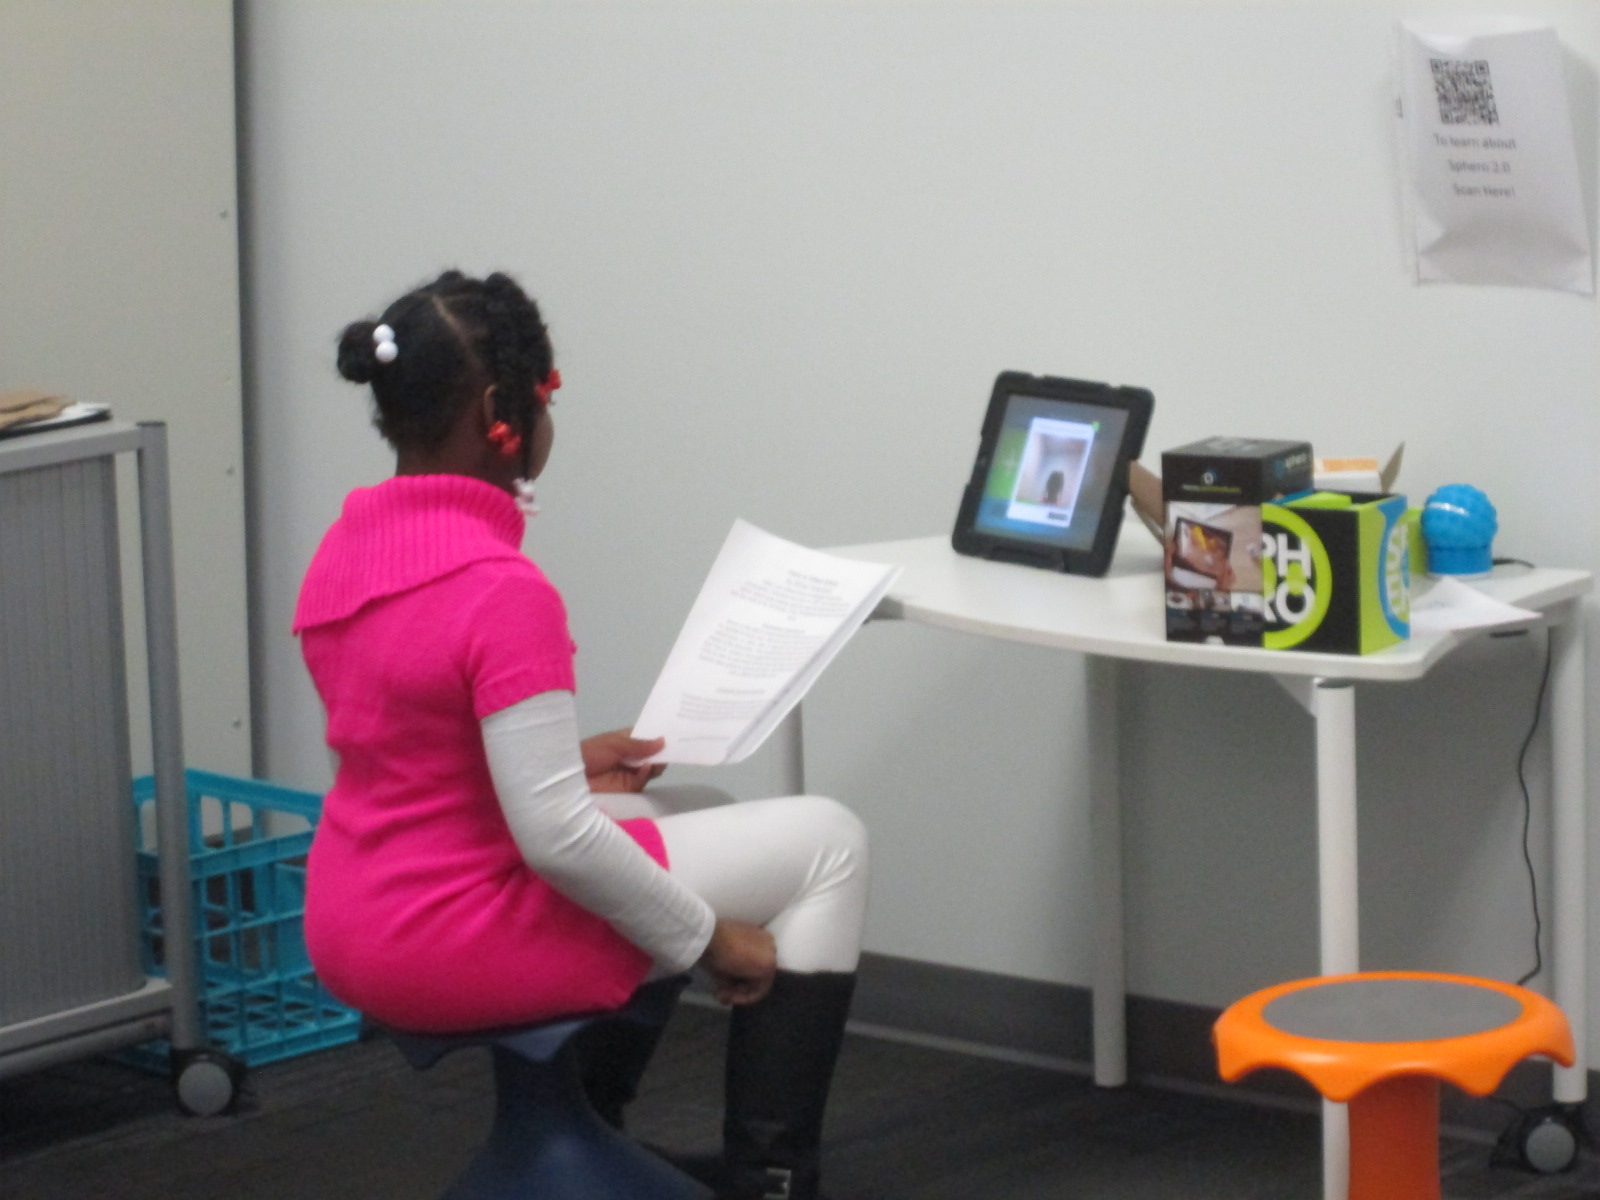
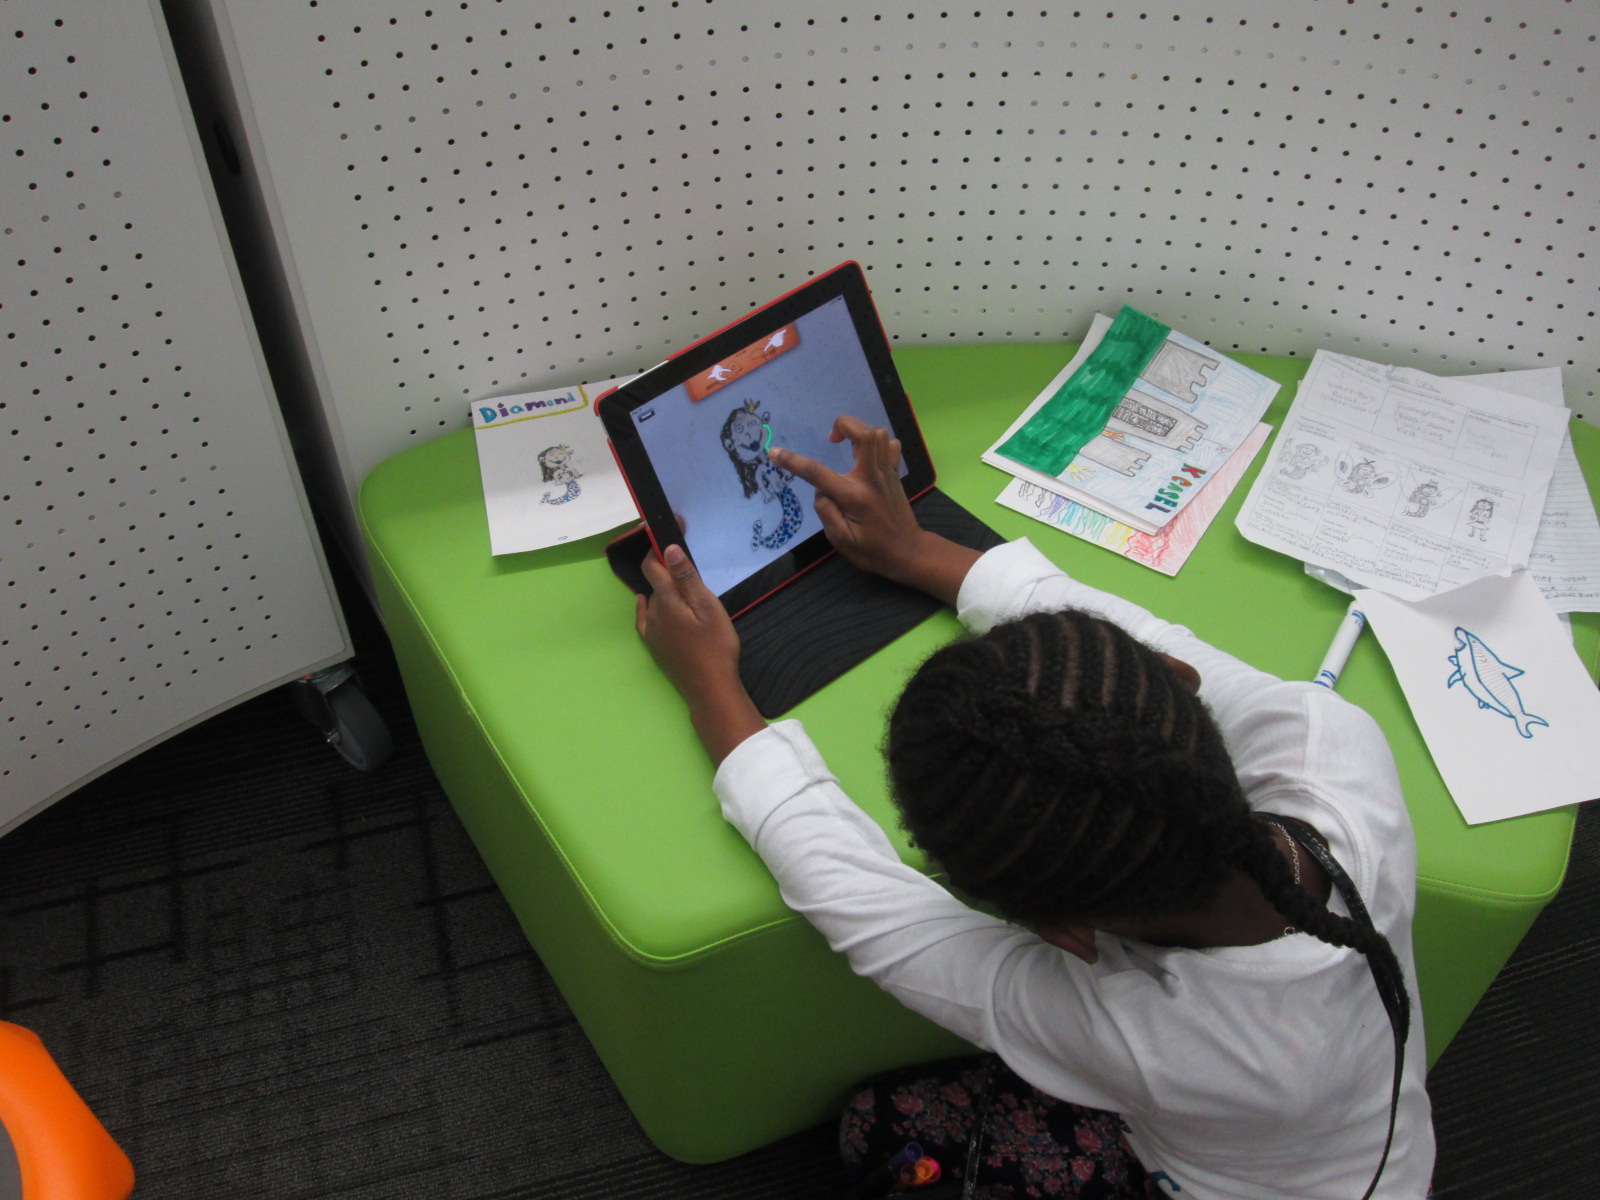
Since this week is our hour of code, I was so glad that PreK got to experience an aspect of coding. While coding didn’t fill up our hour, it certainly sparked their interest in how to make a computer or robot do what you want it to. Students sat in a row and each took a turn to think of a letter to practice drawing. Using the Draw and Drive app on iPad, students drew a letter and pressed play. The Sphero drove around the carpet in the shape of that letter. With a shake of the iPad, the letter was erased and the next student had a turn.
We repeated this process over and over until we were out of time. Each time the robot rolled around the floor there was a burst of excitement. As the facilitator, I asked students about the letters that they were drawing to make sure that they understood what they were trying to draw.
")
")
")
")
")
")
")
")
Center 2: Osmo Tangrams and Words
Our Osmo devices are one of our favorite tools in the library. The Osmo is came out this summer. It includes a base to put the iPad in and a red attachment to place over the camera. Osmo comes with 2 sets of tools to use with the apps: a set of letter tiles and a set of tangrams. The three apps are free to download but you must have the base and attachment for them to work. For this center, students used the Junior version of the Words app. This app gives students a picture with a matching word. The beginning sound of the word is missing and students have to lay the correct letter tile in front of the iPad. If it is correct, the red attachment “sees” the letter tile and magically adds it to the word on the screen. If it is incorrect, students have to try again.
")
")
")
")
")
Students also used the Introduction to Tangrams in the tangrams app. This app shows students 2-3 tangram pieces pushed together. For this beginning phase, the colors of the tangrams on the screen match the colors of the actual tangrams. As students correctly place the tangrams on the table in front of the iPad, the red attachment “sees” them and fills in with black on the screen. When they are all correct, a new combination is shown.
")
")
")
")
")
")
")
This center was one that needed adjustment as we went along depending on student needs and strengths. Some needed to focus more on the shapes while others were ready to think about letter sounds in words. All students had a blast watching the magic of the Osmo happen on the screen and table.
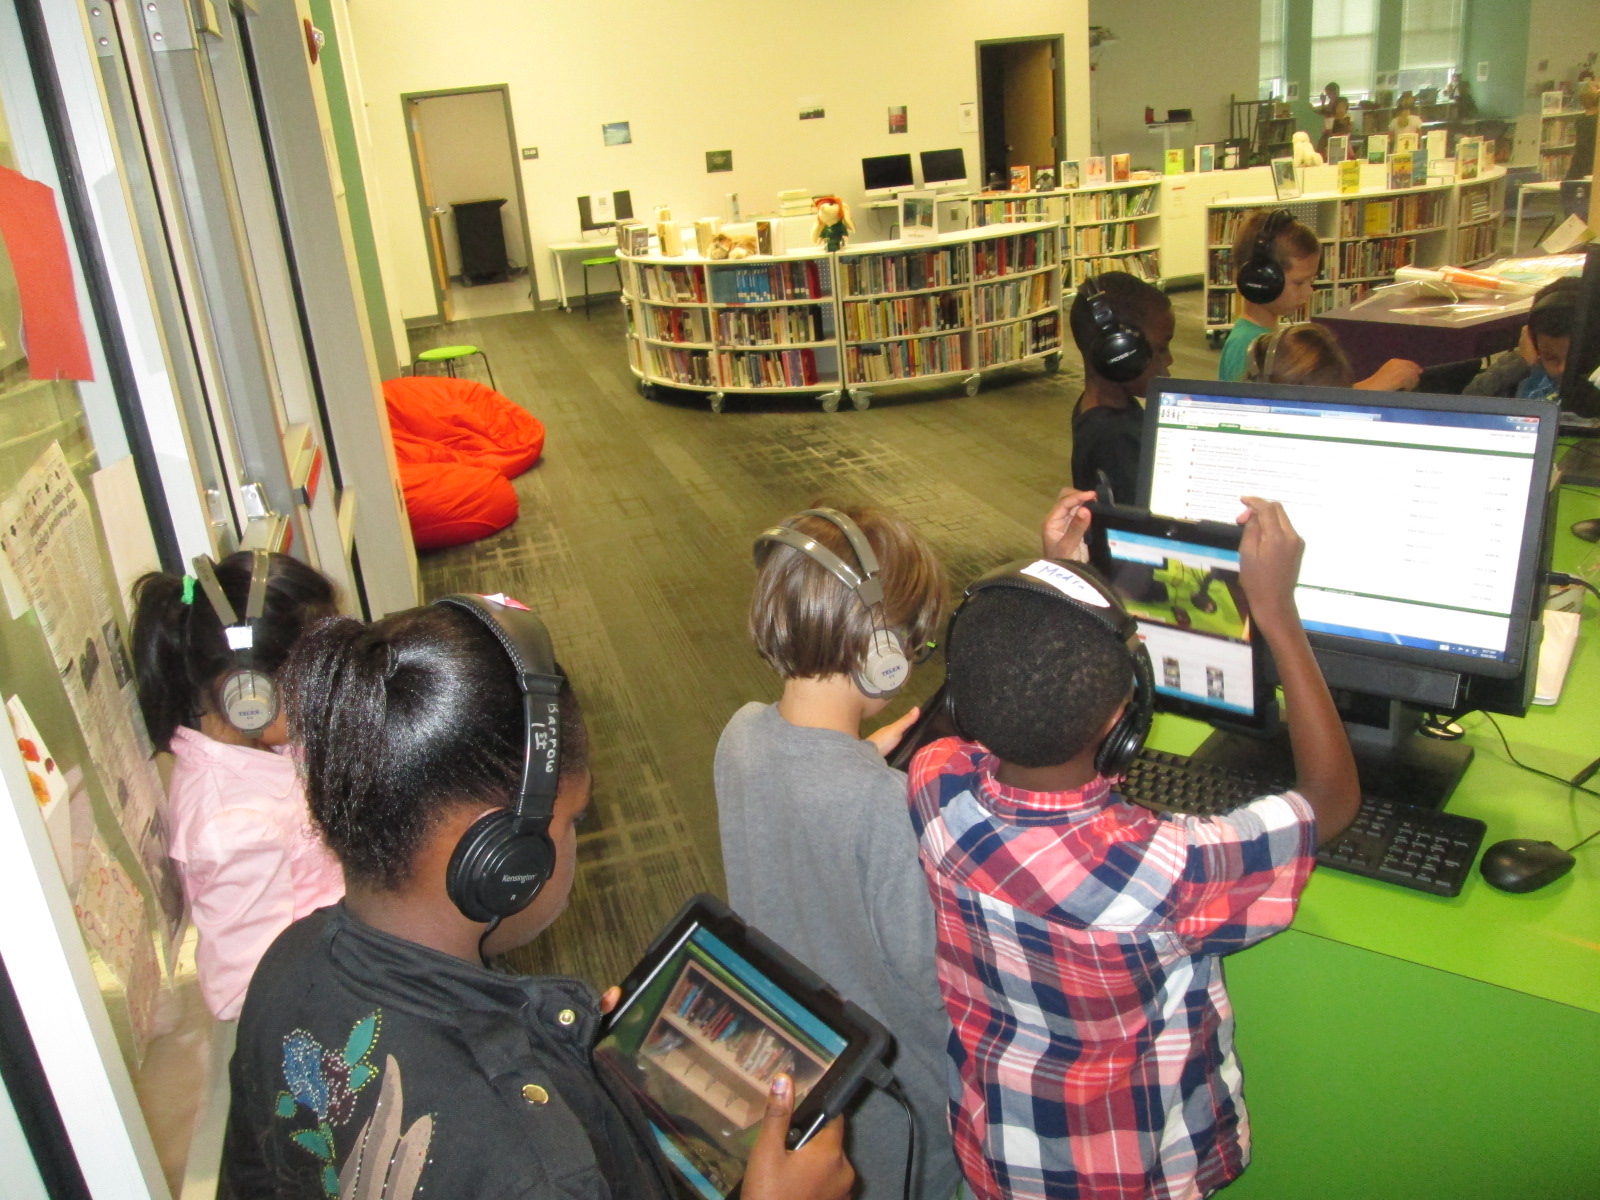
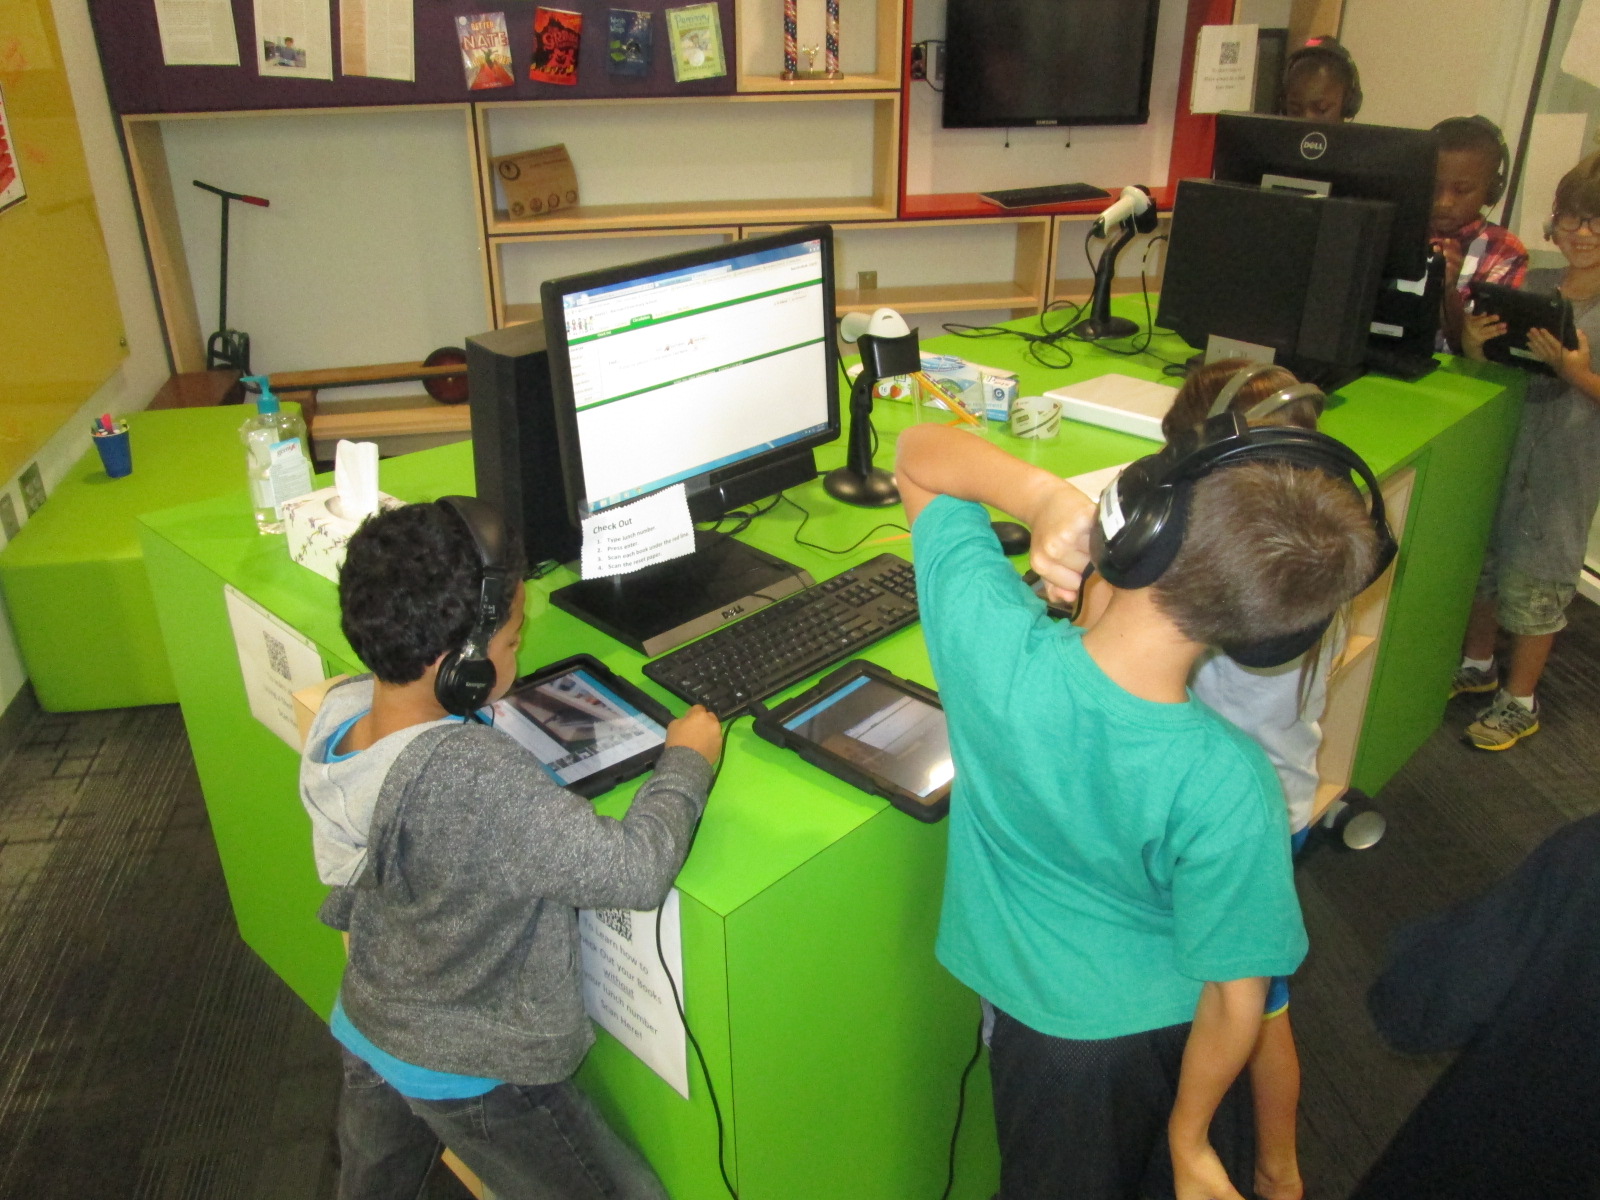
Center 3: Starfall on Computers
Ms. Heather facilitated the computer center. I put out a computer, mouse, and headphones for each student in the group. One part of this center was simply using fine motor skills to practice using a mouse. The other part was to use Starfall to continue practicing letters and sounds.
")
")
")
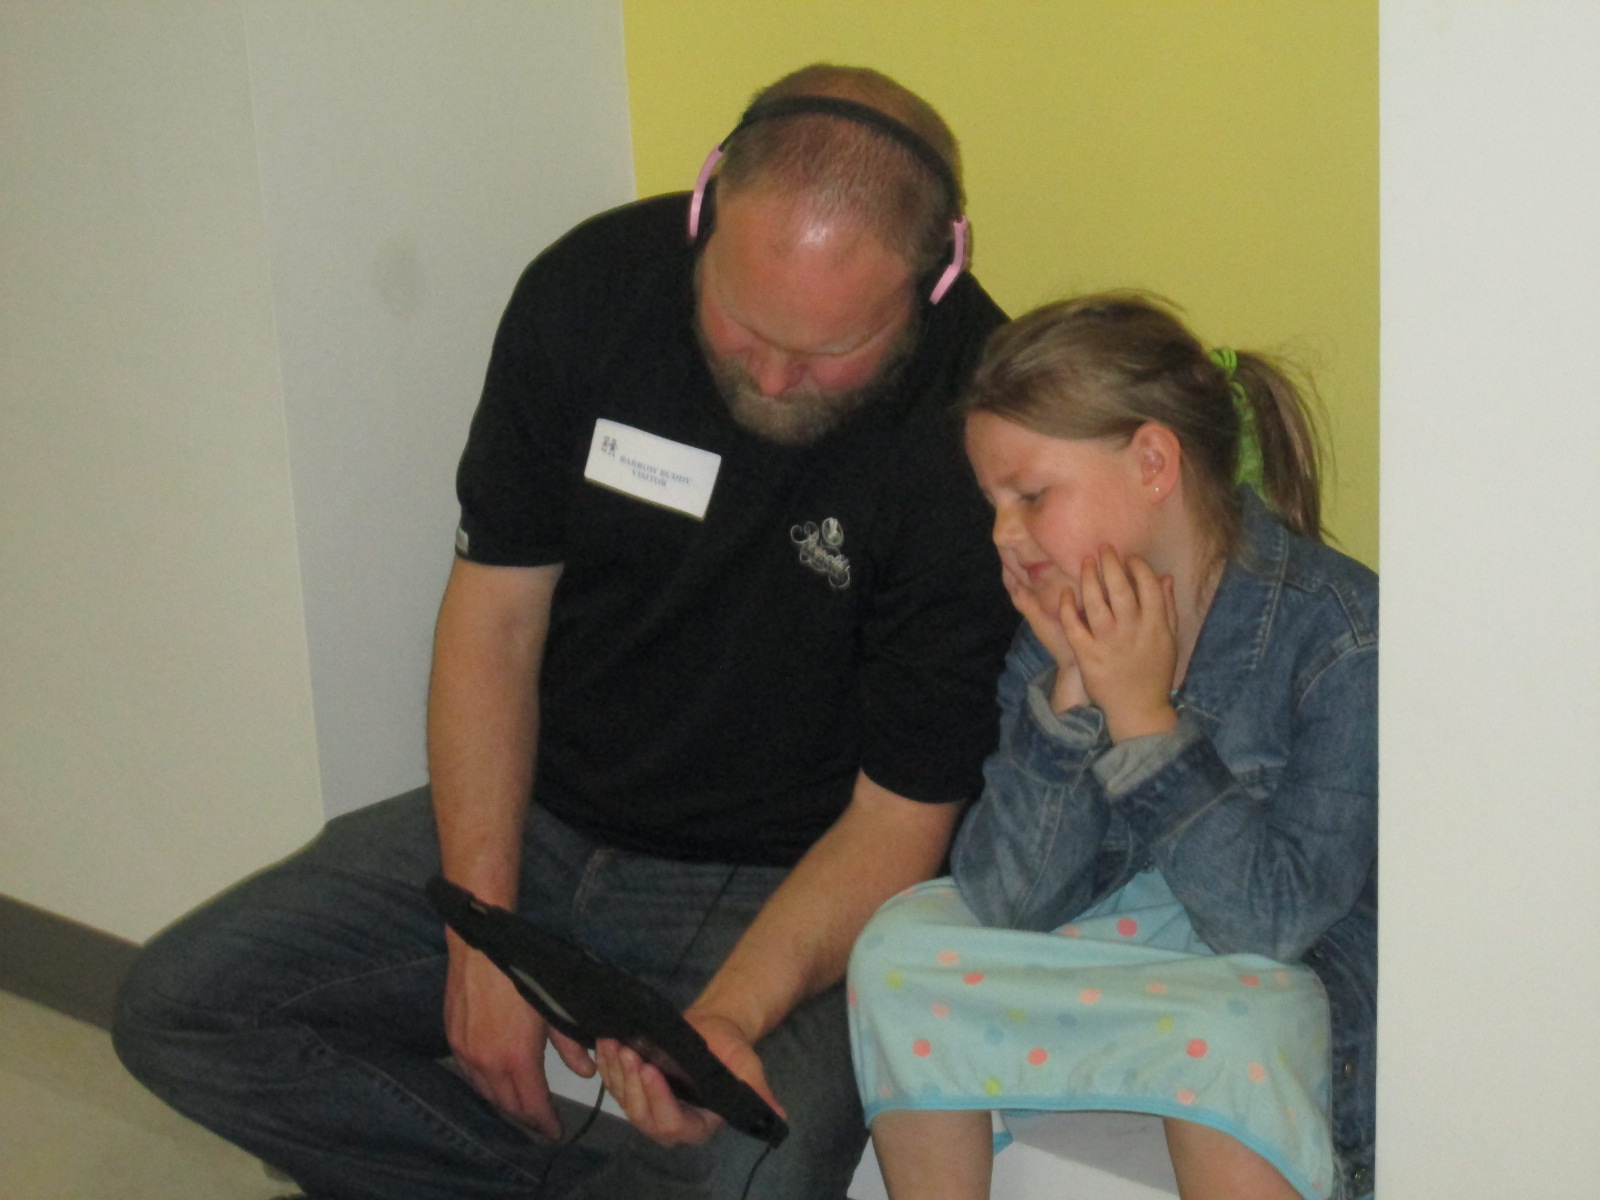
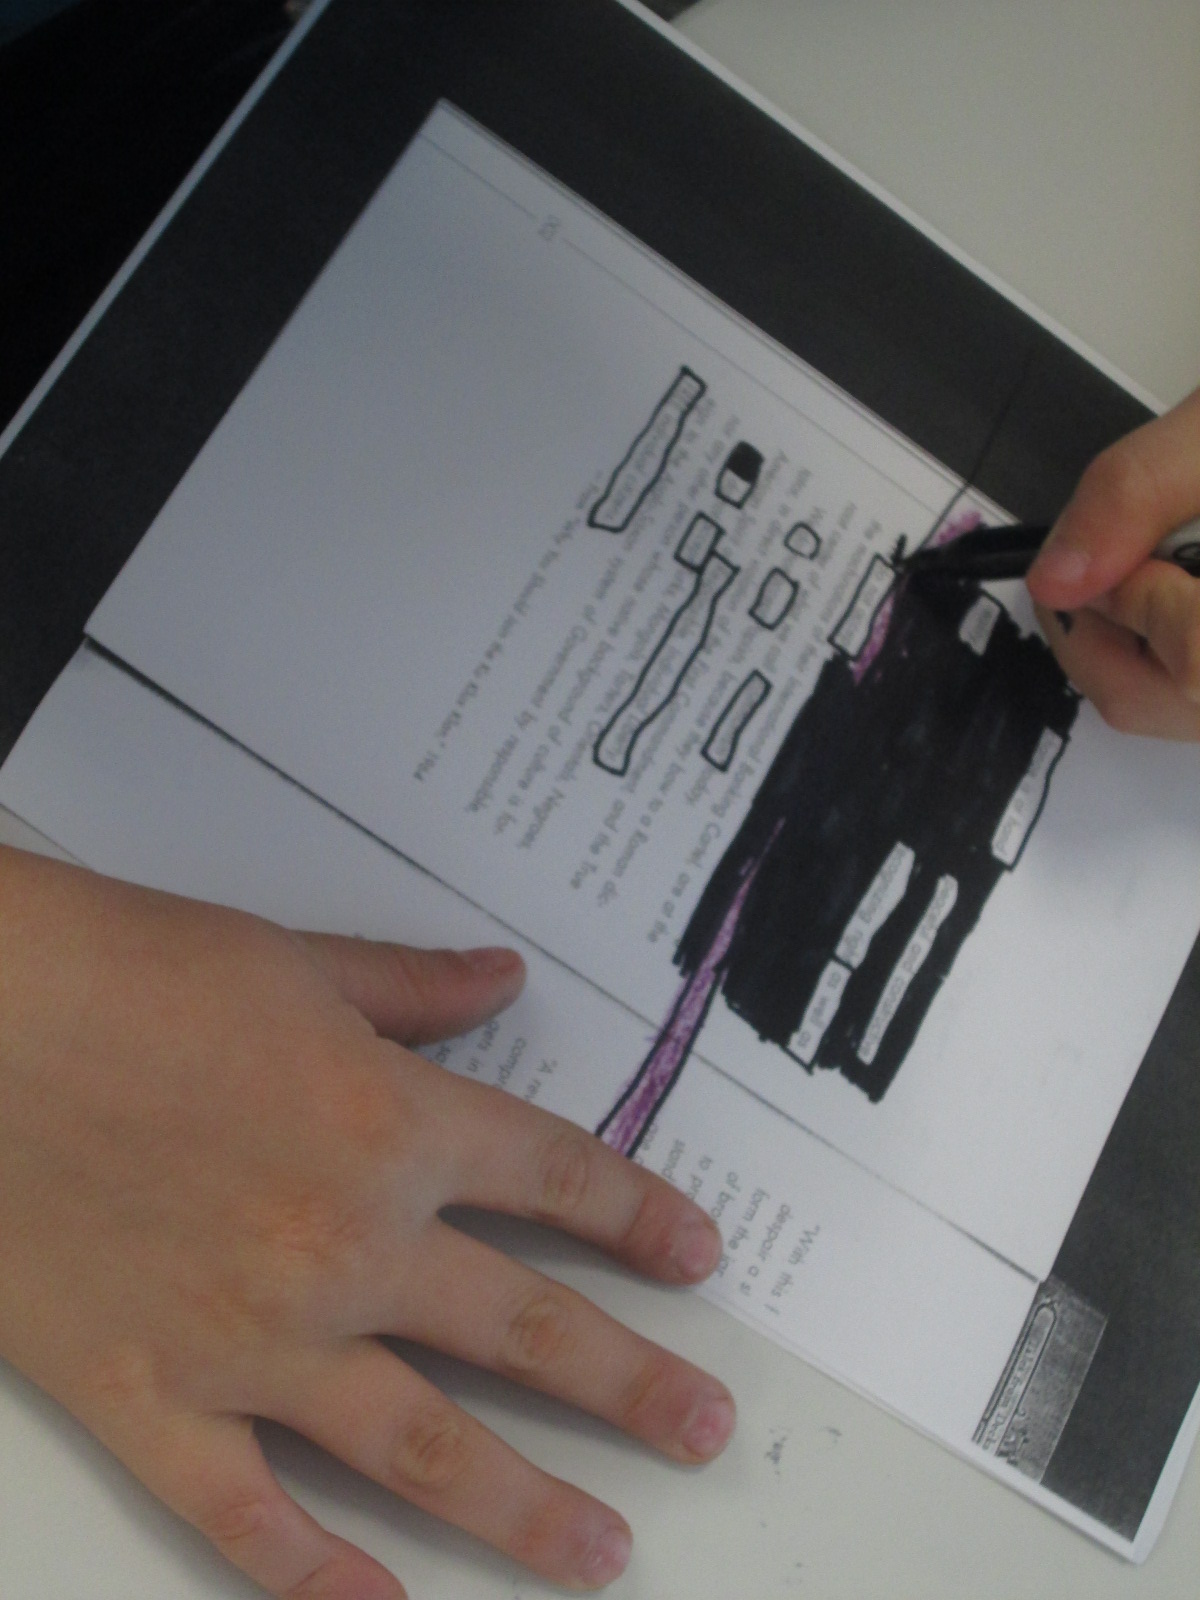
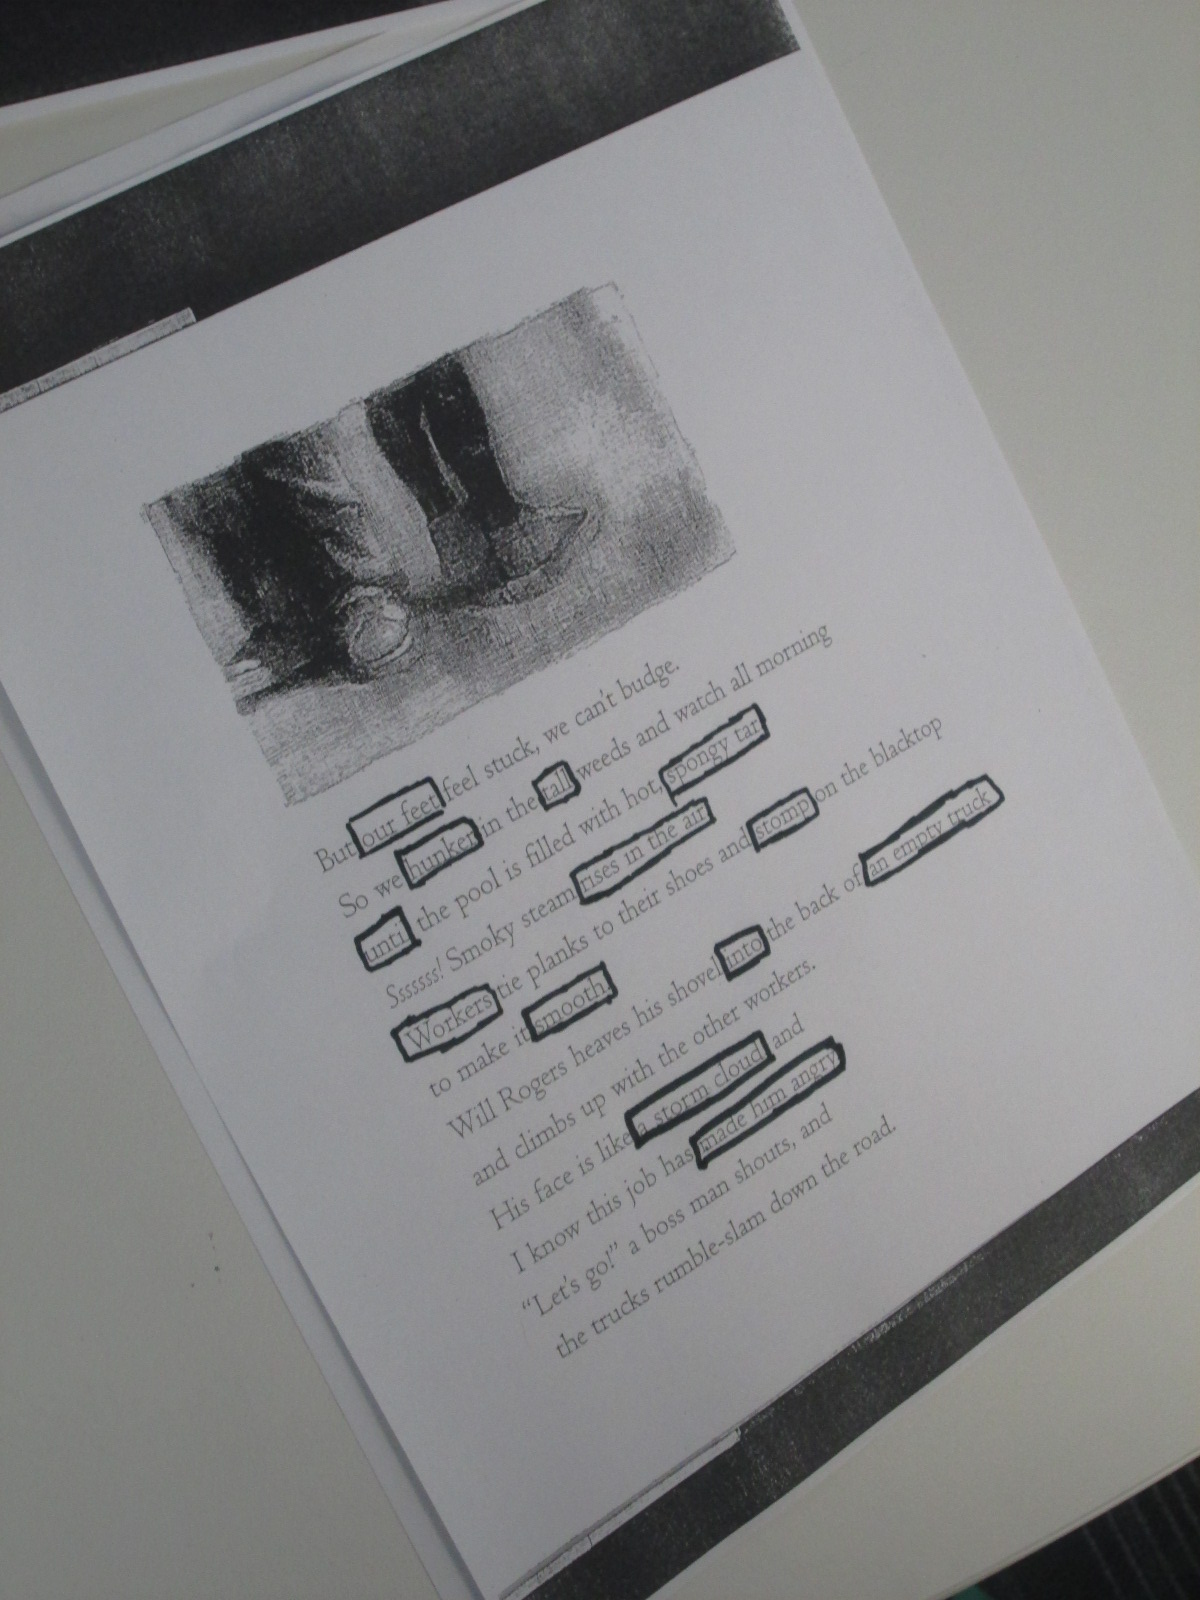
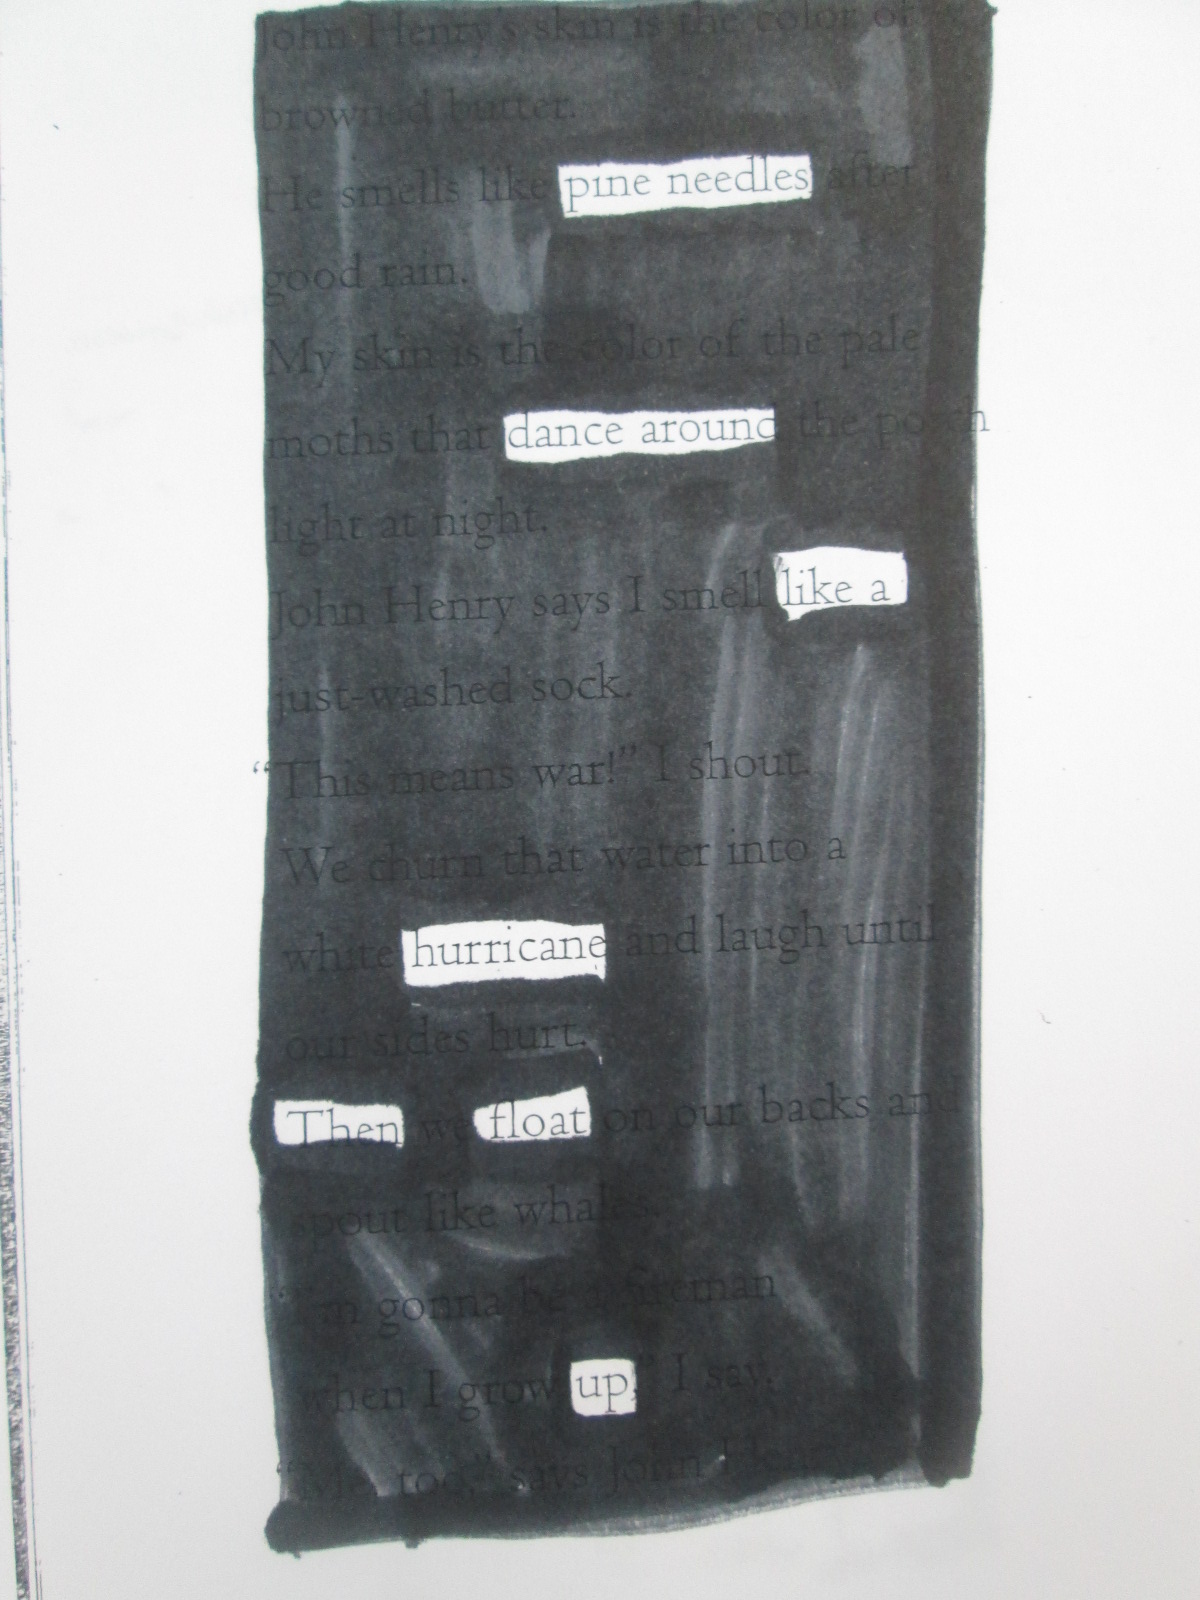
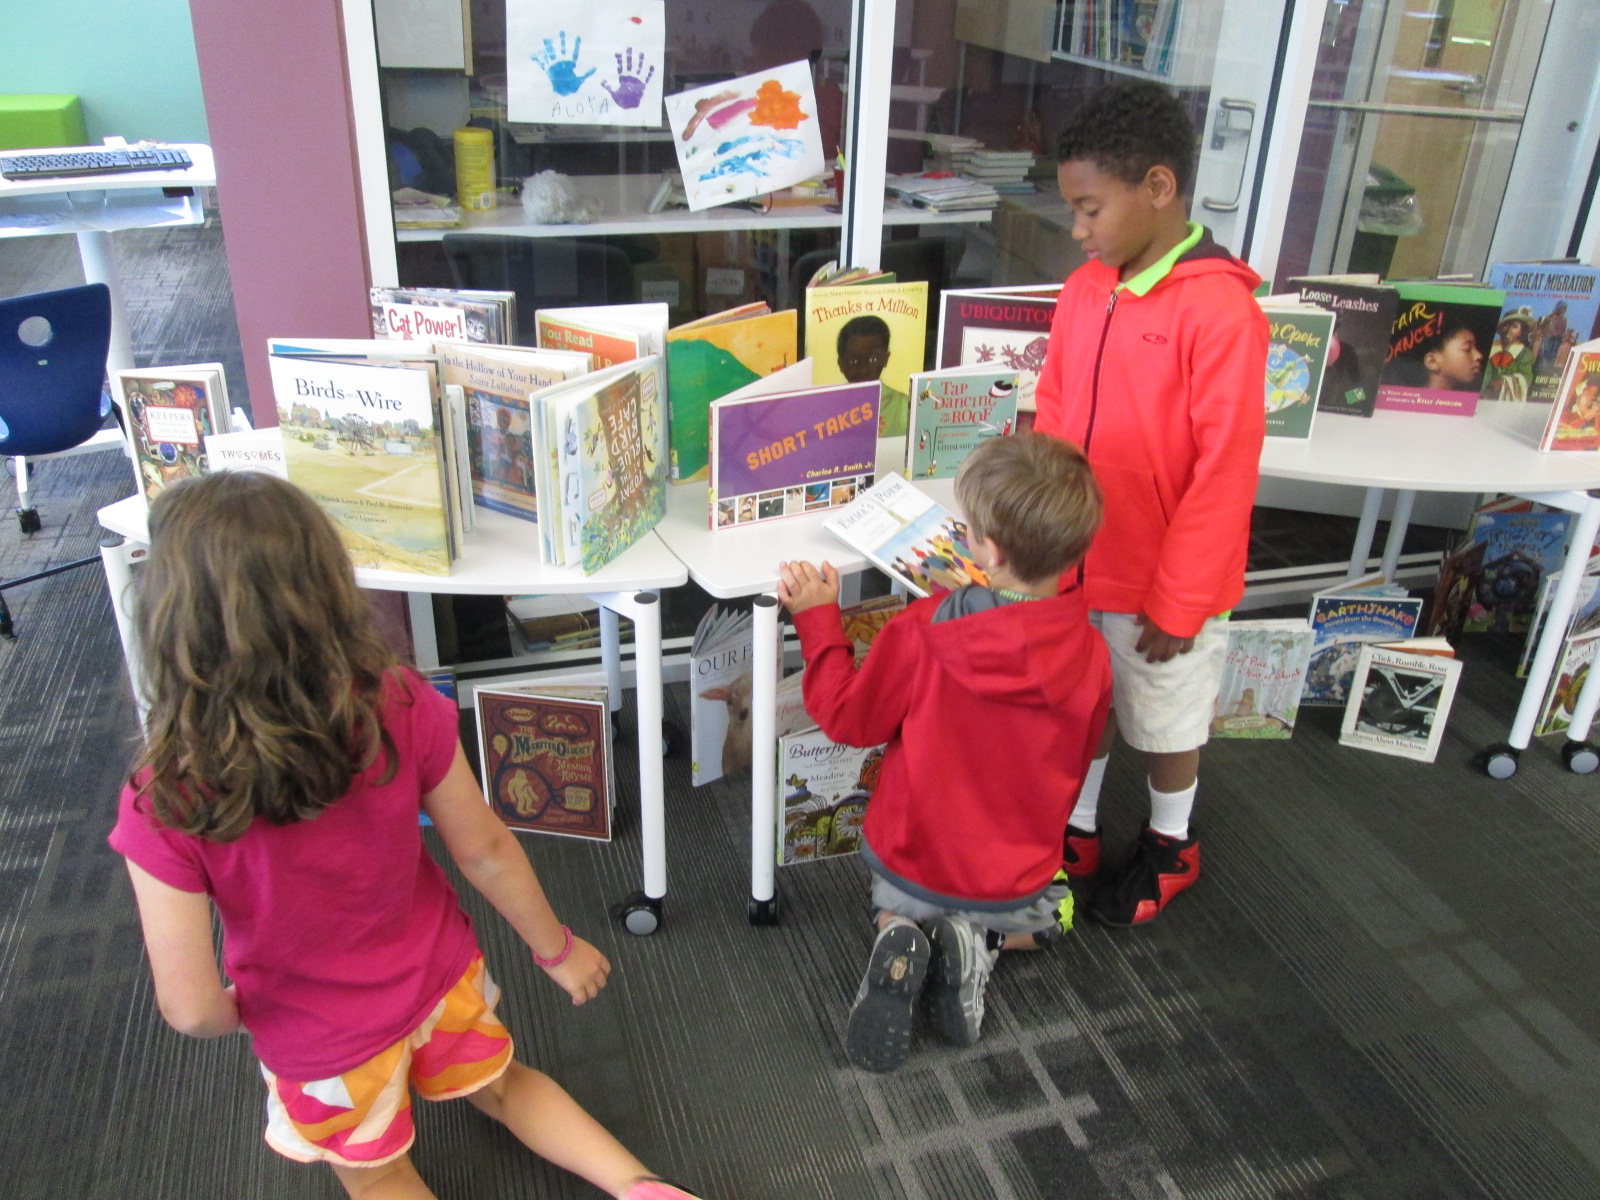
Center 4: Reading
A parent volunteer read aloud stories that I pulled. The selections were Peanut Butter and Jellyfish, Job Site, and Stars. She had students engaged in discussion about the story and the pictures all along the way.
")
")
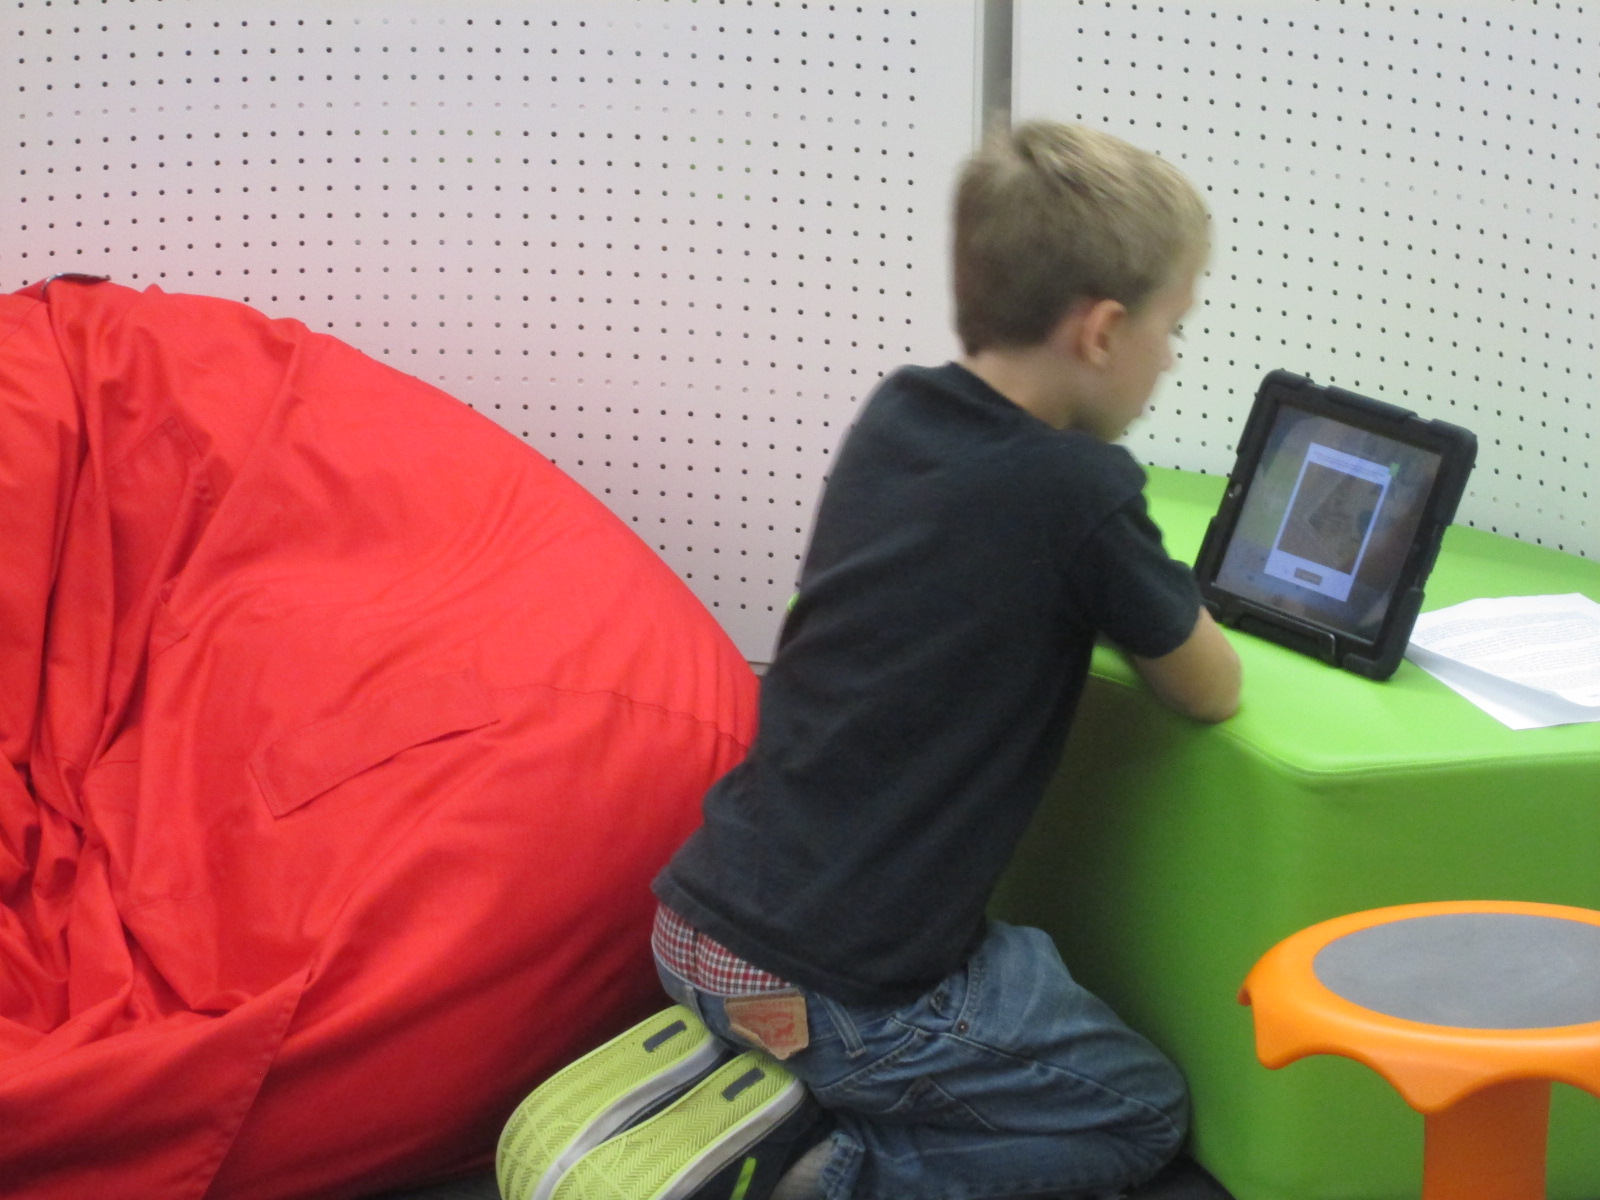
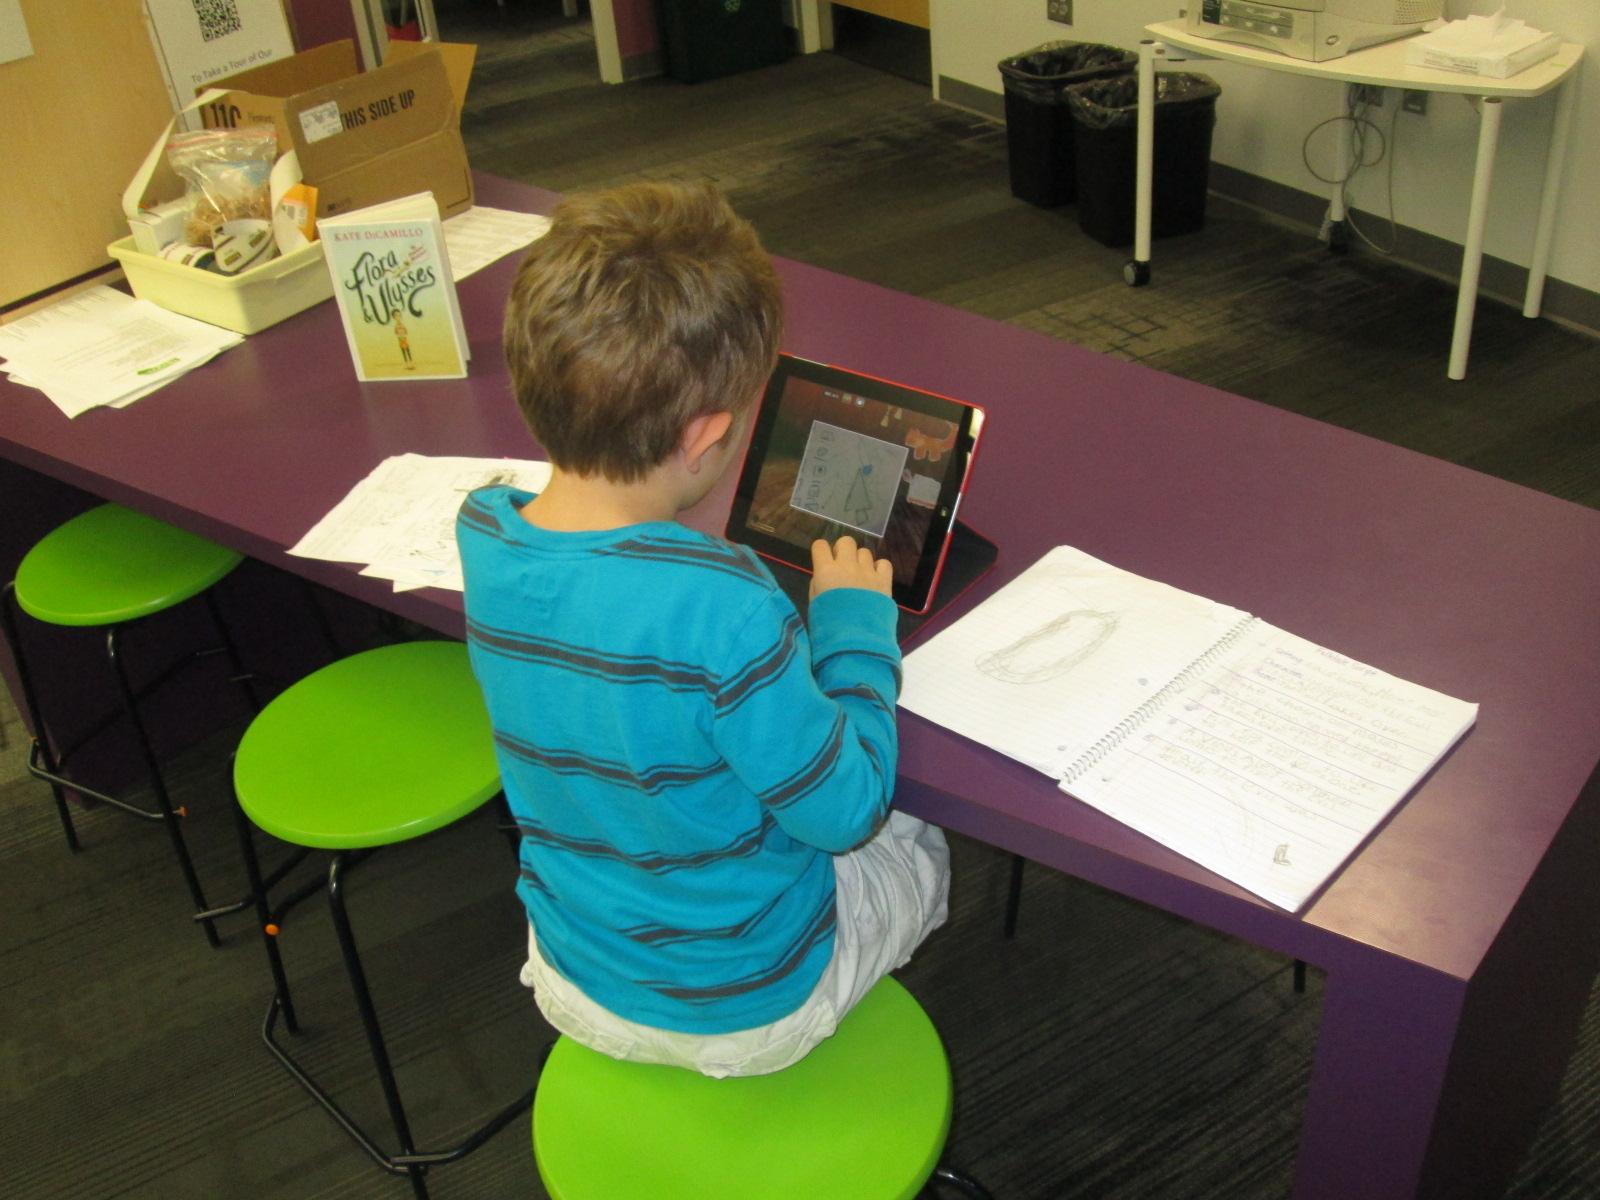
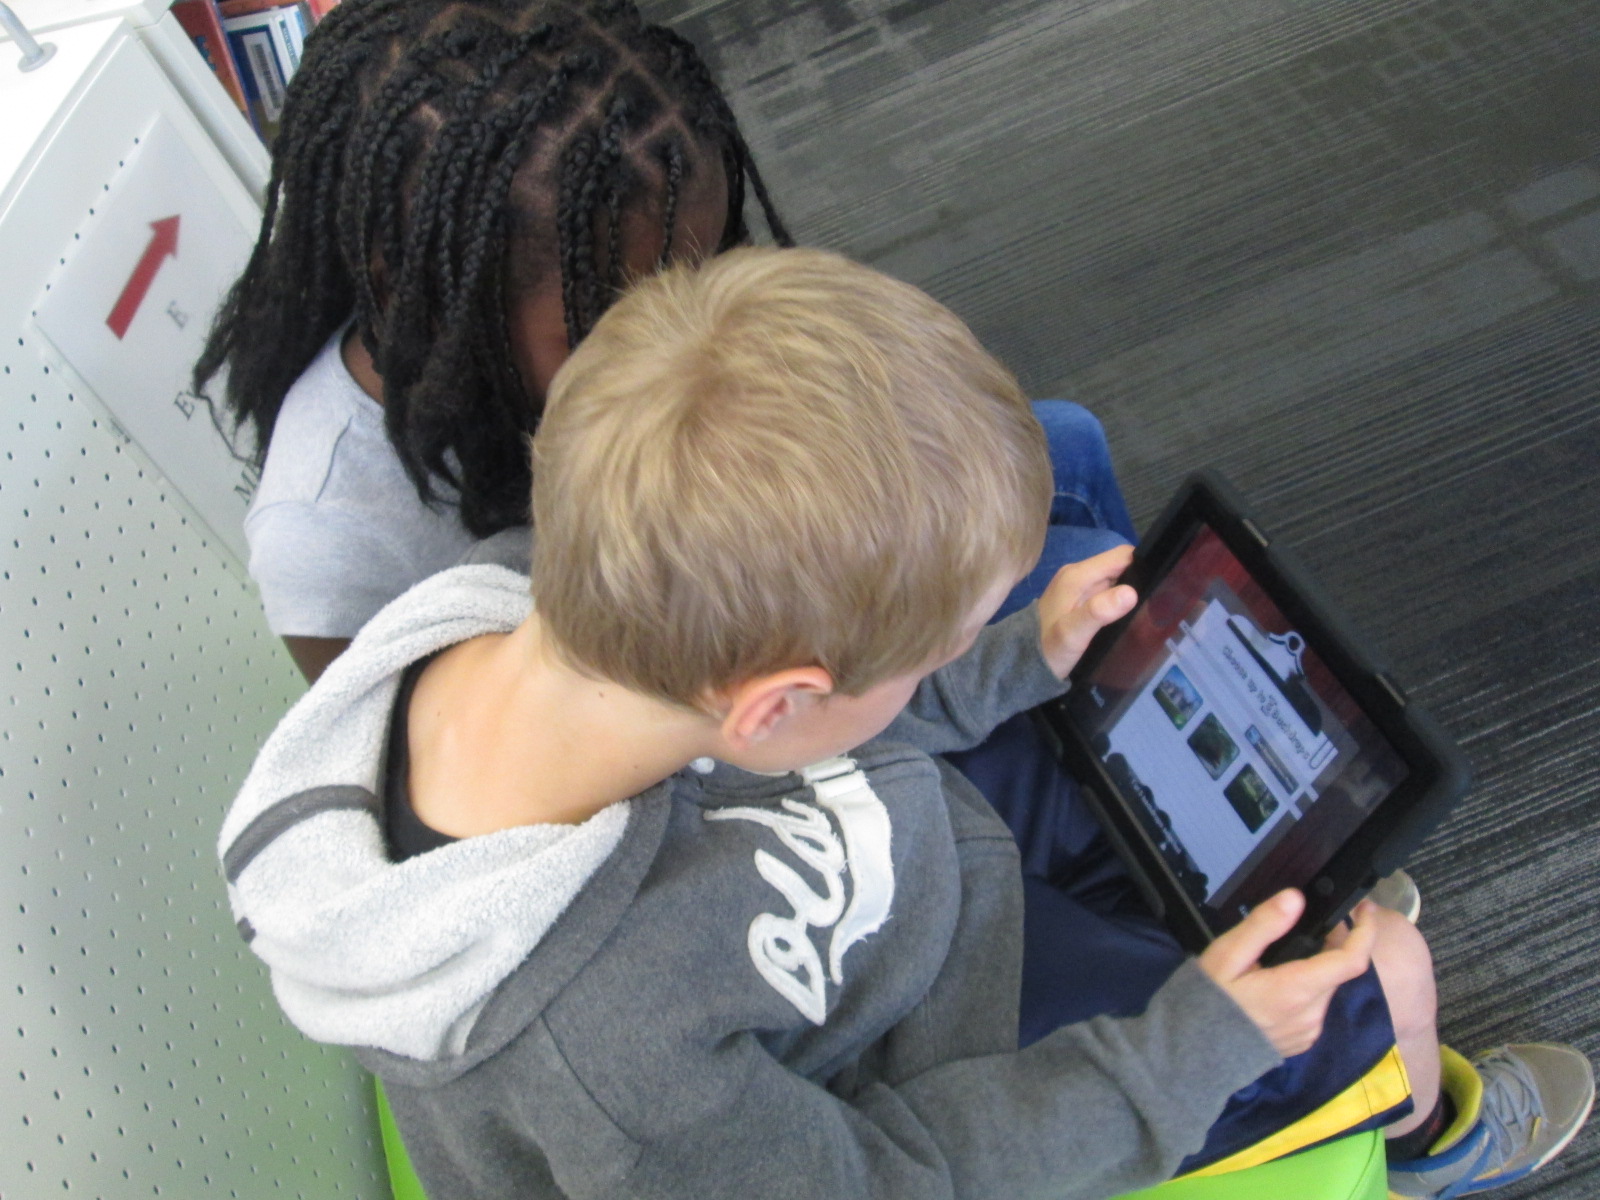
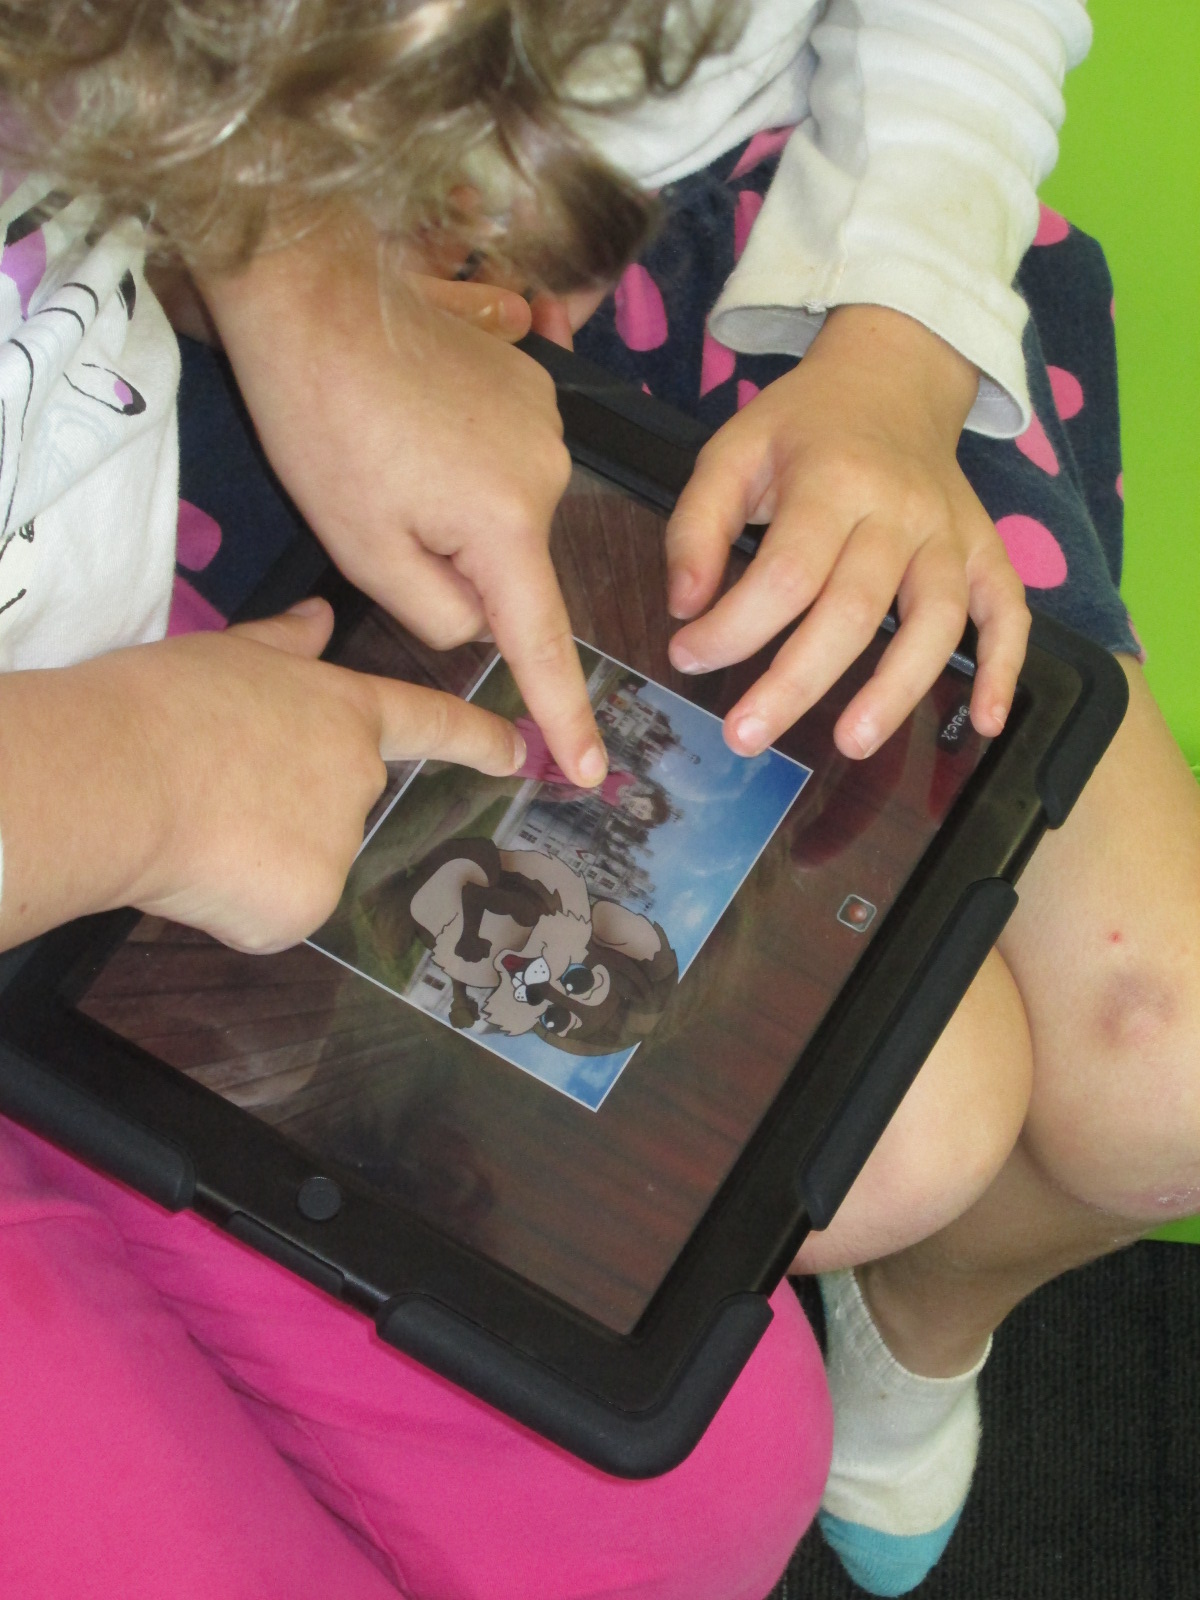
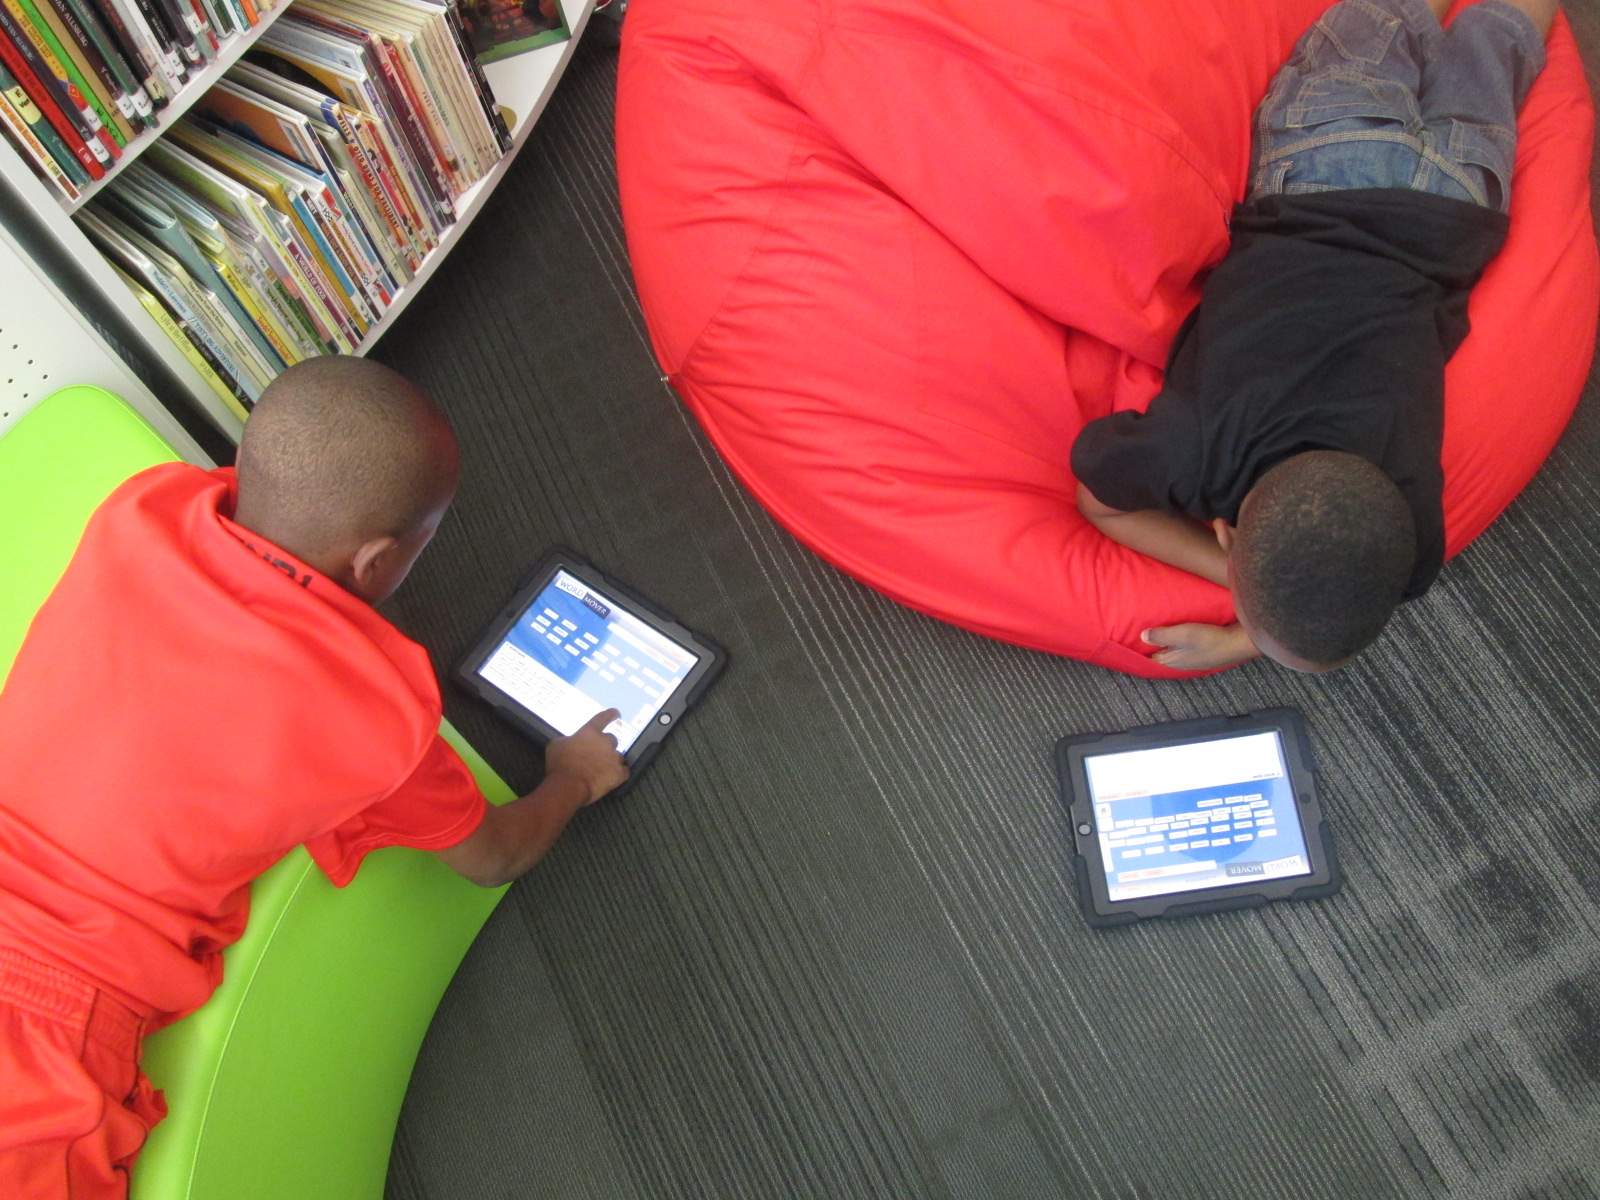
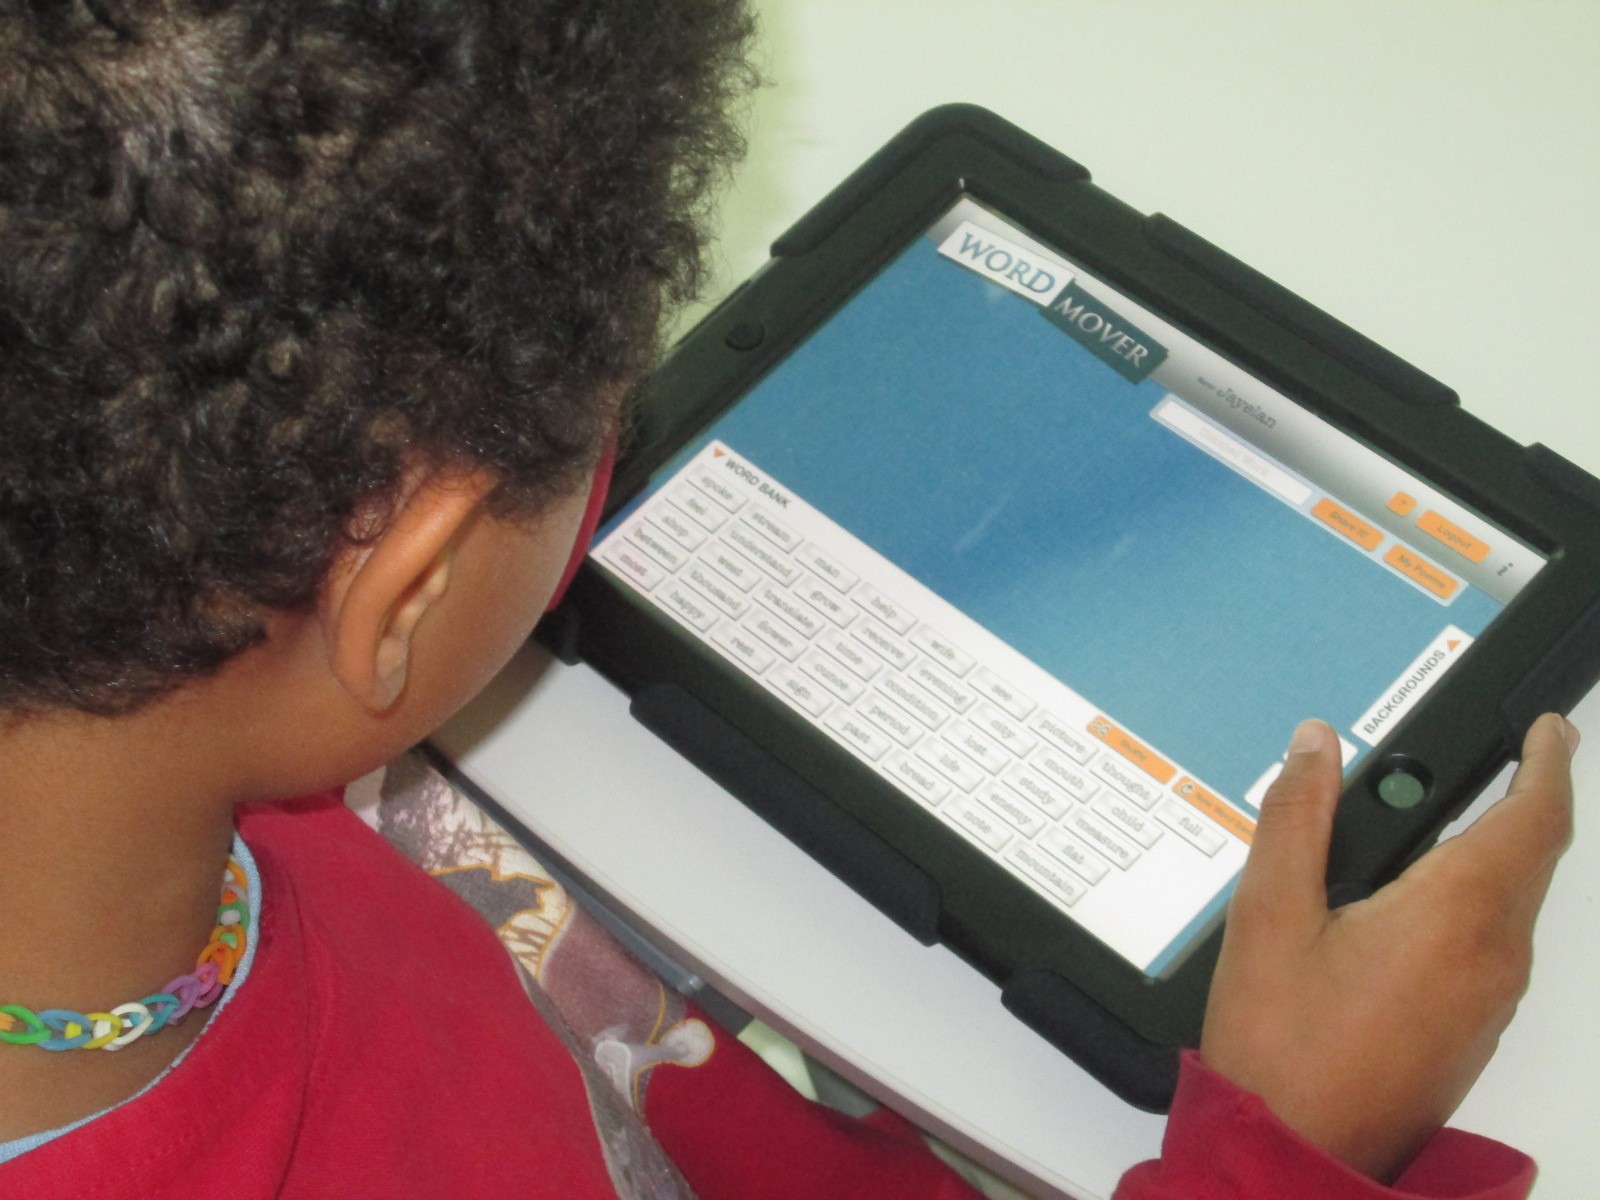
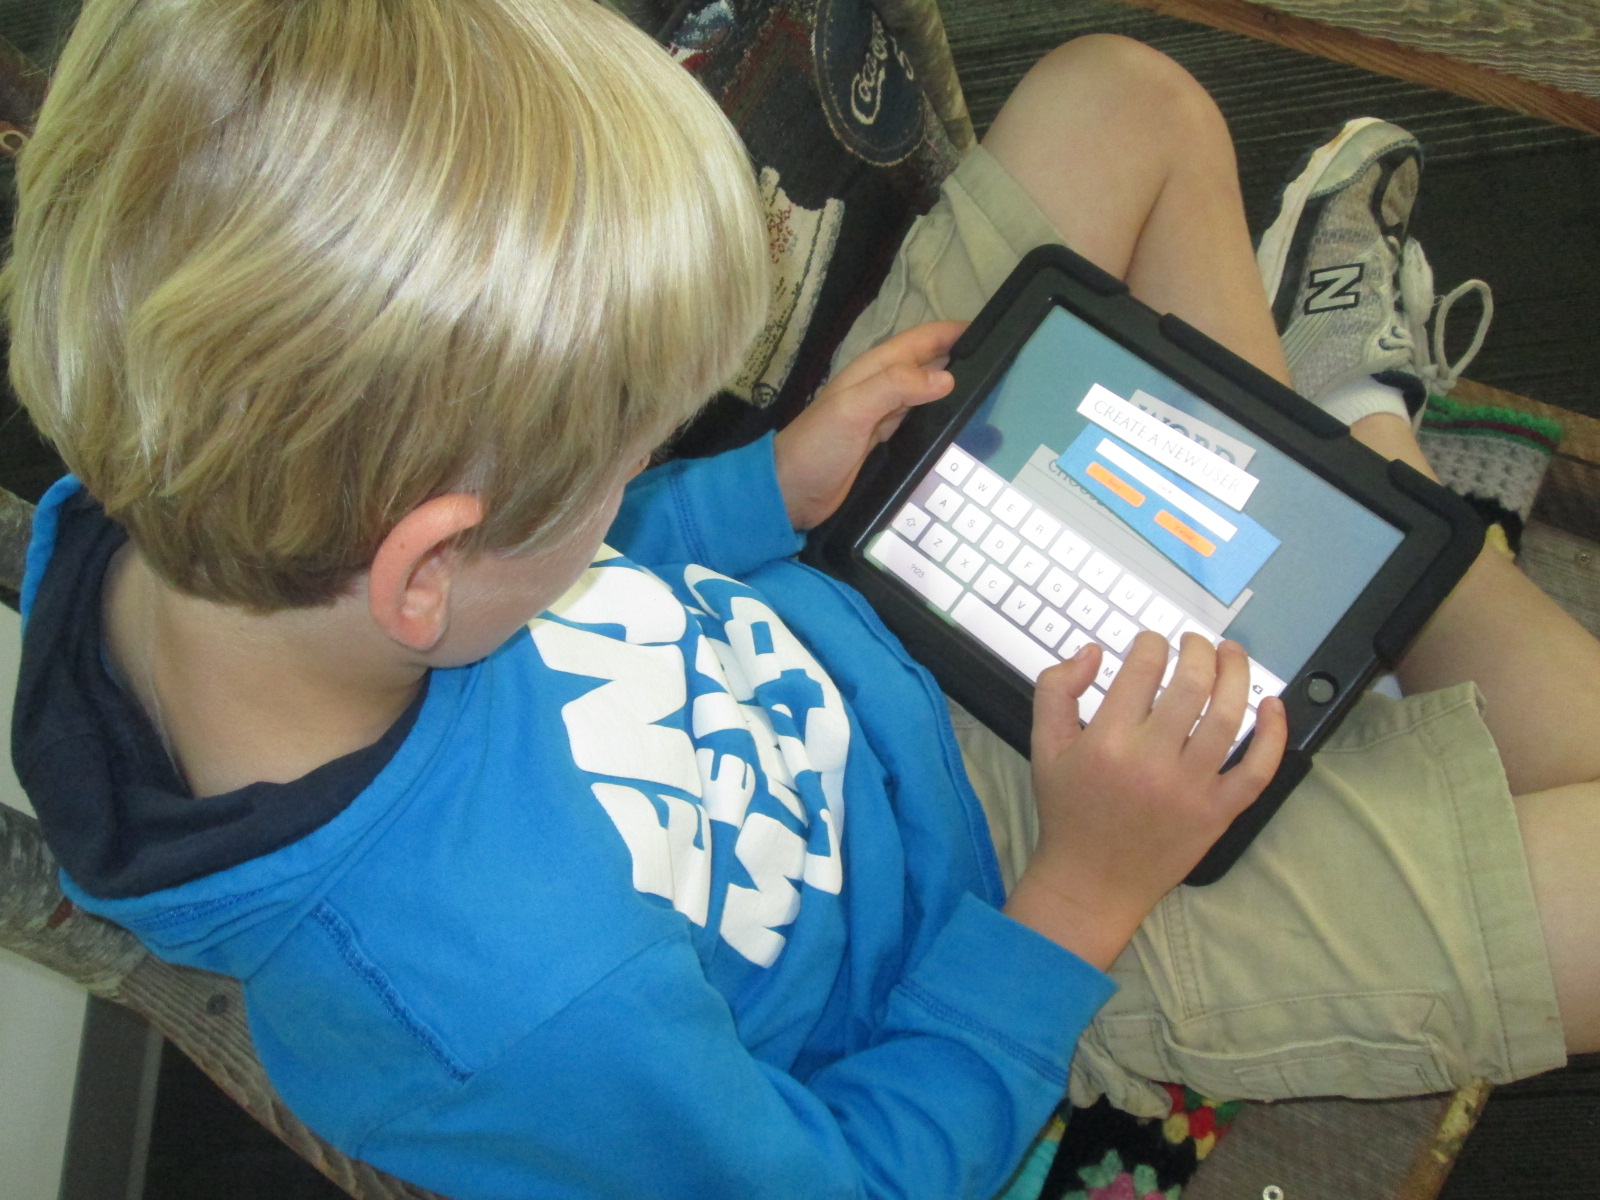
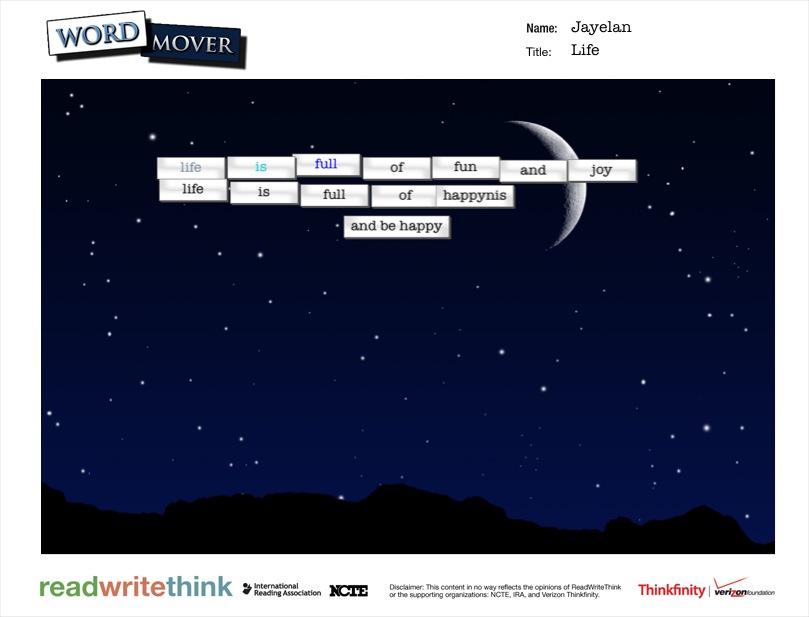
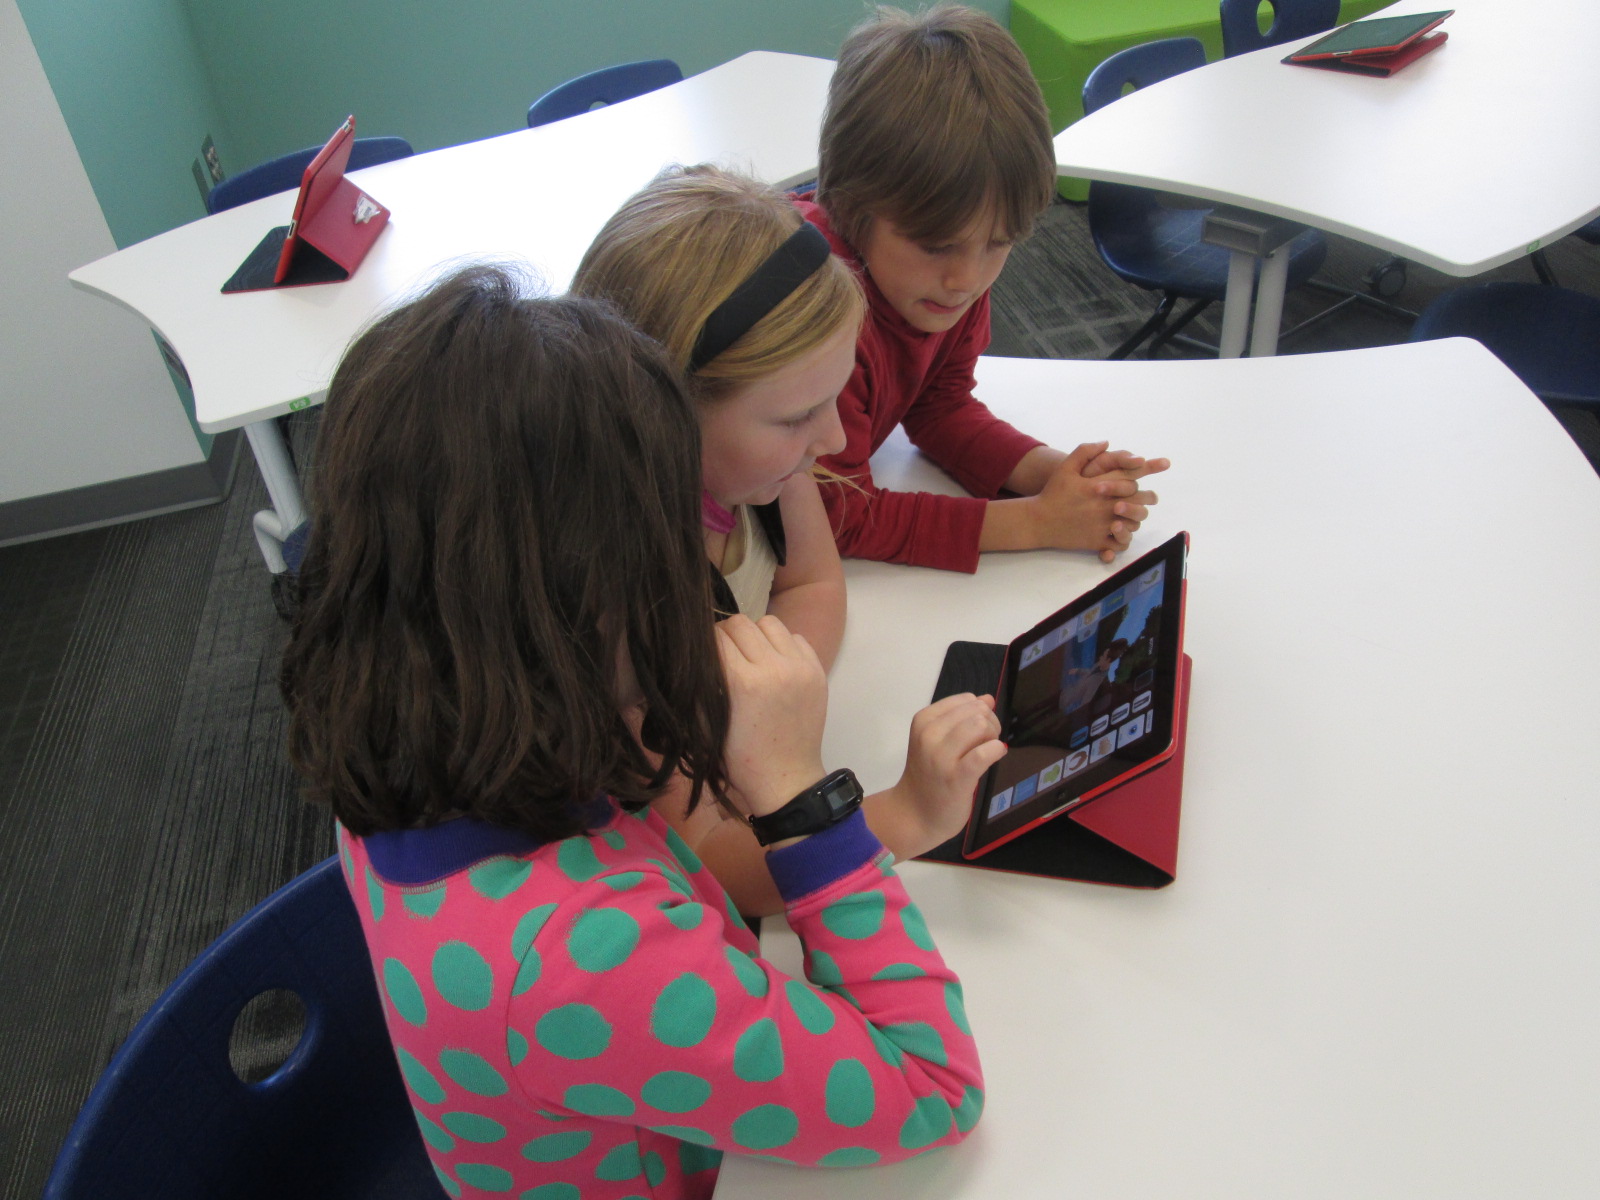
Center 5: iPads
PreK has 5 iPads in each classroom. Students have a variety of word apps that they can use at their own center time in class, so they are used to using these apps independently. This made the perfect independent center since we didn’t have 5 adults. Students sat on the bean bags by the windows and used the iPads by themselves for the 10 minutes of this center.
")
")
I think many times people think that our younger students can’t use technology or they are unsure of what to do with younger students. I love giving things a go and seeing what happens. We were amazed by students’ engagement and excitement today. Some asked, “Can we do this every day?” That was a sure sign of success. When working with younger students, you have to think about what your barriers might be. For us, we wanted smaller groups in order to have more adult support if needed. We also wanted smaller groups so that students wouldn’t be waiting around since we only have 1 Sphero and 3 Osmos. Using the teacher, parapro, parent volunteer, and me helped to make this possible. You might have a different barrier, but I hope that you will consider what you might leap into with your youngest learners in your building.