Banding Together with Joyce Sidman and Heart Poems

IMG_2508.JPG

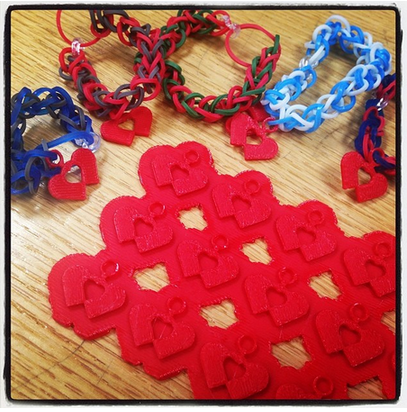
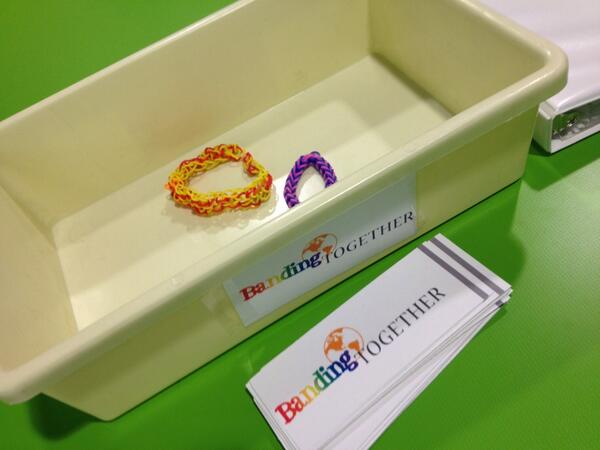
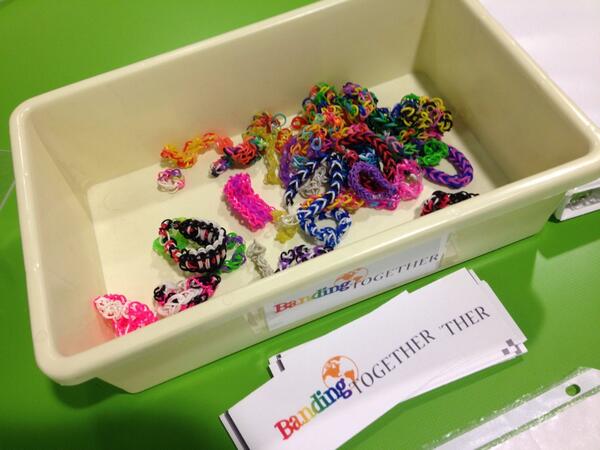
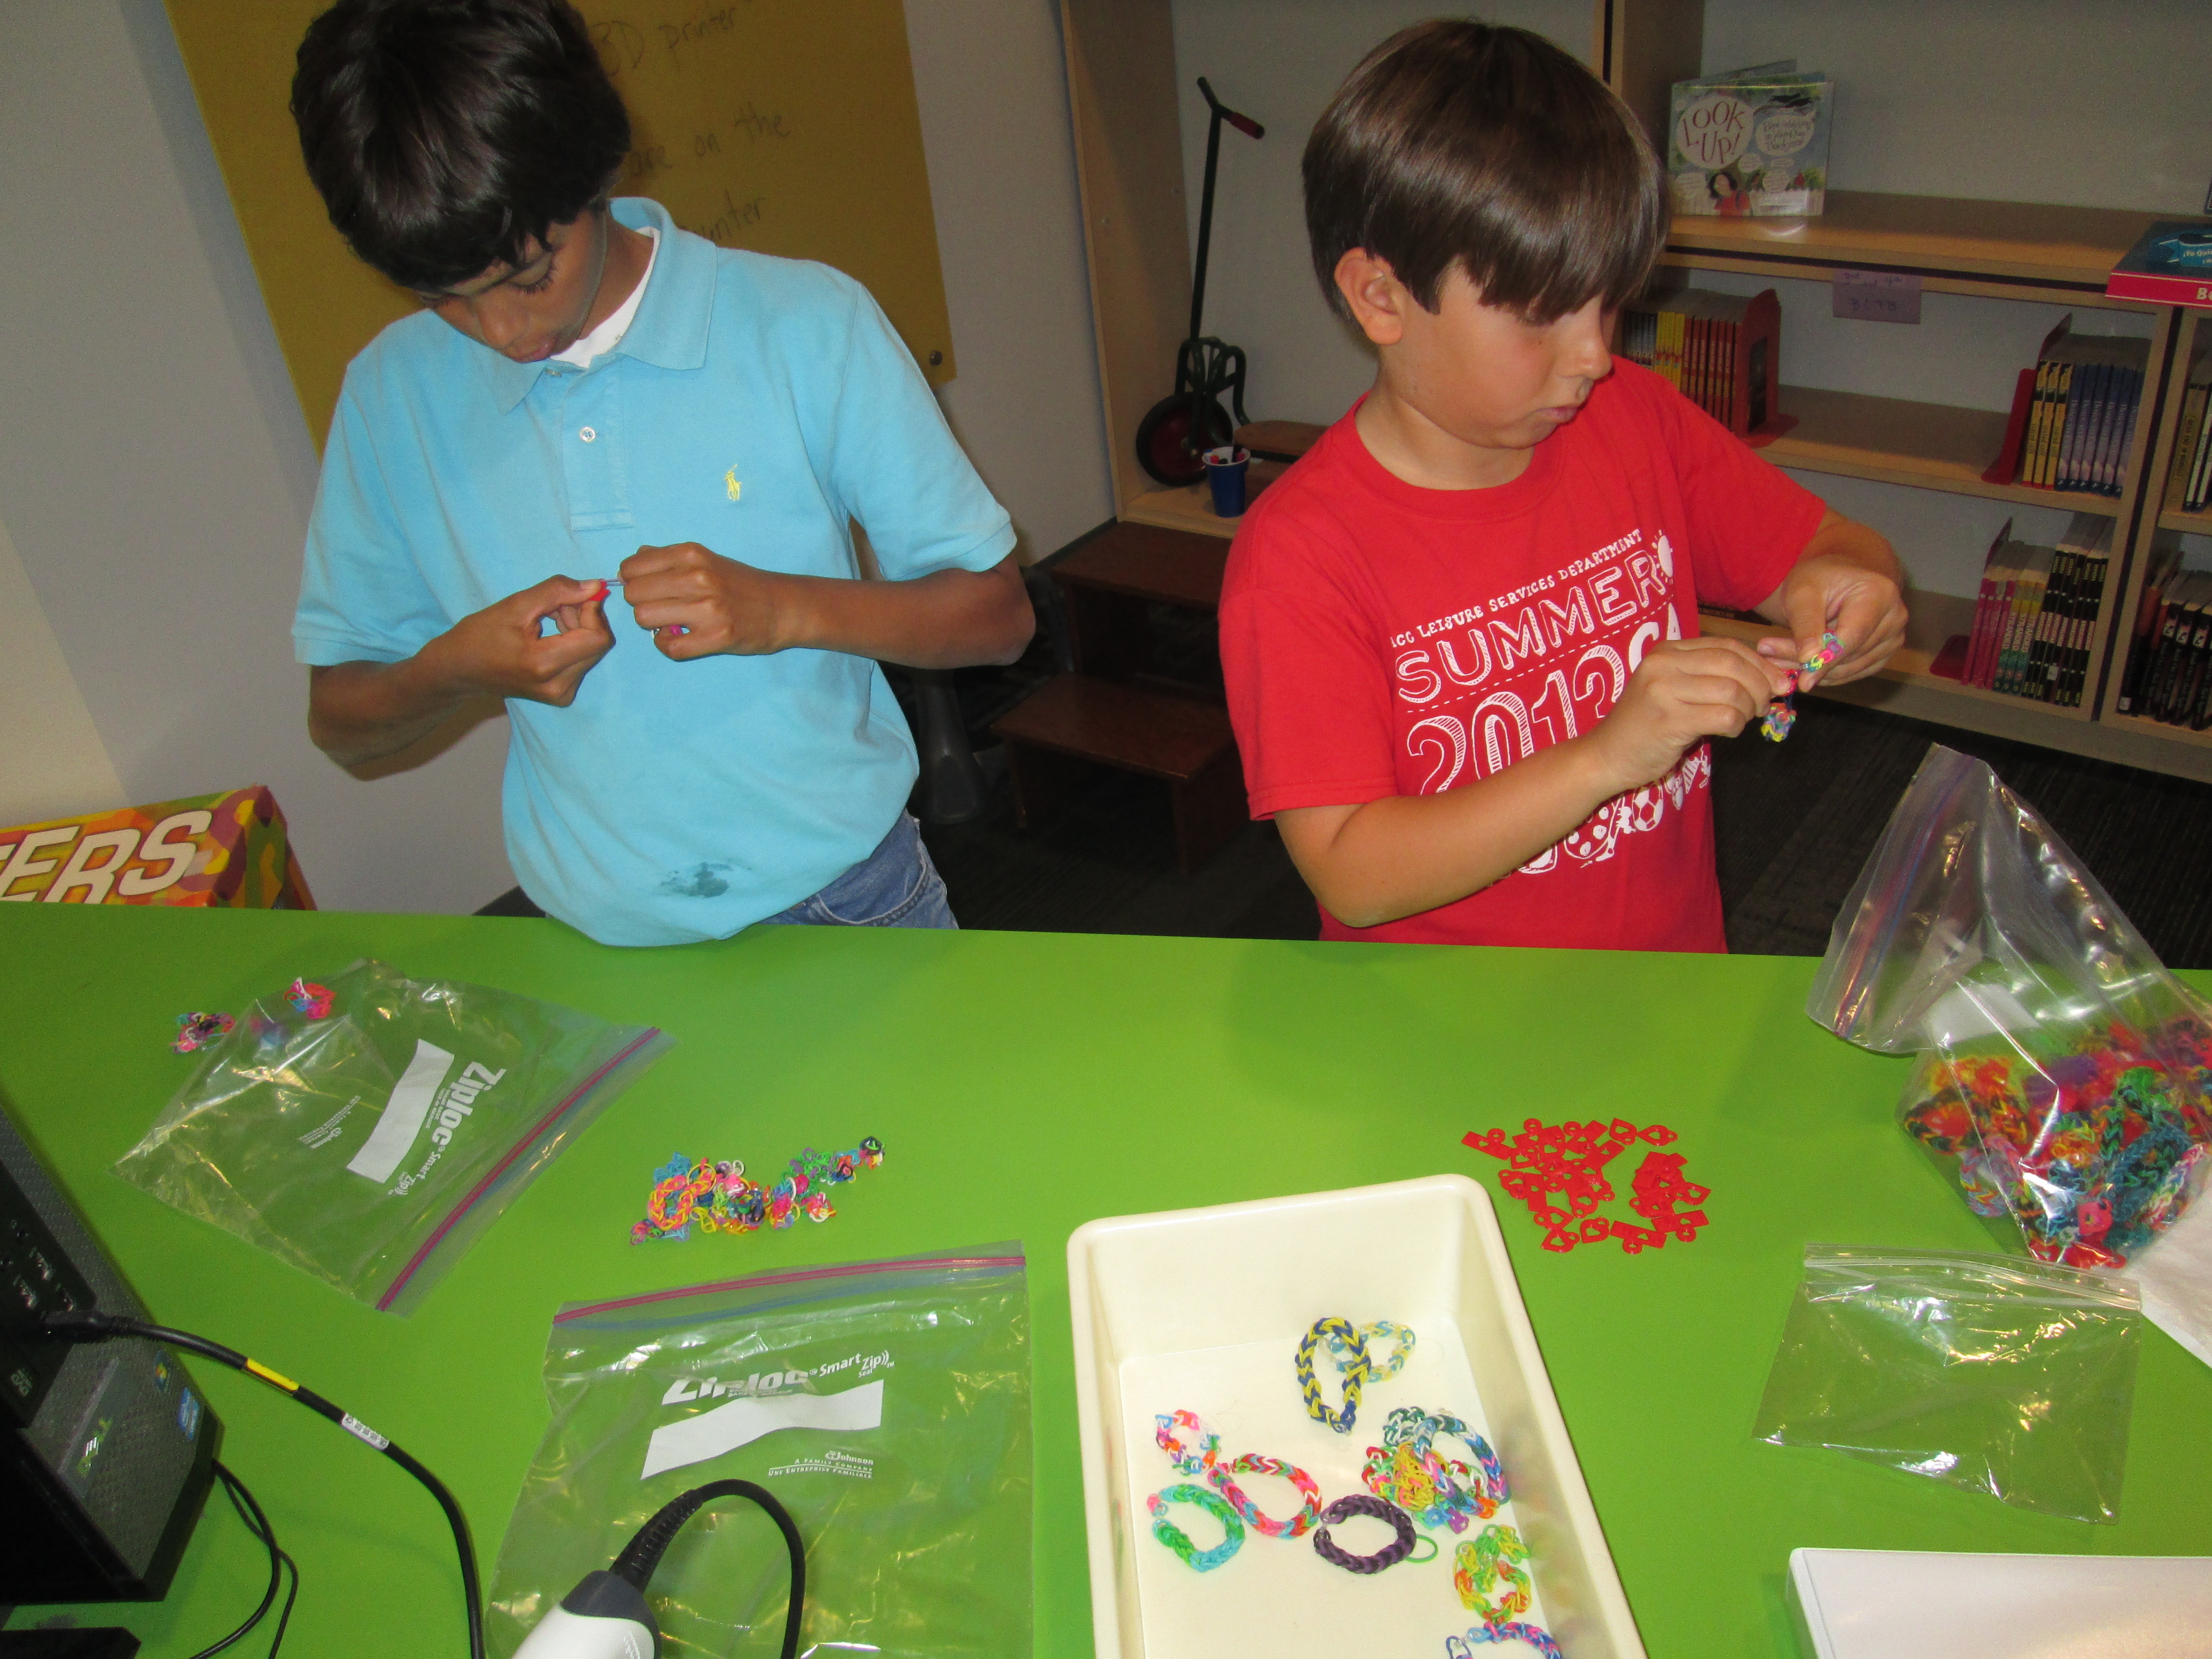
Our two schools are part of a wonderful project called “Banding Together”.  In partnership with In This Together Media, the Van Meter third graders kicked this off while working on their Rainbow Loom research projects.  After creating so many beautiful bracelets throughout the project, they wanted to do something special with all of these handmade creations.  They partnered with In This Together Media to bring these bracelets, happiness, and friendship to children from an orphanage in Mangalore, India.  The third graders decided to call the project “Banding Together” and the next step was bringing others onboard to make a difference in the world.

Shannon told Andy about “Banding Together” right away….Van Meter School couldn’t wait for Barrow Elementary to be partners with them too.  Together they would bring so much to the children in India….and to each other.

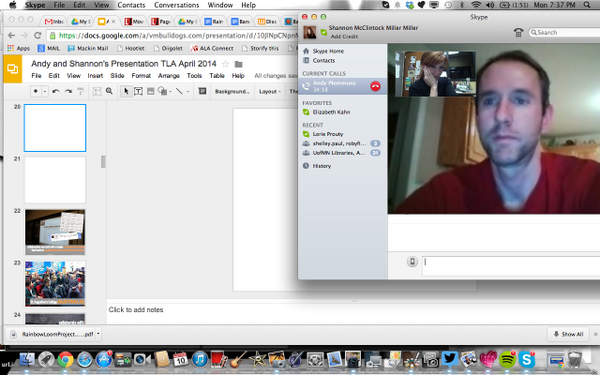
Recently during a Skype planning session, Andy brought up the idea of incorporating poetry into the Banding Together project.  It started with a wondering.  What if we added short poetry, like a fortune cookie slip, attached to the bracelets?  Shannon said, “Let’s go for it.” And the brainstorming began.
BiaKe2-CUAAXkYO.png

We both started thinking of possible titles for the short poetry.  We wanted the title to represent the spirit and joy of the Banding Together project.  In looking through poets, we thought of Joyce Sidman and her new book, What the Heart Knows:  Chants, Charms, & Blessings.  In her note to readers, Joyce Sidman writes, “We believe in the power of words themselves.  Why else would we pray, sing, or write?  Finding phrases to match the emotion inside us still brings an explosive, soaring joy.”

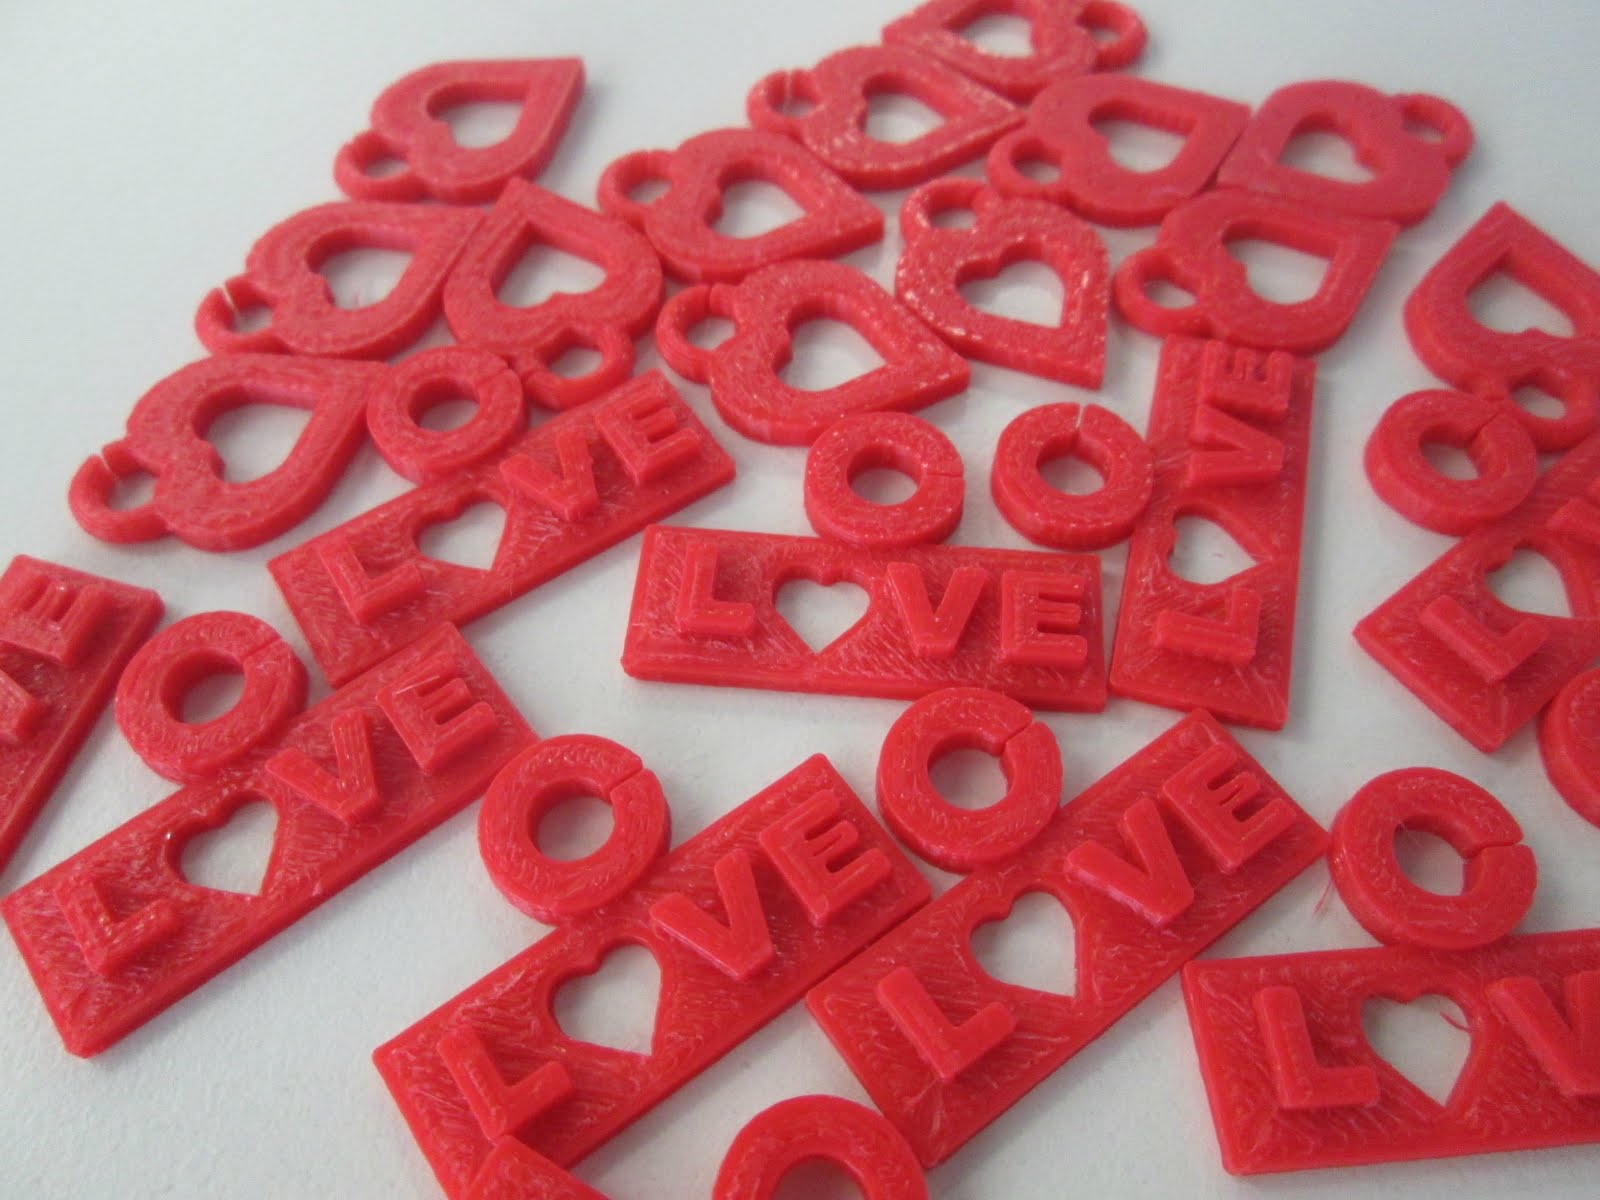
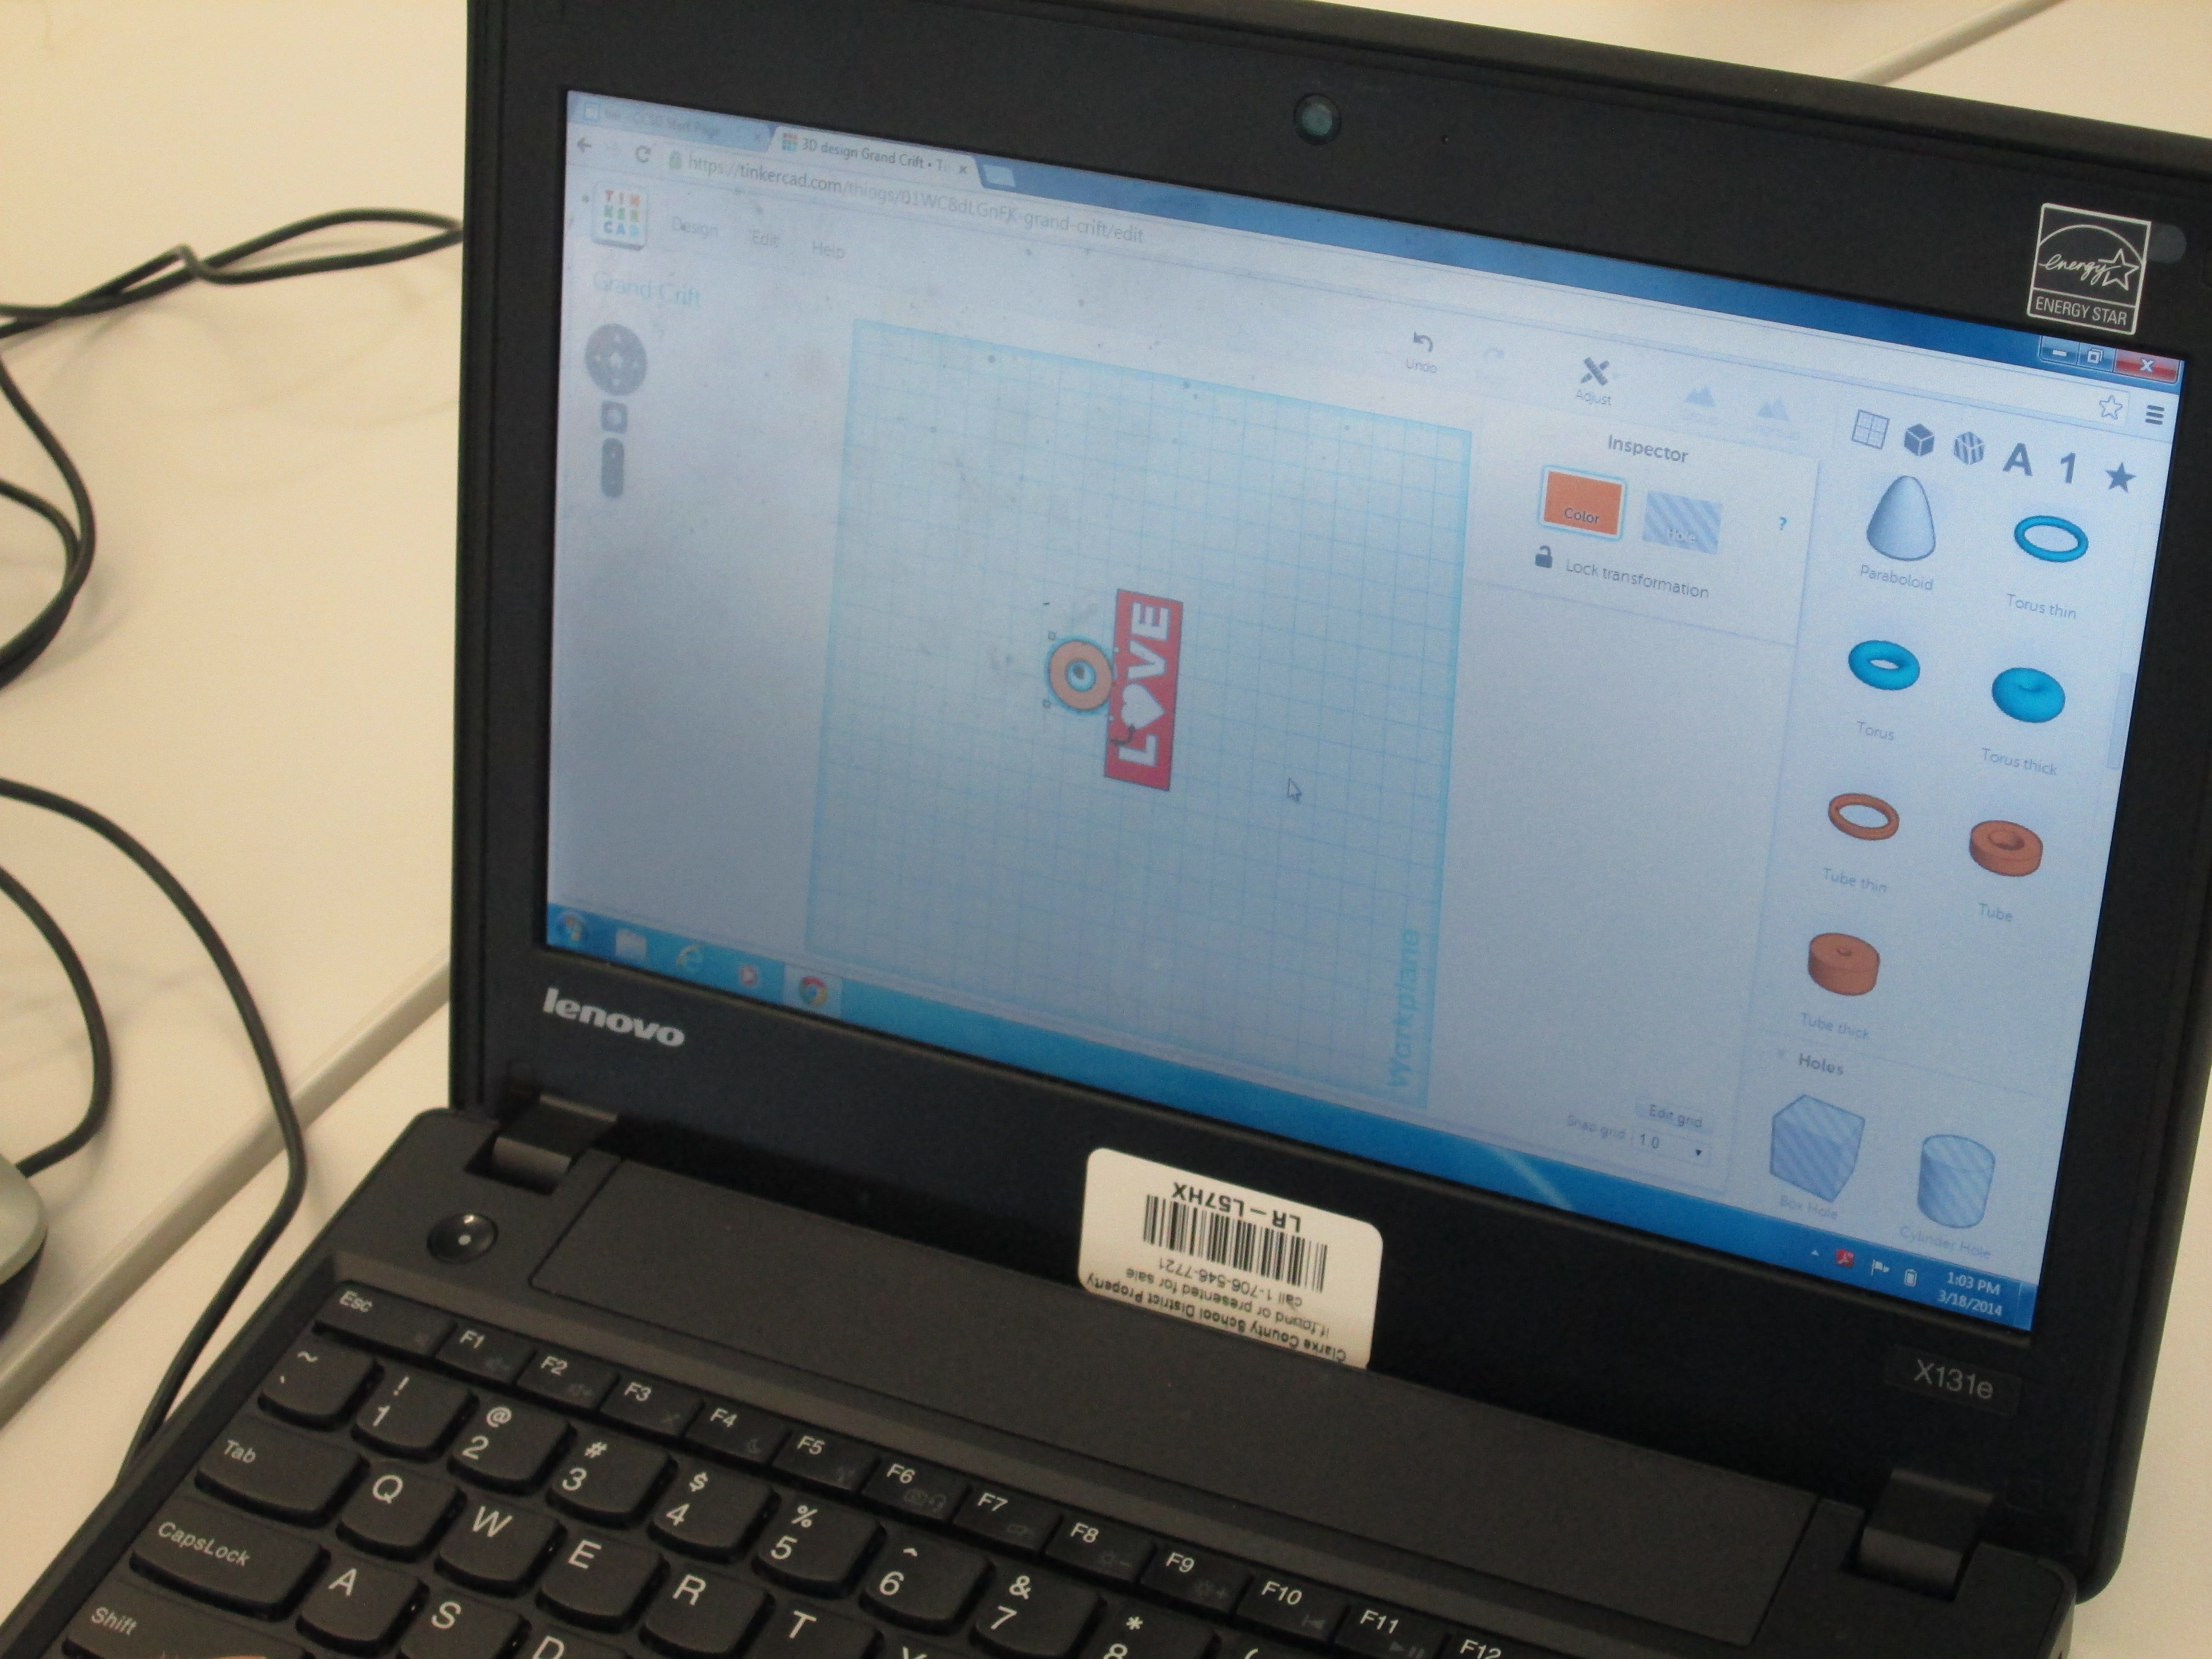
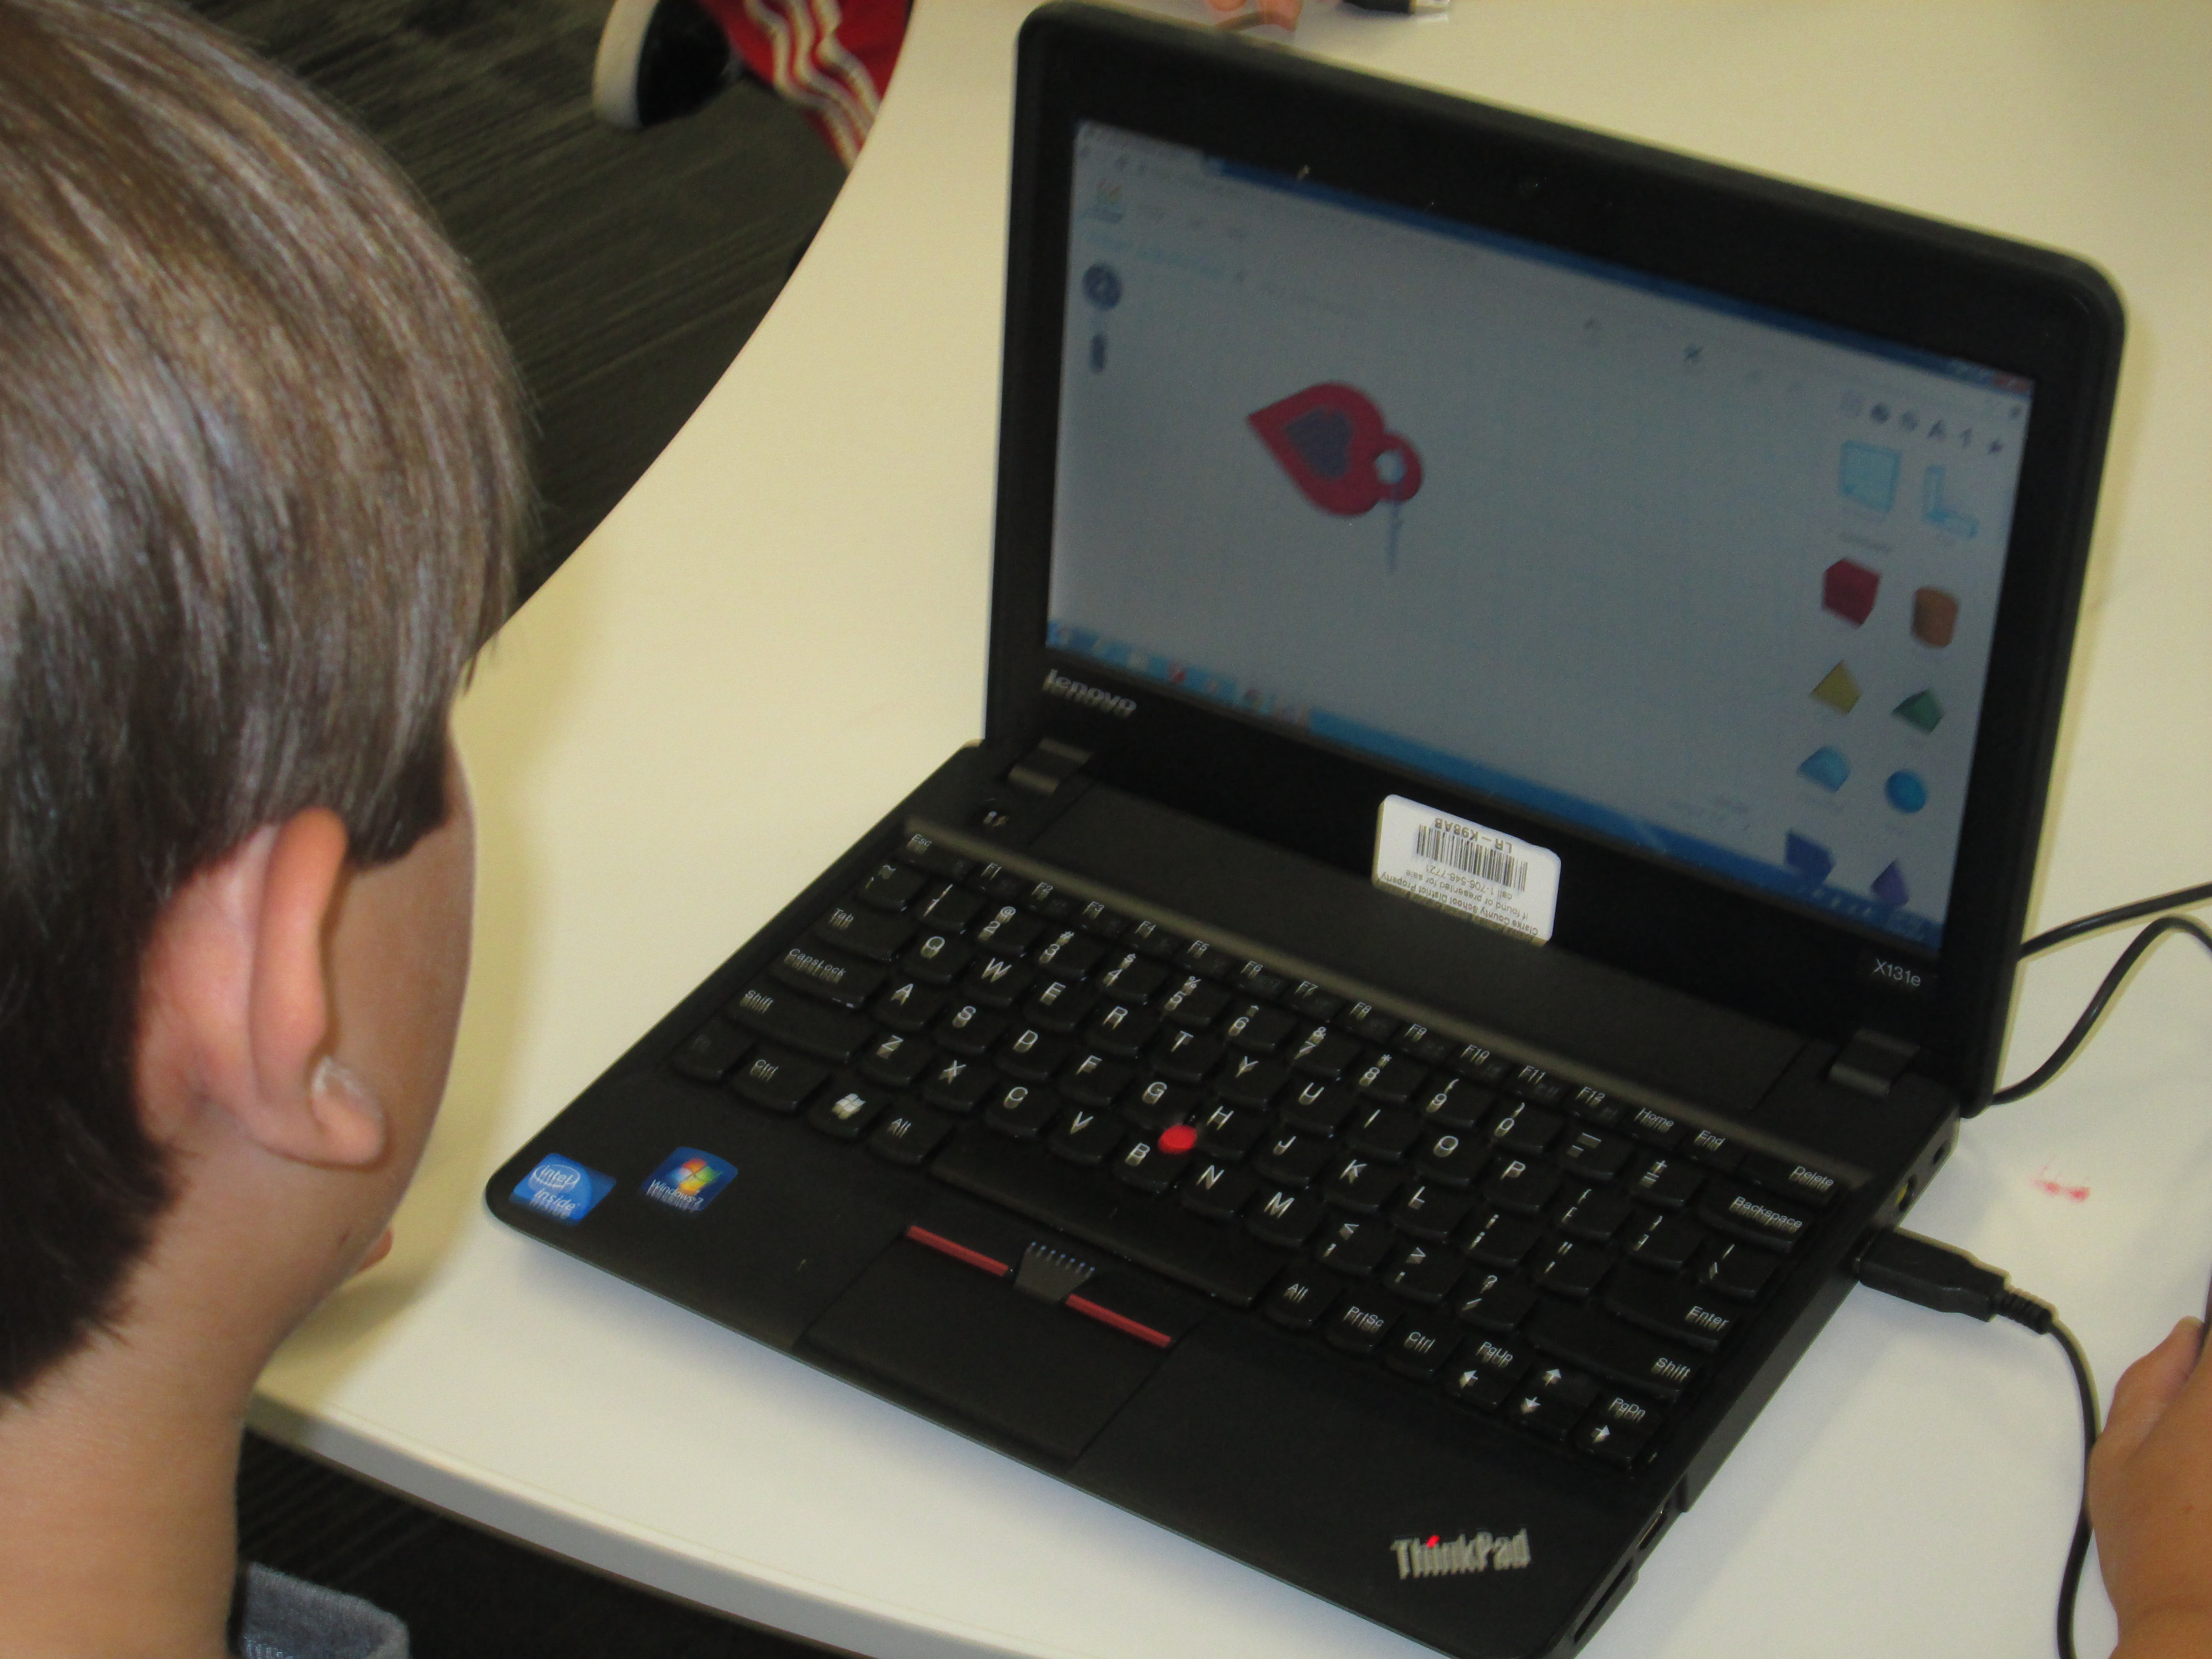
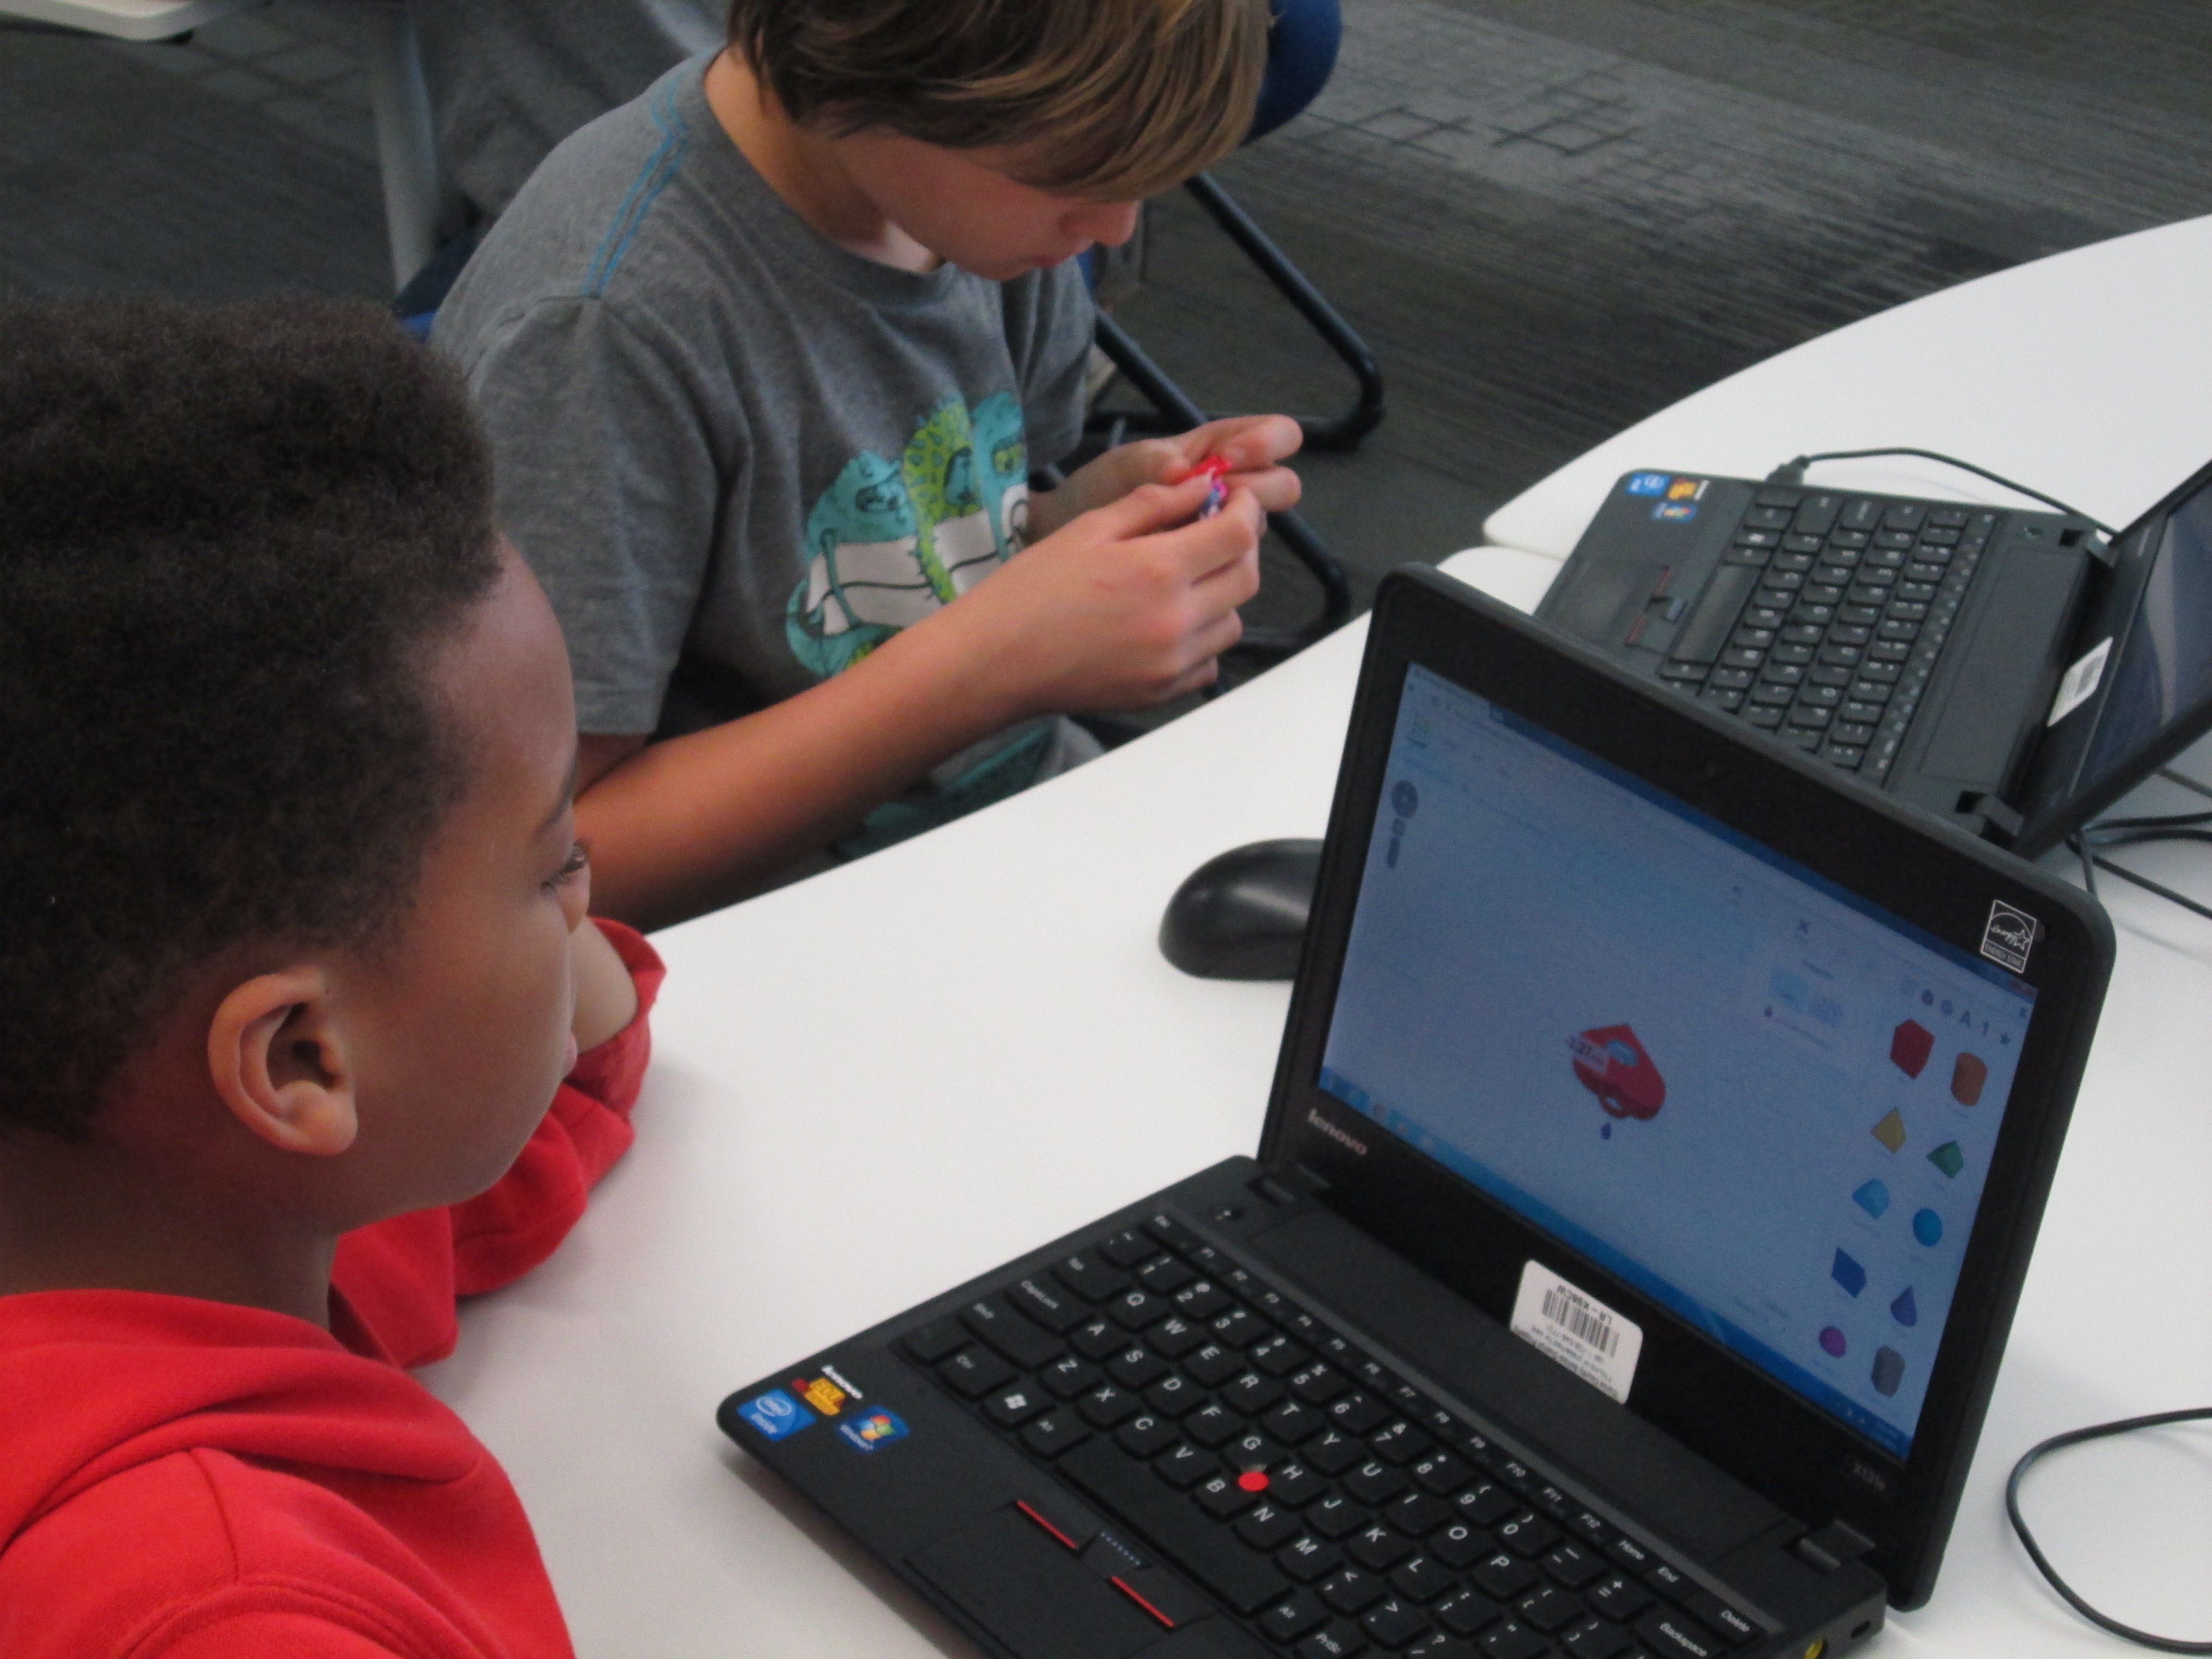
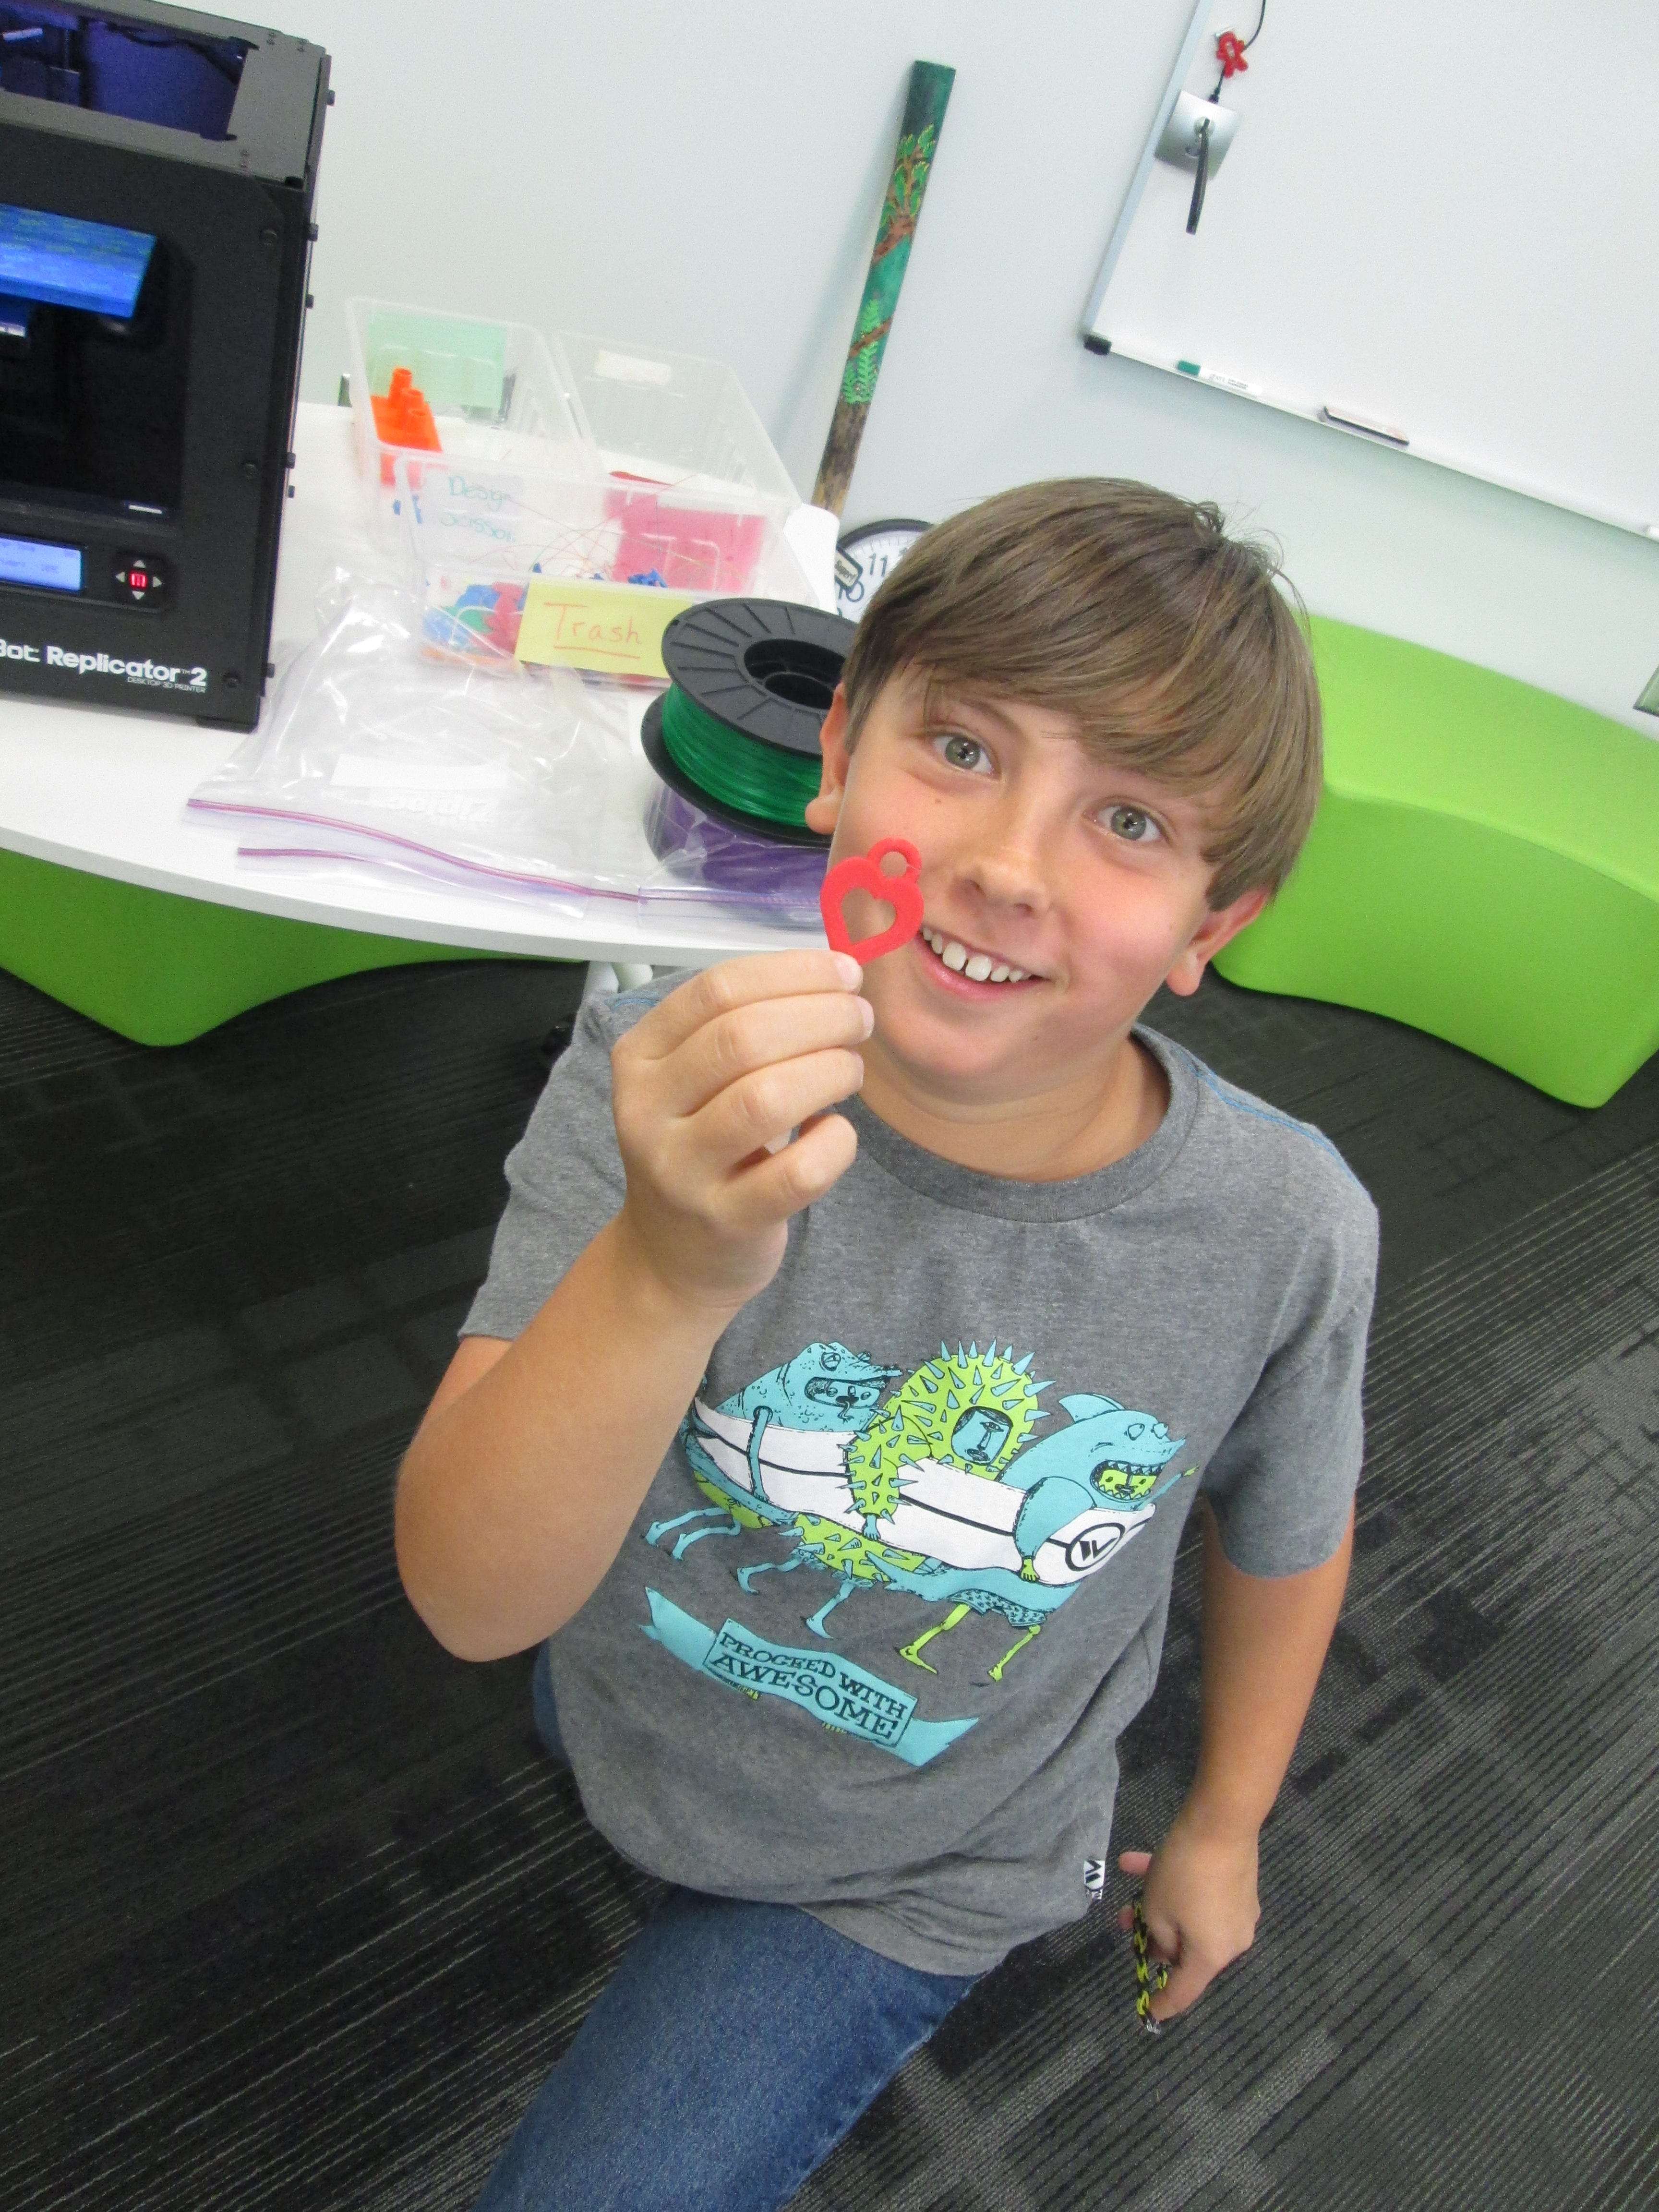
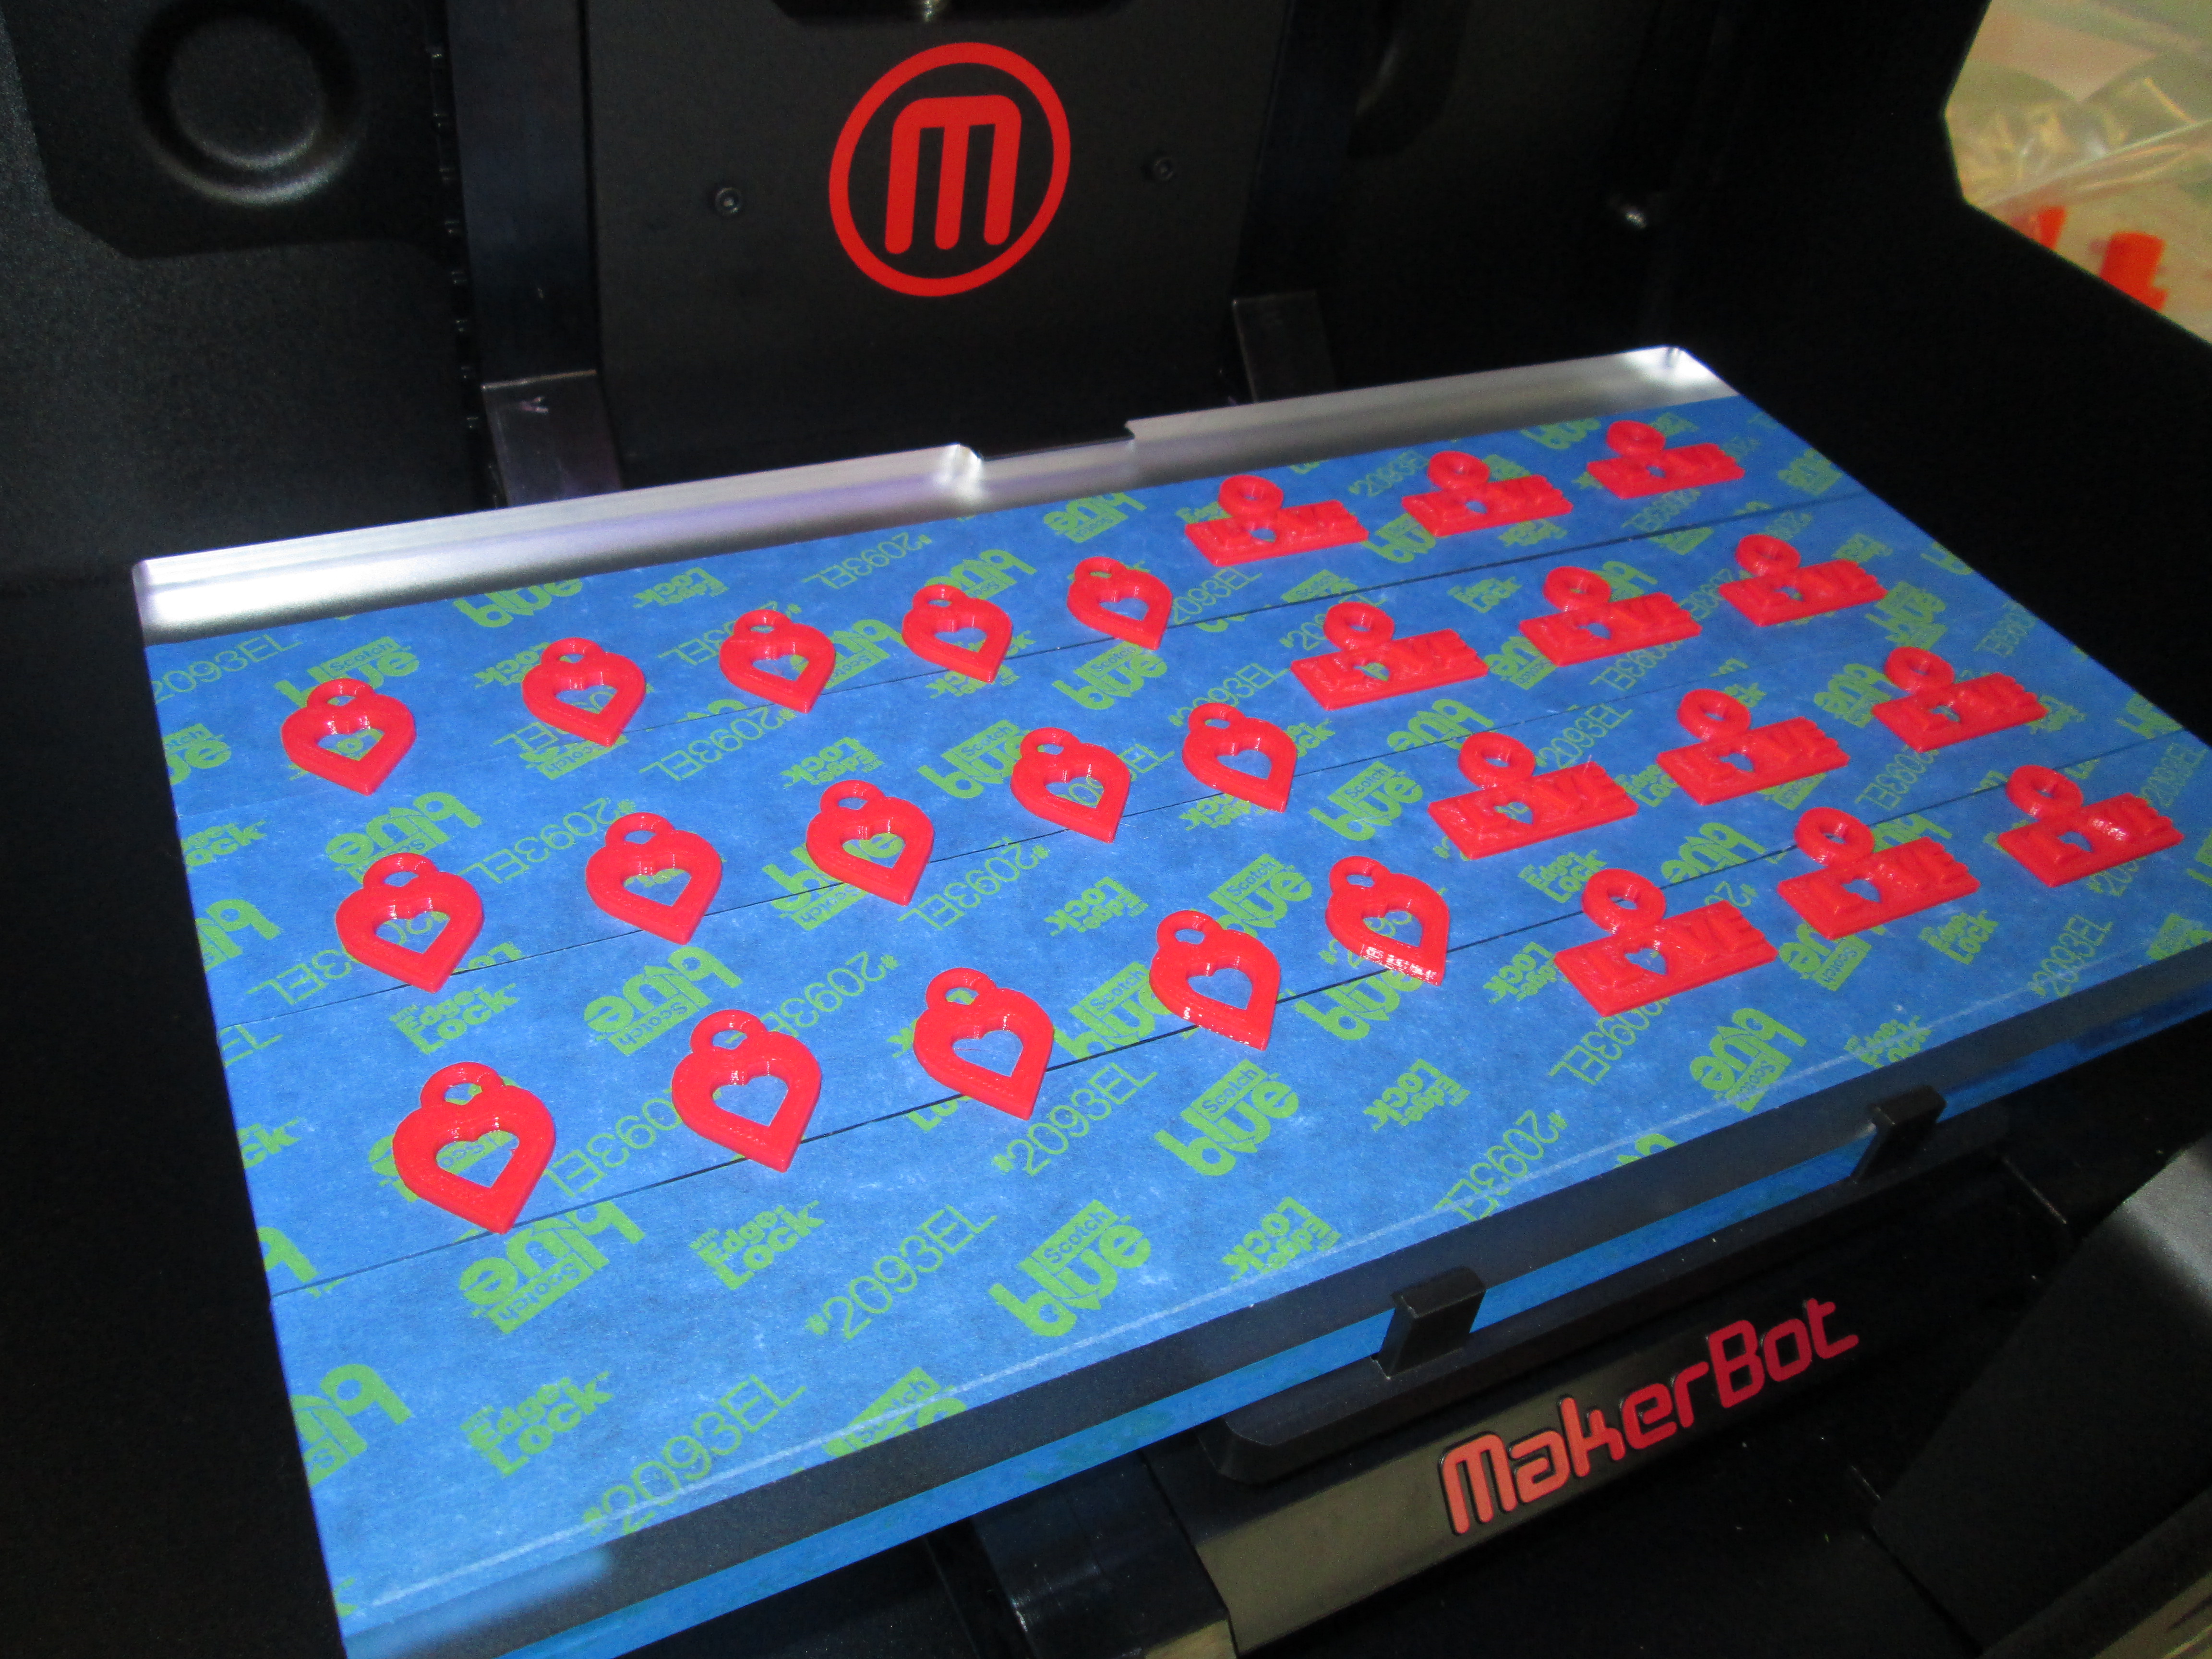
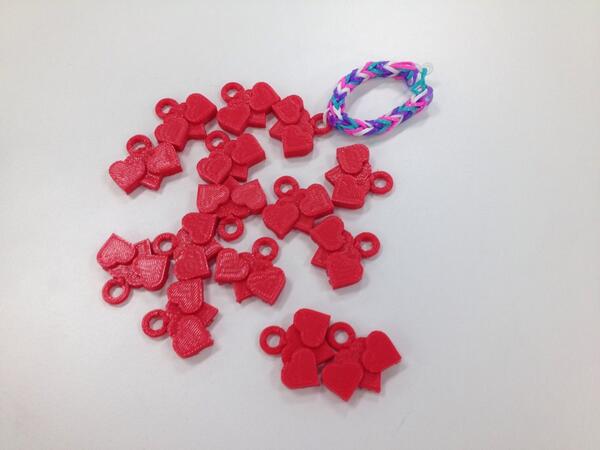
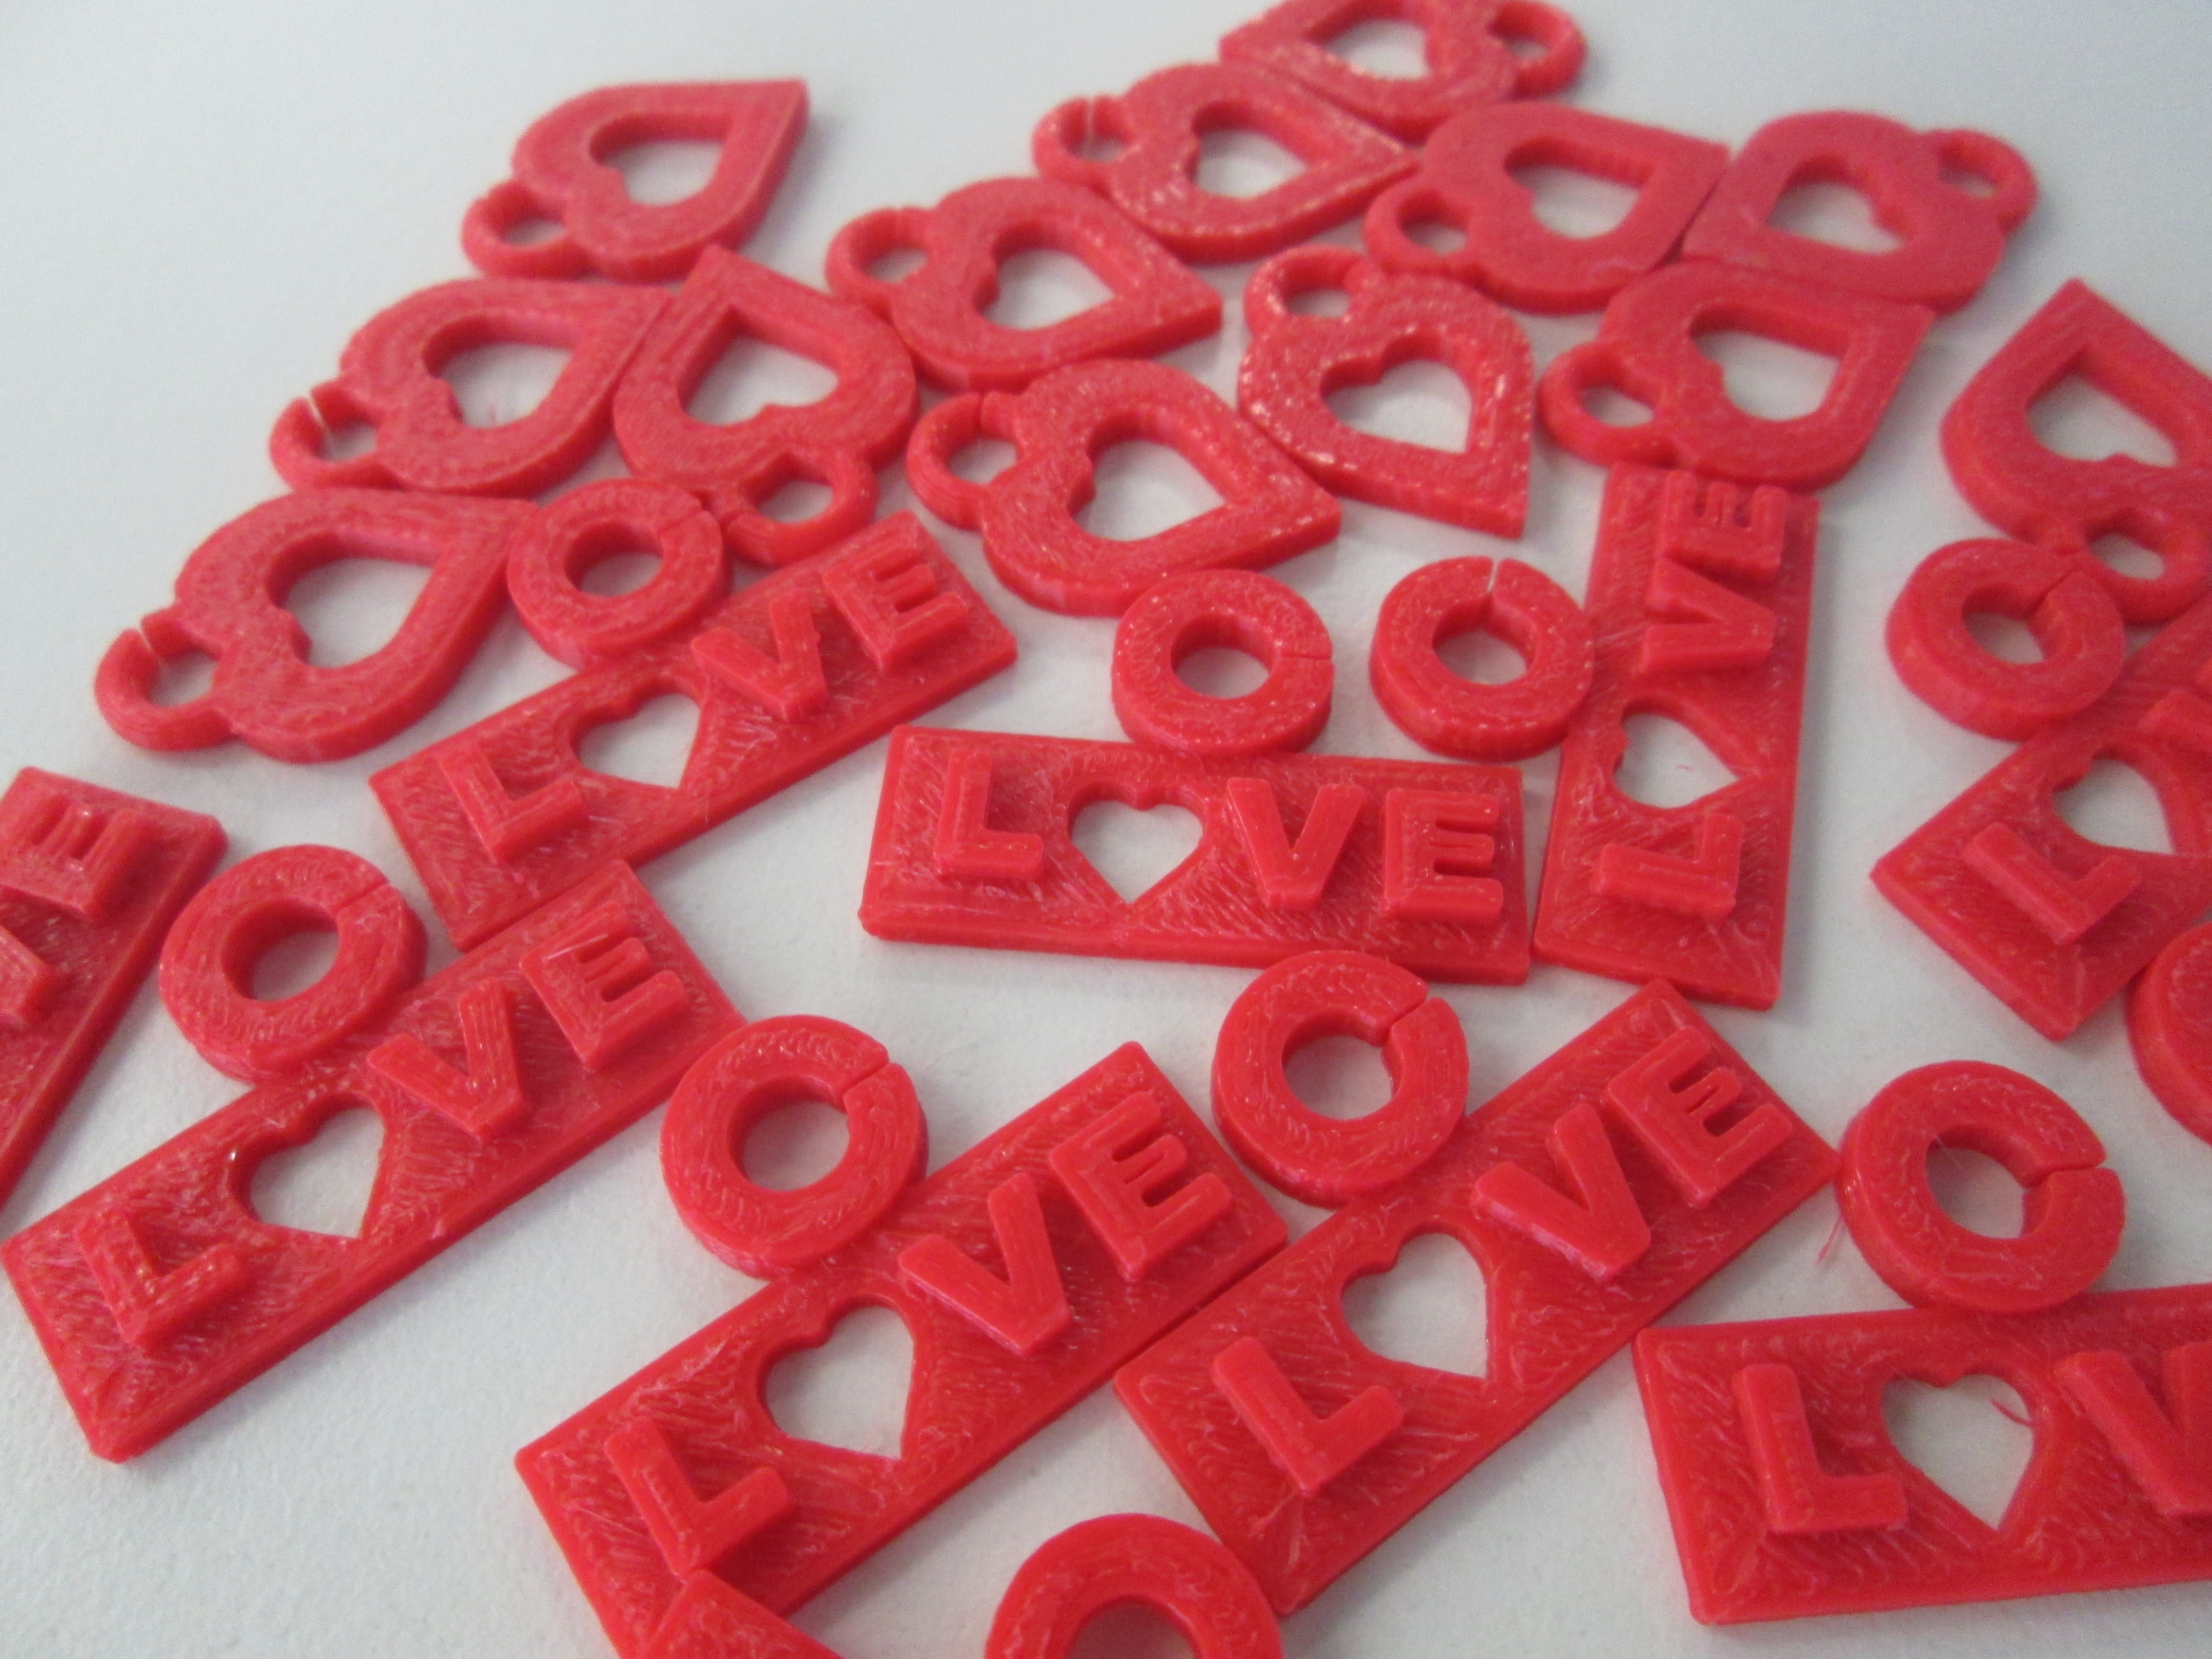
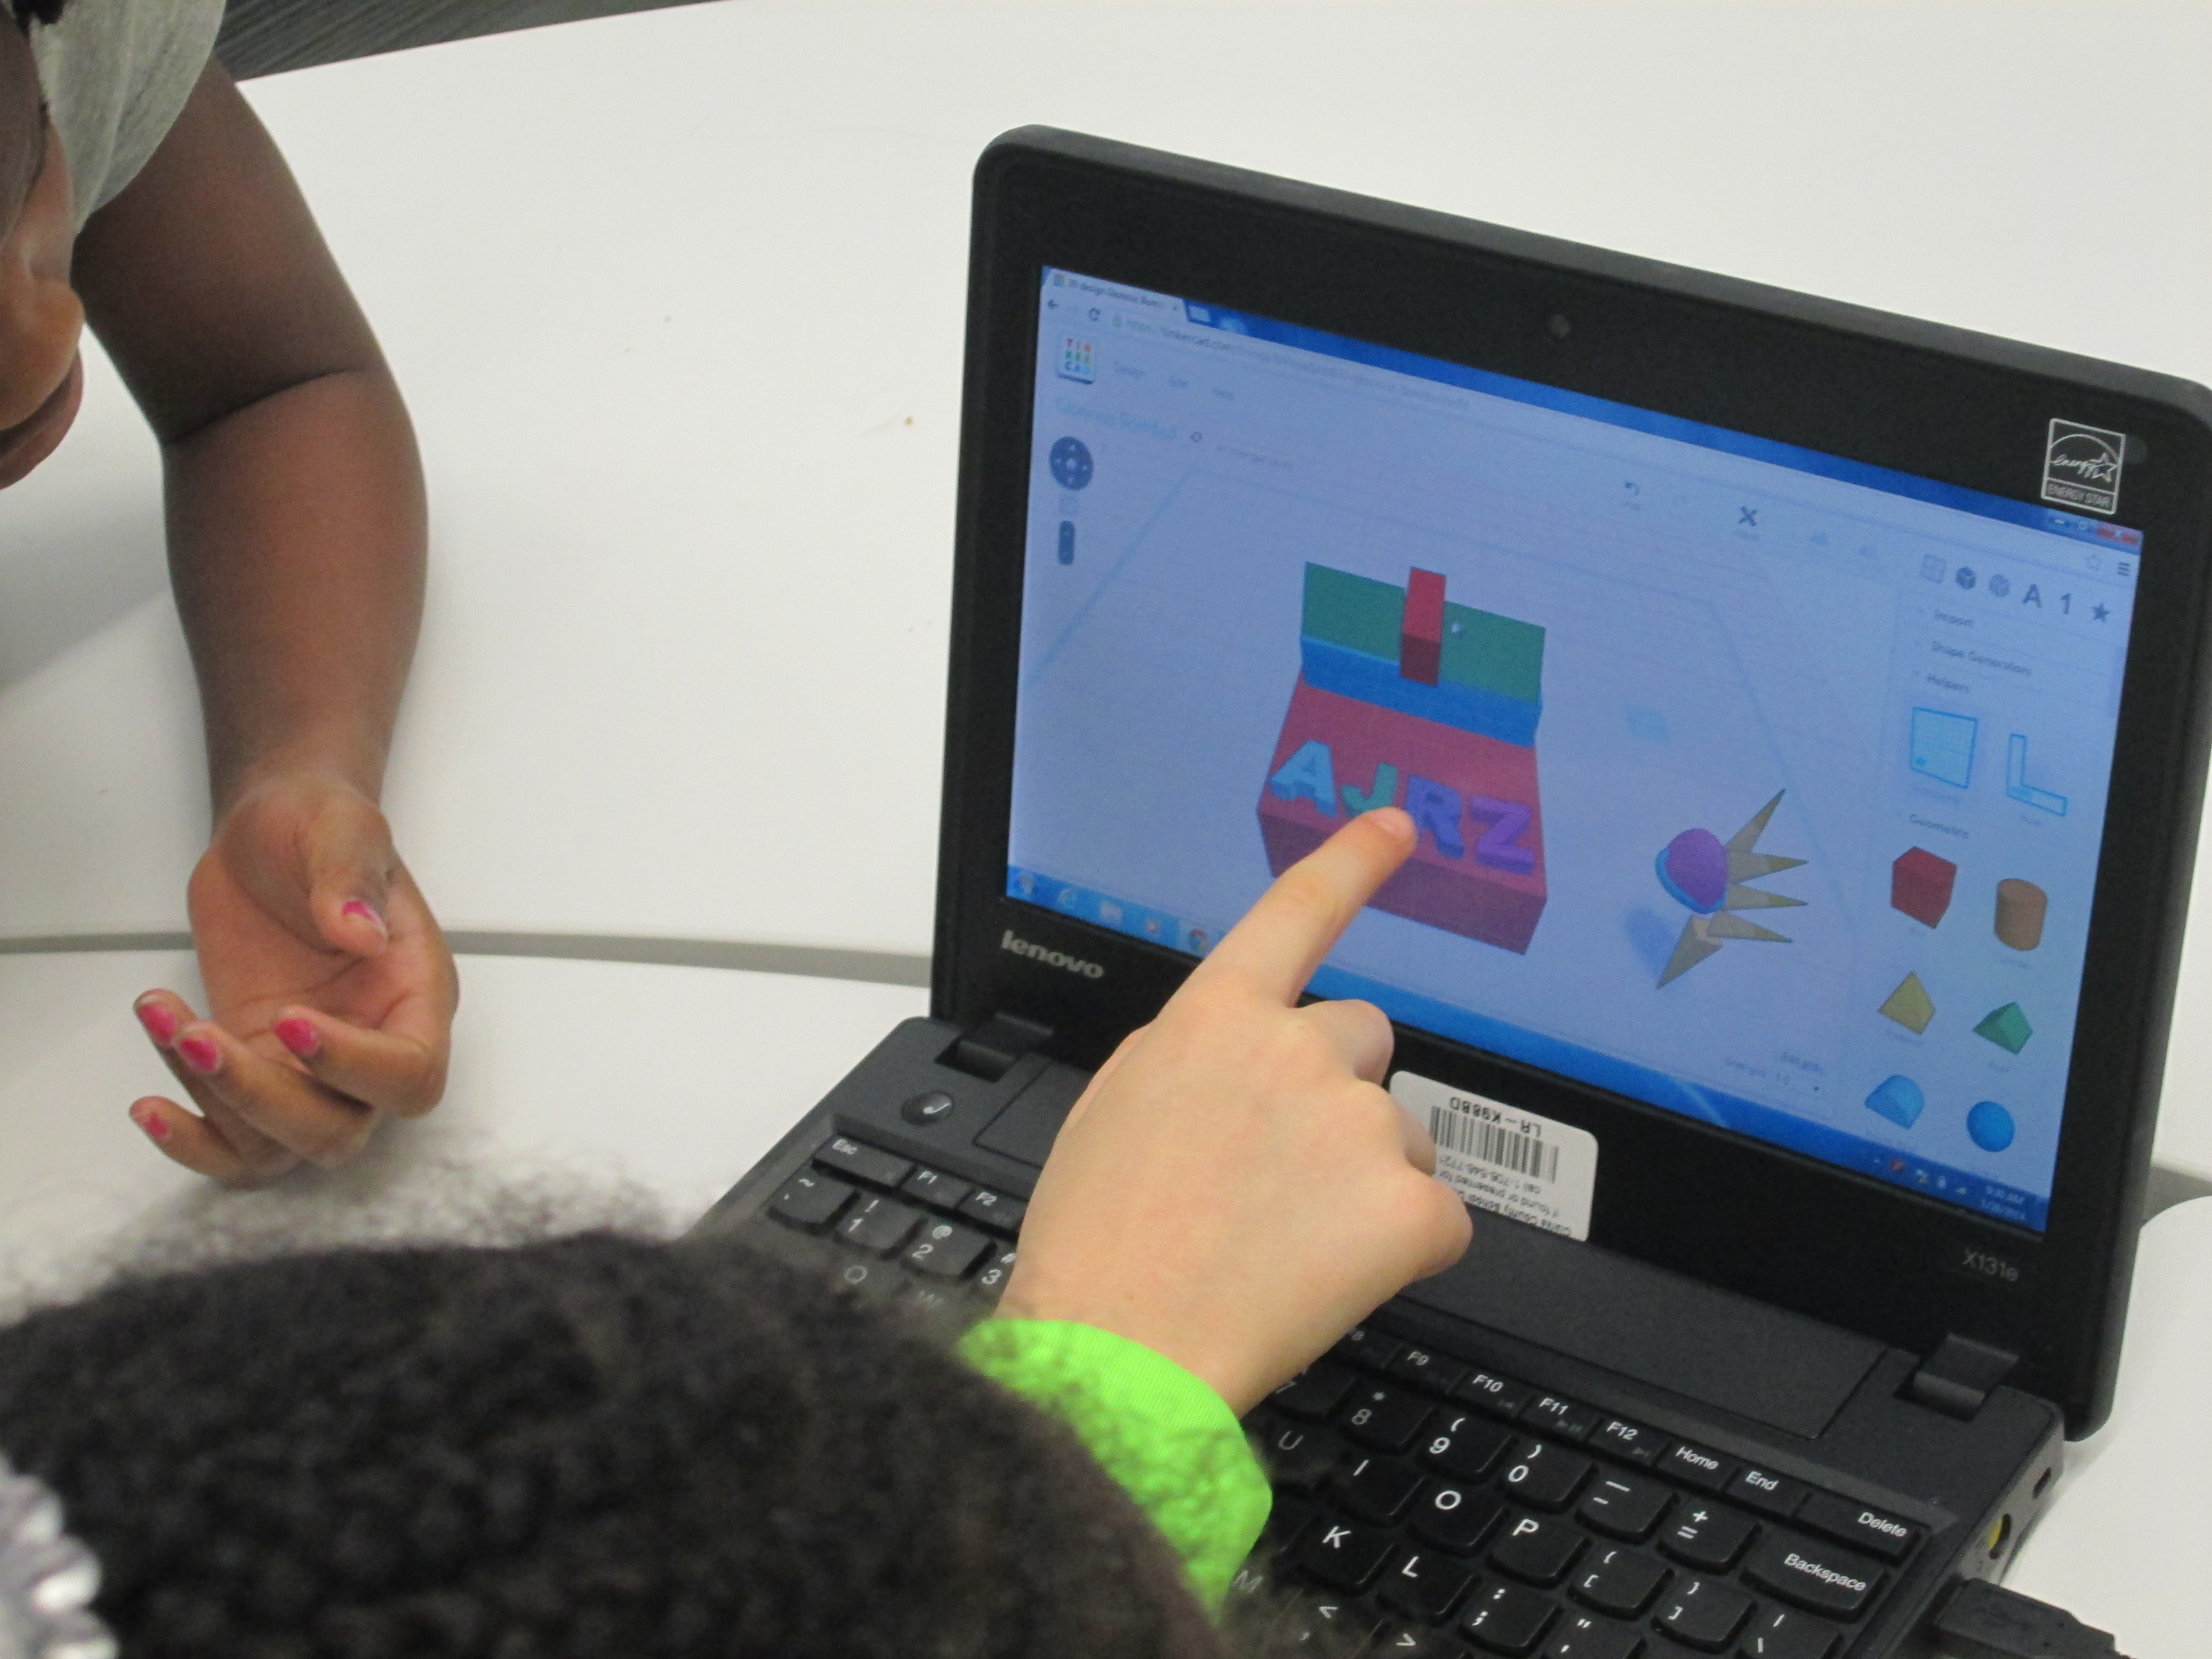
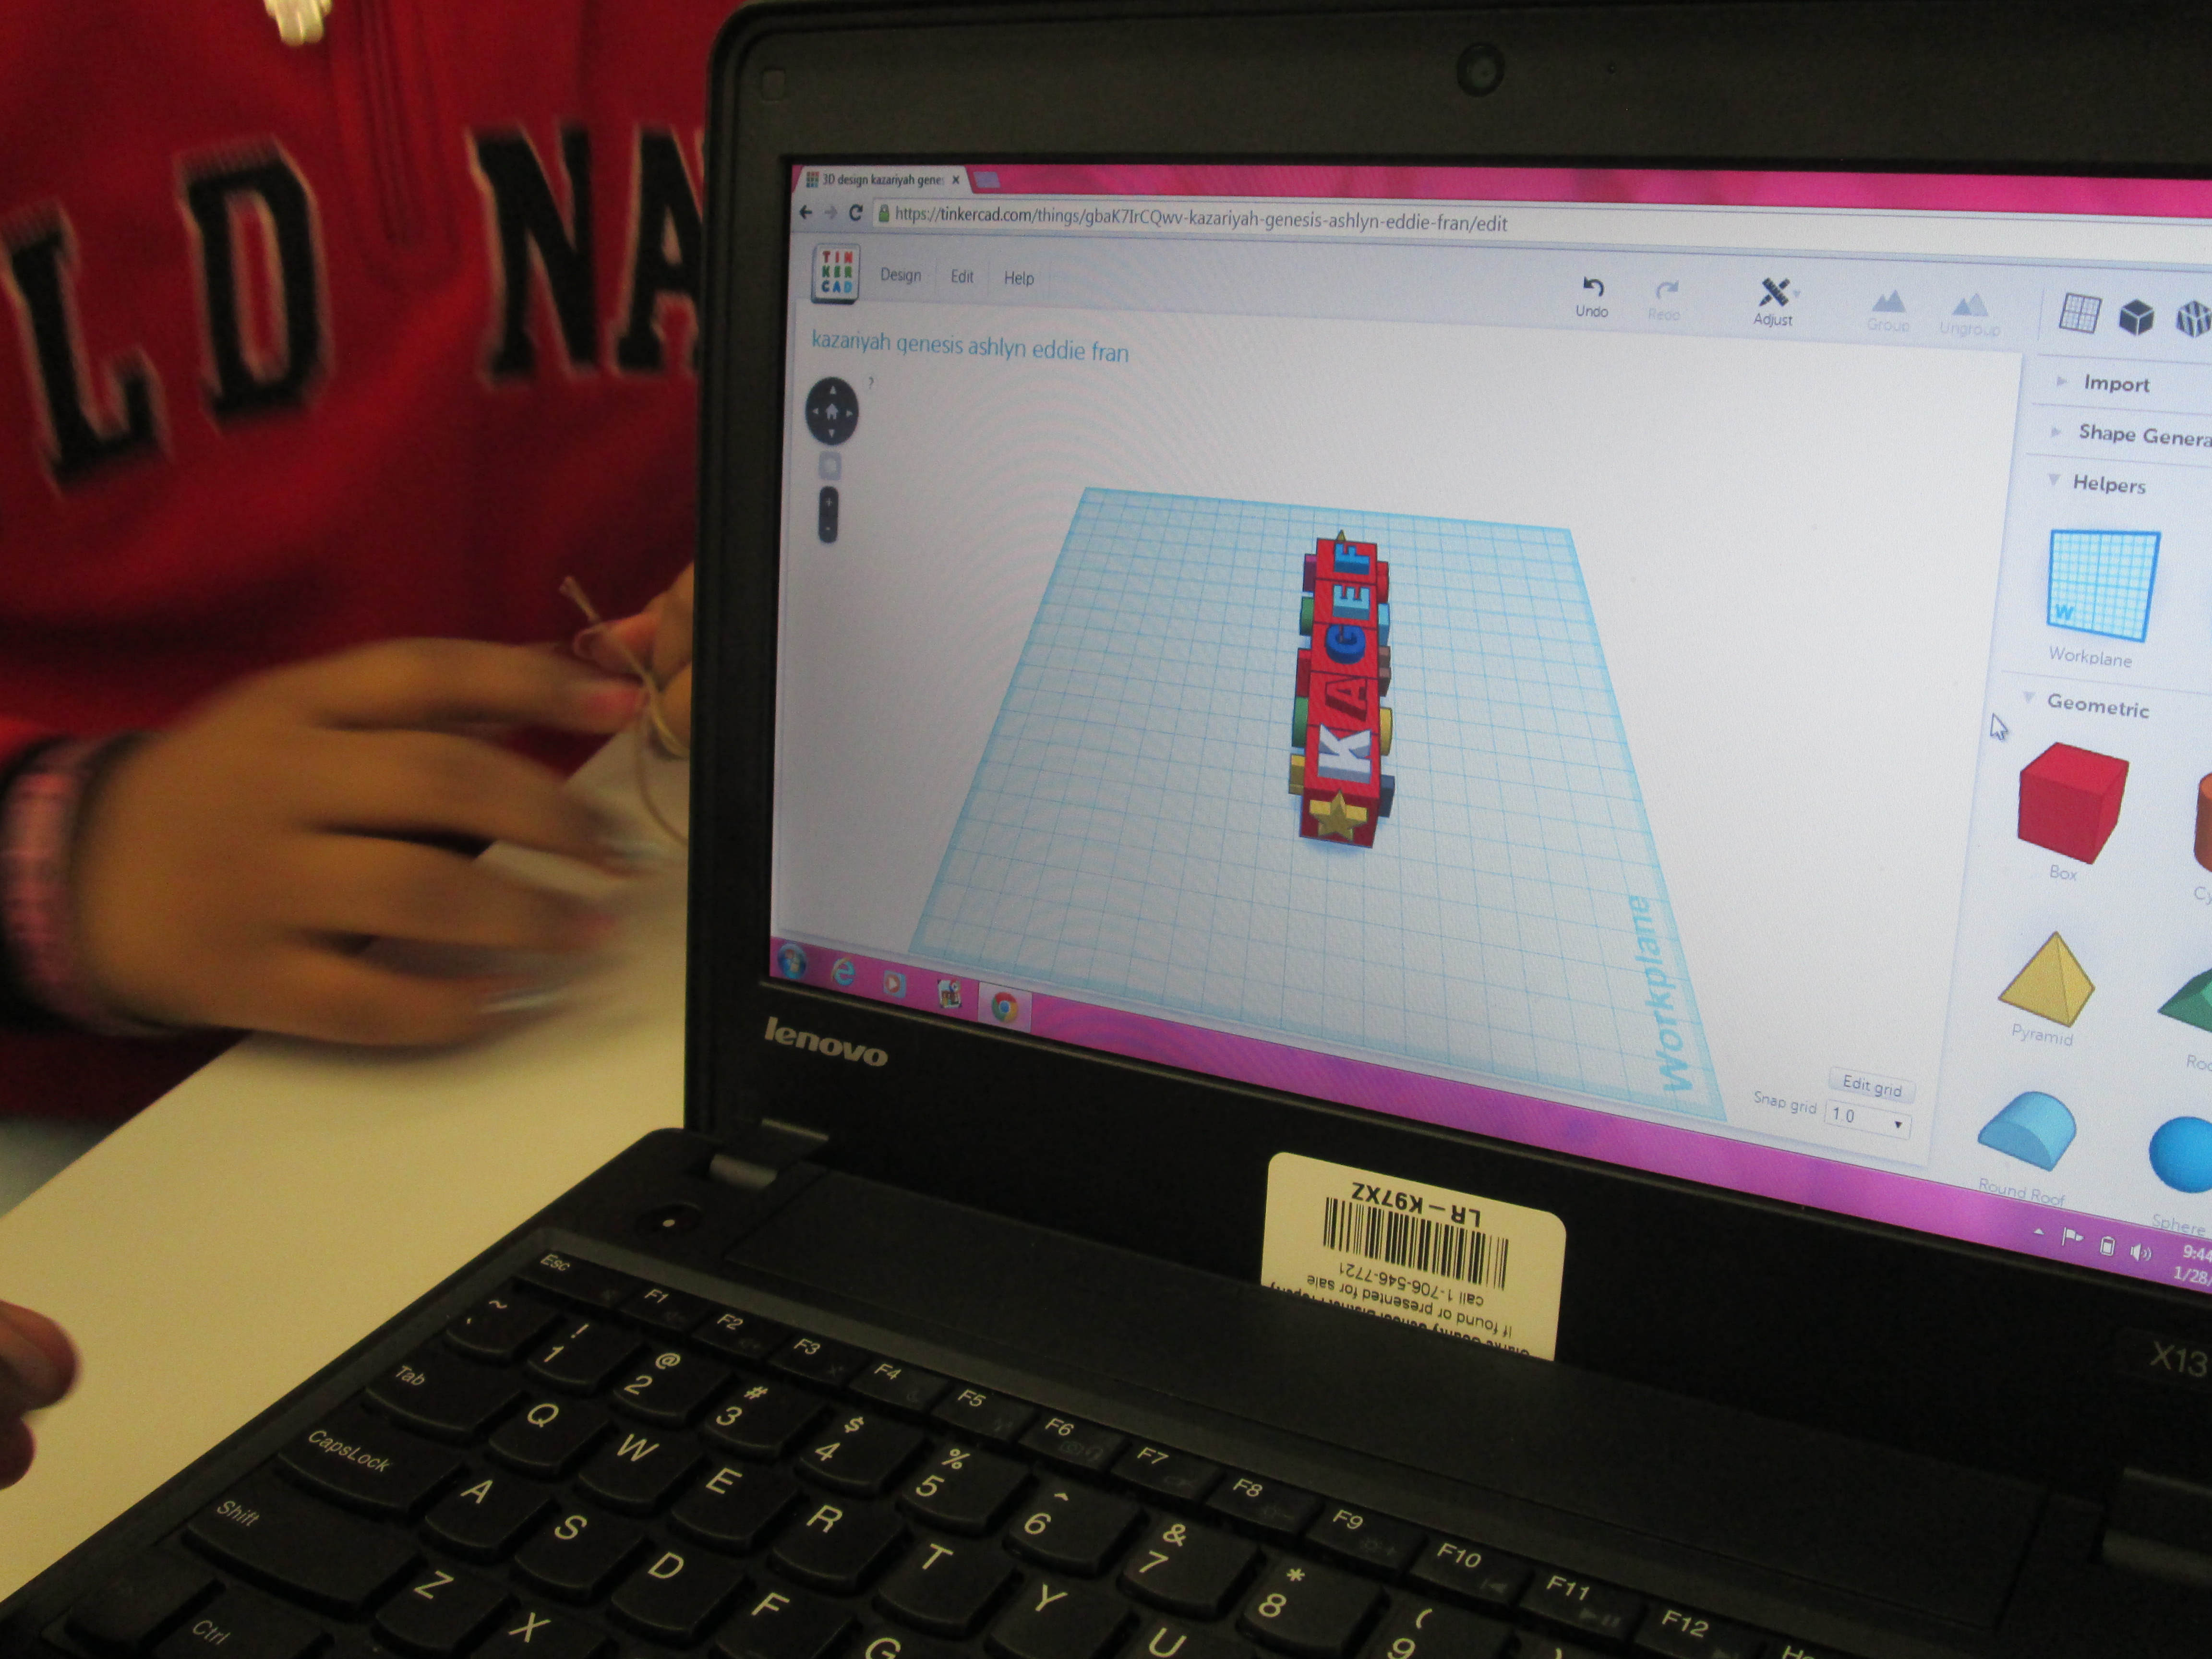
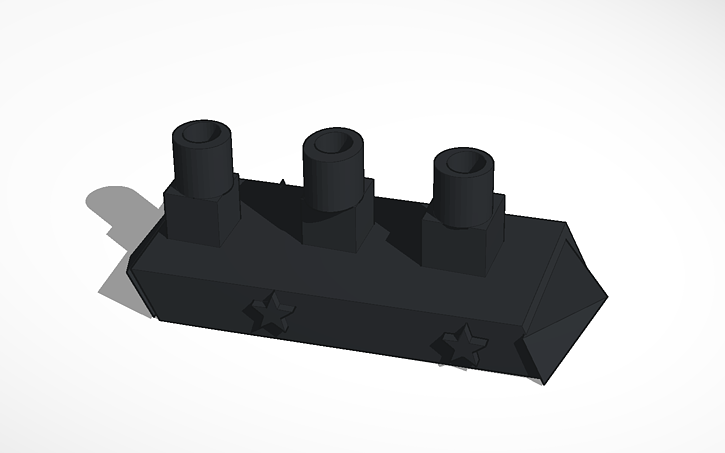
That idea of finding a phrase that matches the emotions in our hearts really connected with what we hoped the Banding Together poetry would represent.  Suddenly, we had a thought about our poems.  What if we called them “Heart Poems”?  They would have a connection to our inspiration from Joyce Sidman’s words.  They would represent spreading the joy in our hearts to friends across the miles.  They would also be symbolic of the heart charms that we have been creating on our Makerbot 3D printers.
charm design (1).jpgScreen Shot 2014-03-27 at 10.24.47 PM.png

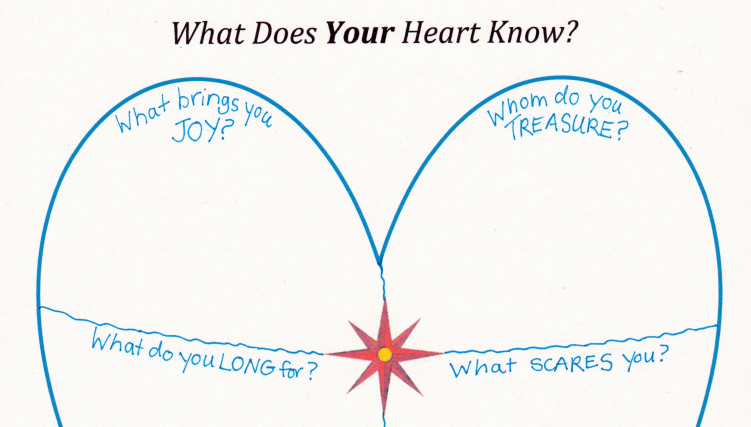
We both reached out to Joyce Sidman to share our ideas and see if she would like to meet our students to kickoff the heart poem project.  Not only did she say yes, she pointed us toward a great graphic organizer on her website that would help our students figure out what their heart knows. www.joycesidman.com books what the heart knows chants heart worksheet.pdf.png

IMG_2512.JPG

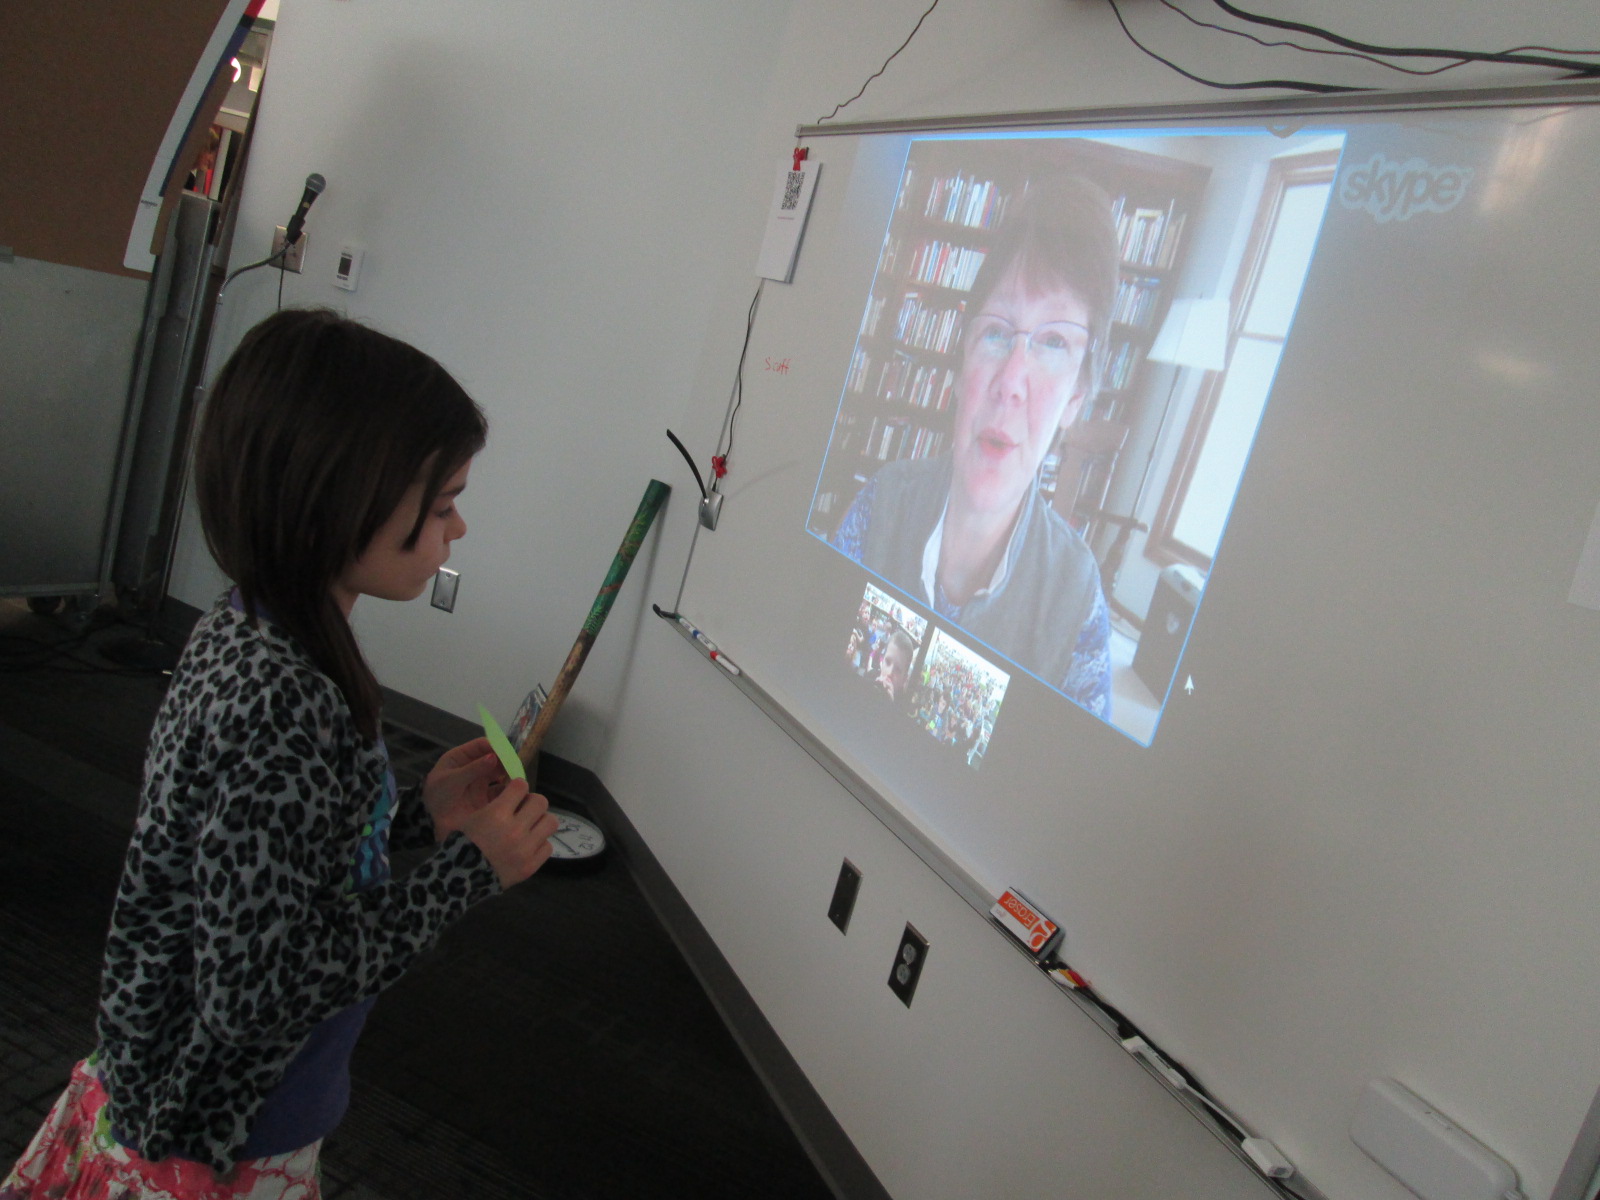
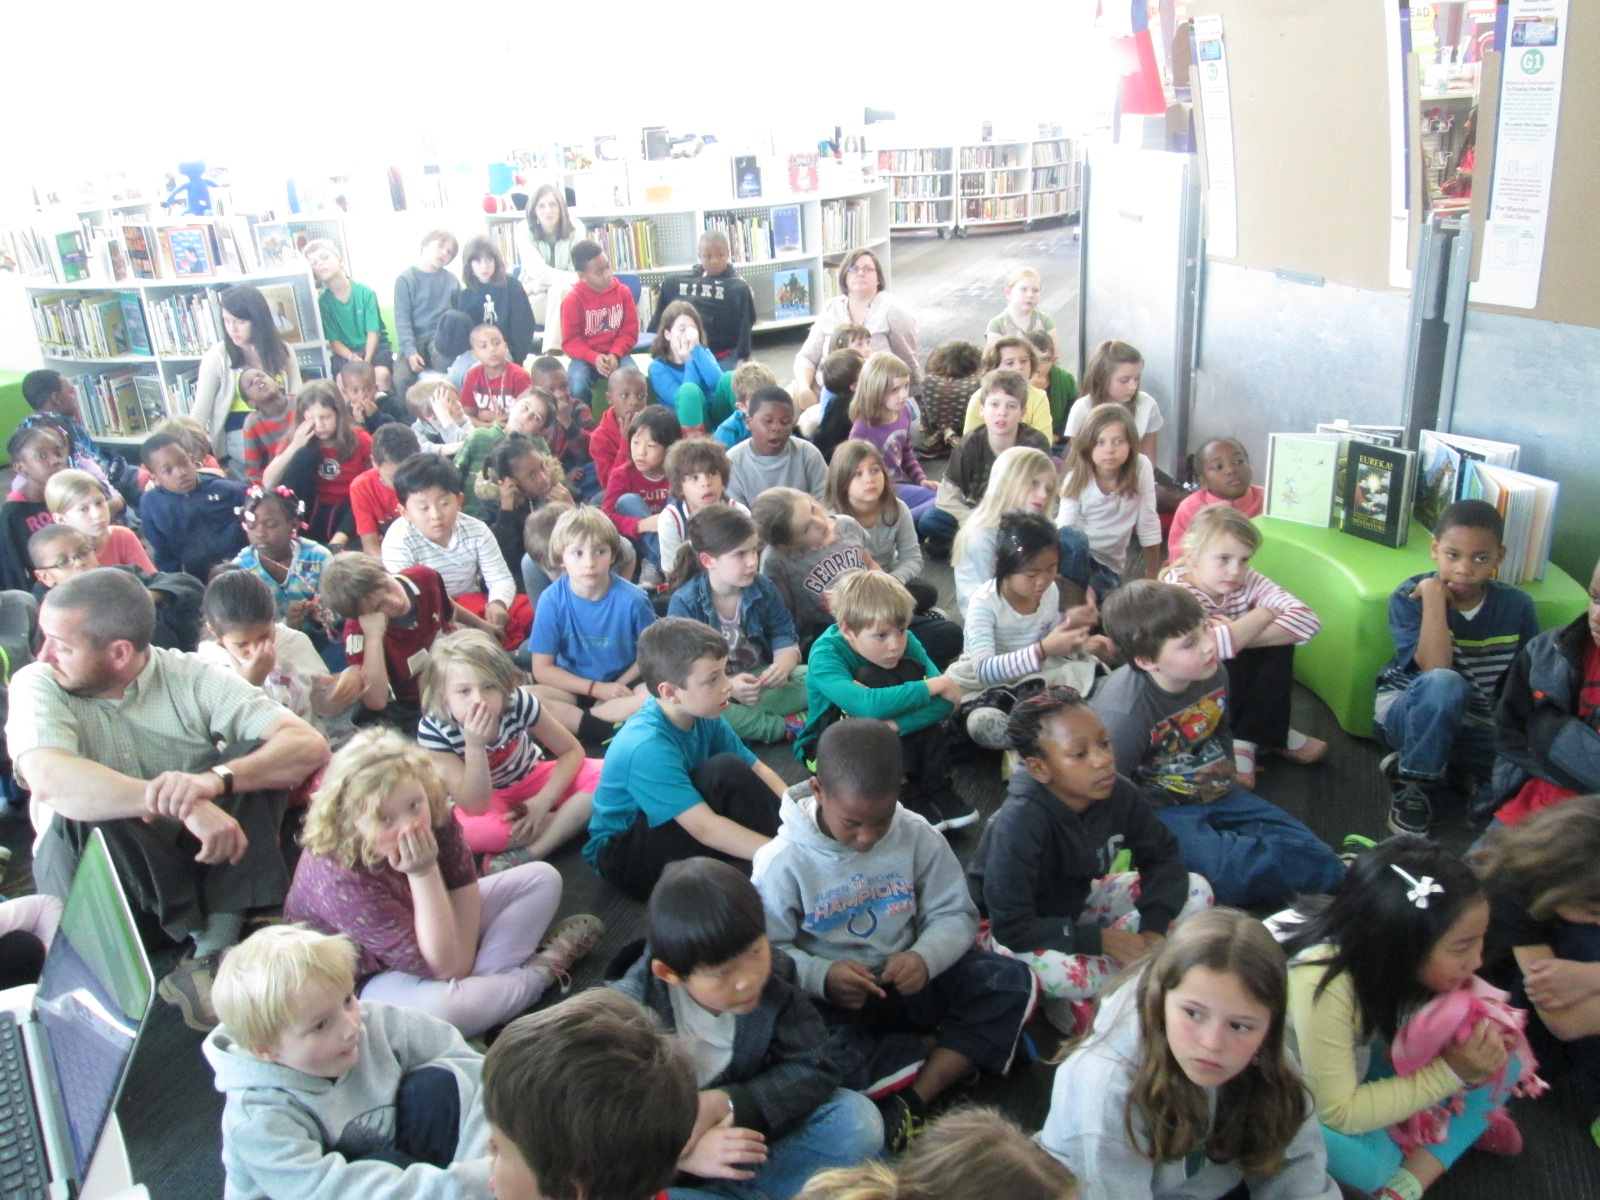
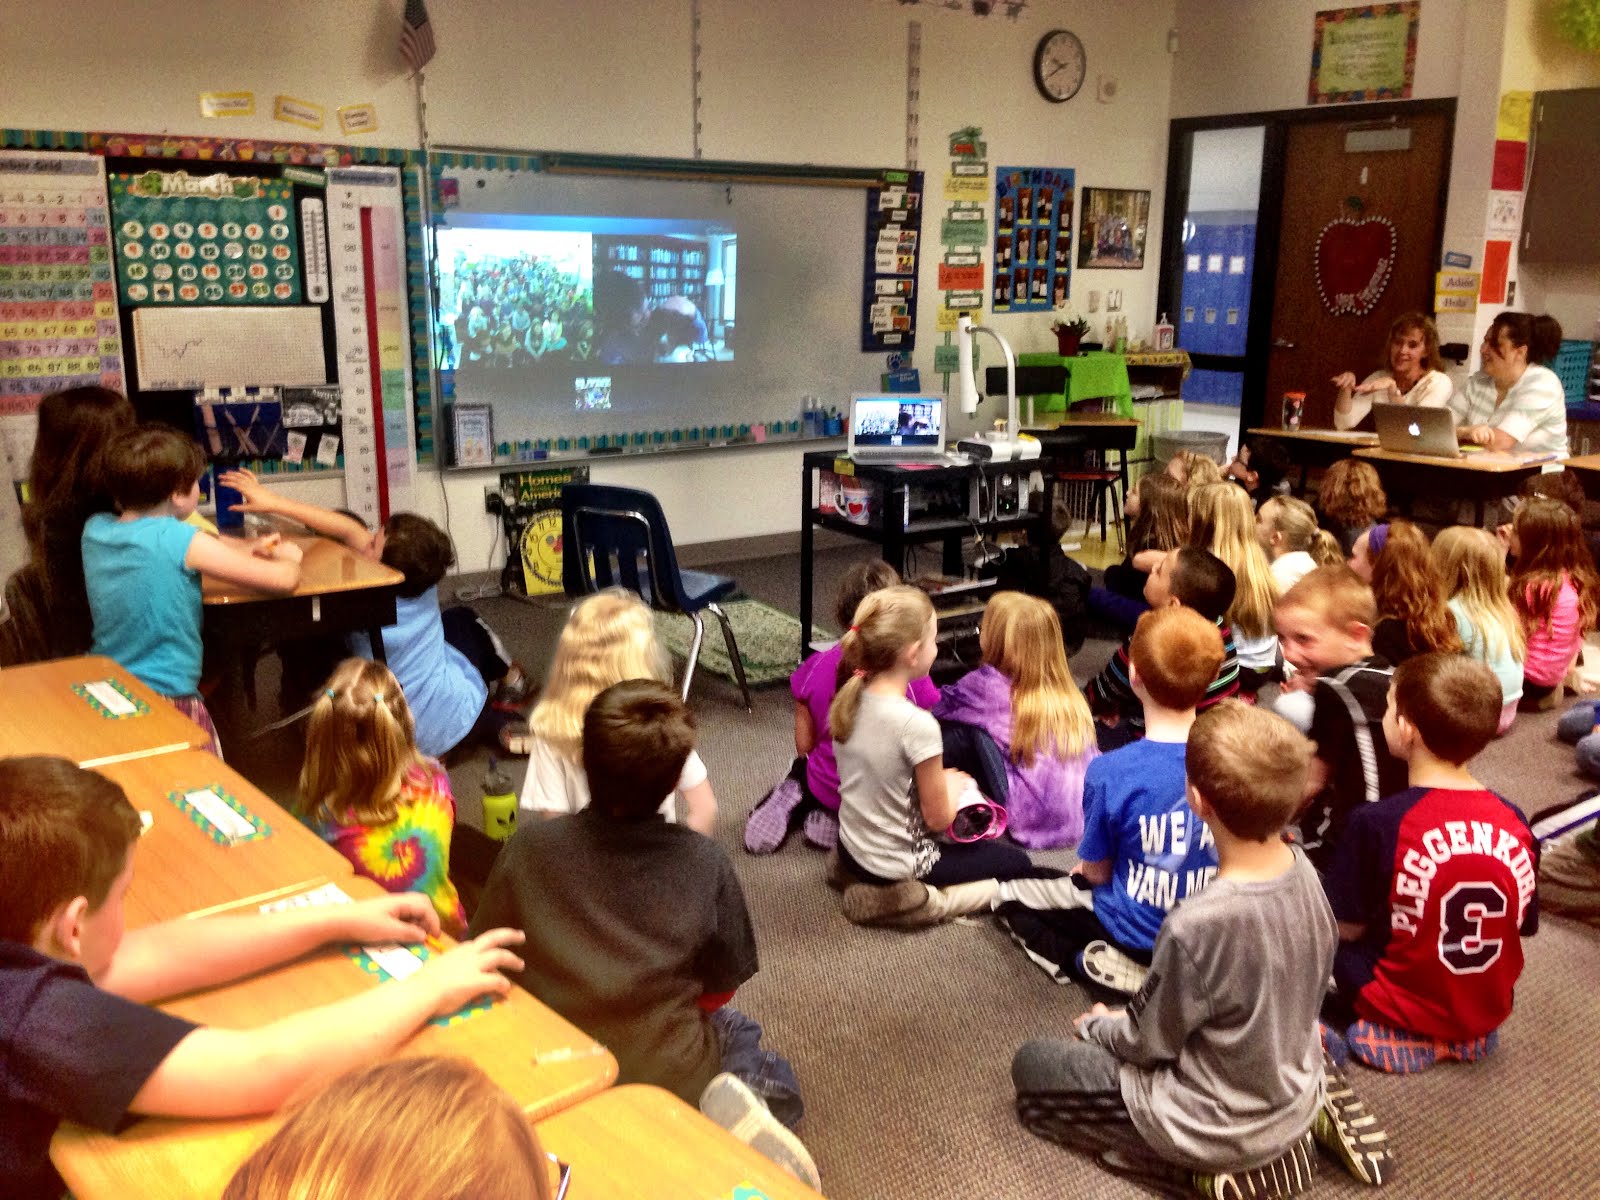
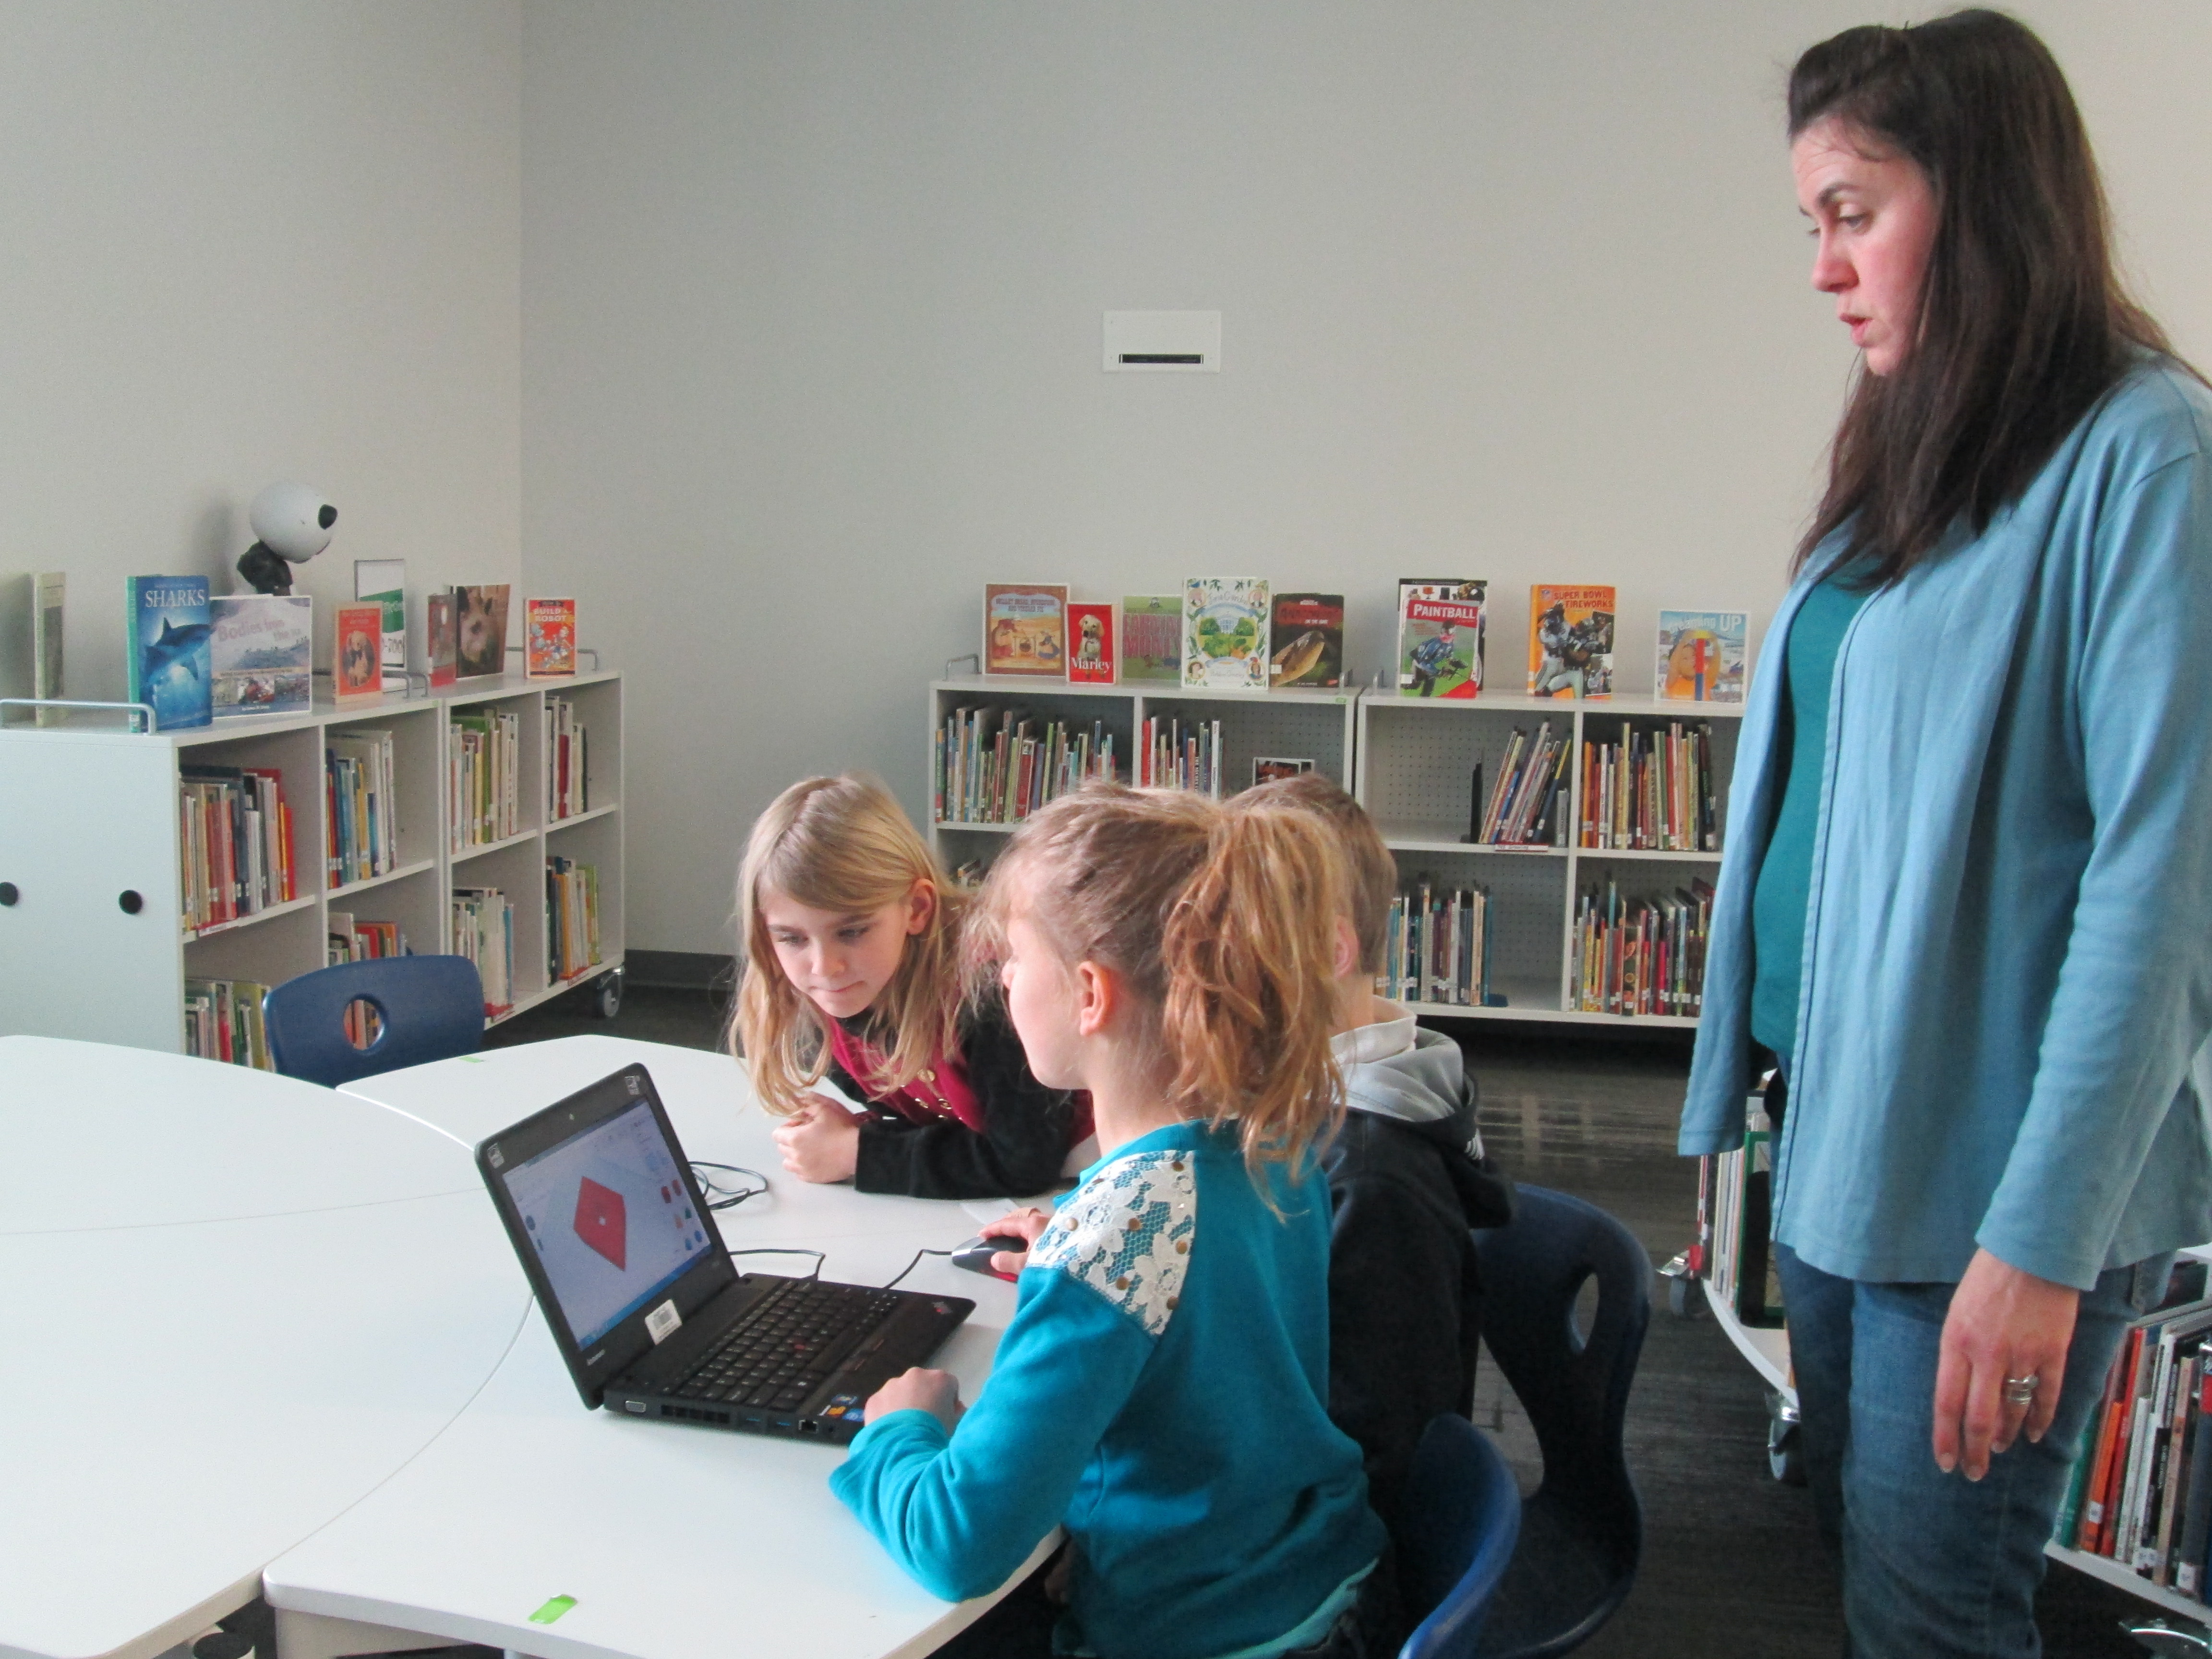
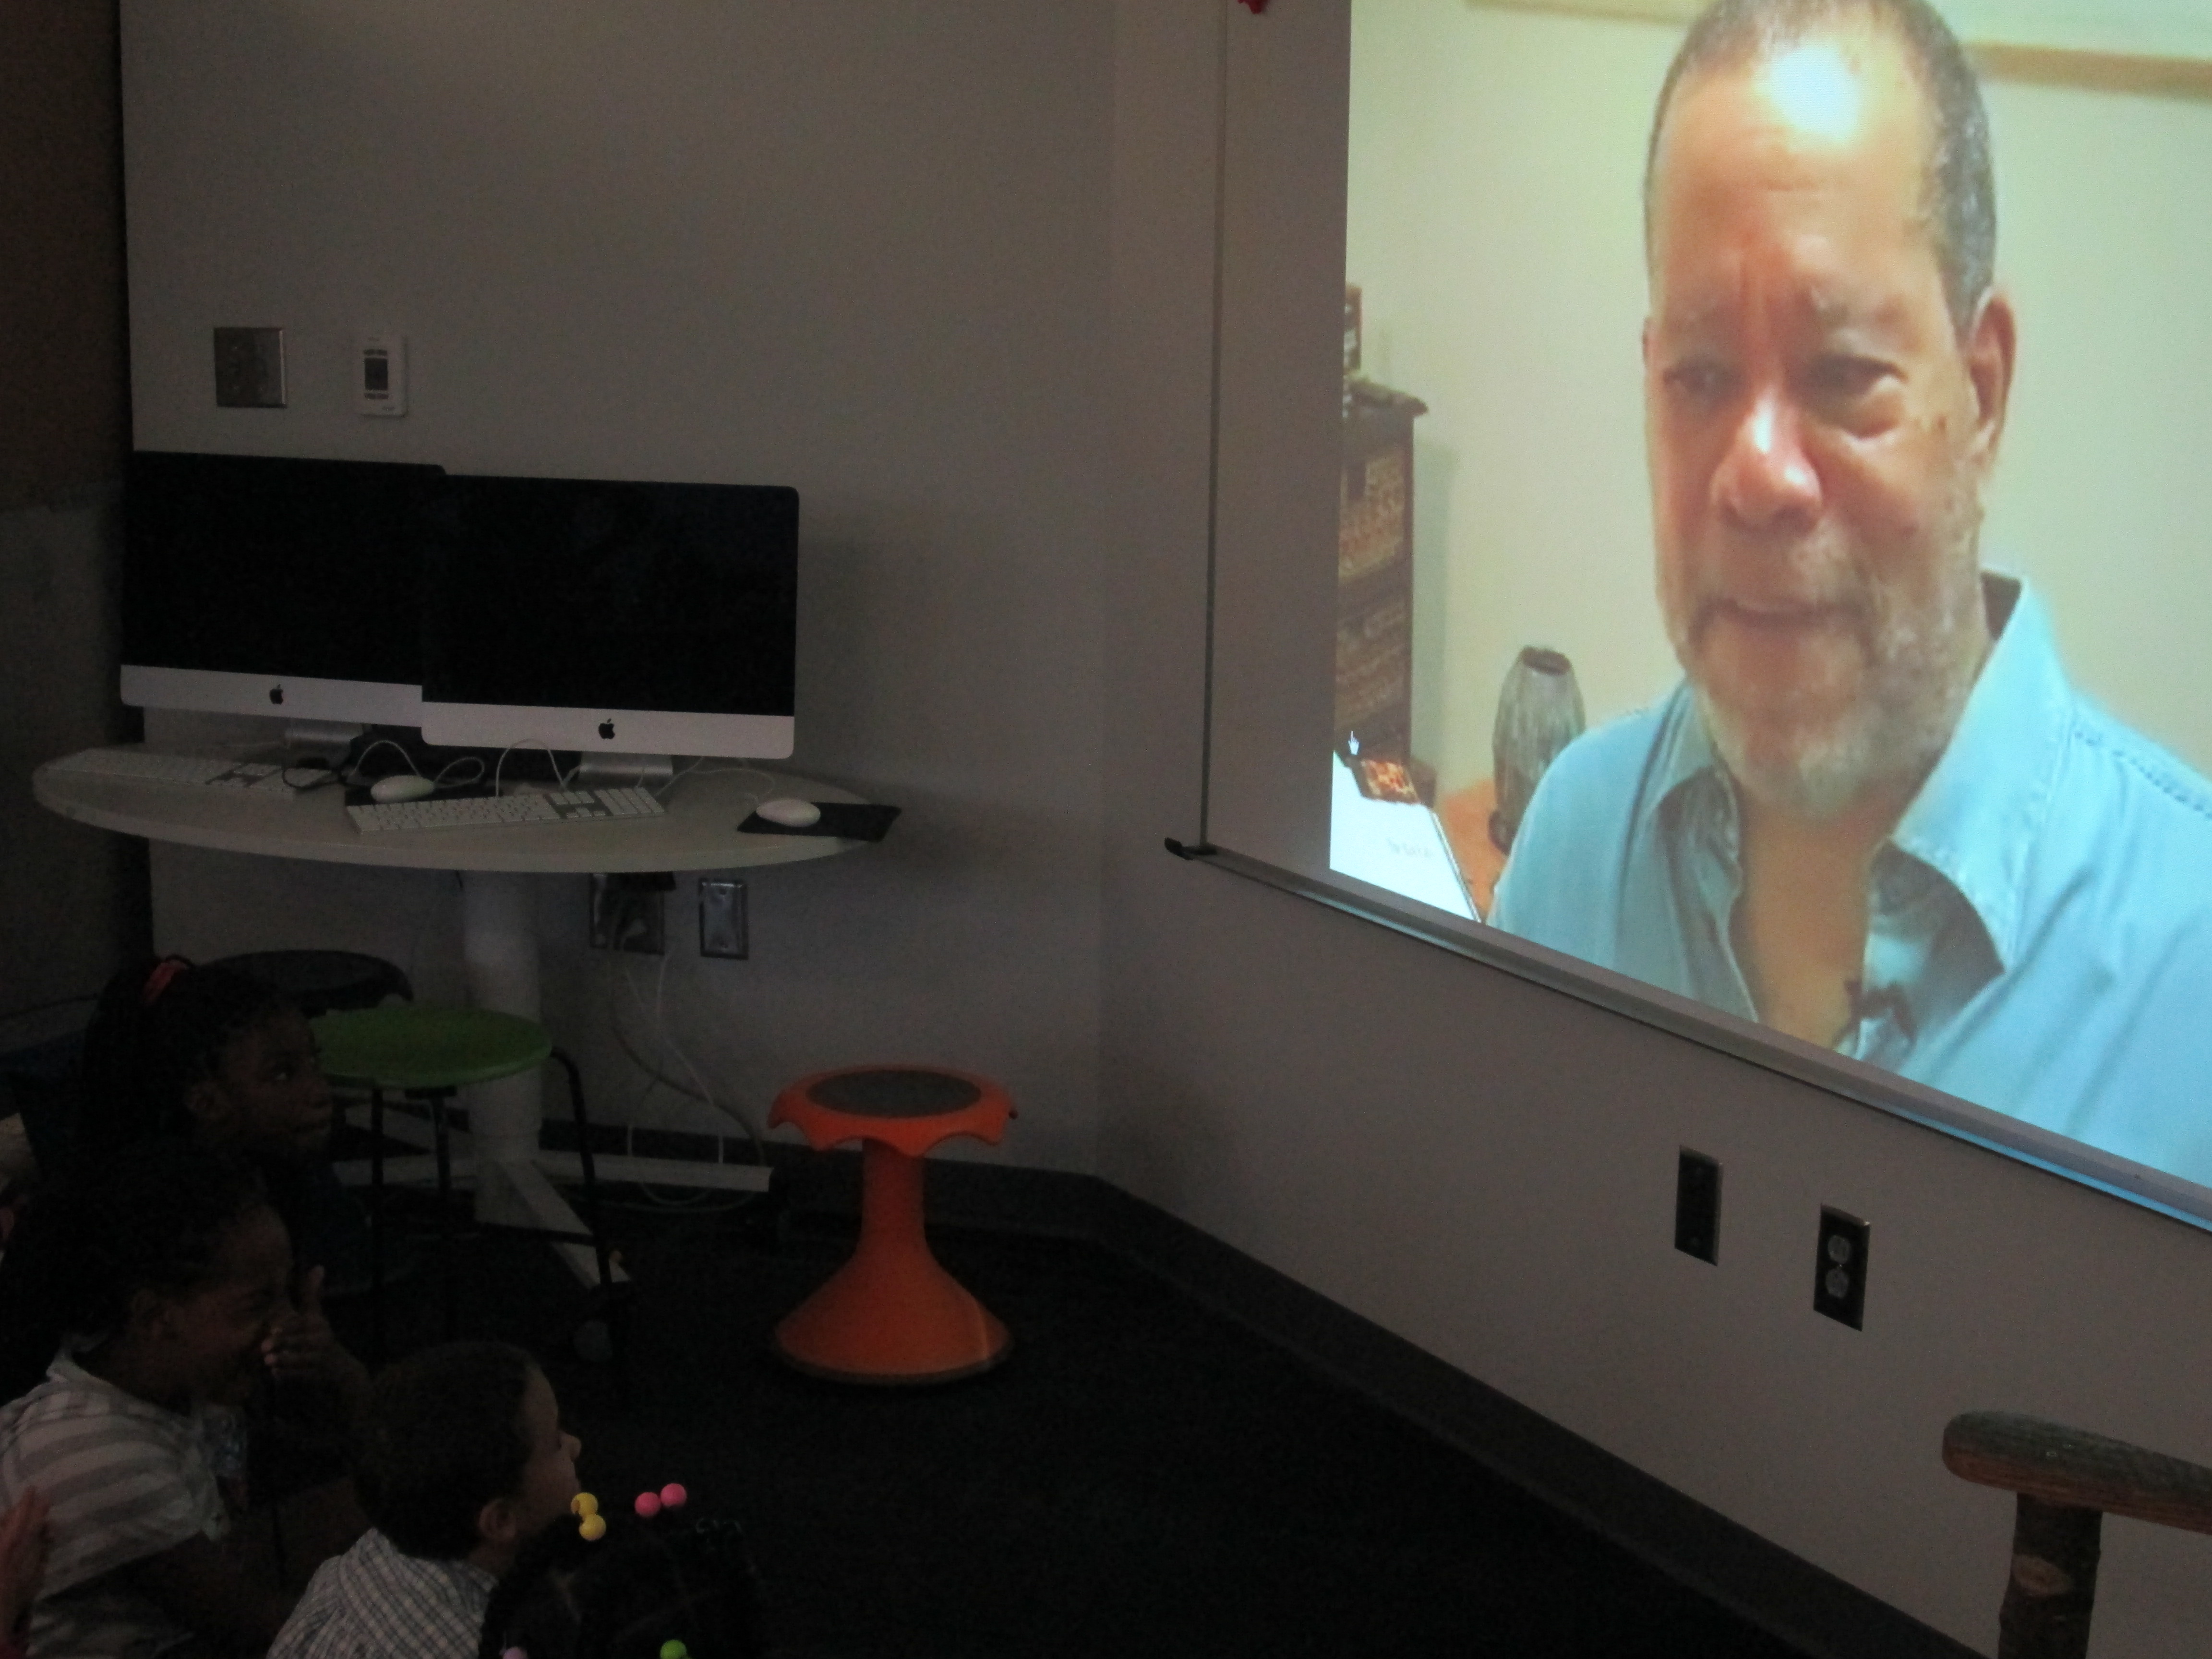
Today our students in Athens, Georgia and Van Meter, Iowa came together with Joyce Sidman via Skype.  After a quick hello and meeting her dog, she read the poem, “Blessing On the Smell of Dog”.  She reminded us that when she is with her dog, she feels like she is home.

This setup the idea that poems come from what he hold in our hearts whether it’s joy, treasures, things we long for, or even what scares us.  Joyce spent time walking through each question on the graphic organizer and giving examples of what the question means to her and why it’s important to think about all of these emotions we hold in our hearts, even the feeling of being scared.

She encouraged our students to write from their hearts.  She also connected with our Banding Together project.  She said, “You’re helping form a bond between you and kids in another part of the world.”
IMG_2519.JPGIMG_2448.JPG

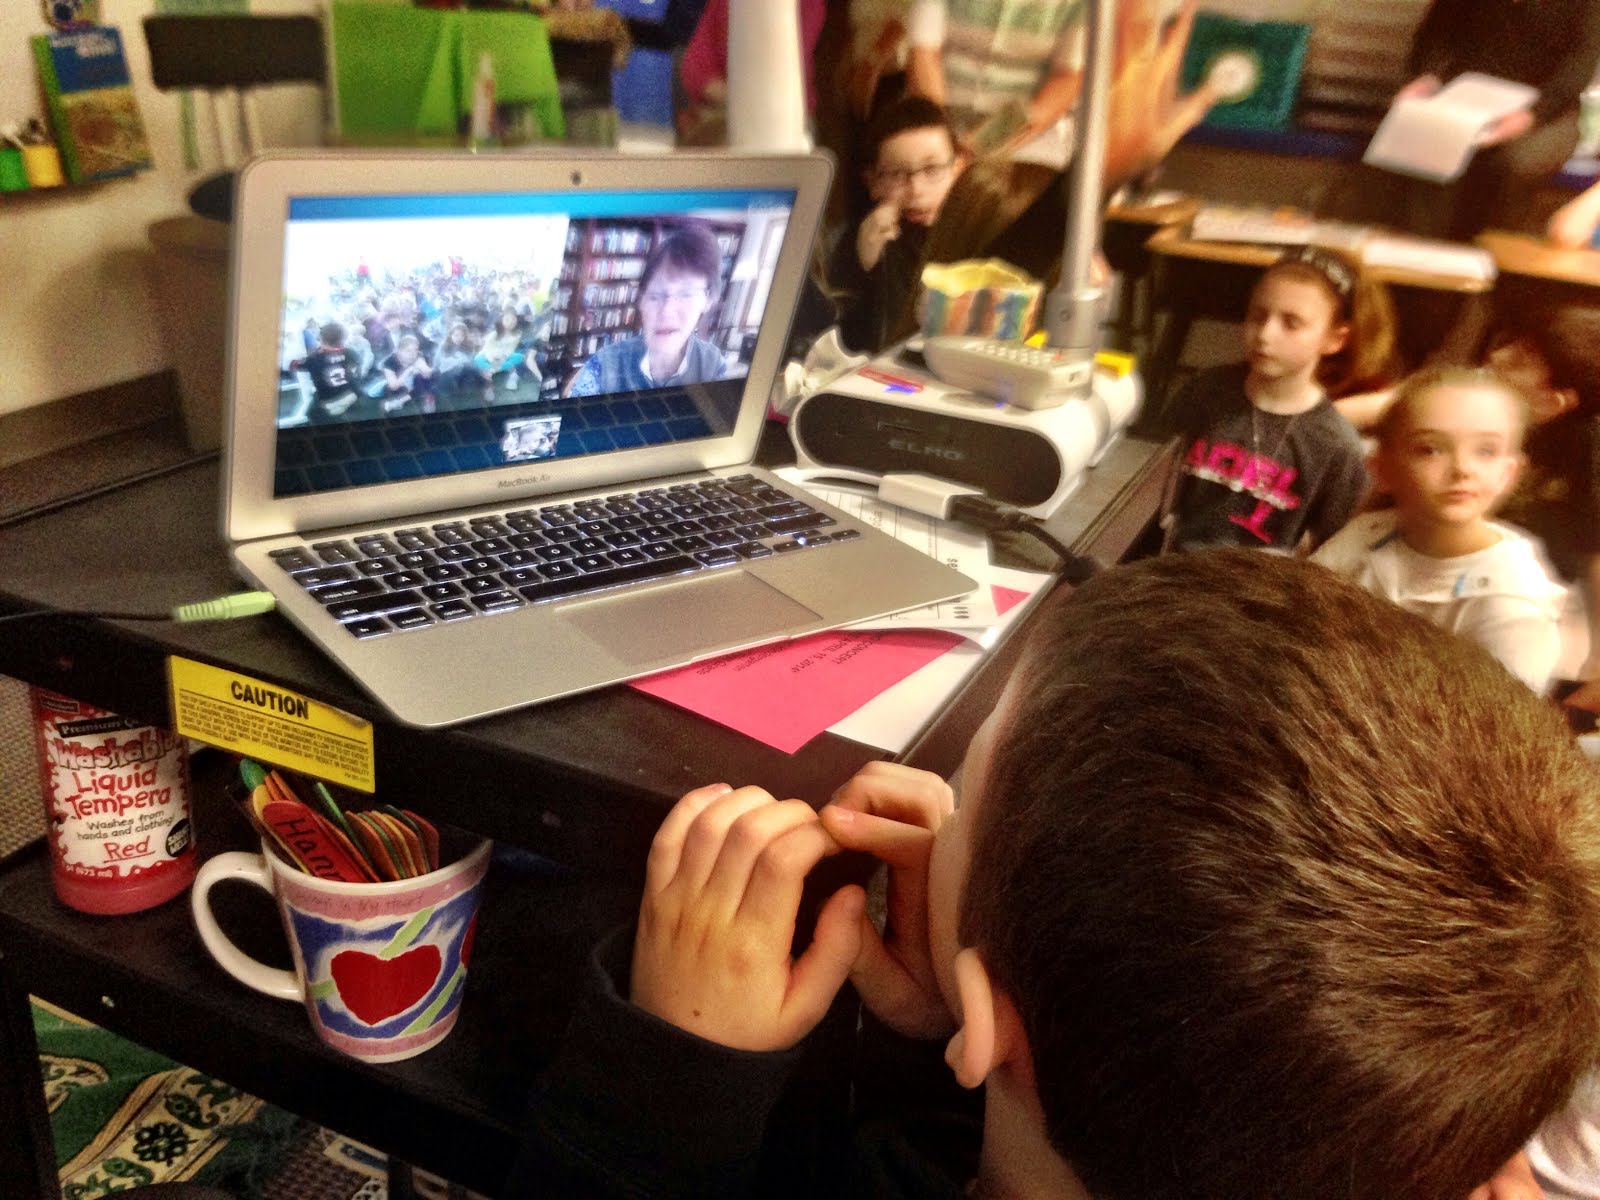
Our students were able to ask her some questions at the end of our Skype.  When asked why she writes poetry and not other kinds of writing, Joyce said, “I notice the things that are happening around me and I celebrate them.  Poetry allows me to focus on that one thing”.  IMG_2523.JPGIMG_2450.JPG

She also told our students, “Even if there are times when you don’t write, you can always go back to writing from your heart.”

Our students left this experience eager to begin writing heart poems to attach to our Rainbow Loom bracelets.  They will fill out the graphic organizer and then submit their poems using a google form.
Heart Poems.png

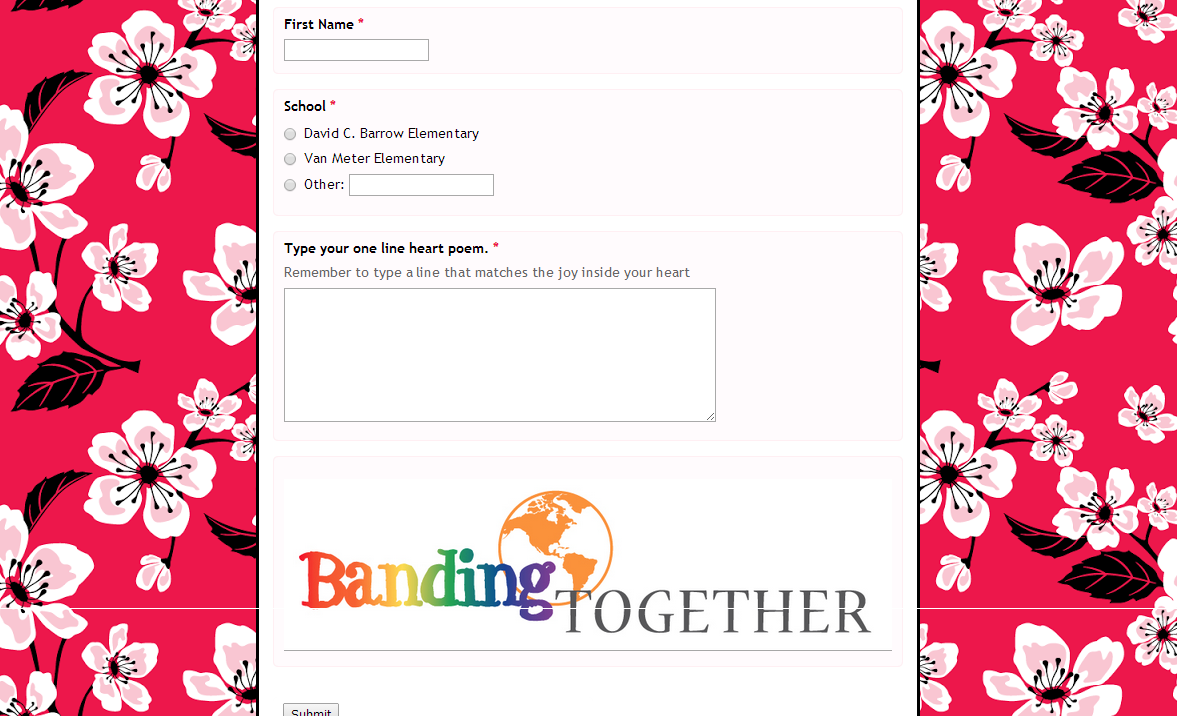
Students can quickly get to this form from Symbaloo or by scanning this QR code.

Poems will go into a spreadsheet when they are submitted which will allow us to easily print them and attach to our bracelets.  Heart Poems  Responses .png

We invite you to join us by submitting your own heart poems.  Use Joyce Sidman’s great graphic organizer and have your students submit their poems in our Google form.  We’ll attach them to bracelets that we have as well as share them with other special friends in coming months.  You can also use the hashtag #heartpoems to share some of your poems on Twitter.

IMG_2526.JPG

Thank you, Joyce Sidman, for inspiring this special addition to the Banding Together project, and thank you for taking time to connect with our students.


Banding Together with Rainbow Loom, Makerbot, and Libraries

Back at the beginning of the new year, my friend Shannon Miller in Van Meter, IA told me she was planning to do a research project that involved Rainbow Loom bracelets.  When she started implementing the project in her library, it organically grew into something much larger.  Through connections with In This Together Media , the project developed into “Banding Together”.  You can read the full details of the project here:  https://www.smore.com/n65m

Here are the basics:

  • Students at Van Meter, Barrow, and multiple schools around the country are making Rainbow Loom bracelets.
  • The bracelets will be sent to a school in Mangalore, India
  • Along with the bracelets, we will send poetry written by students, 3D printed charms designed by students, and a disposable camera to take pictures to send back

I announced the project this week on our morning BTV.  I placed a collection box for Rainbow Loom bracelets on our circulation island, and by the end of the day, a few bracelets had already been donated.  Students asked me about the project all day.  By the next day, several kids were bringing bracelets in.  I was so surprised by the generosity and enthusiasm from the students to send their bracelets across the miles.

First Day

Second Day


Next, we started designing charms for 3D printing.  I had already experimented some on my own, and I sent Shannon Miller a file that I made so that her students could print it and learn from the file too.  Her students took my file and modified it or examined it in order to design their own.

Shannon’s students in Iowa being inspired by the file I sent them

I have a group of 5th graders who have been exploring different technology and how they might support other classes trying to use that technology.  They have already been exploring Tinkercad to design objects for 3D printing, so I knew they would catch on fast to the idea of making charms.

charm design (2) charm design (3) charm design (4)

Since the Banding Together project has a lot to do with spreading the joy in our hearts, we have focused our charm design on that theme.  We decided that each charm should have some kind of heart.  Dmitri designed a heart with a heart hole in the center.  Walker designed a charm with the word “love”.  Instead of an “o” he used a heart.  I designed a triple heart to symbolize India and the US uniting together with our shared joy.  We took these first 3 designs and made sure that they printed correctly.  Once we saw how they worked, we started mass production.

charm design (5) charm design (7)

As charms were ready, parent volunteers helped put them on bracelets.  Dmitri and Walker also became quality control and made sure that all of the Rainbow Loom bracelets we were sending had joy-filled quality.  They continued attaching charms.

quality

We are waiting on a few more designs to be completed and we will ship our first batch of bracelets and charms.

Next week, we are adding a new layer onto the project with poetry, so look for an update soon about this exciting development that our 2nd graders will be involved in.

I love how this is a project that students in all grades can be a part of whether they made bracelets, wrote poetry, designed charms, or helped with packaging and quality.  We truly are banding together in more ways than one.

charm design (1)


Letting Kindergarten Imagination Soar with Blokify and Makerbot

blokify (4)Mrs. Kelly Hocking’s Kindergarten class just started a collaborative project with the art teacher and the media center.  Her class has been very inquisitive about structures and sculptures and what it’s like to be inside of those structures.  For example, they’ve looked closely at the Statue of Liberty and they are fascinated with the idea of going inside and looking out from the crown.  In art, Mrs. Foretich is introducing maquette sculpture which is a small scale model of a rough draft or unfinished work.  It allows them to test how different shapes are put together without making a full sculpture.

blokify (10)

These 2 ideas started coming together in a project.  Mrs. Hocking started exploring Minecraft at home and thinking about how worlds and structures were created in the virtual world.  Then she started wondering how this might flow into the discussions her class was already having about imagining and going inside of structures.  This is when we started talking about Blokify as a tool for putting together blocks to create a larger structure.

Mrs. Kelly, the art teacher, and I all met to brainstorm.  Students will eventually build a larger sculpture out of shapes in art.  Their art standard is:

GPS: Demonstrates that shapes can be put together to make new shapes or forms.

Their essential question is:

How do artists build Sculptures?

We decided that we would start our journey with Blokify.  Blokify is a free iPad app that allows students to put a variety of blocks together to build pretty much anything and then 3D print that shape.  The files can be emailed for download into your own software for 3D printing conversion.

We decided that Blokify would be the kickoff to this larger project.  In the library, Mrs. Foretich, our art teacher, showed students some examples of maquettes and talked about how artists might make a rough draft of a larger sculpture to test some things out before making a larger sculpture.  Then, we showed students some images from Blokify’s facebook page to give students the idea that you don’t just have to make a box in Blokify.

photo 1 photo 2 photo 3


After that, students went straight to iPads and jumped in.  We didn’t spend a lot of time “teaching” them how to use the app.  Instead, we let them explore.  We also didn’t tell them what to build because we wanted them to have permission to imagine and dream as they built.  Mrs. Foretch and I walked around to tables and showed students some tips as they worked.  For example, if you hold your finger on a block it will disappear.  If you pinch the screen, you can zoom in and out.

Two of my enrichment cluster students came to support students as they worked, too.  Monica, 5th grader, and Grant, 3rd grader, were naturals at nudging Kindergarten students along without doing the work for them.  We were almost able to have a helper at every table because of them.  I was so glad that their teachers allowed them to come and share their expertise with Kindergarten.

Some students started really being strategic about where their blocks went in their structures while others liked tapping all over the screen and seeing how it turned out.  We did question a bit if we didn’t give student enough guidance, but we ultimately decided that they really needed this time to explore.  If our prints don’t quite turn out like they hoped, then it will be a learning experience about how they might rethink their own approach to designing.

blokify (13)

As always, there were some wonderful moments that happened.  One moment was when  a student who we’ve all been trying to find the right learning method was thoroughly engaged.  He was so proud of the work he did, and he showed us a way to connect with him as a learner.  I  hope that this new discovery will lead to other projects and learning experiences for him in his classroom.

blokify (6)

After students left, I had a group of 5th grade helpers email me all of the files from the iPads.  I put each file into Makerware, resized it, and saved it onto an SD card for printing.  We will print our designs after spring break.

blokify (3)

Once designs are printed, Mrs. Hocking wants students to put their structures on a piece of paper and draw the rest of the setting around the structure.  From there, students will think about the inside of their structure as well as the surroundings and begin to tell a story about their creations.  We aren’t sure yet how that piece will be captured, but I’m excited about the possibility.

In art, Mrs. Foretich will continue to explore this standard by expanding what students are building.


3rd Grade Folktales Visual Interpretation Project

folktales (1)Back in October, our 3rd graders spent time studying the illustrations of Jerry Pinkney.  They paid close attention to how Pinkney told the story through his illustrations in preparation for a field trip to the High Museum of Art in Atlanta to see the exhibit Witness: The Art of Jerry Pinkney.  You can read more about that here and here.

Over the past few weeks in art, students have been working with the text of a folktale to create their own visual interpretations of the text.  Mrs. Foretich, the art teacher, spent a lot of time exploring and researching the vocabulary within the stories with the students so that they would be able to paint an accurate interpretation.  Each class chose and different folktale and each student in the class was assigned a piece of text from the story.

folktales (4)Once the paintings were ready, Mrs. Foretich organized them in the order of the story and gave them to me.  Students came in small groups to record the text for each illustration on the iPad.  We used iMovie to put all of the clips together.

folktales (2)

This past week, third grade held a parent breakfast where families were able to come to a viewing of the final products.  They were also uploaded to Youtube for families who were unable to attend.

You can enjoy their visual interpretations below.  It was fun to watch the students take on an artists eye and think like a published illustrator thinks.  Often, illustrators receive the text to a story with no other feedback.  It is up to them to take these words and translate them into illustration.  This project gave students a better understanding of the fun and the challenges of this process.


3rd Grade Kinetic Sculptures with Tinkercad, Makerbot, Collaboration, and Imagination

Tinker Ramsey (12)As soon as we received our new Makerbot Replicator, Rita Foretich, our art teacher, began brainstorming ideas with me about how this tool could support the standards that she teaches our students in art.  Rita is a great collaborator.  She weaves in standards from students’ classroom curriculum into her art standards.  Often, these projects involve the media center as well.

Currently, Rita and her student teacher are exploring kinetic sculptures with students.  In art, they have spent time tinkering with a variety of materials that they might use to make a larger, movable sculpture.

tinkering 2

Tinkering in art

tinkering

A piece of these sculptures that students will create will be designed using Tinkercad and printed on our Makerbot Replicator 3D printer.  We scheduled a session in the library to work on the Tinkercad design.  Working in the media center allowed us to have plenty of room to spread out as well as maximize adult support.  During each lesson, there were 3-4 adults (media specialist, art teacher, student teacher, and tech integration) to support students as they had questions.  Of course, we encourage students to support one another, but it is nice to have adults supporting students as well with problem solving and collaborating.  Also, to maximize our time in the media center, students did some flipped learning by watching this Tinkercad tutorial in advance at the closing of their last time in art.

Here’s what our time in the media center looked like:

1.  Students met on the carpet for a quick reminder of our plan for the day.  Mrs. Foretich gave them the standards we would work on:  Creating sculpture using a variety of forms and working in teams.  She also showed them how artists use technology to create their art as well as some images from the 3Dprintshow site.

Tinker Ramsey (1)

A quick intro to how artists use technology to create

2.  Students were organized into 5 collaborative groups.  Each group had a Lenovo Thinkpad computer with a mouse.  Tinkercad was already pulled up on the computer and each group had a username and password to use.

Tinker Ramsey (9)3.  Students brainstormed their concept for a piece to add to their kinetic sculpture and took turns controlling the mouse.  Adults guided students through problem solving and working together.  As students had ideas for their designs, adults helped them think through their ideas and take risks to try to get their idea onto the drawing board.

Tinker Ramsey (7)

Students quickly learned how to work together to problem solve

4.  Students named their file before leaving.

5.  I took student files and saved them as an STL file, imported those files into Makerware, and saved the file for 3D printing on the Makerbot.

Tinker Ramsey (13)

We will repeat this process with all three 3rd grade classes.  Students will continue to work on the rest of their kinetic sculptures in art.  Mrs. Fortetich will create a schedule with me in the media center for students to come and 3D print their designs.  We want each student to have the experience of pressing the red M on the 3D printer and watching their design magically appear on the build platform.  Although all students probably won’t be able to stay from start to finish during the printing process, they will at least activate the print and see the beginnings.

Tinker Ramsey (14)

As always, I was amazed by what students figured out in such a short time.  One group really wanted to put holes in the top of the smoke stacks on a boat they were making.  They tried several different things and never once got frustrated.  I was fortunate enough to be with them at that moment of exploration and encouraged them to keep trying.  After several attempts, they figured out how to put one cylinder inside another and make the inside cylinder a hole.  It looks great in Tinkercad, so we’ll see how it translates to 3D printing.  These same types of conversations were happening in every group.

Deep in thought

Deep in thought

amuns_titanic

Ship with holes in the smoke stack

I also loved that we did not tell students what they had to create.  The only guideline was that students work together to create something for their larger kinetic sculpture.  Every group created something totally different from a block filled with words to a barn to a ship.

Tinker Ramsey (8)

As usual, we are always crunched for time in school.  This was a great first pass at using Tinkercad with an entire grade level.  I’m hopeful that in the future we will figure out ways to increase the amount of time that students get to spend on their designs.

Exploring Chinese New Year with Kindergarten: Google Voice Search, Pebble Go, colAR Mix, and More

BeghKH6IAAAZUVXMrs. Li’s Kindergarten class has been exploring the Chinese New Year with me in the library.  During our exploration, we’ve tried out several resources for information.  First, we used Capstone’s PebbleGo database to do some pre-reading for background information.  We did this with little discussion about the holiday, but instead just focused on listening to the information to build some shared knowledge.

pebble go

Next, we thought of questions that we had about the Chinese New Year that were possibly not answered by PebbleGo.  We asked things like:

  • When is Chinese New Year this year?
  • When is the lantern festival?
  • Where is it celebrated?
  • How is it celebrated?

Before students came, I installed the Google Voice Hotword Search extension in Chrome.  This allowed us to control a Google search with our voice.  For Kindergarten students who aren’t fluent in typing, this lifted a big search barrier for them.  We took our list of questions and took turns saying:

  • “OK Google”
  • When is the Chinese New Year?

Google searched and spoke to us telling us that this year Chinese New Year begins on January 31st.  We continued this process to answer many of our questions.

IMG_1806[1]

Next, we used Grace Lin’s book Bringing in the New Year to continue our exploration.  Many facts that we had already discovered were confirmed in the text, but the book allowed us to learn some of the family structure in China and what different family member roles are.  Mrs. Li was able to help us with this part of the lesson.  Since I wasn’t sure how to pronounce some of the words, she pronounced them for us and also explained the meaning of each family member’s name.  We certainly could have used Google for this, but we had a conversation about choosing resources to answer our questions.  Since Mrs. Li was with us in the room and is an expert in Chinese culture, she was a faster option for us than taking the time to go to Google.  It’s never too early to begin surfacing the thinking process that we go through as learners when we are trying to find the answers to our questions.

During the 2nd lesson, we once again used the Google Voice Hotword Search to explore the Chinese Zodiac.  We learned that 2014 is the “Year of the Horse”.  Students were curious about their own birth years, so we used Google to look for the signs for each of their years too.  From here, we spent some time coloring a colAR mix coloring page for Chinese New Year.  Students used the iPad app to view their carousel creations.  The app uses augmented reality to bring coloring pages to life.  The carousel pops off the page and rotates to music with they year 2014 in front of the carousel.  Students were mesmerized by their coloring page brought to life.

We explored so many skills and tools in just 2 lessons.  I want to continue this transliterate thinking of how our students can experience content across multiple platforms.  In these 2 lessons, we examined print, databases, websites, search engines, crayons/markers/paper, and augmented reality.  I’m curious to ask students later what they remember about Chinese New Year and see what stands out in their minds from these 2 days.

Makerbot Replicator 3D Printer First Prints!

IMG_1471Today my Makerspace Maniacs group met for enrichment clusters.  This group is made up of 9 students in grades 2-5.  They had already heard that the 3D printer had arrived and they were eager to give it a try.  For demonstration purposes, we used the files that were pre-loaded on the SD card that came with the Makerbot in order to print.  They voted on what to print and chose Mr. Jaws, a shark that can serve as a paper holder.  We went through the menu screens and selected our print and pressed the red M button.  We were ready to be amazed, but our print failed!  So what happened?  It seemed that the filament began to ooze out of the extruder before moving onto the build plate.  This caused some buildup that interfered with the actual print file sticking to the build plate.  Instead, it got tangled up in itself and made a ball of filament on the plate instead of a shark.  Did we give up?  Of course not.  We used a Rachel Ray silicone spatula to catch the filament oozing out before it moved onto the build plate, and our shark printed great.  In the process, we had a great conversation about how makers don’t give up.  They learn from mistakes, and they expect that things rarely go right on the first try.

The students were amazed by what the printer could do, and they already starting talking about what they wanted to design.  We really have our work cut off for us because we know the process is going to be filled with learning curves.  Today, the Athens Banner Herald also came and interviewed me and the students.  They were eager to tell the paper their stories of how they plan to use the printer.  I hope some of their stories come across in the article.

IMG_1477Today, throughout the day I’ve printed the nut & bolt, the chain links, and another stretchy bracelet.  I wanted to practice changing filament, so I switched to red for the bracelet.  I was surprised at how easy it is to change the filament, and I loved that the Makerbot walks you through each step on the menu screens as well as in the printed manual.  I also experimented with how to remove items from the build plate.  The painters tape really does help, and so far, I like the flexible Rachel Ray spatulas that I’m using.  It was also suggested to me by TimeOutDad to use this Cricut tool from Amazon.

Throughout the day, several students and teachers have stopped by to watch the printer print and to talk with me about how we might use it this year.  I called Makerbot and got a quote for 12 more rolls of filament as well.  Ideas are brewing.  We’re already learning lots, and we’re almost ready to venture out into the waters of the unknown.

A Visit to the High Museum of Art: Witness…The Art of Jerry Pinkney

high museum (31)Today was step 2 of our 3rd grade folktale project, and it was a big step.  We traveled to the High Museum of Art to see the exhibit Witness: The Art of Jerry Pinkney.  Prior to going, we spent time exploring all of Pinkney’s books in our library collection.  Mrs. Foretich, the art teacher, also did a lesson on museum etiquette.

On the way to the High, students explored Pinkney’s books some more.  As we neared our destination, I asked a few students to think about what they might like to tweet about the books or their excitement for the exhibit.  bus convo Our plan was to use twitter throughout the trip to document some of the things we saw and the things we learned.  We used our school hashtag #barrowbuddies to tag our posts.

After arriving, our groups  split in half.  Some toured the exhibit, whiles other ate lunch.  Then we switched.  Some of us were also able to explore some of the permanent collection before our tour began.

The tour of Witness: The Art of Jerry Pinkney was done by a docent.  We received a brief history of the museum before entering the exhibit.  Our docent had us sit in front of collections of paintings and told us about the stories that the paintings came from.  We saw paintings from historical books such as Minty and Black Cowboy Wild Horses, folktales such as Three Little KittensRikki Tikki Tavi, Little Red Riding Hood, and The Little Match Girl, and biblical stories such as Noah’s Ark.  Our docent had the kids work together to retell some of the familiar folktales as she pointed out things in the paintings.  We noticed how Pinkney set The Little Match Girl in New York City rather than in Europe where the tale came from.  We noticed how Pinkney set Little Red Riding Hood in a wintry woods so that it made sense for her to wear the kind of cloak she was wearing.  Along the way, we also learned about Pinkney’s childhood and how he always had access to a pencil and art supplies.  As we studied the watercolor paintings, we were reminded of the difficulty of working with this medium and the need to work quickly before the colors run together.  At the close of the exhibit, we looked at The Lion and the Mouse.  Along with looking at the paintings, students got to do some impromptu storytelling of their own using puppets.

The finale of our visit was getting to hear some of Pinkney’s folktales come to life through the storytelling talents of a rambler from the Wren’s Nest.  We heard 2 folktales, and the students were heavily involved in the performance.  He had them hanging on every word.

Our field trip allowed us time to do a brief second stop at the Georgia State Capitol rotunda.  Although students didn’t get to tour the entire Capitol, they at least got a frame of reference for the Capitol as we study it back at school.  We plan to use the Georgia Capitol Tour App on our iPads to do a more in-depth look at this landmark.

Once again on the way home, students took another look at Pinkney’s books with a new appreciation for the artwork that spans the pages of this books.  It was truly awesome to stand in a room surrounded by the collective work of Pinkney.  We did not have enough time to truly appreciate the years of work that went into this collection, but we will return to our school with a new appreciation of his art.

Our next steps will be to:

  • Continue reading folktales and studying their elements
  • Identify one folktale for each class to read without seeing the illustrations
  • Create the illustrations for the folktale in art
  • Put illustrations and text together with our iPads

Studying Illustrations with Jerry Pinkey

Pinkey art (8)Third grade is beginning a folktale project that is a collaboration between classroom teachers, the art teacher, and the media center.  This week, we kicked the project off with a lesson in the media center to explore the artwork of Jerry Pinkney, who writes and illustrates many folktales.

Students came to the library during art.  The purpose of this time was to get familiar with Pinkney’s illustrations before students take a field trip to the High Museum of Art  in Atlanta to see an exhibit of Jerry Pinkney’s art.  We wanted students to think about 2 questions.

  • What clues does the illustrator give us about the setting of the story?
  • What clues does the illustrator give us about what the characters are doing in the story?

We started with this video of Jerry Pinkney discussing The Lion and the Mouse.

After the video, I asked the students how Jerry Pinkney started working on the book and what he realized once he made those first steps.  This took our conversation to focus on the importance of illustrations and how they can tell the whole story or how they can work with the text to tell the story.

Next, we looked at this slideshare that showed Caldecott honor and medal winners along with the criteria used to decide the winners.

The purpose of this part was to highlight the many ways you can look at an illustration and how it interacts with the text or tells the story.  Jerry Pinkney has received several Caldecott Honor Awards along with the Caldecott Medal.

Pinkey art (10)Finally, we modeled how someone might study one illustration in a book very carefully and consider our 2 focusing questions.  I used We Give Books to display the book Big Red Lollipop.  Students in each class noticed things such as the red cross as a symbol for a hospital, an envelope on the side of a building to show a post office, the number of buildings close together to show a town, etc.  They also noticed how the character’s hair was blowing in the wind and how her leg was lifted high to show that she was running.  They noticed how she was carrying a letter and smiling to indicate that she was probably going home to show her family something she was excited about.

For the last part of the lesson, students split into groups of 4-5 students.  Each group received 4-5 books by Jerry Pinkney to examine.  Their job was to study the illustrations using the 2 questions just like we did in our model illustration.  As groups talked, the art teacher, art student teacher, and I walked around and chatted with students about what they saw in the illustrations.  We then asked groups to choose one illustration that they wanted to show to another group and discuss.  They used iPads to take a photograph of the illustration.  When they shared with another group, they could zoom in and out of the illustration on the iPads to show the fine details.

In art, students will now have a lesson on museum etiquette  where they will practice the skills it will take to visit a fine art museum.

On the trip to the High on October 23, we will tweet our observations using the hashtag #barrowbuddies.

Next steps will include:

  • Learning elements of folktales.
  • Reading multiple folktales and using a Google form to track the most common elements.
  • Choosing a folktale to read in class without seeing the illustrations.
  • In Art, developing illustrations for that folktale.
  • In the media center, put the illustrations and folktale version together with technology.
  • Share the new creation with the world

We can’t wait to see how this project develops and how Jerry Pinkney’s art inspires what the students create.

Kindergarten Storybirds

Two Kindergarten classes just finished a writing project using Storybird.  Storybird allows a user to select illustrations for a story, sequence them, and add text to create a book.  Any time we plan a project like this, we consider what the barriers are to artistic expression.  For Kindergarten, some of the barriers included:

  • limited knowledge of technology use due to lack of technology in that grade
  • the ability to read the text of stories that could be mentor texts
  • writing the story vs. telling the story orally

To lower the barriers, the teachers and I planned a series of lessons and opportunities to support the students.

Lesson 1:  Spend time revisiting the 3 ways to read a story:  read the words, read the pictures, retell.  Focus on reading the pictures by looking at a wordless book together.

In between lessons:  In class, students practiced telling stories from wordless books in small groups, alone, and at centers.

Lesson 2:  Look at a sequence of 3 pictures and think about a beginning, middle, and end for those pictures.

Lesson 3 (or part of lesson 2):  Look at Storybird.  Choose a topic  of pictures, like pumpkins, and choose 3 pictures to sequence that could be the beginning, middle, and end of a story.  Write the story together as a class with time to pair share ideas.

Lesson 4:  In small groups with adult support, students created a group Storybird project.  We made as many groups as we had adults.  For one class this was 4 groups and for the other it was 5 groups.  The adult’s role was to facilitate the conversation of the students and make sure each voice was heard in the group.  The adult also typed the story for the students as they told the story.  The students were supposed to show the adult what to click on at each step of the project.

In between lesson:  One group at a time came to the library and used Screencastomatic to record the audio of their story.  If students had difficulty reading the words, we whispered the words to them and they repeated them.   Videos were uploaded to Youtube.

Lesson 5:  The whole class came to the library for a premiere of their audio ebooks!


You can enjoy all of their books here!