Problem Solving and Science in Action with the Rube Works App

RubeWorks (2)Back in December, Kate Wright, 2nd grade teacher, told me that the grade level would be studying force, motion, pushes, pulls, and simple machines in the late part of 3rd quarter and they wanted to incorporate the art and inventions of Rube Goldberg.  It was a seed of an idea which I absolutely love.  I love when a seed is planted early enough that it has time to grow and expand with new opportunities.

Over the winter break, I had a follow on Twitter from Electric Eggplant , and in miraculous fashion, the seed idea began to develop.  Electric Eggplant is the developer of a new iPad app called Rube Works.  It’s the official invention game of Rube Goldberg.  I started having a Twitter conversation with them and found out that the app was on sale until the end of December.  I went ahead and purchased 30 copies knowing that it was going to be a perfect fit with the seed of an idea.

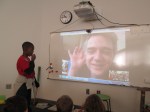
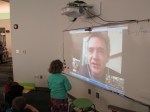
My Twitter conversation continued and I was connected with David Fox, the developer of Rube Works.  He agreed that once we got the project going, he would love to connect with us and see what the kids thought of the app.

Since that conversation, a page on Skype in the Classroom has been created for Rube Goldberg which includes the chance to Skype with David as well as Rube Goldberg’s granddaughter, Jennifer.  We added both of these to our growing seed of an idea.

RubeWorks (3)
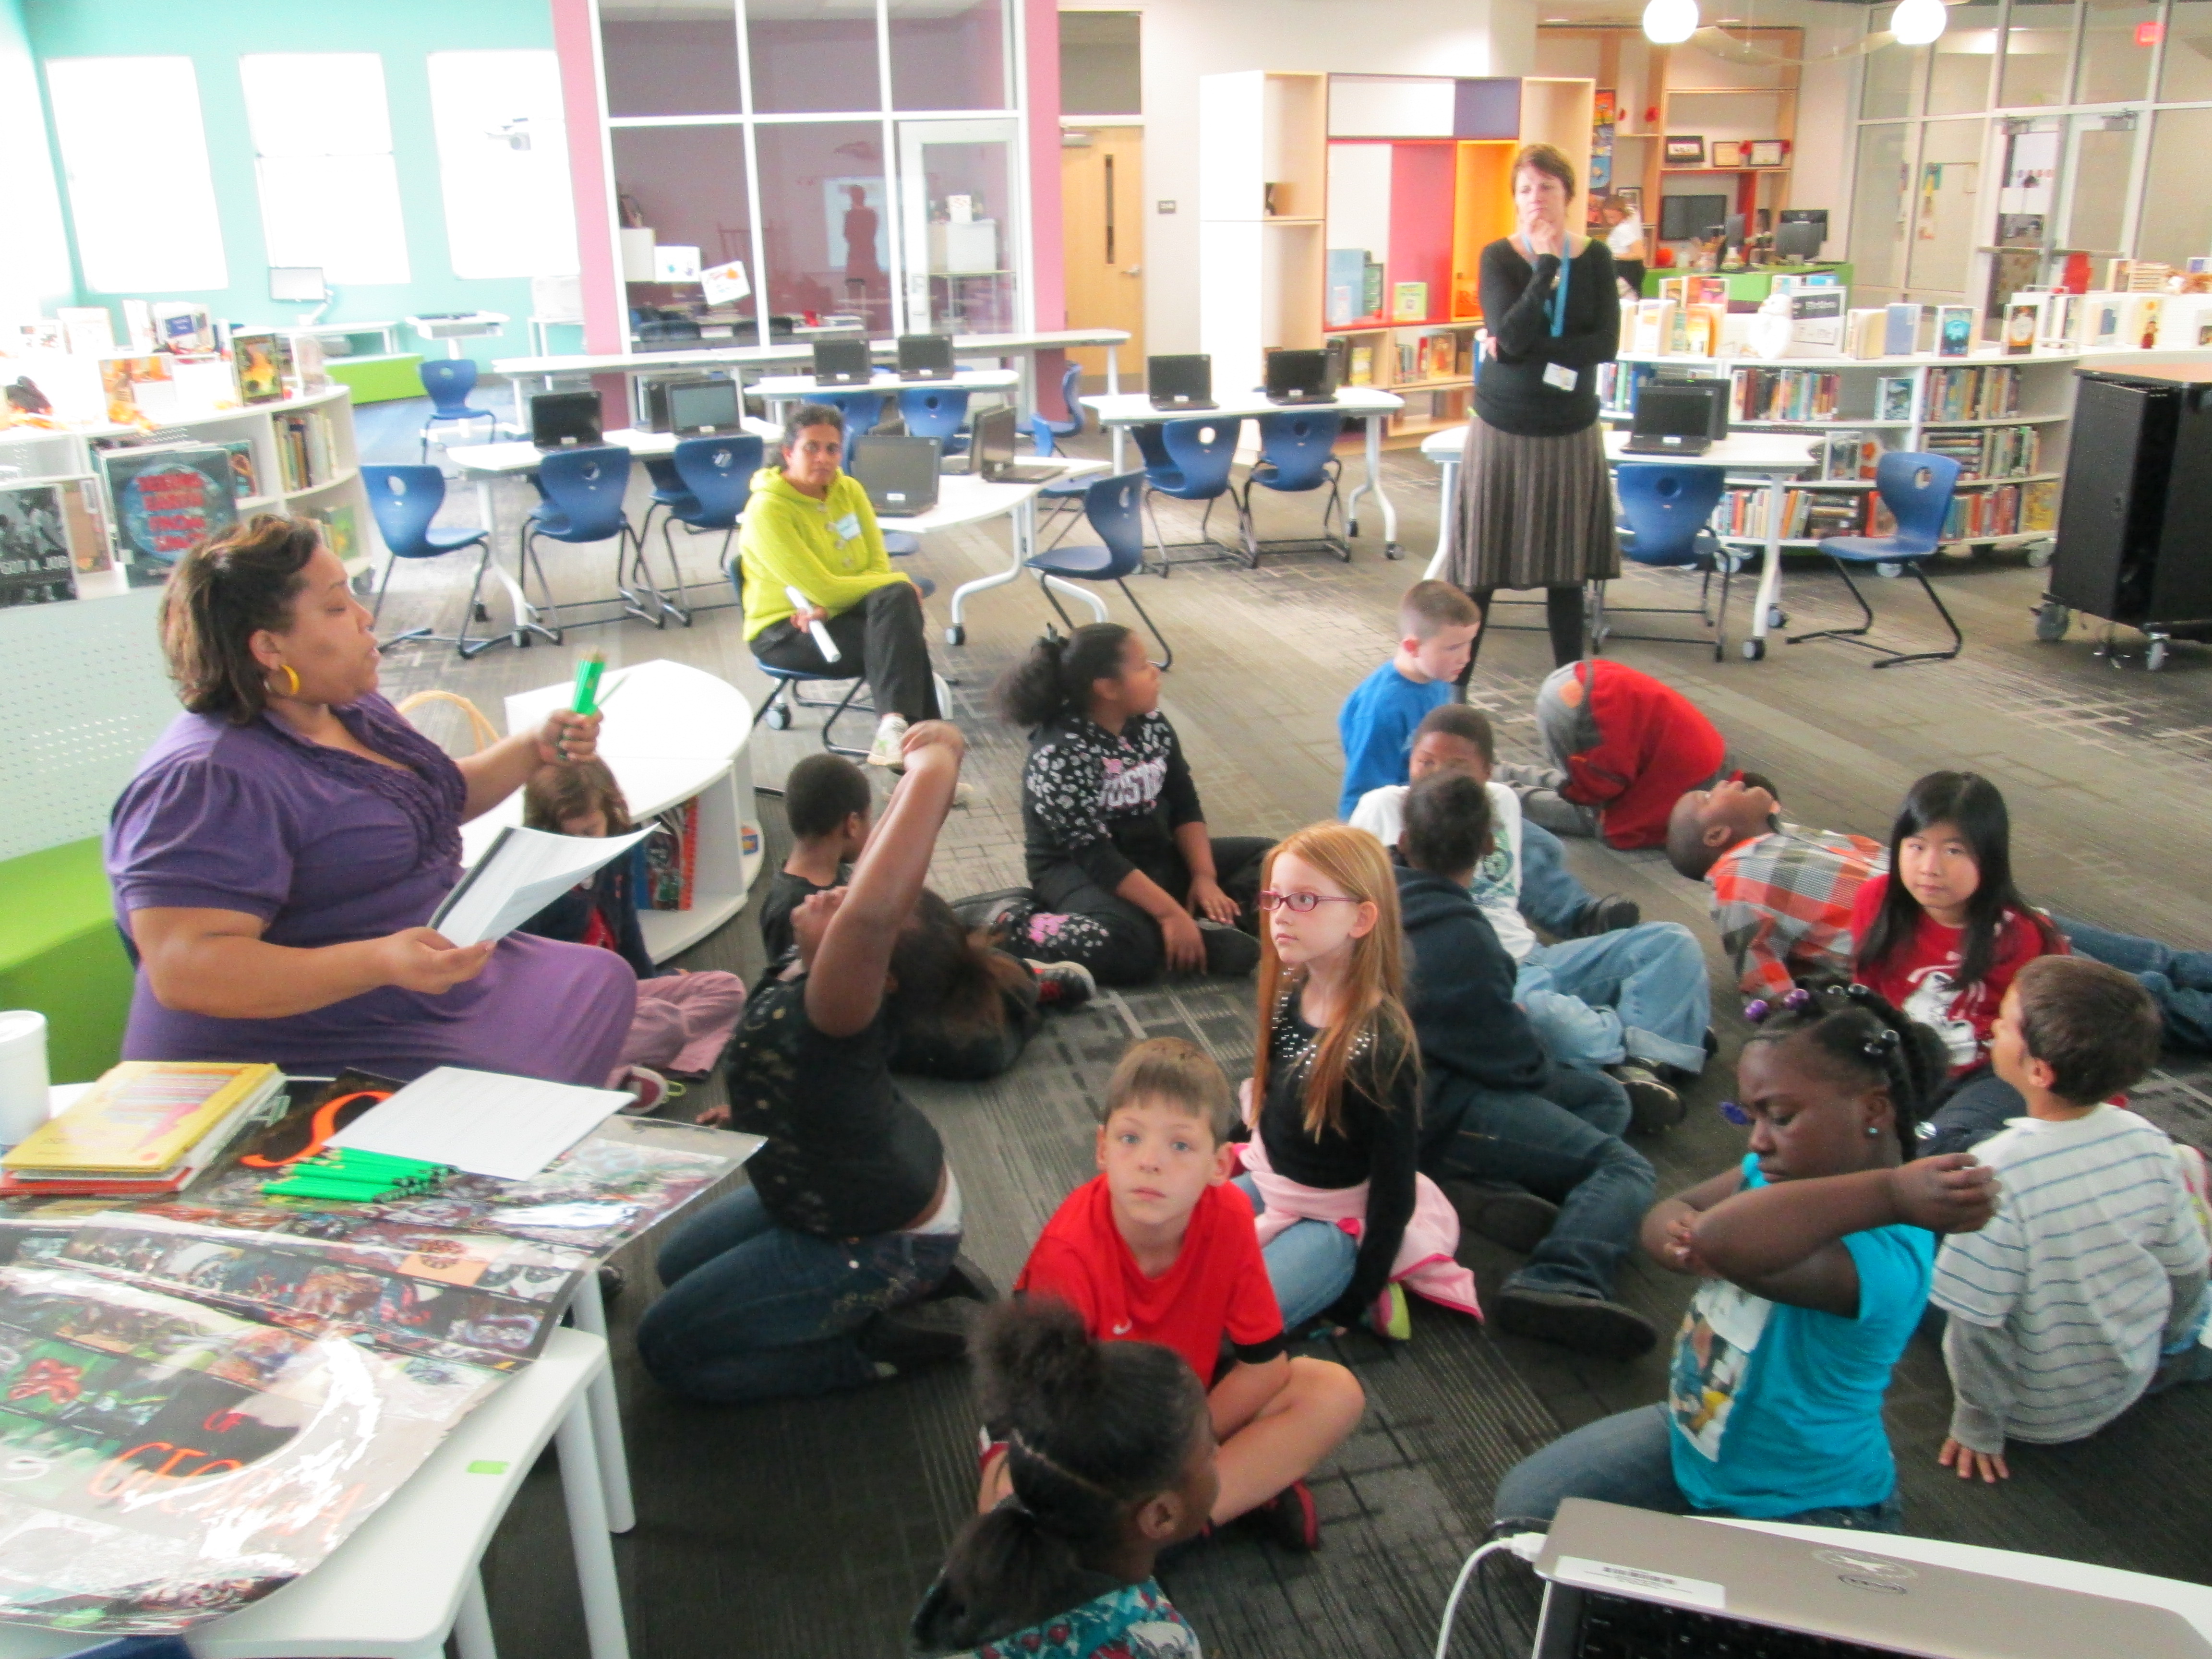
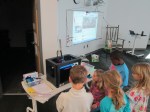
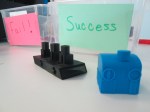
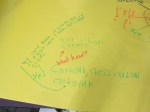
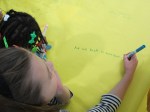
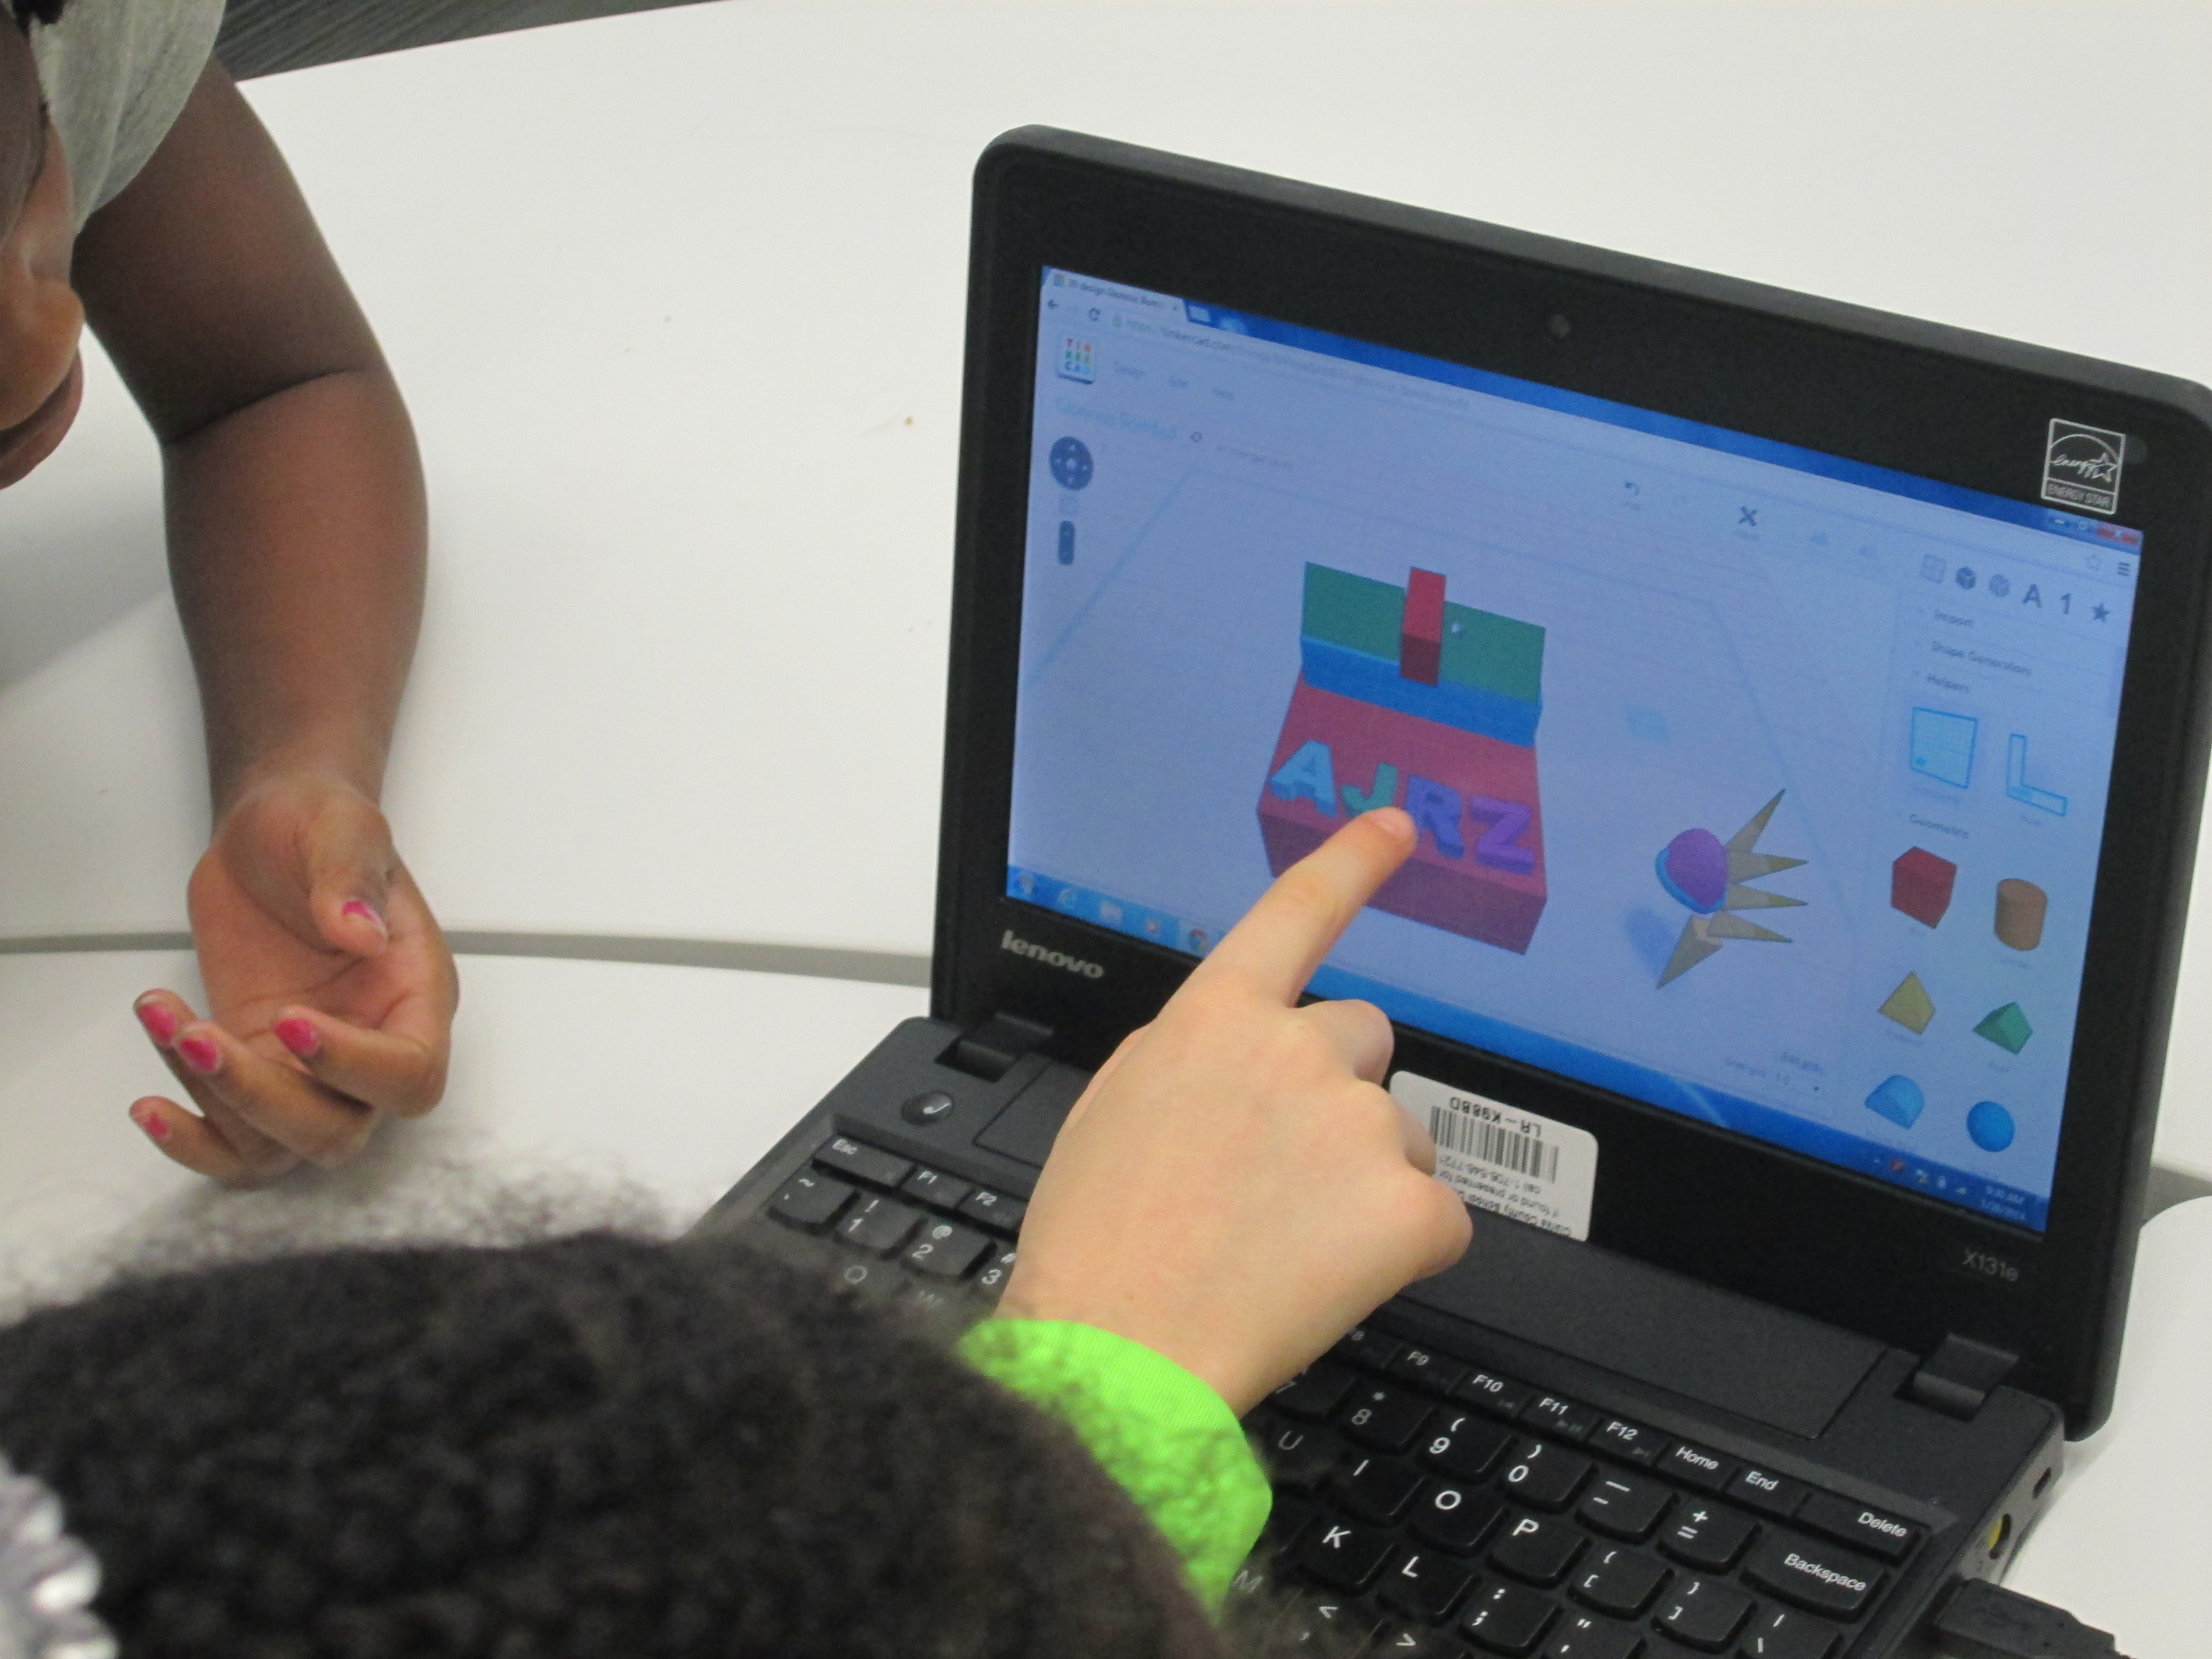
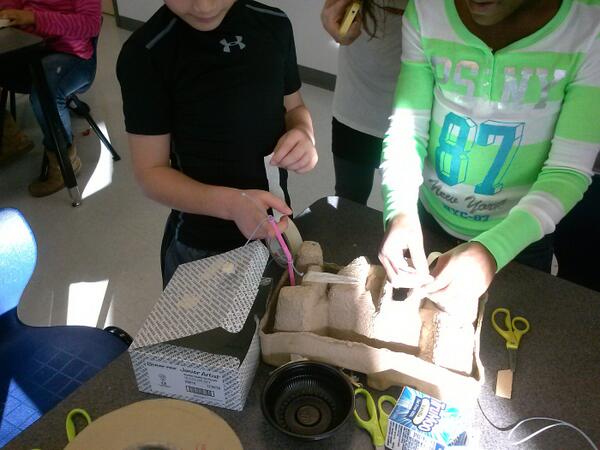
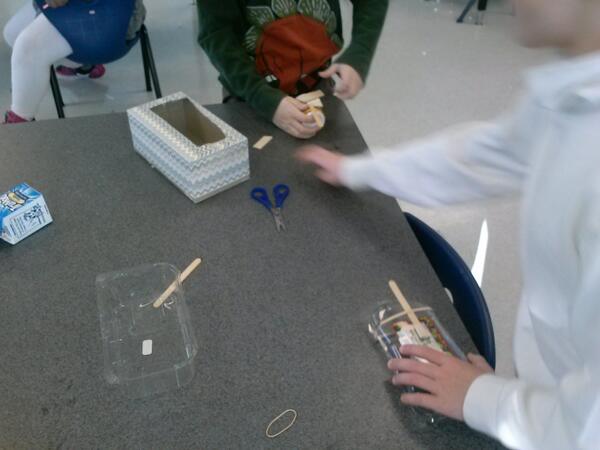
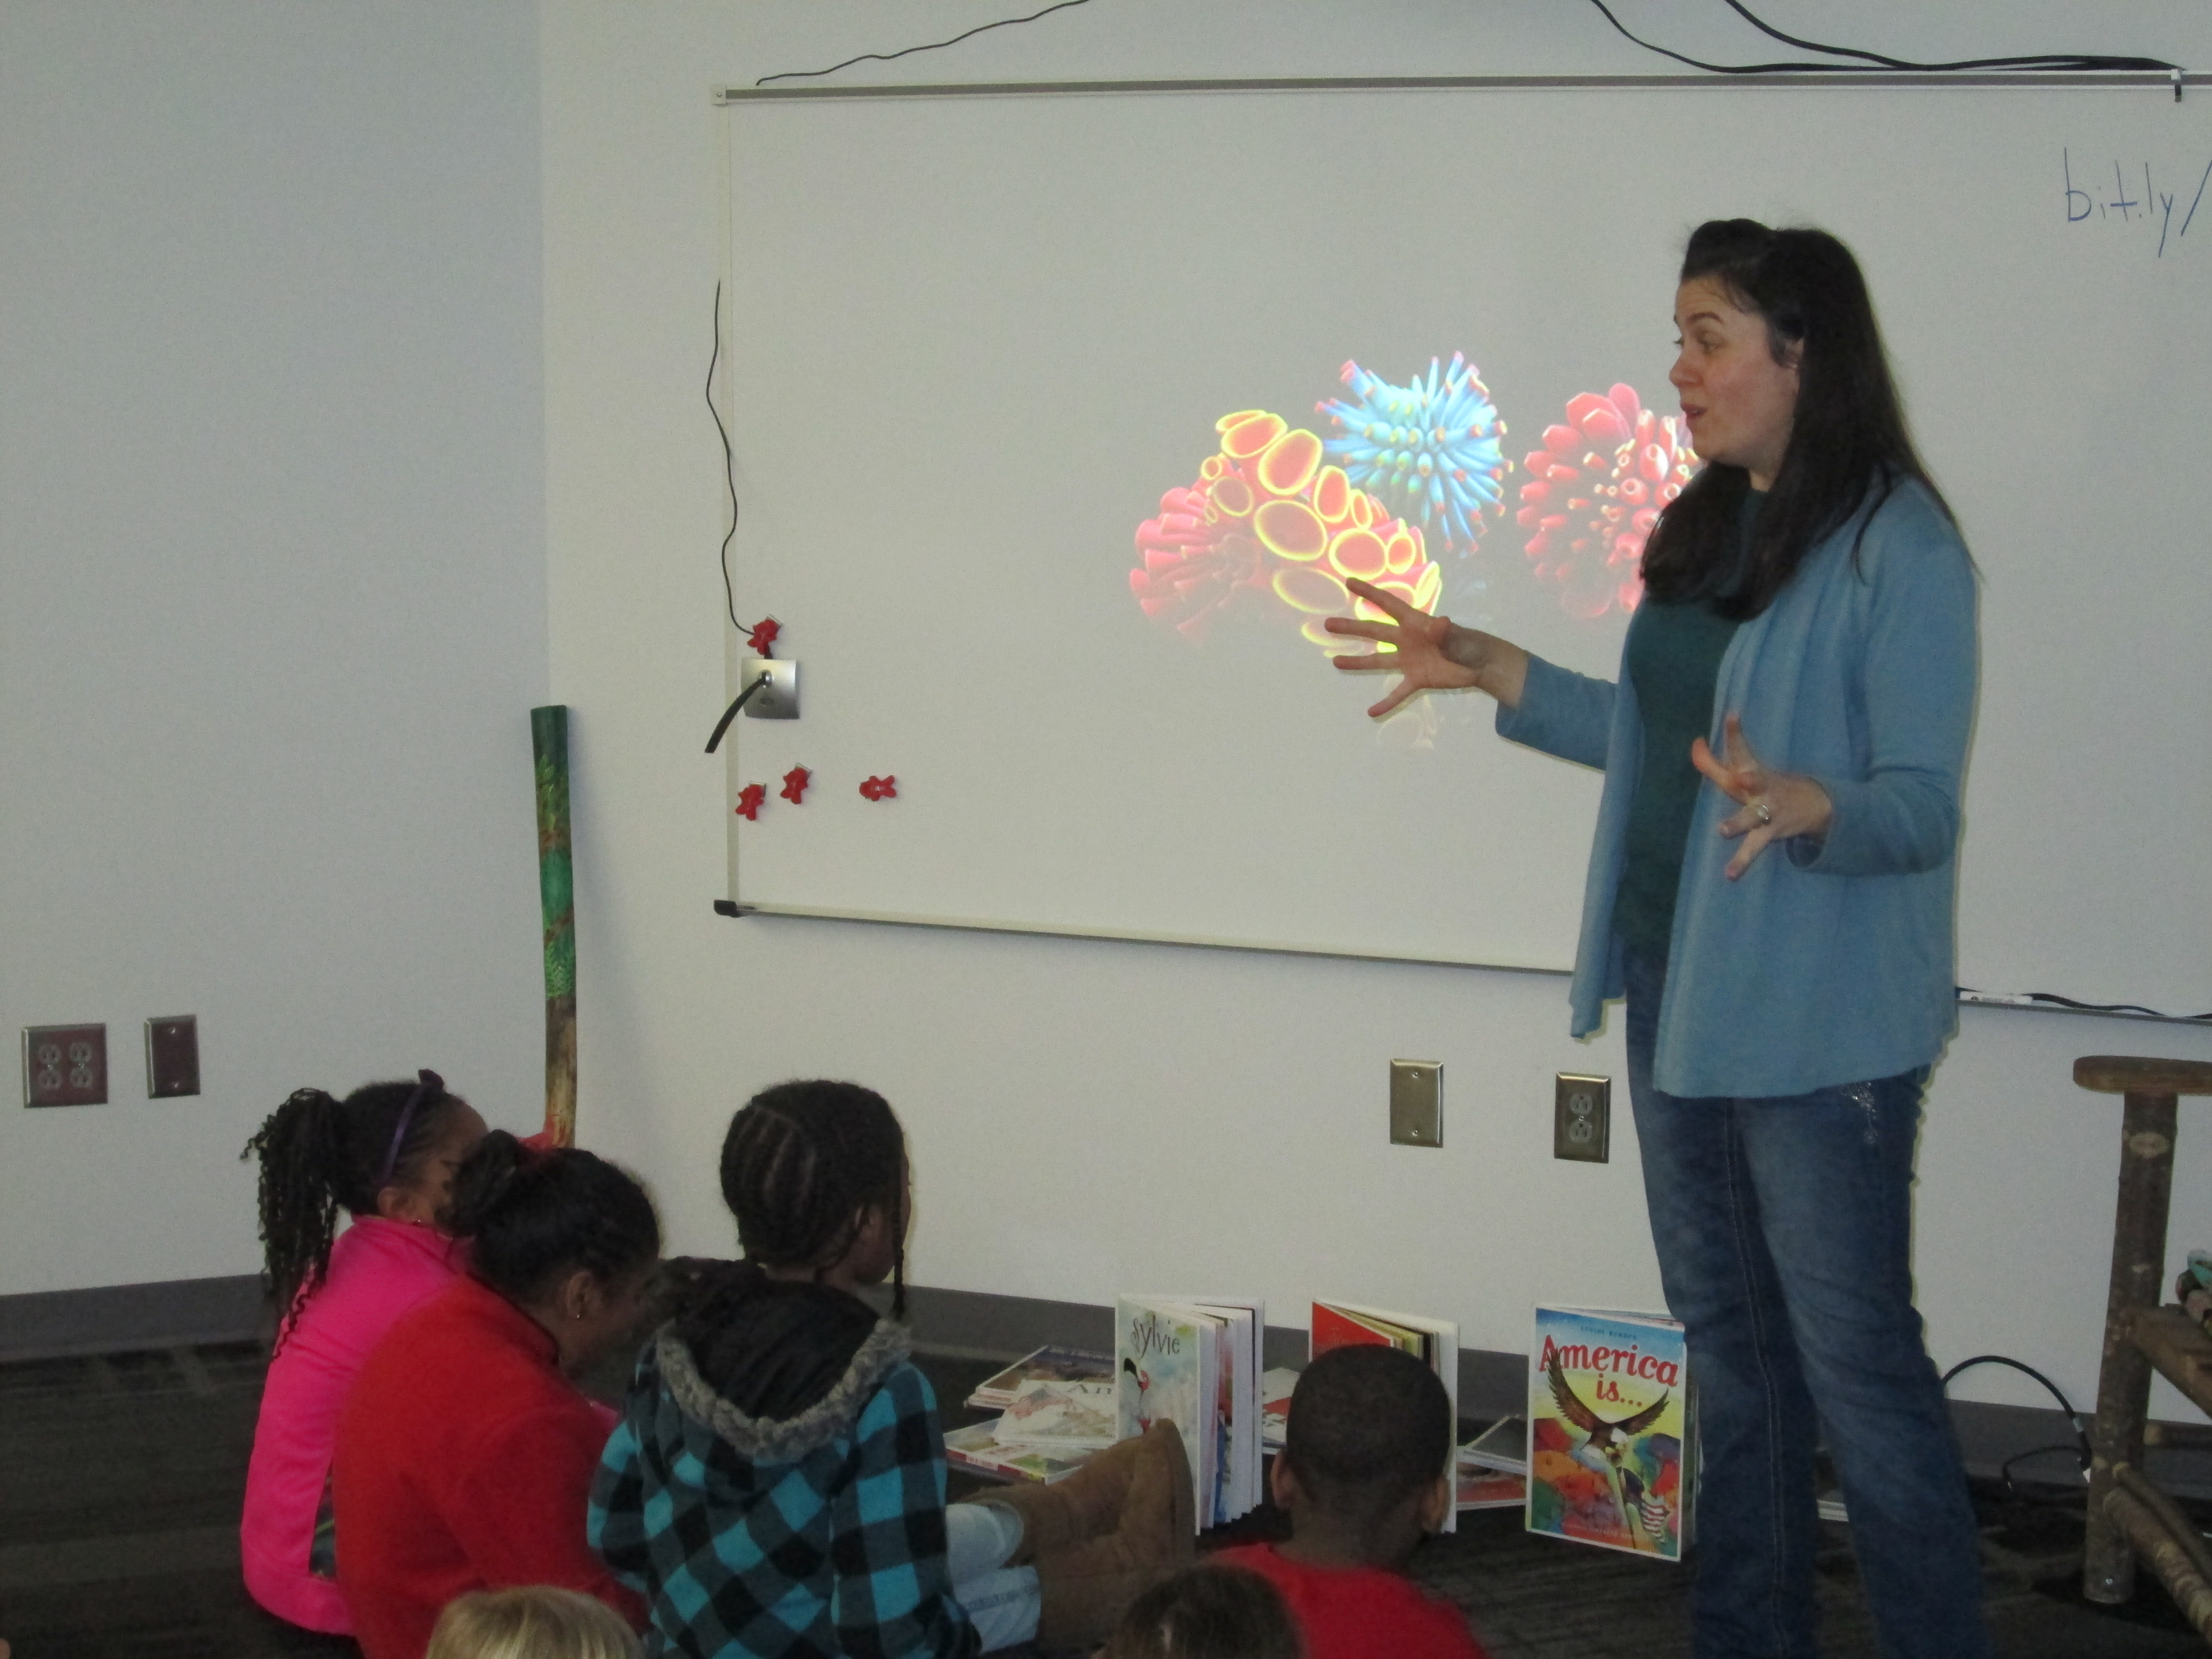
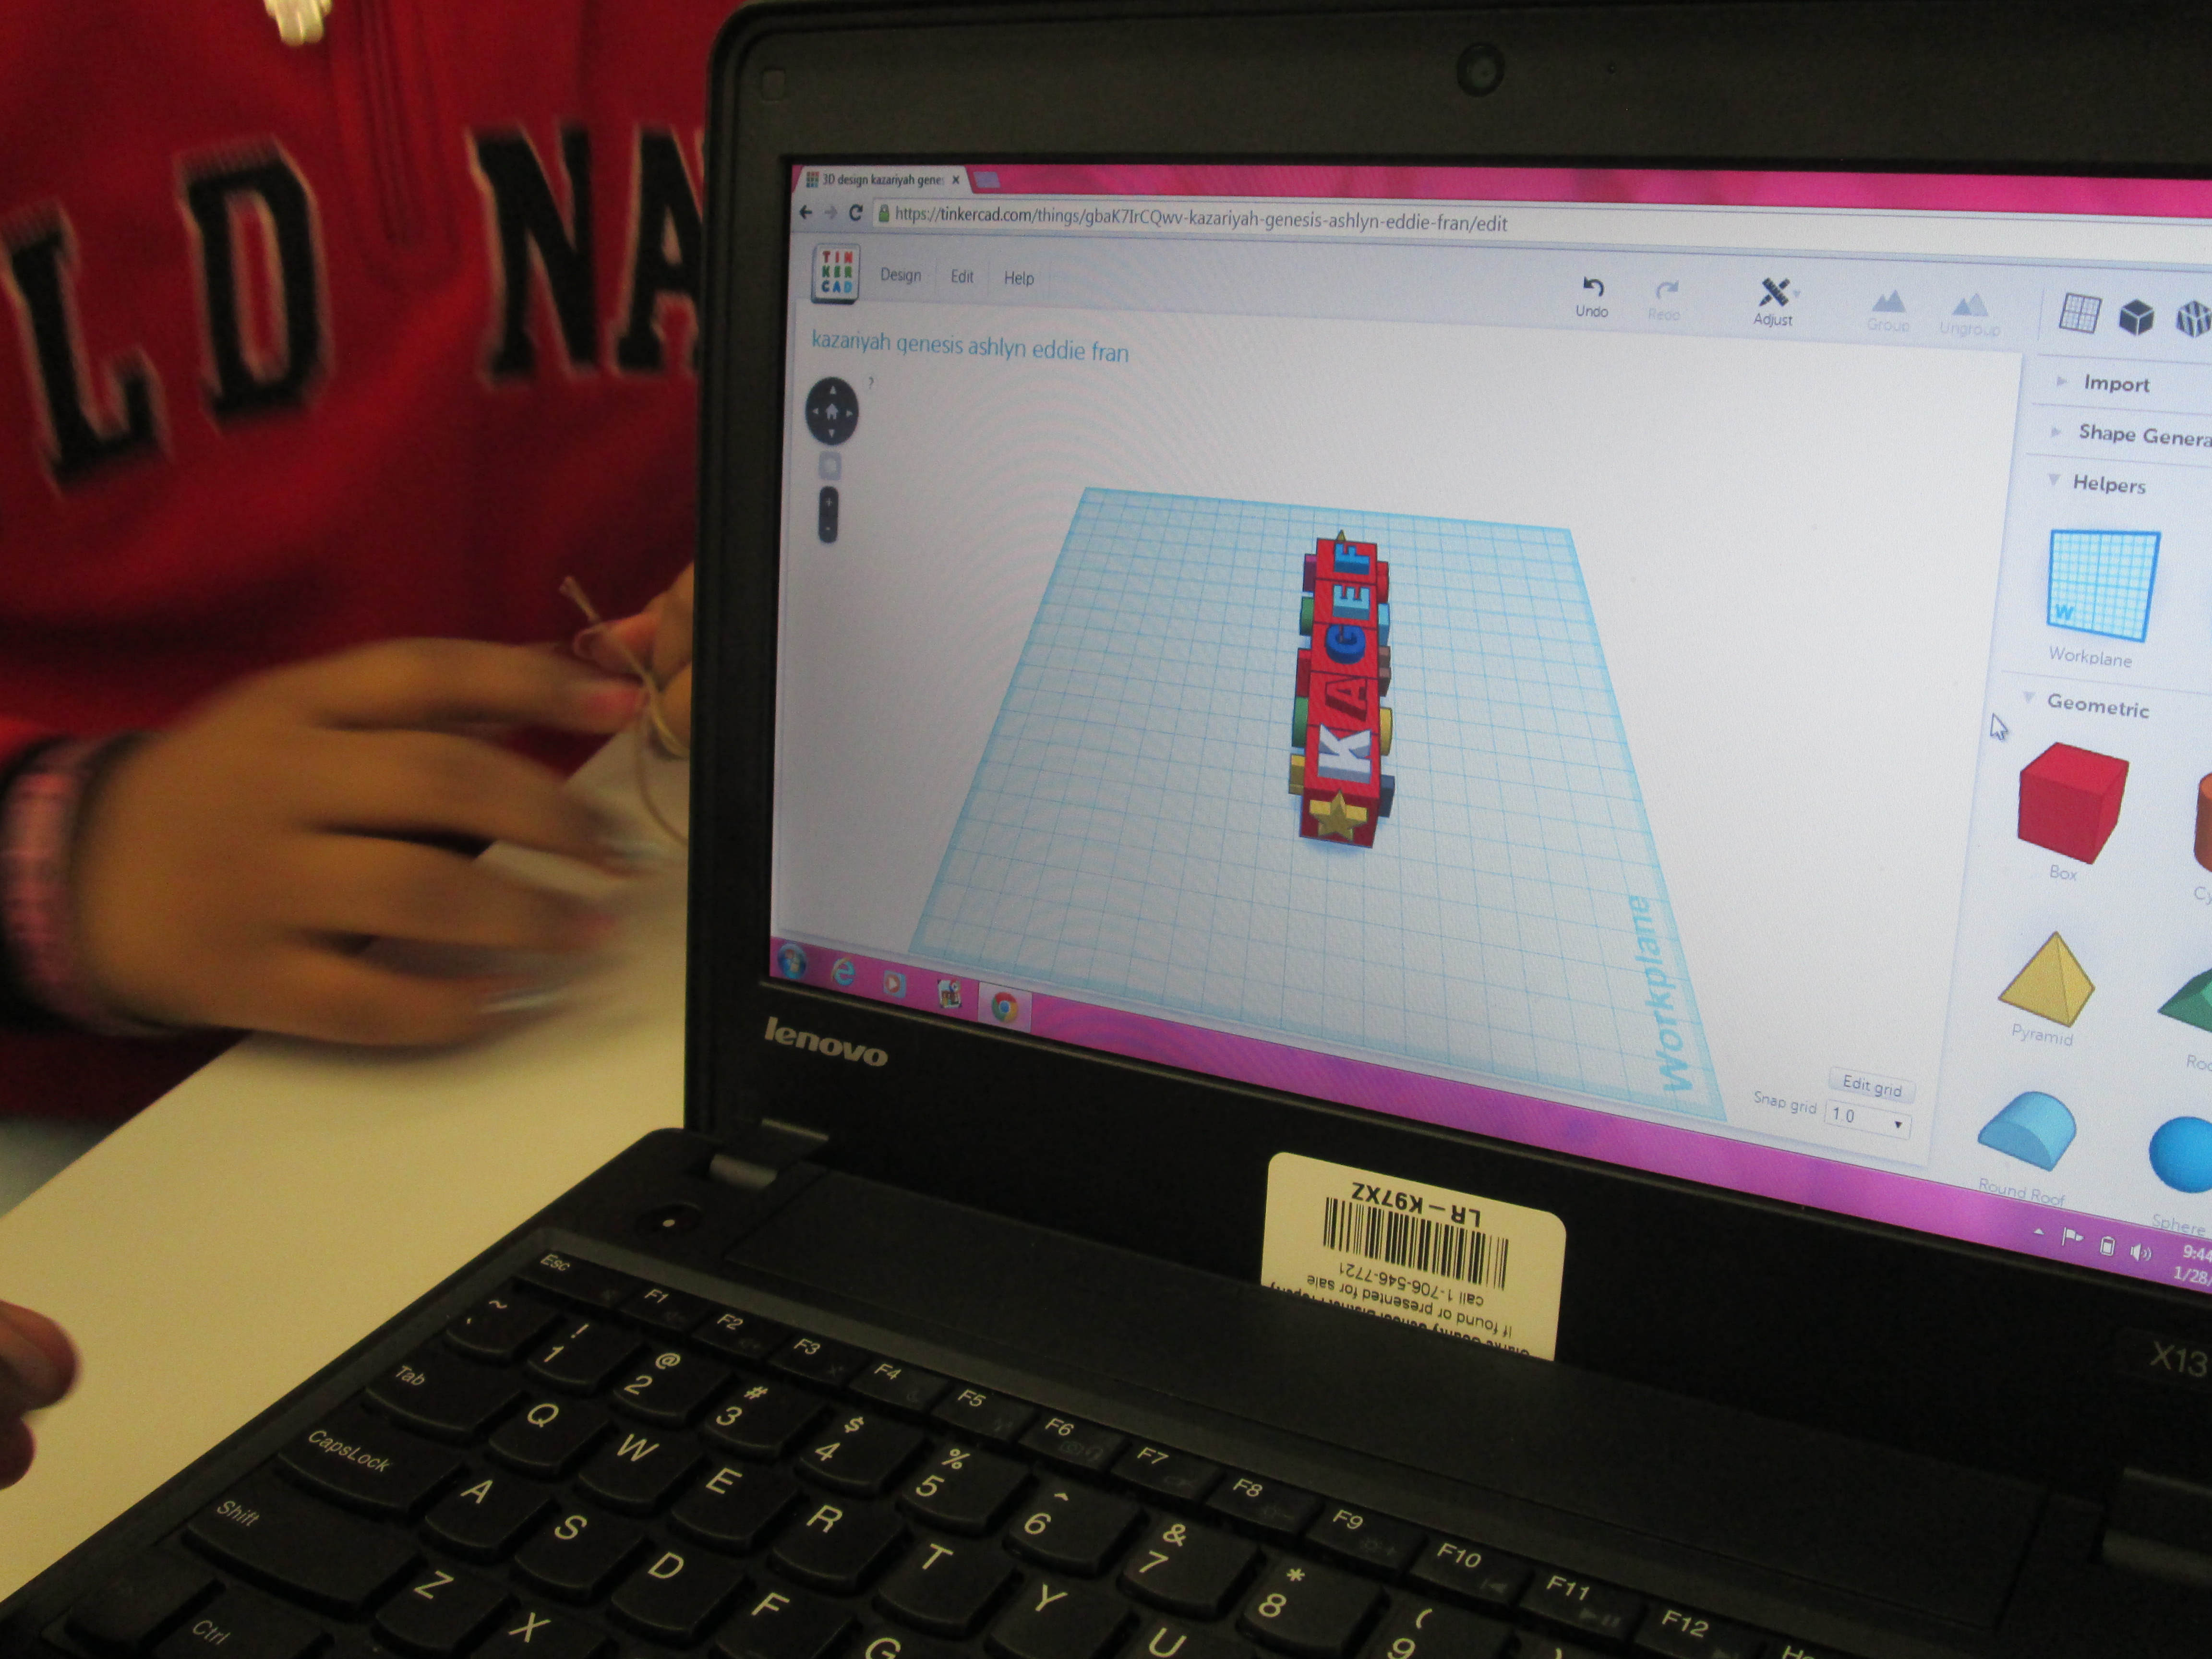
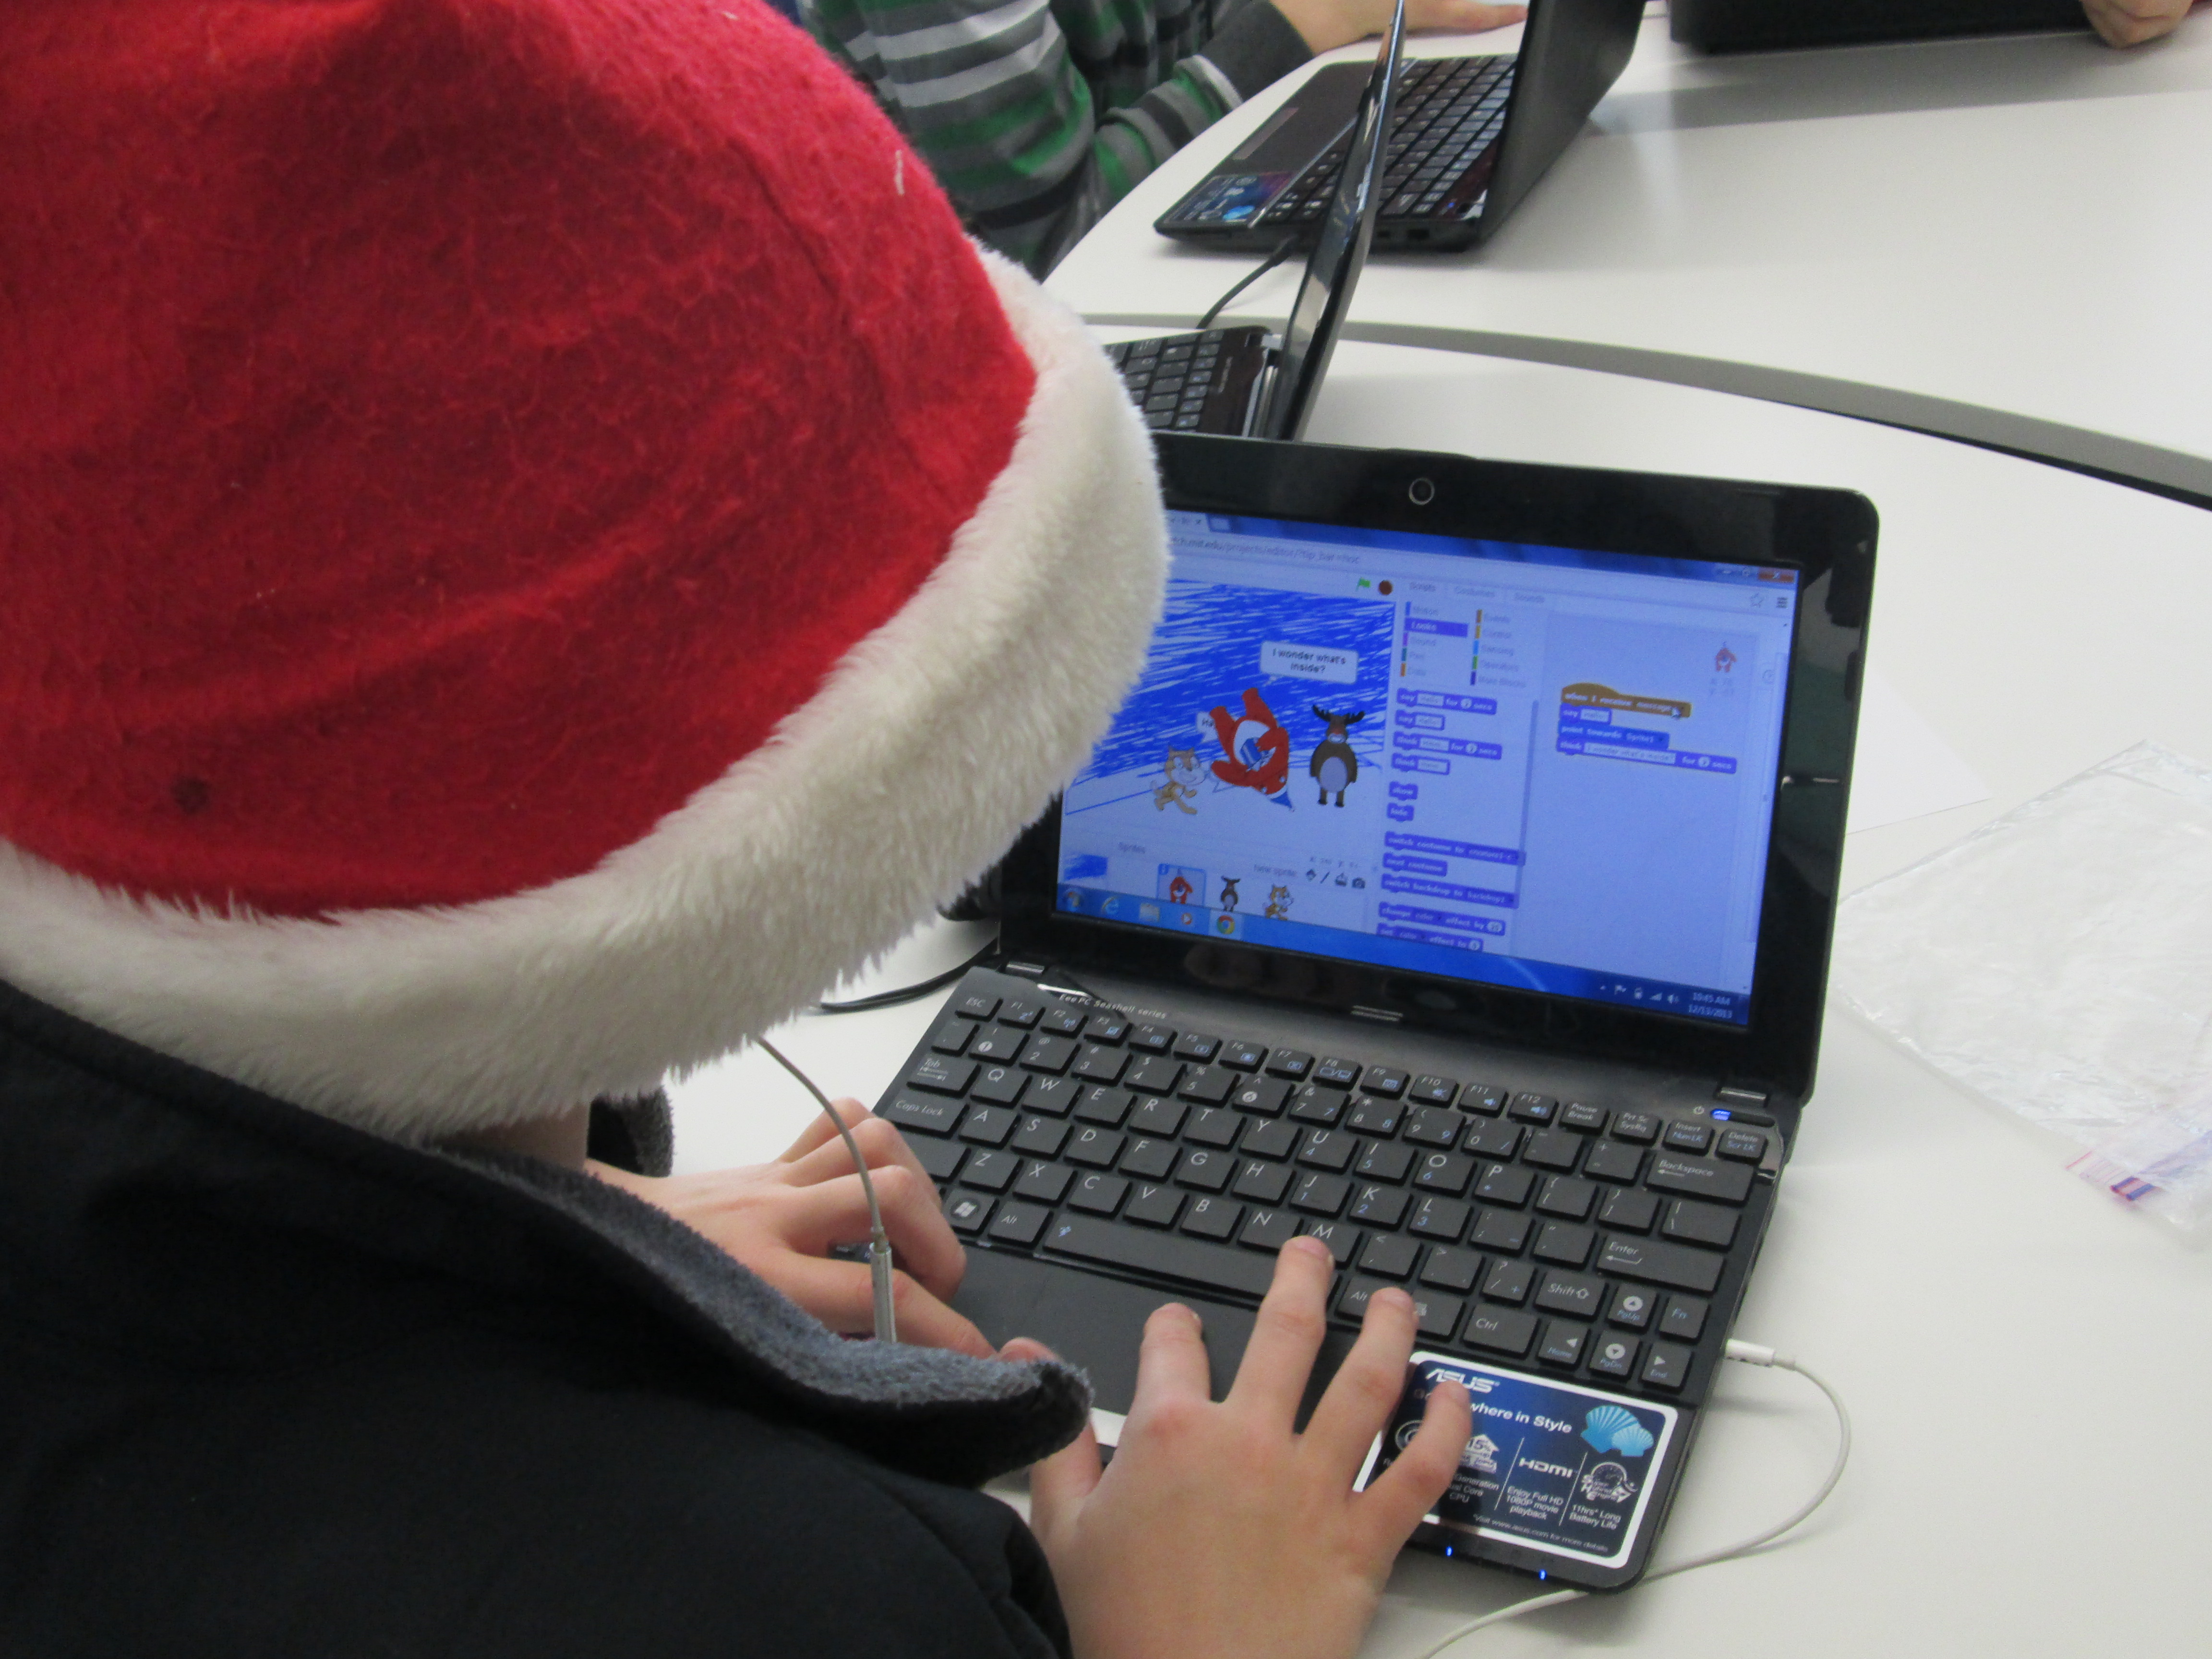
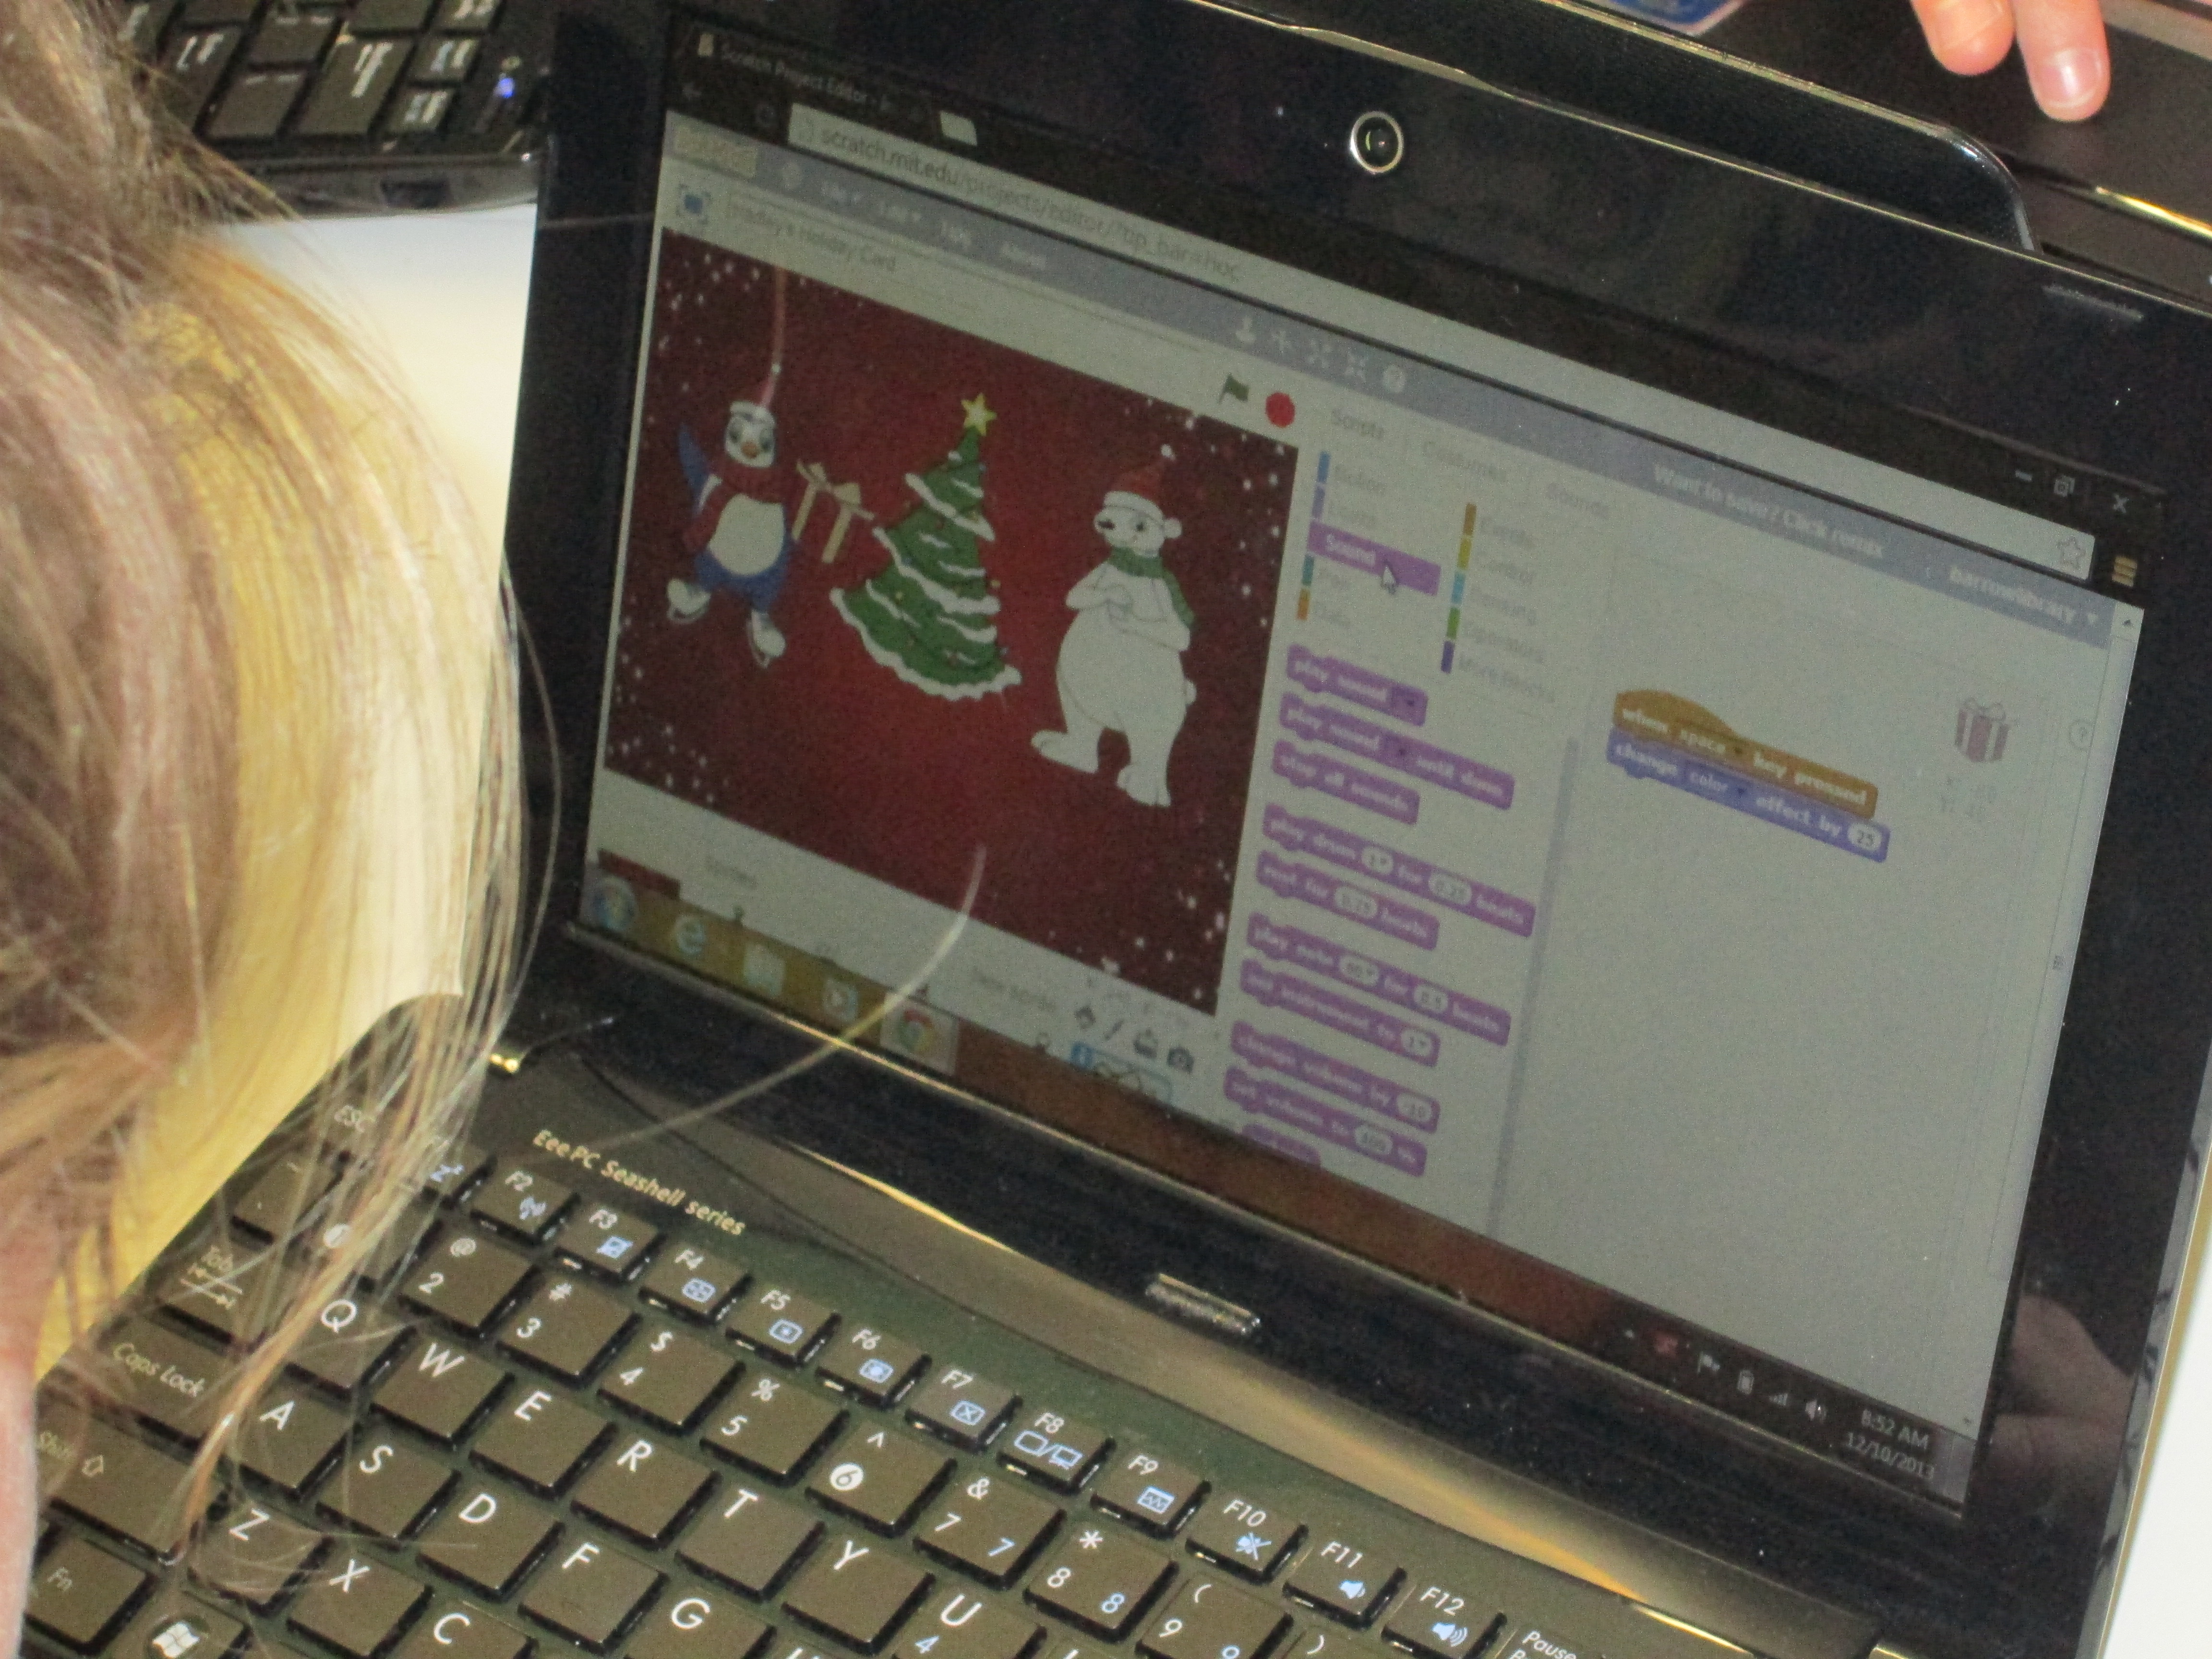
Over the past 2 days, the 2nd grade has been working in the library to use the Rube Works game.  This is a kickoff to their study of force, push, pull, and motion.  We started by watching some videos of Rube Goldberg inventions because most of the students had no idea who he was.  They were fascinated by the zany inventions to do simple, everyday things.  Some of them even launched into a brainstorm of what they would invent (which is coming as a part of our seed of an idea!)

Next, I showed students the Rube Works trailer.

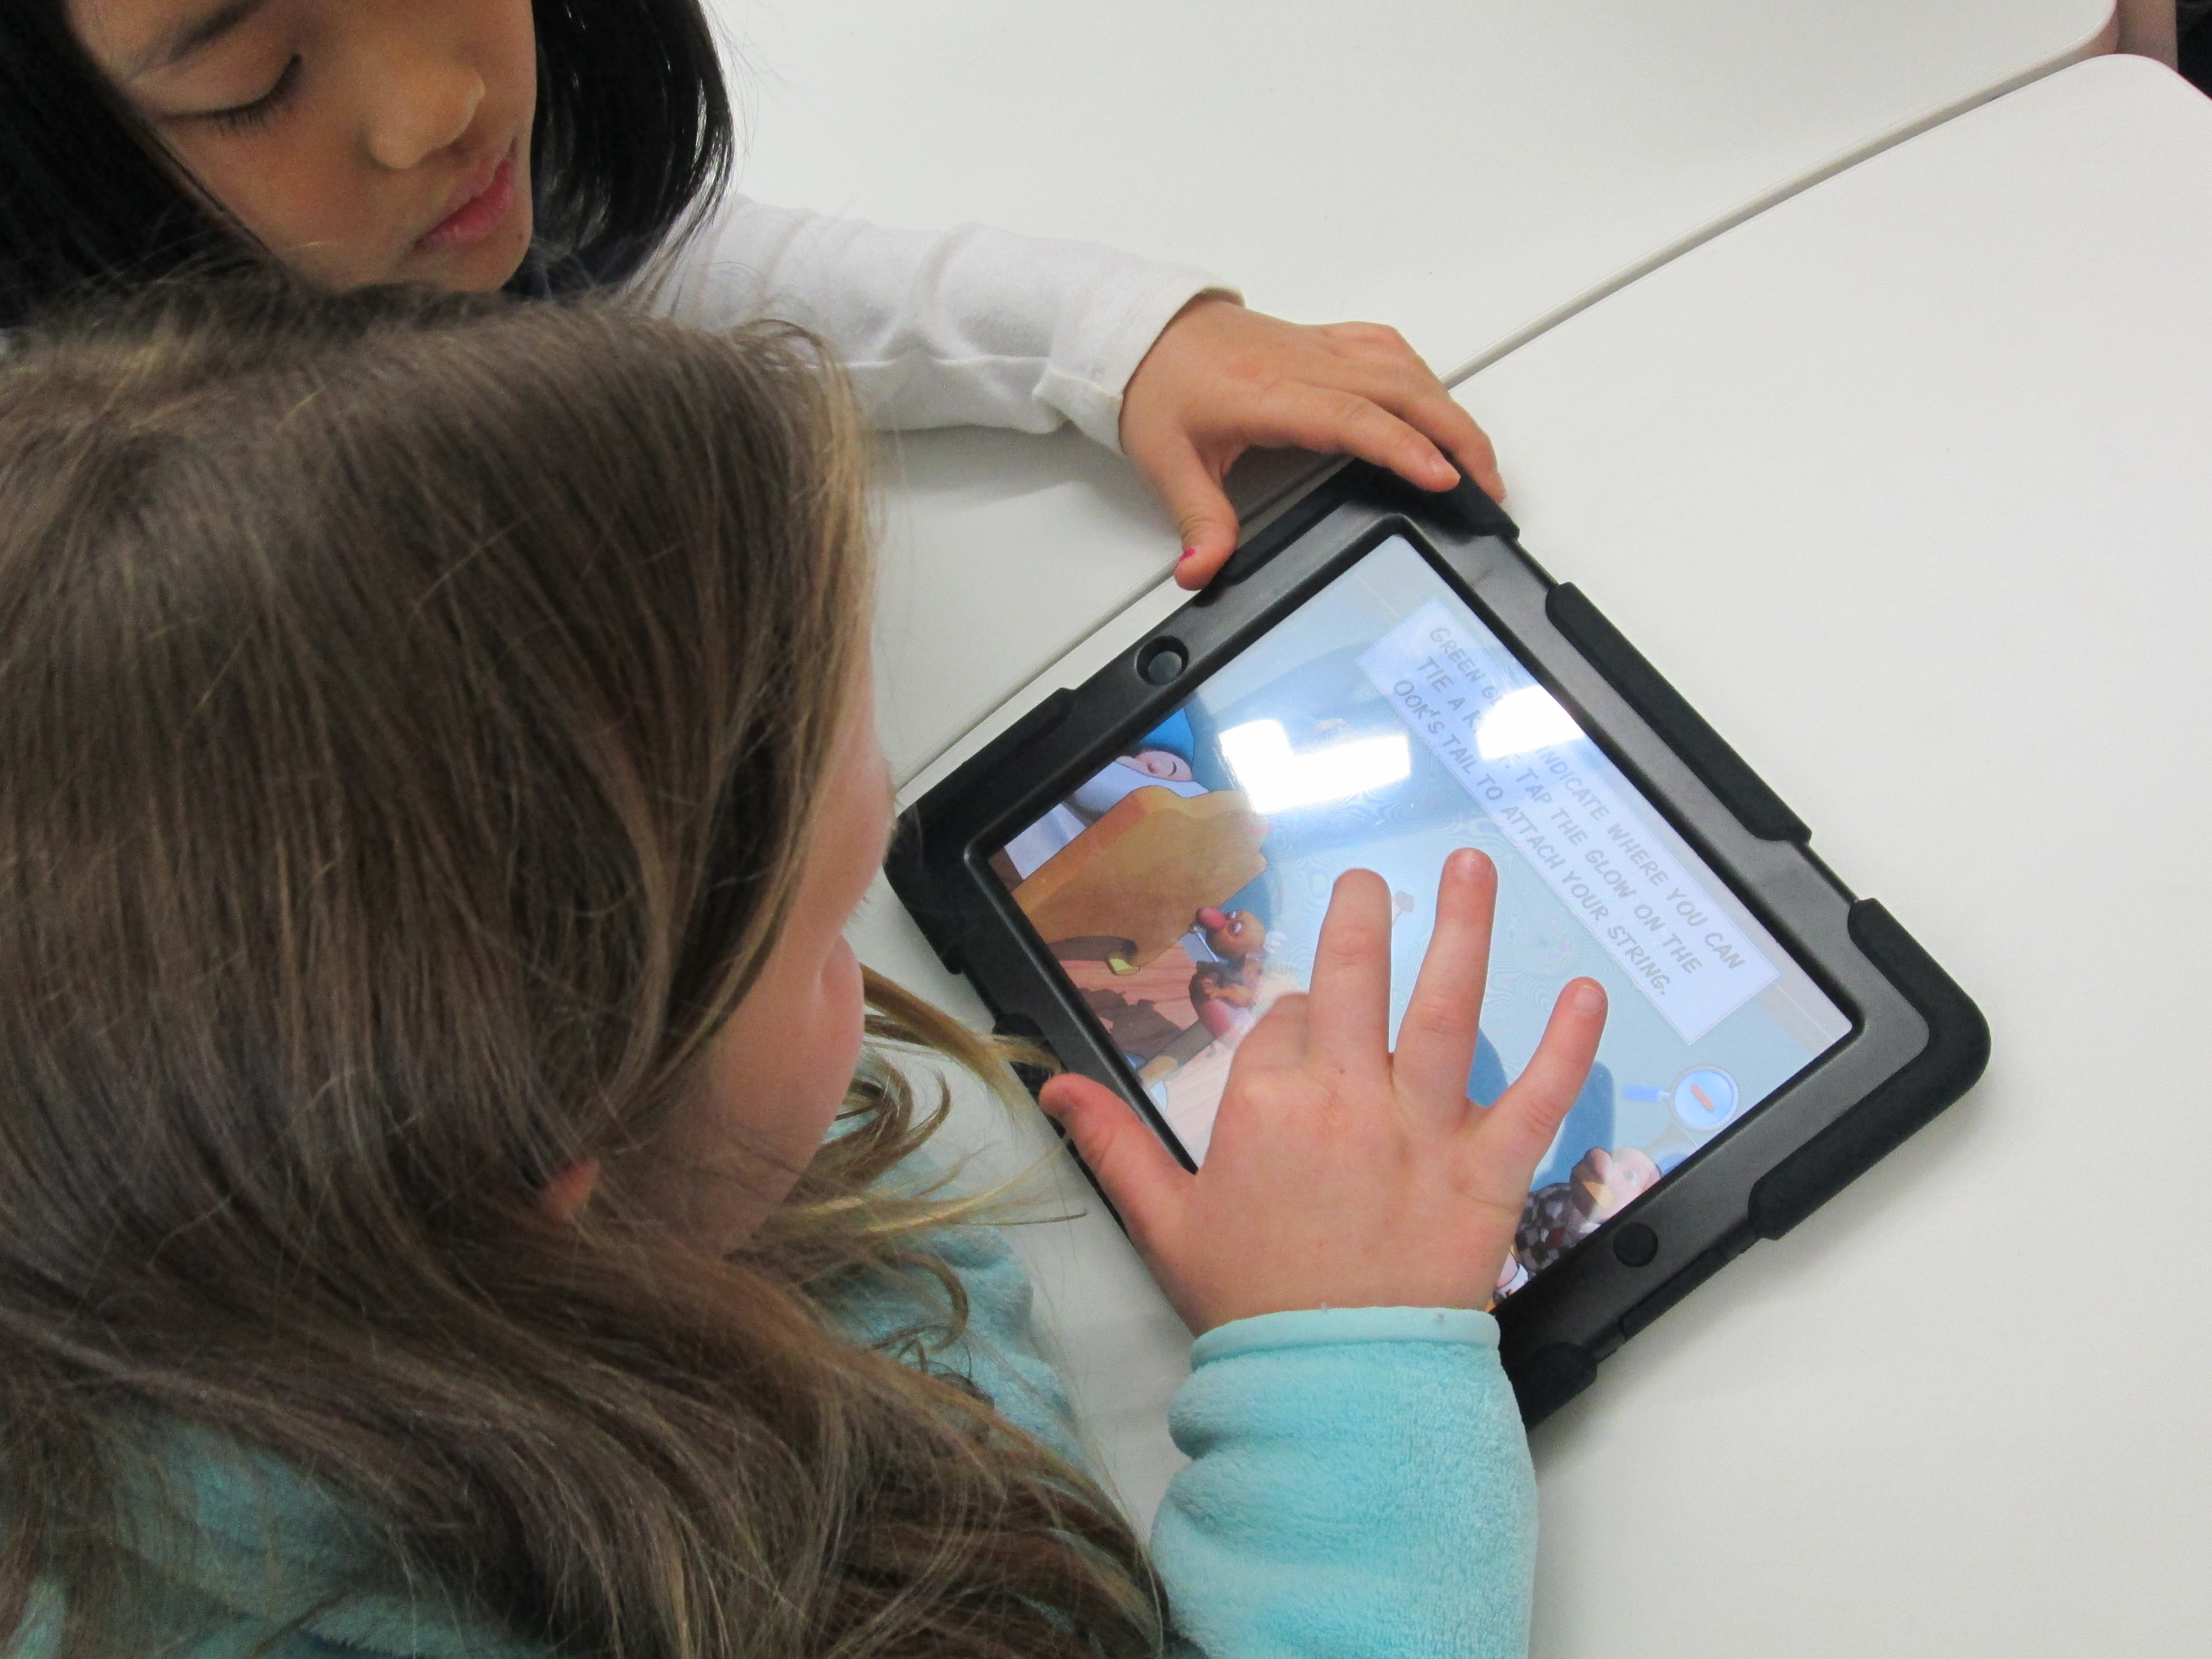
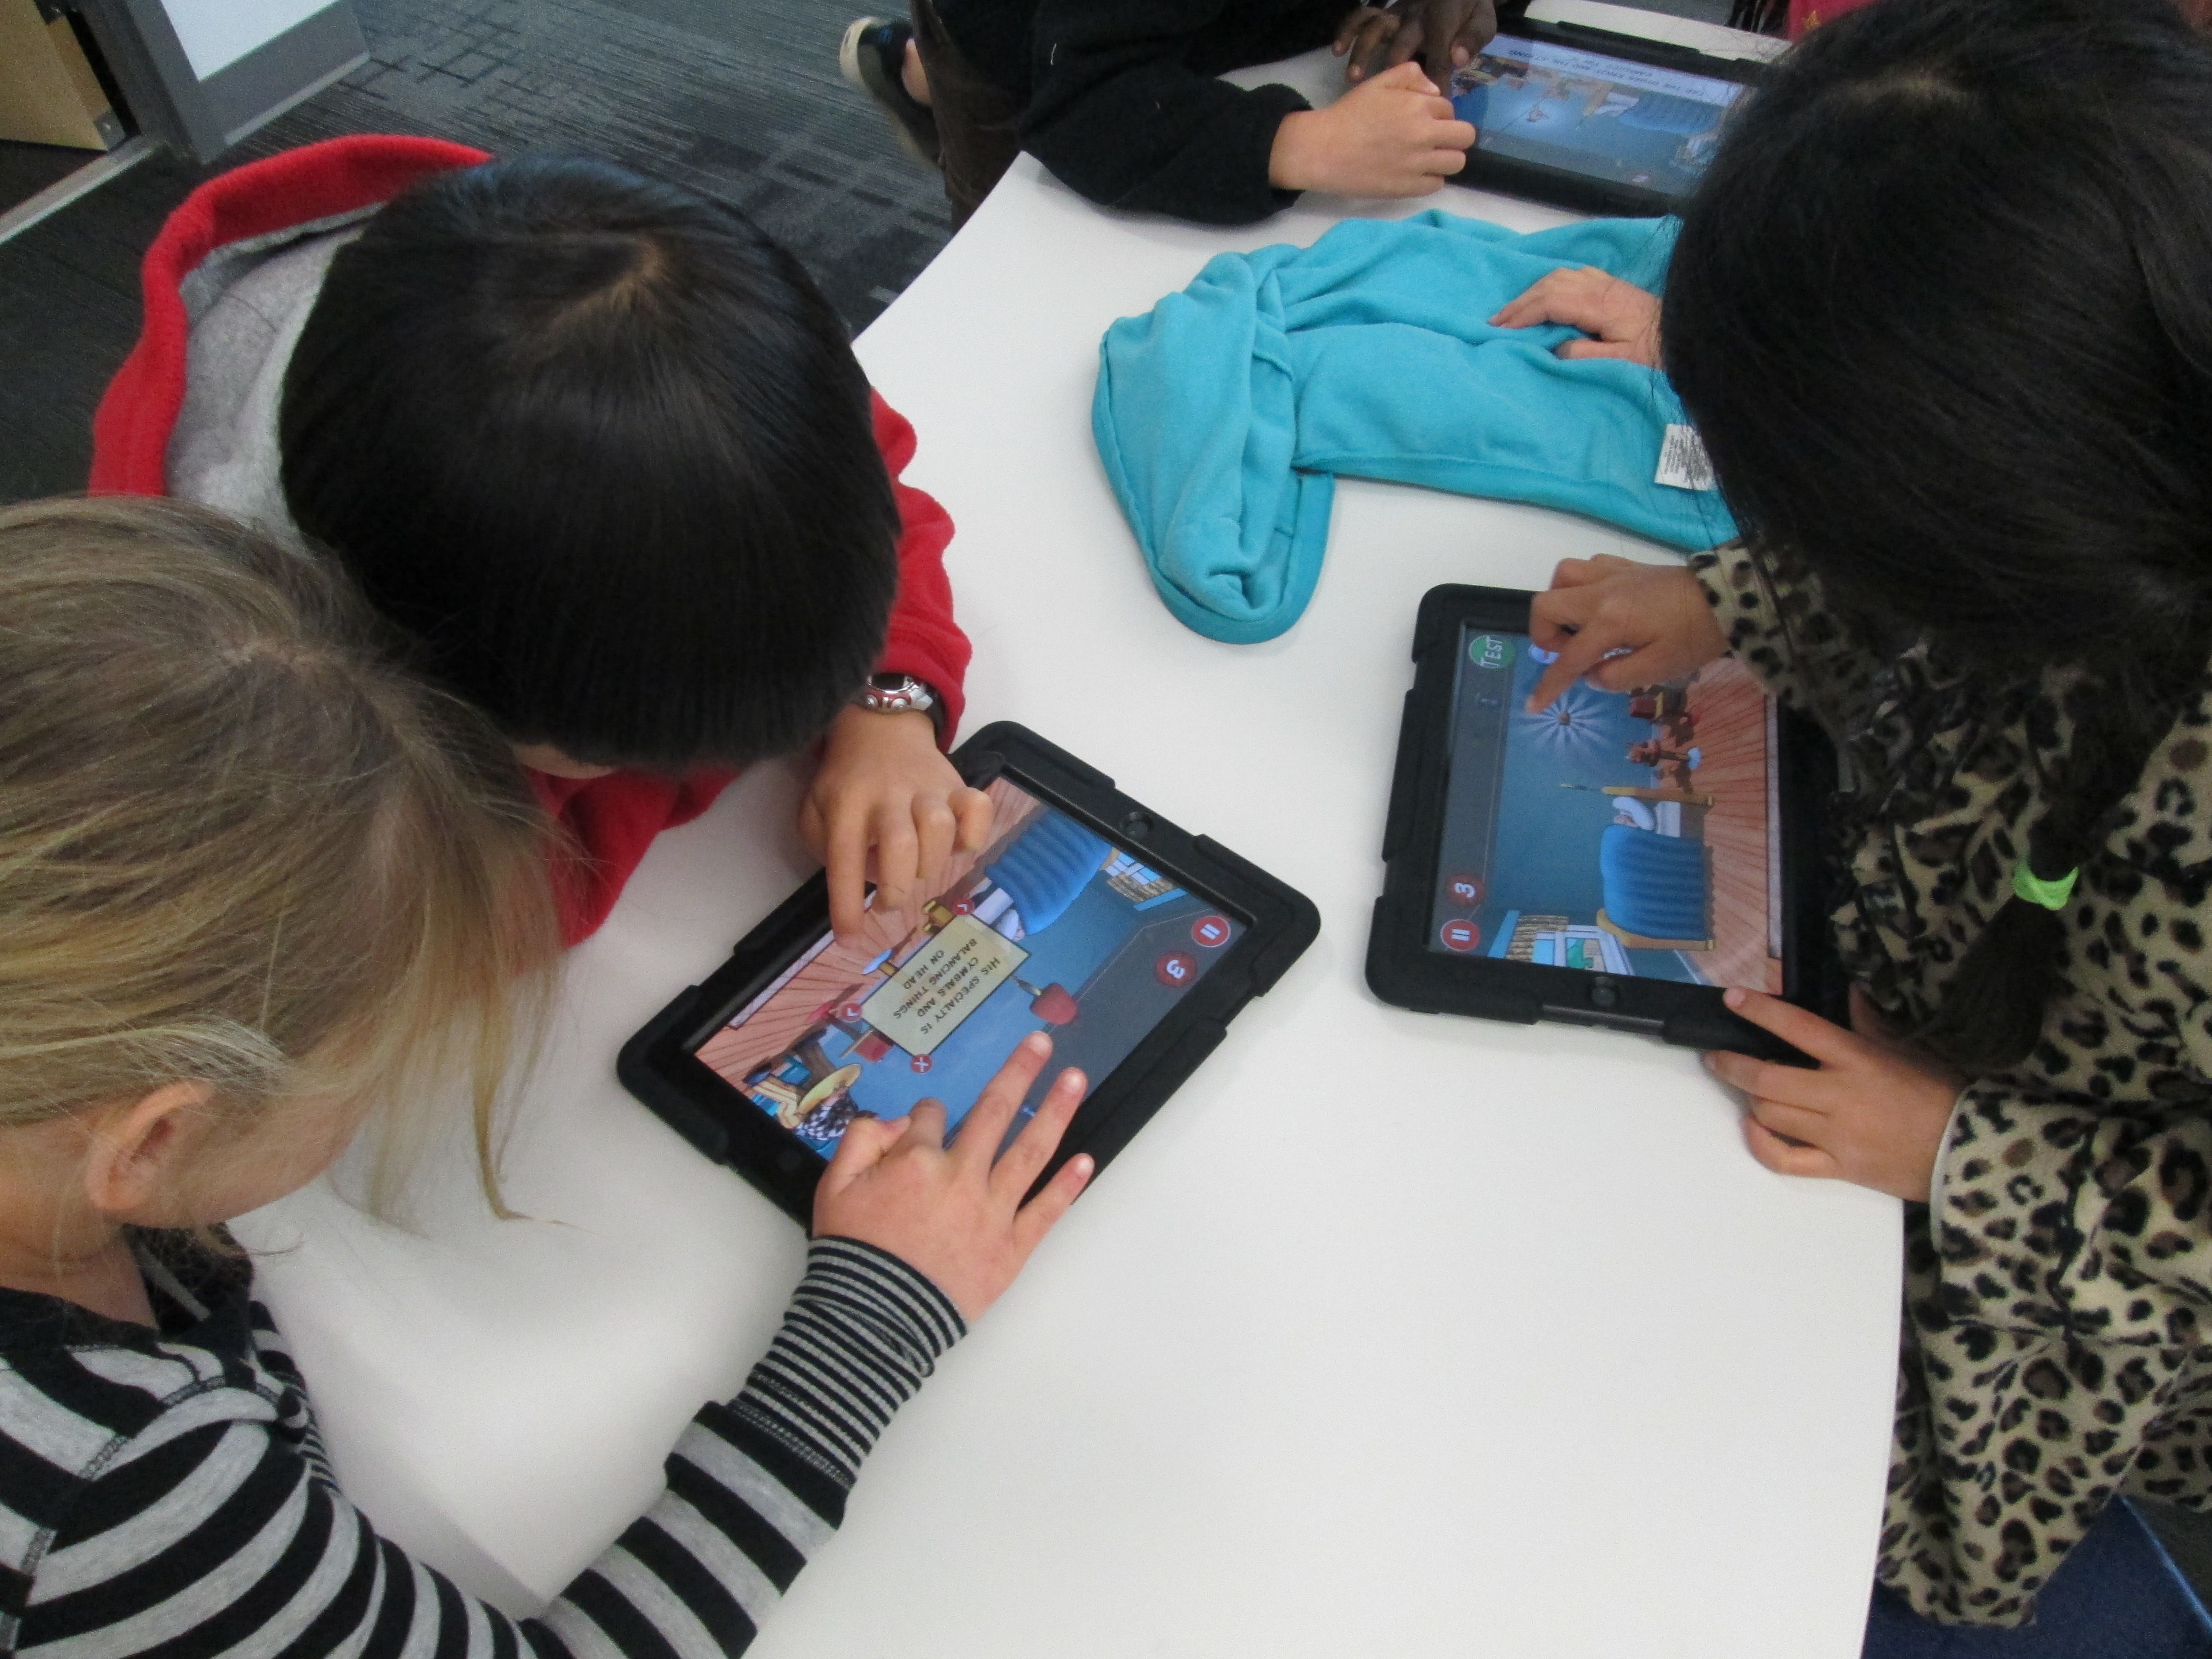
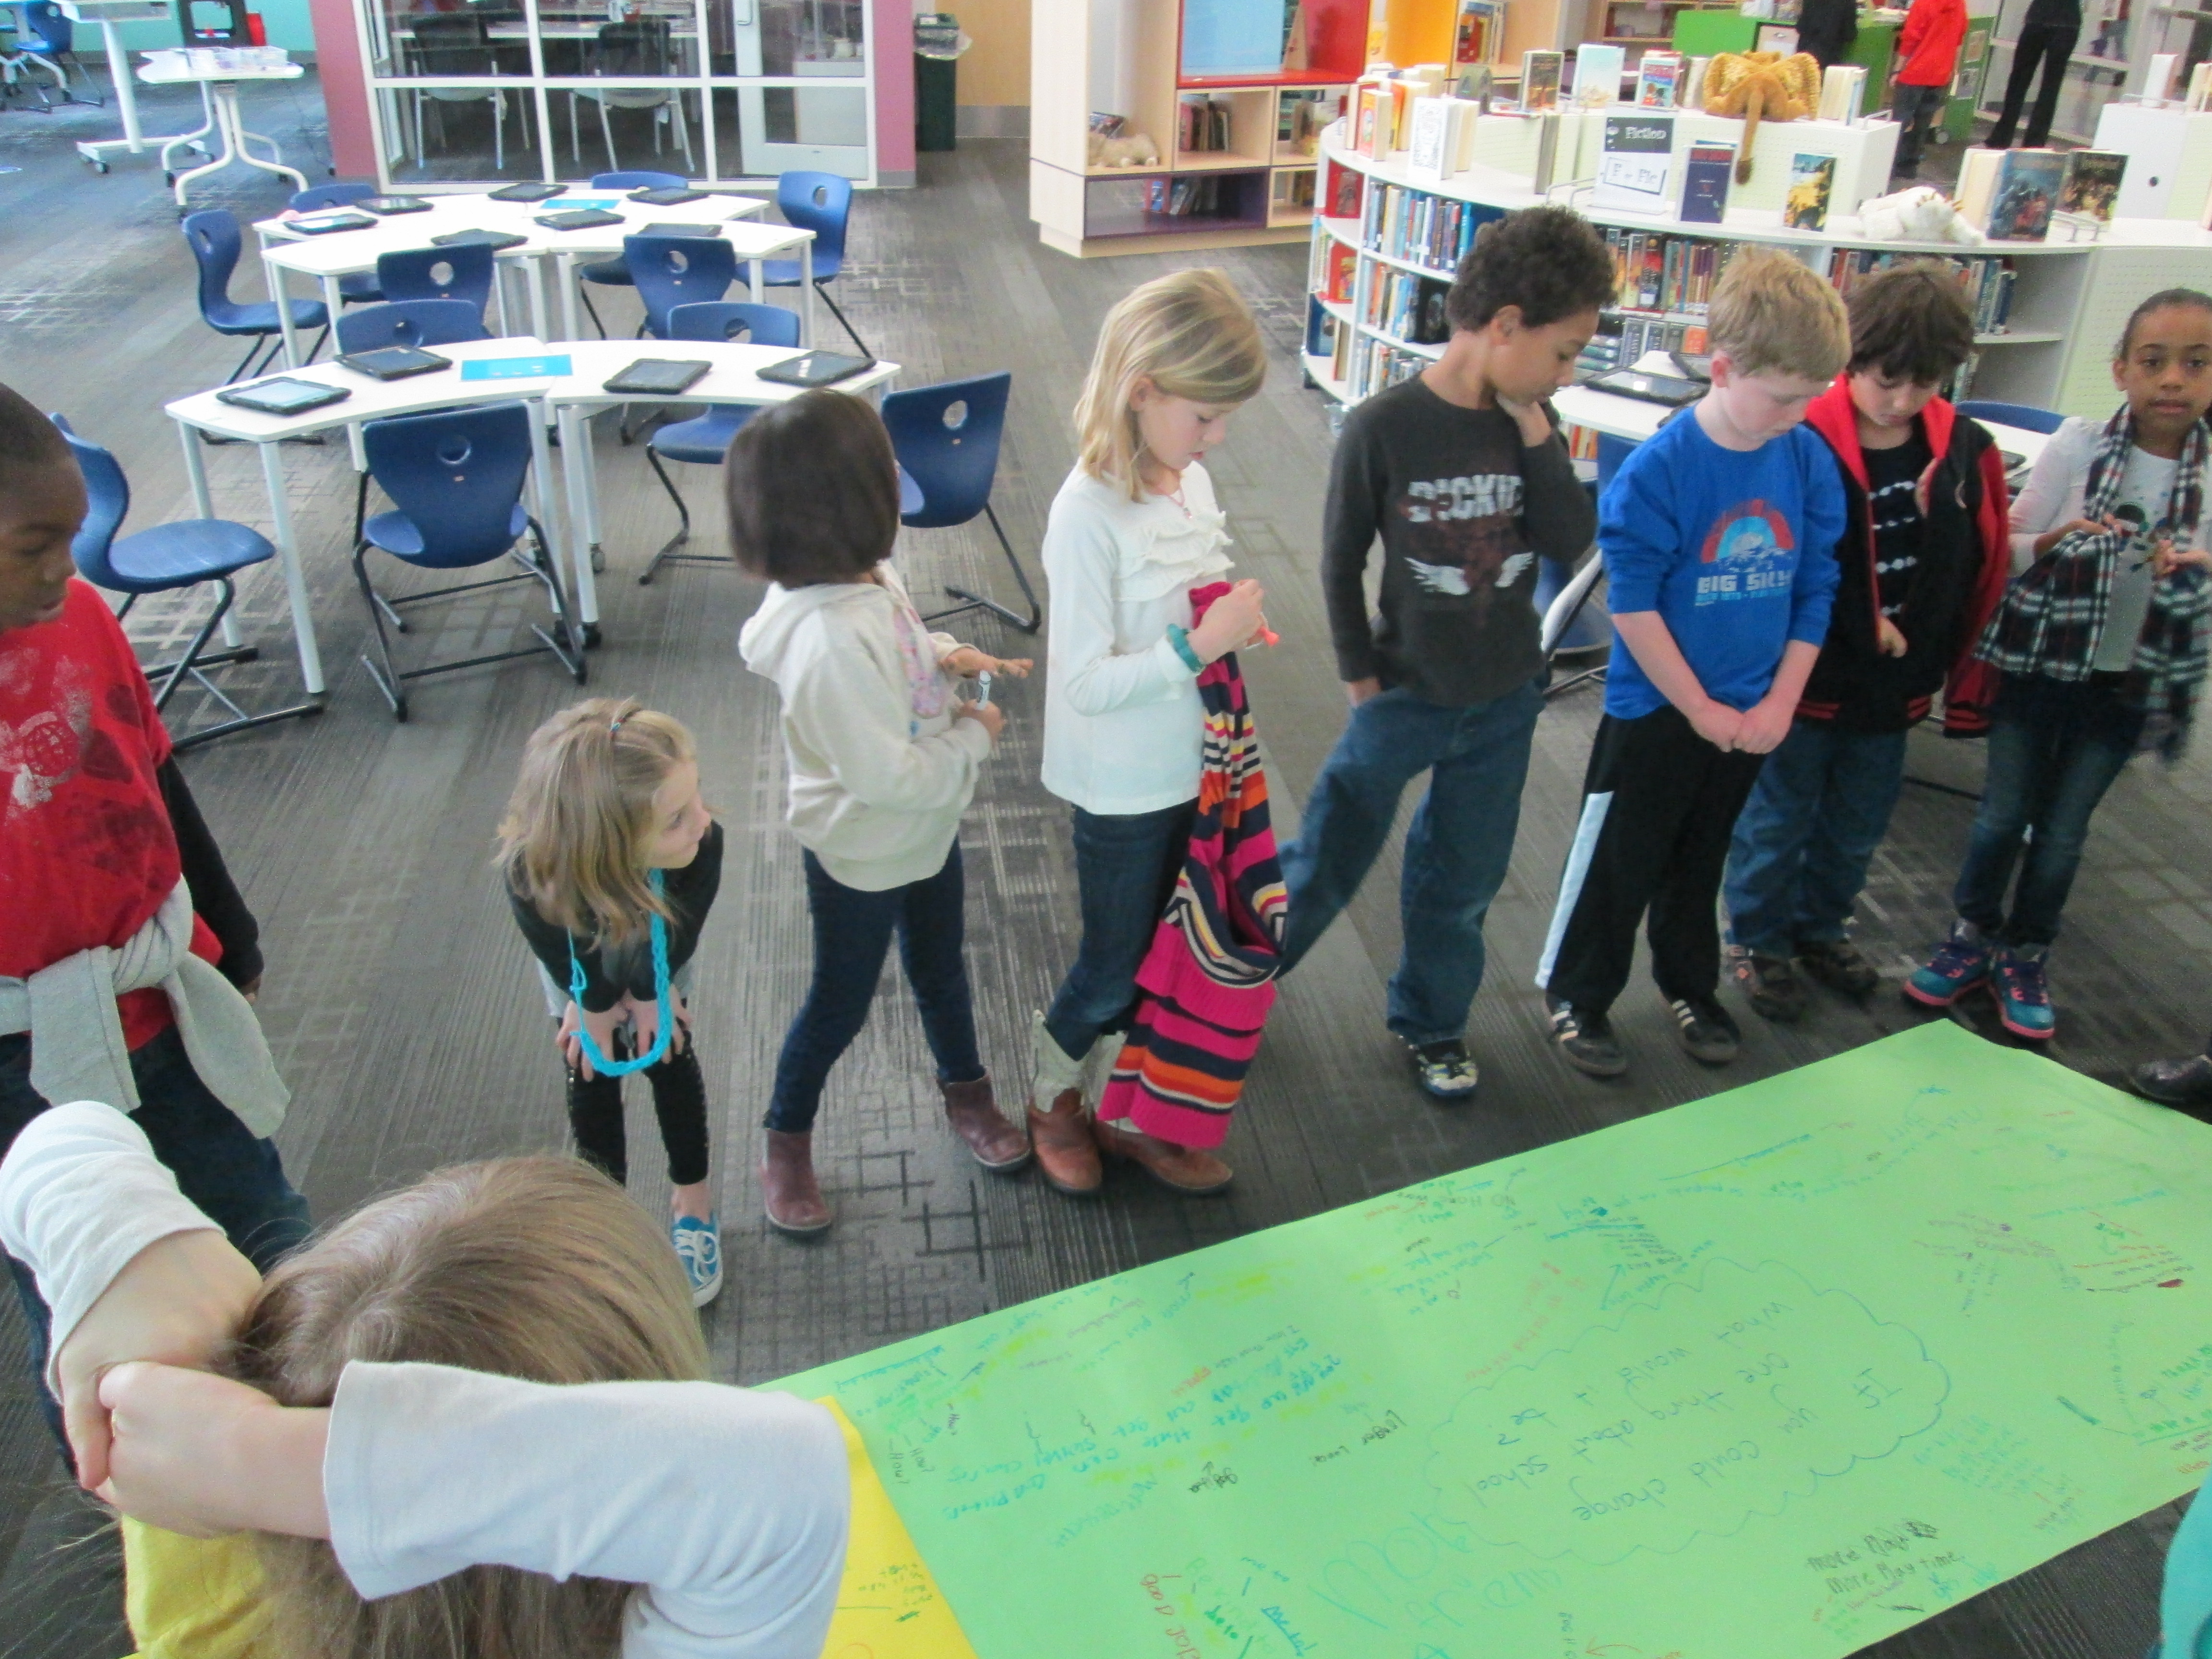
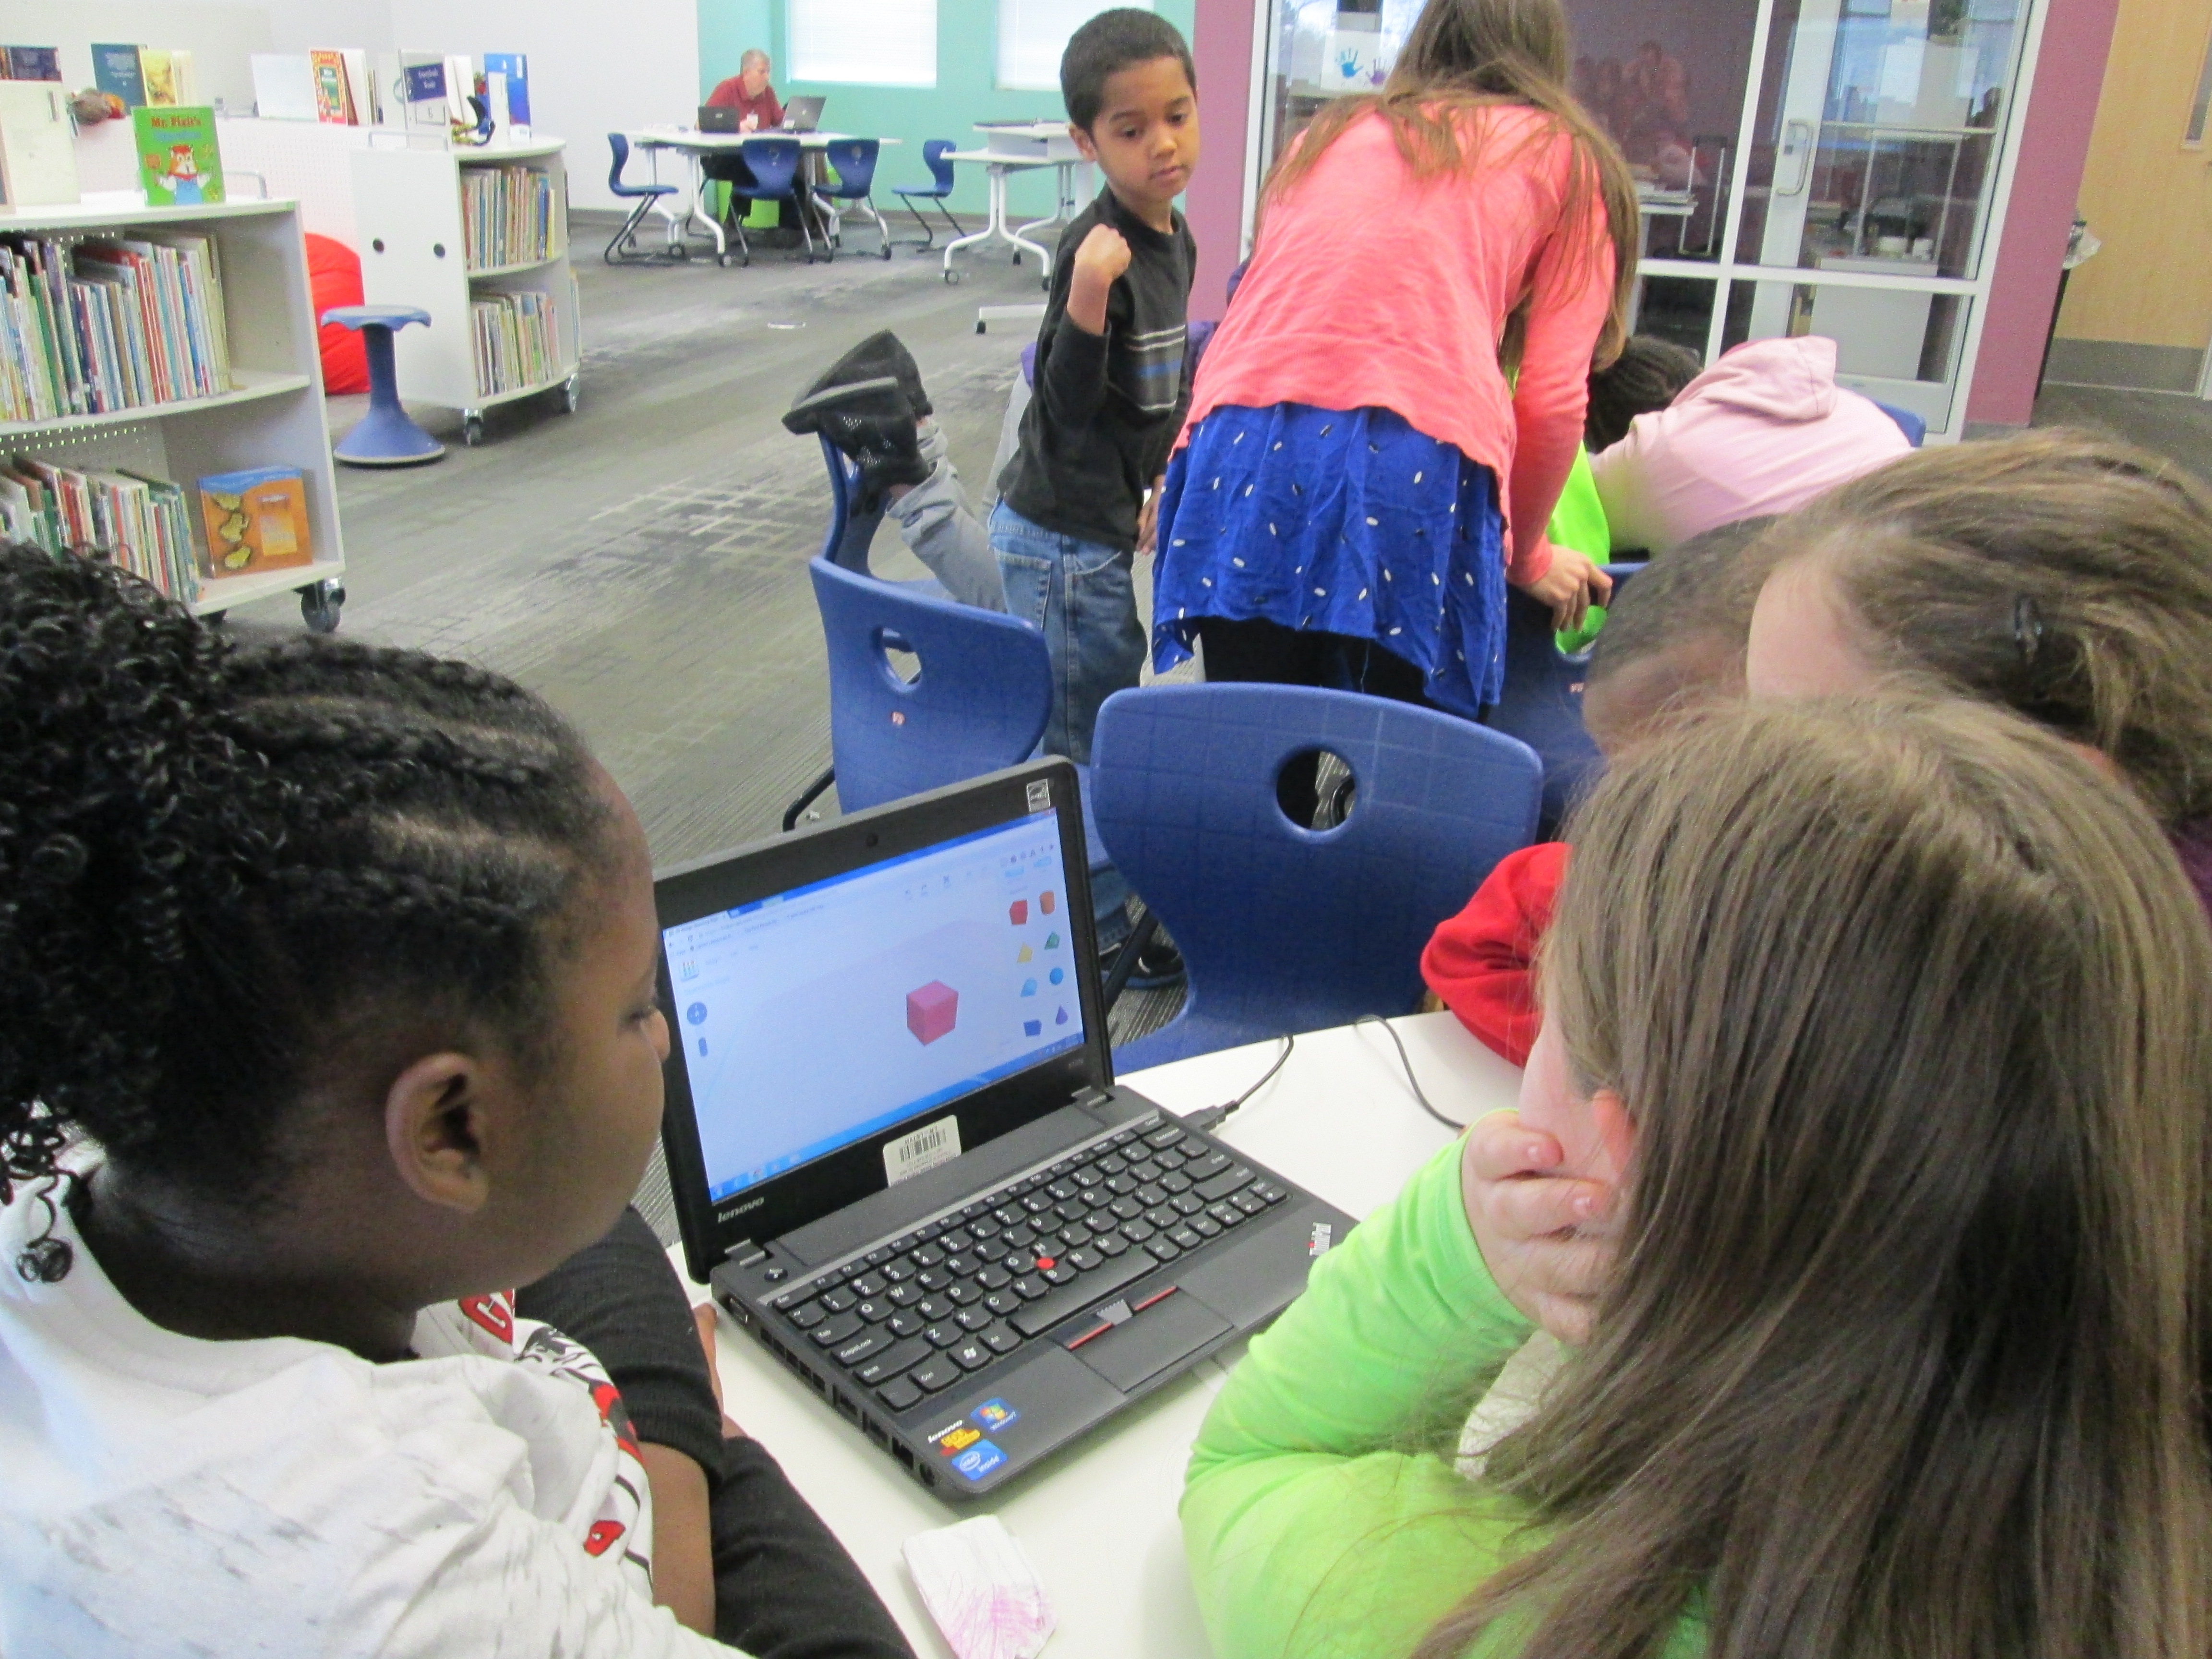
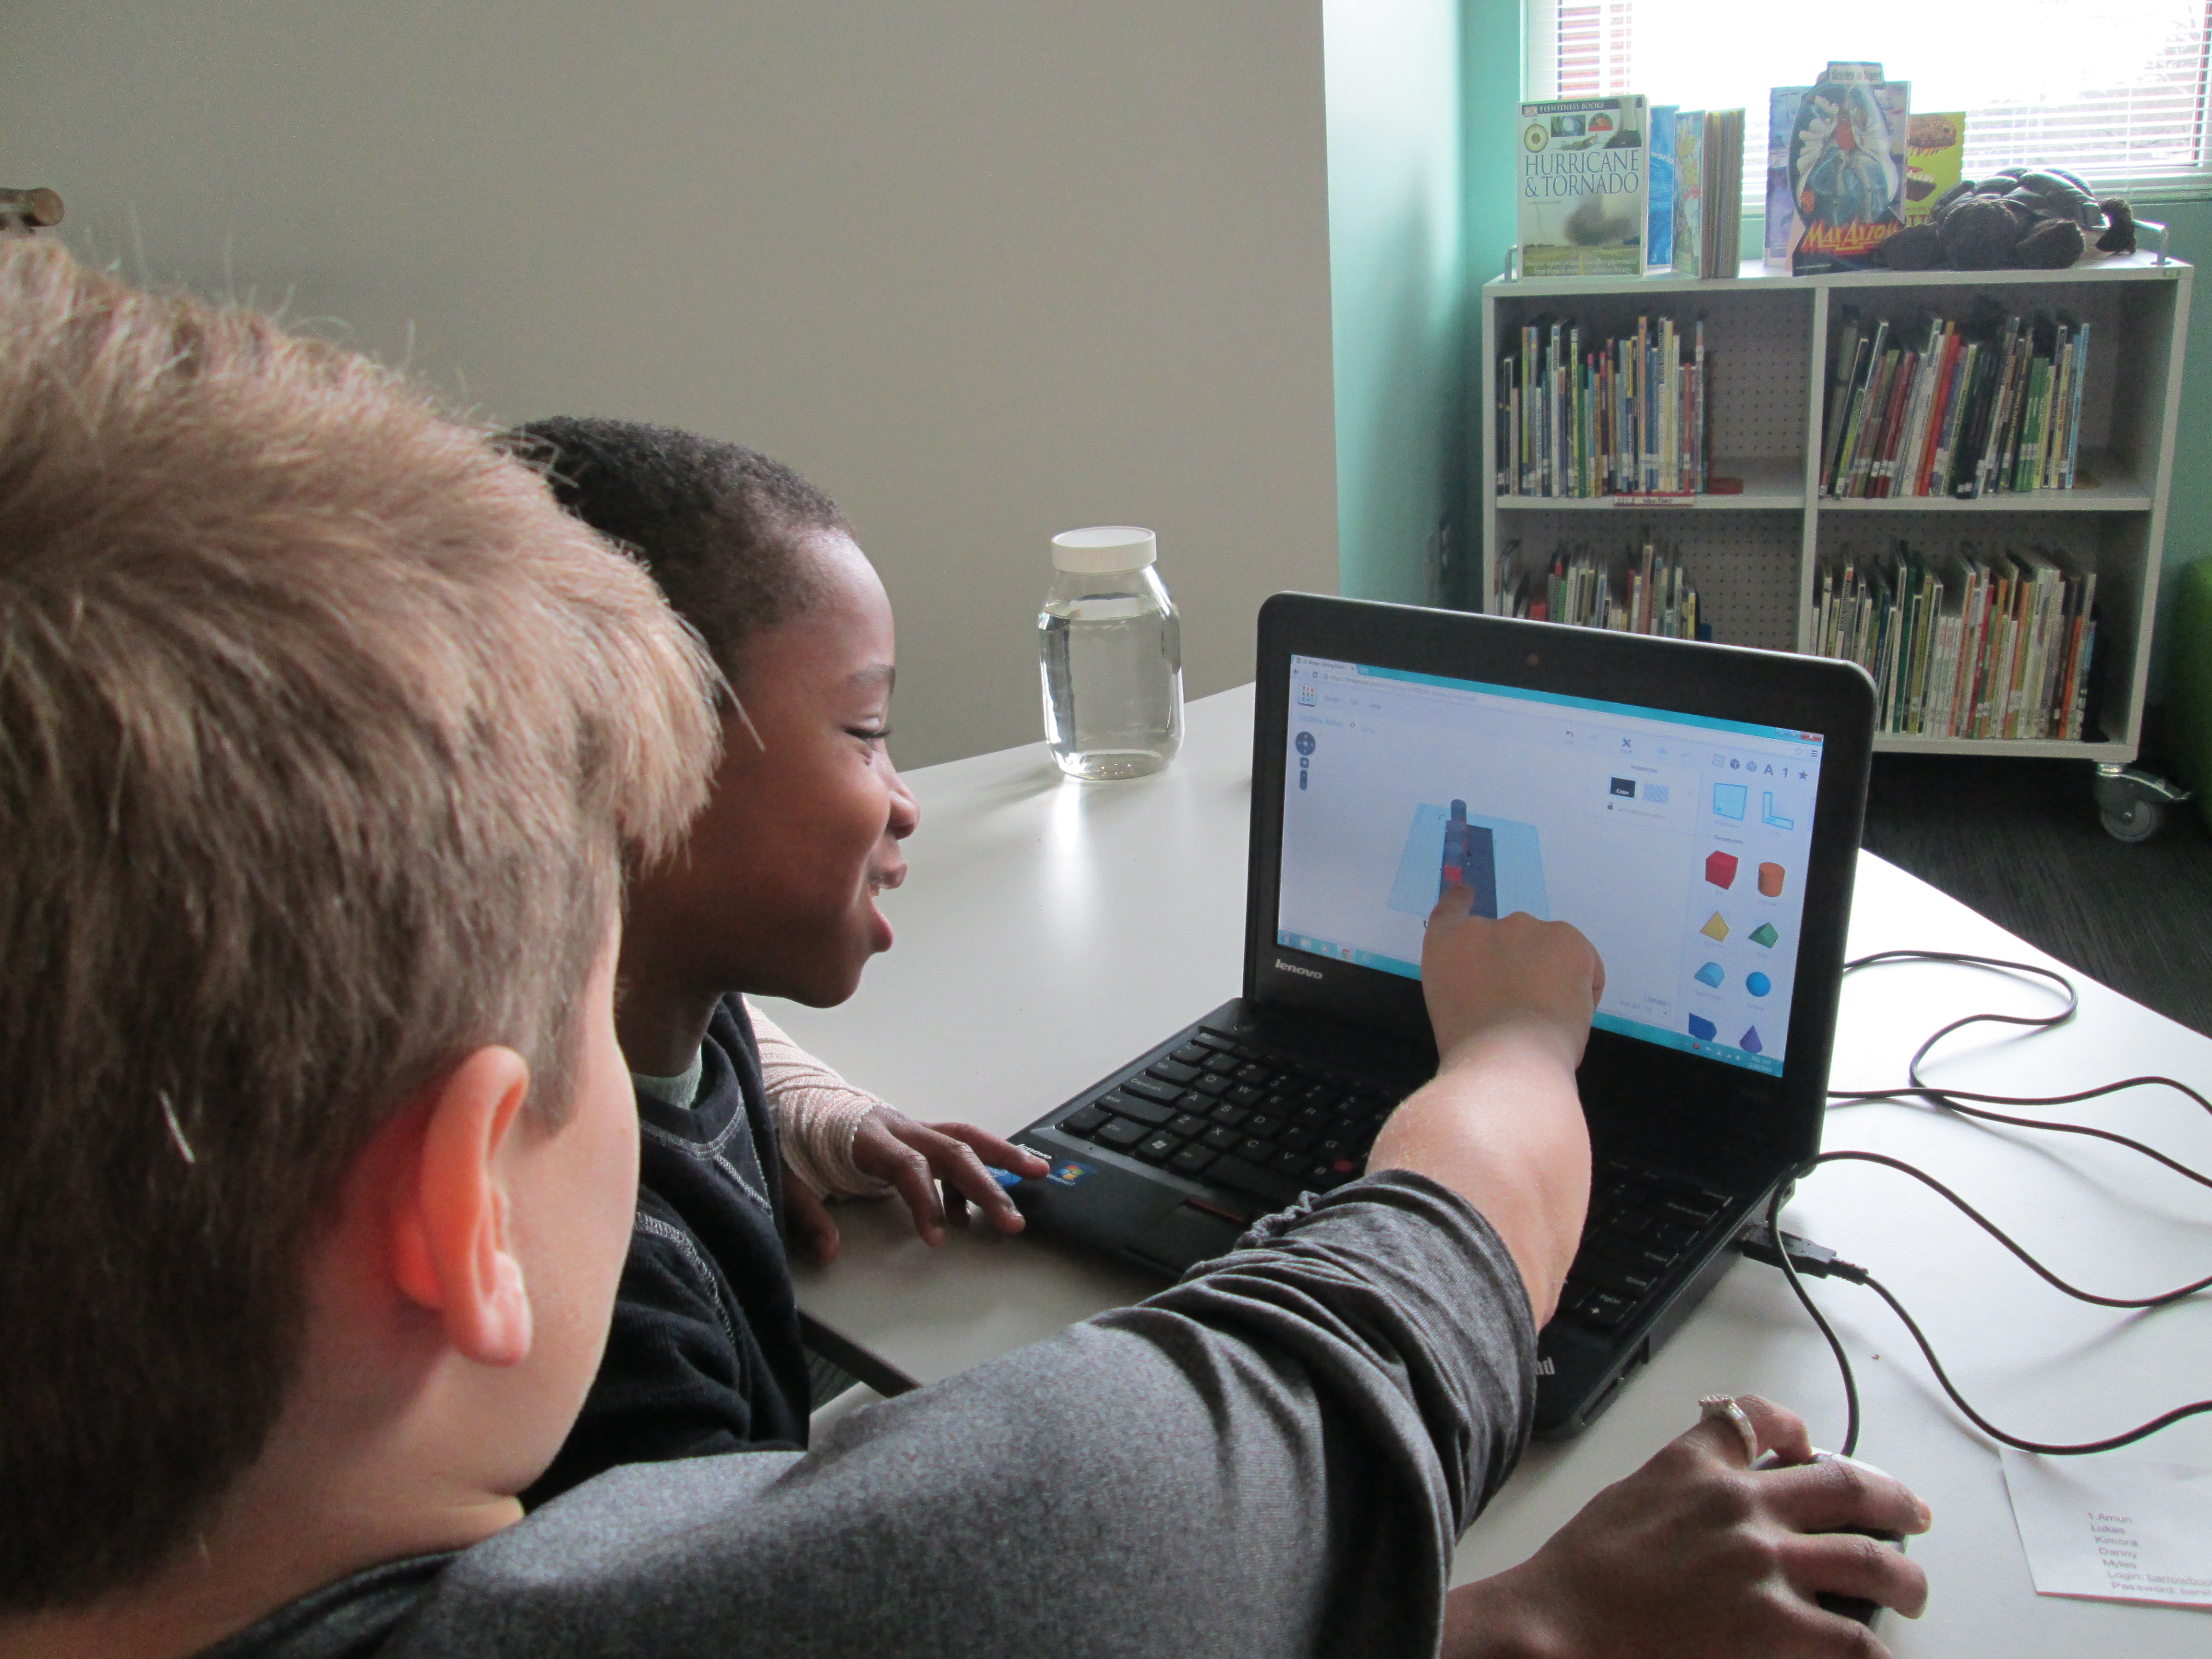
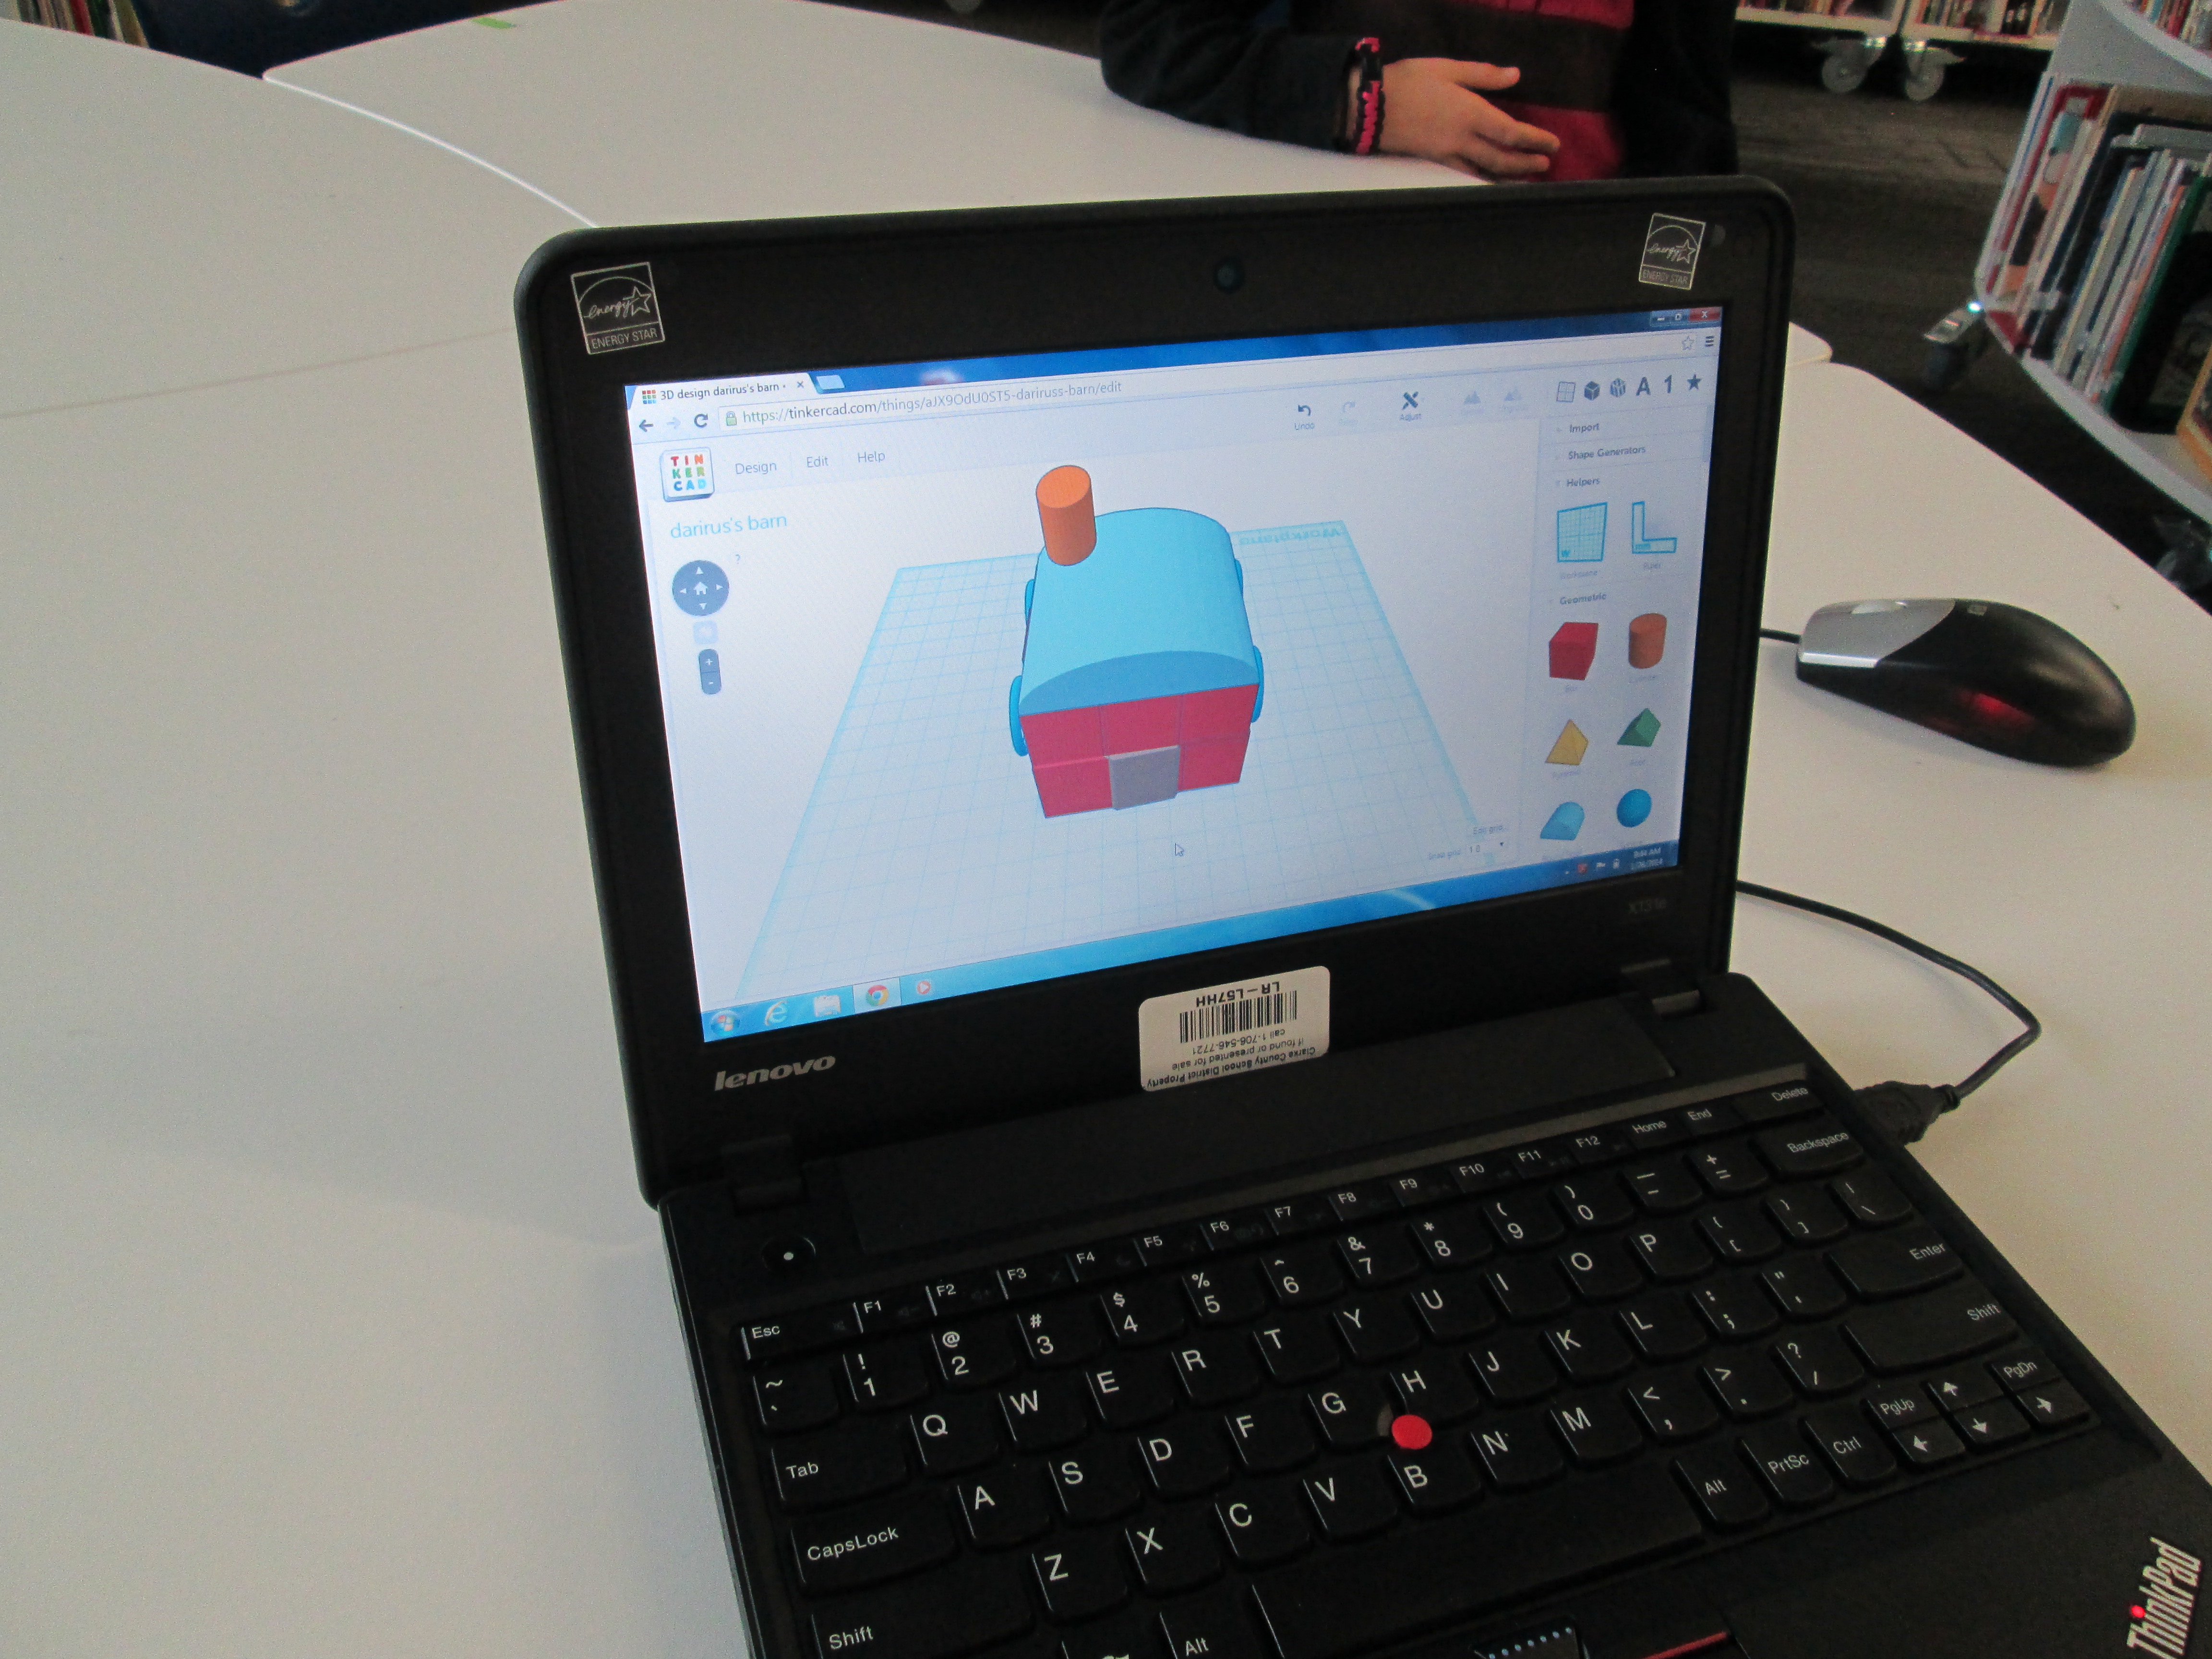
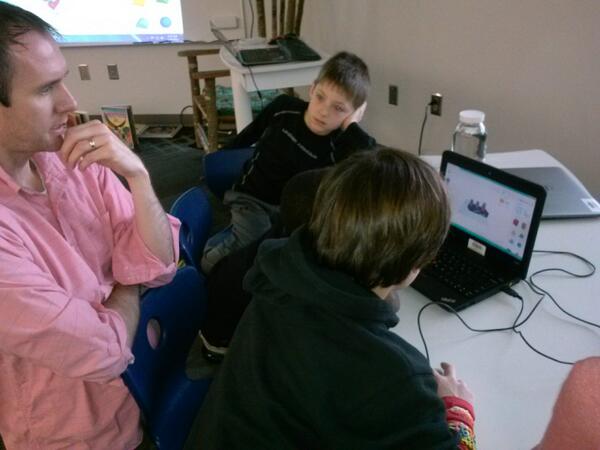
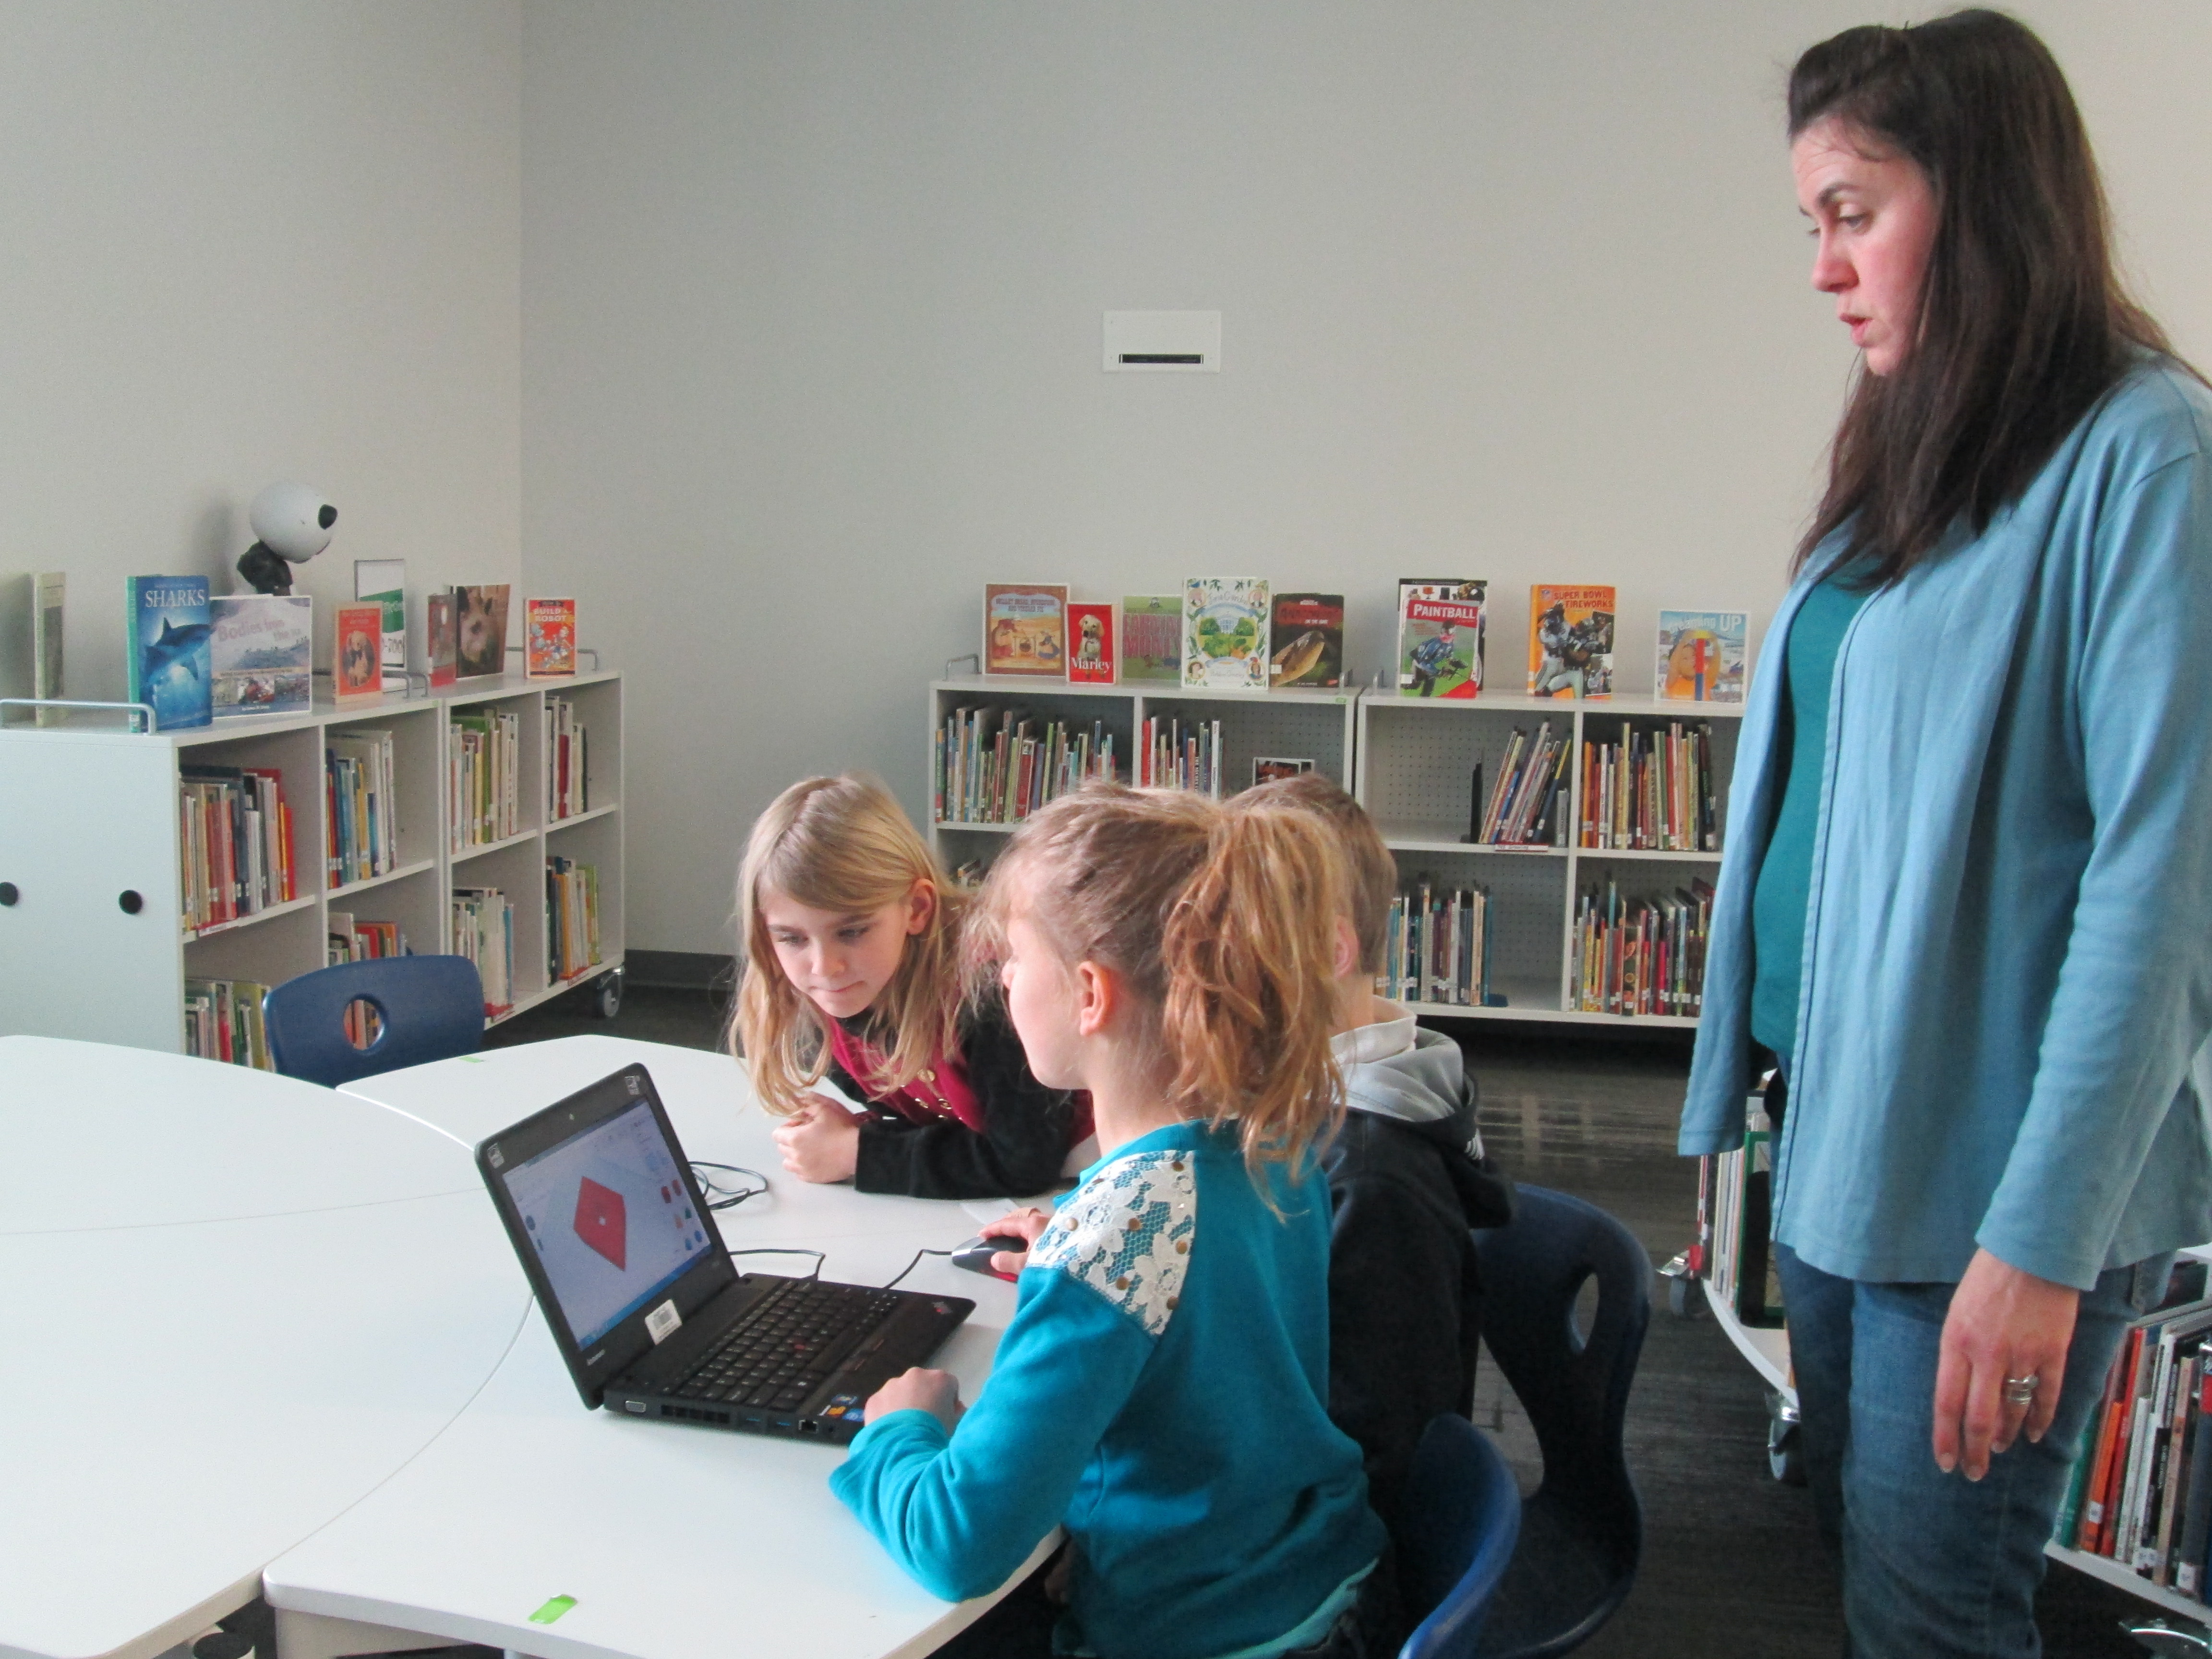
They were eager to get started.  Because the Rube Works app has a reading component that does not have text to speech, the teachers paired students together so that a stronger reader was in each pair.  This helped lift this reading barrier for students, but it also gave students a brainstorming partner.  Students quickly saw that creating a Rube Goldberg invention is not a piece of cake.  It takes trial and error, risk taking, failure, problem solving, perseverance, working through frustration, and creativity to make these inventions work.  In our 35-40 minutes of work time, most pairs managed to finish the first scenario and some made great progress on the 2nd.  A few even made it to the 3rd level.

RubeWorks (5)

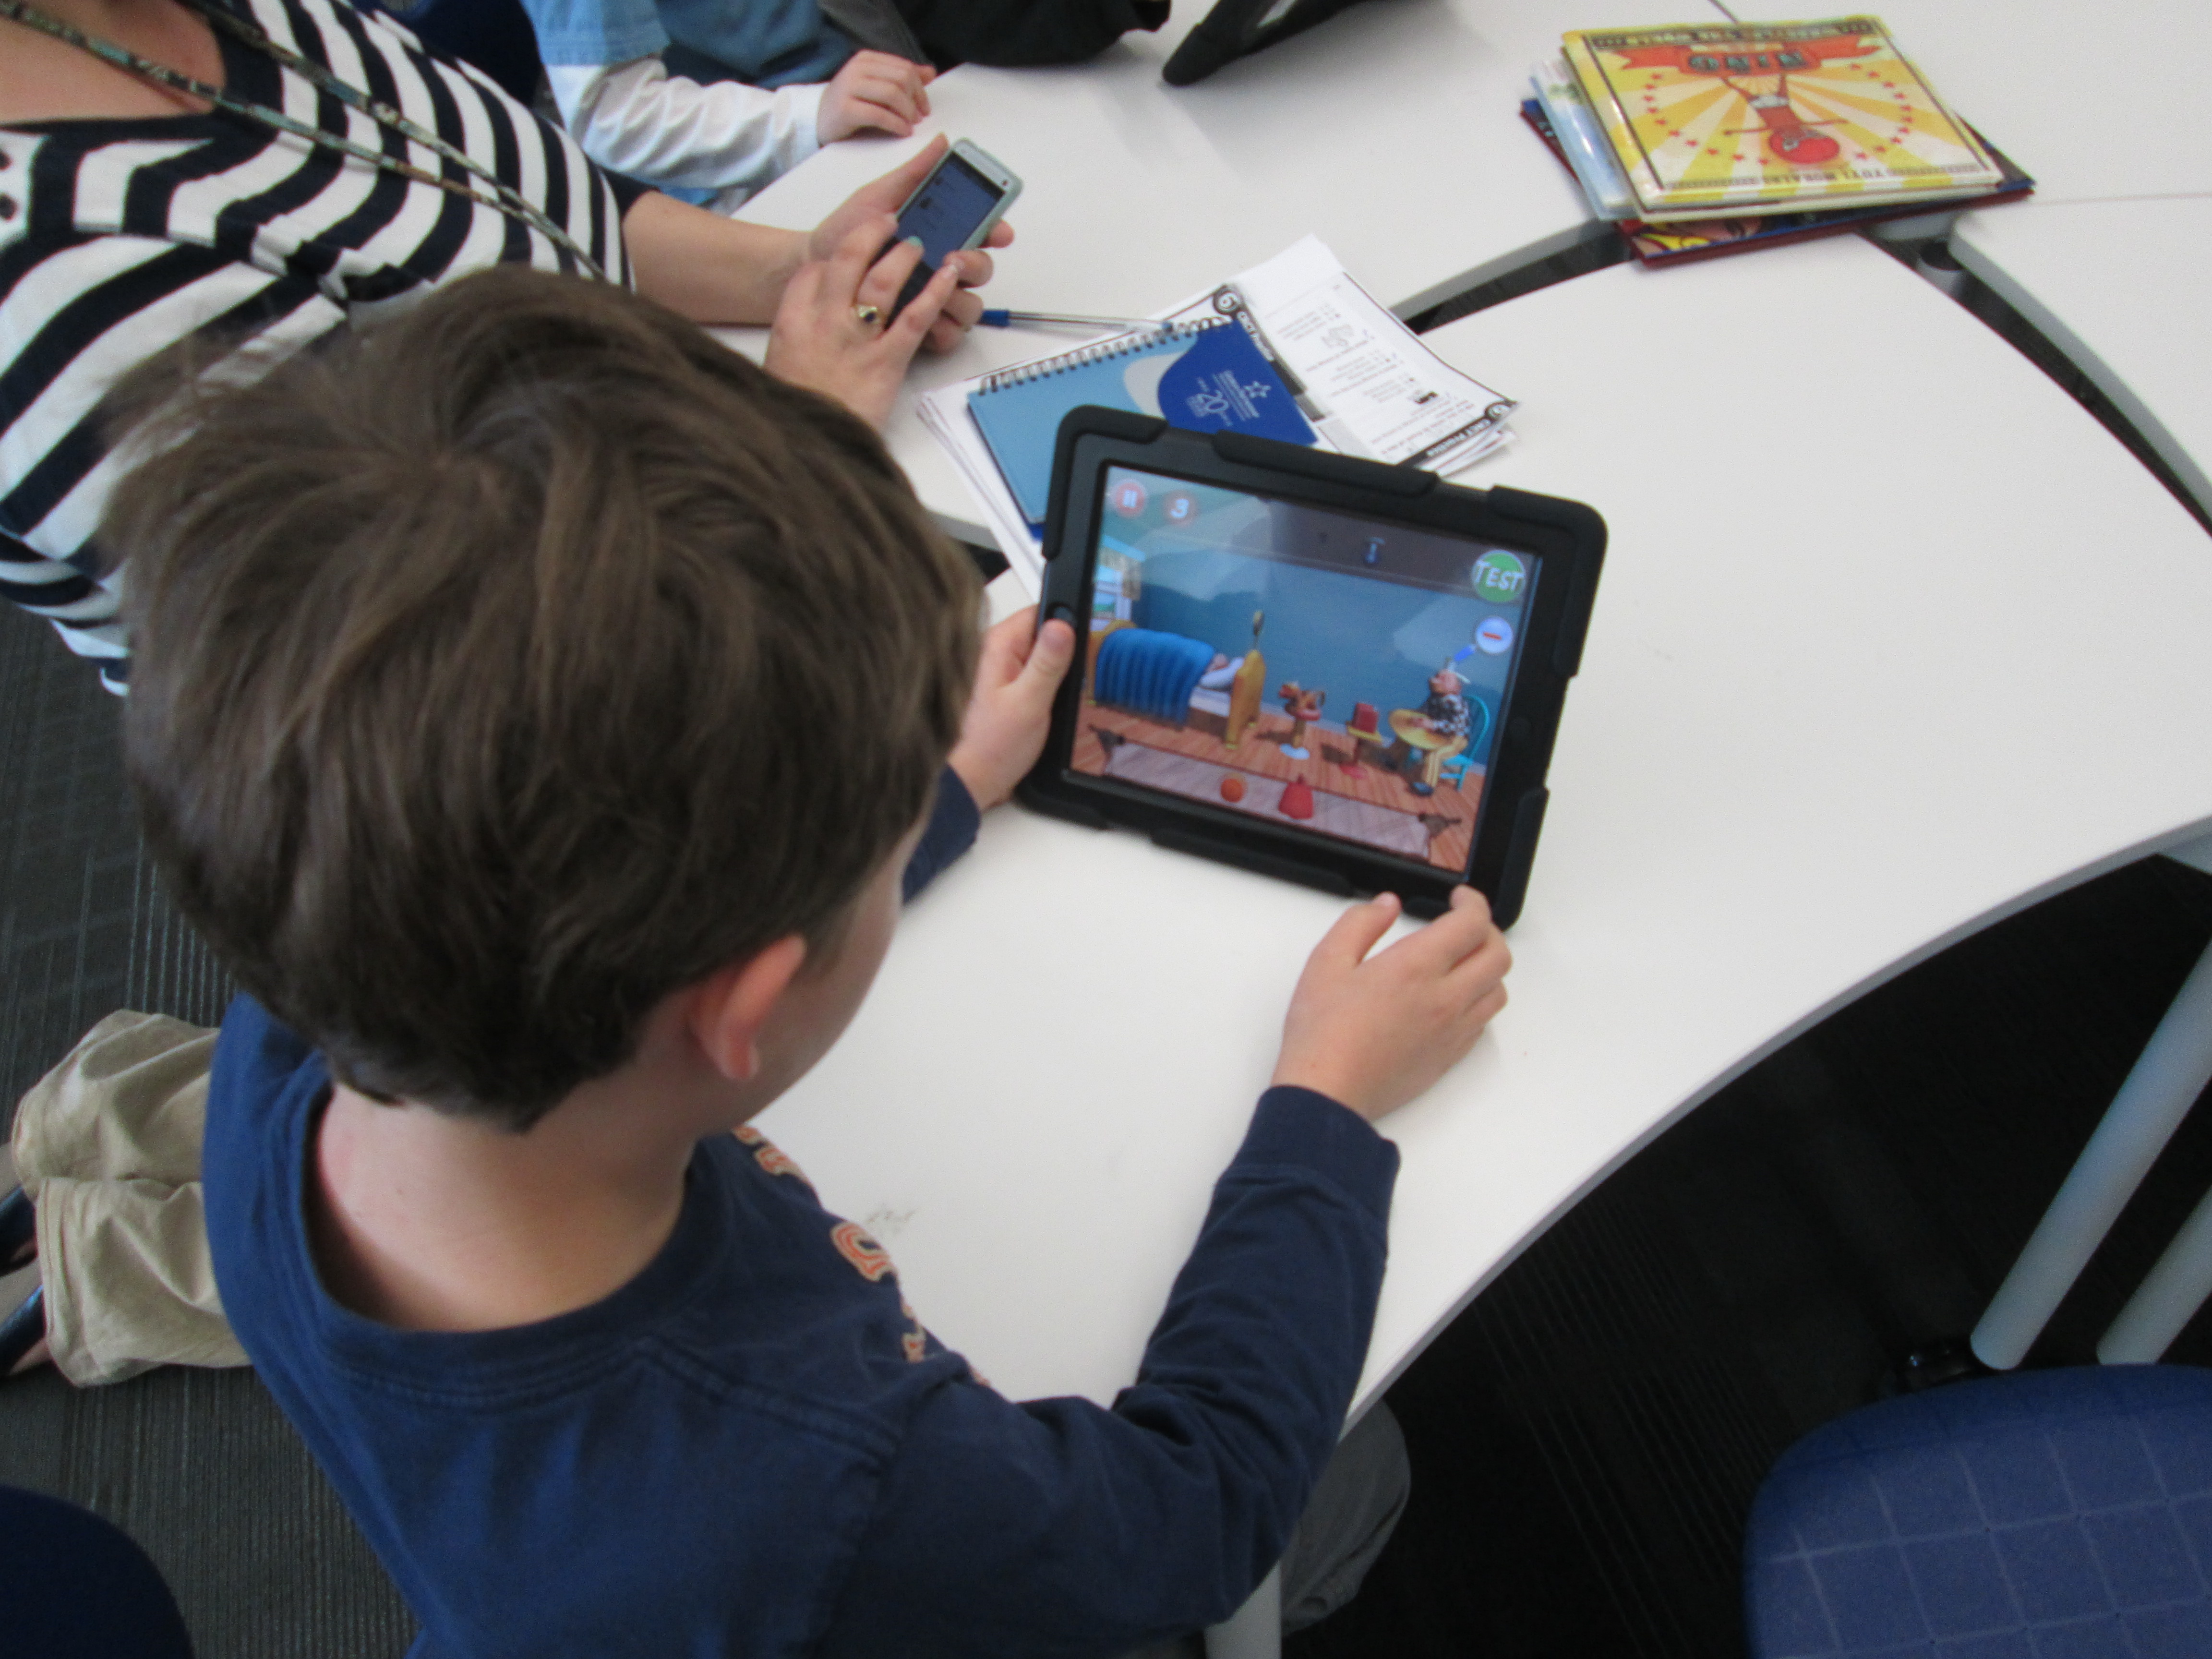
Even though there were moments where students could be heard saying, “This is so frustrating!” and “I just can’t get this to work!”, I didn’t see a single group stop working.  I overheard one student say, “I thought first levels were supposed to be easy!”, but she didn’t give up.  When we gathered back on the floor, we talked about how we all get frustrated, but it’s what we do with that frustration that matters.  The teachers brought up a classroom discussion that they have been having with students about perseverance, and this was such a great connection to help them feel what it’s like to persevere through something even when it’s hard. It was so rewarding to students be successful after multiple attempts.

I encouraged students to keep their solutions a secret but to feel free to give one another hints, which is yet another skill that we pulled into this lesson.  We wanted every person to work to figure out these puzzles without someone just giving away the solution.  Students didn’t want to quit after our hour together and they are eager to continue working with this app in their classroom.

When I asked students and teachers about some things that they love, they mentioned things like:

  • clear instructions
  • hints
  • the ability to test your invention multiple times along the way
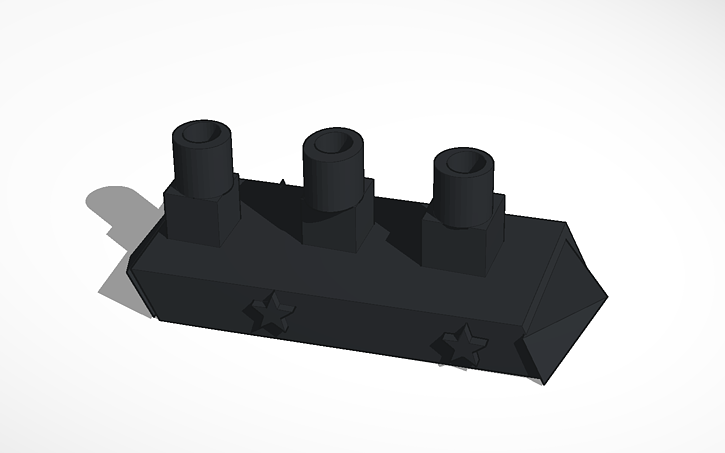
  • that the app shows you the actual drawing that Rube Goldberg made after you finish a level
  • that it was challenging but fun

We look forward to continuing to explore this app and incorporate what we’ve learned into our own Rube Goldberg inventions.

RubeWorks (6)

Kinetic Art Sculptures Using Our Makerbot Replicator 2

kinetic sculpturesOur art teacher, art student teacher, and I have been having a blast with 3rd graders designing kinetic sculptures.  About 2 weeks ago, students came to the library during art to learn about Tinkercad and how artists use technology to create.  Before this lesson, they watched a Tinkercad tutorial.  In small groups, they designed an object for 3D printing.  Whatever they designed would become one piece of a larger kinetic sculpture in art.  You can read more about that experience here.  

kinetic sculptures (15)

Once students finished their design, I went into each account and tried to double check that the designs were all pushed together into one piece art.  Then, I downloaded the .stl file into Makerware.  In Makerware, I resized the object to a smaller size to speed up the printing process.  I also added a raft (removeable base) and supports to each print.  I’ve found that in Tinkercad these 2 steps are needed because what you see on the computer screen might actually be misleading.  The raft and supports help the 3D print be more stable.  All files were loaded onto the SD card prior to students arriving.

kinetic sculptures (9)

Ms. Foretich, art teacher, created a printing schedule with about 60-90 minutes between prints.  During each time frame, students came to the library and chose their filament color.  Then, I shared some information about the 3D printer since it was the 1st 3D print for most students.  Finally, we pulled up the file on the SD card and a student pressed the M.  Students sat in chairs or huddled around the printer to watch.  After watching the print for a few minutes, students went back to their regular day while the print finished.  I kept an eye on each print during and between my lessons.

kinetic sculptures (13)

Each printing experience was different and you really never know what is going to happen when you press that red M.  Many times the print is a big success, but sometimes it’s not.  We’ve had some failures, which are very important.  We save every failed print we have and put it in a box.  It reminds us that we aren’t perfect, but it also serves as an instructional tool to talk to students about what didn’t work.  We learn from our failures and a box full of failure speaks volumes to all of the students who are starting their 3D printing process.

fail

When a print fails, we go back into the design and look at what needs to happen.  Sometimes it’s as simple as pushing some pieces together more than they were.  However, sometimes it’s a big flaw that cause students to just start over.  It certainly slows the process down, but it is important for them to revisit their work, revise, and try again.

kinetic sculptures (7)

It’s always fun to see which students are motivated by the concept of 3D printing.  Sometimes the students make surprising choices like giving up their recess time to spend that time watching the 3D printer create.  Hearing their “wows” and “cools” is inspiring.

jaymar

Students are continuing to print their pieces this week and next.  In the meantime, they are continuing to work on their kinetic sculptures in art knowing that their 3D printed object will also be a part of their design.


#GeniusCon: Topic Selection and Question Development

question development (9)We’ve been having so much fun participating in #GeniusCon.  Haven’t heard of #GeniusCon? Visit this archived webinar to learn more and read the post about our first steps.

After students left the library for our kickoff session, they spent time in class reflecting on our chalk talk, writing in their notebooks, and fine tuning their topics.  Today, they came to the library with their topics ready to work on question development.

We started with an overview of what happened since our last session.  I shared tweets from Sherry Gick, Matthew Winner, Peter Reynolds, and more.  I also told them how their work had been featured in the #GeniusCon webinar.  Their eyes lit up knowing that their work was already making a difference!

I framed our session for the day by talking about how questions help us think about what we need to know about our topics in order to focus our research.  We did a practice session asking questions about a topic that I could do for #Geniuscon:  Teaching all of my lessons from home.   At the moment, I’m not really doing this topic, but I wanted to choose something that might raise some eyebrows, and it really did!  Students began asking questions about my topic, but as we progressed they started to ask questions like “how would you feel if you didn’t see us anymore?” and “what if we needed help with something in the library?” and “Wouldn’t you miss being here?”.  This topic did exactly what I wanted because it allowed us to have a conversation about our chosen topics.  I told them that it wasn’t our jobs to tell one another that our topics aren’t possible, that they’re wrong, or that we need to pick a different topic.  Our job is to push one another’s thinking through questions and to support one another even if it means we disagree with topic choice or we feel personally that a topic is “impossible”.

We spent a bit more time brainstorming questions for my topic with partners.  Here are a few questions that they came up with:

  • What lessons should I teach?

  • Do I know anyone that will be interested in learning from home?

  • How will I do it?

  • How many students will I have?

  • How many lessons from home can I teach?

  • What happens if someone needs help checking out and I’m not here?

  • Why would I want to do this?

  • How would people know how to connect with me?

  • What if the Internet doesn’t work?

Next, students logged into their Google Drive and created a document with their topic listed at the top.  Then, they started a bullet list and began adding their own questions.  After all students were set with their doc ready, we began passing the laptops around the circle and asking one another questions.  Students looked at the topic at the top and read the question already generated.  Then, they thought of what questions they would add to the list for the researcher to consider.  I’ll admit that this part was difficult.  Even with our lively opening, students had a hard time generating questions.  Several adults had individual conversations with students to support their question development.  These conversations were critical.  At different times we had me (the media specialist), the classroom teacher, a gifted teacher, a tech integration specialist, and and early intervention teacher supporting students.  Here are a few topics with the questions generated.

Taking Tablets Home:

  • can we for a week?

  • or for month?

  • what happens if you break it?

  • What do students do if they don’t know how to use it?

  • what happen’s if somone needes one at school and you forget it at home?

  • how long?

  • what if people don’t have internet at home?


More Playground Equipment:

  • what equipment should we get?

  • how much equipment?

  • what   kind?

  • what if there’s not enough space?

  • isn’t it expensive?

  • why do you wont to change the playground?

  • will we be kind on it?

  • is the play ground equipment safe?

  • who would pay for it?

At our closing, students got their own computers back, read their questions, and shared their documents with me.  I told them that it was ok if they didn’t understand a question or if they even disagreed with a question.  We closed by once again asking “Why are we asking questions and not jumping into answers?”  We framed the idea of thinking about what we need to research.  Next, we will spend some time developing a research plan.  We’ll brainstorm where we need to look for answers and begin our search for answers.


Kicking Off Our #Geniuscon Project with Peter Reynolds

IMG_1849A few months ago, Matthew Winner and Sherry Gick, superhero librarians, put out a call for schools to join them in a project called #Geniuscon.

In the words of Matthew and Sherry:

“Kids are genius. They don’t perceive limits or boundaries in the ways that hinder most adults. Their solutions to life’s problems can seem convoluted, indirect, and unnecessary, but often the ideas of kids can be the most profound.”

#Geniuscon gives kids the freedom to explore one question:  If you could change one thing about your school, what would you do?

Mrs. Ramseyer’s 2nd grade classroom has teamed up with me in the library to explore this question.  Mrs. Ramseyer and I sat down and mapped out some times, topics, and standards on the media center calendar.  We wanted time for:  brainstorming, question development, research, product development, and sharing.  Our timeline spans from now until May.  We devoted most of our time to research and product development.

I also met with Gretchen Thomas, who teaches at the University of Georgia.  She has several of her students who are interested in partnering with us throughout this project.  Their main role will be to facilitate students during the research process to help them think of all of the possibilities of where to find the answers to their burning questions.  They aren’t there to give answers but rather to build bridges over barriers that students might face.

IMG_1849

Today was our official kickoff.  To start, we watched this video:

The kids immediately began yelling “Why don’t you just walk up the stairs?”  It was hilarious.  The whole point of watching the video was to bring up the idea that we often hold the solutions to our problems if we take the time to look inside ourselves rather than immediately yelling for help.  We spent some time talking about the word “genius” and how we all have genius ideas within us.

Next, we read Rose’s Garden by Peter H. Reynolds.  In this story, Rose travels the world collecting seeds.  She finally decides to stop and explore a city where she discovers a patch of land in need of color.  This is where she decides to start making her mark on the world by planting her seeds.  Without giving too much away, her efforts inspire a community with her genius idea.

IMG_1855 IMG_1857

I loved how this book fit into our discussion of what it means to be genius.  It moved us straight into our #Geniuscon question.  Mrs. Ramseyer and I had already talked about how we didn’t want to influence how the kids answered the question, but we did want to give them an opportunity to brainstorm before they chose their focus topic.  We put the question on 2 big pieces of paper and split the class in half.  Each student had a marker to participate in a Chalk Talk, a silent conversation.  All students began writing their responses to the questions as well as asked one another questions about their ideas.  All of this was done in writing.  Mrs. Ramseyer, Mrs. Vaughn (EIP teacher), and I all added to the conversation too.

After about 10 minutes, students mingled between the two chalk talks to cross pollinate their ideas.

IMG_1862

We moved our 2 chalk talks to the floor and all stood around them.  As we looked at or responses, I asked students to look for ideas that stood out to them or topics that seemed to be coming up.  We identified ideas such as:

  • Additions to our school:  adding more playground equipment, building a garden, expanding our school
  • Changes to rules:  additional books on the max checkout in the library, additional “be’s” to our 5 be’s,
  • Technology:  taking home iPads and netbooks, being able to bring technology from home, using our 3D printer
  • Behavior:  addressing the bullying in our school, being kind
  • And more!

The pages were so filled with ideas that we couldn’t really talk about them all.  After this discussion, we sat down for a big surprise:  a Skype with Peter H. Reynolds!  Peter was in Florida doing some work, and he took time out of his busy day to join us.  After saying a quick hello, students took turns stepping up to the webcam and saying what they wanted to change about our school.  Peter validated each student’s idea and even expanded upon the idea with his own thoughts.  He encouraged students to think about how they could illustrate each of their ideas and turn it into a book, which the students are very interested in doing now.  We will probably make this an additional piece to our project:  possibly even an extension into the art room!

We closed out our time with Peter Reynolds with a friendly goodbye and the encouraging words of “connecting the dots” and “making our mark on the world”.  We can’t think him enough for taking time to visit with us.  He is such an advocate for allowing students to show off their genius and let their creative energy flow.

In class, students will begin to finalize their topics and next week they will return to the library to develop questions to prompt their research.  What an exciting start!

If you want to learn more about #Geniuscon, I encourage you to attend the TL Cafe Webinar on Monday February 3 at 8PM EST.  


3rd Grade Kinetic Sculptures with Tinkercad, Makerbot, Collaboration, and Imagination

Tinker Ramsey (12)As soon as we received our new Makerbot Replicator, Rita Foretich, our art teacher, began brainstorming ideas with me about how this tool could support the standards that she teaches our students in art.  Rita is a great collaborator.  She weaves in standards from students’ classroom curriculum into her art standards.  Often, these projects involve the media center as well.

Currently, Rita and her student teacher are exploring kinetic sculptures with students.  In art, they have spent time tinkering with a variety of materials that they might use to make a larger, movable sculpture.

tinkering 2

Tinkering in art

tinkering

A piece of these sculptures that students will create will be designed using Tinkercad and printed on our Makerbot Replicator 3D printer.  We scheduled a session in the library to work on the Tinkercad design.  Working in the media center allowed us to have plenty of room to spread out as well as maximize adult support.  During each lesson, there were 3-4 adults (media specialist, art teacher, student teacher, and tech integration) to support students as they had questions.  Of course, we encourage students to support one another, but it is nice to have adults supporting students as well with problem solving and collaborating.  Also, to maximize our time in the media center, students did some flipped learning by watching this Tinkercad tutorial in advance at the closing of their last time in art.

Here’s what our time in the media center looked like:

1.  Students met on the carpet for a quick reminder of our plan for the day.  Mrs. Foretich gave them the standards we would work on:  Creating sculpture using a variety of forms and working in teams.  She also showed them how artists use technology to create their art as well as some images from the 3Dprintshow site.

Tinker Ramsey (1)

A quick intro to how artists use technology to create

2.  Students were organized into 5 collaborative groups.  Each group had a Lenovo Thinkpad computer with a mouse.  Tinkercad was already pulled up on the computer and each group had a username and password to use.

Tinker Ramsey (9)3.  Students brainstormed their concept for a piece to add to their kinetic sculpture and took turns controlling the mouse.  Adults guided students through problem solving and working together.  As students had ideas for their designs, adults helped them think through their ideas and take risks to try to get their idea onto the drawing board.

Tinker Ramsey (7)

Students quickly learned how to work together to problem solve

4.  Students named their file before leaving.

5.  I took student files and saved them as an STL file, imported those files into Makerware, and saved the file for 3D printing on the Makerbot.

Tinker Ramsey (13)

We will repeat this process with all three 3rd grade classes.  Students will continue to work on the rest of their kinetic sculptures in art.  Mrs. Fortetich will create a schedule with me in the media center for students to come and 3D print their designs.  We want each student to have the experience of pressing the red M on the 3D printer and watching their design magically appear on the build platform.  Although all students probably won’t be able to stay from start to finish during the printing process, they will at least activate the print and see the beginnings.

Tinker Ramsey (14)

As always, I was amazed by what students figured out in such a short time.  One group really wanted to put holes in the top of the smoke stacks on a boat they were making.  They tried several different things and never once got frustrated.  I was fortunate enough to be with them at that moment of exploration and encouraged them to keep trying.  After several attempts, they figured out how to put one cylinder inside another and make the inside cylinder a hole.  It looks great in Tinkercad, so we’ll see how it translates to 3D printing.  These same types of conversations were happening in every group.

Deep in thought

Deep in thought

amuns_titanic

Ship with holes in the smoke stack

I also loved that we did not tell students what they had to create.  The only guideline was that students work together to create something for their larger kinetic sculpture.  Every group created something totally different from a block filled with words to a barn to a ship.

Tinker Ramsey (8)

As usual, we are always crunched for time in school.  This was a great first pass at using Tinkercad with an entire grade level.  I’m hopeful that in the future we will figure out ways to increase the amount of time that students get to spend on their designs.

Let’s Connect For LitWorld’s World Read Aloud Day During The Week Of March 5th

On March 5th, we will celebrate World Read Aloud Day with LitWorld again.

We will actually celebrate all week long….March 3rd through the 7th.

One of my favorite connected educator friends, Shannon Miller, and I have been planning our collaboration and teaching plans for 2014 so of course World Read Aloud Day was a very important part of this. We decided to write this post and start planning, connecting, and sharing the excitement for this day.

This is always such a special day for celebrating the power of literacy….and one of the best for our libraries, schools, and students too.
IMG_0182
You can read about all of our connections at Barrow at the post from last year, World Read Aloud Day 2013.  Also check out Shannon’s post at Van Meter, Our World Read Aloud Day Celebration Connected Us 21 Times During The Week That Made A Difference.

This year we are excited for even more of these special connections.

If you are interested in connecting with others on this day, please add your name, schedule, and ideas to the information in the Google Doc that we started. This will begin to fill up with others around the world as they want to connect their students and schools too.
We plan to celebrate throughout that entire week….March 3-7th.
On March 3, it is also NEA’s Read Across America Day so we will tie this together with World Read Aloud Day too.

Also, check out all the wonderful activity ideas and resources that LitWorld has included on their website here.

The classroom kit is great! We love how it contains suggestions for read-aloud, suggestions for group activities, and a fundraising guide to support LitWorld and their programs.

Let us know if you have any questions on how this works. One of the fun parts is collaborating and throwing around ideas with each other.

Have fun and get connected for World Read Aloud Day this year too.

IMG_0148
Many thanks to Shannon Miller for creating this post for us to share.

Hour of Code Days 3-5

Day 5 (3)This week has just been incredible.  It’s hard to believe that just a couple of weeks ago the planning for this week began.

Even with lots of benchmark tests and wrapping up the end of the quarter, our Barrow teachers found time to bring students to the library to participate in Hour of Code.

No matter which class came, I saw similar results:  engaged students, problem solving, collaboration, suspension of time, perseverance.  Exposing students to coding has opened up a new world for them.  I loved having a conversation with students during every session about the importance of coding knowledge in their future.  Who knows what jobs will be out there when these students join the workforce, but coding is very likely going to be a part of it.

During the week, our internet has  been extremely slow, which has given us lots of problems.  It hasn’t stopped us though.  We did have to abandon some of the computer programs like Tynker because they just wouldn’t load on our machines.

Kindergarten and 1st grade continued to explore Kodable.  Second grade started exploring Light-bot on the iPad instead of Tynker.  An interesting thing started to happen with these students because they got up out of their seats and acted out the moves that their robot needed to make in order to visualize the code they needed to put in.  I loved watching the strategies that students developed to figure out the code they needed.

Students have recorded some of their thinking using a Fligrid this week, which was yet another new tool to many students.  They loved making these short videos about their learning.

Day 2 (11)A group of third graders along with the whole 4th and 5th grade explored Scratch to make an interactive holiday card.  The 4th and 5th grade groups were huge because the entire grade level came together.  I kept our whole group time very short.  I stressed the importance of not giving up, messing around to see how things work, using tutorials, and collaborating.  It was amazing to watch a group of 75+ students disperse, find their own work spaces, and get to work.  When they figured things out, they shared.  For the 4th grade group, we did a Google Hangout on Air with Sherry Gick (@LibraryFanatic) and her students who were using Blockly.  During the hangout, we each setup a computer and headset and students were able to talk to one another about what they were doing.  I picked up our laptop and walked around our library to show her students what my students were doing.  Sherry got on the microphone several times and helped some of my students with their questions too.  It was a great experiment that I definitely want to try again because it opened up our walls to student-to-student collaboration across states.  I wanted to try the idea of coders on call, and this was a step toward that for the future.  You can see how the conversations turned out in this video:

Next week, we hope to connect students again with Sherry Gick’s students in Indiana and Shannon Miller’s students in Iowa to share some of their learning and creations.  This week has sparked interest in coding, and I’m sure that coding will make its way into many of the collaborative projects during the year.  Thank you Code.org and Computer Science Education Week for putting together such a great program, inspiring videos, and helpful tutorials.  The word is out that coding is a critical skill needed by our students.

Here’s a glimpse of what happened at Barrow this week:

Flipgrid Book Reviews with 2nd Grade

Flipgrid. Relax and discuss. 2I have a new favorite tool:  Flipgrid.  This tools allows you to setup a grid with multiple questions and students can use webcams on computers or a free iPad app to record up to 90 second responses to the questions.

Our 2nd grade is currently working on response to literature writing.  They want to create book reviews to post onto their KidBlogs.  To kickoff the writing of book reviews, we looked at a book review written a few years ago by Kindergarten teacher, Kelly Hocking.  We decided after reading the review that it was made up of 4 parts:  A hook, a short & sweet summary, connections & opinions, and recommendations.

Flipgrid. Relax and discuss.Next, I read the book Carnivores by Aaron Reynolds and illustrated by Dan Santat.  I wanted students to have a chance to practice writing the parts of a book review, but rather than do it whole group, we used FlipGrid.  I created a grid with 3 questions:

  1. What would be a good hook for your book?
  2. What connections do you have for your book?
  3. What are your recommendations for your book?

Each question has a code for flipgrid.  I downloaded the app onto all of our iPads.  For the app, students just have to type in the code to access the question.  I printed each question with its corresponding code on paper to give to groups.  Students divided into groups of 4 and were assigned one of the 3 questions.  After doing this lesson with 2 different groups, I learned that for 2nd grade it was really important to write down what they were going to say, so students first wrote out their response to their question on an index card.  Then, they practiced reading the card and deciding who would say each part on the recording.  To record, students:

  • opened the app
  • typed in their code.
  • touched the plus sign
  • accepted terms
  • took a photo
  • recorded their response
  • uploaded their video by typing a name and email

The videos were all sent to our grid.  We gathered back on the floor to listen to some examples of hooks, connections, and recommendations.  I also sent the link to the teachers so that they can refer back to the hooks, connections, and recommendations that were made as they begin to write their own book reviews.  I imagine that these videos could become parts of mini-lessons about what makes a strong hook or how to write a stronger recommendation.

You can listen to their responses by visiting the grid.

I’m proud of these 2nd graders and their teachers for diving into an unknown tool.  They learned about writing book reviews, but they also learned from their failures in using a new tool and passed on their learning to the groups that come after them.  We had some great discussions about what we will remember the next time we use Flipgrid, and I know that the process will get smoother each time.   I think Flipgrid will be a tool I will come back to again and again.  In fact, I’m using it tomorrow with 4th graders to create a grid of book talks about civil rights leaders.

A Picture Book Smackdown is Coming!

Picture Book Smackdown! - SmoreI am so excited about a Picture Book Month event that I have planned on Thursday.  From 10-11:00AM EST, 6 schools in 5 different states and 2 authors in 2 different states will come together in a Google Hangout on Air to share favorite picture books as well as why picture books are for everyone.  The hangout will broadcast live on Youtube, but it will also be recorded.

How did this come about?

prep (7)November is National Picture Book Month.  It’s a month where I ask students, teachers, and families to read as many picture books as possible and to think about the importance of picture books in our world.  It’s also a month where a lot of educators make connections with one another to celebrate and explore together.  At the beginning of the month, Laura D’Elia, school librarian in Massachusetts, organized a Google Doc for librarians across the country to make connections with one another by having access to one another’s schedules.  The Doc also became a space for brainstorming  other ways to celebrate.

I suggested that we hold a picture book Google Hangout and share favorite picture books among schools.  This immediately started some focused brainstorming on Thursday’s event.  Several schools were on board and we pledged to meet together in Hartford, CT face to face at the American Association of School Librarians Conference.  Even before we arrived there, we had started our plan of how to advertise the event, how to structure it, how to involve students, and how to bring in authors.  Our Smore page began to populate with our ideas as they came together.  Each one of us had additional connections with other schools and authors, so we each invited others to join our hangout.  Cathy Potter invited Ame Dyckman, author, to join us.  I invited Laurel Snyder, author, to join us.  We are so excited that they will both be able to attend.

prep (6)In advance, students at each of our schools are preparing in different ways for the event.  My students filled out a short script to help them remember what to say.  They basically had to remember things like the title, what the book was about, why they liked it, and why picture books are for everyone.  They also practiced sitting in front of the camera and reading their script.  Their books are waiting in a stack for our hangout.  prep (1)

We’ve read.  We’ve recruited.  We’ve prepared.  We’ve organized.  Now, we are ready to connect and have a full hour of sharing as many picture books as we can.  It’s a smackdown!  We hope that you will join us by visiting the Smore page at 10:00AM EST on Thursday November 21st.  Just click on the video feed that will appear on the page at that time and enjoy.  You can also tweet about our smackdown using #pbsmkdwn as the hashtag.  If you can’t watch live, consider visiting the page and watching the archive of our hangout.  You’ll also find a post on my blog later this week detailing how much fun we had during our connection.

prep (5)This was so much fun to organize, and it really wasn’t extremely difficult.  I can’t wait to see how it turns out!

Visit Our Smore Page for More Information!

Exploring Georgia Habitats with 3rd Grade

IMG_1351Each of our 3rd grade classes have booked time in the media center to research the habitats of Georgia.  Here’s what they need to know:

S3L1. Students will investigate the habitats of different organisms and the dependence of
organisms on their habitat.
a. Differentiate between habitats of Georgia (mountains, marsh/swamp, coast,
Piedmont, Atlantic Ocean) and the organisms that live there.
b. Identify features of green plants that allow them to live and thrive in different regions
of Georgia.
c. Identify features of animals that allow them to live and thrive in different regions of
Georgia.
d. Explain what will happen to an organism if the habitat is changed.

S3L2. Students will recognize the effects of pollution and humans on the environment.
a. Explain the effects of pollution (such as littering) to the habitats of plants and
animals.
b. Identify ways to protect the environment.
• Conservation of resources
• Recycling of materials

During their library time, I set the stage by doing a brief mini-lesson.  We looked at the standard and talked about the word “feature”.  We tied this to the word “adaptation” and looked up the definition online.

a change or the process of change by which an organism or species becomes better suited to its environment.

Then we looked at a National Geographic video on owls.  We didn’t watch the entire video, but we paused each time a new feature of the owl was mentioned:  its satellite head, its huge eyes, its large wings, etc.  We tied this back to the word “feature” an the word “adaptation” so that students would know the kinds of things they were looking for in their research.

Next, I posed the question:  Why does all of this matter to us?  why do we need to learn about animals, plants, and their habitats?  Before they answered, we watched a news clip that aired this morning.  It was a perfect fit to our topic because it showed a black bear roaming around near an elementary school’s dumpster in Hall County.  IMG_1346

http://www.wsbtv.com/videos/news/hall-county-schools-cancels-after-hours-activities/vCHZXM/

After watching this clip, I posed the question again.  Students said things like:

  • If we know about plants and animals, then we’ll know how to take care of them.
  • If we know about habitats, then we’ll know how to not pollute them.
  • We’ll know how to keep animals alive and where they belong.
  • and more.

I was really glad that I watched the news this morning at the gym instead of rushing in to school because that clip really set the stage for our research.

For about 30 minutes, students used a graphic organizer to gather information about the habitats, plants, and animals of Georgia in a variety of ways.  They could freely float between 3 different areas in the library.

  • Books:  I used the State Standards Publishing series for regions, rivers, and habitats of Georgia.
  • Posters:  These posters featured different kinds of animals along with a map of where they were found in Georgia.  Students had to identify an animal, look at what region of Georgia it was found in, and then think about what habitat that would fall under on their graphic organizer.
  • Websites:  Students had access to a Sqworl site that had songs, informational sites, and games about the habitats and regions of Georgia.  http://sqworl.com/uo3kud IMG_1352

As usual, it was interesting to see where students chose to go.  Some went directly to games.  Others went to posters.  Other chose books.  It really said a lot about what kinds of media our students need access to in order to match their needs as learners.  Some students stayed at the same station or site for the entire 30 minutes while others moved to several stations.  During this time, the teacher, student teacher, special education teacher, and I were able to walk around and facilitate learning.  We asked questions to nudge students thinking or spent time showing students how they might pay close attention to a game and gather facts while still maintaining momentum in their game.  As usual, it was very freeing and individualized.  This has come to be one of my favorite models for gathering information.  My regret is that we don’t have more day scheduled to find information.  Now, the students will use their 1 to 1 netbooks to continue to explore the Sqworl site on their own.