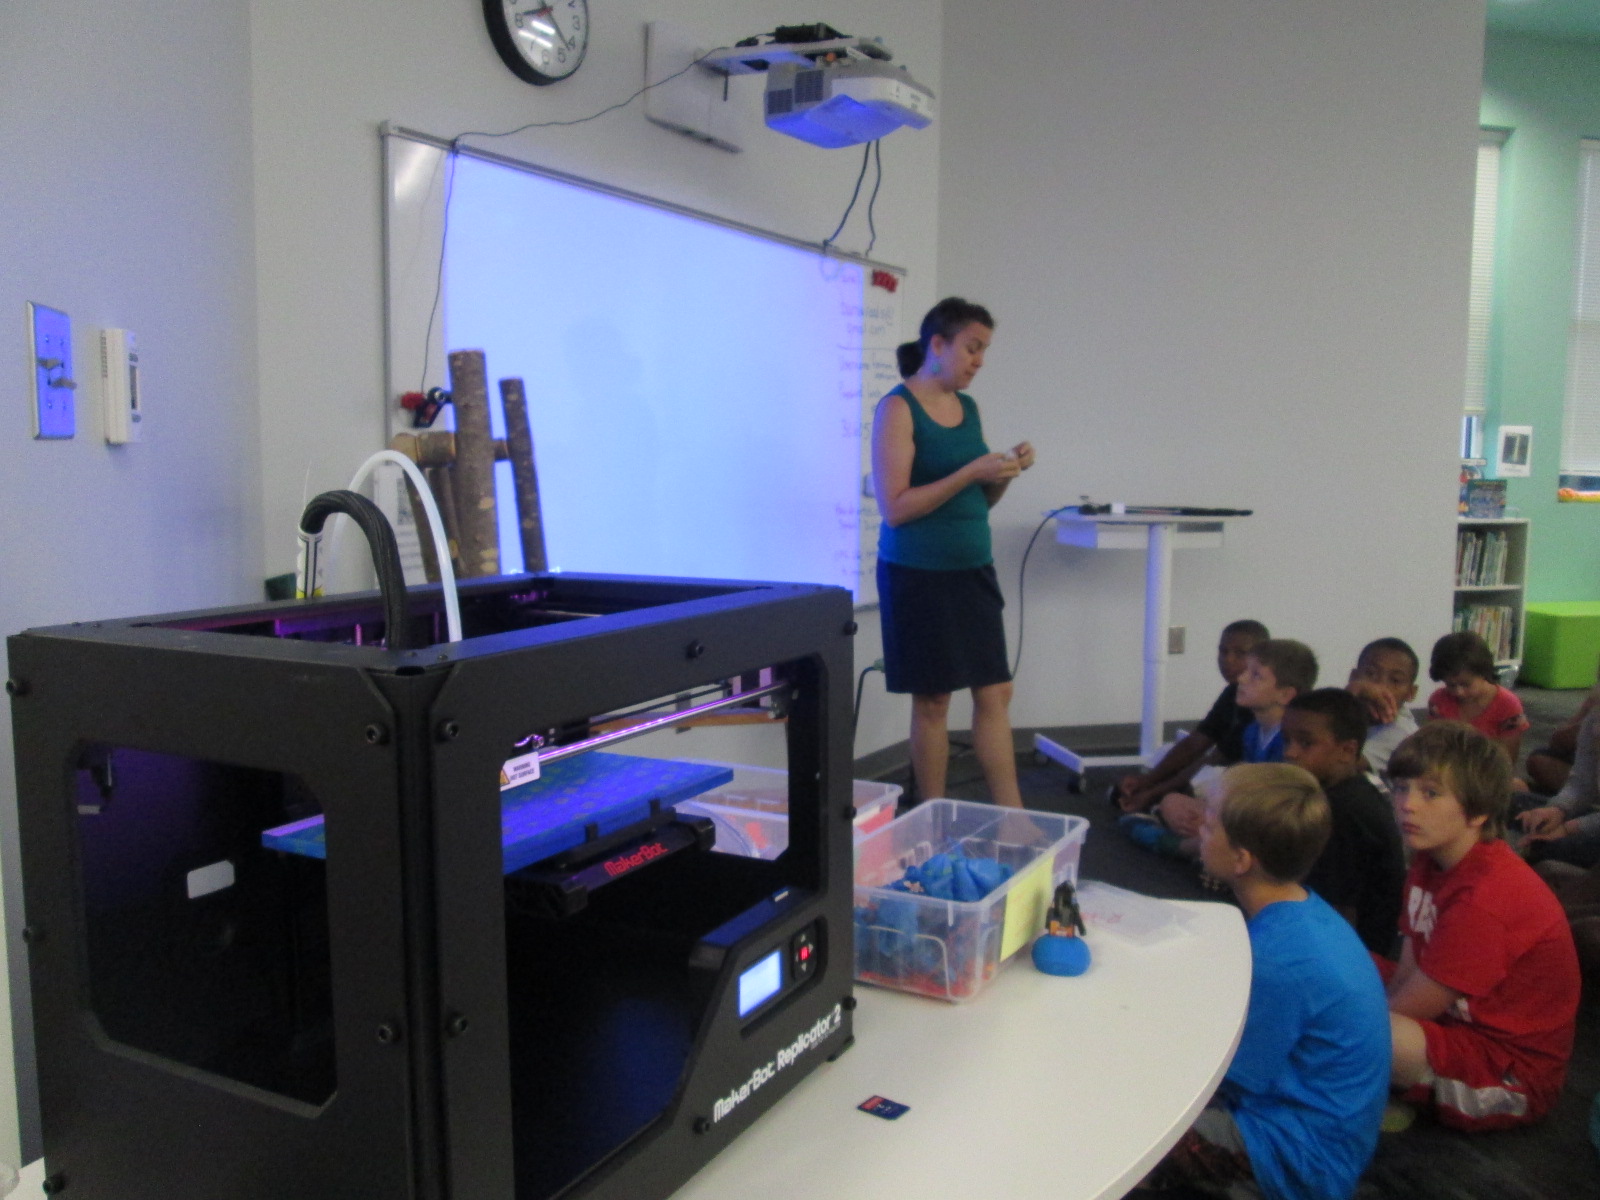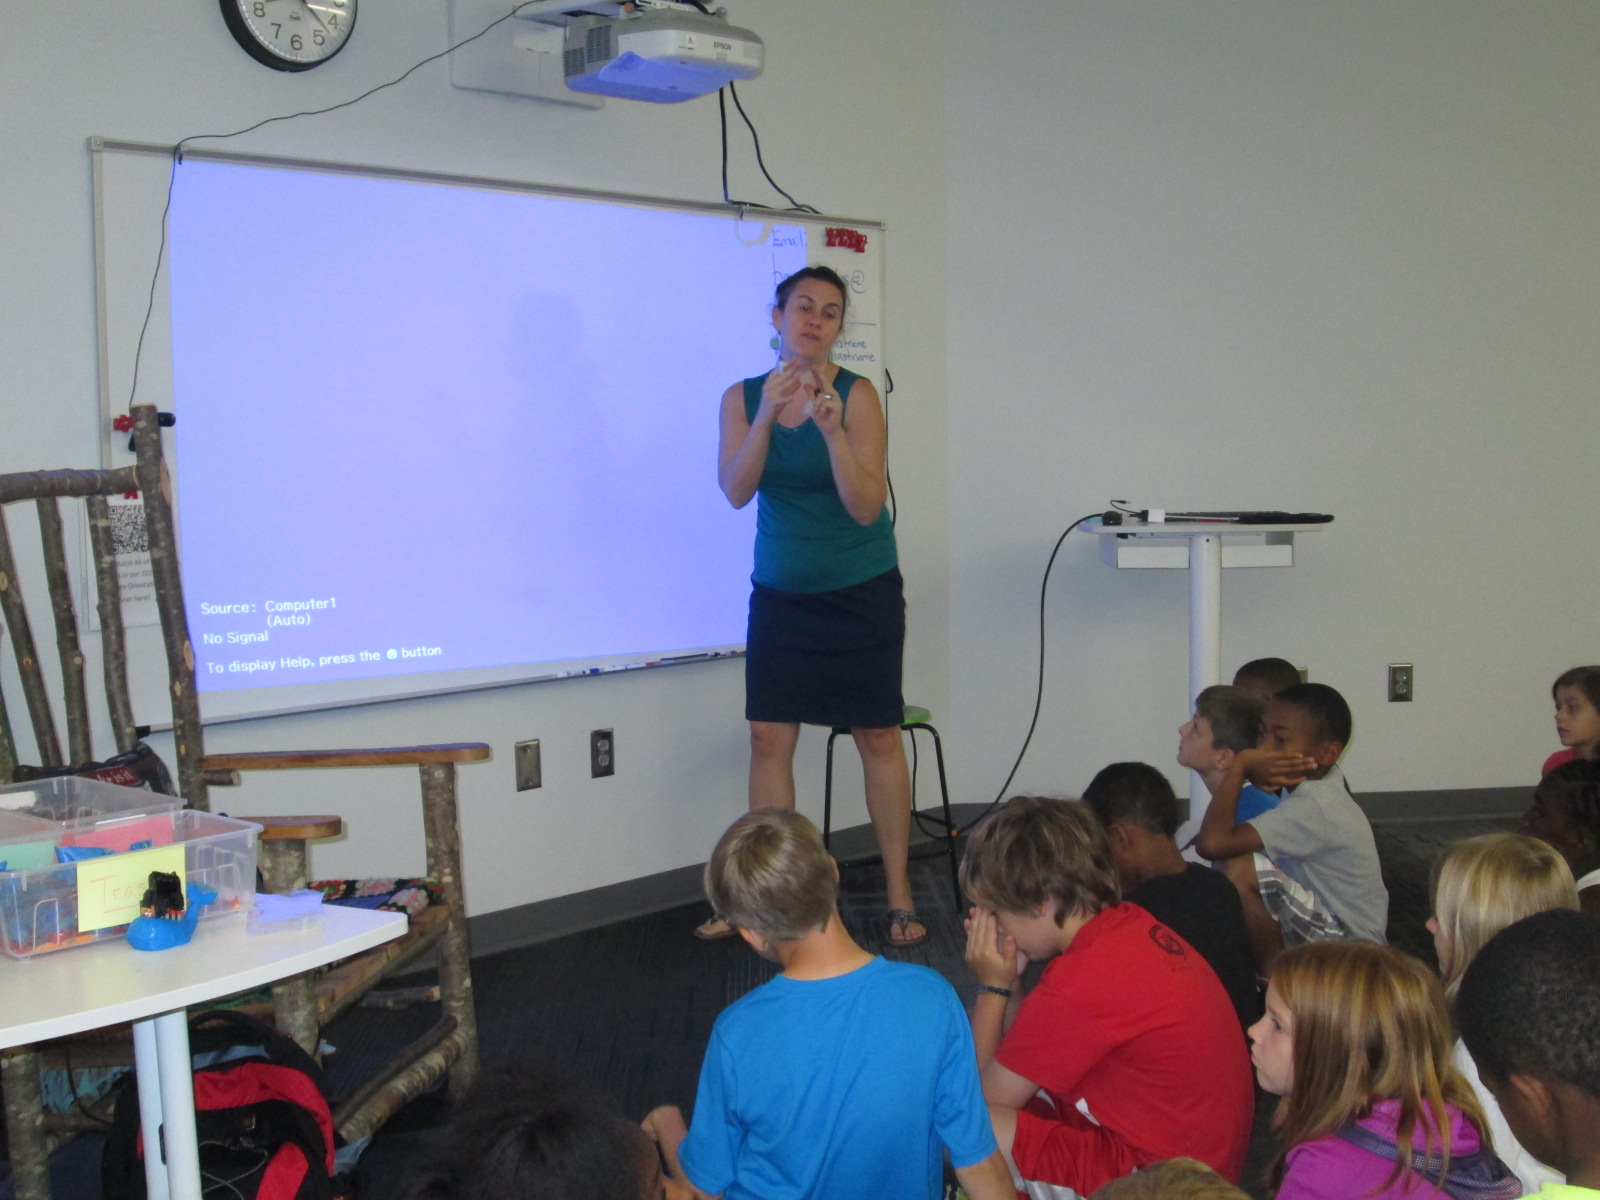
Students have been eager to use our makerspace this year. I’ve been incorporating making into collaborative projects with grade levels, small groups, and even individual students, but there is still a strong pull to come to the makerspace to dream, tinker, and create without the constraints of a grade level curriculum.
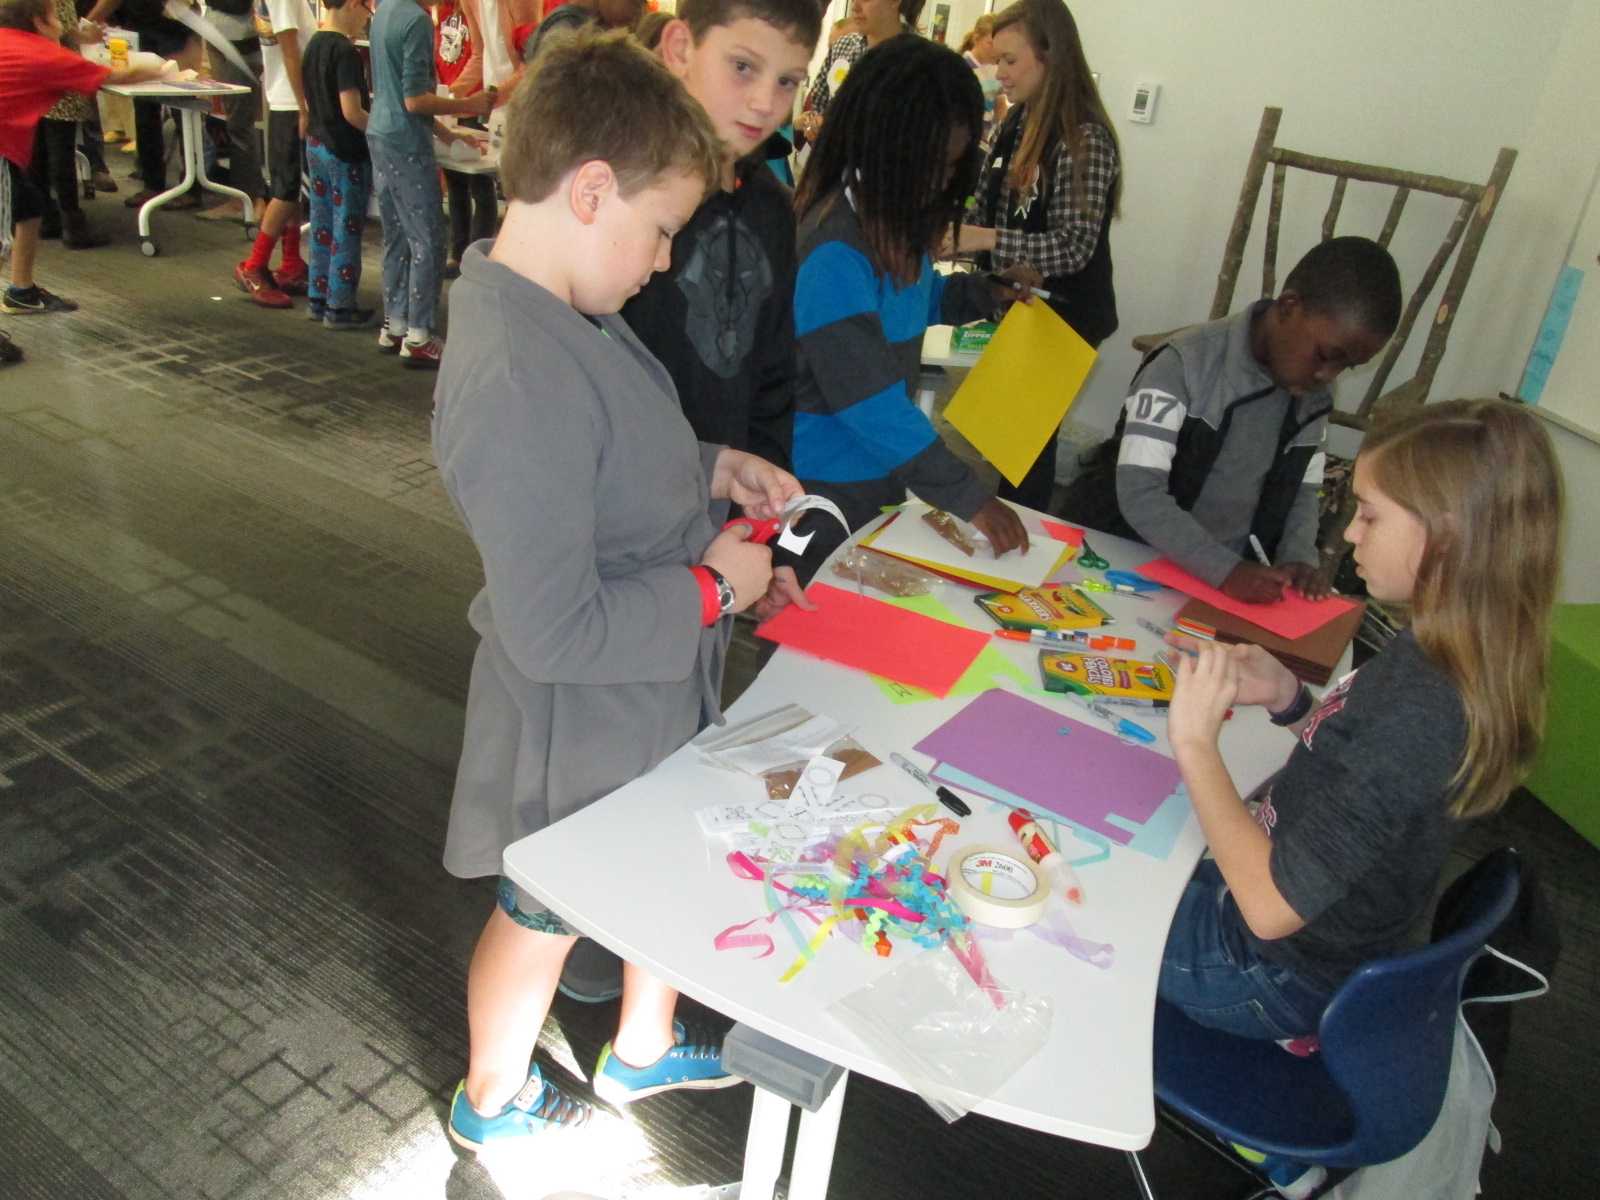
Duct tape has been the biggest area of excitement this week in #makerspace http://t.co/hLvPXwwfNk—
Andy Plemmons (@plemmonsa) February 05, 2015
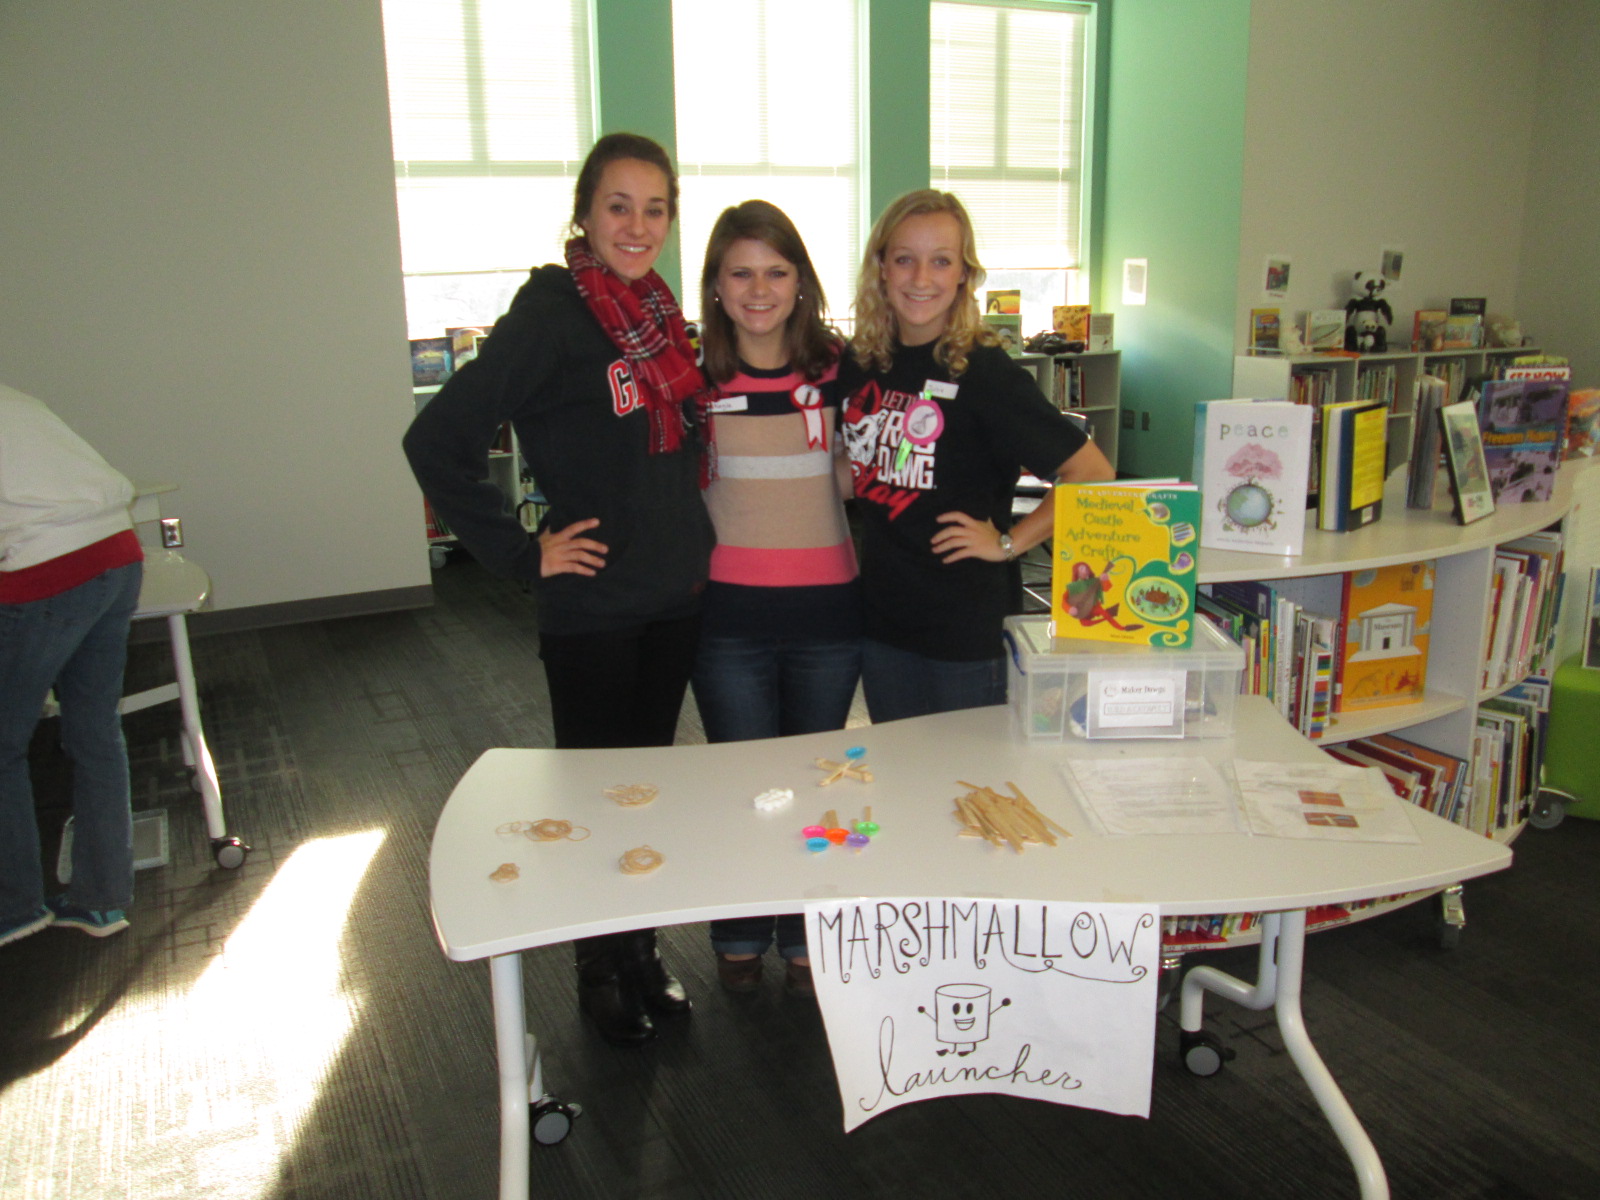
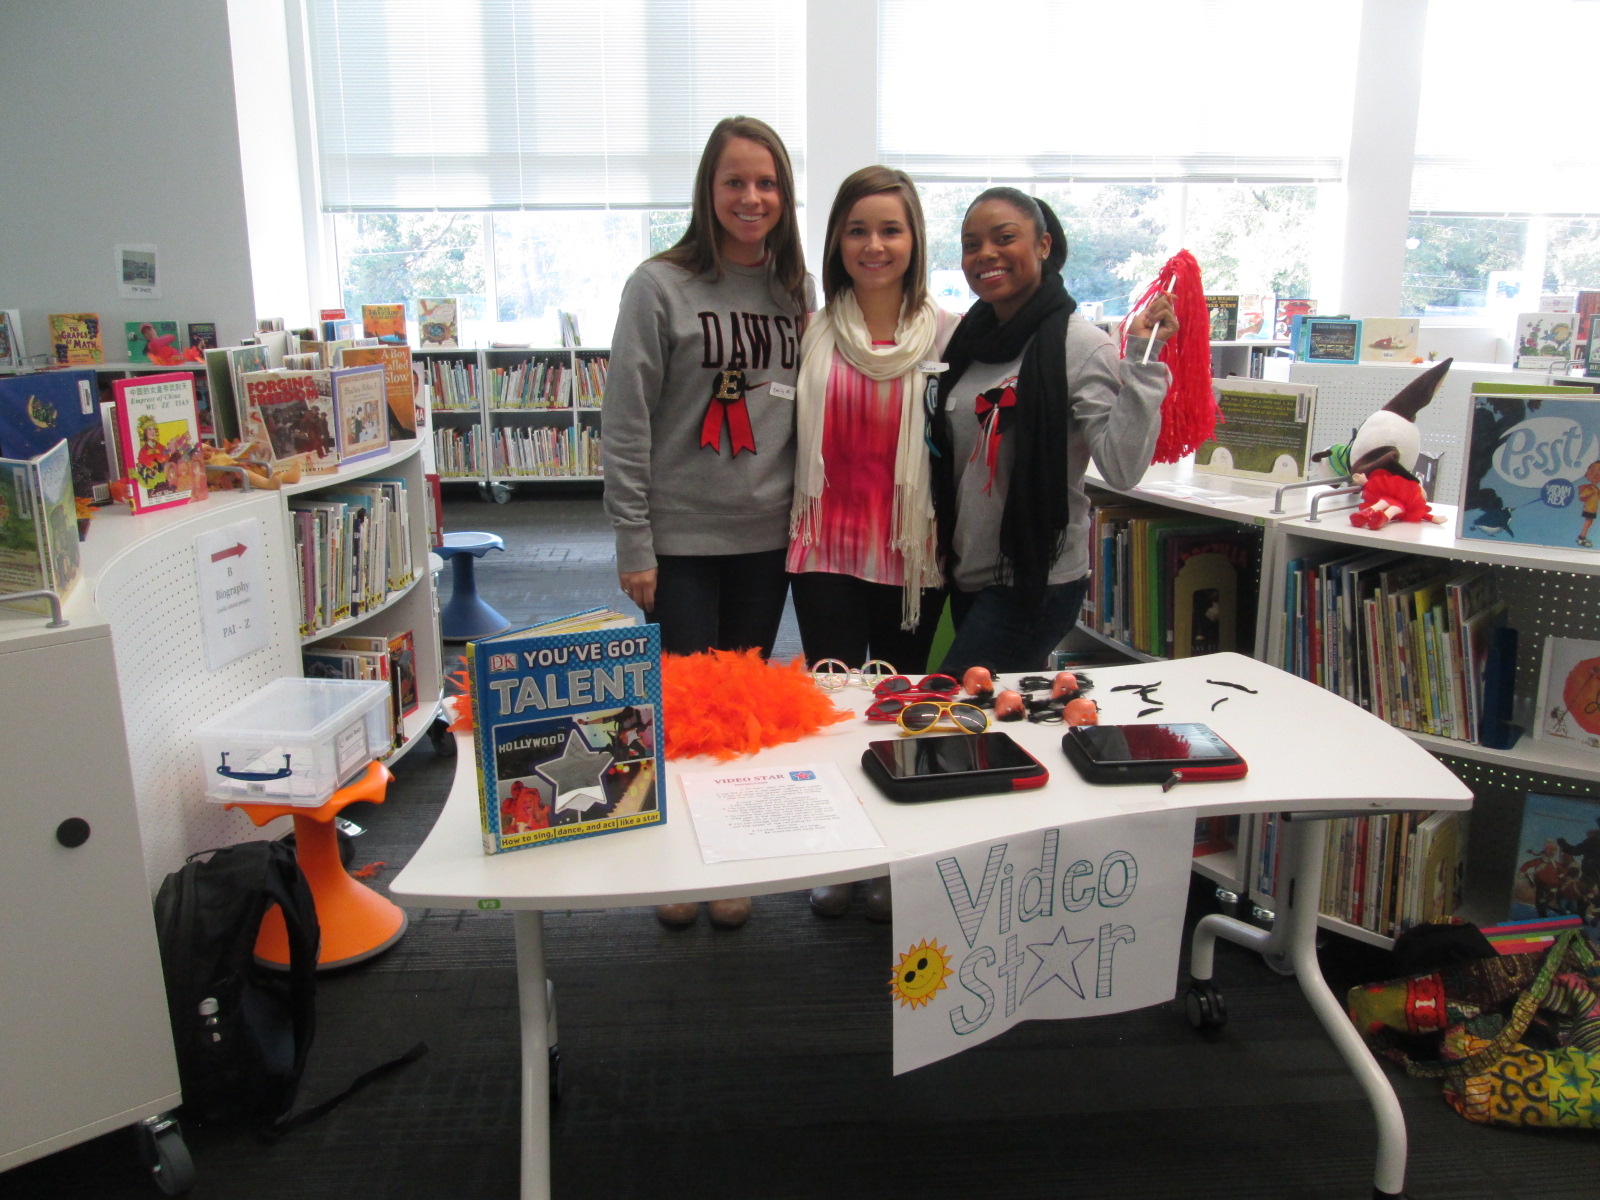
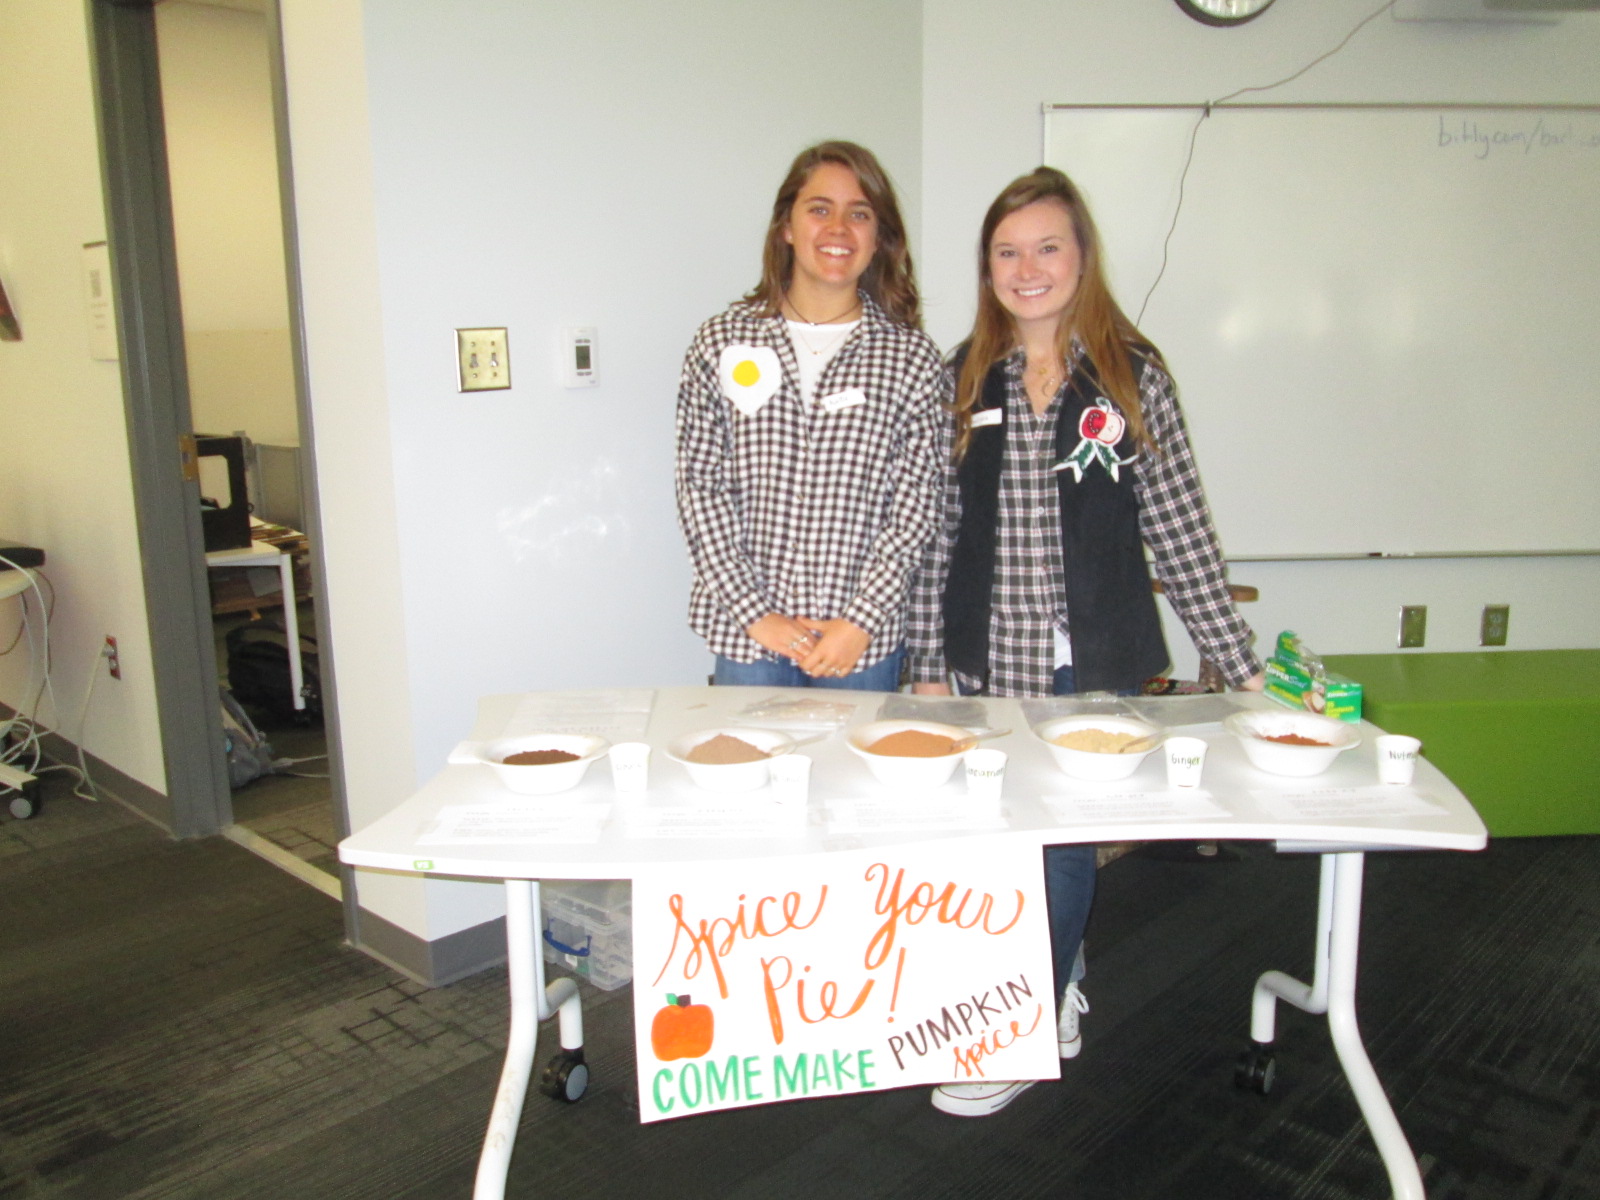
My struggle is finding the time to balance giving students open time to explore along with the classes that I teach each day and collaborative projects that I support. I’ve been having a conversation about this with Gretchen Thomas, instructional technology instructor at UGA. Here and there we have found times for some of her students to come and work with my students. Gretchen has even come in herself to work with students in the makerspace. However, I wanted something more consistent and dependable for students and teachers instead of random emails inviting them to use the space.
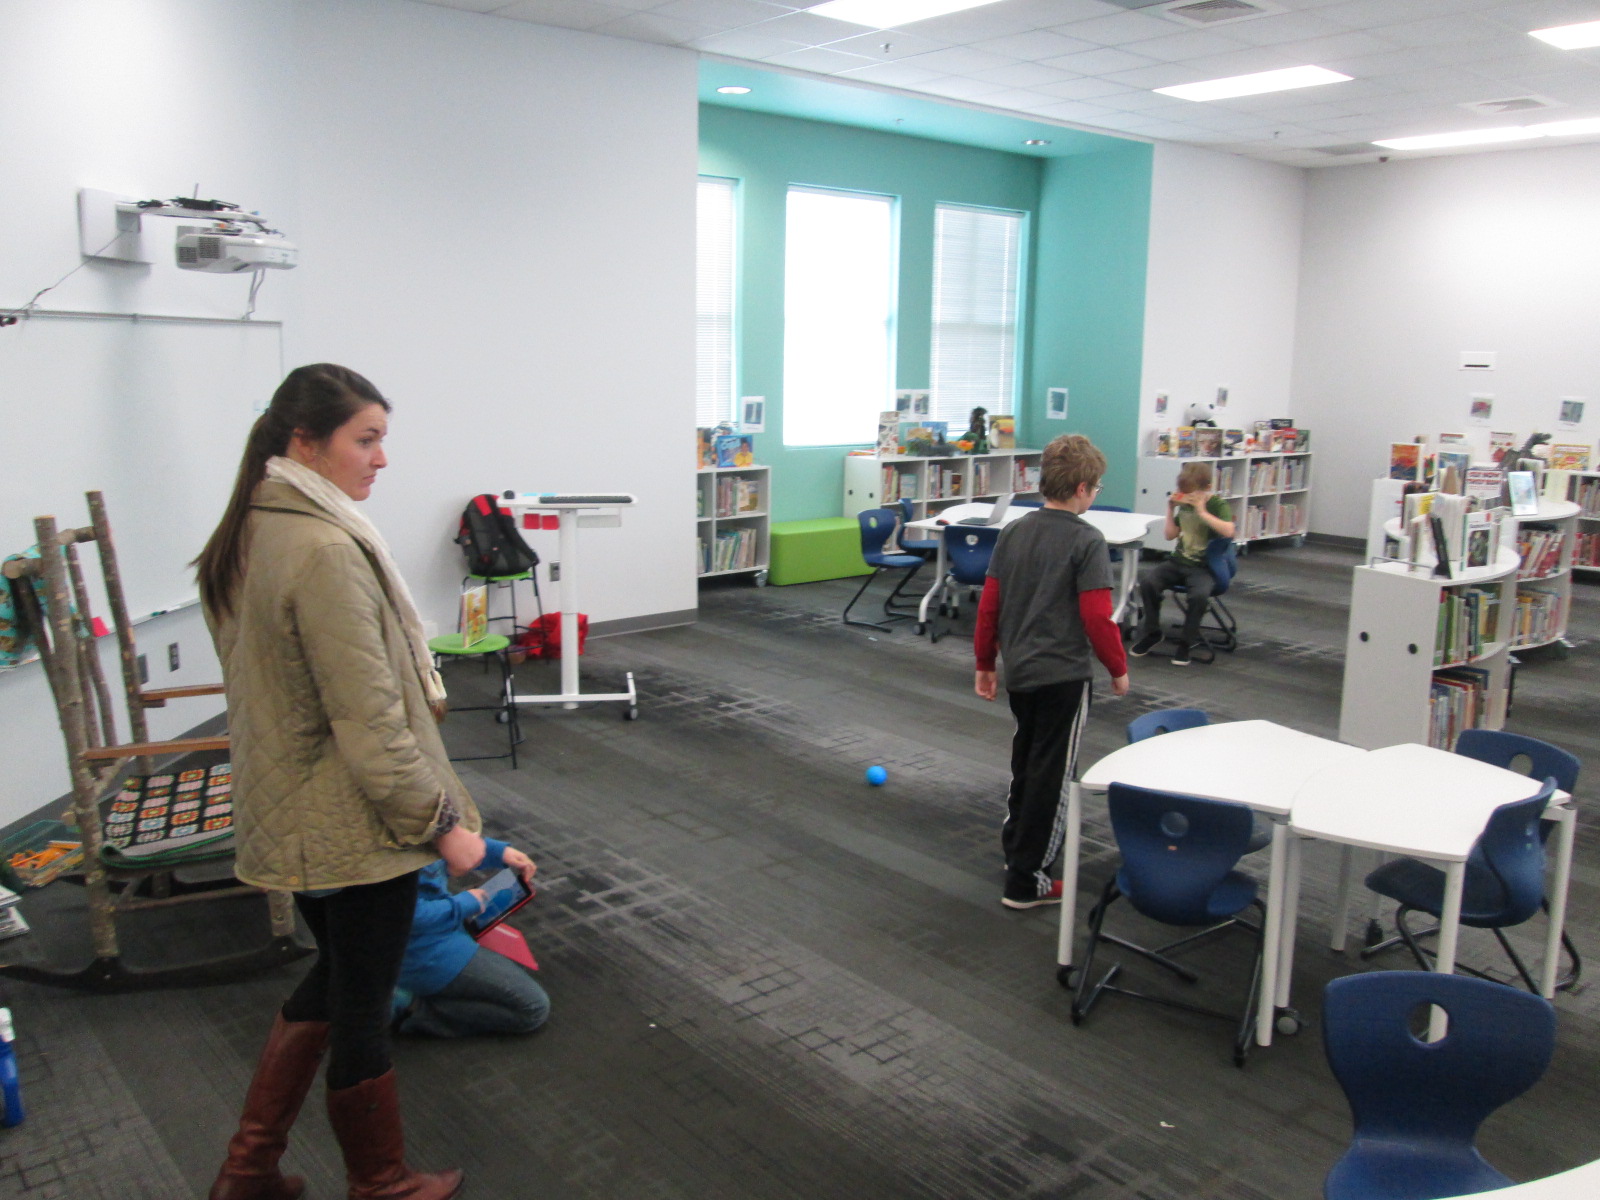
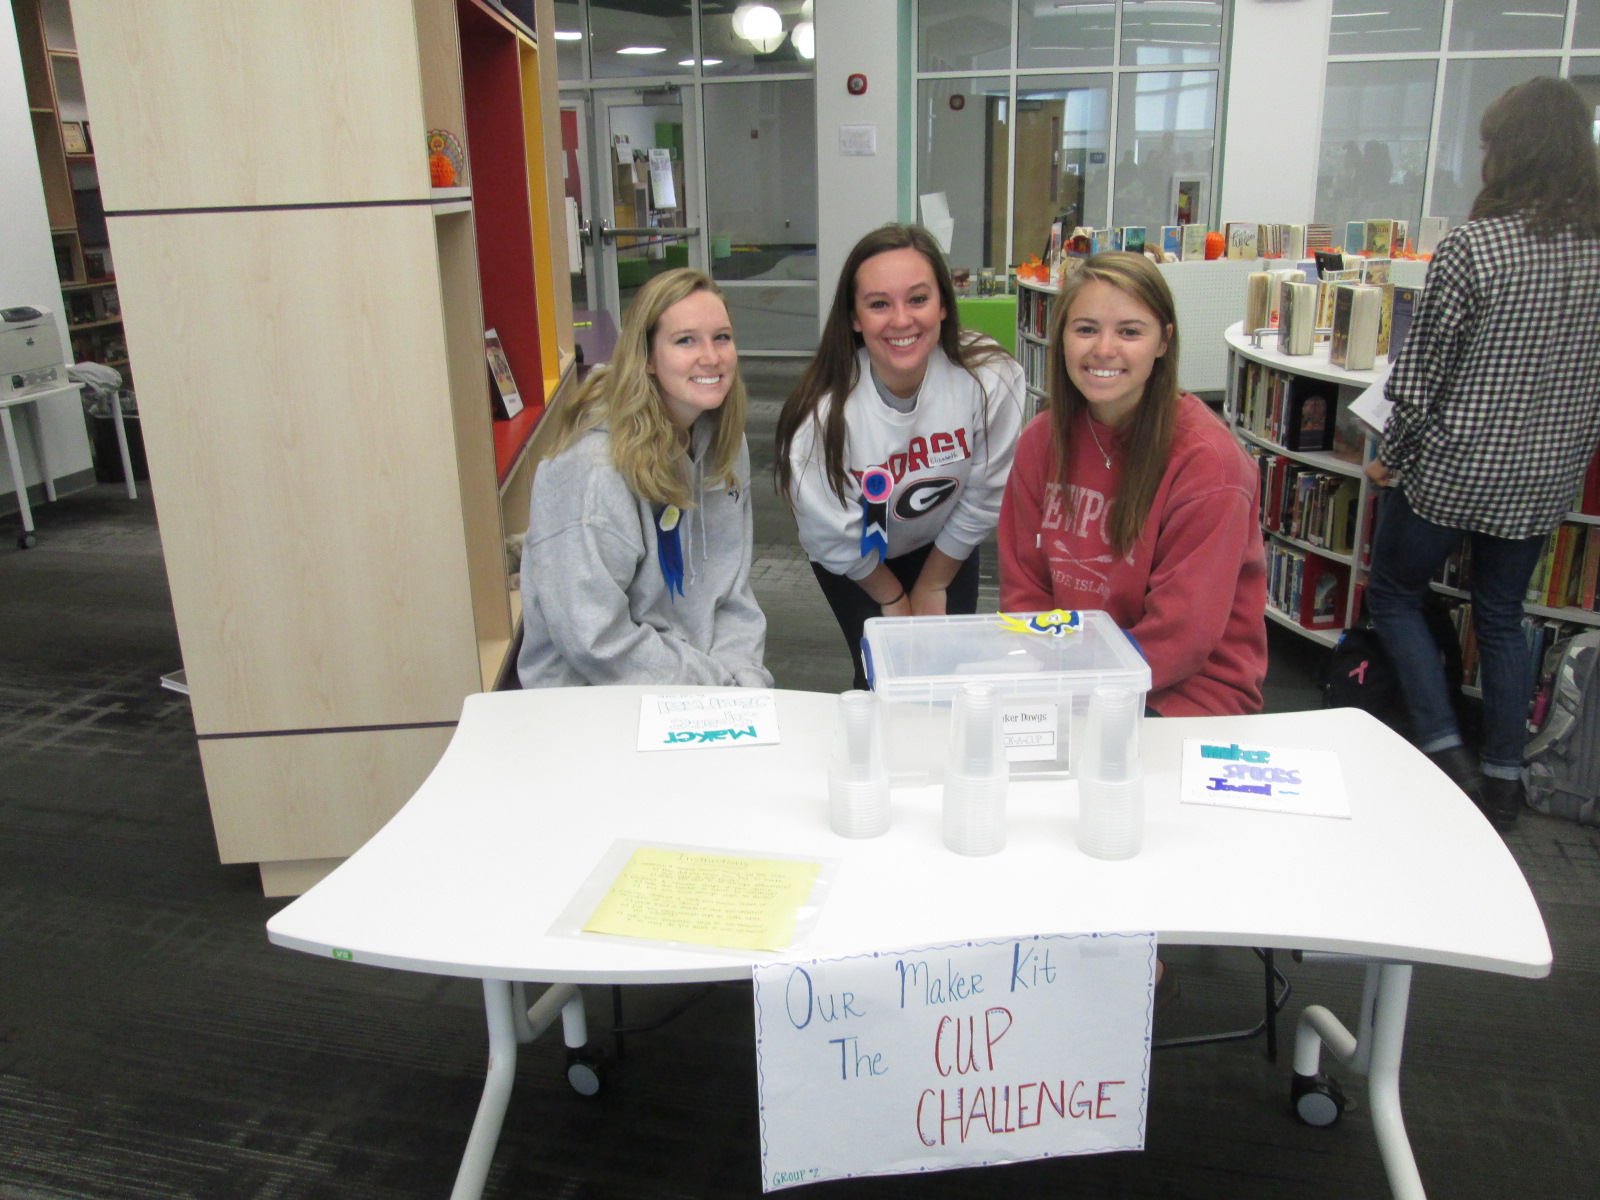
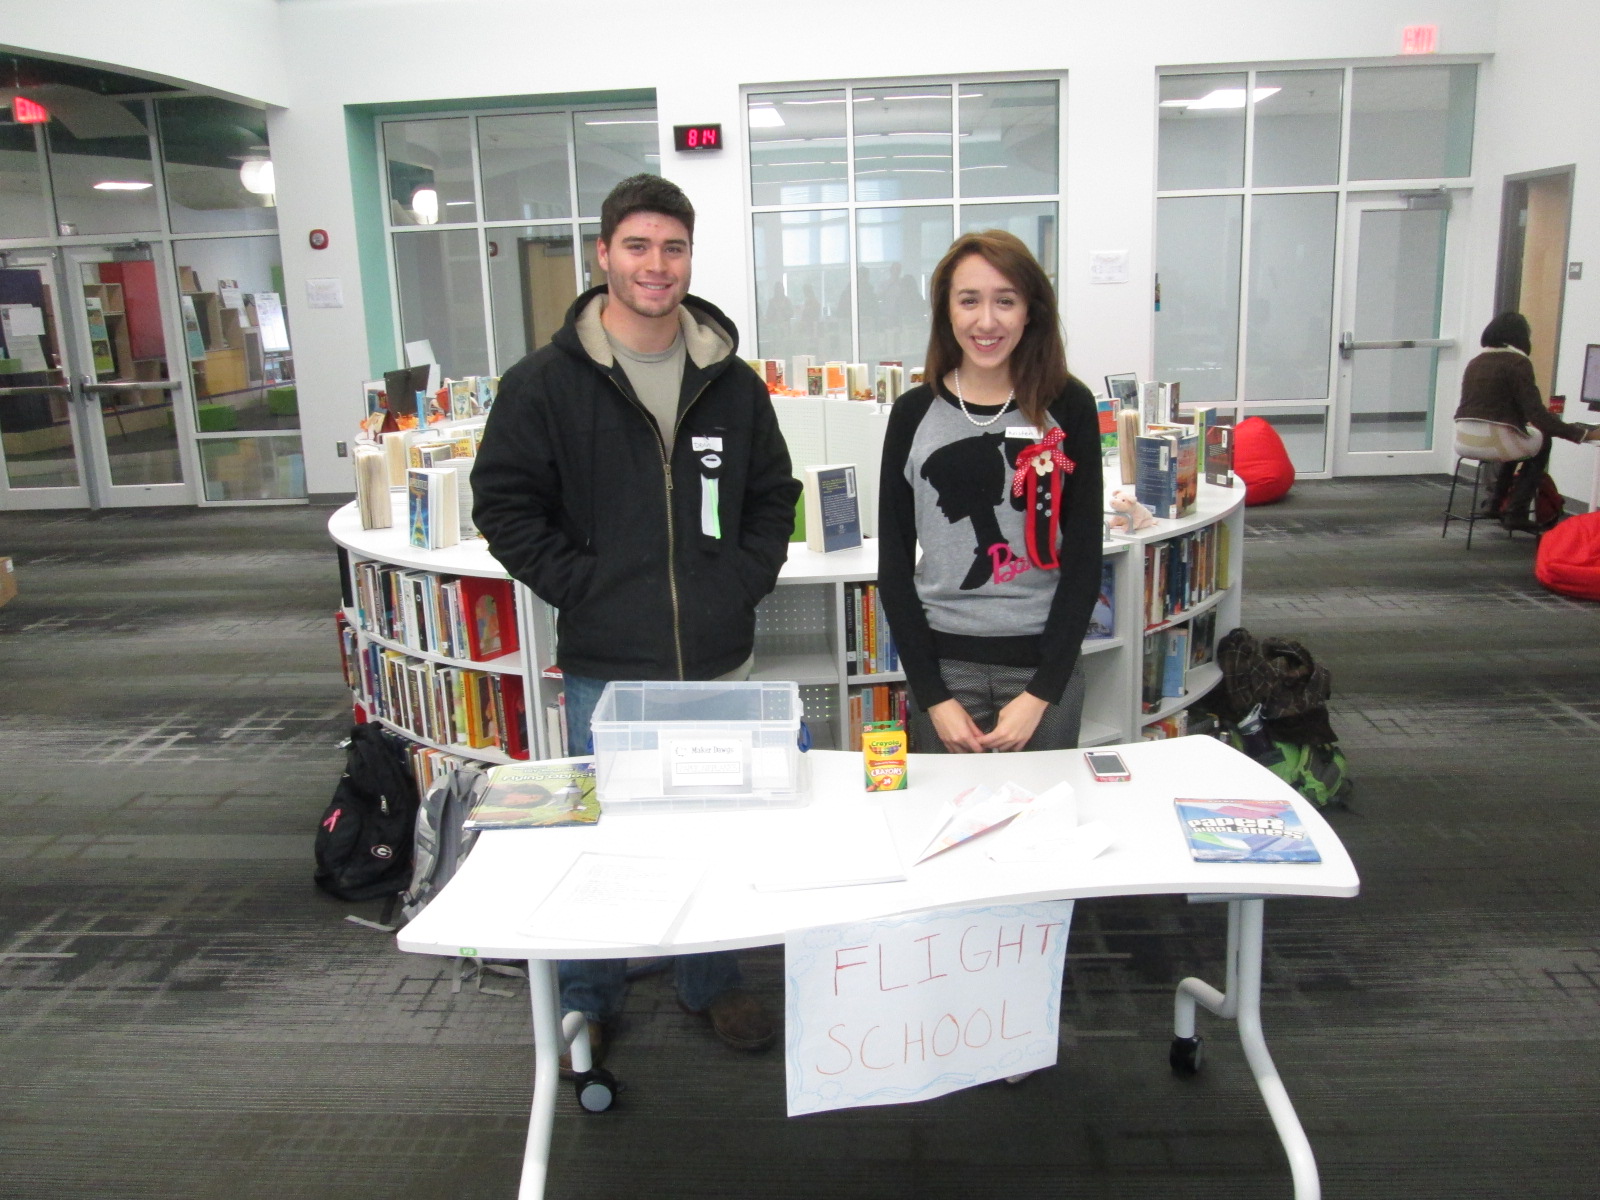
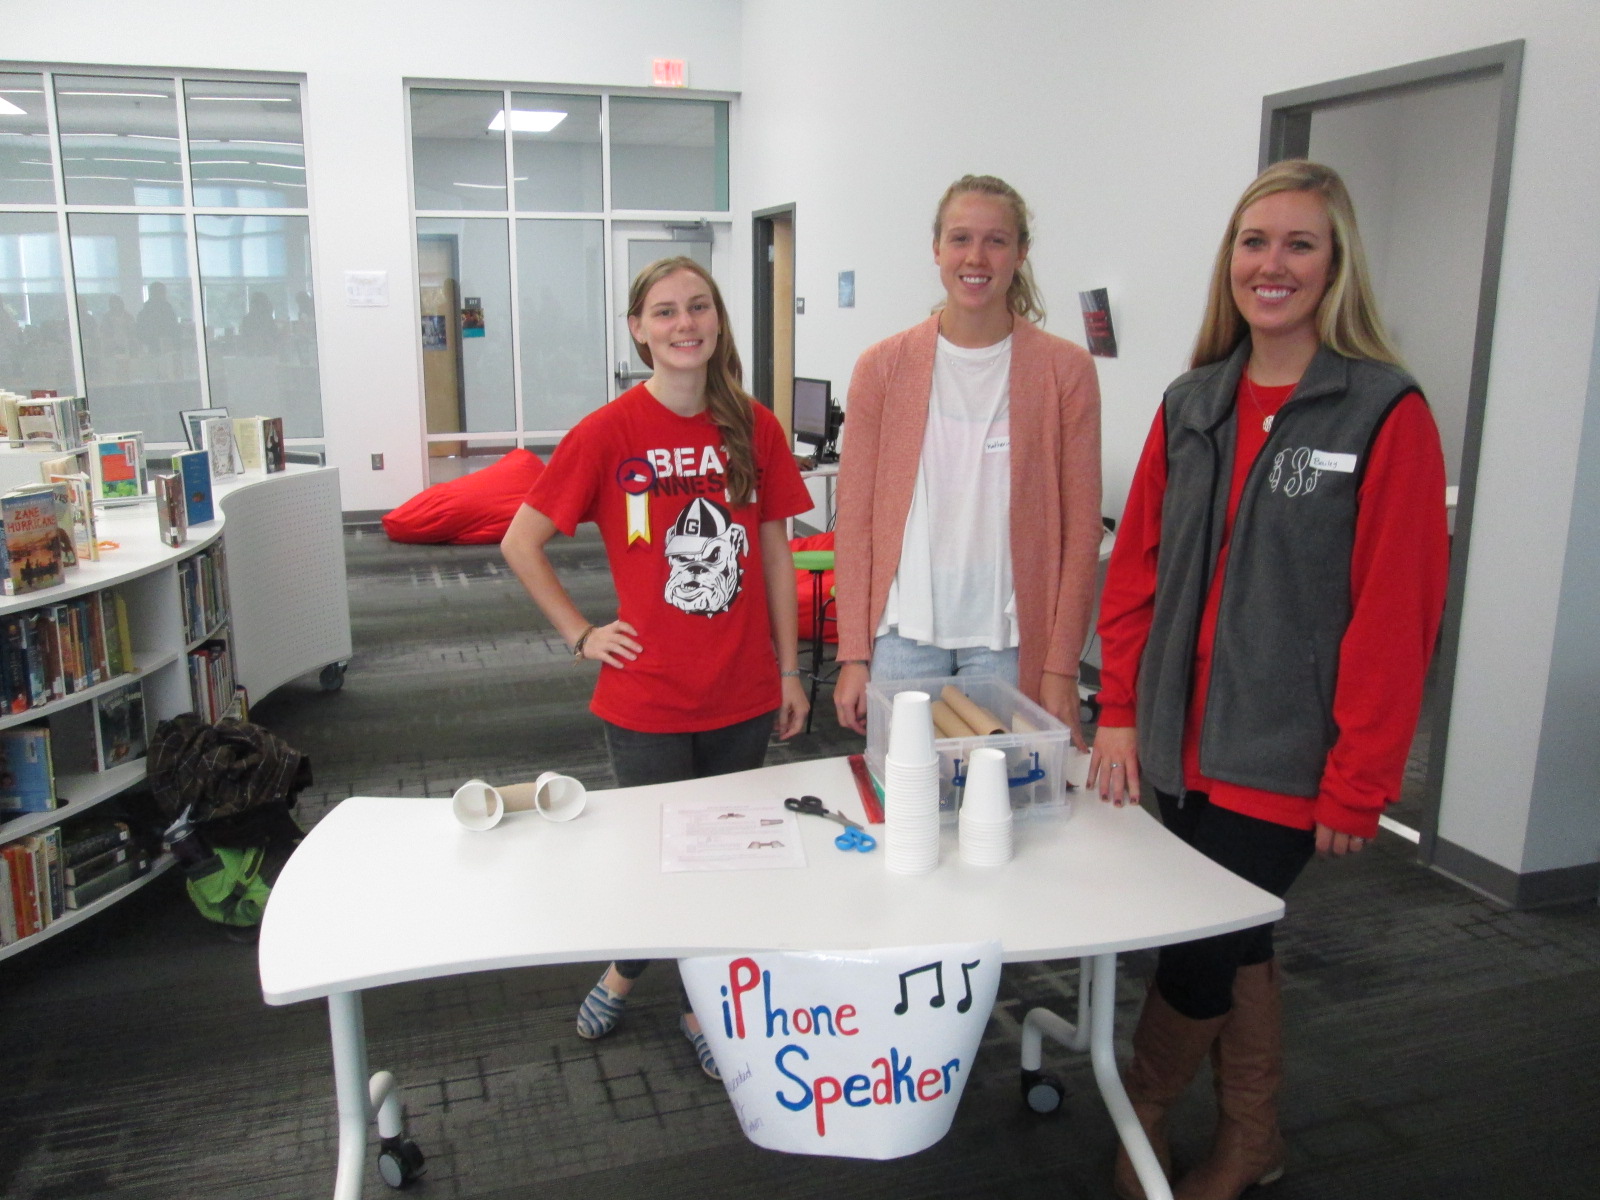
This semester, we are experimenting with something new called open makerspace. Gretchen has several independent study students as well as a Maker Dawgs course. The independent study students have each selected a day of the week to be here from 11-12:15. Gretchen’s Maker Dawg class will take turns coming on Thursday from 11-12:15. This means that every day is covered. This time of day overlaps into 3rd, 4th, and 5th grade recess. Students have the option of coming to the makerspace instead of going to recess, but one of the big requirements is that they can’t come every day. We still want them to get outside and enjoy the sunshine with their friends, too.
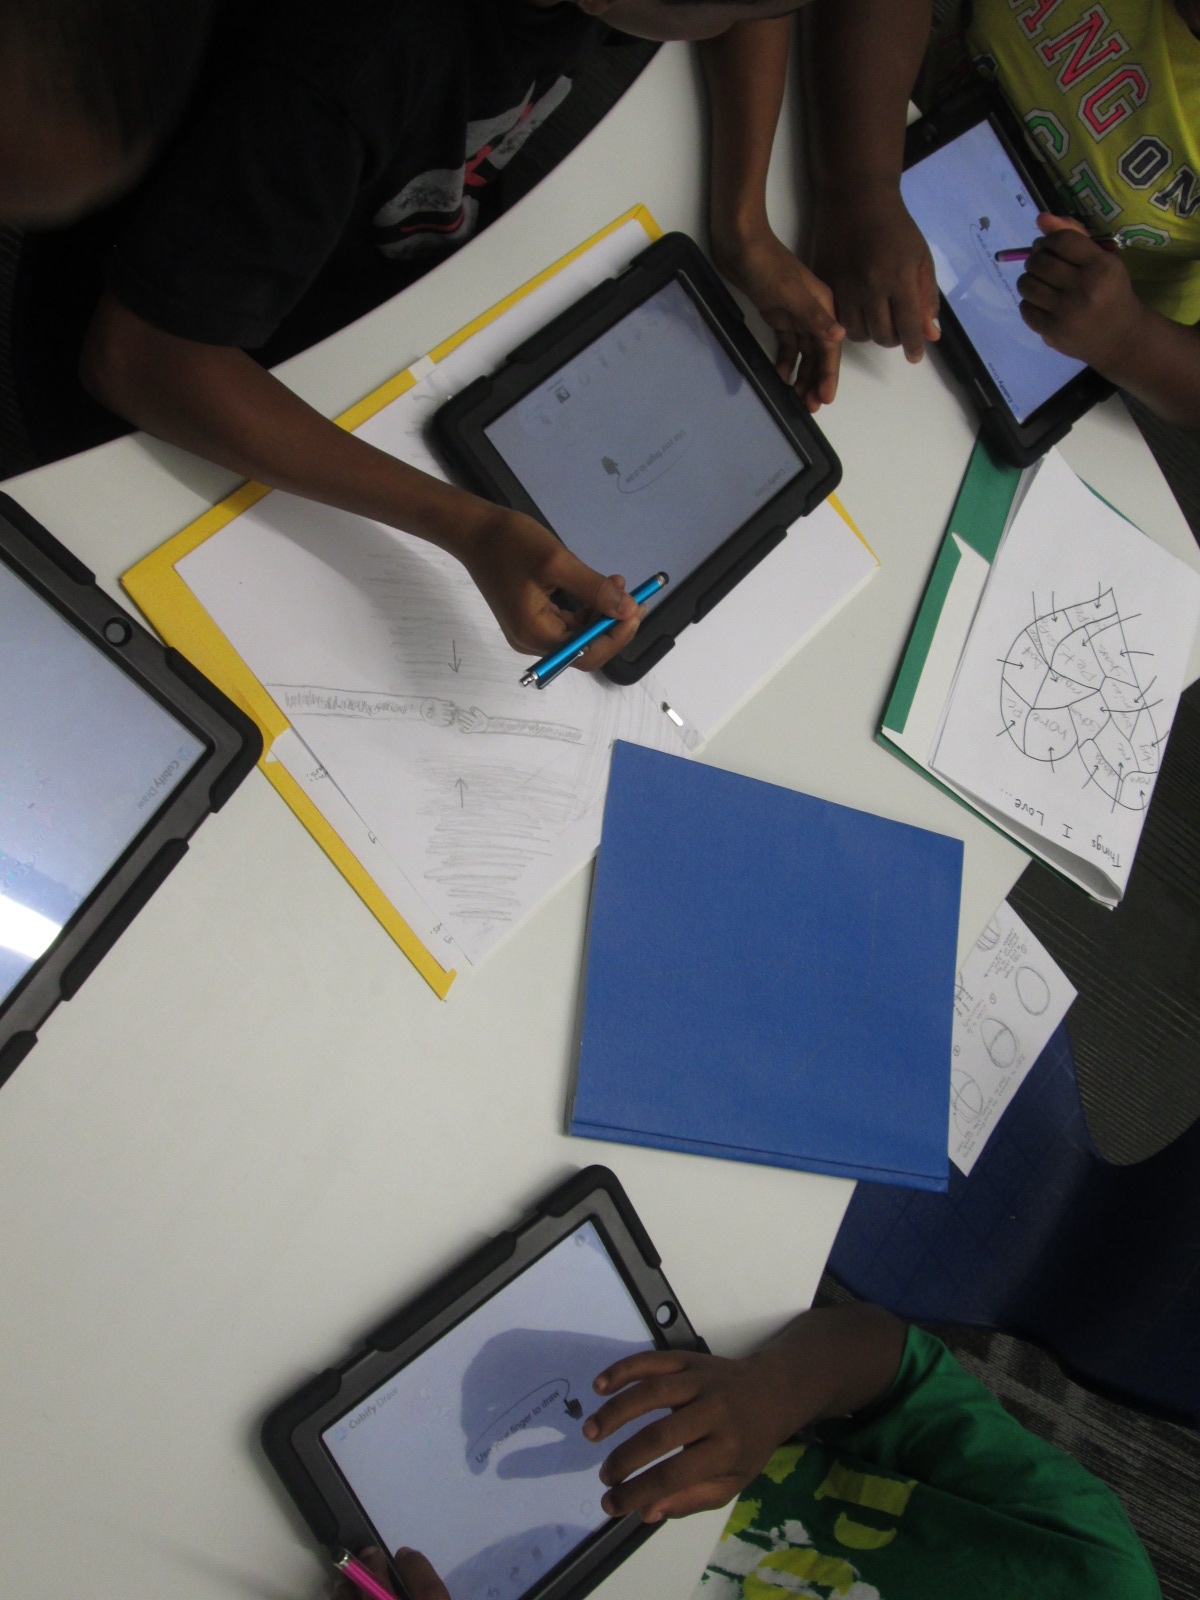
The UGA students and I are trying to work out a routine. During this first week of our experiment, it looks something like this:
- I send periodic reminders to teachers that the makerspace is available every day from 11-12:15.
- Students come at any time during that time frame.
- They sign in with the UGA student and say what they hope to explore or work on.
It has been a busy week in the #makerspace @ilovethisclass http://t.co/jB1GsfgWv5—
Andy Plemmons (@plemmonsa) February 05, 2015
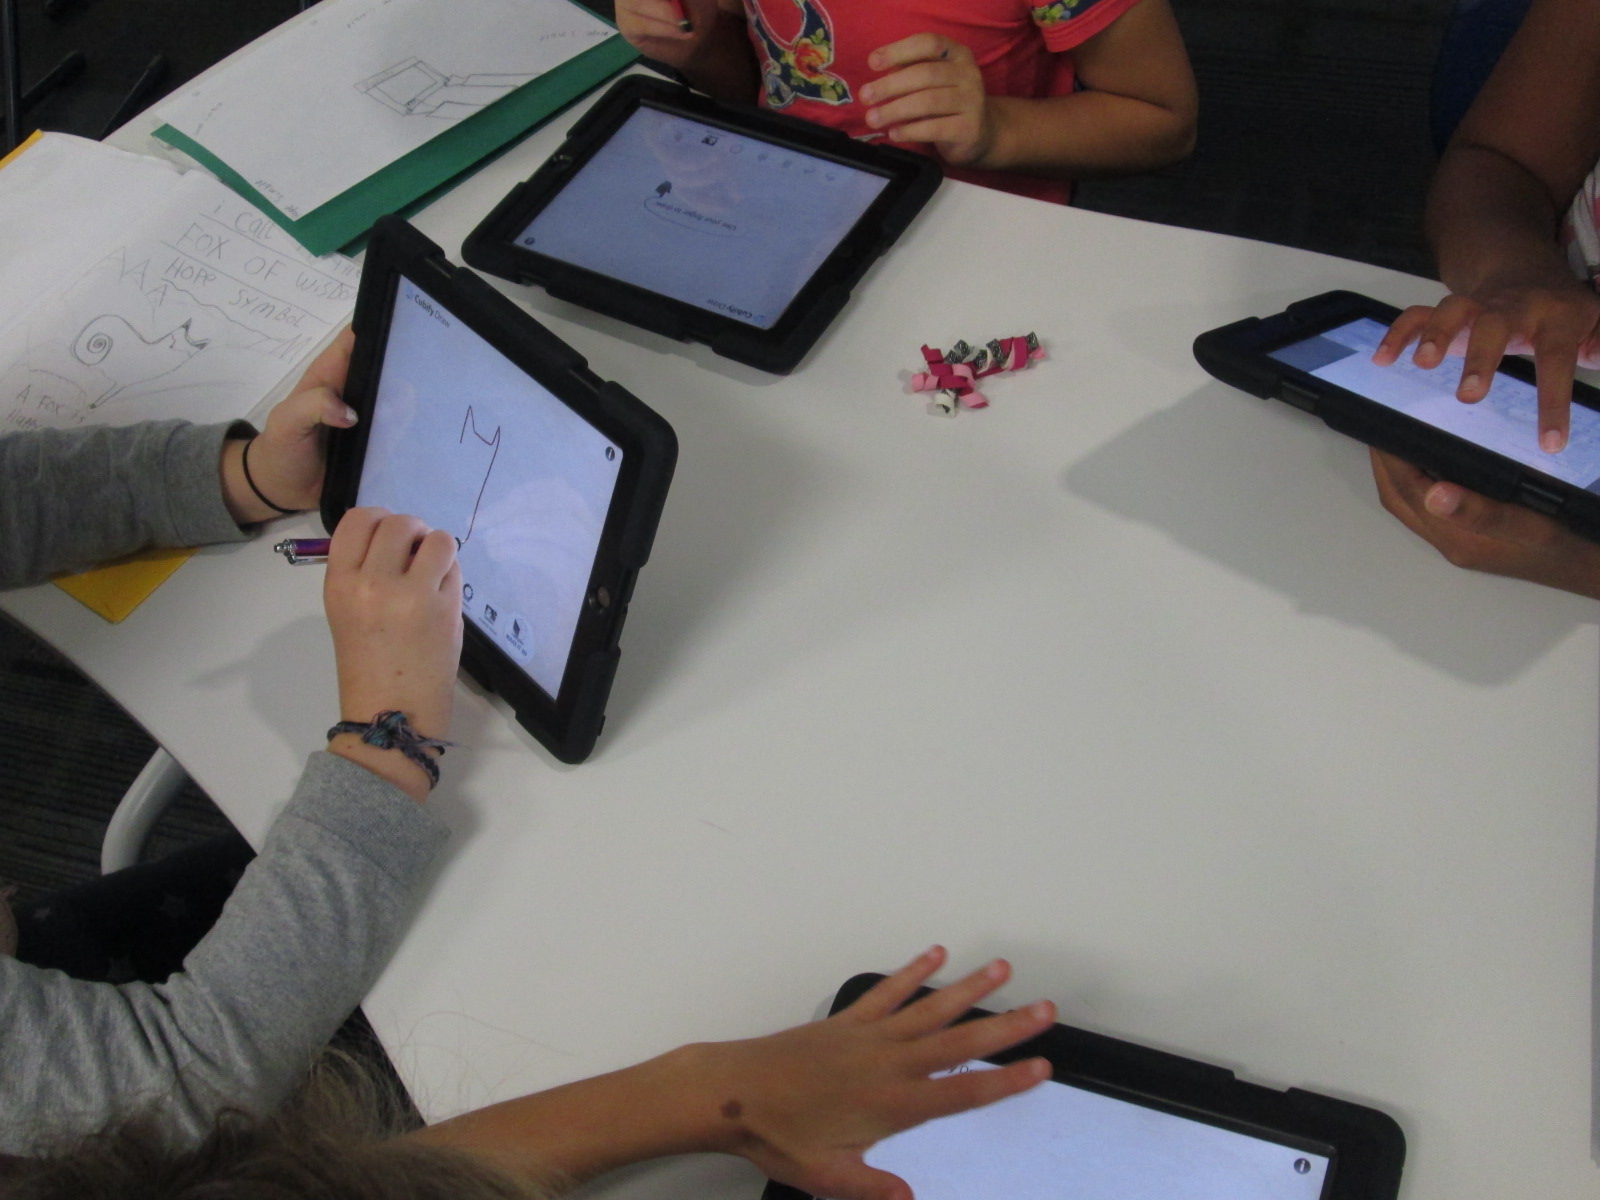
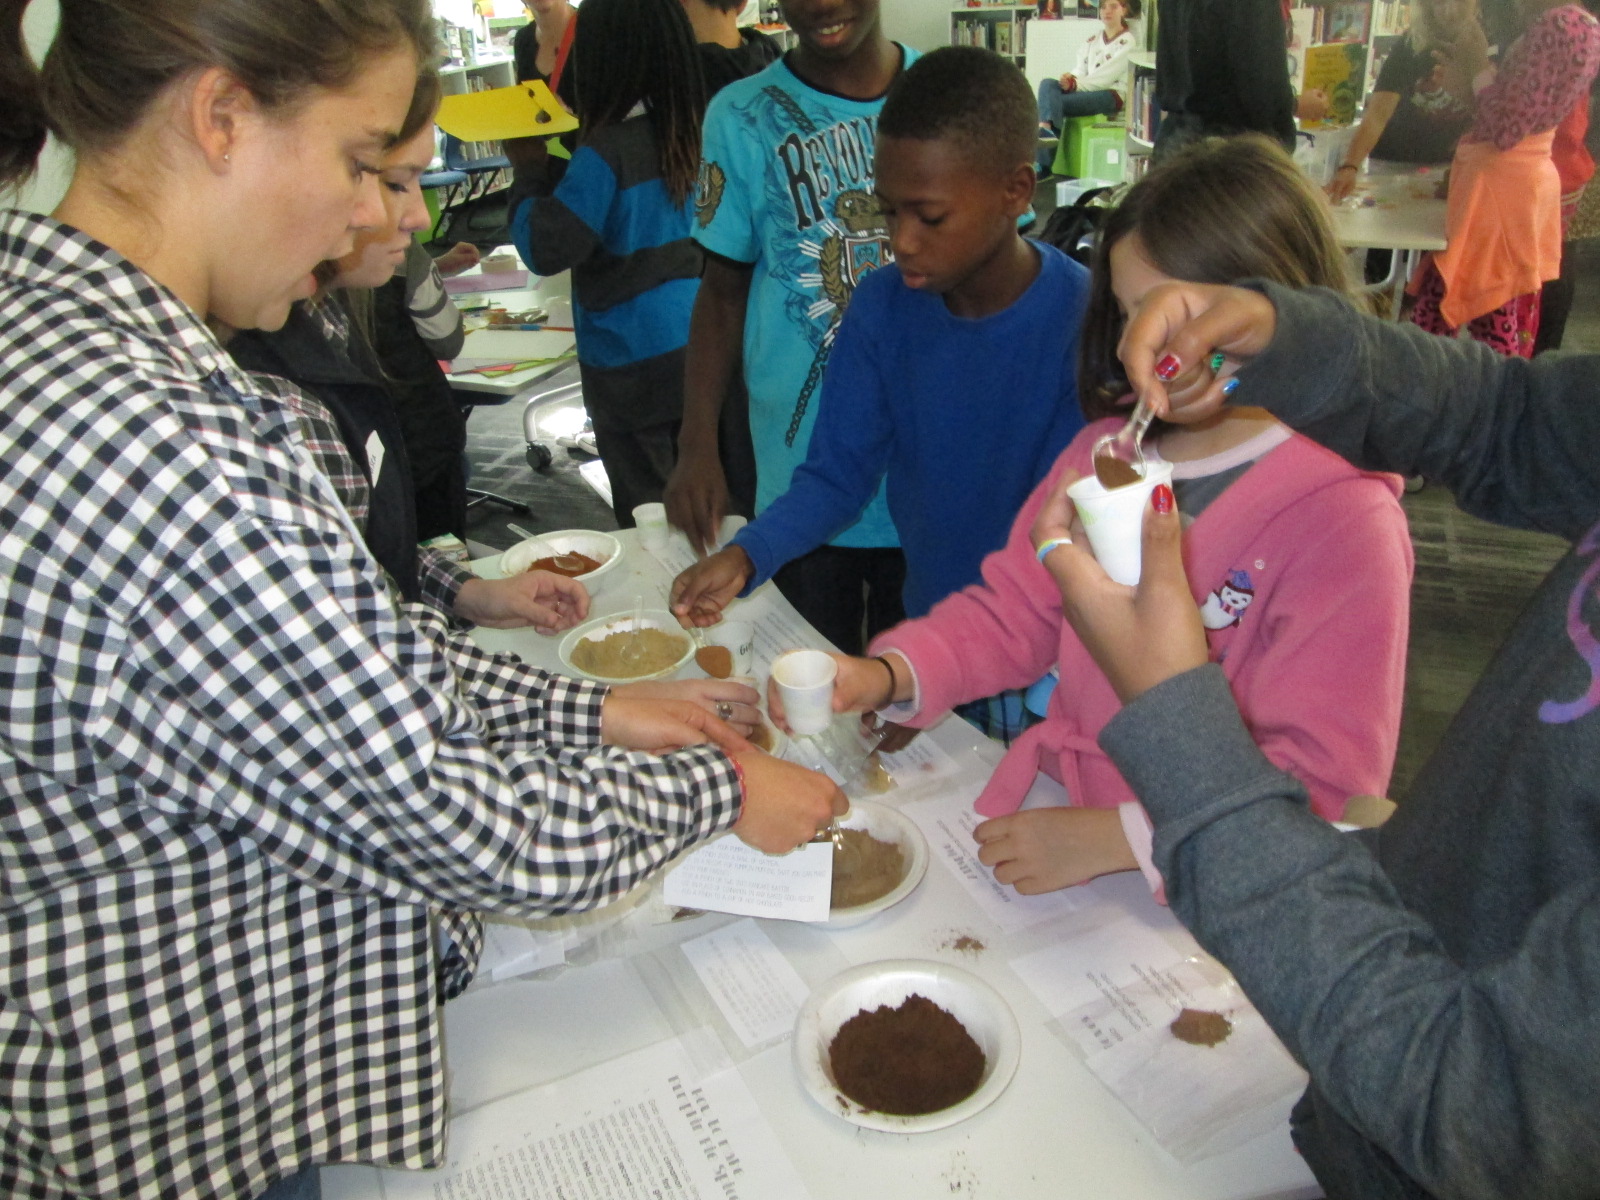
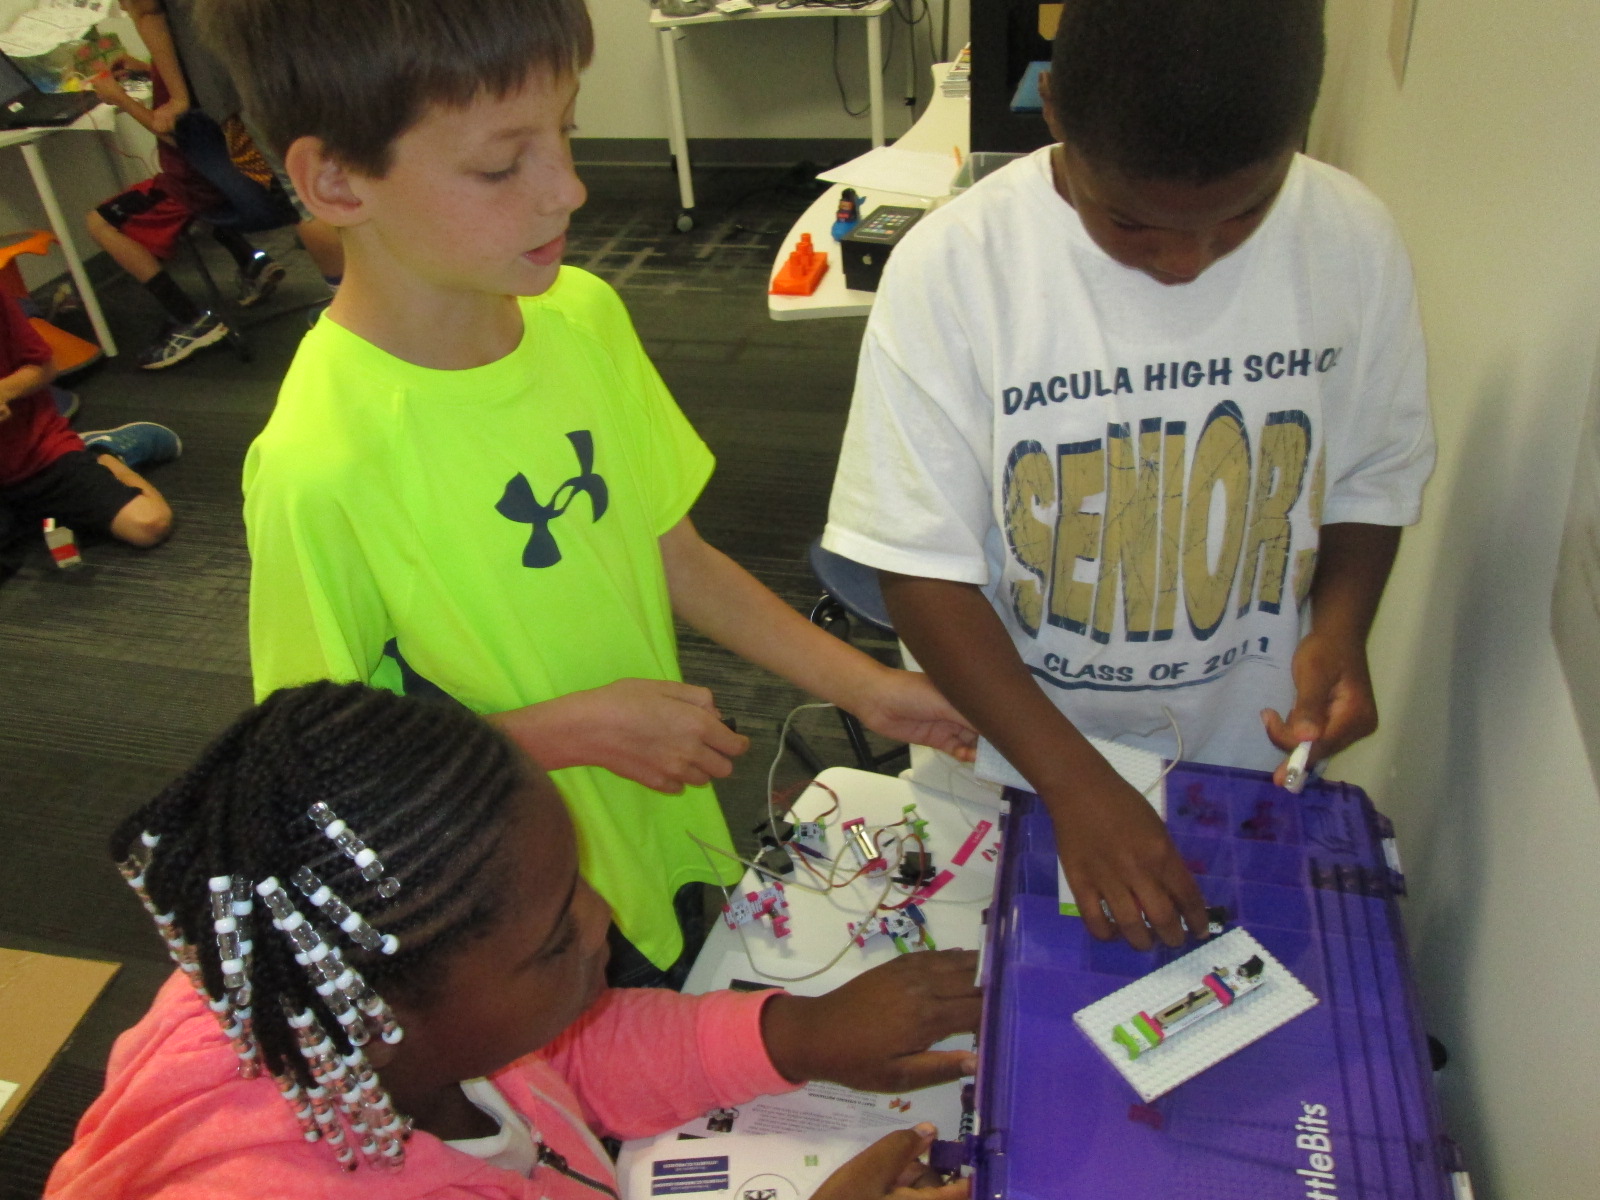
- Together with the UGA students, they setup areas around the library to work on things like littleBits, Sphero, etc.
- The UGA student tinkers right alongside the students as well as moves between groups to make sure they are keeping materials safe and being productive.
- Every so often, the UGA students do a time check since the students get lost in the making and forget the time.
- Before students leave, the UGA student prompts them to clean up as much as they can, and then the UGA student straightens and organizes in between groups.
- When there’s not a high traffic time, it’s a great time for the UGA student to organize the maker supply cart, the littleBits, or the robotics kits.
I won’t lie that this week has been chaotic and exhausting. I think that the process is going to work, but each day this week I had a new UGA student, so that meant teaching this routine to someone new each day. Gretchen came to help on 2 of the days. Most days this week, I didn’t have a moment to stop and fully eat my own lunch since it falls within this 11-12:15 block. This will change, though. It takes some time to get a new routine up and running.
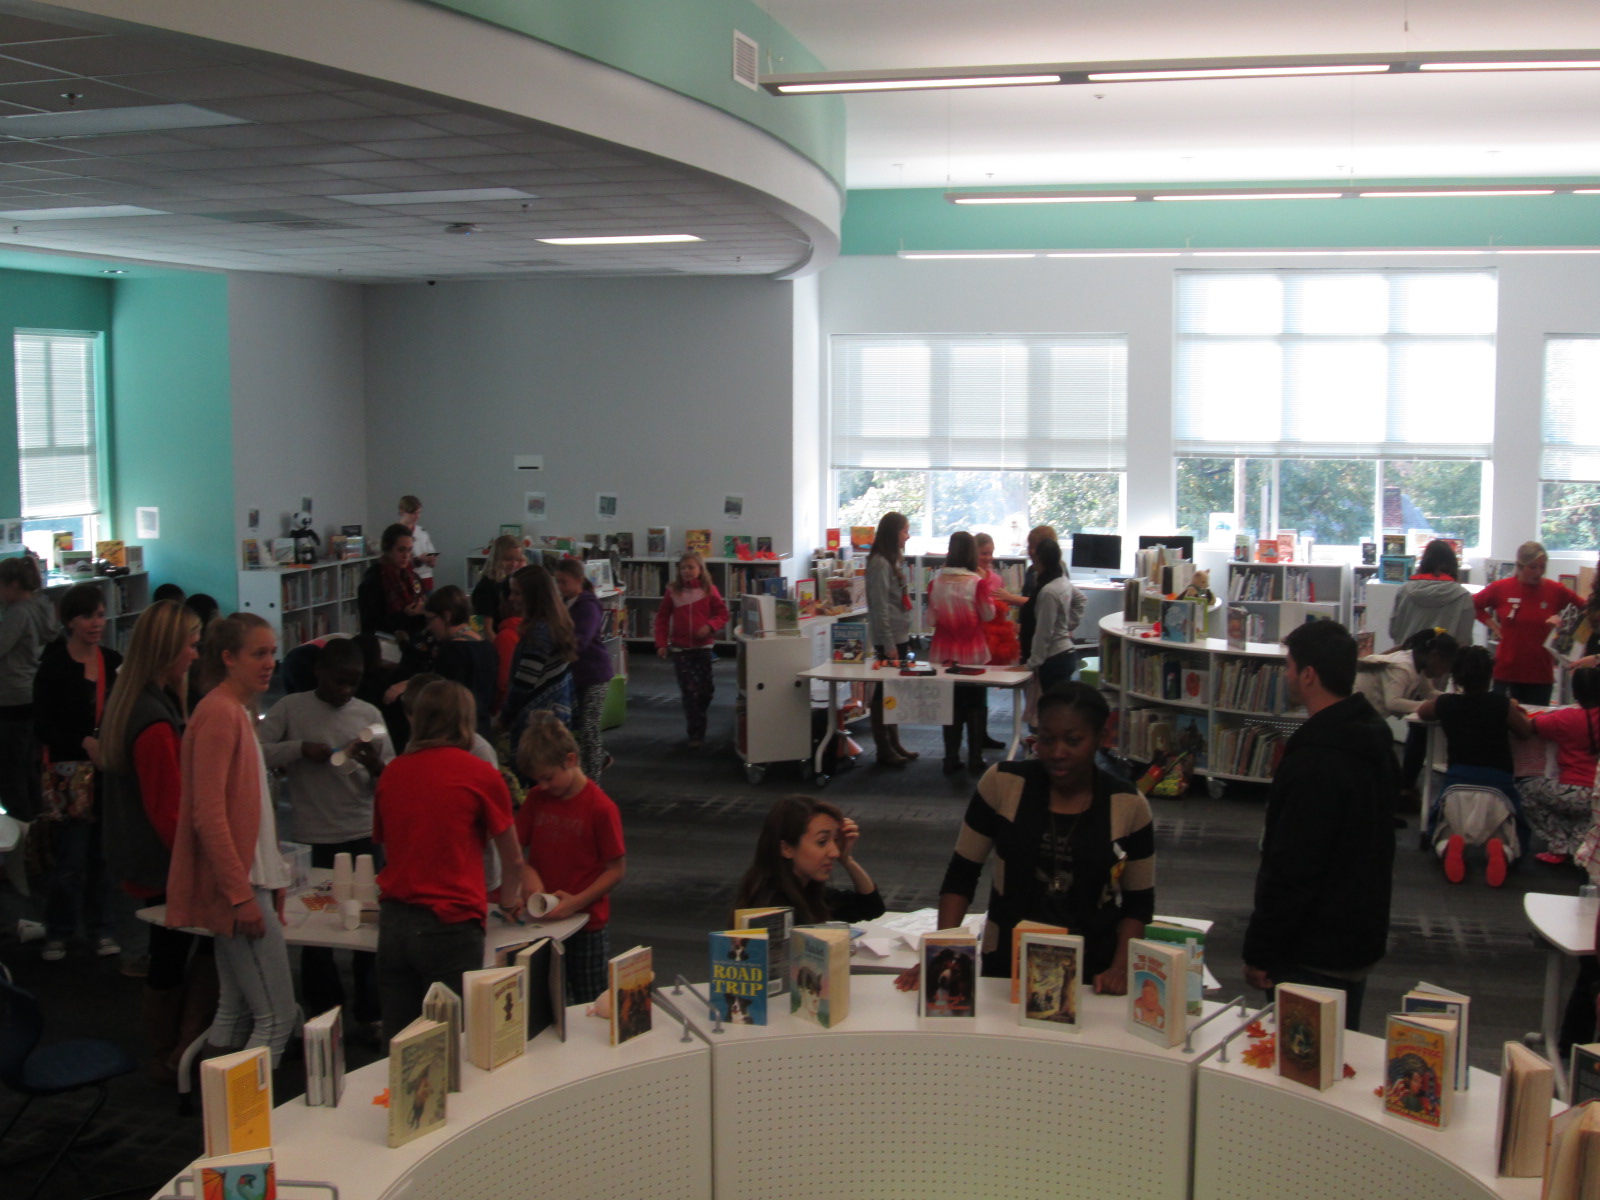
What did this week look like? So many exciting things happened. The biggest is that 54 students have used the space this week during that one-hour time block, and that’s not including Friday!
")
")
")
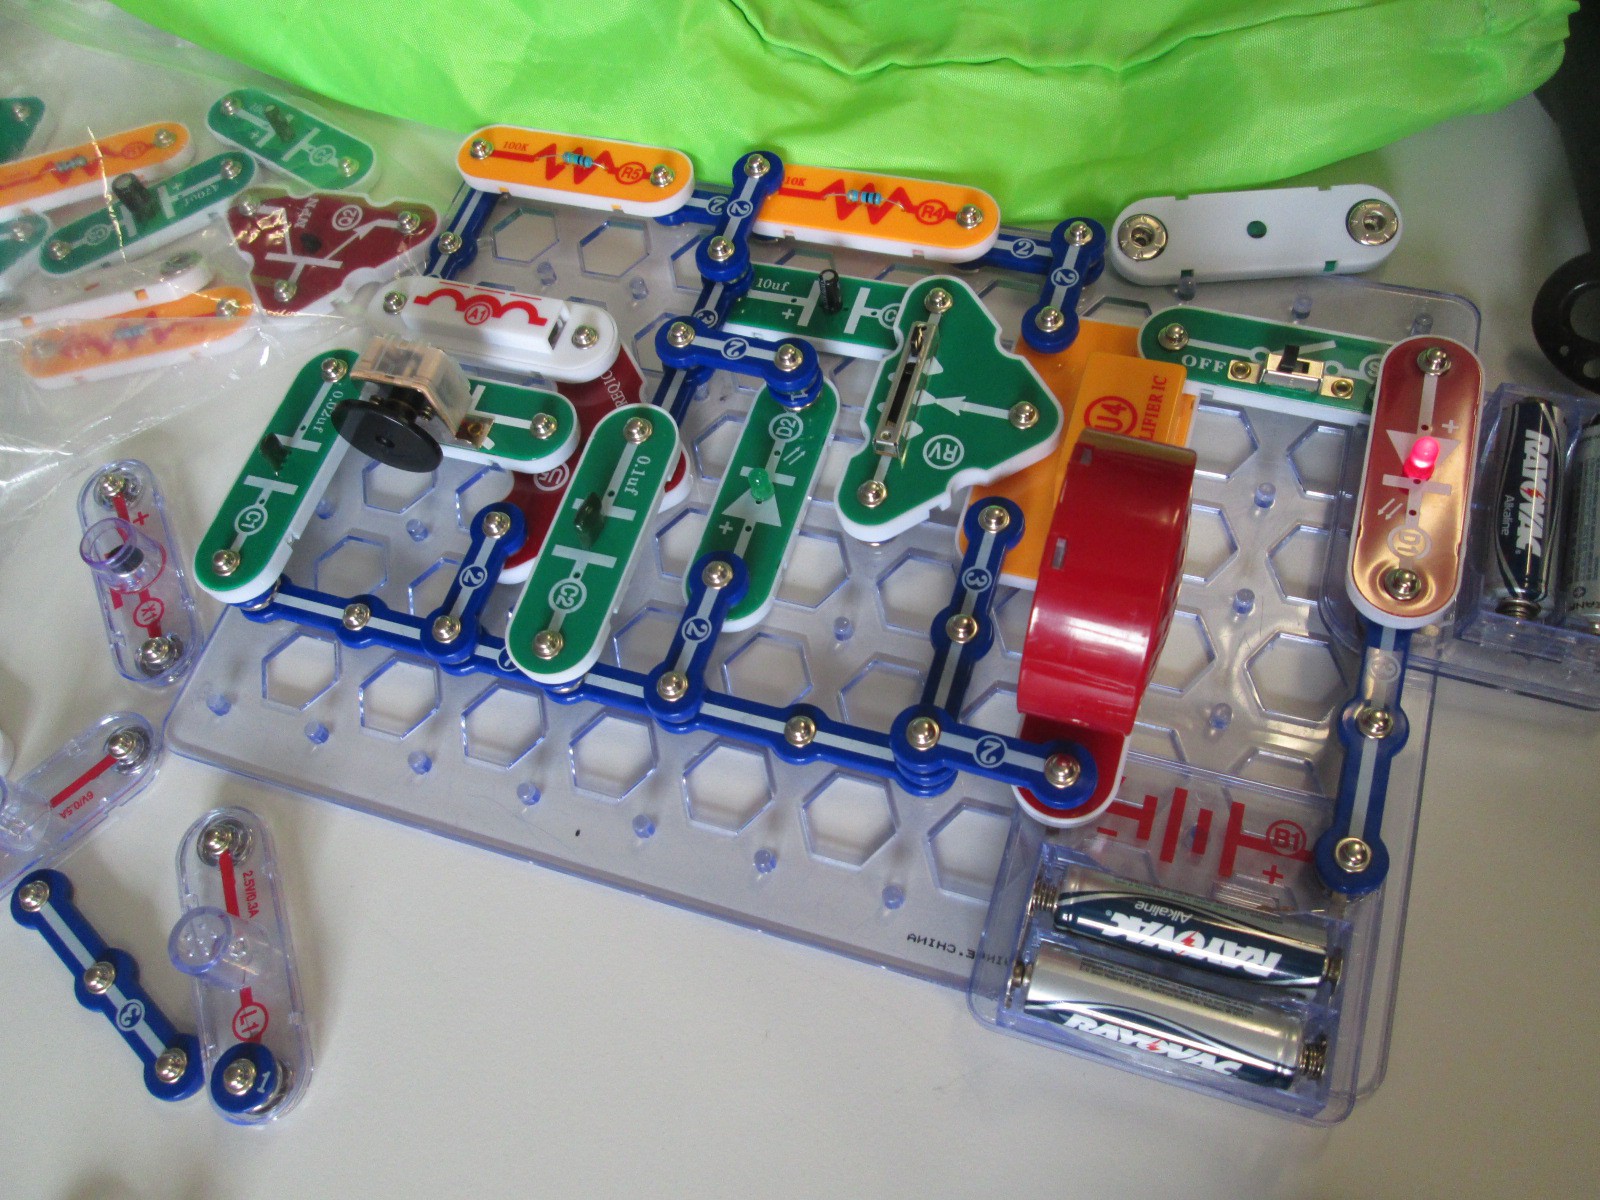
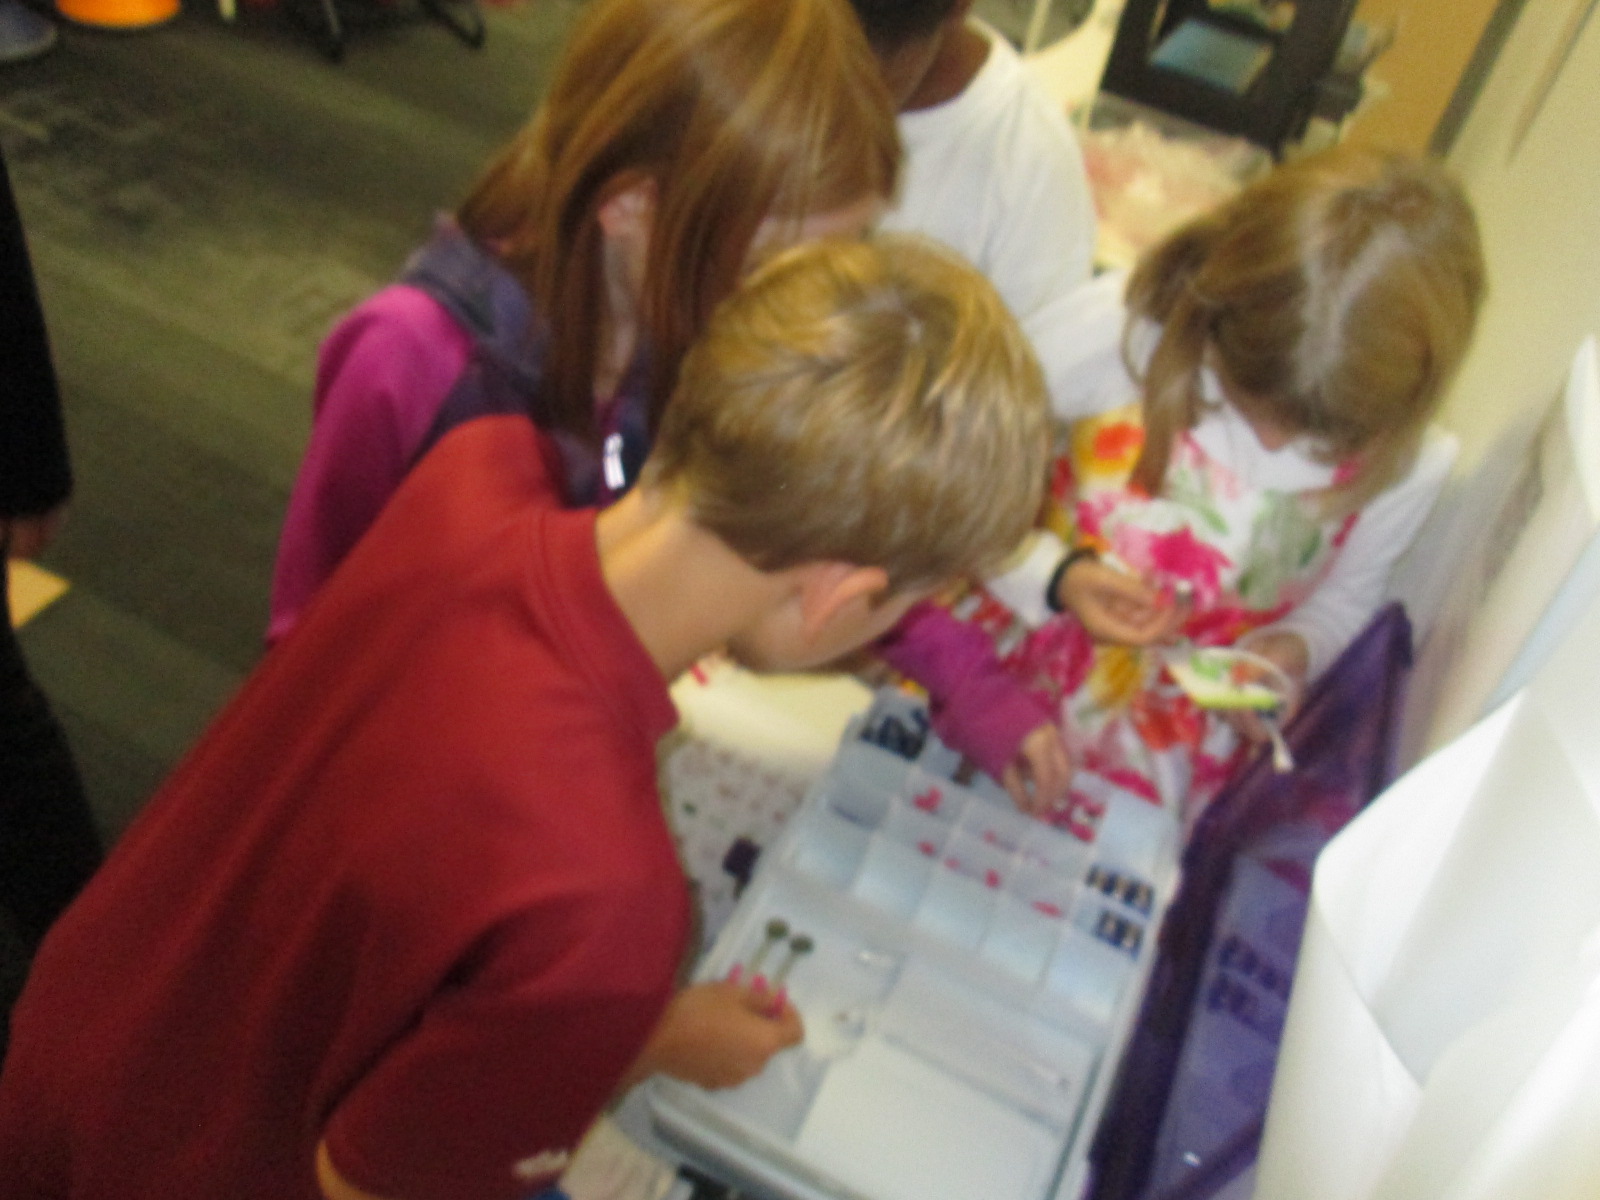
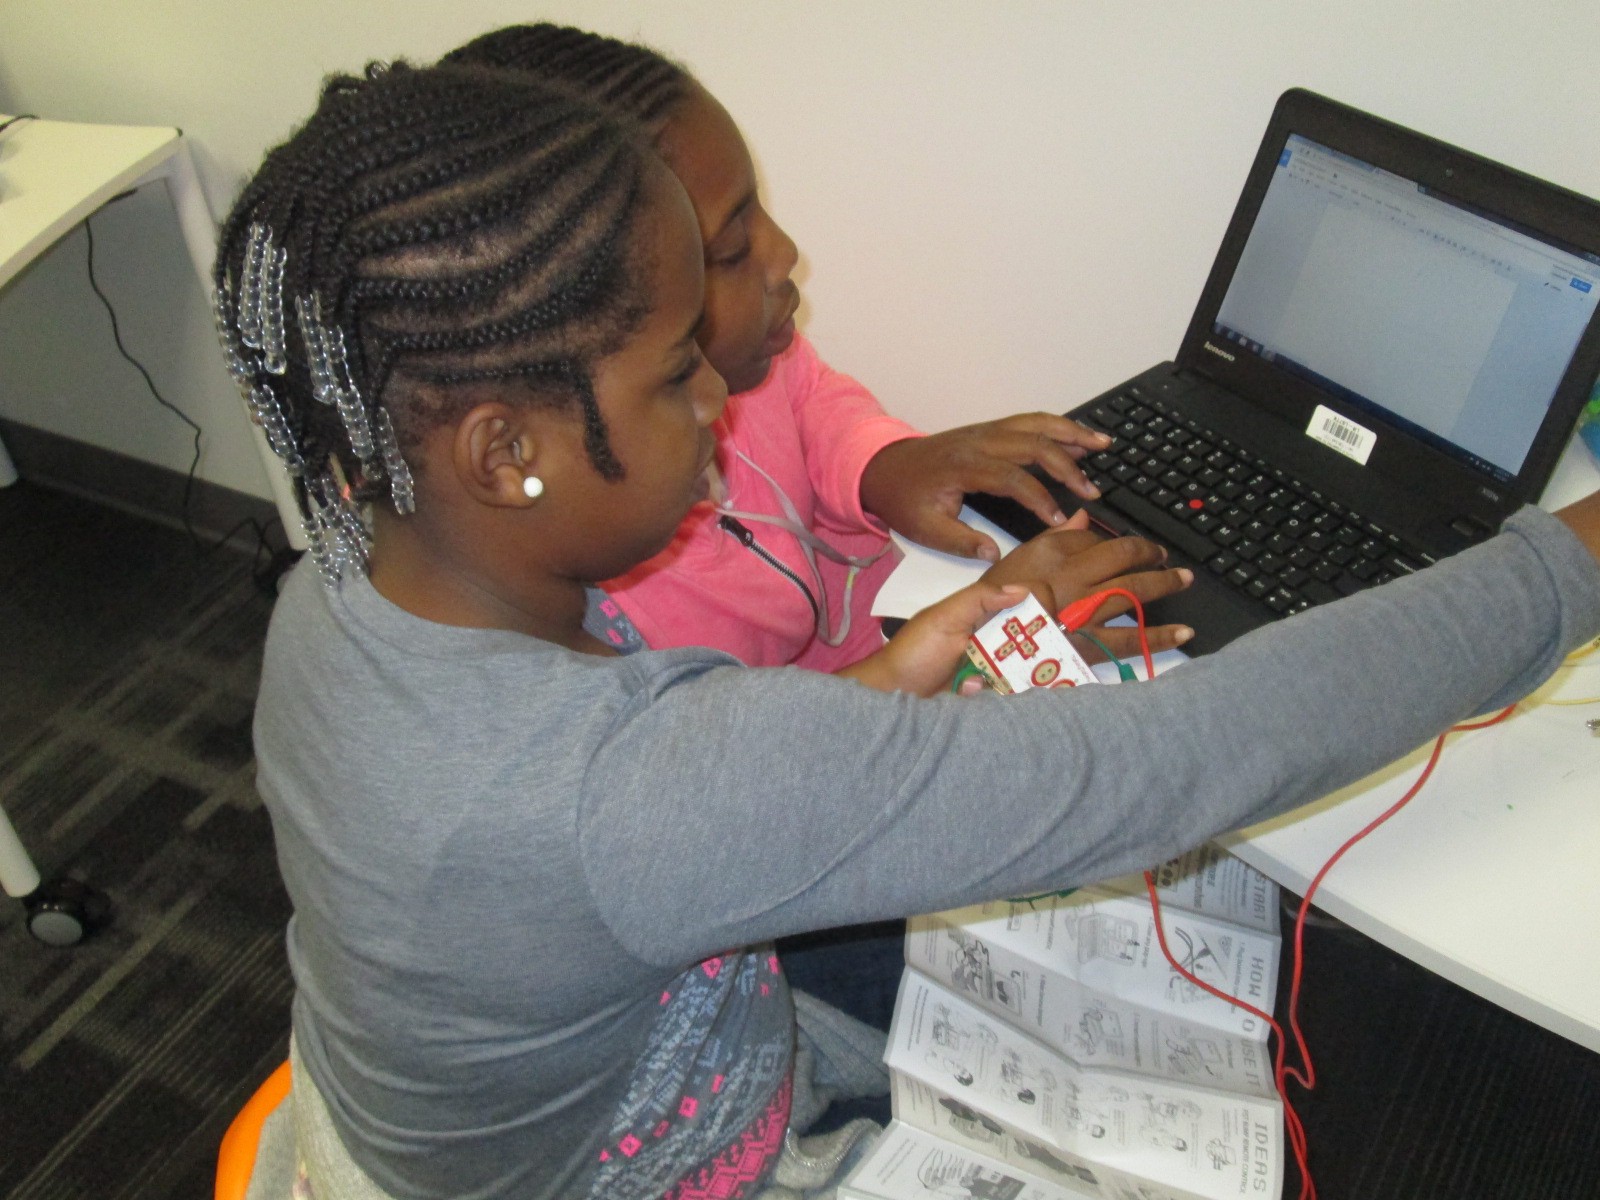
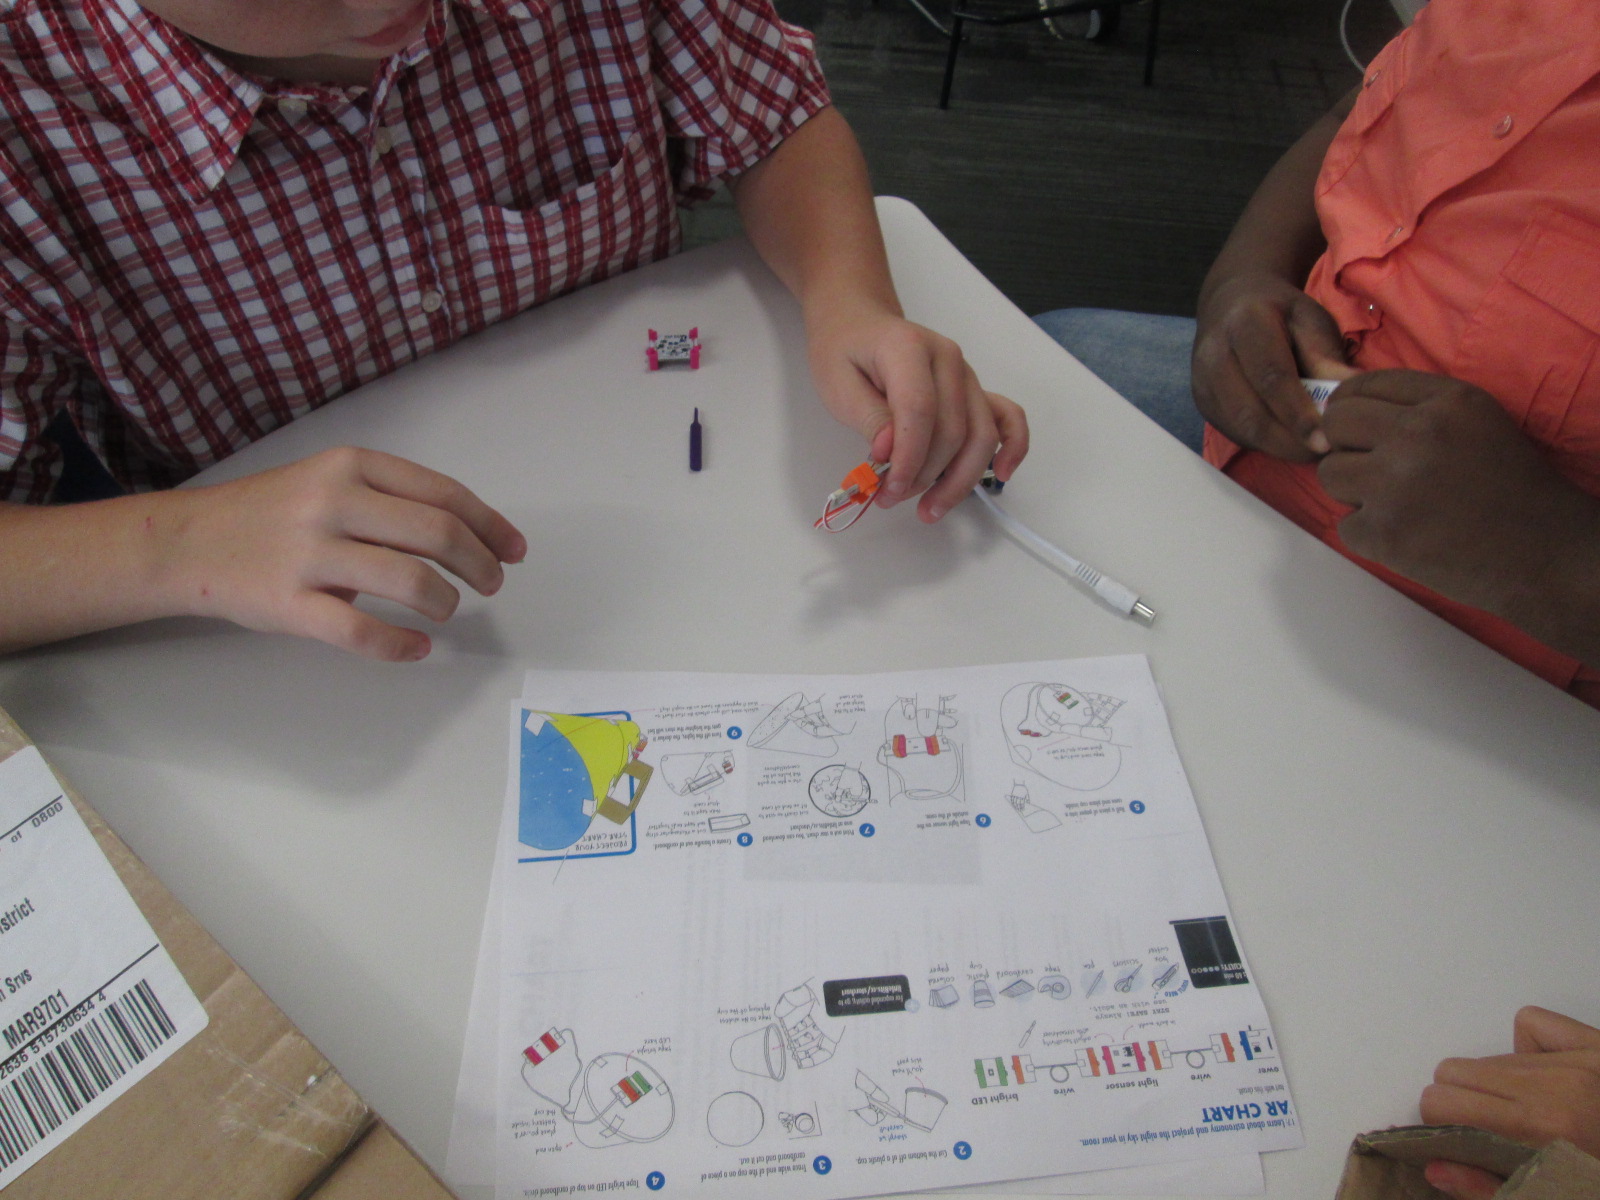
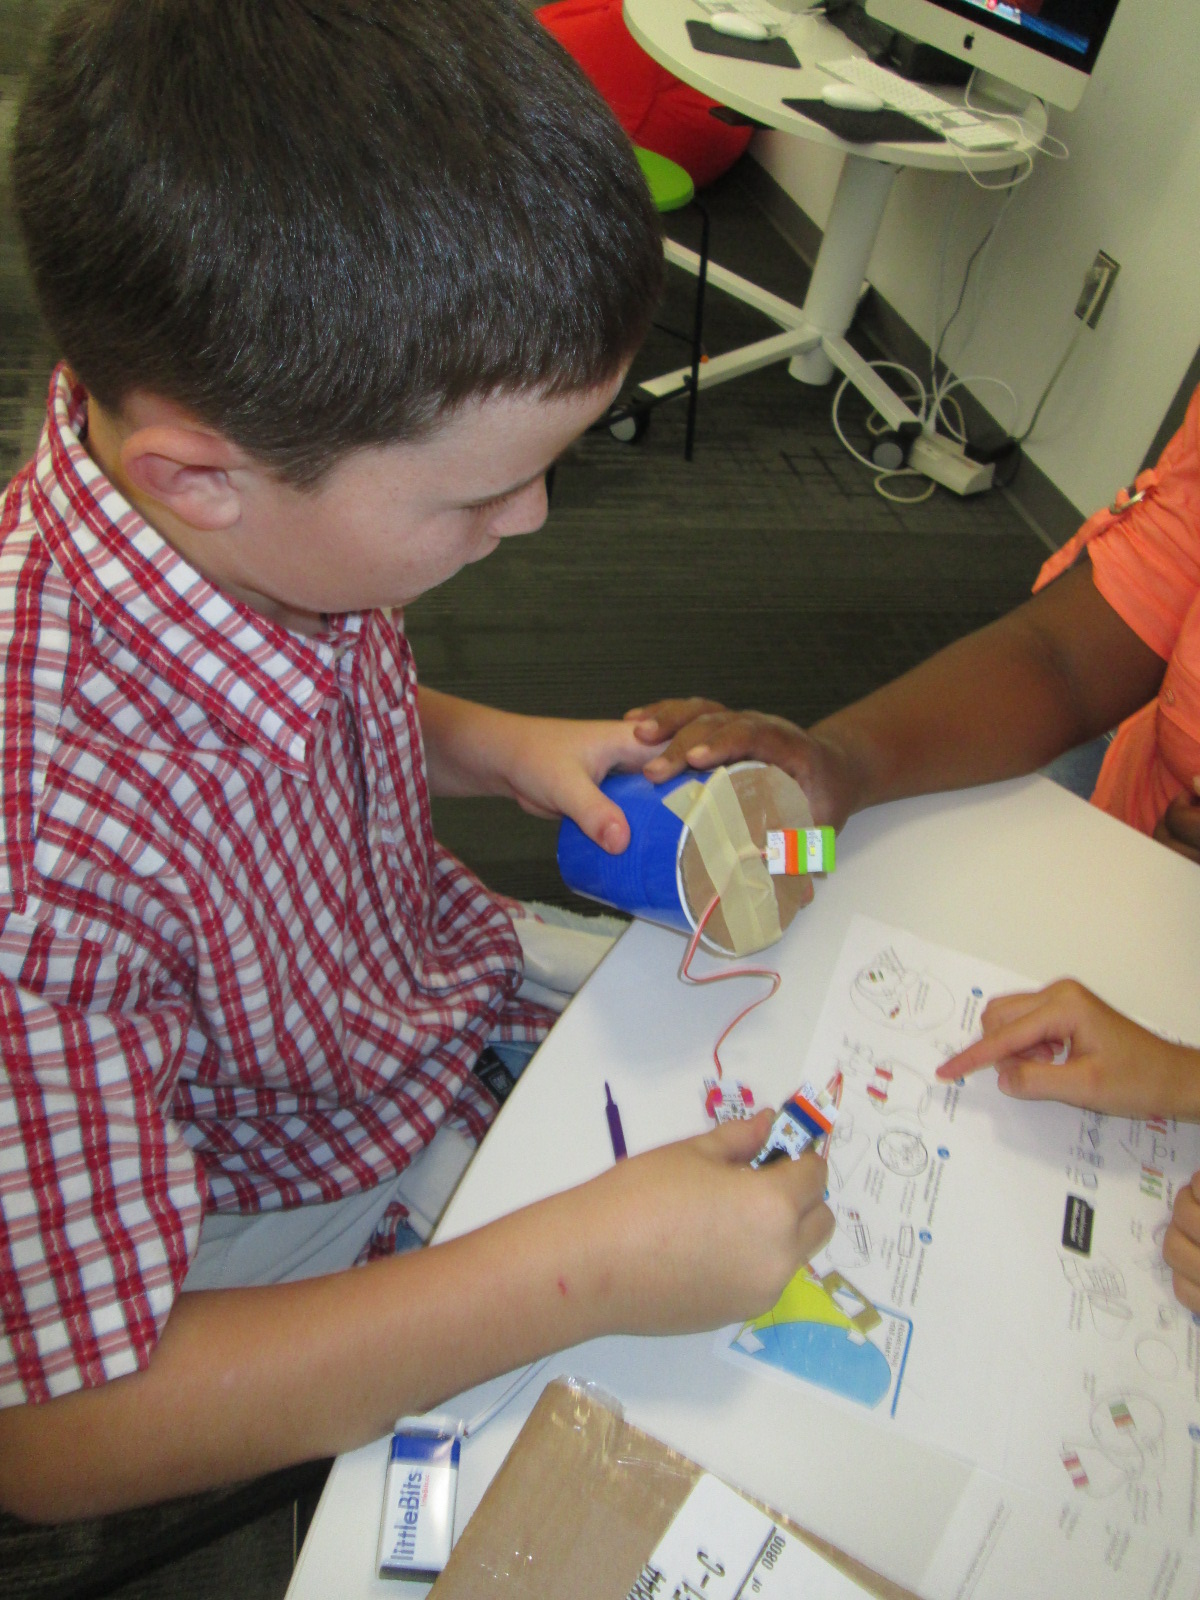
Lots of tinkering with @littleBits this morning. Hopefully we will move to inventing eventually. #tlchat #makered http://t.co/NJgwovOta6—
Andy Plemmons (@plemmonsa) February 03, 2015
")
")
")
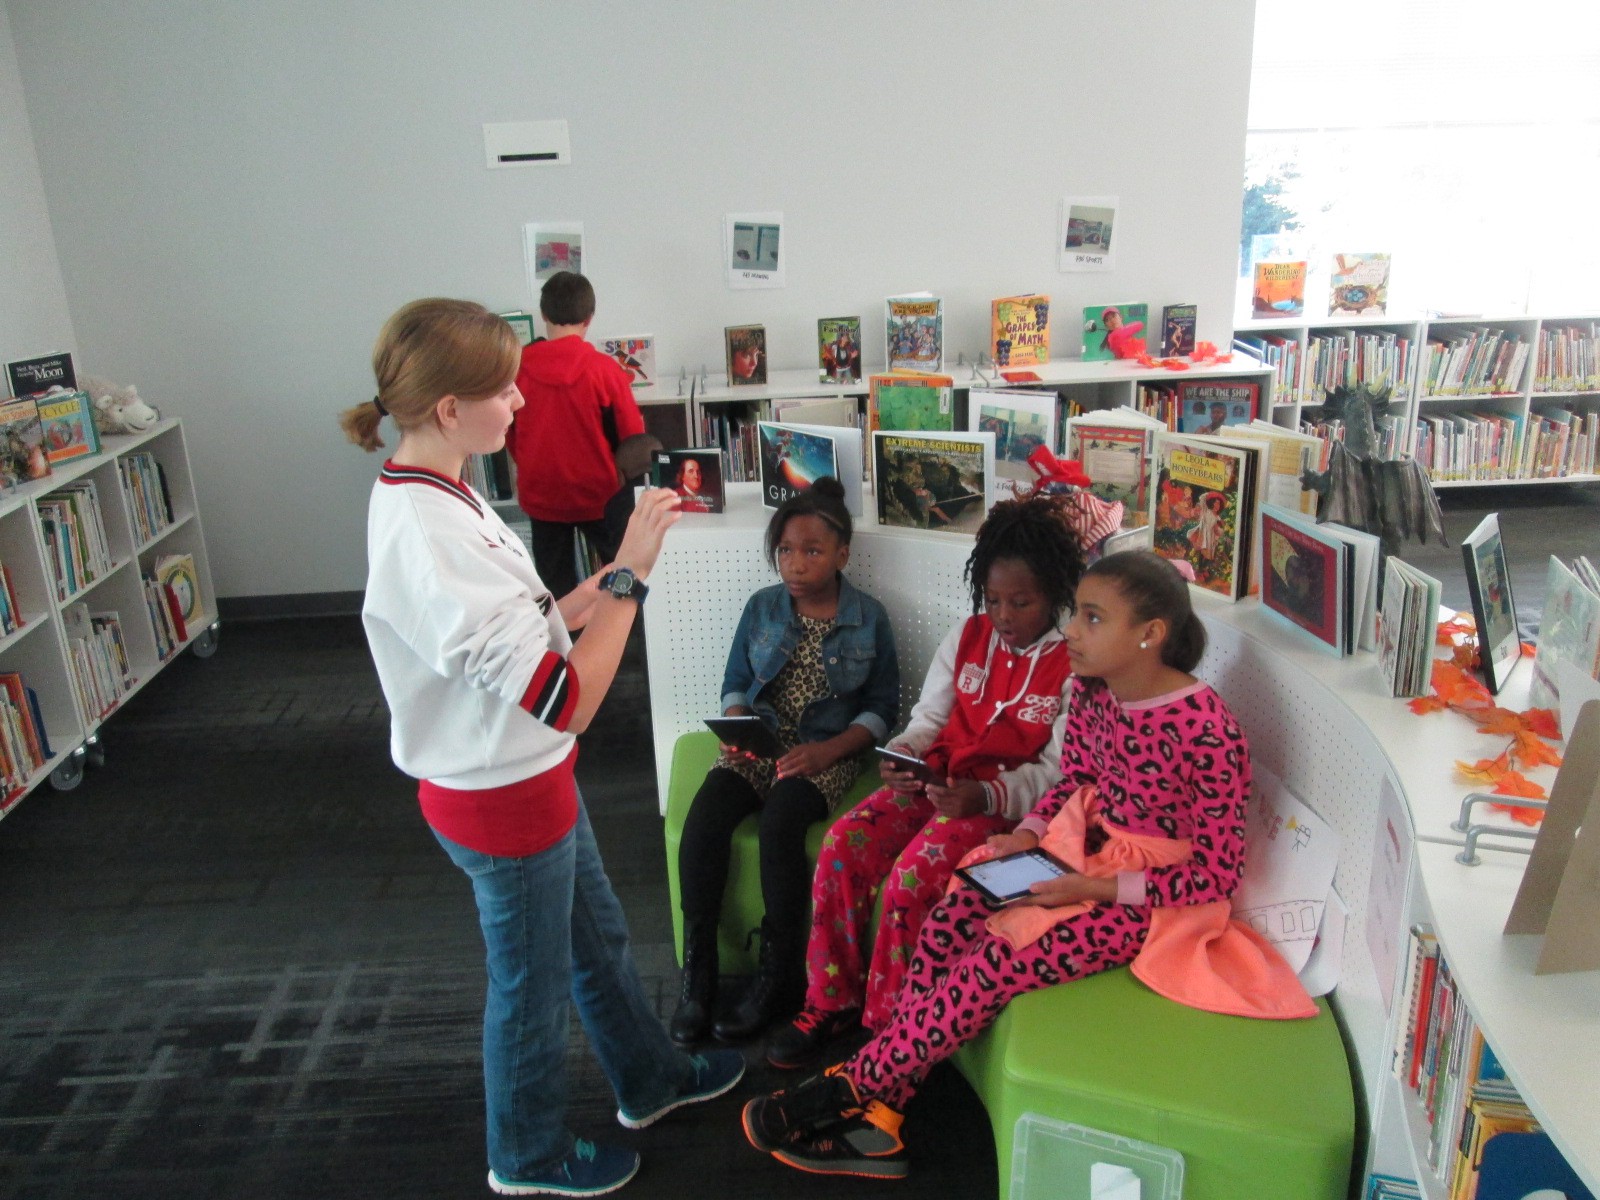
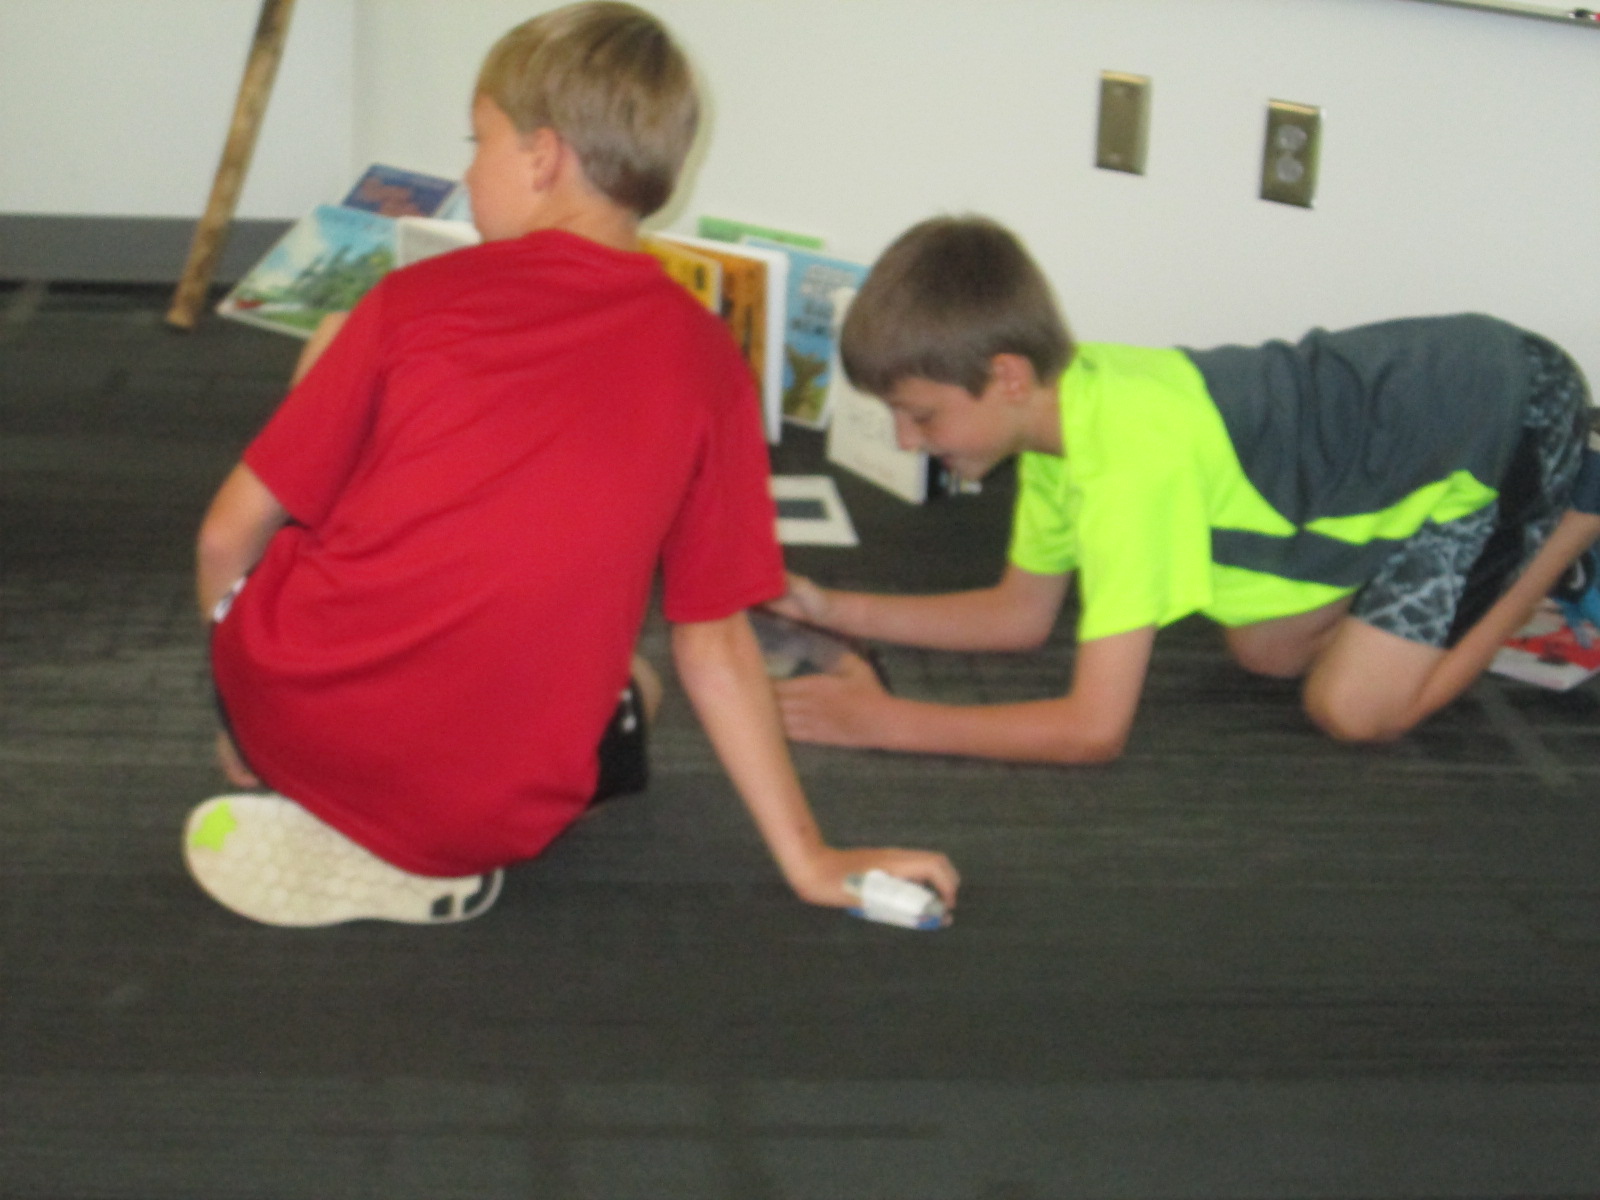
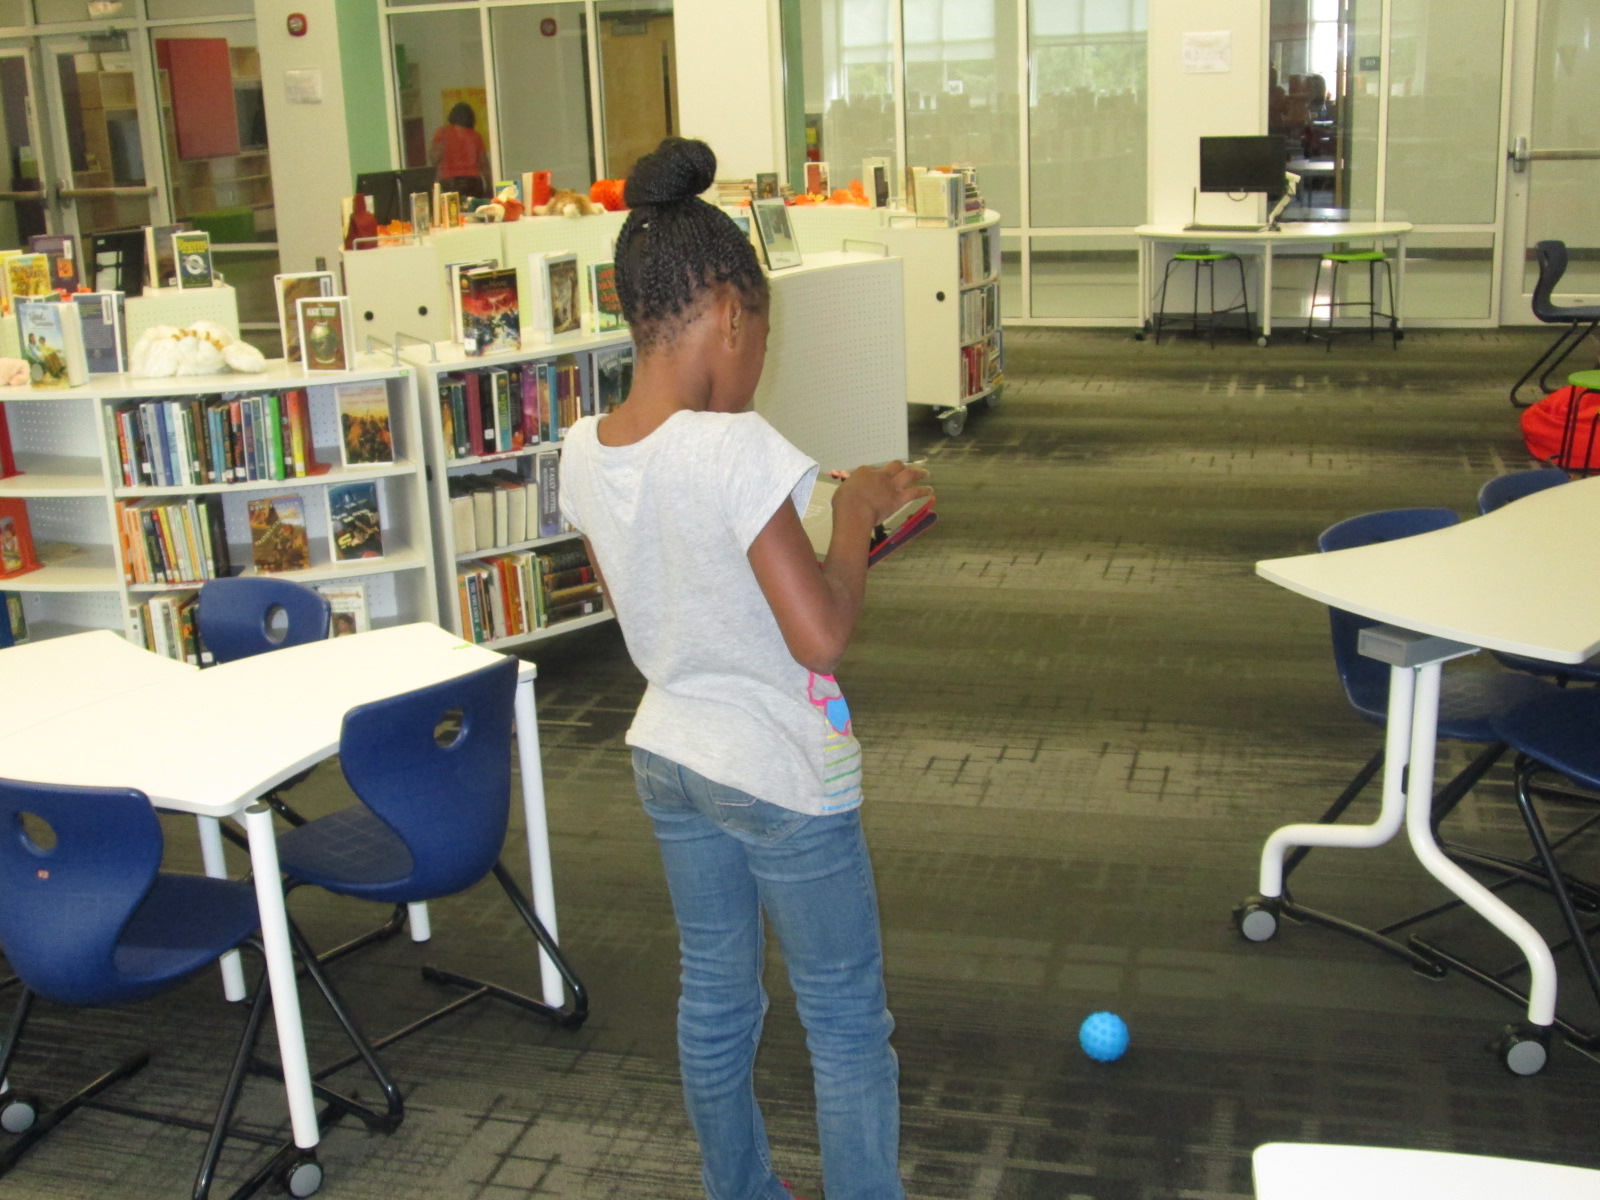
These girls are not giving up as they try to create a @gosphero macro lab that does what they want. #tlchat #makered http://t.co/0bQzfEP6To—
Andy Plemmons (@plemmonsa) February 03, 2015
UGA @ugaCOE Ss are leading open #makerspace each day from 11-12:15. Ss love it! @ilovethisclass #tlchat #Makered http://t.co/stCGm5EQYJ—
Andy Plemmons (@plemmonsa) February 04, 2015
We also got to try out Google Cardboard, which was just a little bit exciting for some of our students!
.@plemmonsa takes a ride on a #GoogleCardboard roller coaster http://t.co/kxEinkMpcI—
Gretchen Thomas (@ilovethisclass) February 03, 2015
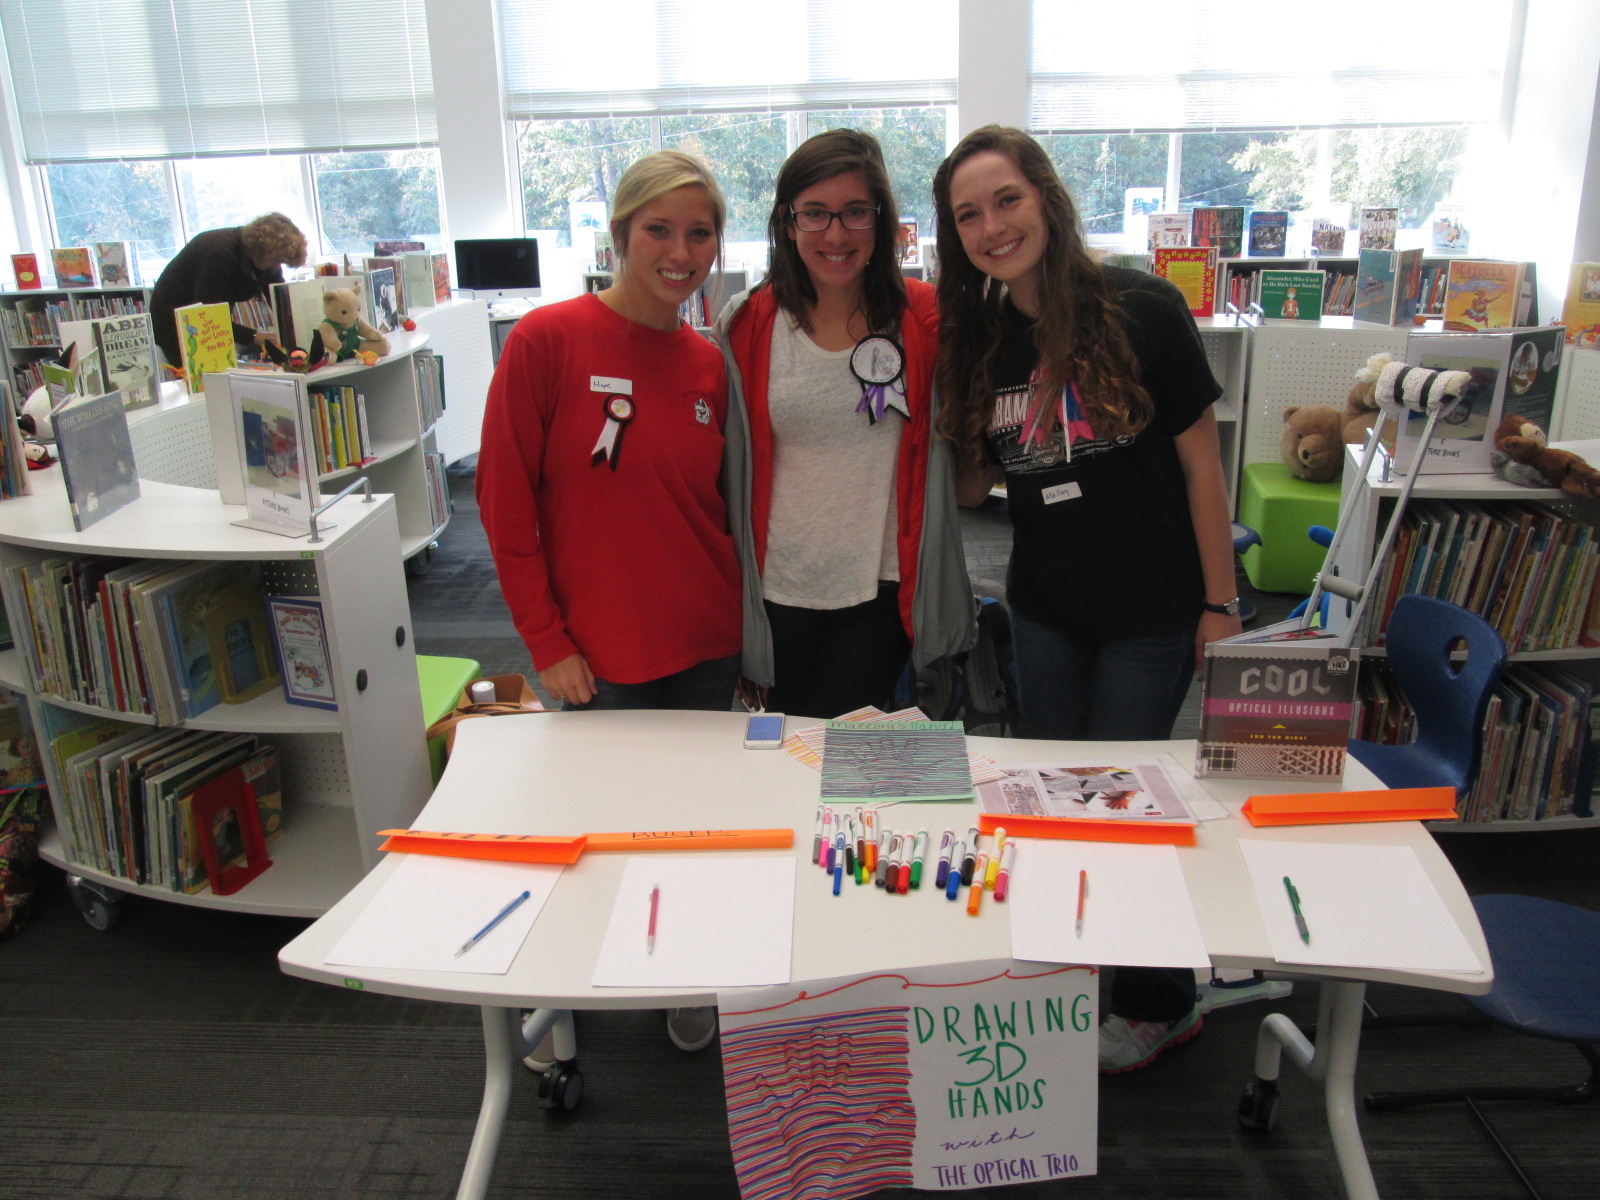
And just for fun, here’s one of our UGA makerspace helpers!
@plemmonsa – one of your UGA maker space helpers! We need maker space posters like this!! http://t.co/mba1El1fQW—
Gretchen Thomas (@ilovethisclass) February 05, 2015


")


")
")

")
")


")
")
")
")
")
")
")
")
")
")