Letting Kindergarten Imagination Soar with Blokify and Makerbot

blokify (4)
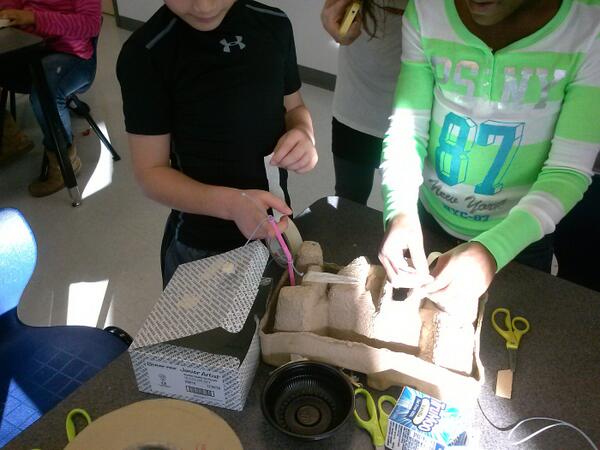
Mrs. Kelly Hocking’s Kindergarten class just started a collaborative project with the art teacher and the media center.  Her class has been very inquisitive about structures and sculptures and what it’s like to be inside of those structures.  For example, they’ve looked closely at the Statue of Liberty and they are fascinated with the idea of going inside and looking out from the crown.  In art, Mrs. Foretich is introducing maquette sculpture which is a small scale model of a rough draft or unfinished work.  It allows them to test how different shapes are put together without making a full sculpture.

blokify (10)

These 2 ideas started coming together in a project.  Mrs. Hocking started exploring Minecraft at home and thinking about how worlds and structures were created in the virtual world.  Then she started wondering how this might flow into the discussions her class was already having about imagining and going inside of structures.  This is when we started talking about Blokify as a tool for putting together blocks to create a larger structure.

Mrs. Kelly, the art teacher, and I all met to brainstorm.  Students will eventually build a larger sculpture out of shapes in art.  Their art standard is:

GPS: Demonstrates that shapes can be put together to make new shapes or forms.

Their essential question is:

How do artists build Sculptures?

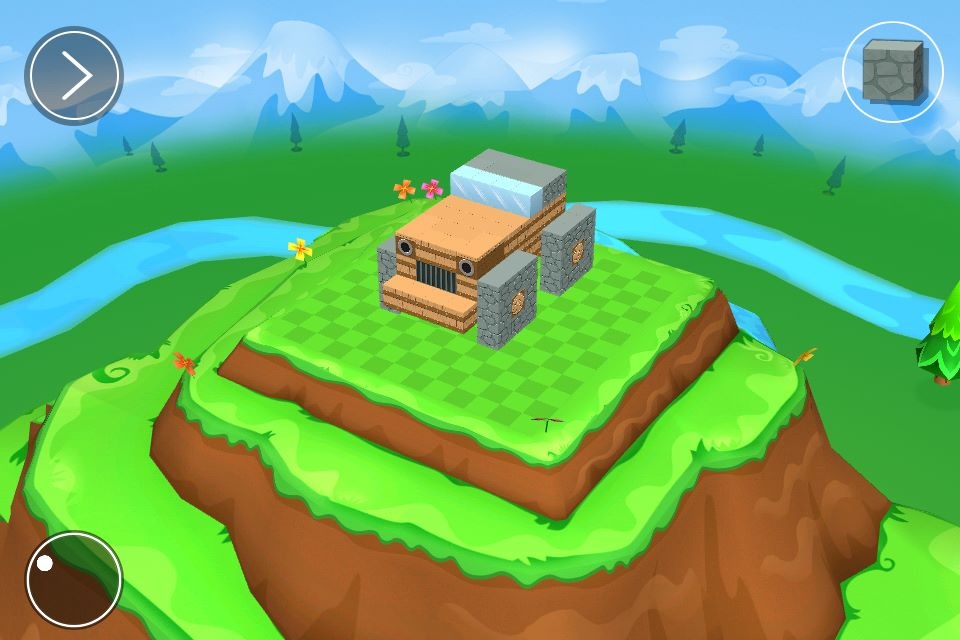
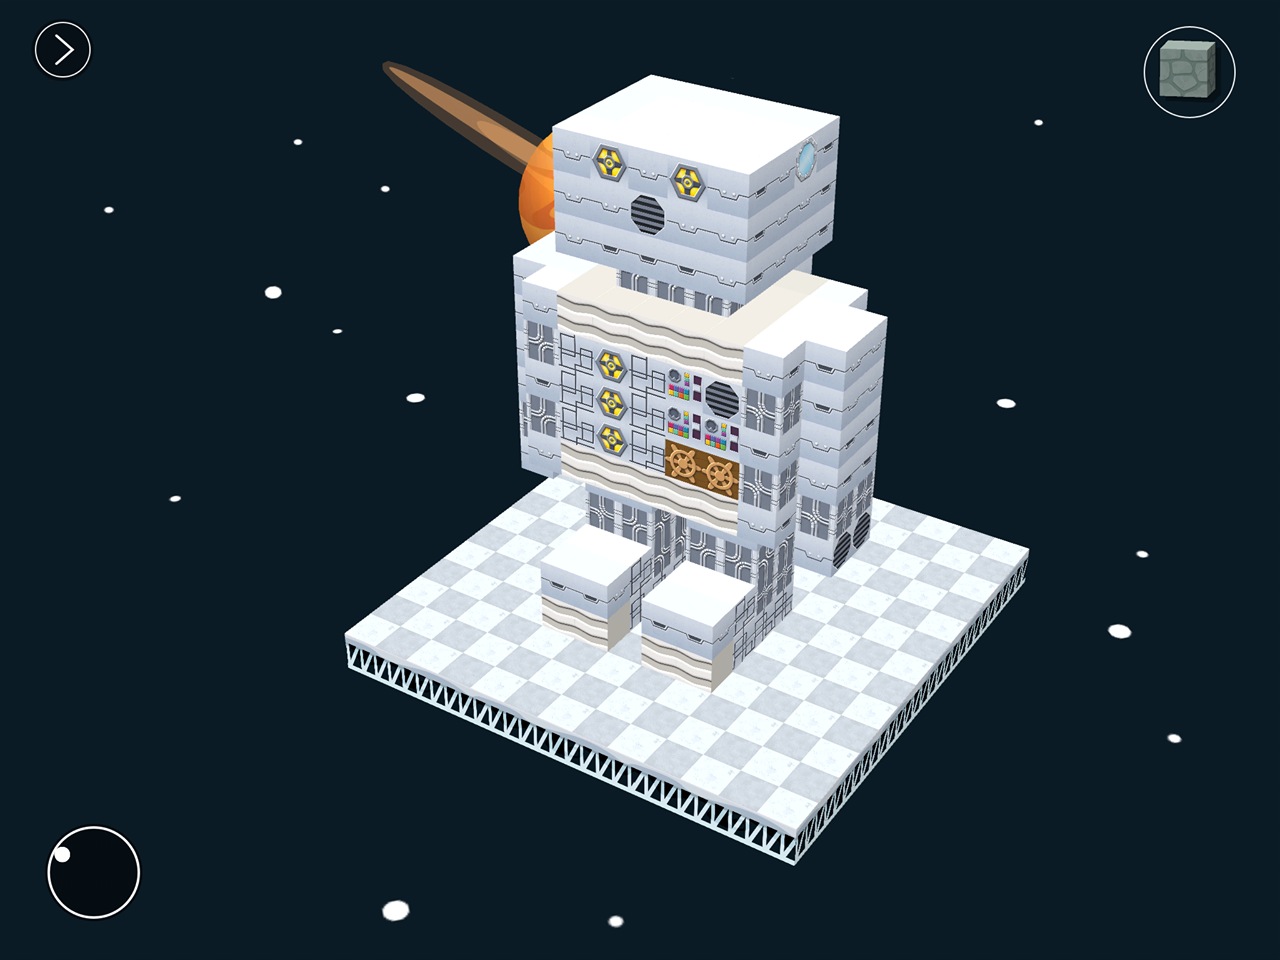
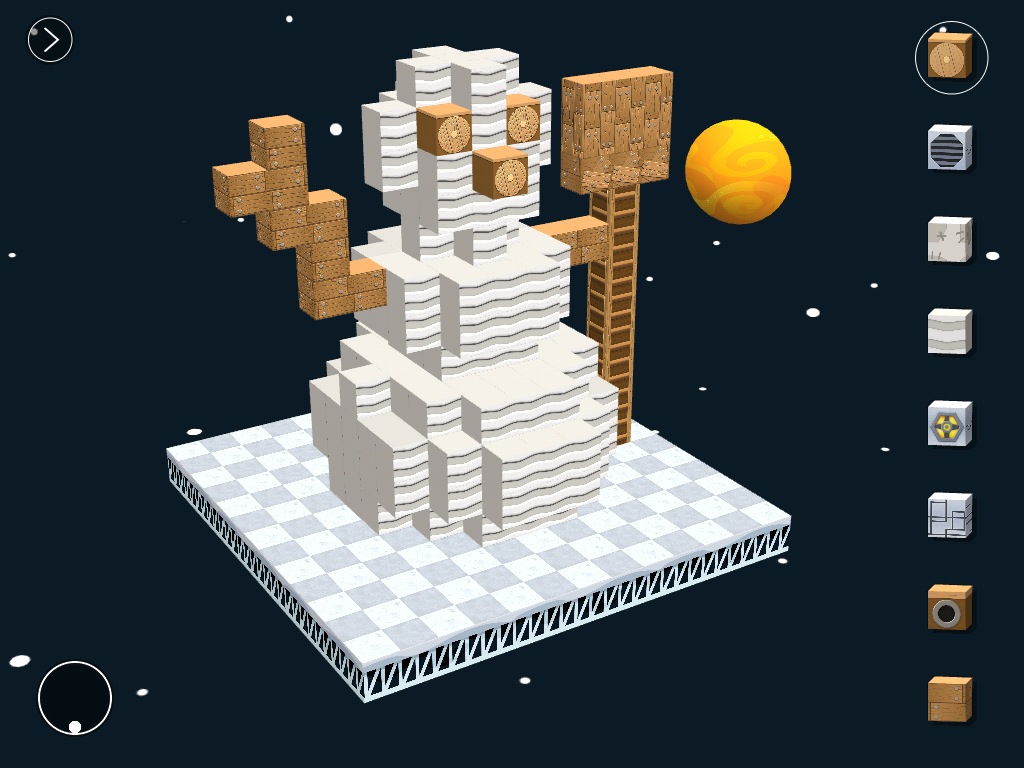
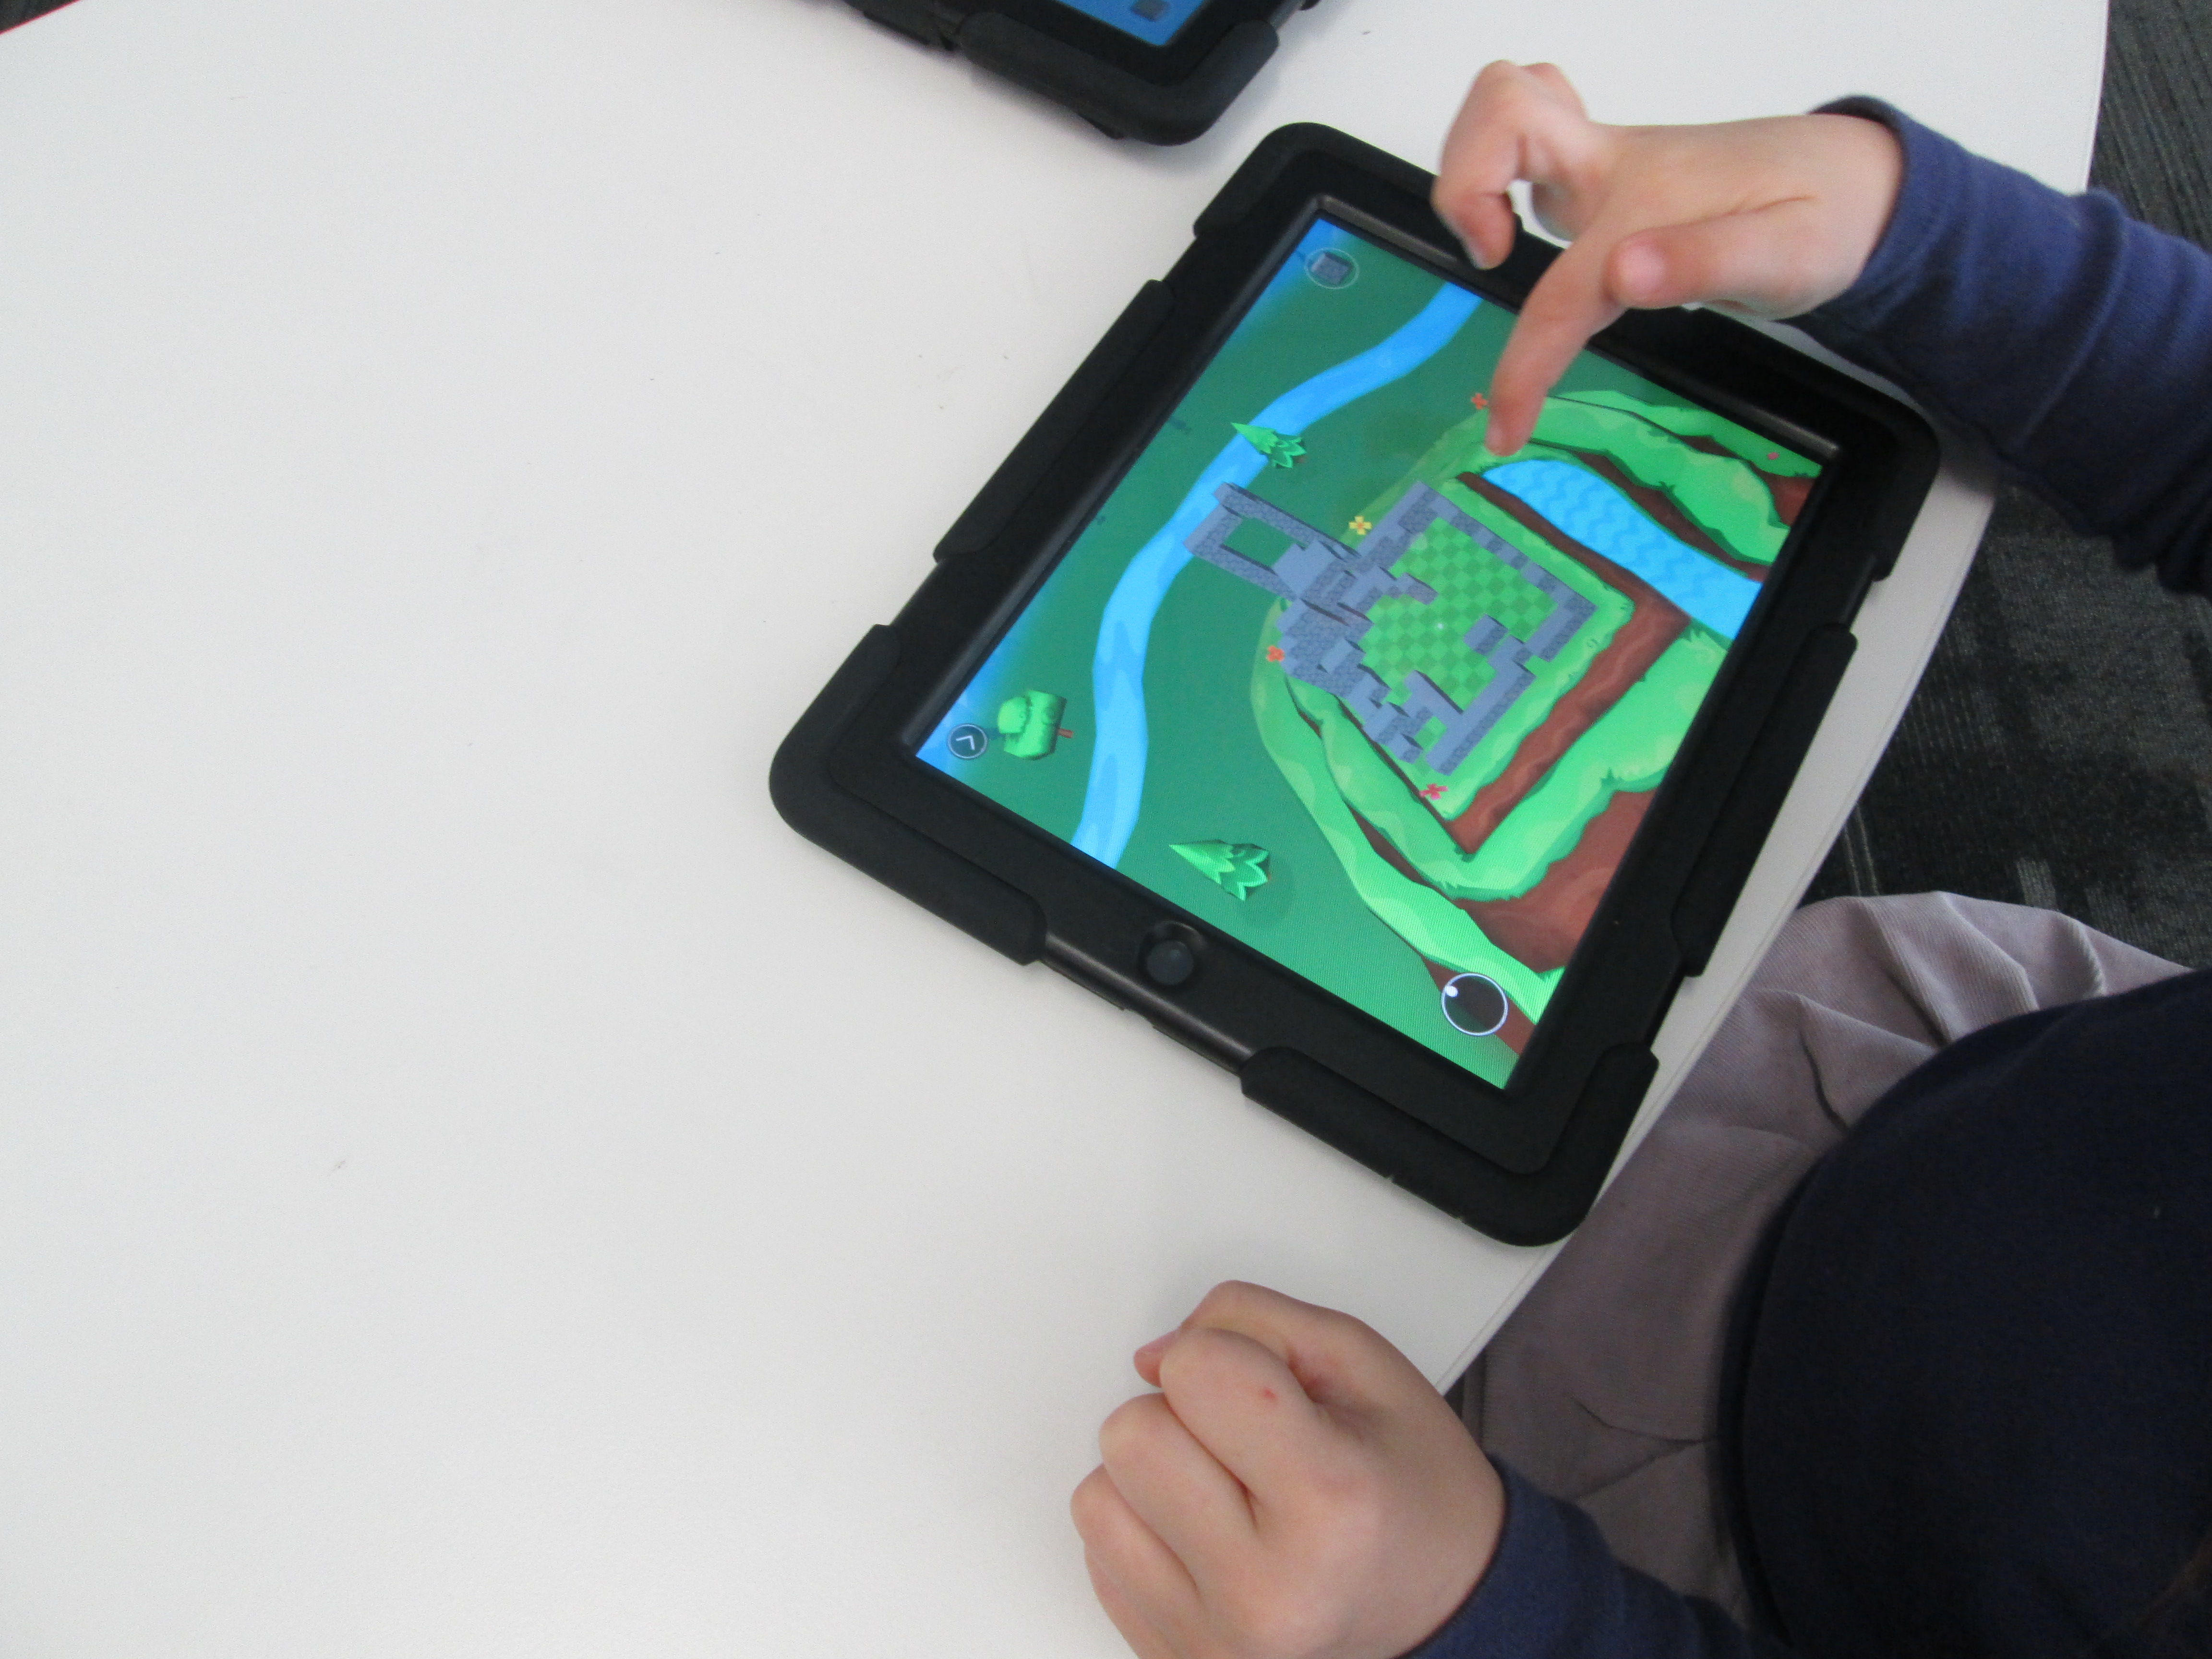
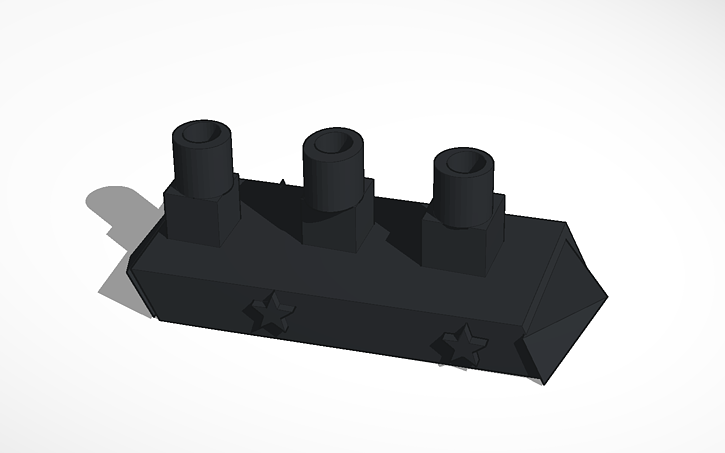
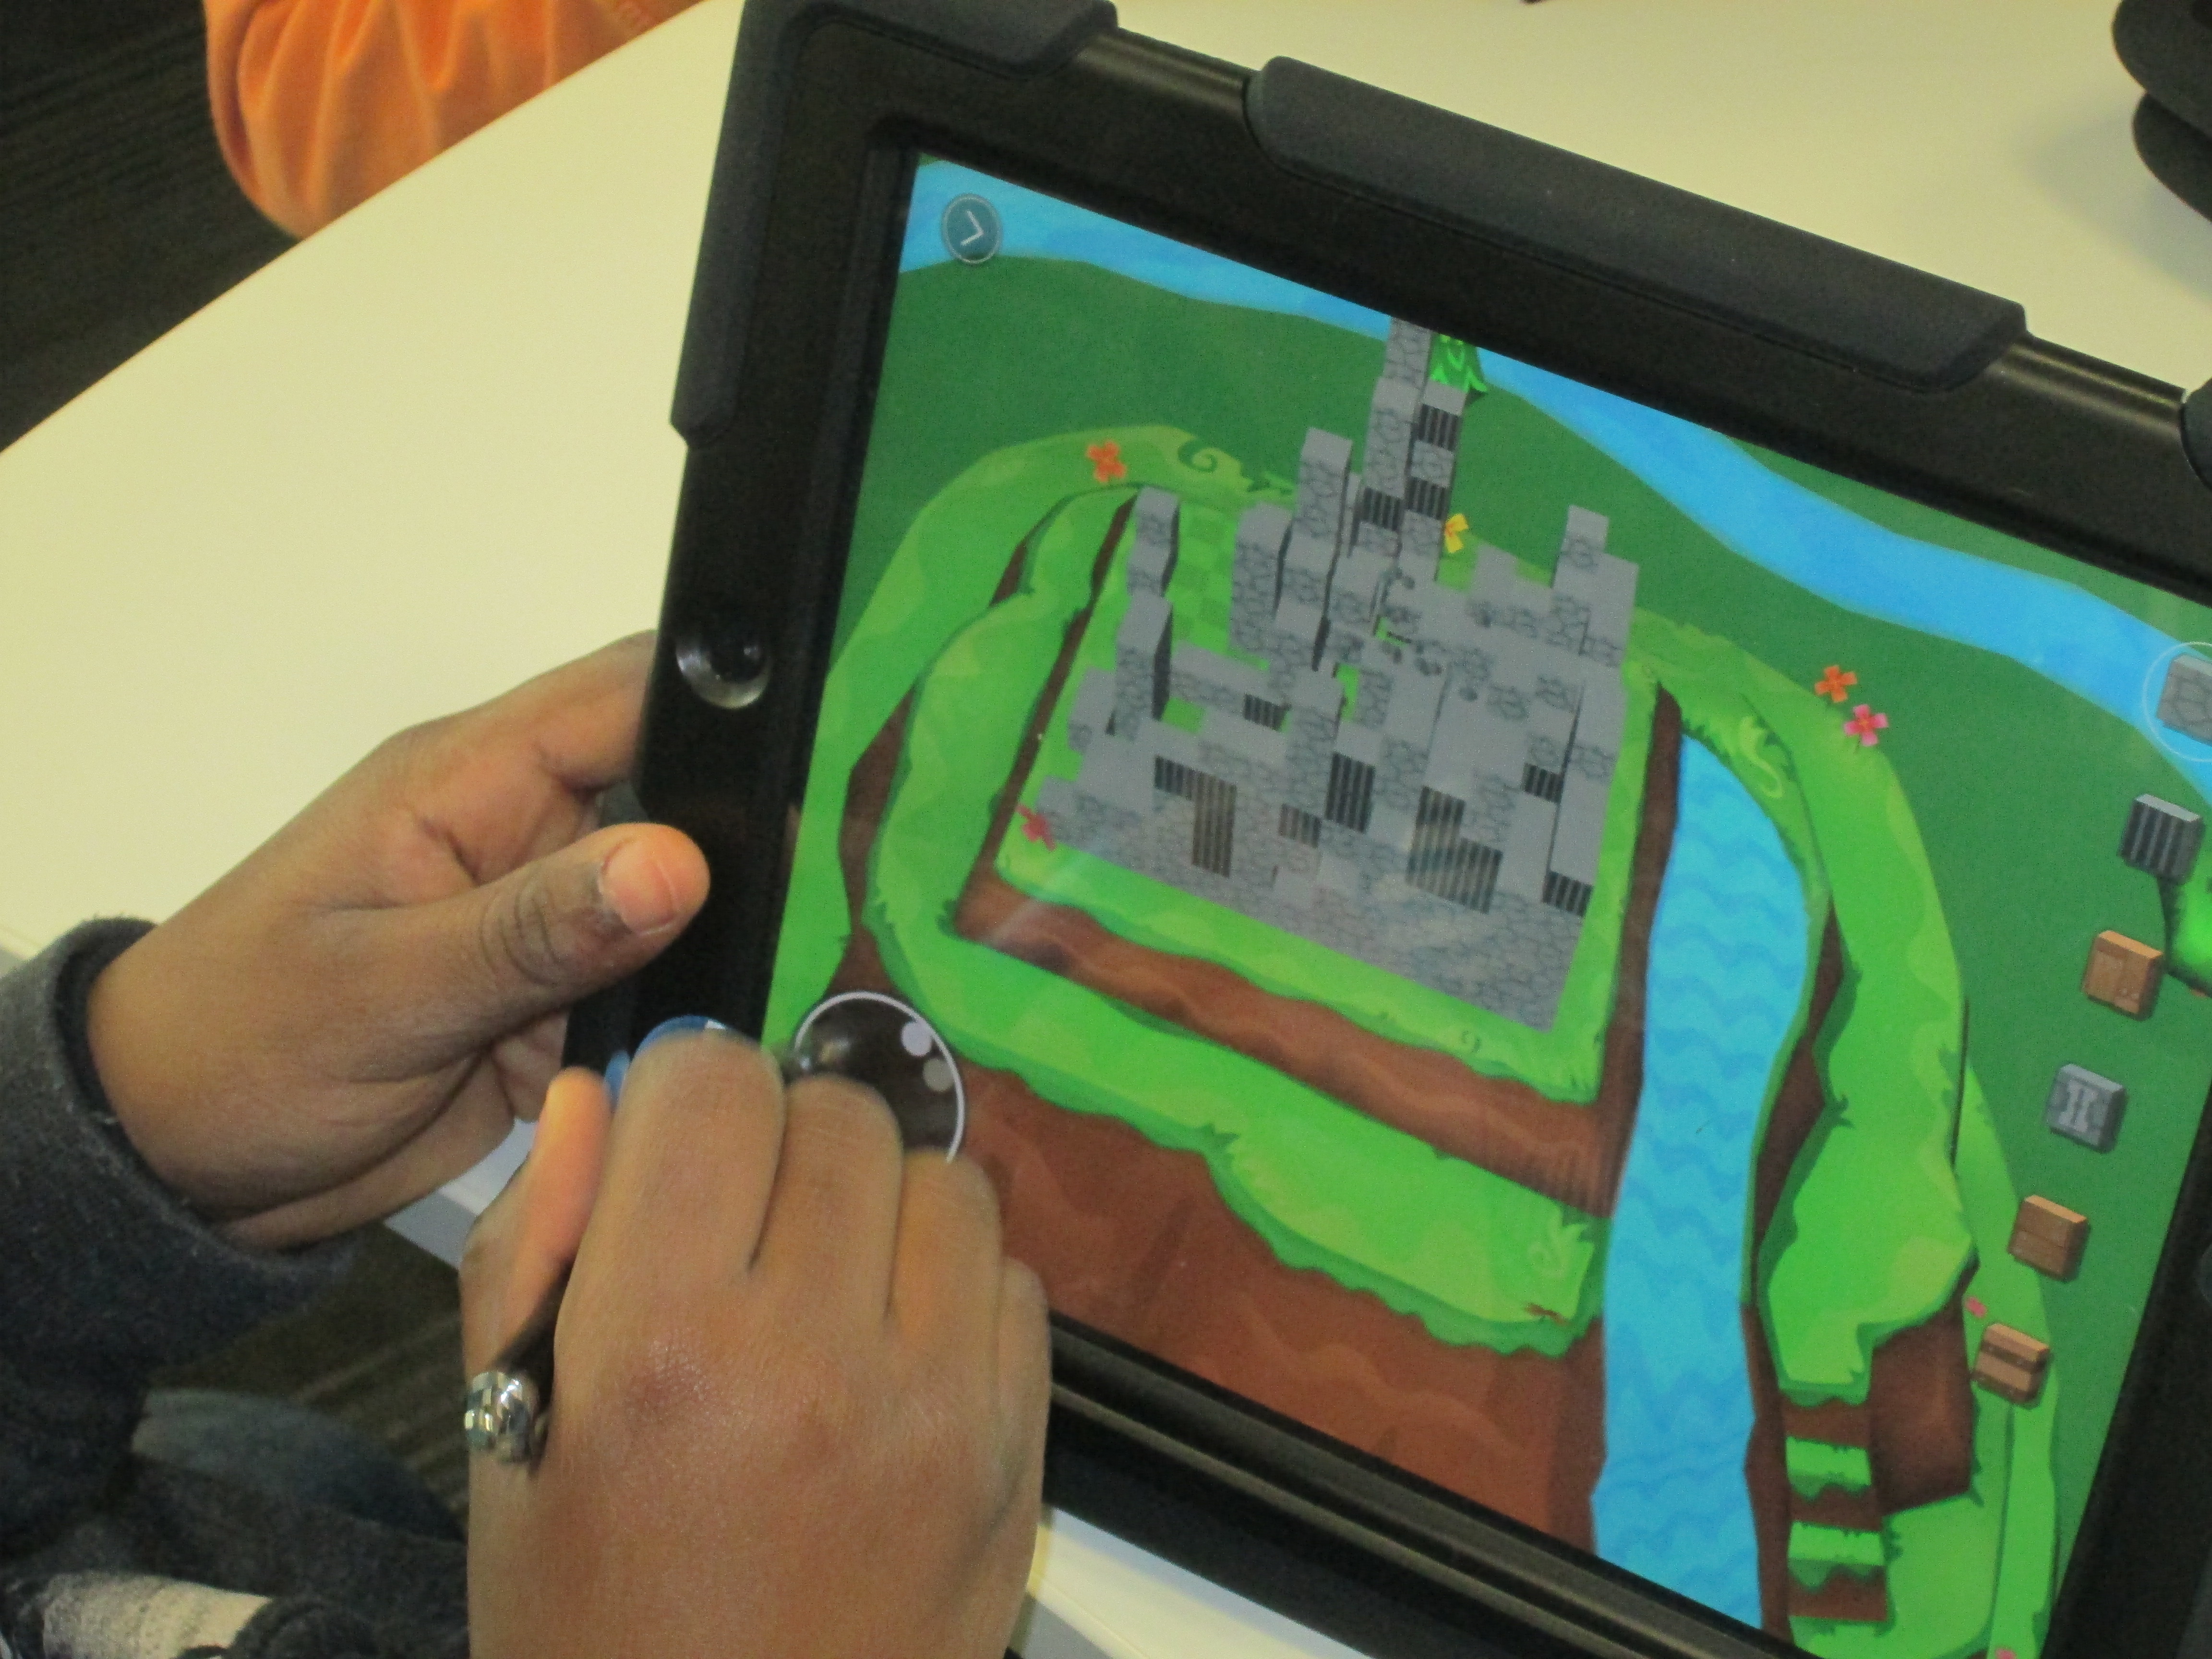
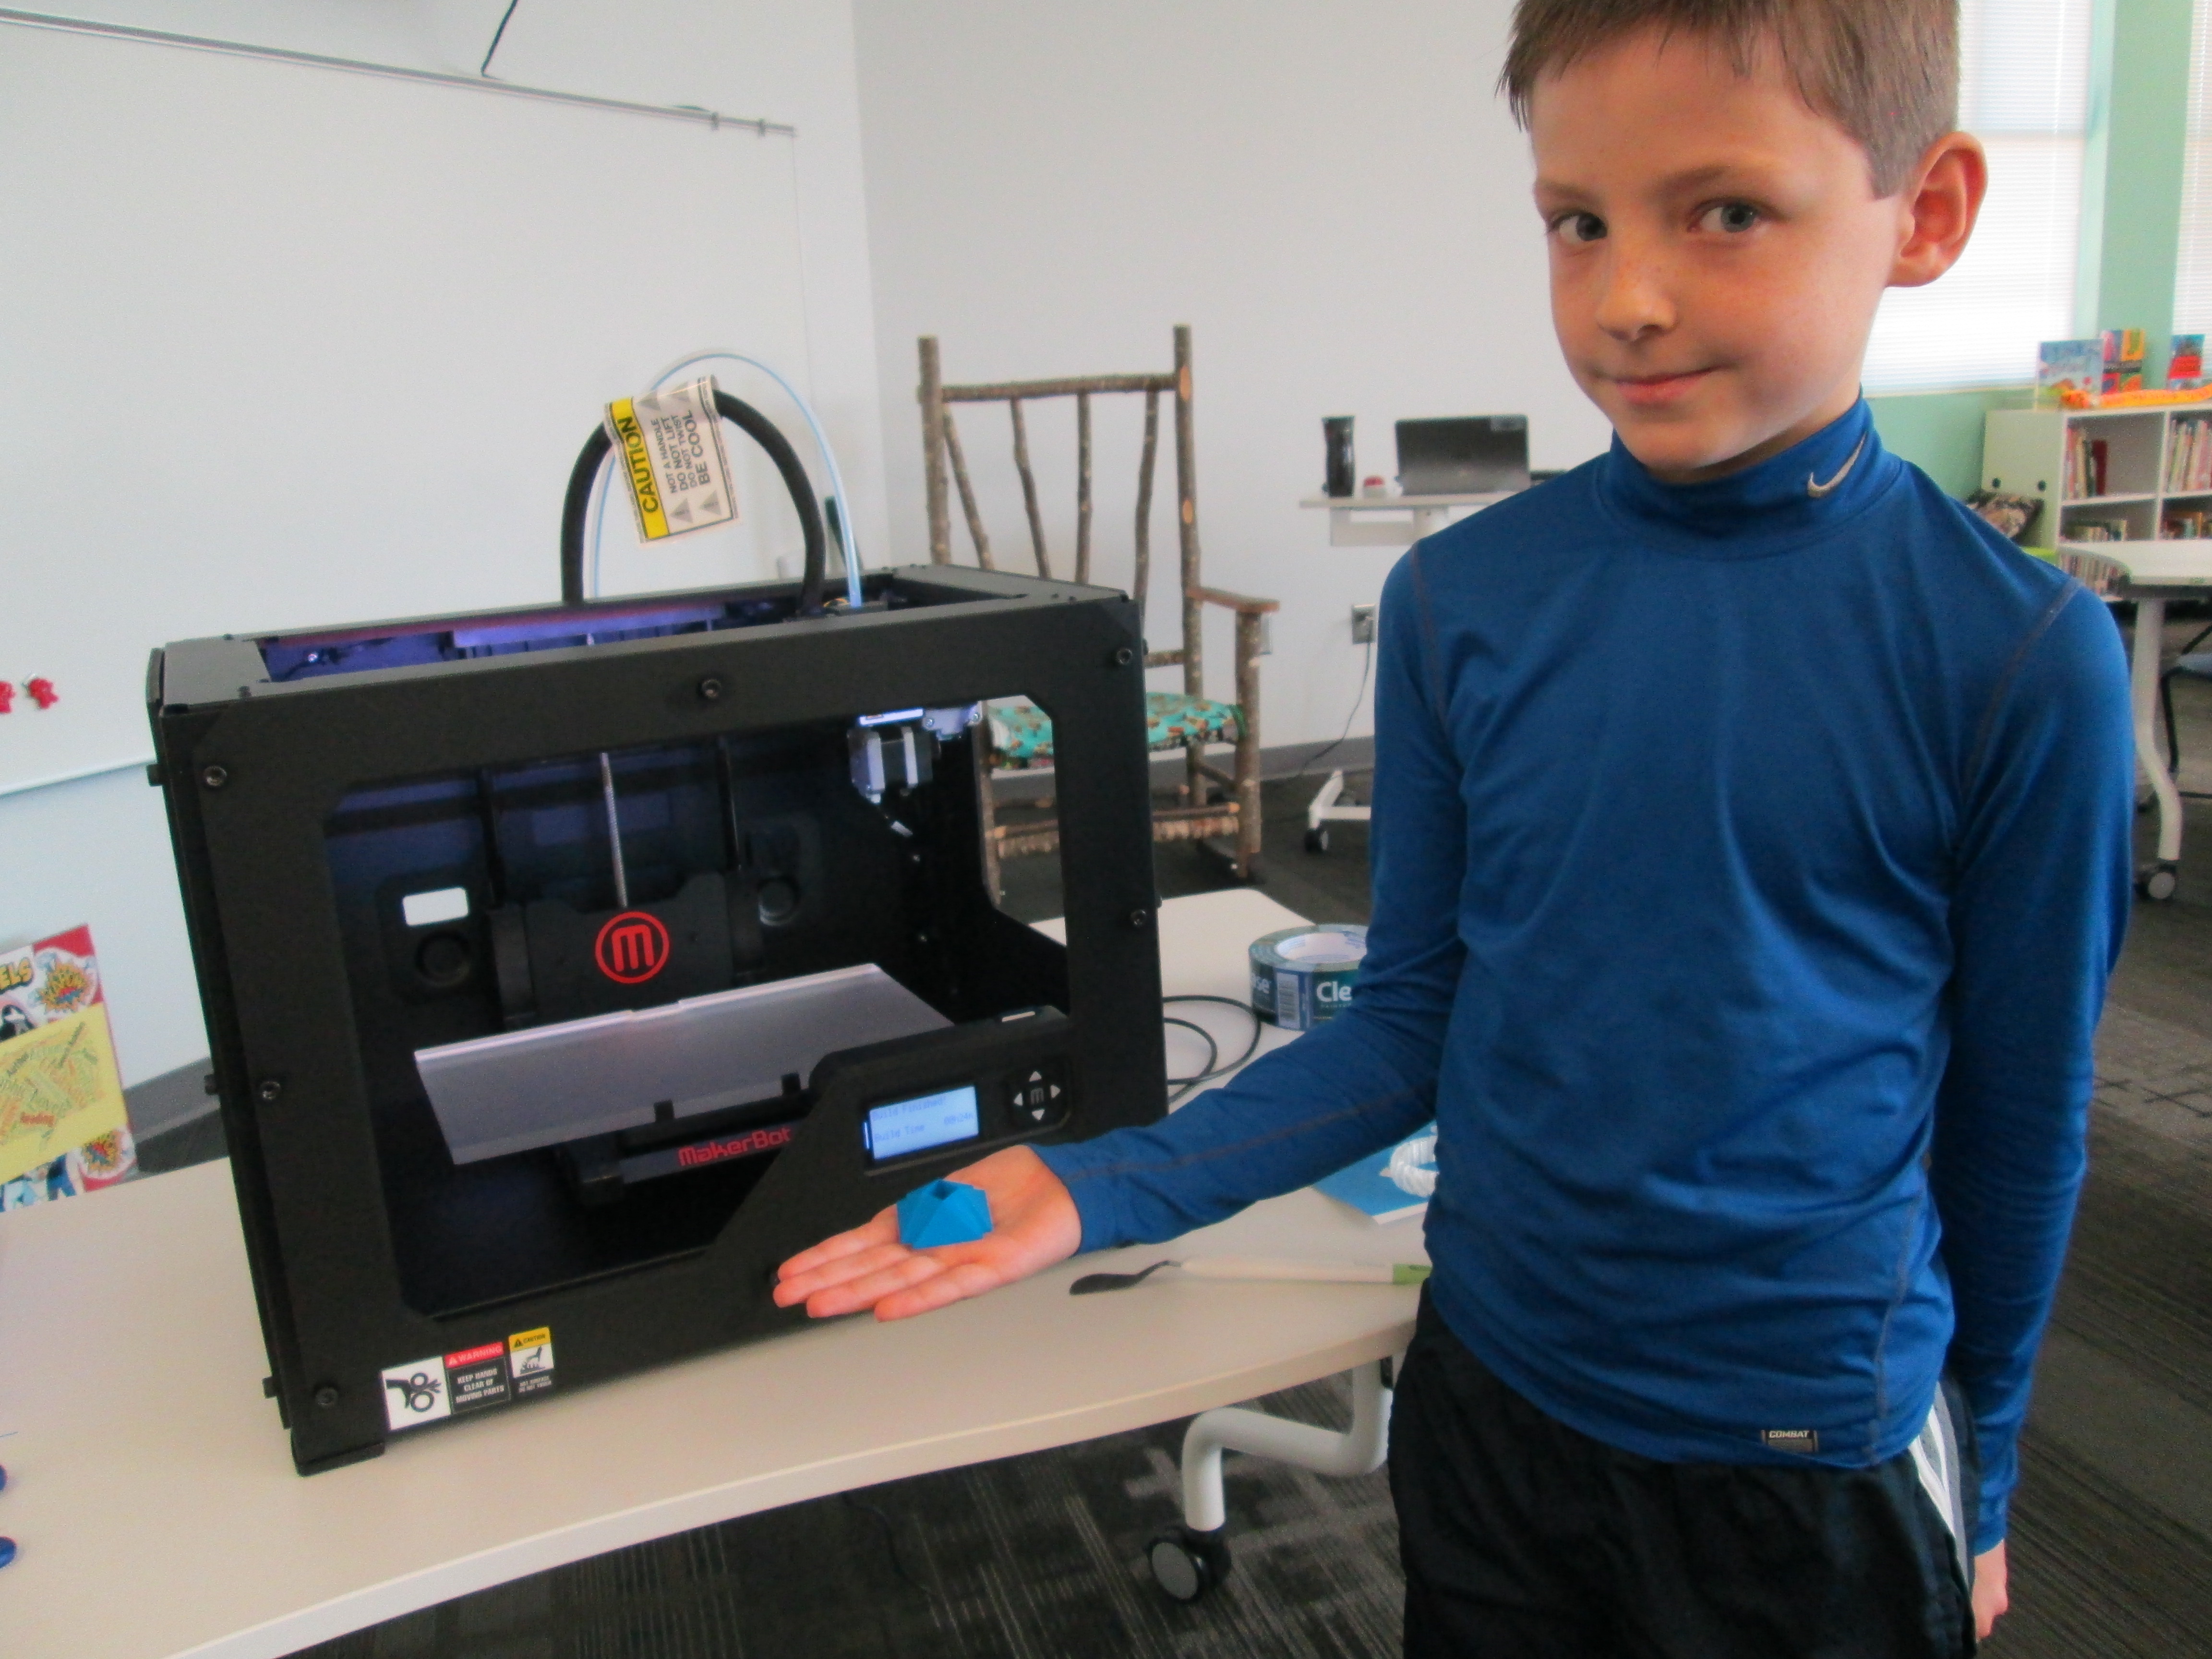
We decided that we would start our journey with Blokify.  Blokify is a free iPad app that allows students to put a variety of blocks together to build pretty much anything and then 3D print that shape.  The files can be emailed for download into your own software for 3D printing conversion.

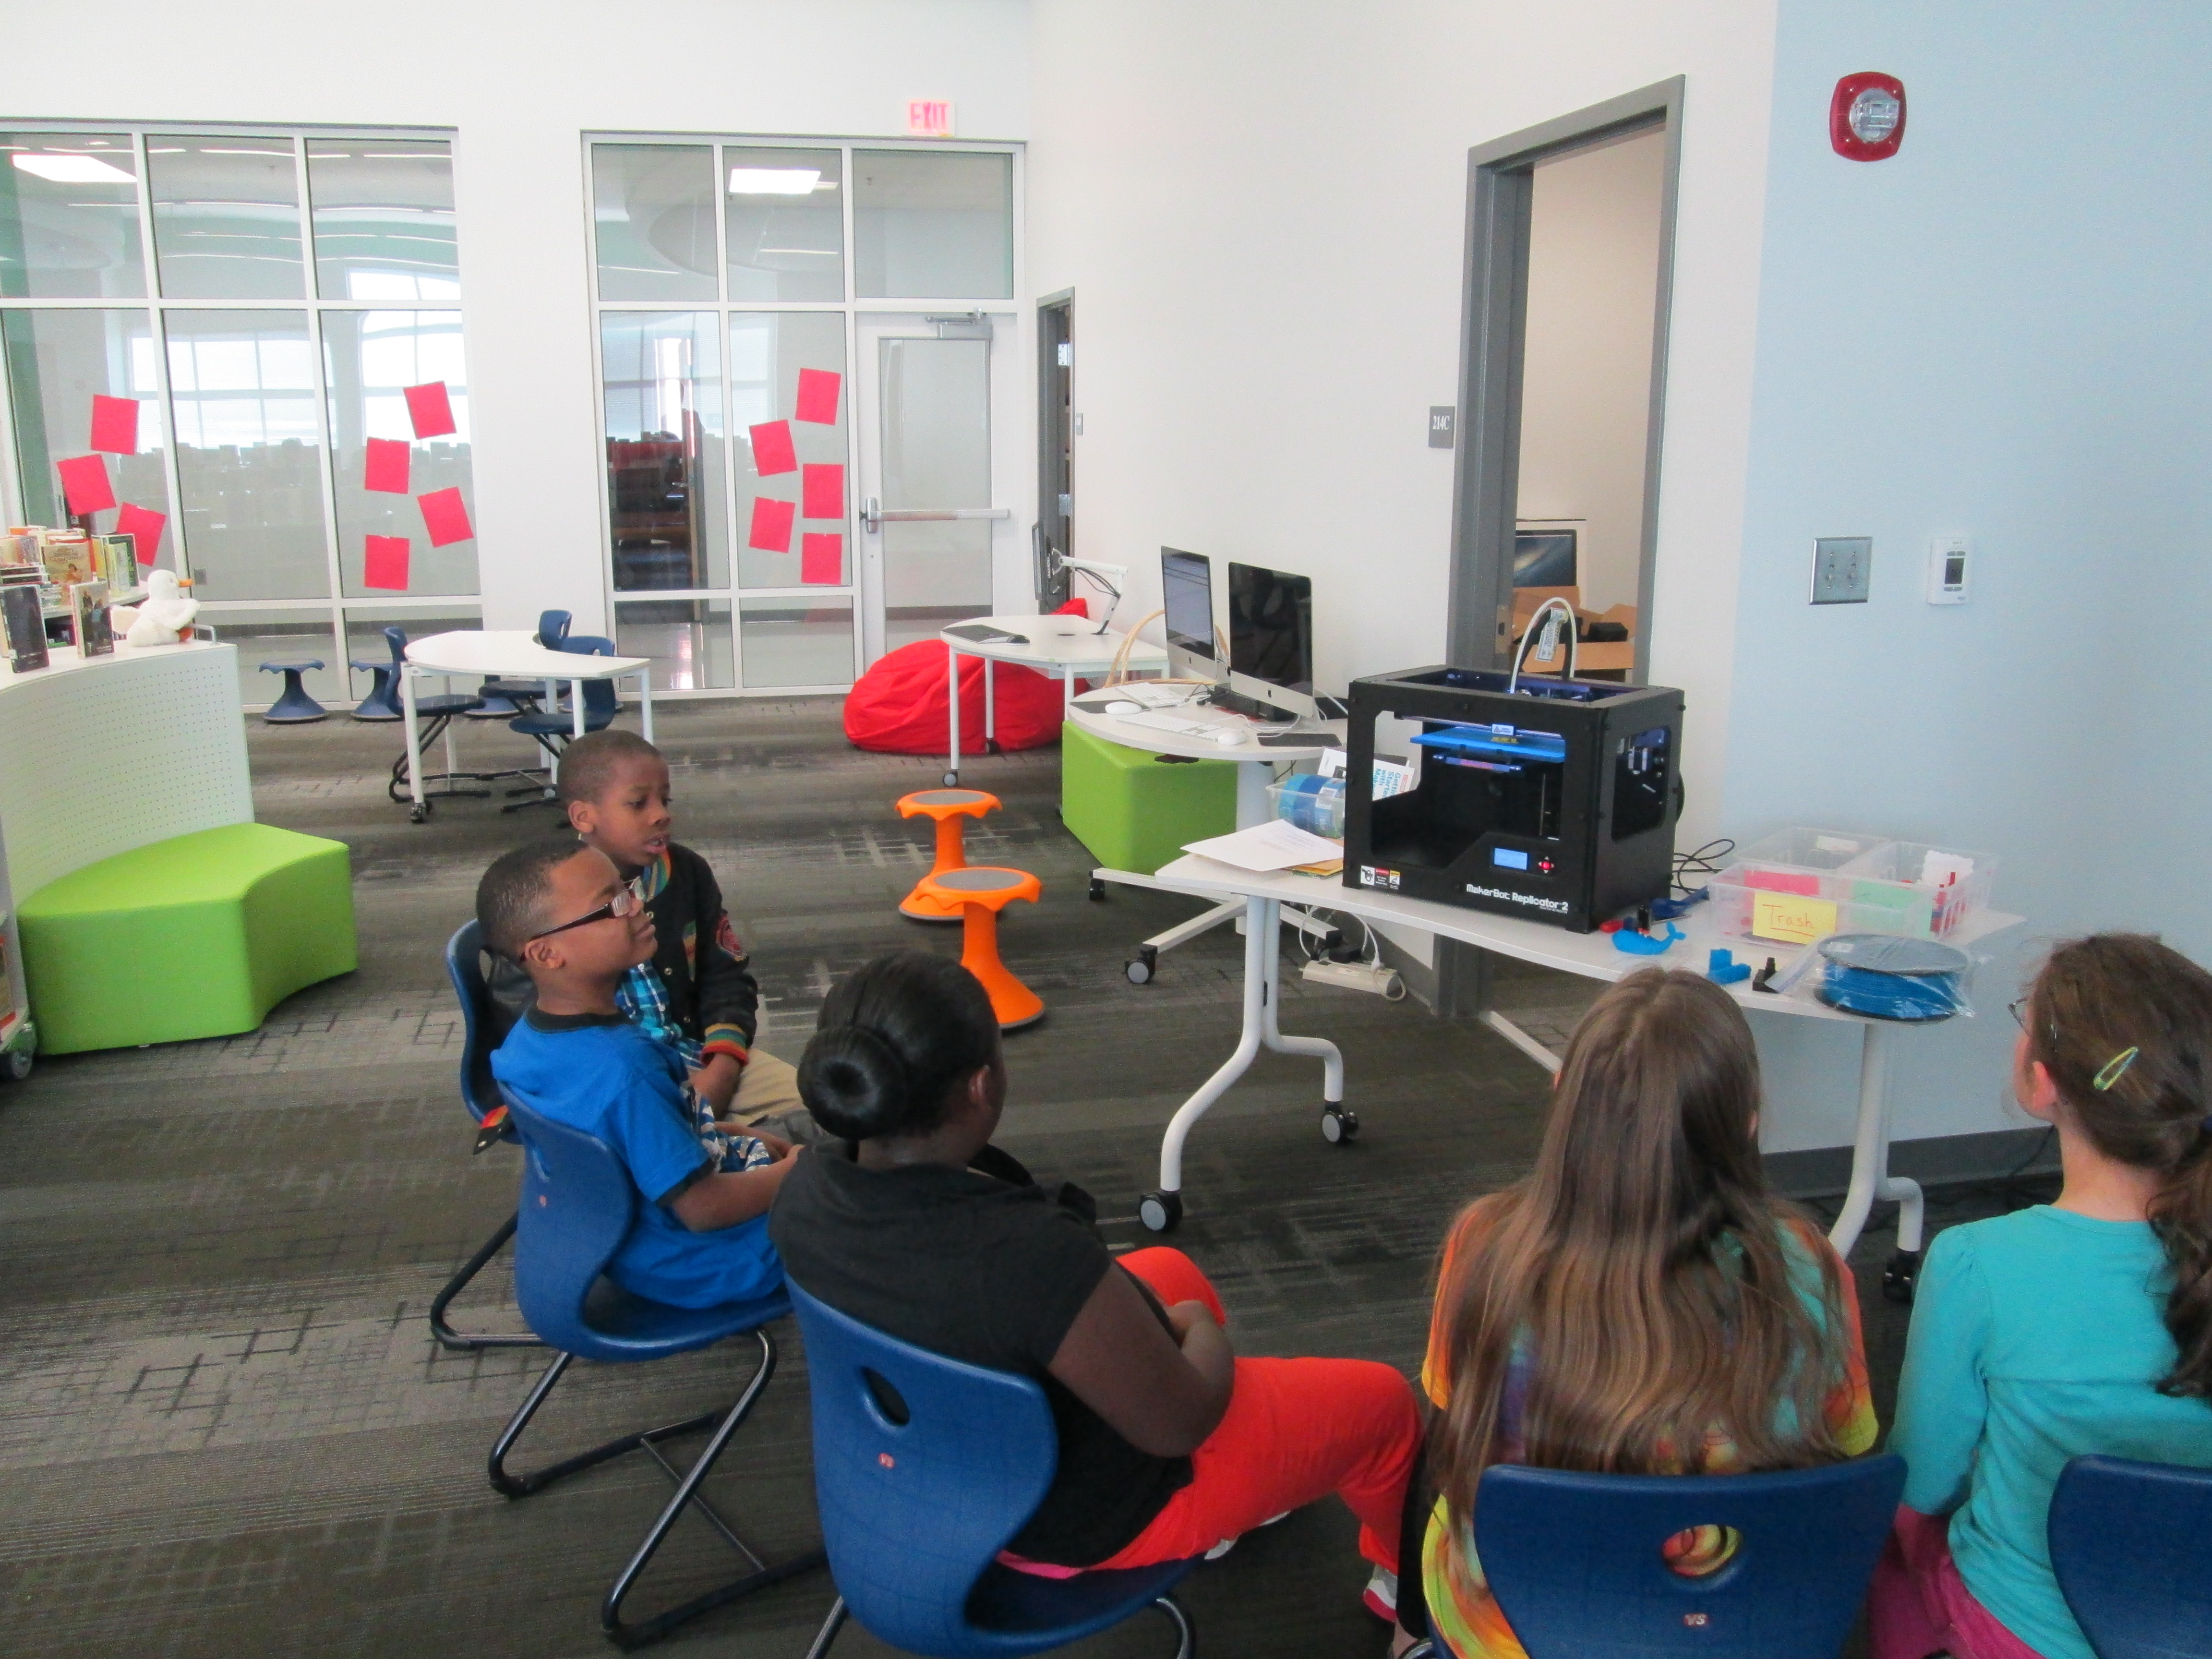
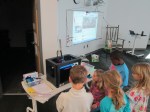
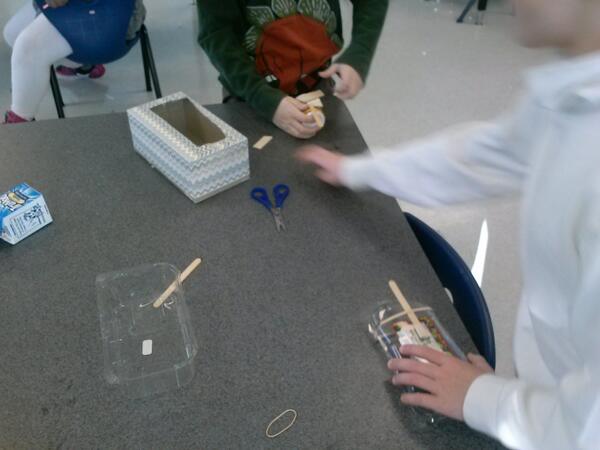
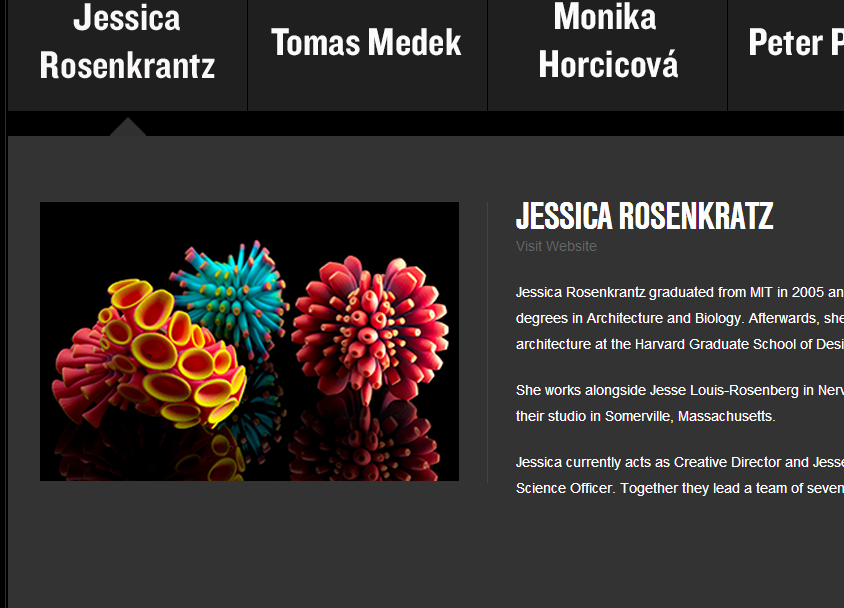
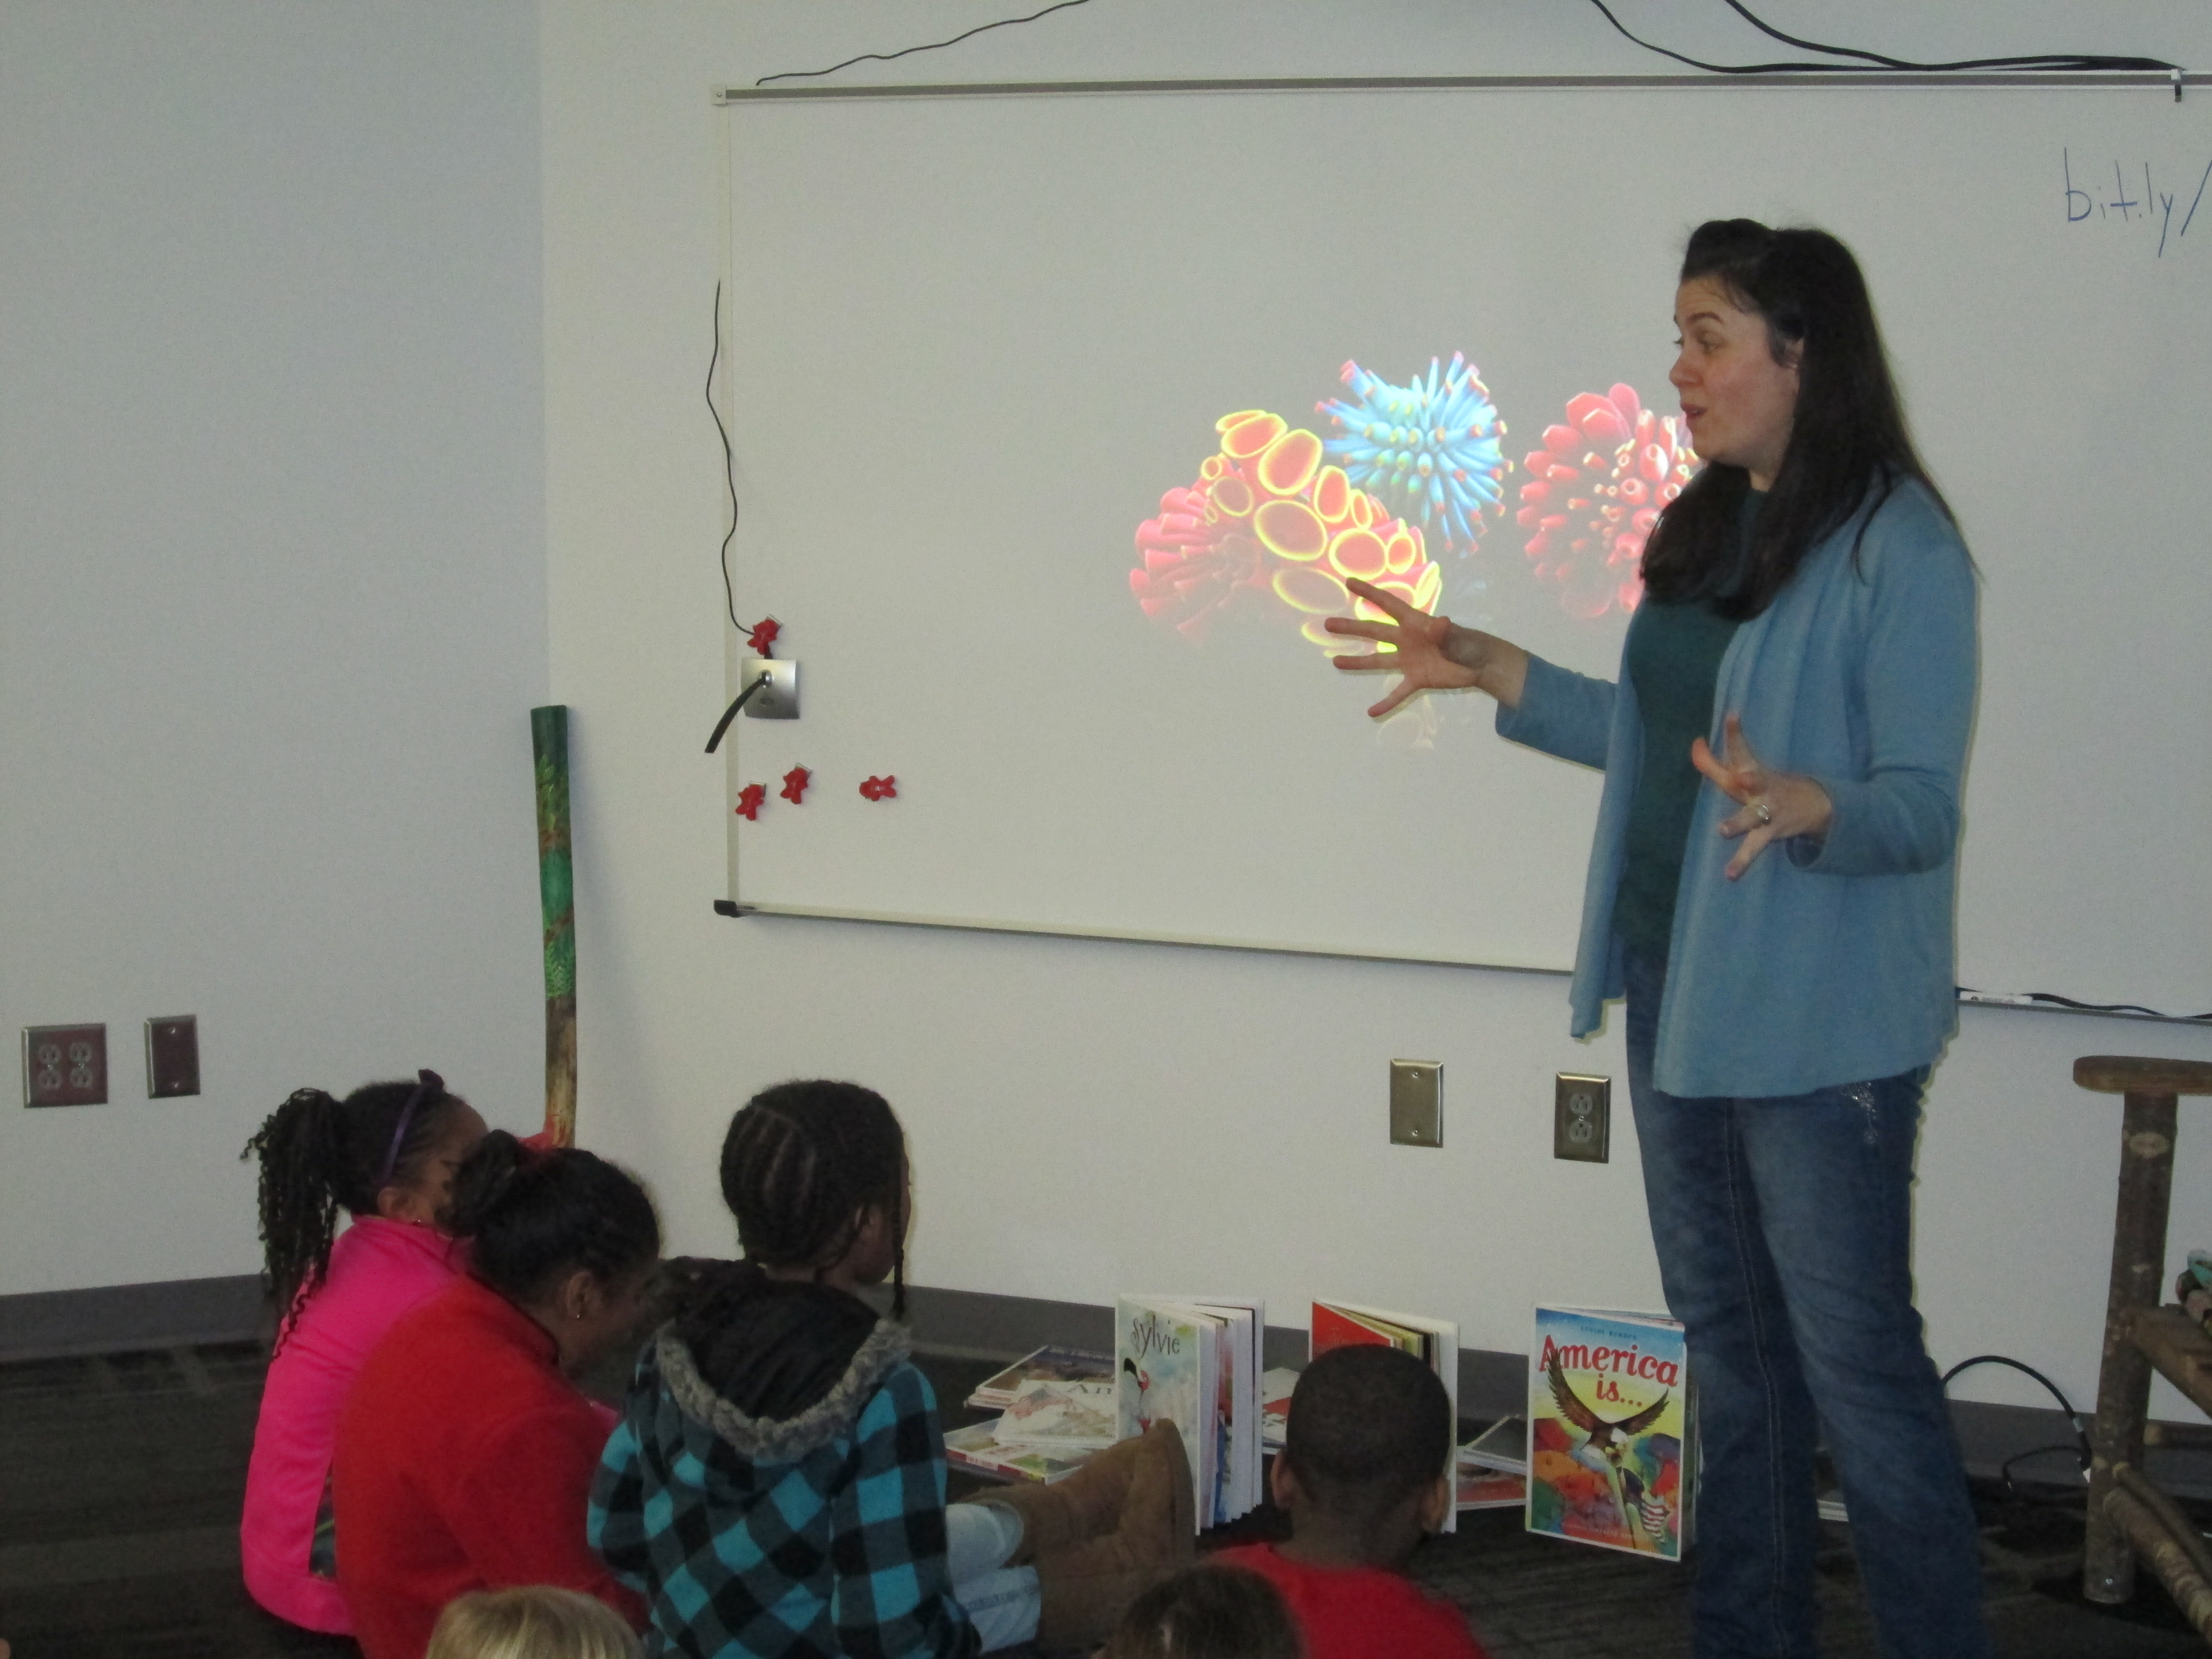
We decided that Blokify would be the kickoff to this larger project.  In the library, Mrs. Foretich, our art teacher, showed students some examples of maquettes and talked about how artists might make a rough draft of a larger sculpture to test some things out before making a larger sculpture.  Then, we showed students some images from Blokify’s facebook page to give students the idea that you don’t just have to make a box in Blokify.

photo 1 photo 2 photo 3


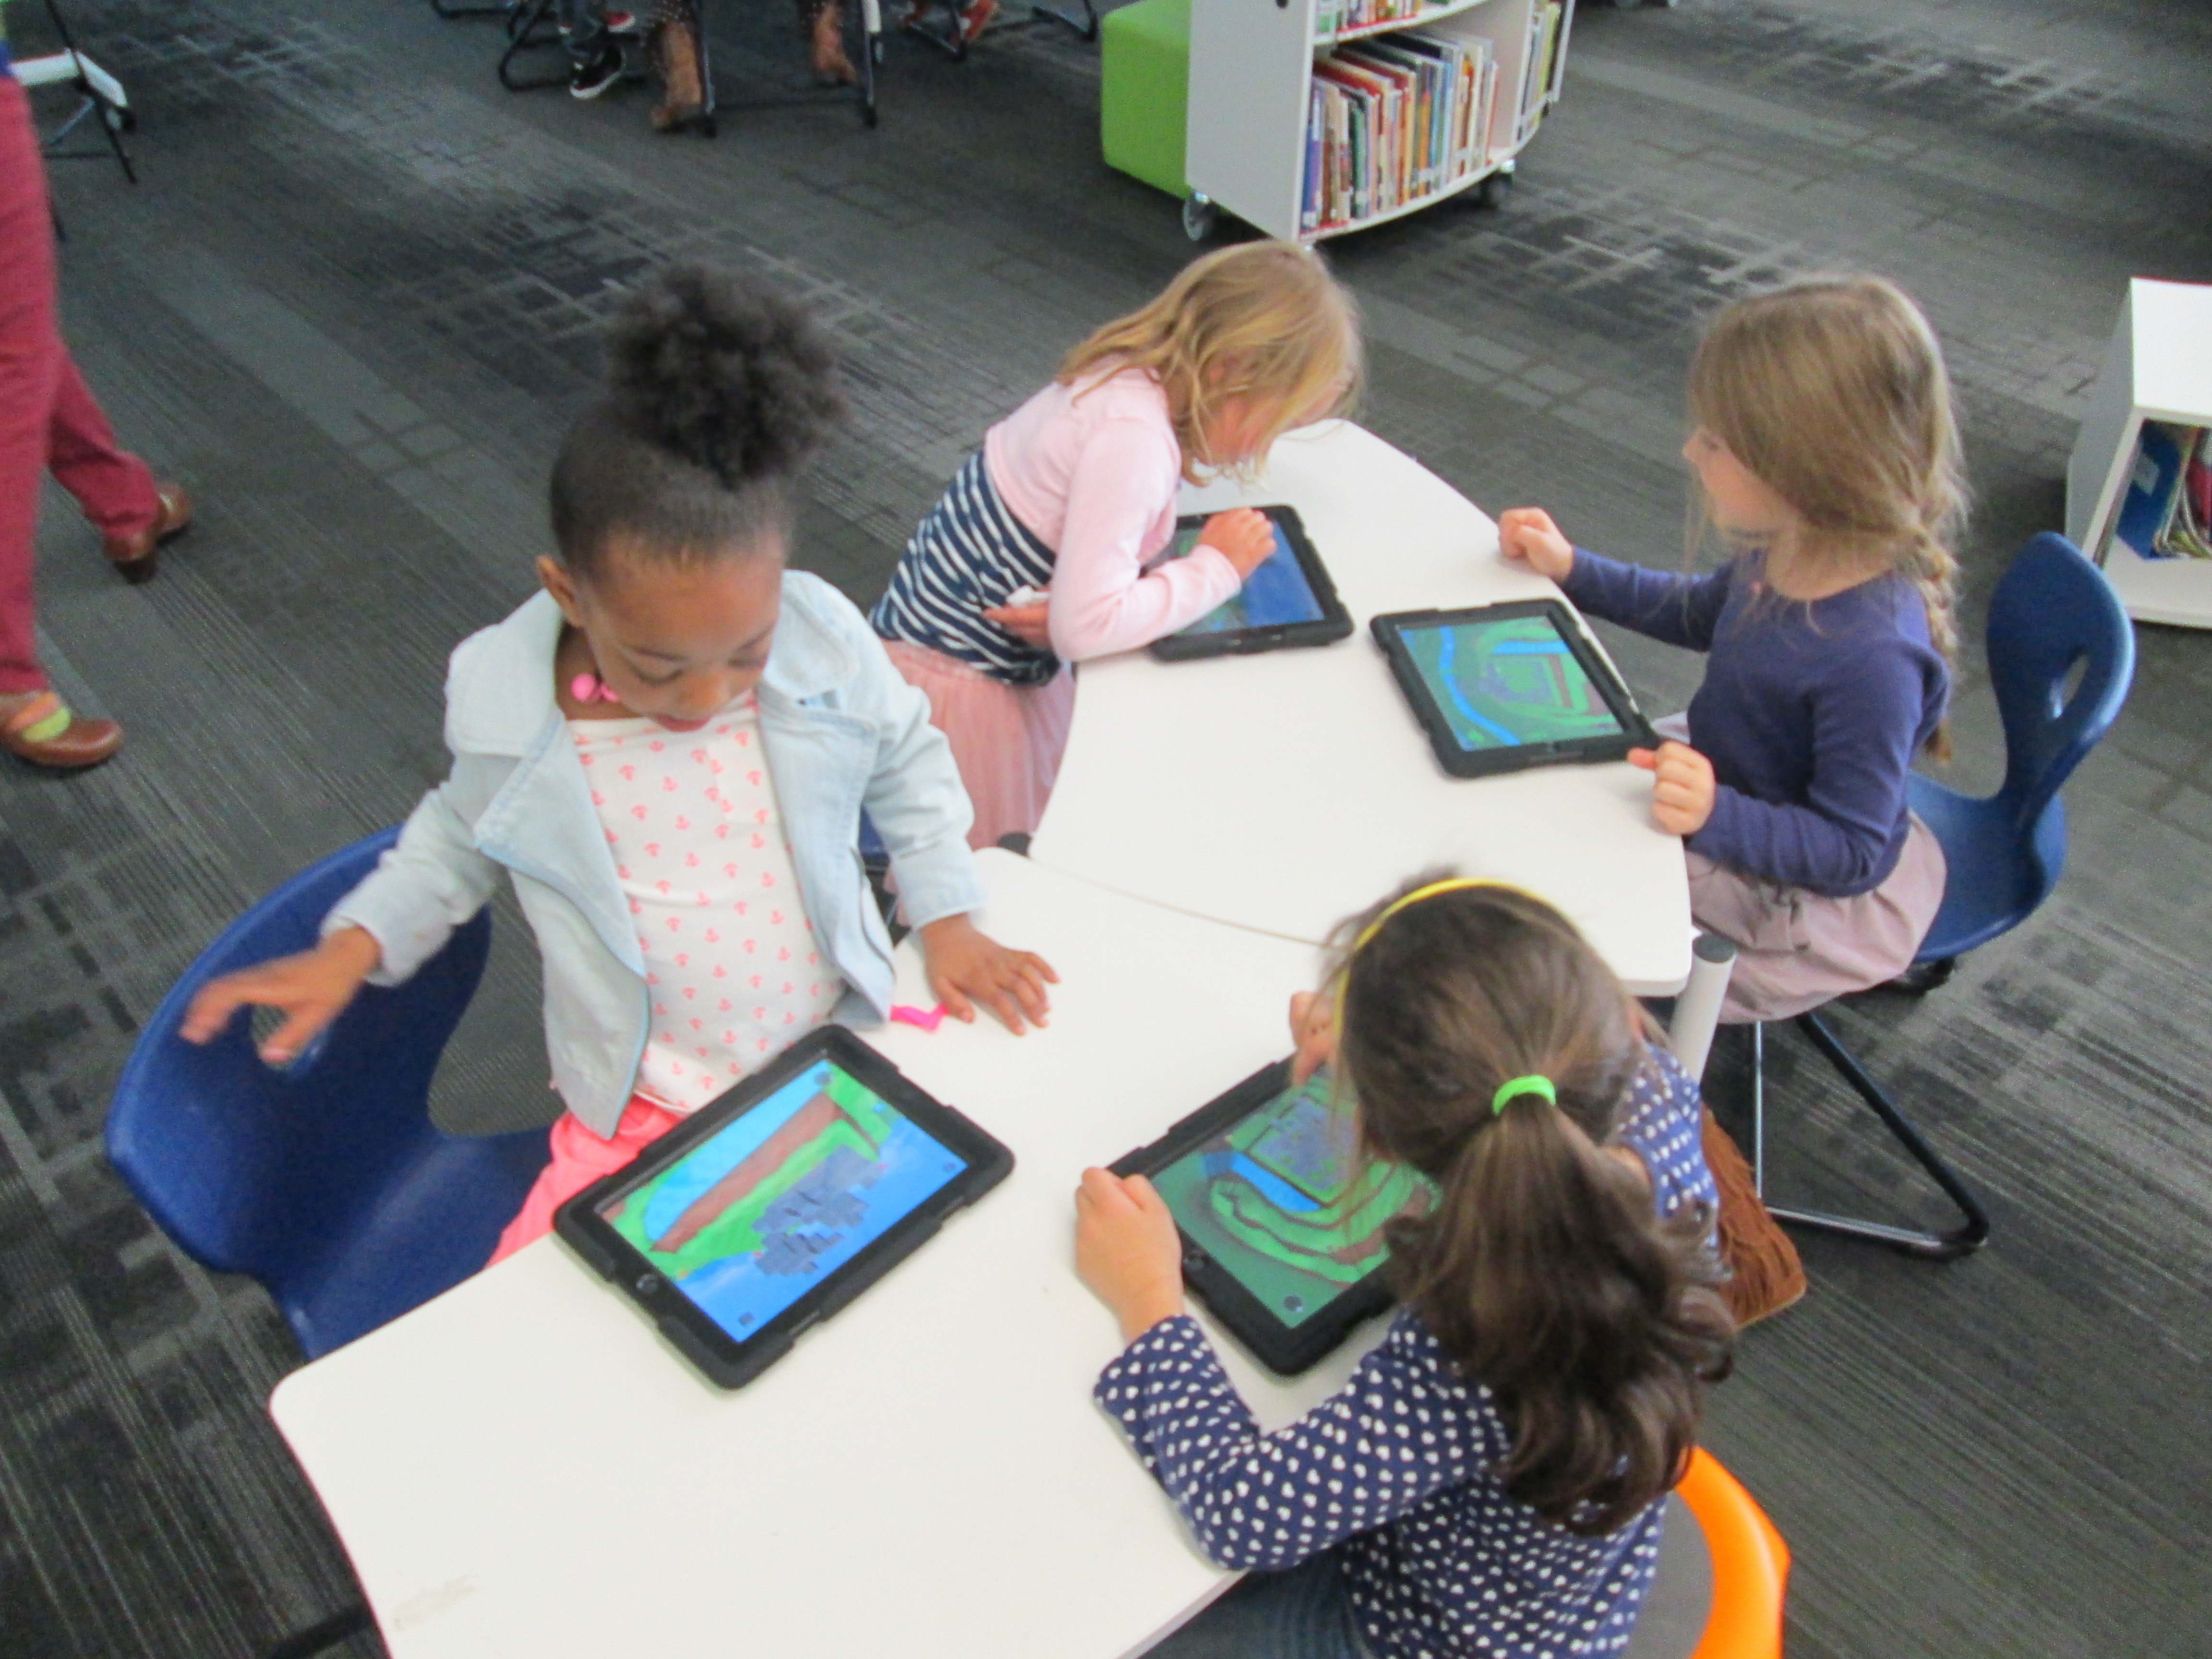
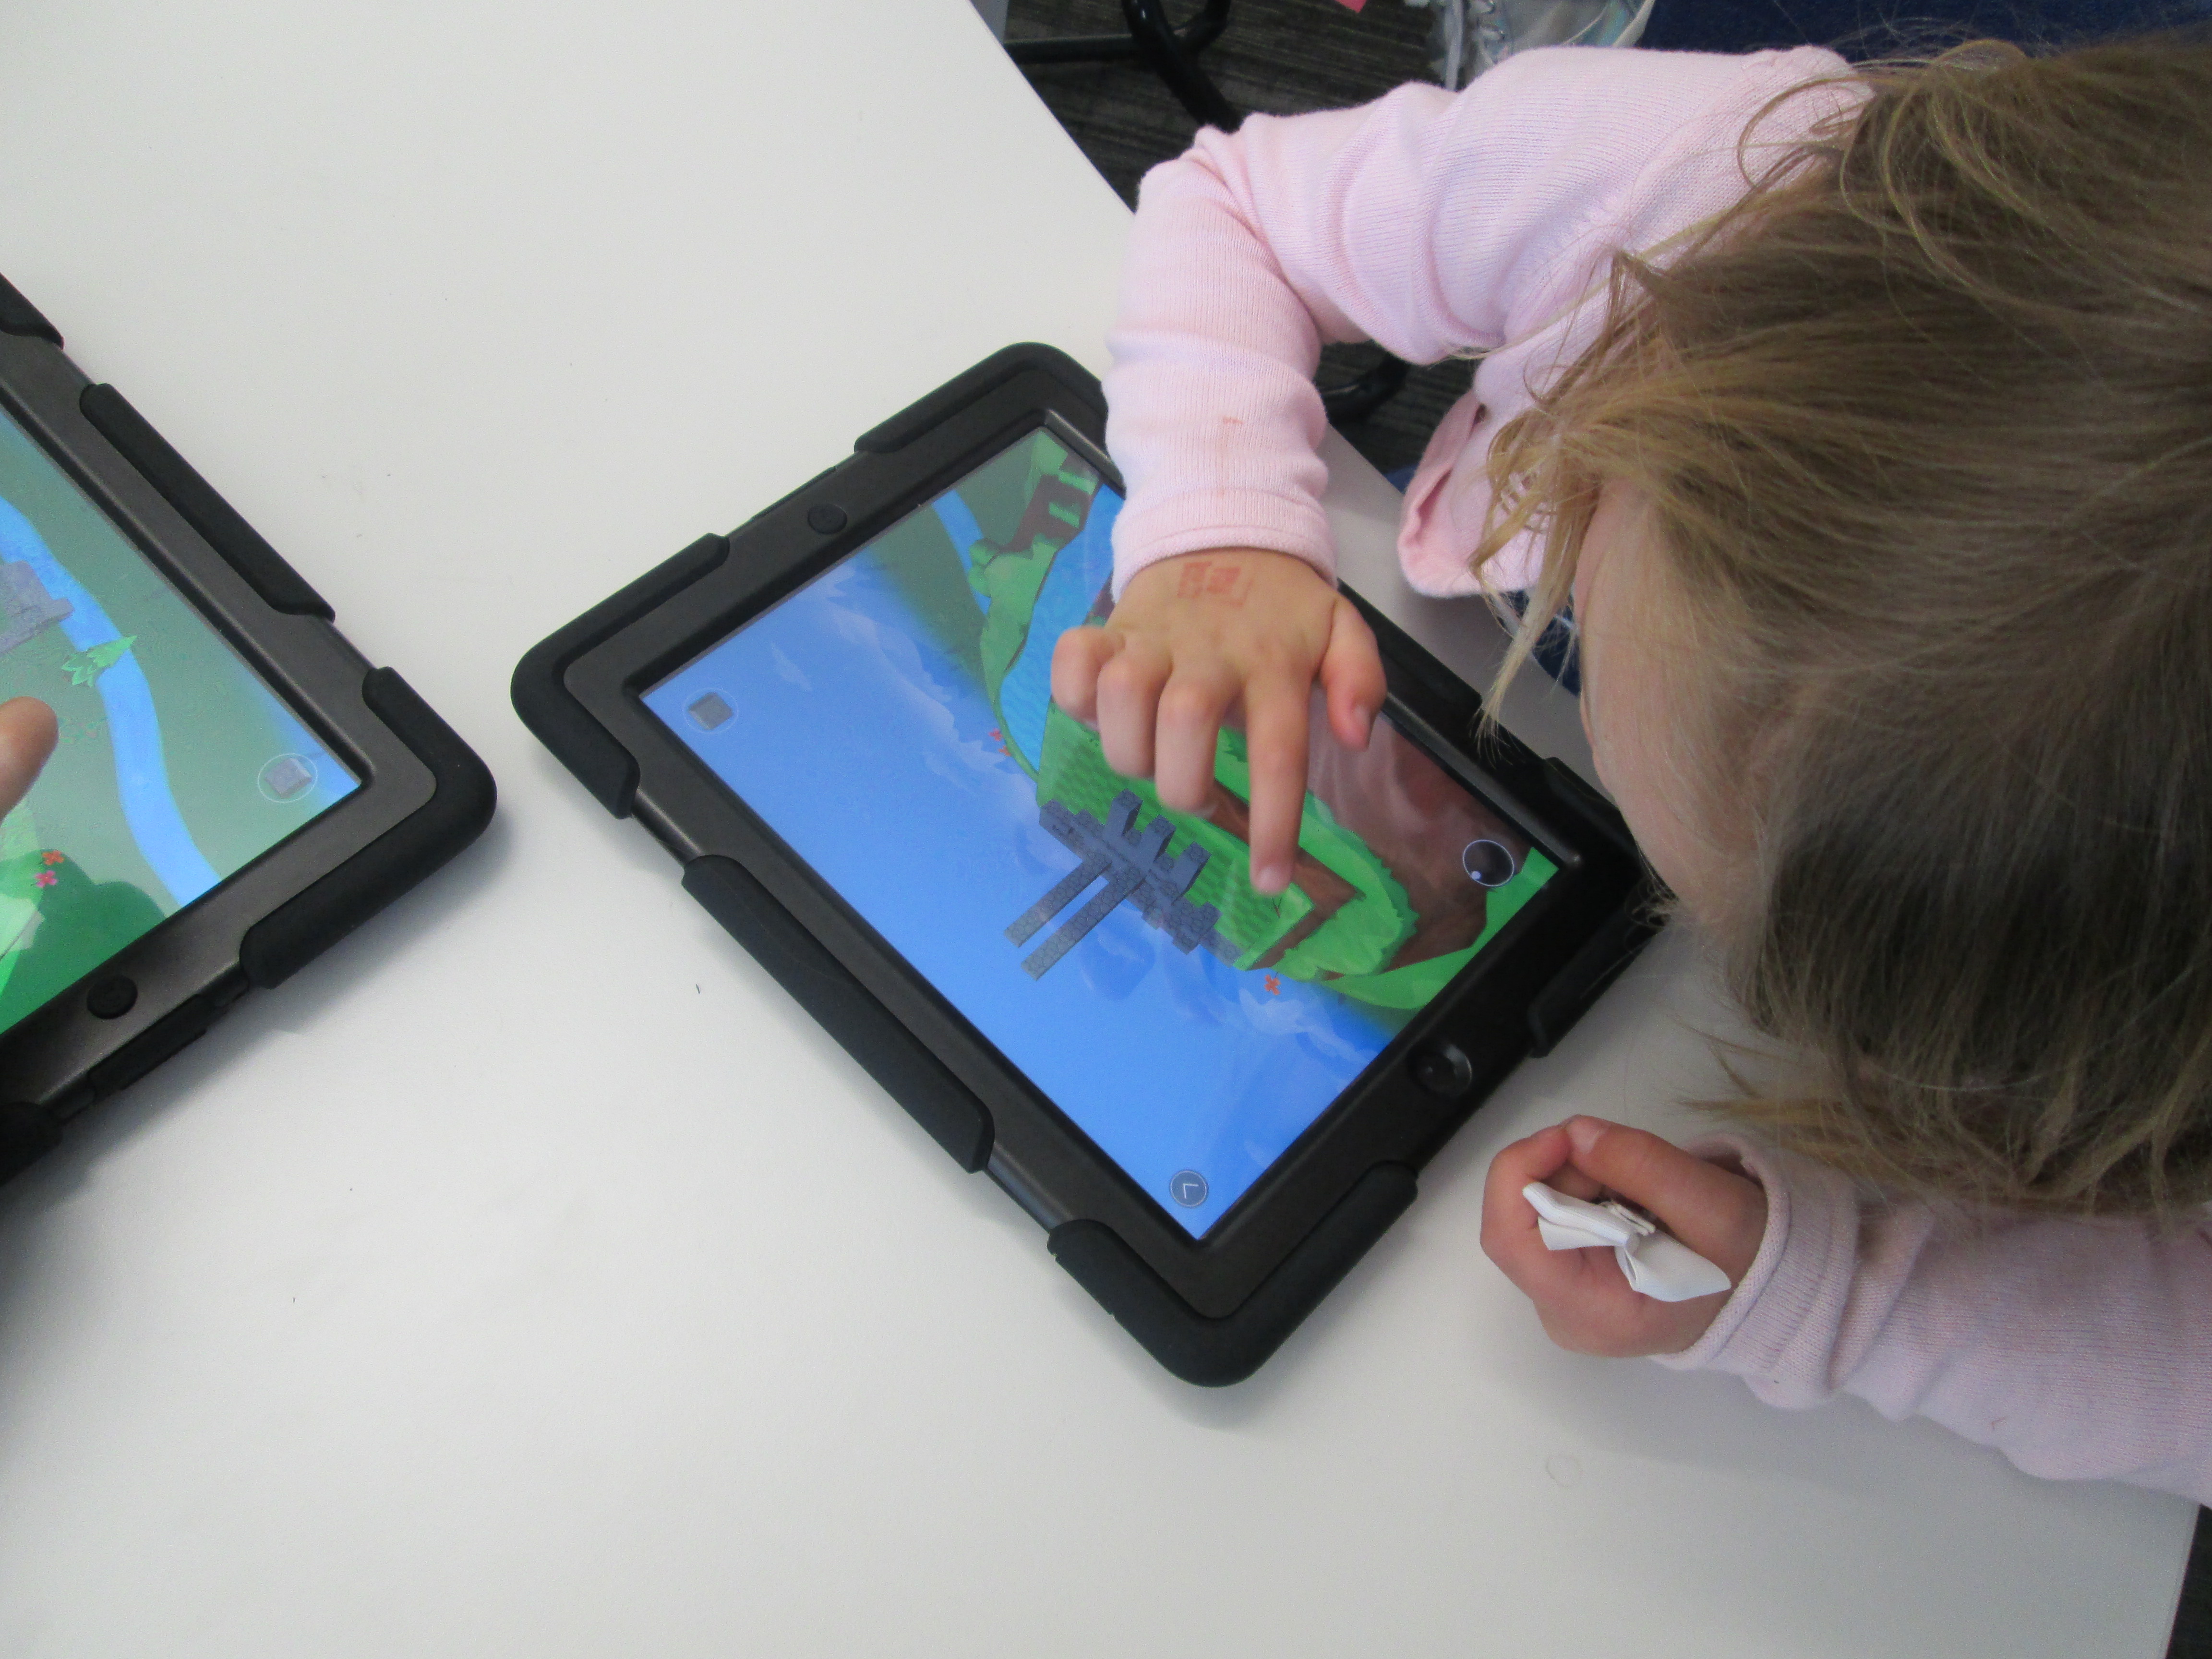
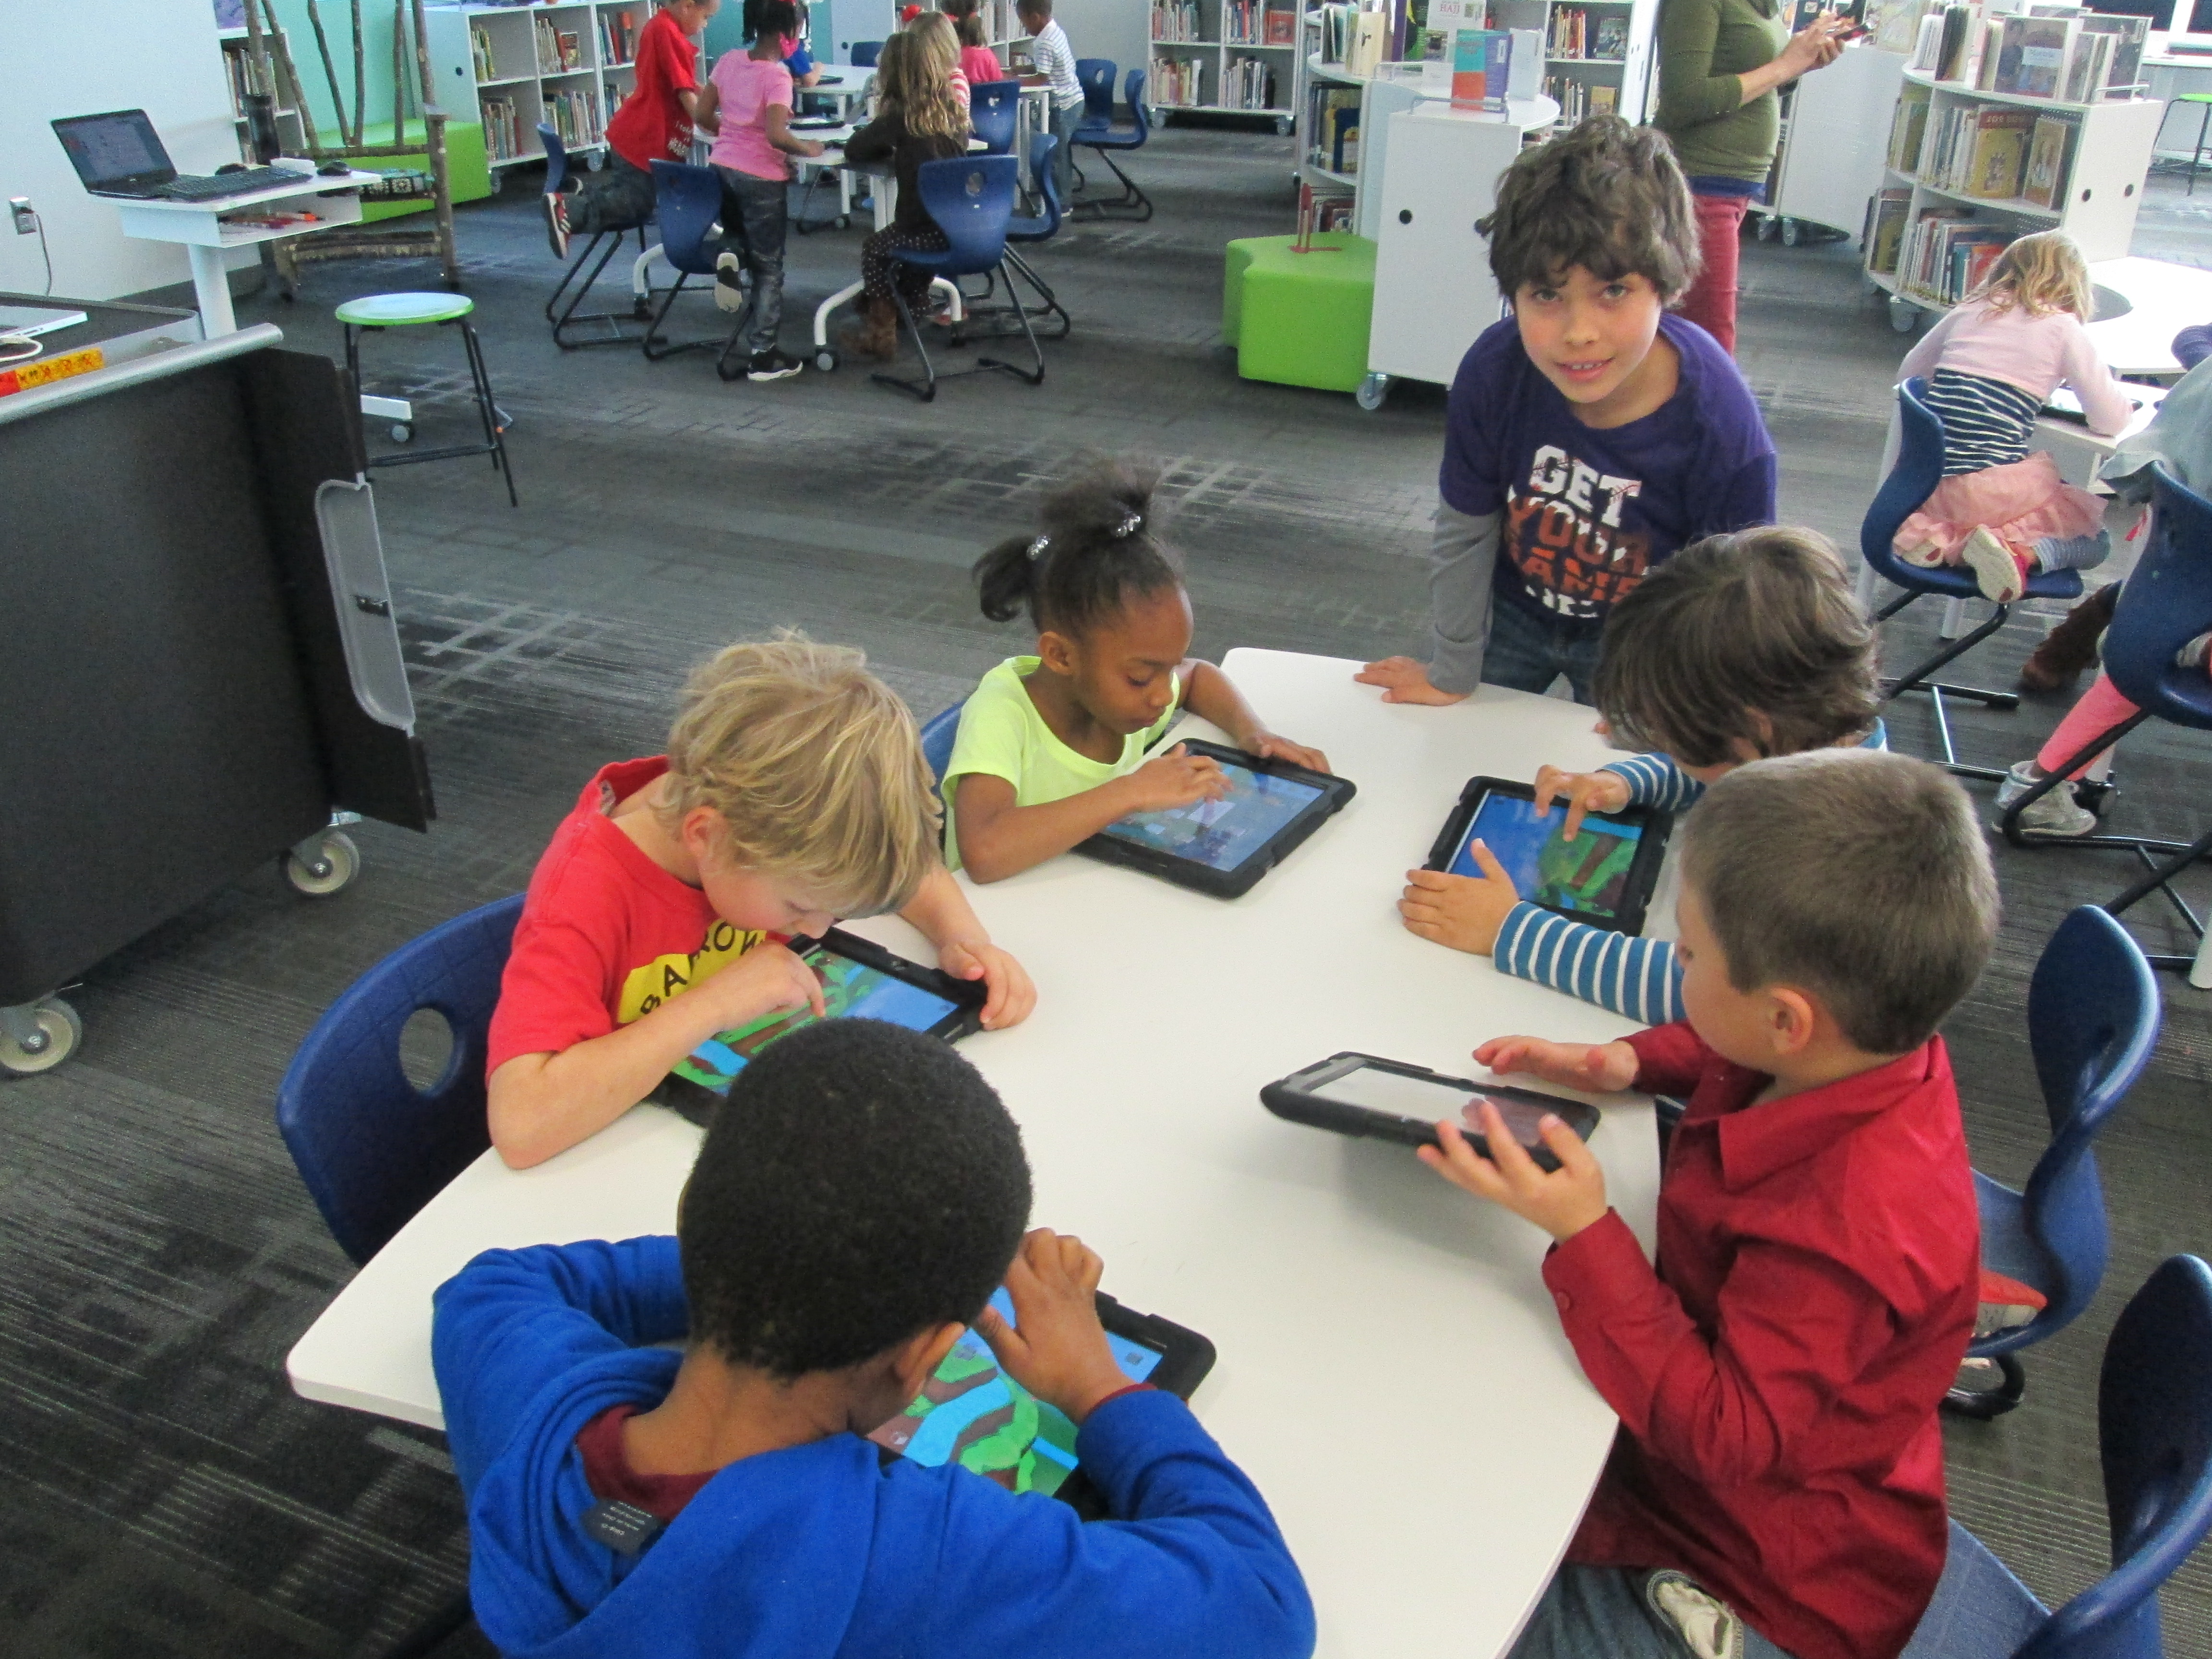
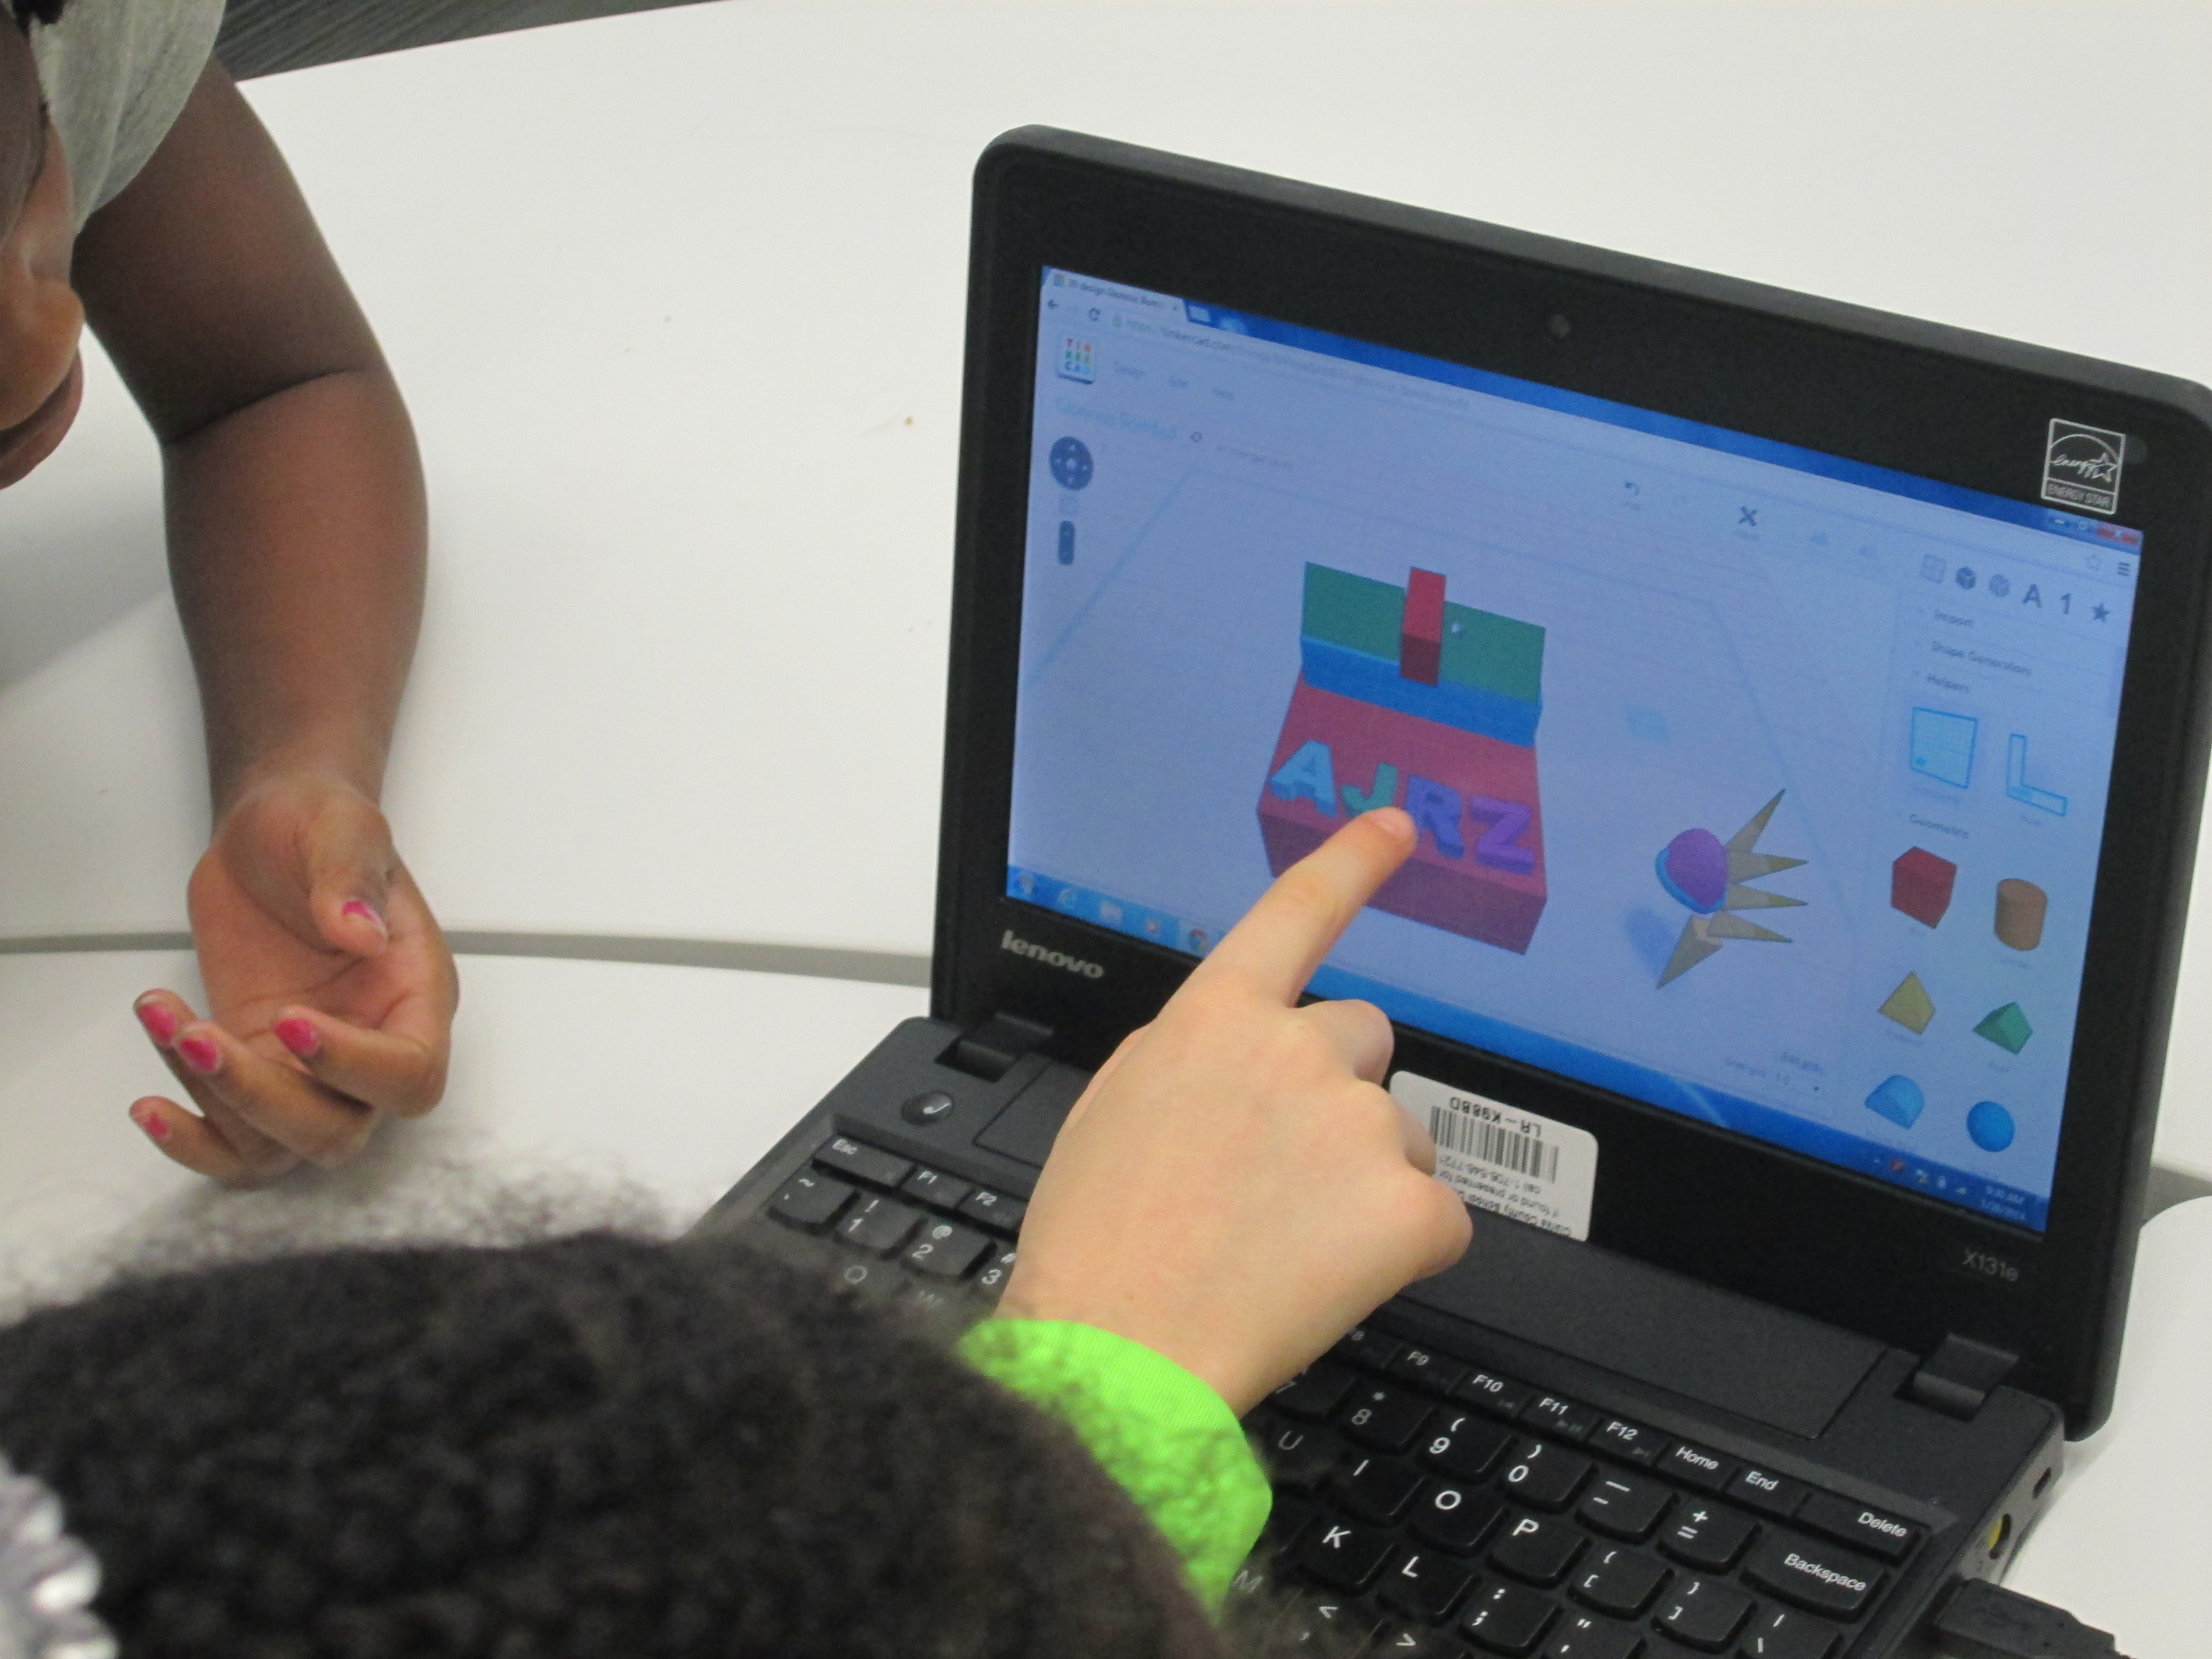
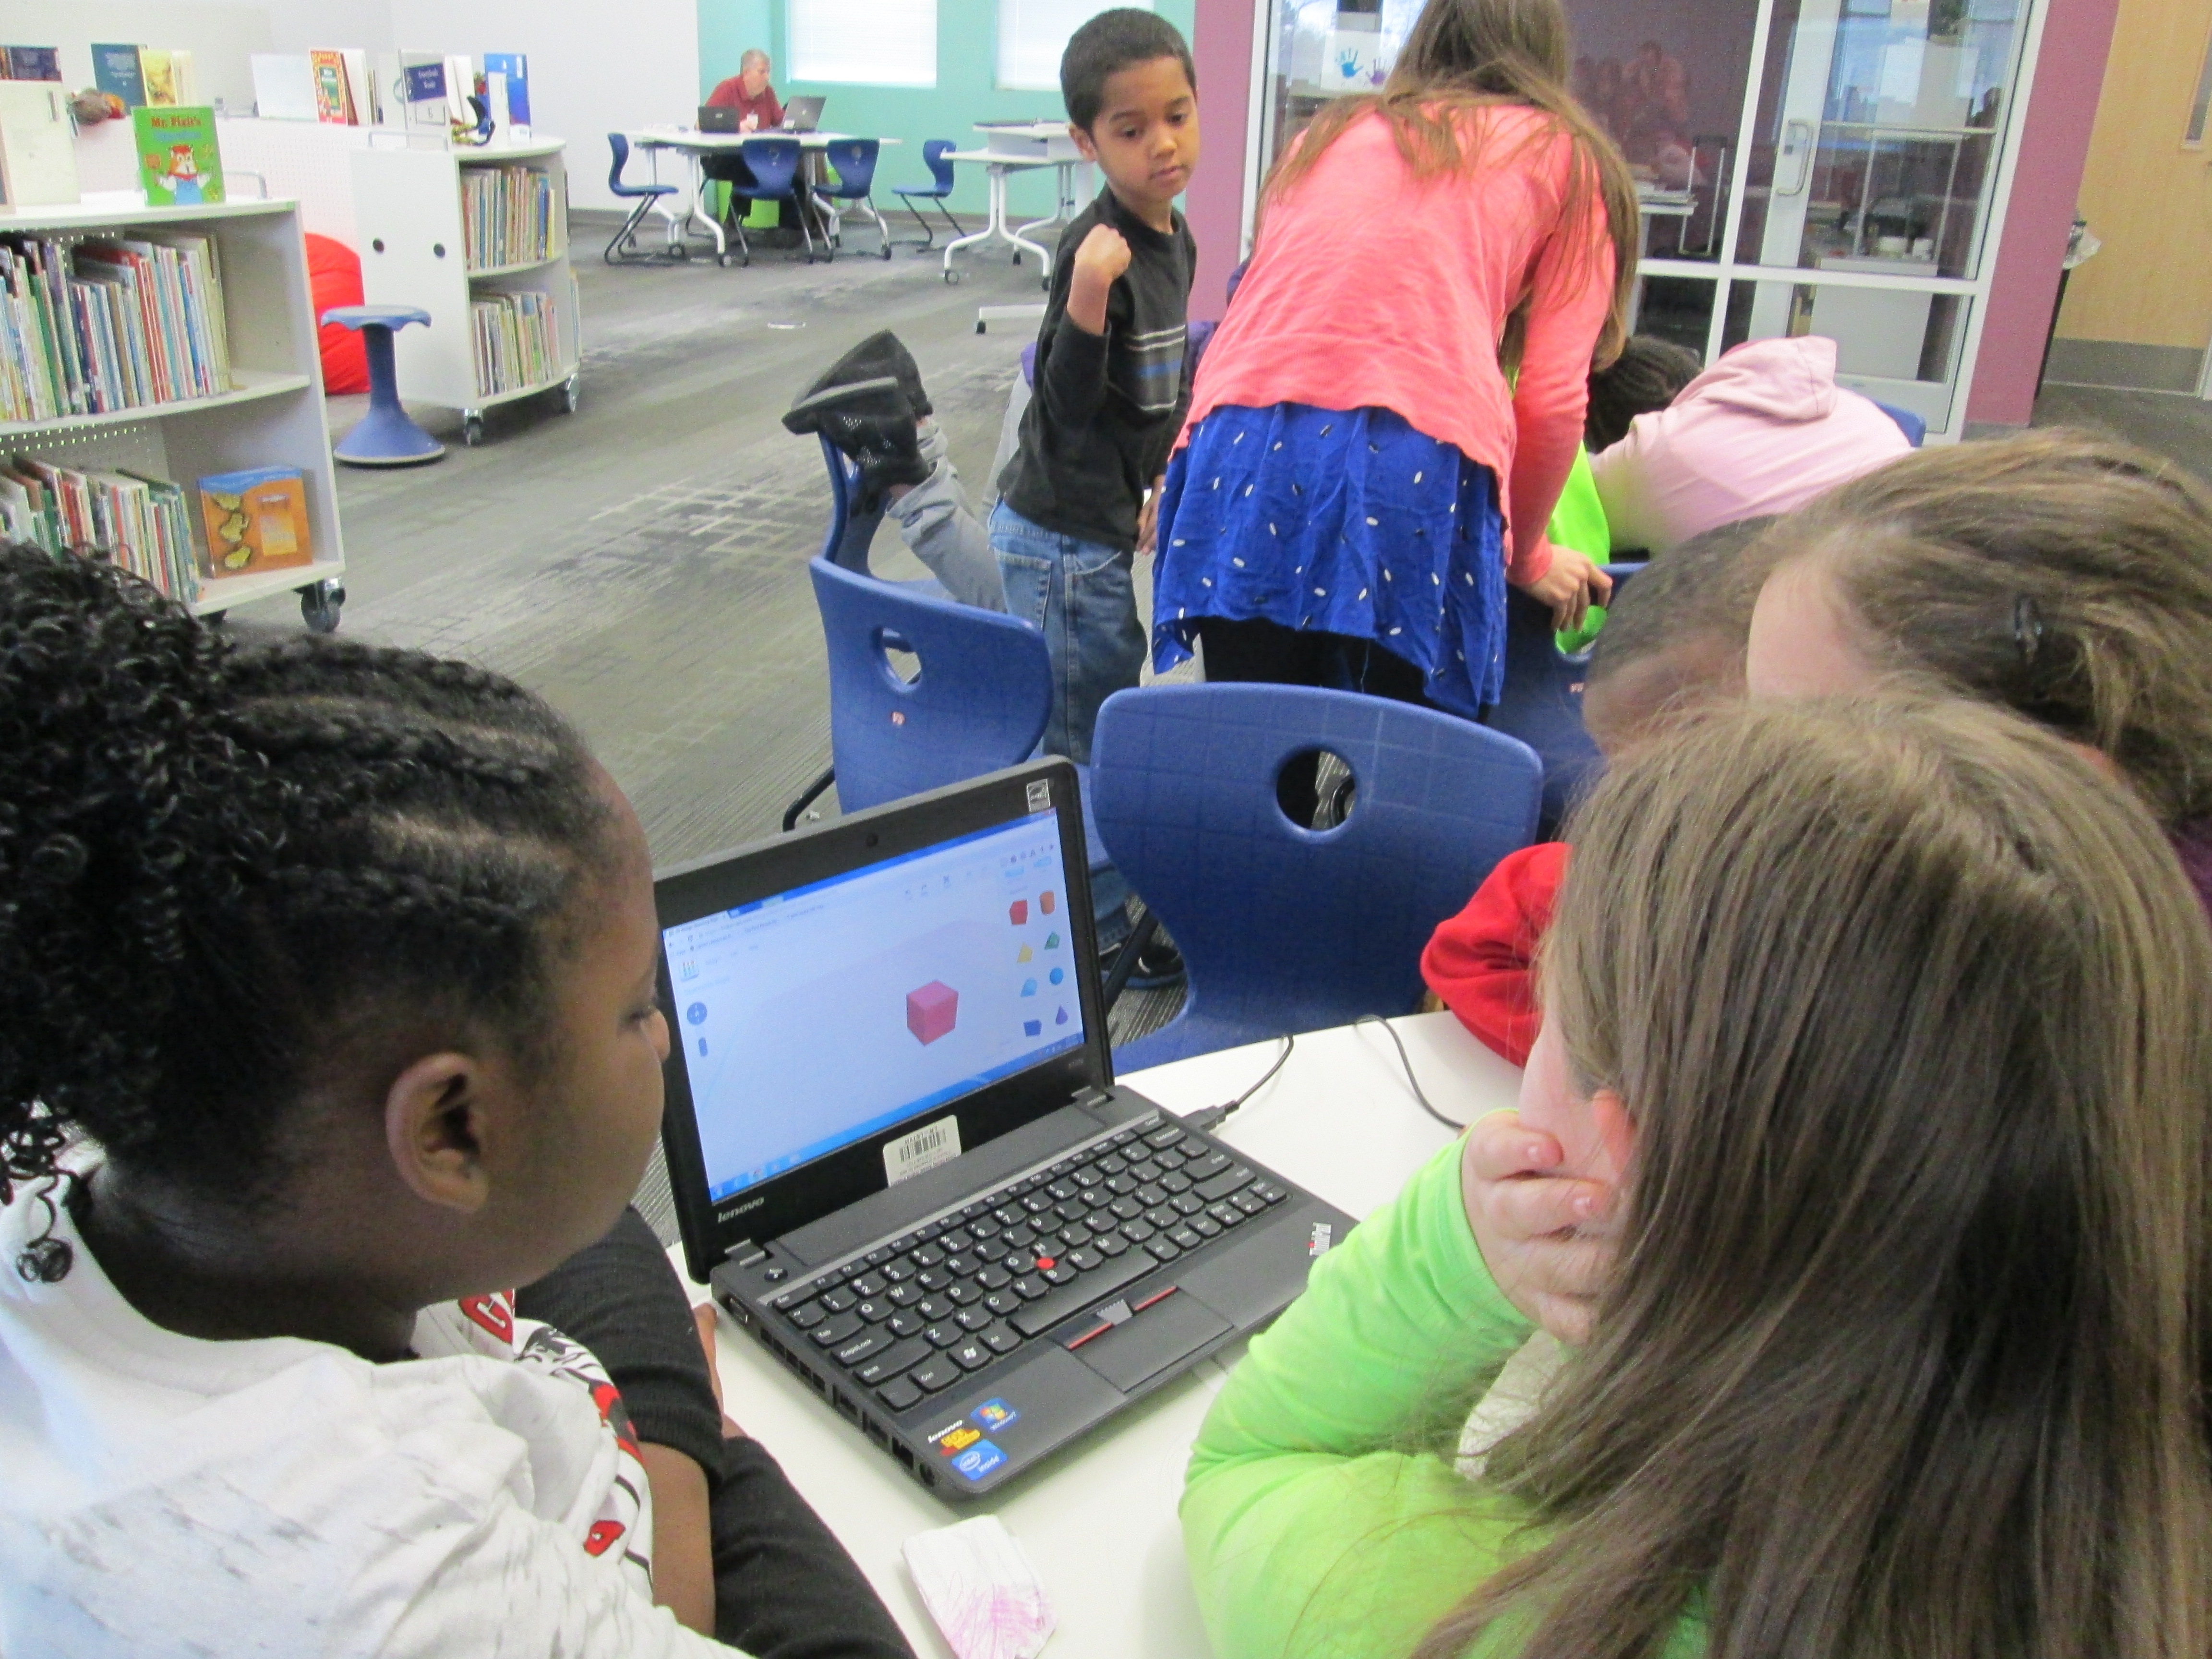
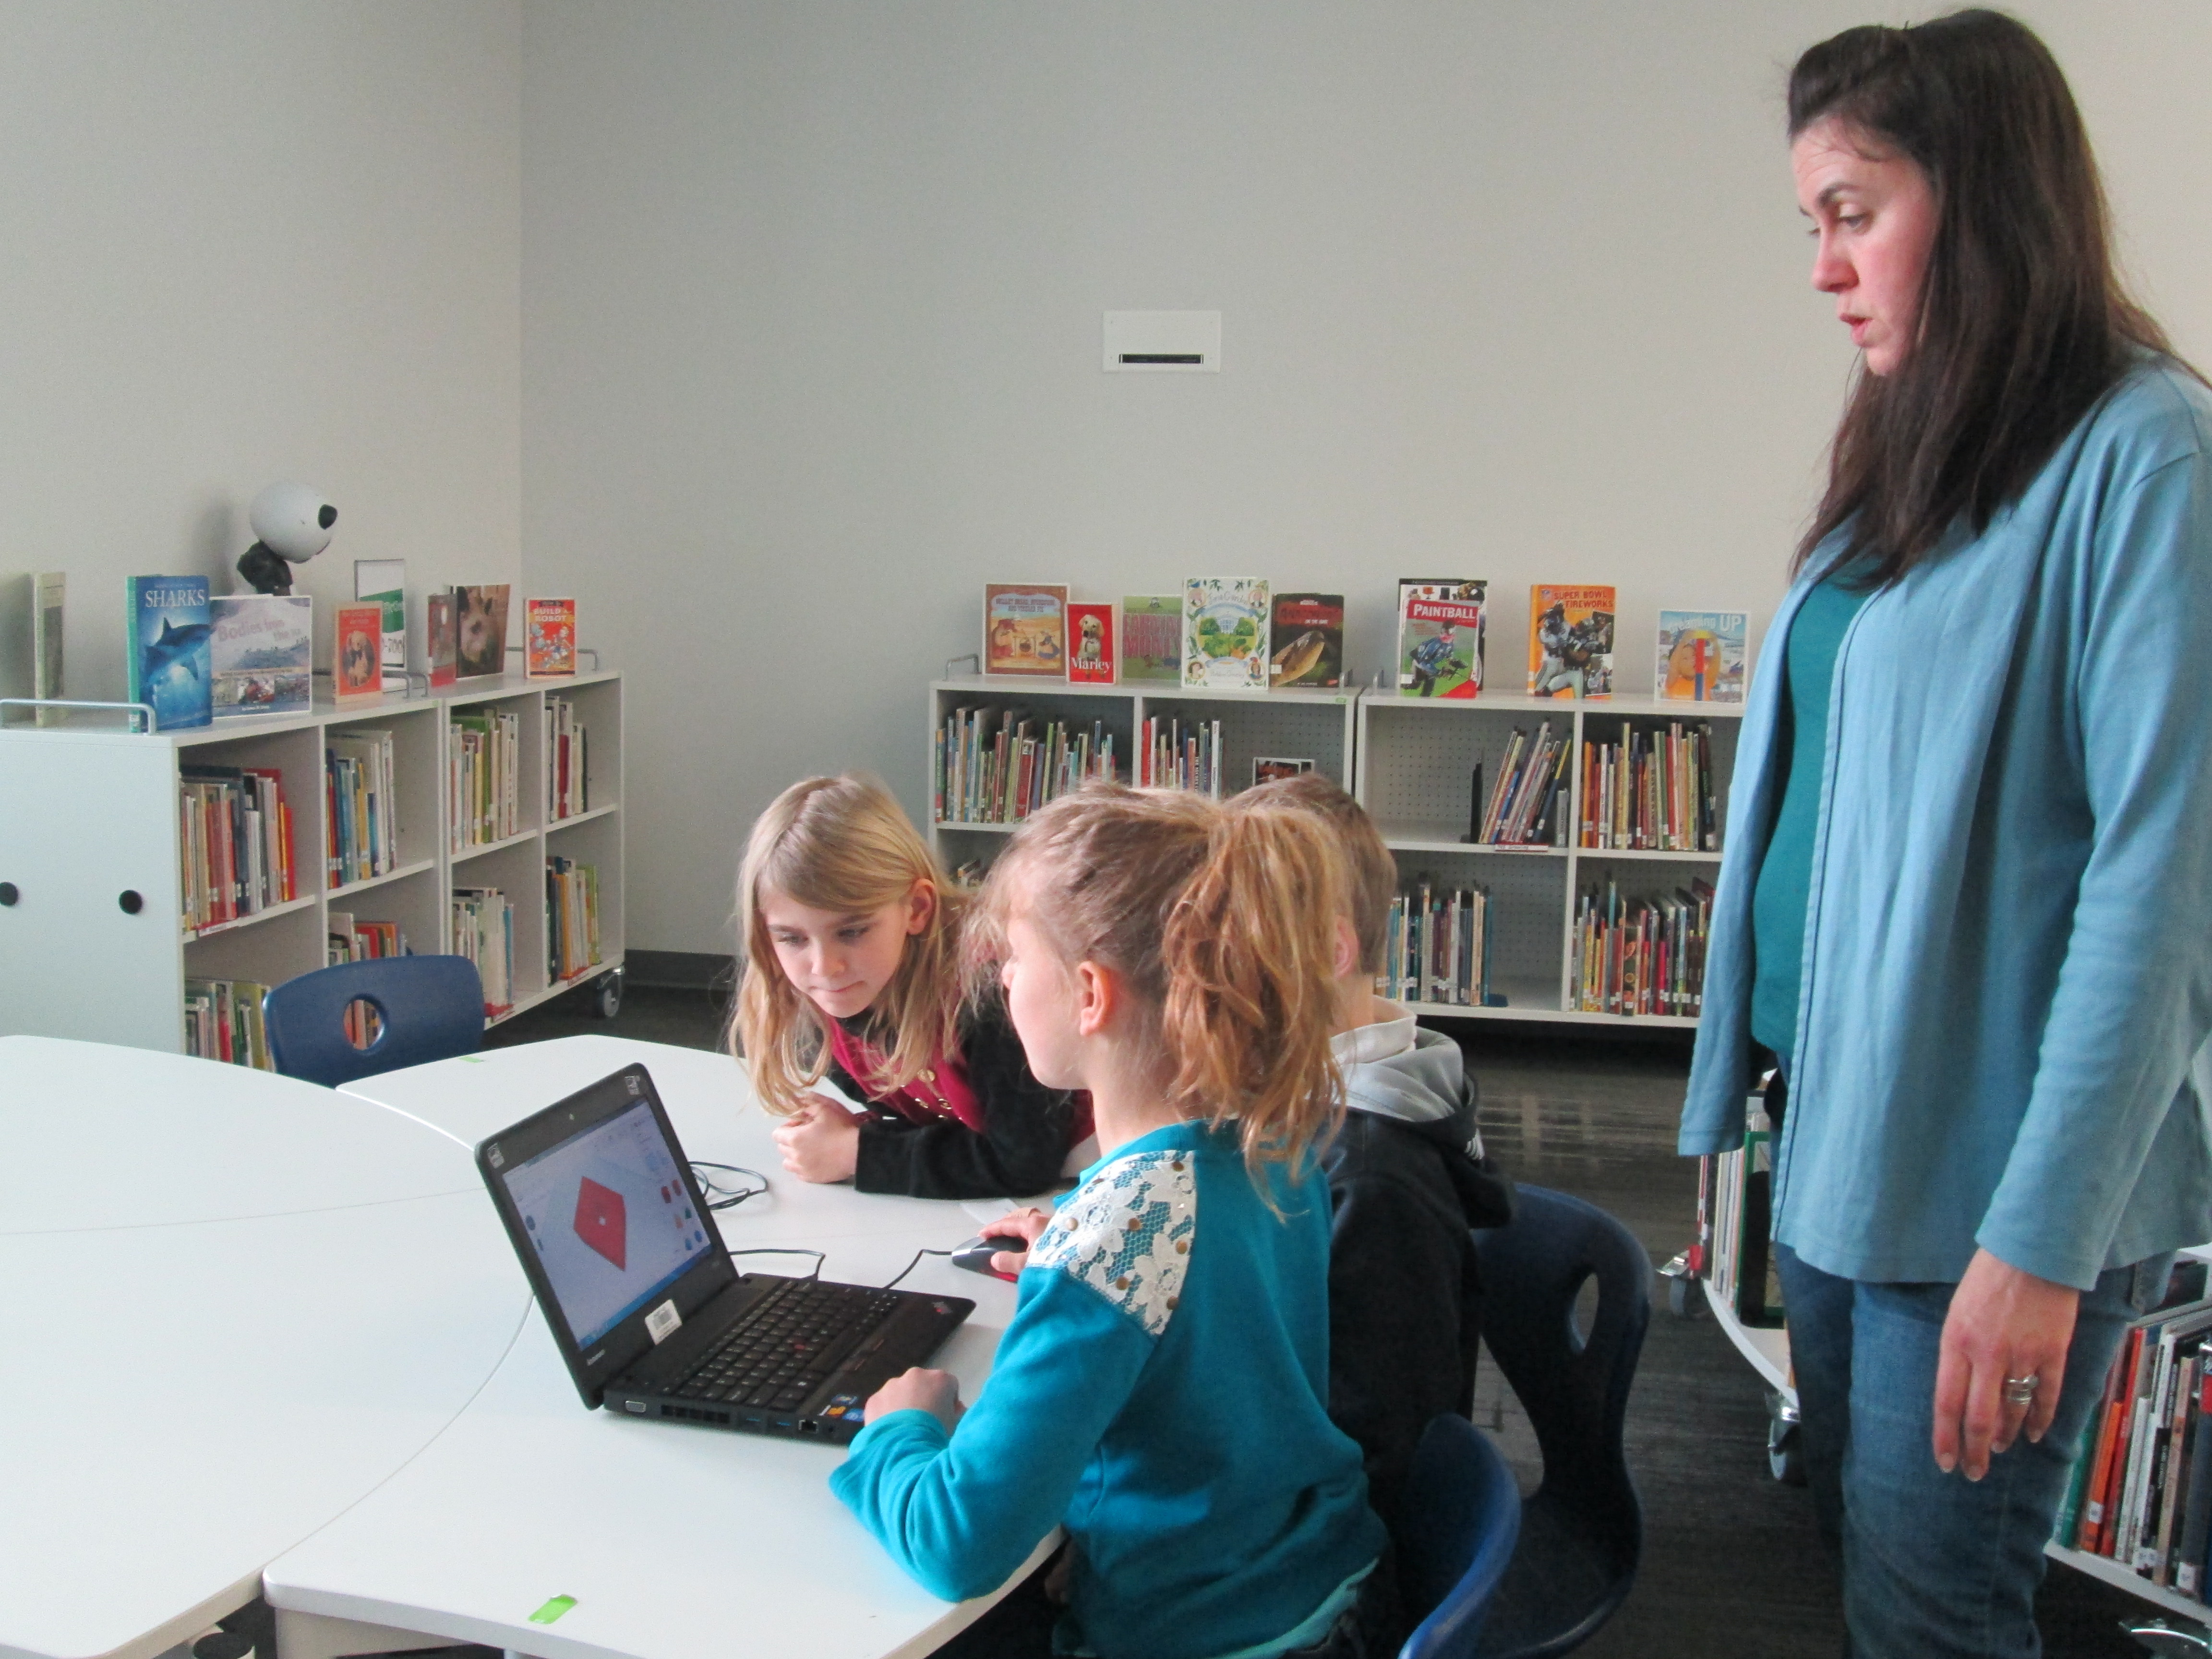
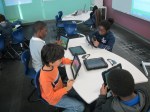
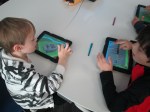
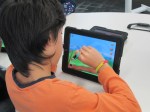
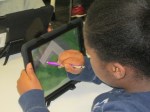
After that, students went straight to iPads and jumped in.  We didn’t spend a lot of time “teaching” them how to use the app.  Instead, we let them explore.  We also didn’t tell them what to build because we wanted them to have permission to imagine and dream as they built.  Mrs. Foretch and I walked around to tables and showed students some tips as they worked.  For example, if you hold your finger on a block it will disappear.  If you pinch the screen, you can zoom in and out.

Two of my enrichment cluster students came to support students as they worked, too.  Monica, 5th grader, and Grant, 3rd grader, were naturals at nudging Kindergarten students along without doing the work for them.  We were almost able to have a helper at every table because of them.  I was so glad that their teachers allowed them to come and share their expertise with Kindergarten.

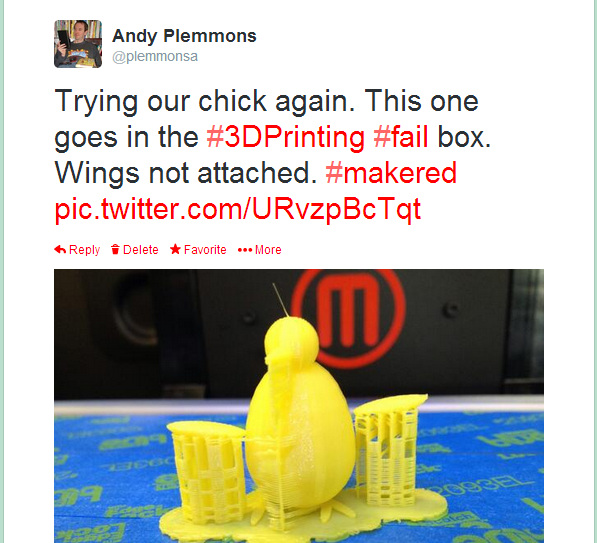
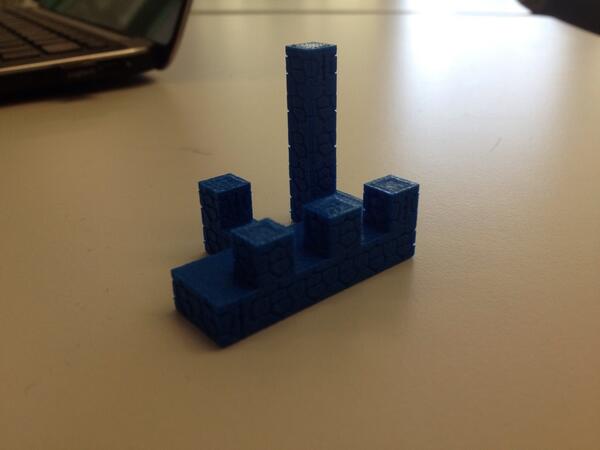
Some students started really being strategic about where their blocks went in their structures while others liked tapping all over the screen and seeing how it turned out.  We did question a bit if we didn’t give student enough guidance, but we ultimately decided that they really needed this time to explore.  If our prints don’t quite turn out like they hoped, then it will be a learning experience about how they might rethink their own approach to designing.

blokify (13)

As always, there were some wonderful moments that happened.  One moment was when  a student who we’ve all been trying to find the right learning method was thoroughly engaged.  He was so proud of the work he did, and he showed us a way to connect with him as a learner.  I  hope that this new discovery will lead to other projects and learning experiences for him in his classroom.

blokify (6)

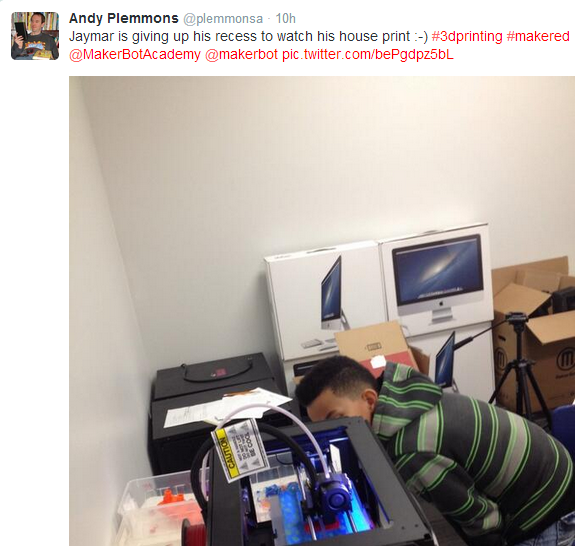
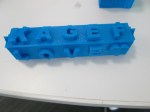
After students left, I had a group of 5th grade helpers email me all of the files from the iPads.  I put each file into Makerware, resized it, and saved it onto an SD card for printing.  We will print our designs after spring break.

blokify (3)

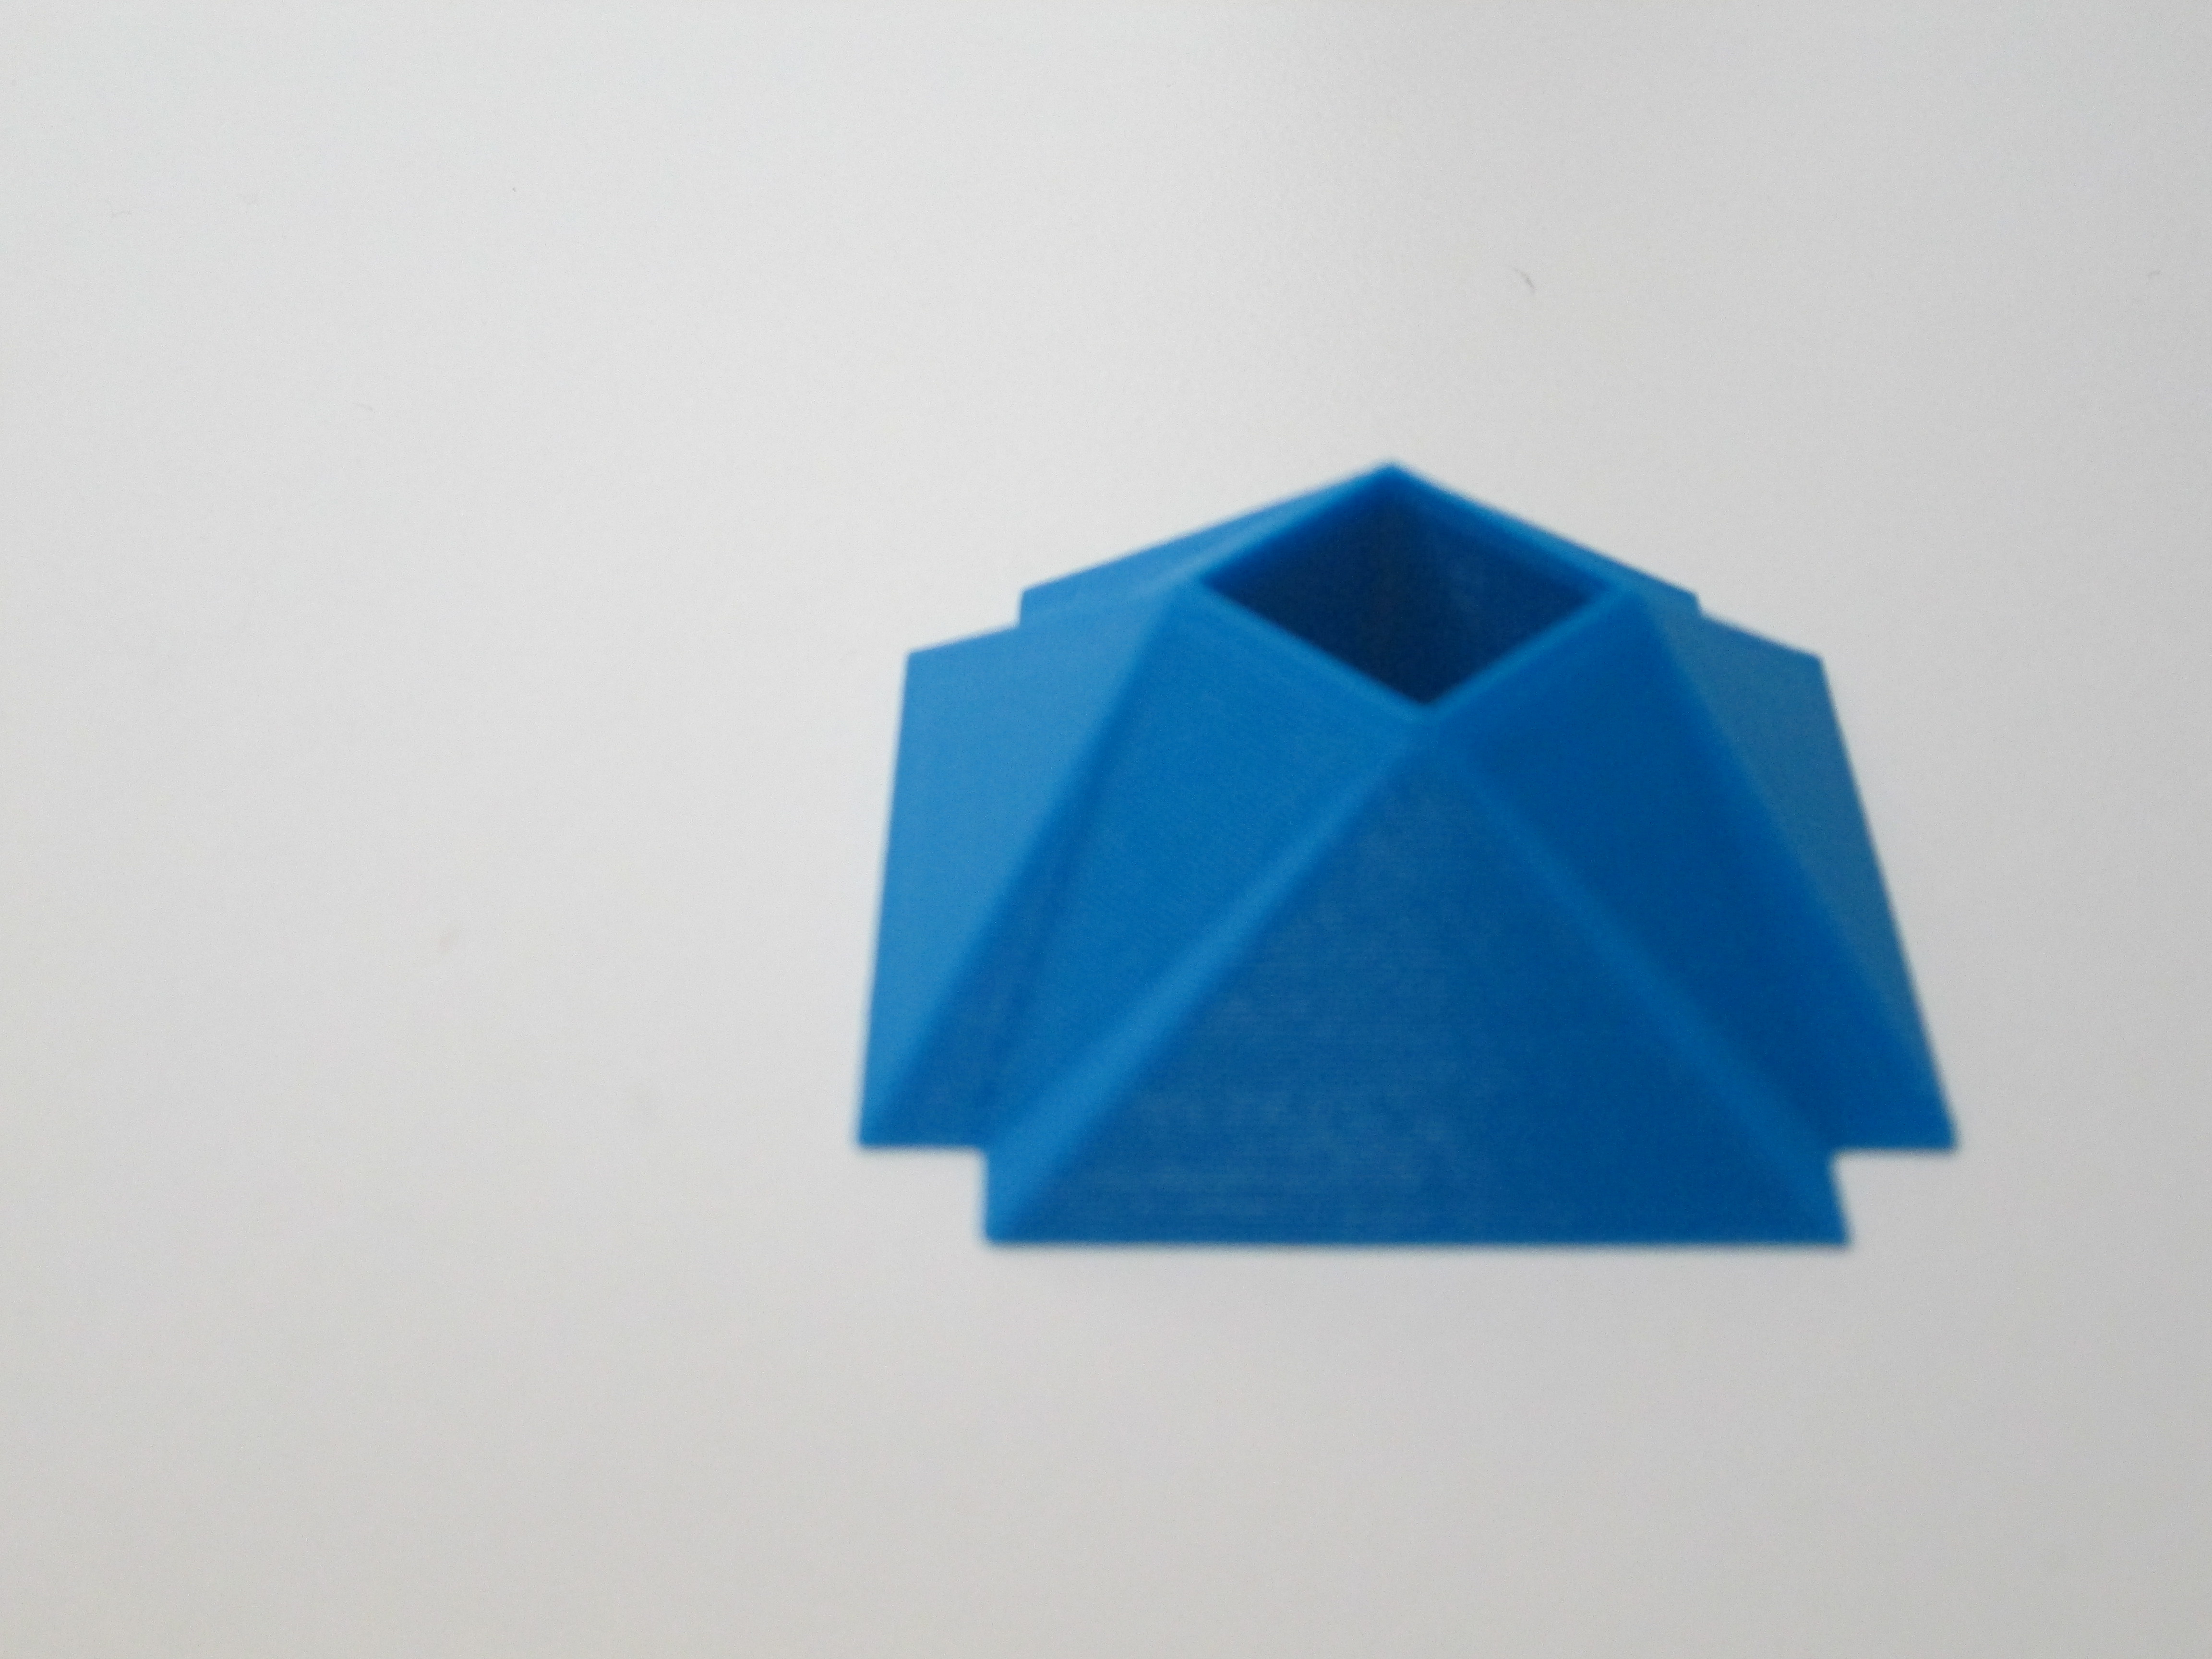
Once designs are printed, Mrs. Hocking wants students to put their structures on a piece of paper and draw the rest of the setting around the structure.  From there, students will think about the inside of their structure as well as the surroundings and begin to tell a story about their creations.  We aren’t sure yet how that piece will be captured, but I’m excited about the possibility.

In art, Mrs. Foretich will continue to explore this standard by expanding what students are building.


Kinetic Art Sculptures Using Our Makerbot Replicator 2

kinetic sculpturesOur art teacher, art student teacher, and I have been having a blast with 3rd graders designing kinetic sculptures.  About 2 weeks ago, students came to the library during art to learn about Tinkercad and how artists use technology to create.  Before this lesson, they watched a Tinkercad tutorial.  In small groups, they designed an object for 3D printing.  Whatever they designed would become one piece of a larger kinetic sculpture in art.  You can read more about that experience here.  

kinetic sculptures (15)

Once students finished their design, I went into each account and tried to double check that the designs were all pushed together into one piece art.  Then, I downloaded the .stl file into Makerware.  In Makerware, I resized the object to a smaller size to speed up the printing process.  I also added a raft (removeable base) and supports to each print.  I’ve found that in Tinkercad these 2 steps are needed because what you see on the computer screen might actually be misleading.  The raft and supports help the 3D print be more stable.  All files were loaded onto the SD card prior to students arriving.

kinetic sculptures (9)

Ms. Foretich, art teacher, created a printing schedule with about 60-90 minutes between prints.  During each time frame, students came to the library and chose their filament color.  Then, I shared some information about the 3D printer since it was the 1st 3D print for most students.  Finally, we pulled up the file on the SD card and a student pressed the M.  Students sat in chairs or huddled around the printer to watch.  After watching the print for a few minutes, students went back to their regular day while the print finished.  I kept an eye on each print during and between my lessons.

kinetic sculptures (13)

Each printing experience was different and you really never know what is going to happen when you press that red M.  Many times the print is a big success, but sometimes it’s not.  We’ve had some failures, which are very important.  We save every failed print we have and put it in a box.  It reminds us that we aren’t perfect, but it also serves as an instructional tool to talk to students about what didn’t work.  We learn from our failures and a box full of failure speaks volumes to all of the students who are starting their 3D printing process.

fail

When a print fails, we go back into the design and look at what needs to happen.  Sometimes it’s as simple as pushing some pieces together more than they were.  However, sometimes it’s a big flaw that cause students to just start over.  It certainly slows the process down, but it is important for them to revisit their work, revise, and try again.

kinetic sculptures (7)

It’s always fun to see which students are motivated by the concept of 3D printing.  Sometimes the students make surprising choices like giving up their recess time to spend that time watching the 3D printer create.  Hearing their “wows” and “cools” is inspiring.

jaymar

Students are continuing to print their pieces this week and next.  In the meantime, they are continuing to work on their kinetic sculptures in art knowing that their 3D printed object will also be a part of their design.


3rd Grade Kinetic Sculptures with Tinkercad, Makerbot, Collaboration, and Imagination

Tinker Ramsey (12)As soon as we received our new Makerbot Replicator, Rita Foretich, our art teacher, began brainstorming ideas with me about how this tool could support the standards that she teaches our students in art.  Rita is a great collaborator.  She weaves in standards from students’ classroom curriculum into her art standards.  Often, these projects involve the media center as well.

Currently, Rita and her student teacher are exploring kinetic sculptures with students.  In art, they have spent time tinkering with a variety of materials that they might use to make a larger, movable sculpture.

tinkering 2

Tinkering in art

tinkering

A piece of these sculptures that students will create will be designed using Tinkercad and printed on our Makerbot Replicator 3D printer.  We scheduled a session in the library to work on the Tinkercad design.  Working in the media center allowed us to have plenty of room to spread out as well as maximize adult support.  During each lesson, there were 3-4 adults (media specialist, art teacher, student teacher, and tech integration) to support students as they had questions.  Of course, we encourage students to support one another, but it is nice to have adults supporting students as well with problem solving and collaborating.  Also, to maximize our time in the media center, students did some flipped learning by watching this Tinkercad tutorial in advance at the closing of their last time in art.

Here’s what our time in the media center looked like:

1.  Students met on the carpet for a quick reminder of our plan for the day.  Mrs. Foretich gave them the standards we would work on:  Creating sculpture using a variety of forms and working in teams.  She also showed them how artists use technology to create their art as well as some images from the 3Dprintshow site.

Tinker Ramsey (1)

A quick intro to how artists use technology to create

2.  Students were organized into 5 collaborative groups.  Each group had a Lenovo Thinkpad computer with a mouse.  Tinkercad was already pulled up on the computer and each group had a username and password to use.

Tinker Ramsey (9)3.  Students brainstormed their concept for a piece to add to their kinetic sculpture and took turns controlling the mouse.  Adults guided students through problem solving and working together.  As students had ideas for their designs, adults helped them think through their ideas and take risks to try to get their idea onto the drawing board.

Tinker Ramsey (7)

Students quickly learned how to work together to problem solve

4.  Students named their file before leaving.

5.  I took student files and saved them as an STL file, imported those files into Makerware, and saved the file for 3D printing on the Makerbot.

Tinker Ramsey (13)

We will repeat this process with all three 3rd grade classes.  Students will continue to work on the rest of their kinetic sculptures in art.  Mrs. Fortetich will create a schedule with me in the media center for students to come and 3D print their designs.  We want each student to have the experience of pressing the red M on the 3D printer and watching their design magically appear on the build platform.  Although all students probably won’t be able to stay from start to finish during the printing process, they will at least activate the print and see the beginnings.

Tinker Ramsey (14)

As always, I was amazed by what students figured out in such a short time.  One group really wanted to put holes in the top of the smoke stacks on a boat they were making.  They tried several different things and never once got frustrated.  I was fortunate enough to be with them at that moment of exploration and encouraged them to keep trying.  After several attempts, they figured out how to put one cylinder inside another and make the inside cylinder a hole.  It looks great in Tinkercad, so we’ll see how it translates to 3D printing.  These same types of conversations were happening in every group.

Deep in thought

Deep in thought

amuns_titanic

Ship with holes in the smoke stack

I also loved that we did not tell students what they had to create.  The only guideline was that students work together to create something for their larger kinetic sculpture.  Every group created something totally different from a block filled with words to a barn to a ship.

Tinker Ramsey (8)

As usual, we are always crunched for time in school.  This was a great first pass at using Tinkercad with an entire grade level.  I’m hopeful that in the future we will figure out ways to increase the amount of time that students get to spend on their designs.

Maker Maniacs Enrichment Cluster Update: 3D Printing and Robotics

blokify (5)We are a little over halfway done with our enrichment clusters this year.  Every Friday, students across the school go to an interest-based cluster of their choosing for one hour.  During this time, students explore a topic and develop products or services related to their topic.  My cluster is called Makerspace Maniacs.  So far this year, we have explored making with duct tape, building with cardboard, lego robotics, and 3D printing.  After lots of explorations, students  are making decisions about where they want to focus.

A small group of students is focused on lego robotics.  Monica and Omarion are both committed to building a robot and programming it.  They both have varying levels of expertise.  Today, I asked another student, Ludwig, to come and work with them.  Ludwig has a lot of experience with Lego Mindstorms.  During clusters today, he worked with them to build a robot and program it.  Although they didn’t get far with the programming, he was able to show the students some tips and tricks to get the robots to work the way they wanted to.  I love using students as experts.  They hold so much knowledge that we don’t even know about.  Ludwig just happened to talk to me one day about Lego Mindstorms because he knew that I bought some.  He used Lego WeDo and Lego Mindstorms in other settings and told me he was willing to help me any way he could with them.  How exciting that a student offered his expertise without even being asked!

Other students in the cluster have decided to work on 3D printing.  Over the past 2 weeks, they have used a new iPad app called Blokify.  This app uses blocks to build a 3D object.  It is very user-friendly to build a 3D object in very little time.  Once built, the object can be ordered or emailed for 3D printing on your own device.  Today, students really focused on coming up with an idea and using the blocks to build.  While they were using the app, I started a Google Doc, which I will share with them, to collect what we love, wonder, and want to change about the app.  One service they will offer as a part of the cluster is to share this info with Blokify.


Today, we were also tweeting with Blokify and students were able to respond to their tweets.  Such fun!

Twitter   blokify   plemmonsa What they like most ...

Students prepared several files that they emailed to me.  I have them ready to go for 3D printing next week.  We’ll be printing a pirate ship, a Trojan pig, and a castle among other things.  As we progress, these students will also think about how they see this app fitting into what they are already doing in class.  We’ll come up with some lesson ideas for teachers to consider.

We only have a few weeks to go, but our speed is picking up and our focus is narrowed.  I know incredible things are going to happen with these students.

Our 2nd Student-designed 3D Print on Our Makerbot Replicator

Danny Gem (16)Today, the second student who designed a gem using Sketchup was able to print his gem our our Makerbot replicator.  In case you missed the 1st print, you can read about Grant’s history-making print here.

Danny’s gem was quite different from Grant’s.  Danny figured out how to make a square hole right through the middle of his gem.  It was something we had wondered how to do, and he figured it out.  This again brings to my mind the importance of letting go of the feeling of being an expert in everything before we allow our students to explore.  Because Danny was given the freedom to explore Sketchup, he figured out how to do so much more than his teacher and I could have ever figured out on our own.  Now his expertise can support others who want to try a similar design.

Danny Gem (13)Before Danny pressed the bright red M to start the print, we made sure he got to choose the filament color that he wanted.  We now have a selection of filament to choose from:  blue, red, white, clear, black, yellow, orange, green, purple, and black.  Danny’s gem took about 24 minutes to print.  Now that we have an approximate time frame for printing these gems, we are going to try to get 2 printed during each class period over the next few days.  Once again, students flocked around the printer and begged for their gem to be next.

You can watch is gem print process here:

IMG_0280I’ve also been experimenting with a couple of tools that will hopefully inspire some new projects with several classrooms.  One tool is Tinkercad.  I recently used Tinkercad to make a words with wings keychain.  In her new book, Words with Wings, Nikki Grimes has some incredible poems that detail how a single word can help us take flight through its meaning in our lives.  I hope that I can share this poetry with students, have them select their own “words with wings”, and create backpack pulls using Tinkercad.

blokify castleAnother new tool is Blokify.  With this easy-to-use iPad app, students use a series of blocks to make pretty much anything they want.  While the blocks are designed to look like a castle, space ship, or pirate ship, they can really be stacked into anything in a Minecraft-like style.  The files can be emailed from the iPad to be imported into Makerware.  I hope to do storytelling projects with teachers around student-designed settings and/or characters.  With the blocks all being the same size, there is also great potential to use this for perimeter and area in math.

I love how ideas keep naturally surfacing within our standards and explorations.  It’s not about what we can 3D print.  It’s about what we are learning about, what we want to create, and how 3D printing might support that.

Our 1st Student-designed Print on Makerbot Replicator 2

1st print (22)Today was a Barrow milestone.  Grant, a 3rd grader, became the 1st student to print his own design on our new Makerbot Replicator 2.  Grant’s class has been studying rocks and minerals.  As a part of the study, they skyped with Aurum Studios, a jewelry store in downtown Athens.  During the Skype, Aurum toured students through the design process of a piece of jewelry.  One piece of designing is to use 3D software to create a model.

Students used a free tool called Sketchup and began to design their own gems with all of the cuts that they would design into a piece of jewelry.  Ashley Maher, Spectrum teacher, worked with these students and gave them space to explore the many functions of Sketchup.  Many of them figured out several functions of the tools within Sketchup by just exploring on their own.  The students started this project before we even knew we were getting a 3D printer, but when we did, they had an ultimate goal of holding their gems in their hands.

Ms. Maher took Grant’s Sketchup gem as an experiment to see if we could print it.  We used this post for guidance.  Basically, a plugin had to be downloaded into Sketchup in order to save the Sketchup files as an STL file.  Next, the STL file was imported into Makerware.  The gem was rotated so that the flattest side was on the build plate.  We set the file to a 15% infill with no raft.  Finally, the file was loaded onto the SD card ready for Grant to print.

Today, I checked in with Grant to see what color he wanted his gem to be.  I had his natural filament loaded and ready when he came to the library for ELT.  He was eager to see what happened.  I reminded him before we started that this was all an experiment.  If it didn’t work, we would look at our mistakes and try again.  We pulled up his file on the Makerbot and he pressed the red M to begin.  The rest of his classmates were in the library working and they frequently came over to visit.  We watched as the 3D printer built layer upon layer perfectly.  It took about 35 minutes for his gem to print.  Along the way, we made some video and Grant talked about his design as he watched it appear.  As the gem neared completion, Grant was bouncing around shouting out the percentage because he knew we were so close to finishing the print without a mistake.  When the build plate lowered and his gem that he designed was sitting their, he was ecstatic.  His classmates rushed over and everyone wanted to hold it.  He passed it around and then took it to show a few adults in the building.

Immediately, all of his classmates began asking when they would get to print.  We probably won’t print any more until January, but now we know that the process works.  After winter break, students will continue designing and printing.  I have a feeling that now that students have seen the final product, they are going to get even more creative with the cuts in their gems.  I’m also excited that we have so many young experts in our building that will be with us for 2 more years.  These students will be leaders in teaching others how to use Sketchup and other modeling tools.  This is only the beginning.  It’s exciting to think about what is to come.  I am so grateful to the donors, Donors Choose, and Makerbot for making 3D printing a reality in our school

Makerbot Replicator 3D Printer First Prints!

IMG_1471Today my Makerspace Maniacs group met for enrichment clusters.  This group is made up of 9 students in grades 2-5.  They had already heard that the 3D printer had arrived and they were eager to give it a try.  For demonstration purposes, we used the files that were pre-loaded on the SD card that came with the Makerbot in order to print.  They voted on what to print and chose Mr. Jaws, a shark that can serve as a paper holder.  We went through the menu screens and selected our print and pressed the red M button.  We were ready to be amazed, but our print failed!  So what happened?  It seemed that the filament began to ooze out of the extruder before moving onto the build plate.  This caused some buildup that interfered with the actual print file sticking to the build plate.  Instead, it got tangled up in itself and made a ball of filament on the plate instead of a shark.  Did we give up?  Of course not.  We used a Rachel Ray silicone spatula to catch the filament oozing out before it moved onto the build plate, and our shark printed great.  In the process, we had a great conversation about how makers don’t give up.  They learn from mistakes, and they expect that things rarely go right on the first try.

The students were amazed by what the printer could do, and they already starting talking about what they wanted to design.  We really have our work cut off for us because we know the process is going to be filled with learning curves.  Today, the Athens Banner Herald also came and interviewed me and the students.  They were eager to tell the paper their stories of how they plan to use the printer.  I hope some of their stories come across in the article.

IMG_1477Today, throughout the day I’ve printed the nut & bolt, the chain links, and another stretchy bracelet.  I wanted to practice changing filament, so I switched to red for the bracelet.  I was surprised at how easy it is to change the filament, and I loved that the Makerbot walks you through each step on the menu screens as well as in the printed manual.  I also experimented with how to remove items from the build plate.  The painters tape really does help, and so far, I like the flexible Rachel Ray spatulas that I’m using.  It was also suggested to me by TimeOutDad to use this Cricut tool from Amazon.

Throughout the day, several students and teachers have stopped by to watch the printer print and to talk with me about how we might use it this year.  I called Makerbot and got a quote for 12 more rolls of filament as well.  Ideas are brewing.  We’re already learning lots, and we’re almost ready to venture out into the waters of the unknown.

Makerspace Maniacs Enrichment Cluster

first robots (10)For about 4 weeks, a group of 2nd-5th graders have been meeting with me on Fridays from 8:15-9:15AM.  This time is called enrichment clusters at our school which basically means that kids select a group based on their interest and spend a period of time learning and creating around that topic.  Our cluster is called Makerspace Maniacs.  Our first sessions have been about exploring the world of making.

first robots (3)

So far we have:

  • Watched Caine’s Arcade and explored the idea of making interactive creations with cardboard.

  • Watched Sylvia Super Awesome Maker Show and explored how we can take our creations and create instructional videos about them.

  • Watched Landfill Harmonic and explored how makers take other people’s trash or unwanted items and turn them into functional creations.

  • Watched how a 3D printer works and imagined what we would create on it.

  • Tinkered with Lego robotics and programming.
  • Explored making things out of duct tape.

Now, students are beginning to think about what they are interested in spending more time with.  Right now, we have a lot of interest in robotics.  Today, one student spent time exploring the directions to build a mindstorm NXT robot and began the building process.  Another group of students looked at the Lego WeDo kit and followed instructions to build an alligator.  Other students spent time, exploring how the various lego pieces fit together.  Since their interests are so drawn to robotics, Christa Deissler from UGA will be helping me coordinate a guest speaker to talk to students and demonstrate programming of robots.

first robots (9)Seeing something tangible really inspires the students.  Today a student figured out how to use the WeDo software to make the alligator open and close its mouth.  When students saw this happen, they immediately wanted their creations to do something too.  Once we get past the exploration stage, I think students are going to want to get into the workings of the programming software and figure things out.

In other news, our Donors Choose project to get a 3D printer is fully funded!  This will give these students access to even more tools for making.  Two other classes already have ideas for how the printer might be used in their own projects.  Once it’s here, I’m sure that there will be lots of exploring, learning, and sharing between classes to figure out how this tool can support the learning in classrooms.

first robots (7) first robots (5) first robots (2) first robots (1)